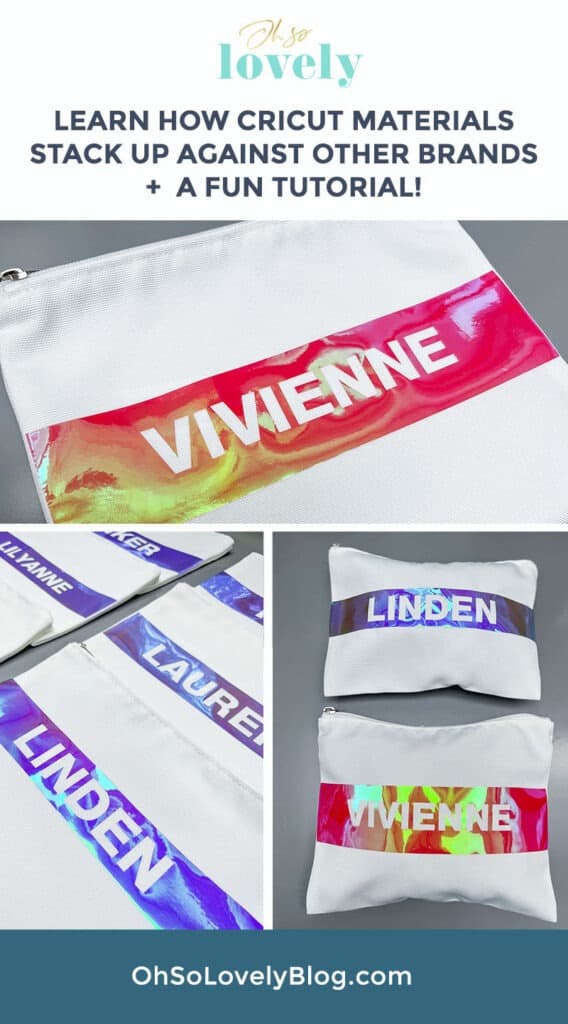
Have you used Cricut materials before? If not, let me show you why they’re hands down the BEST.
Disclosure: I’ve blogged about my love for Cricut many times, and it’s probably pretty obvious that I’m a huge fan and truly love their products. This is a sponsored post, but all opinions and projects are 100% my own.
But first, below are my favorite things about Cricut materials.
- Every Cricut material is carefully designed to work flawlessly with your Cricut machine.
- Cricut materials go through a rigorous testing process to ensure lasting results.
- Cricut materials and machines are pre-calibrated for compatibility, and stress tested for performance and durability.
- Smart materials are specially designed for easier making and continuous or extra-long cuts up to 12 feet long.
- Cricut materials are safe for their intended use and compliant with all applicable regulations for manufacturing operations.
Let’s make a fun and easy DIY project in 3 easy steps using my favorite Cricut materials and machines!
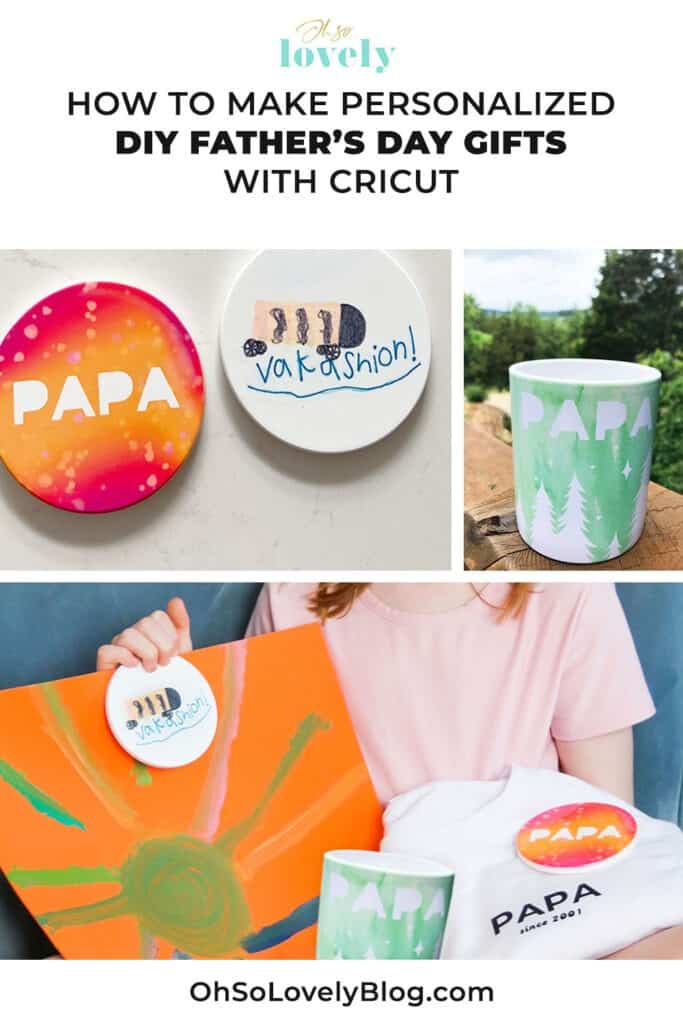
My daughter is turning 10 soon, so I made some personalized cosmetics bags for each birthday party guest. I’ll show you how!
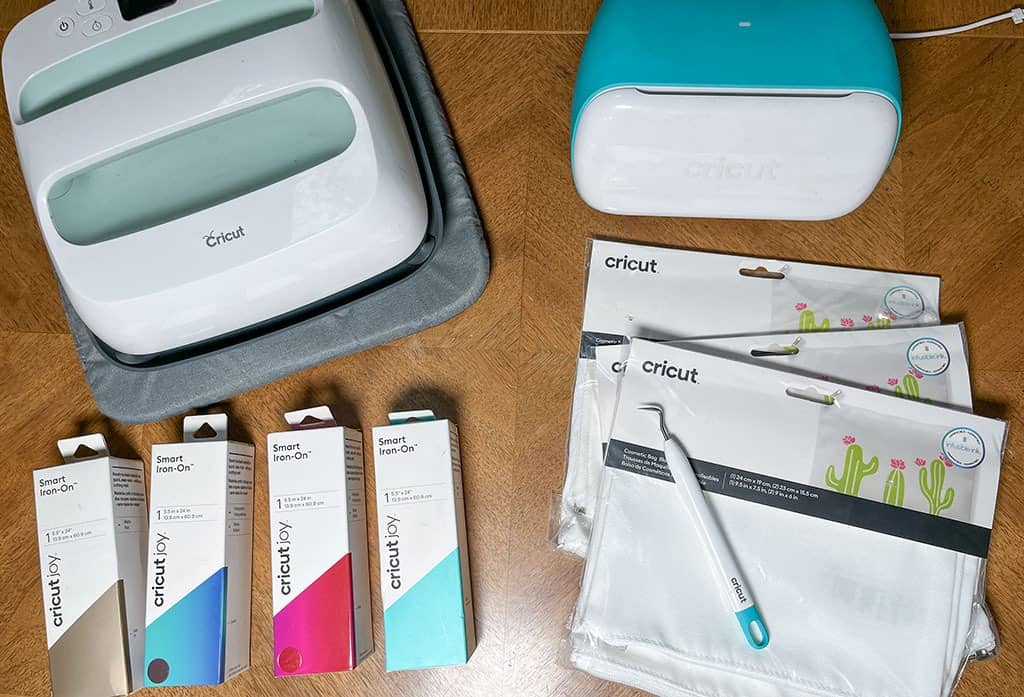
I gathered my supplies and got to work:
1. Cricut Joy (or any other Cricut cutting machine)
2. Cricut basic tool set
3. Cosmetic Bag Blanks (3 ct)
4. Cricut Access
5. Cricut Easy Press 2
6. Cricut Joy Smart Iron-On vinyl in 3 holographic colors
7. Cricut Design Space
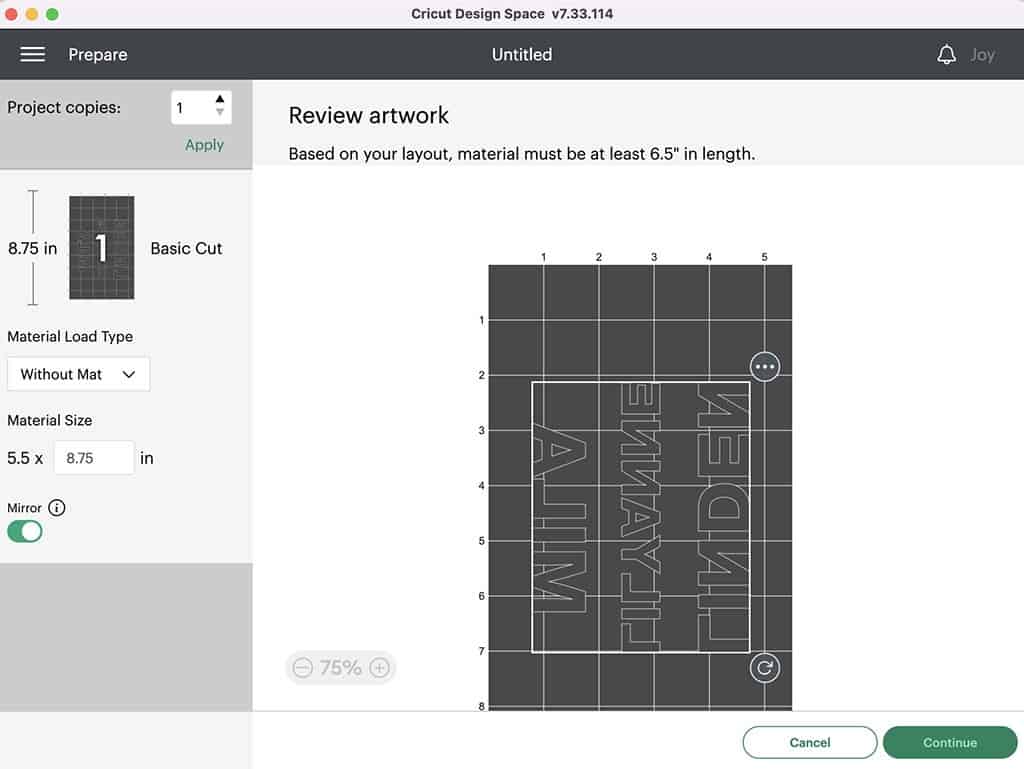
1. Create your design in Design Space.
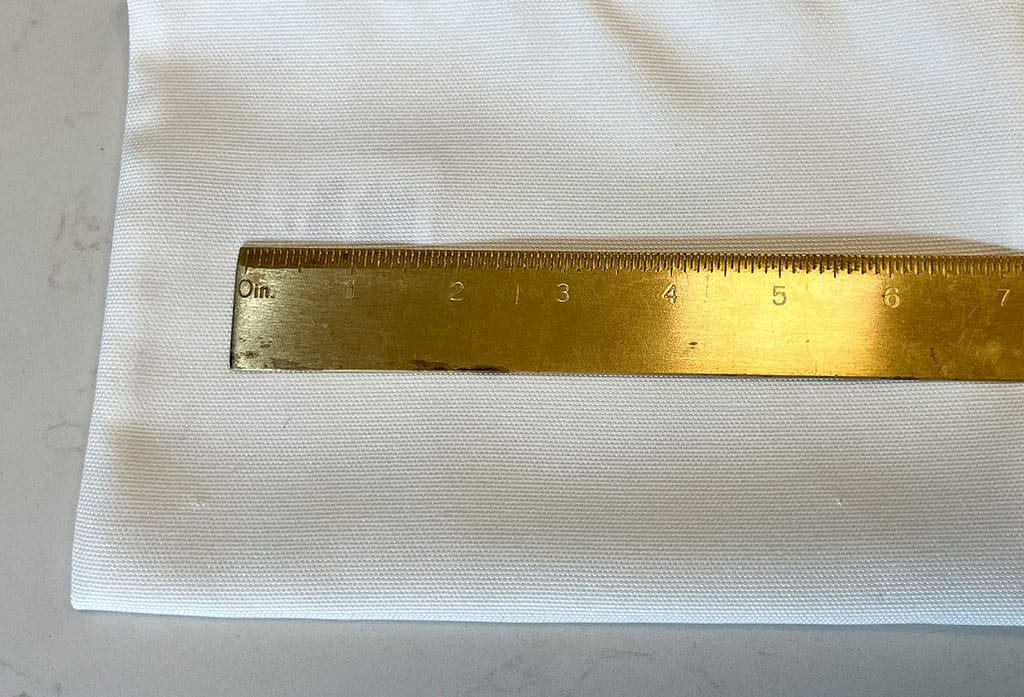
I hopped into my Cricut Design Space and started the design process. My daughter requested that we add each party guest’s name to each bag, so I measured one cosmetic bag to decide the maximum width each name could be in order to best fit.
I decided I would use the negative space of the smart iron-on material to display each guest’s name. And I knew I wanted the material to stretch left to right covering the width of the bag.
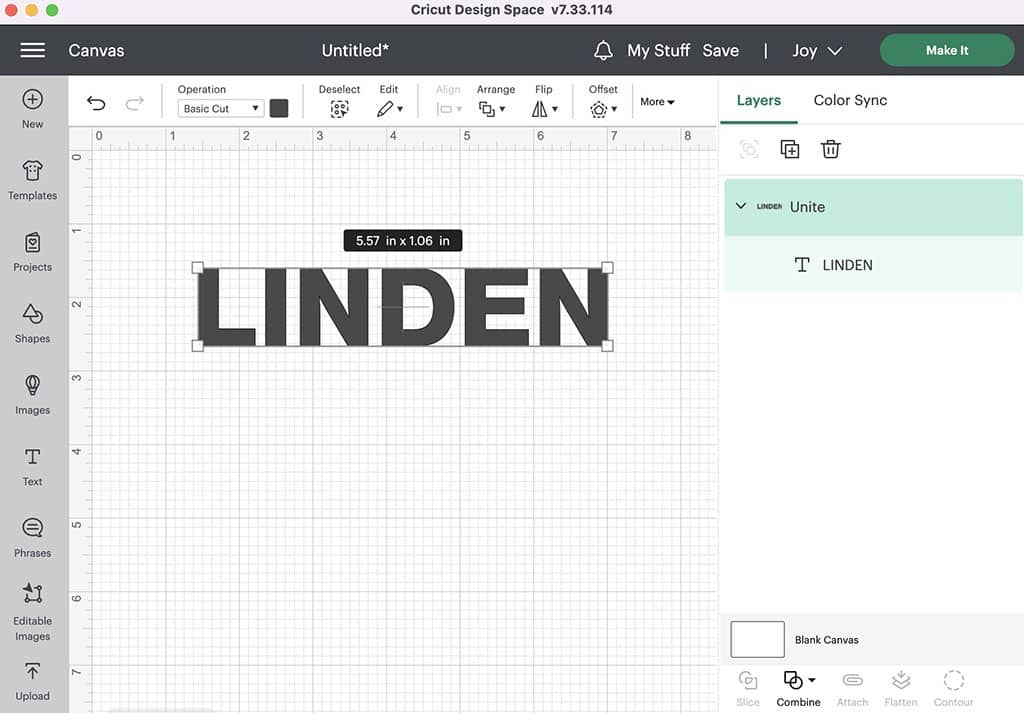
I typed in three names, centered them, then united them so they would stay stacked for easier cutting later.
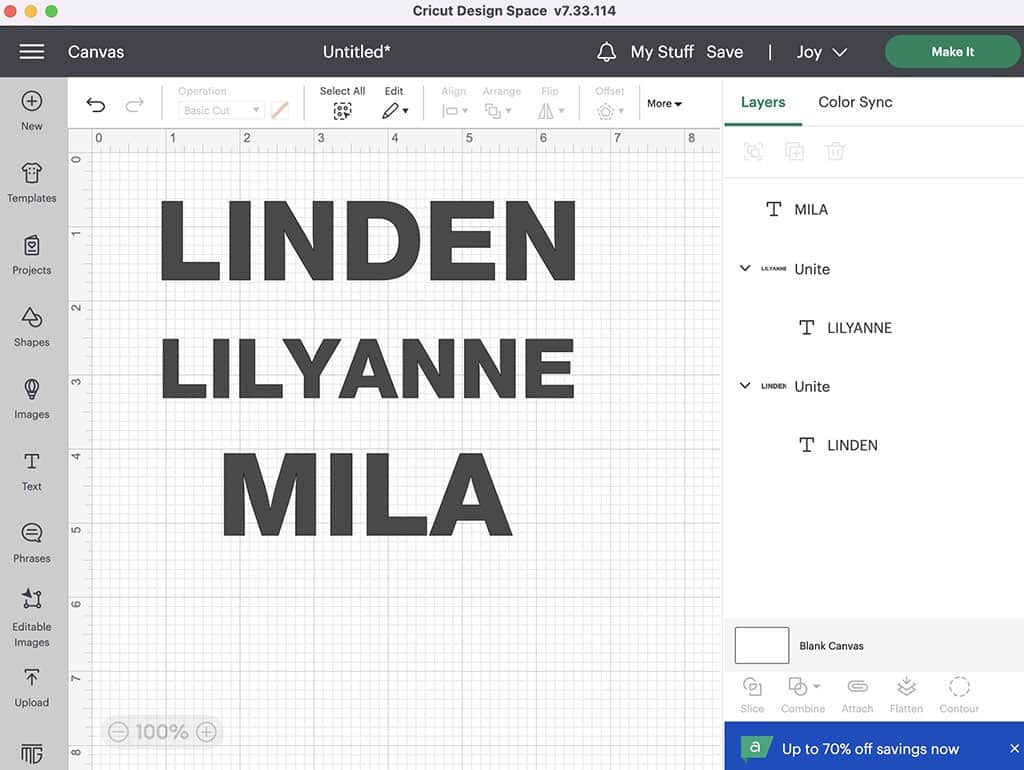
I went through all the available fonts in Design Space, and ultimately decided on Almarai ExtraBold. It’s the perfect thickness for how I’m going to use it.
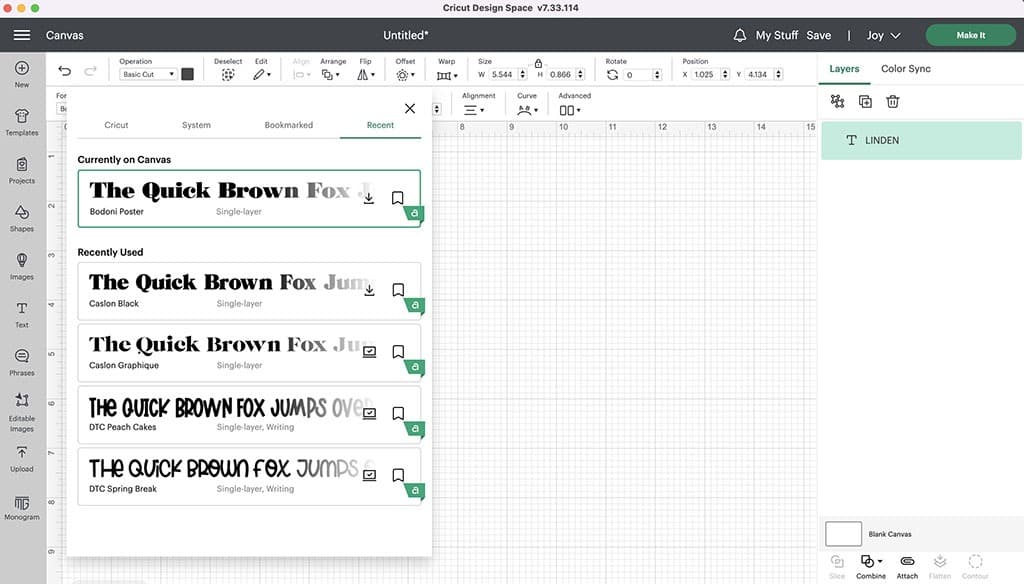
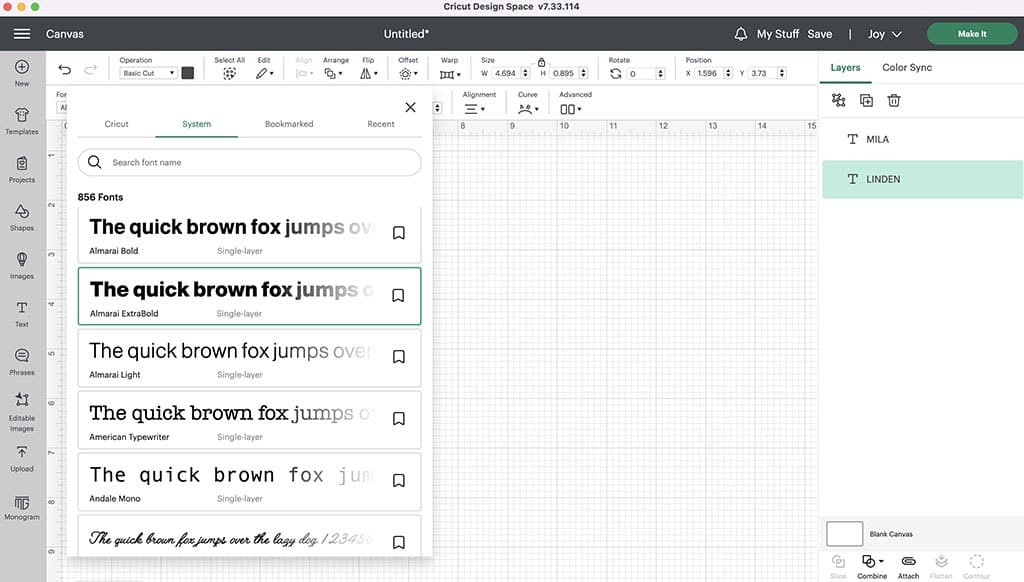
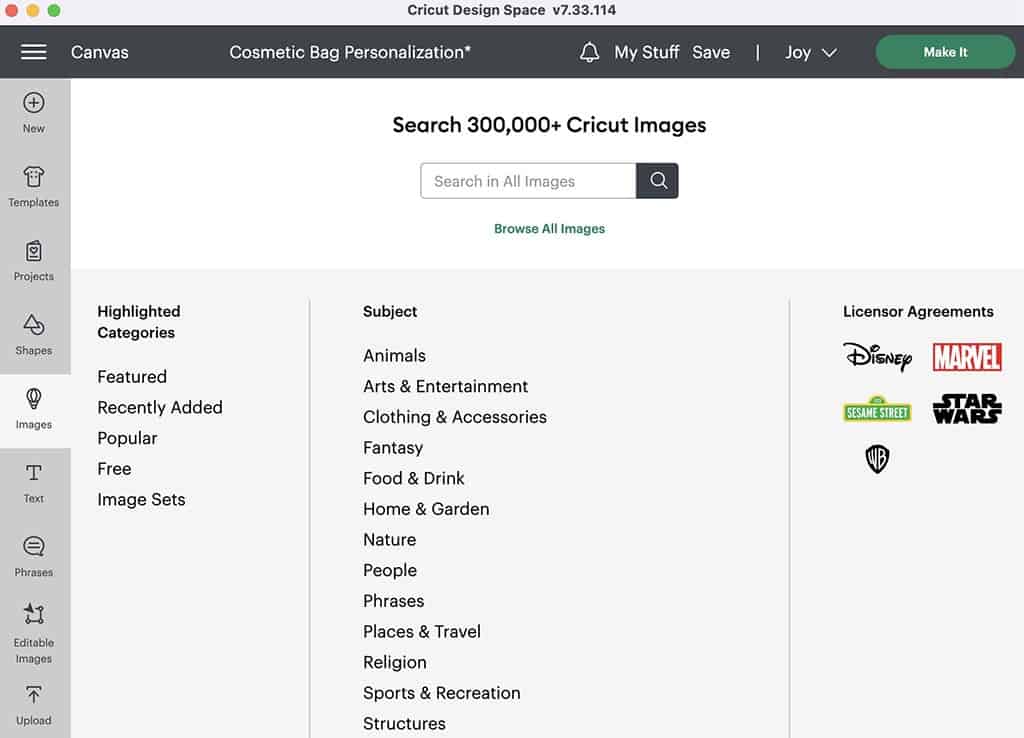
There are so many fonts and images to choose from in Cricut Access in Cricut Design Space. It’s so fun to explore all the options, but for this project I kept it simple with just fonts.
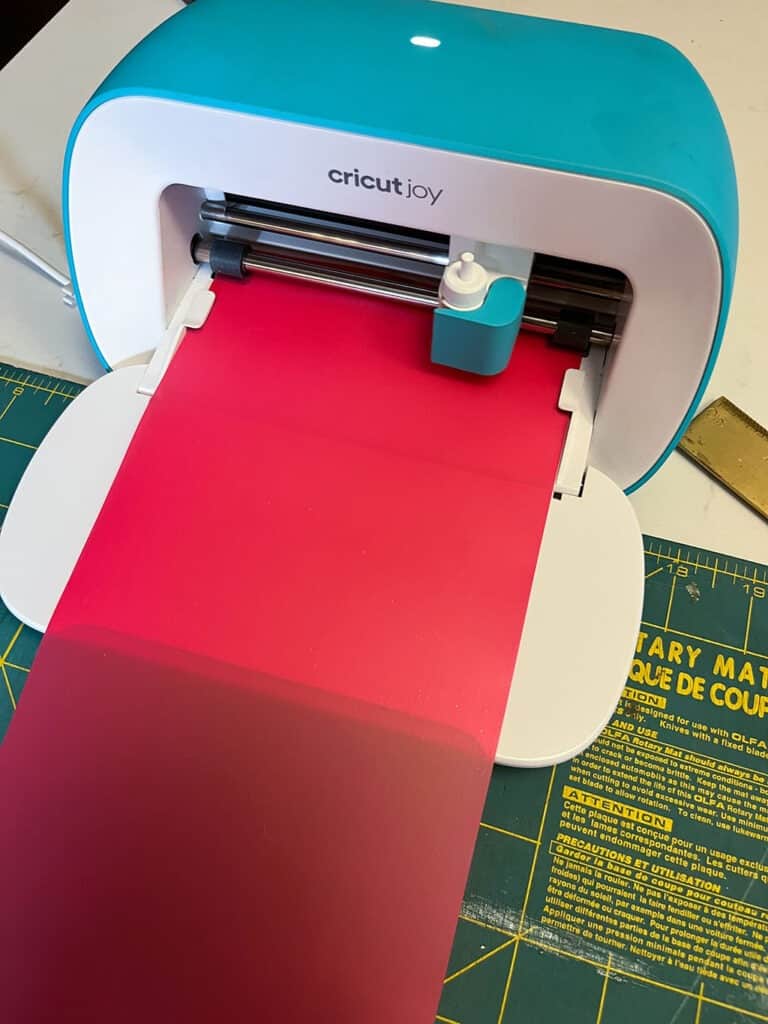
Once my first set of 3 names were set, it was time to cut with my Cricut Joy.
2. Cut with your Cricut machine.
Plug in your machine and follow the simple prompts for cutting. Cricut makes it so easy!
Don’t forget to mirror your design in Design Space before cutting – this is a crucial step.
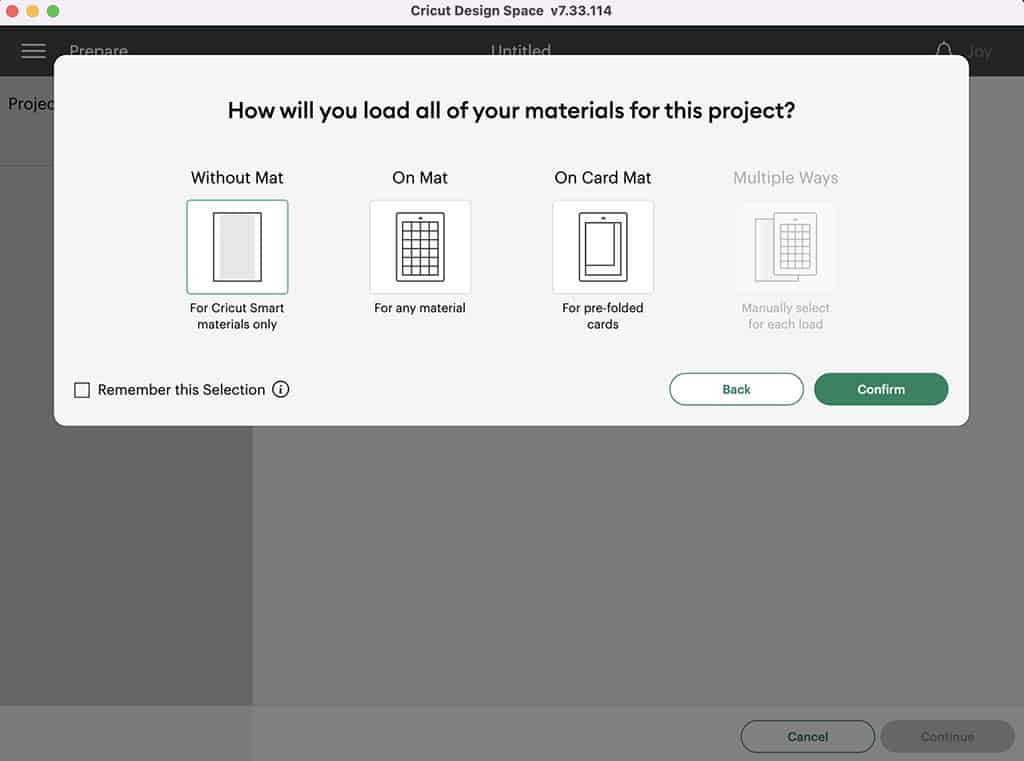
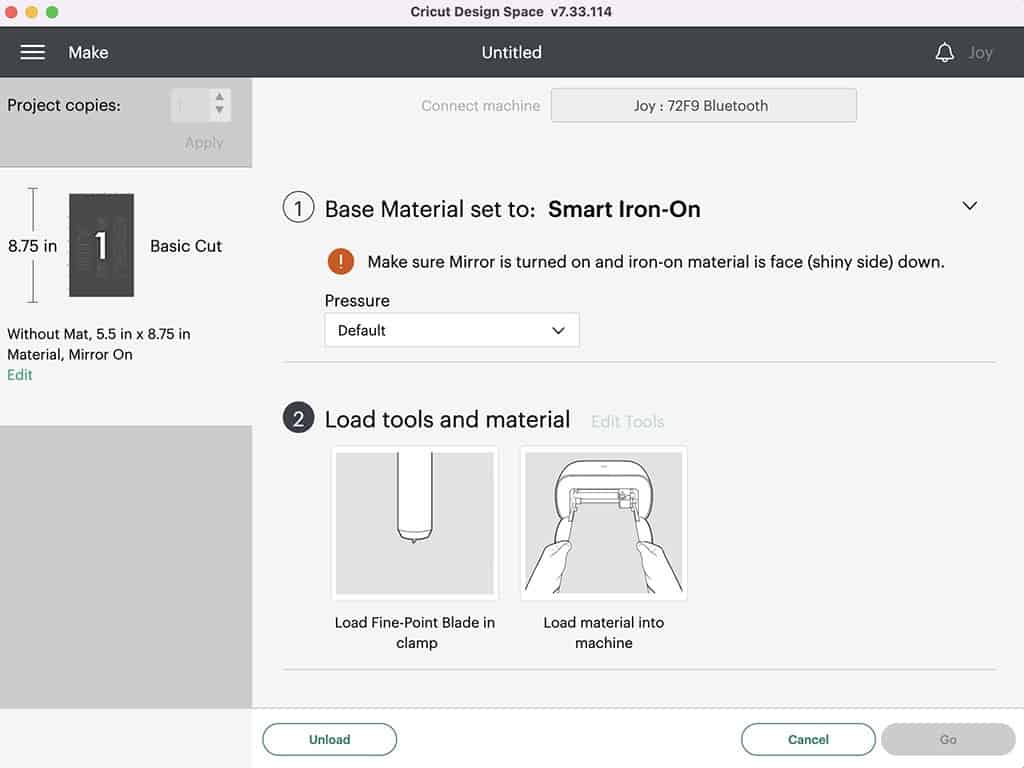
Align the material (shiny liner side down) against left material guide on the machine, then slide it under the mat guides and up against the machine rollers.
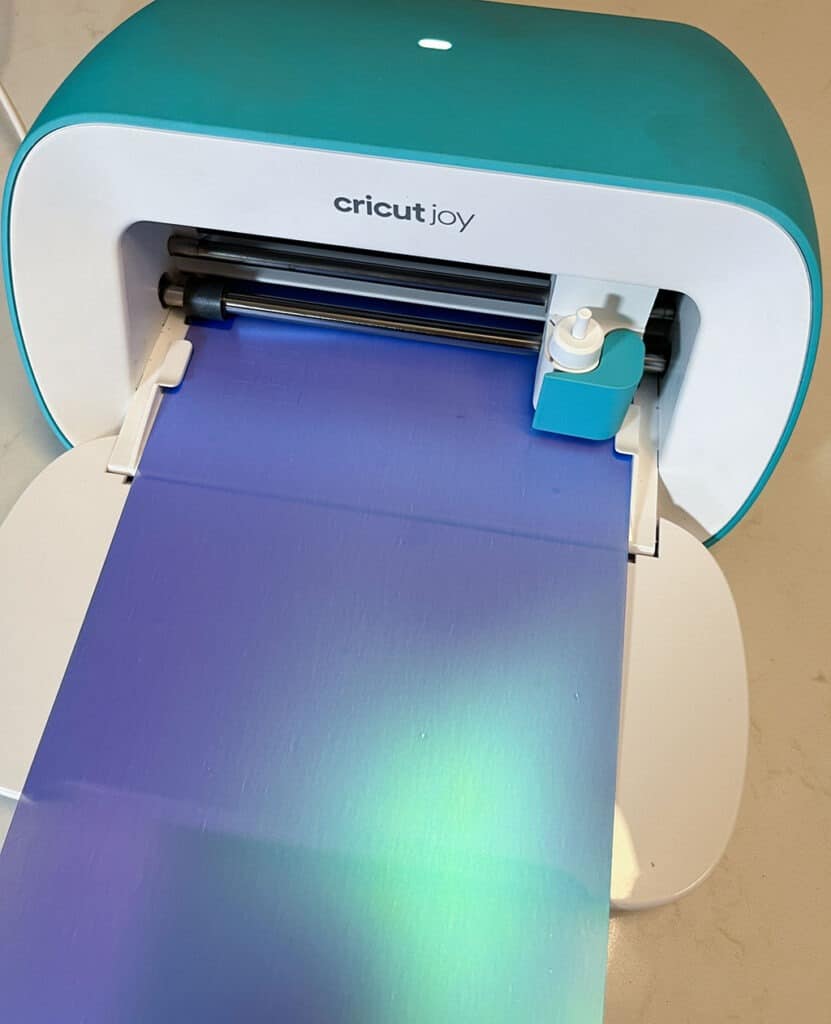
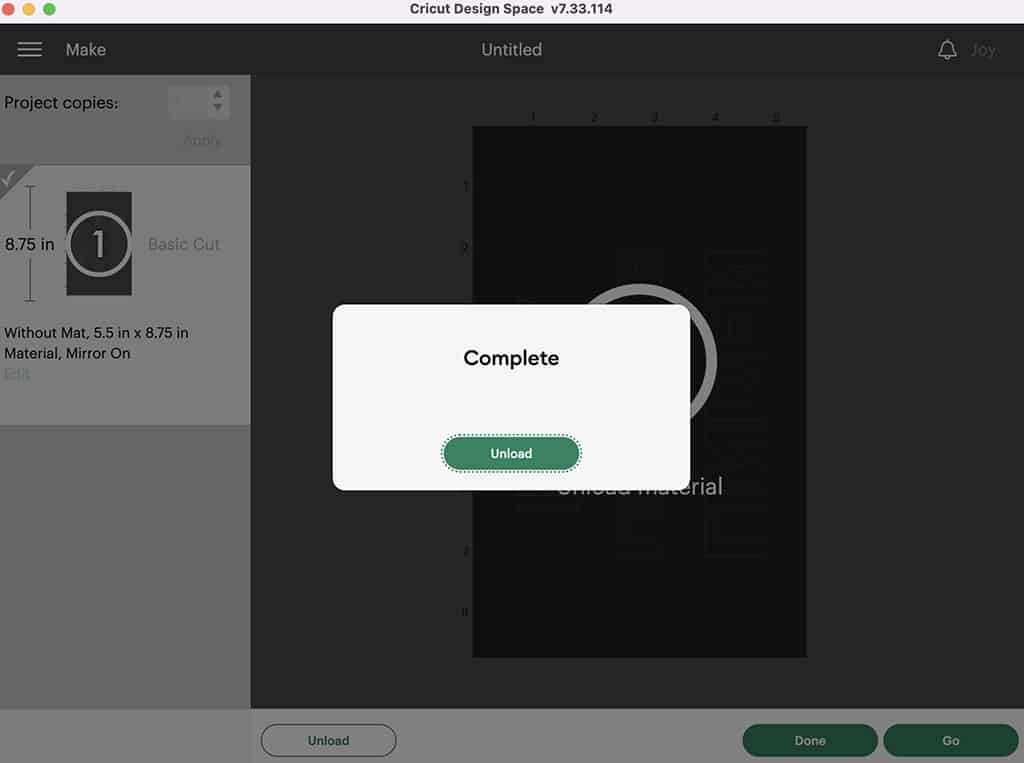
Click “make it” and your machine does the rest! When your project is finished cutting, simply click “unload’ to release it.
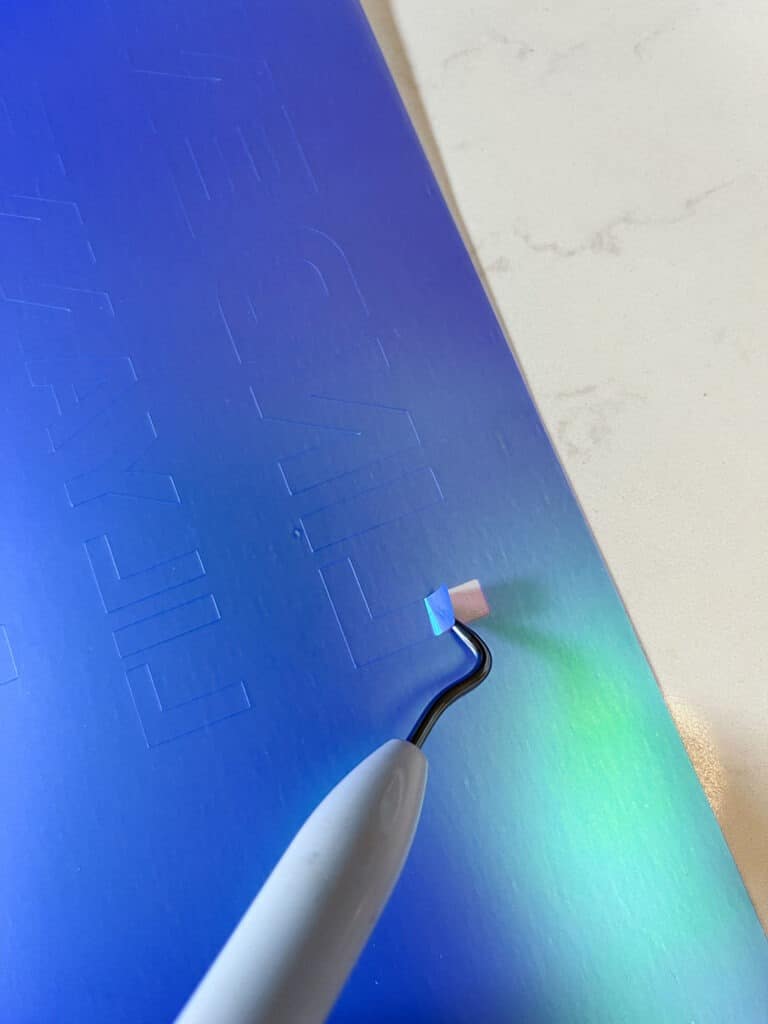
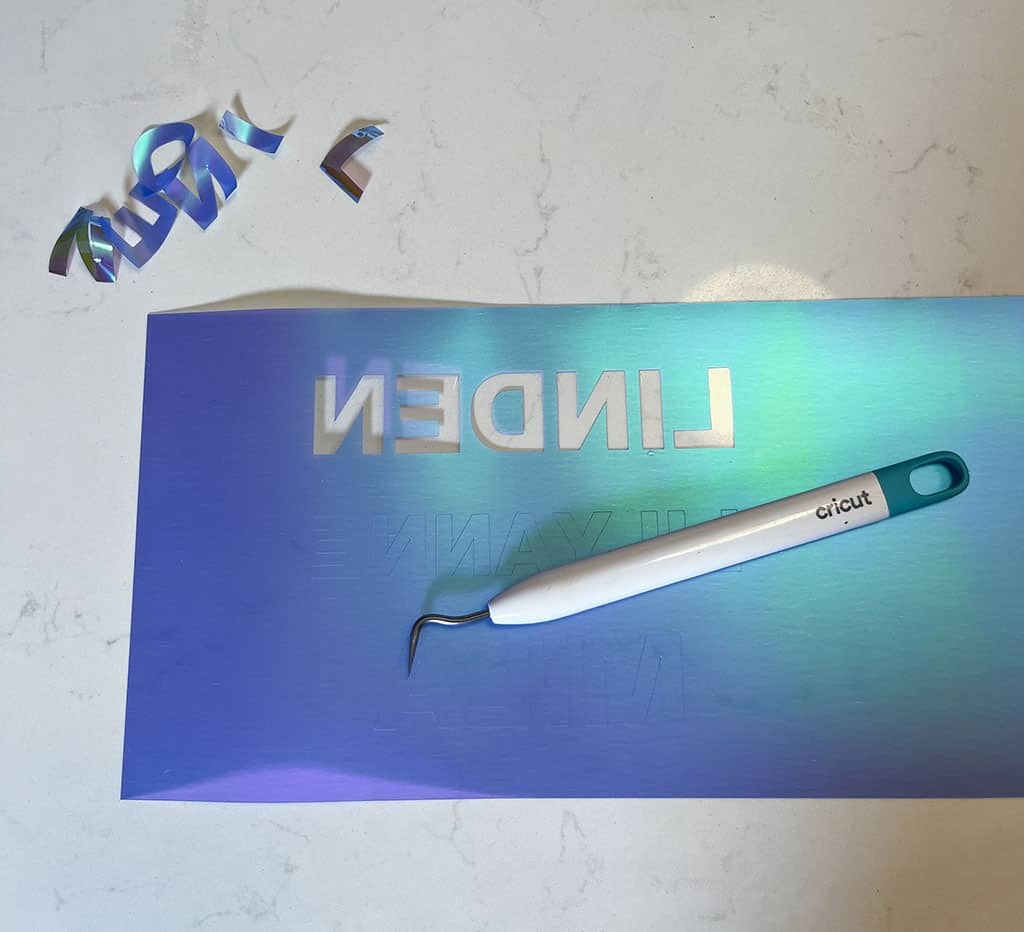
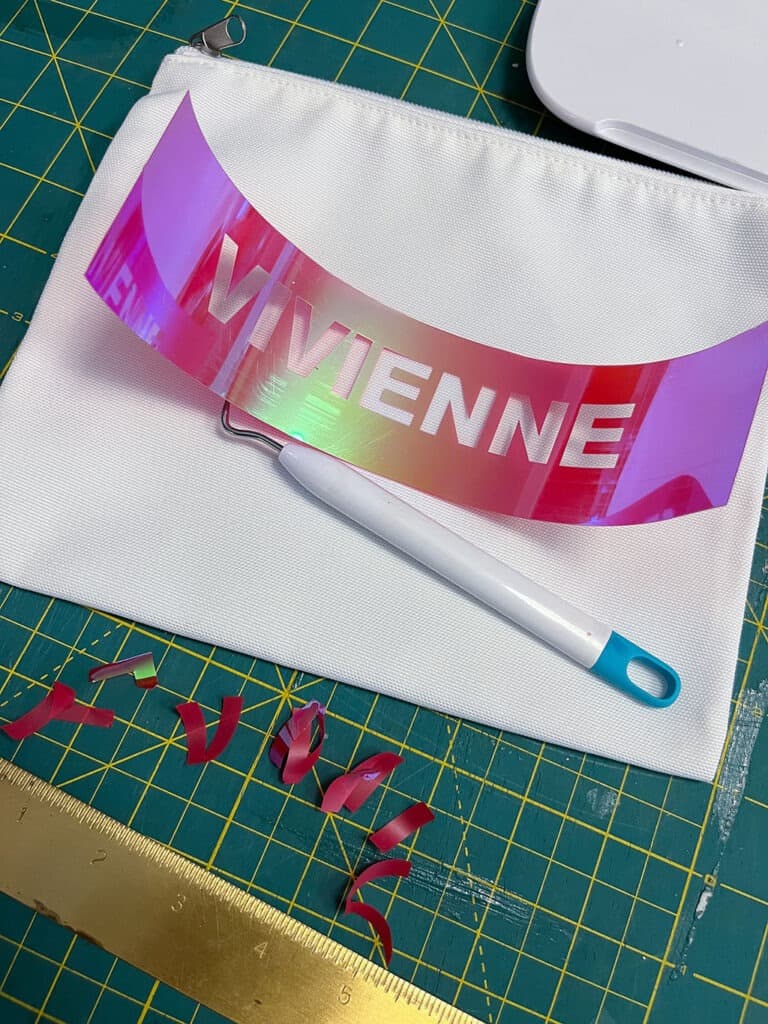
Take your weeding tool from the basic tool set and gently peel back the lettering from the iron-on.
For my design I wanted to use the negative space of the material to show the names, so I’m peeling away the letters and leaving the rectangle shaped background.
If you prefer to have standard names with no material background/negative space, you would weed away the material outside the lettering.
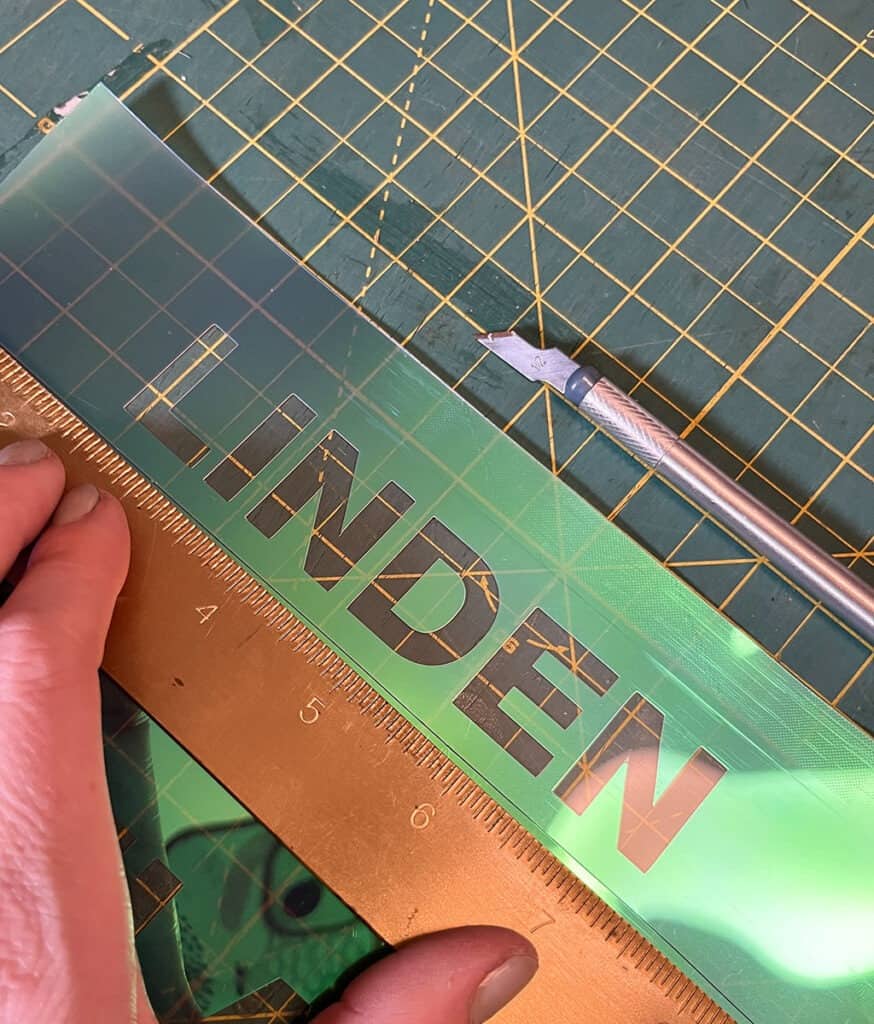
After all 3 names were weeded, I used a relief mat and cutting knife to mark where I needed to cut my strips. If I would have pressed harder with my blade I could have skipped using my scissors – oops!
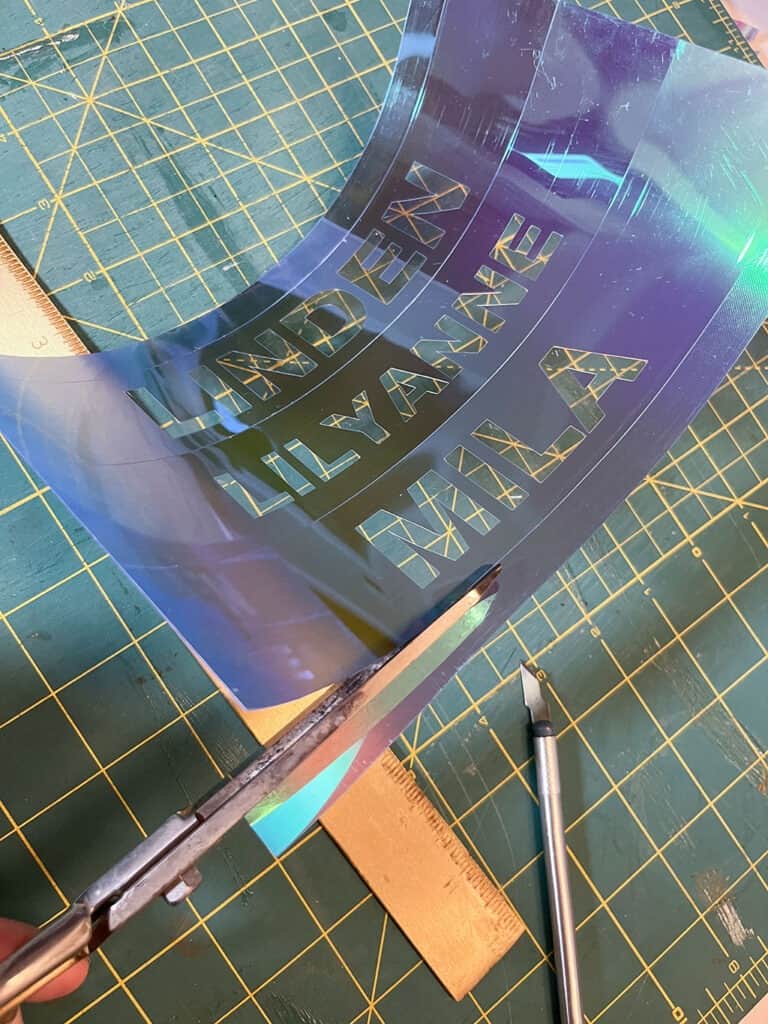
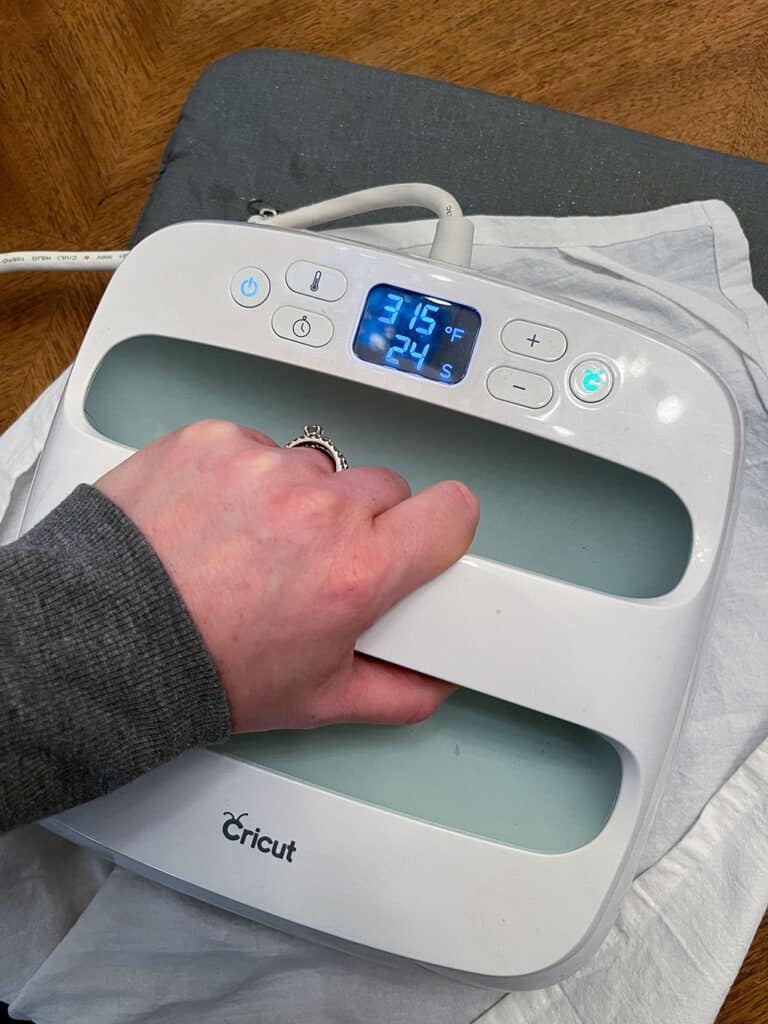
Once I had my first 3 name stripes cut, it was time to heat up the Cricut Easy Press 2.
3. Assemble the final product.
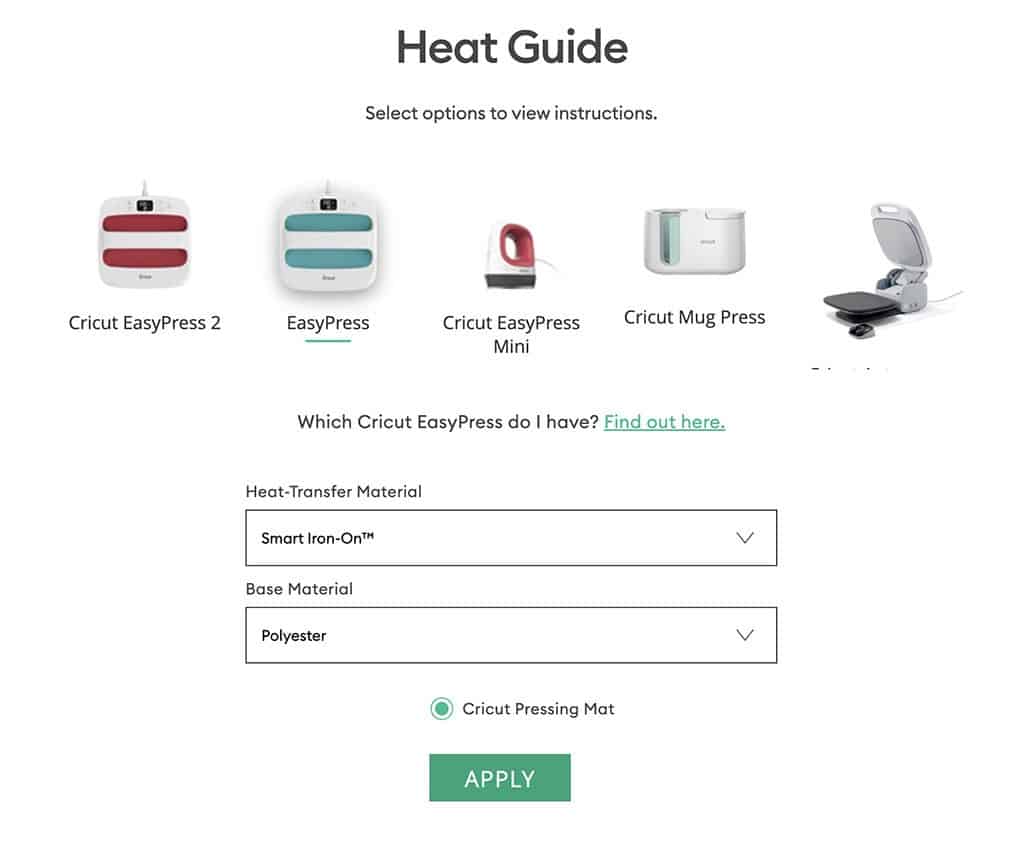
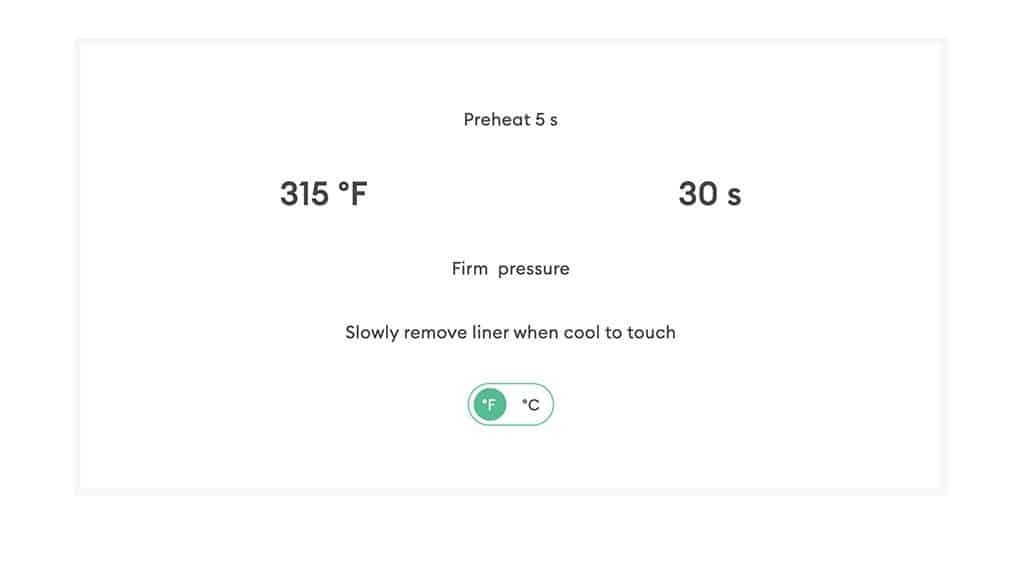
While my Cricut Easy Press 2 heated up, I referred to Cricut’s free and handy heat guide to figure out the temperature and time requirements for my specific material and blank.
This guide takes all the guess work out of using a heat press and even shows you detailed instructions. I highly recommend it!
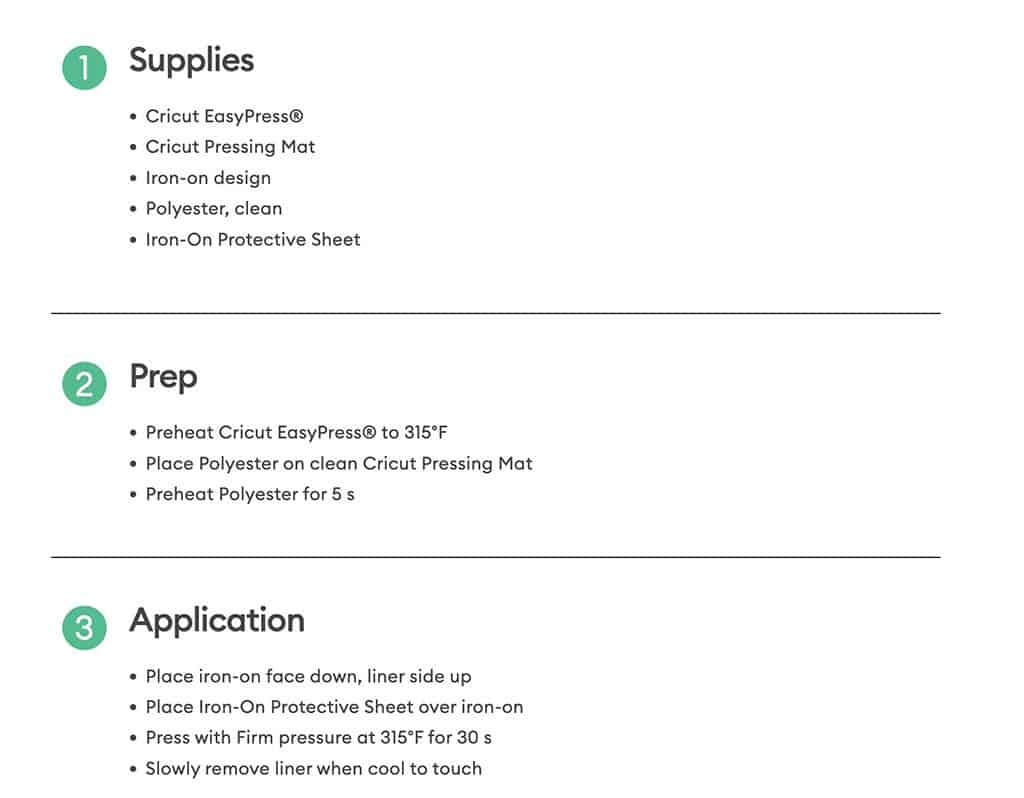
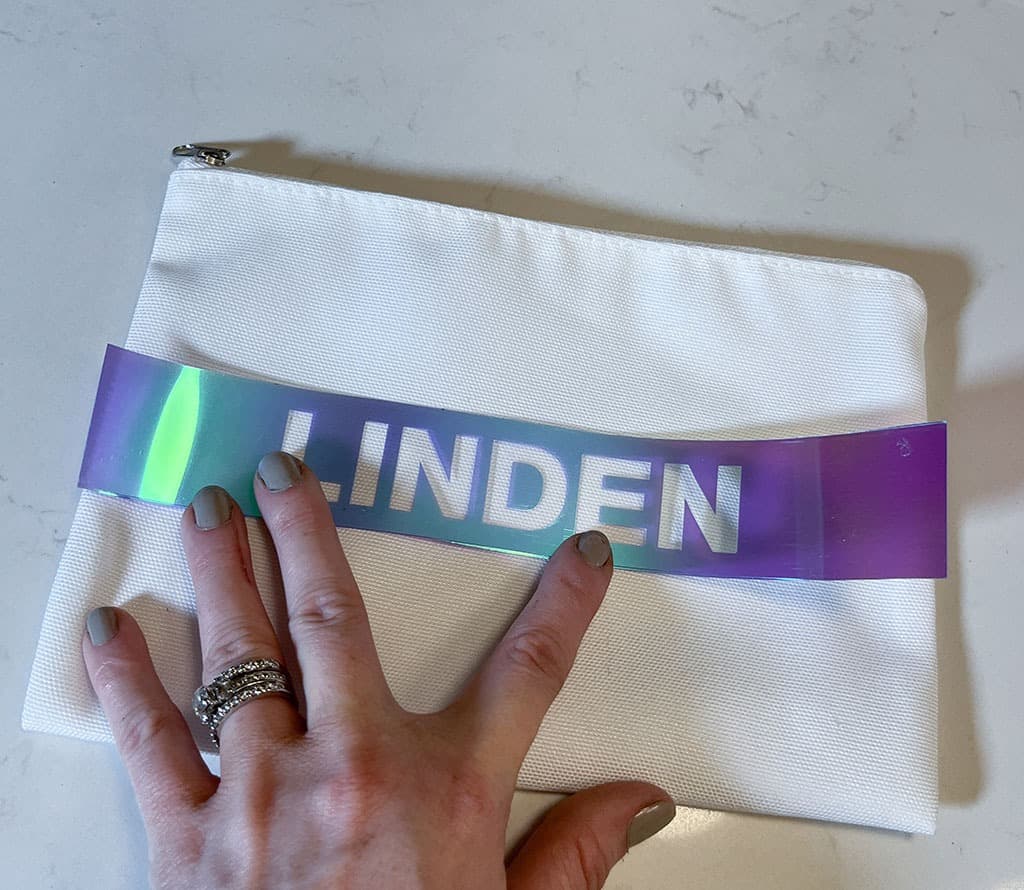
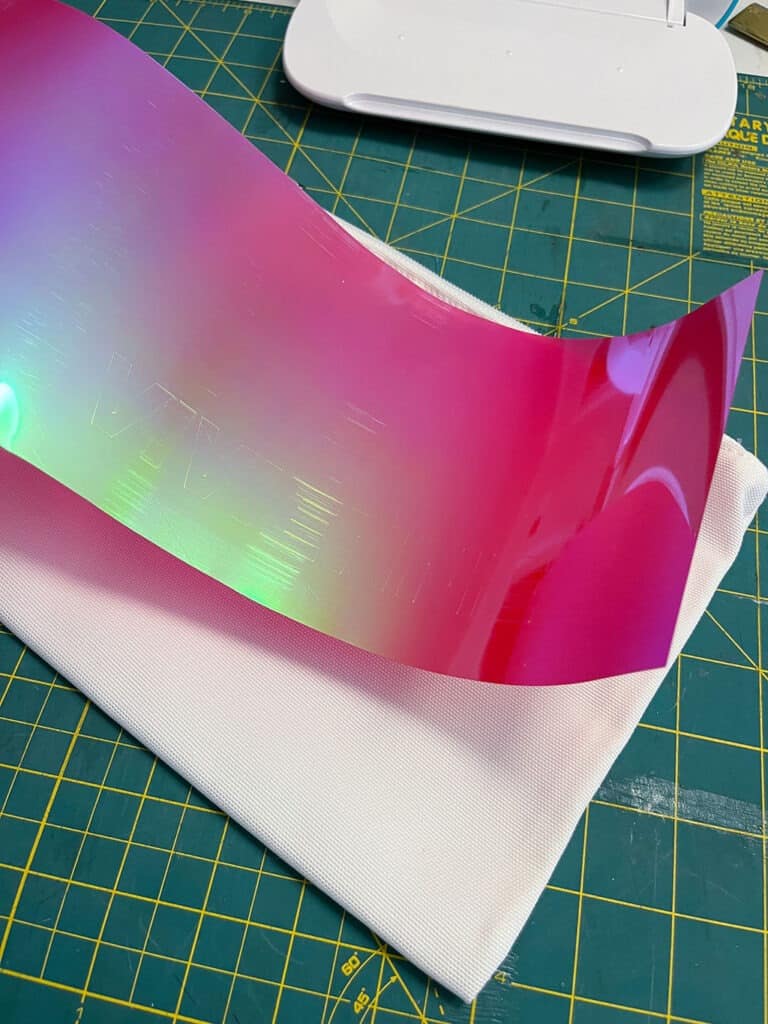
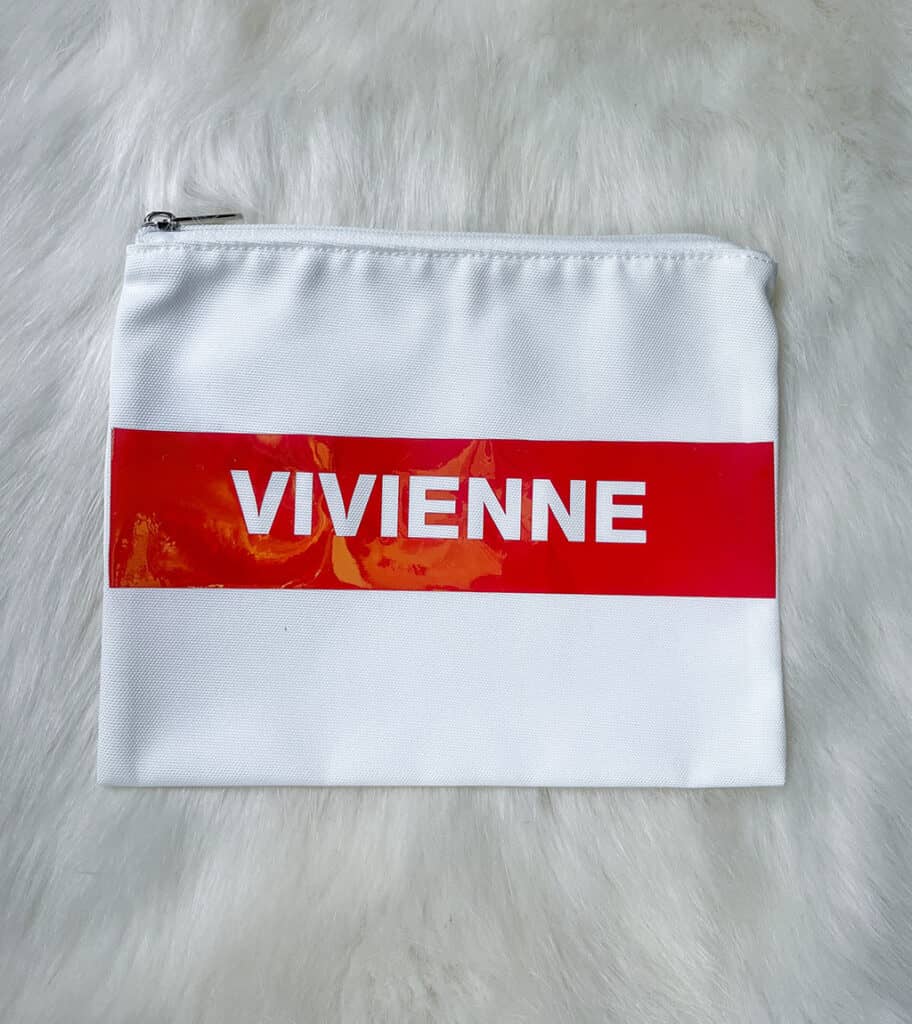
Adhere the holographic iron-on to the cosmetics bag.
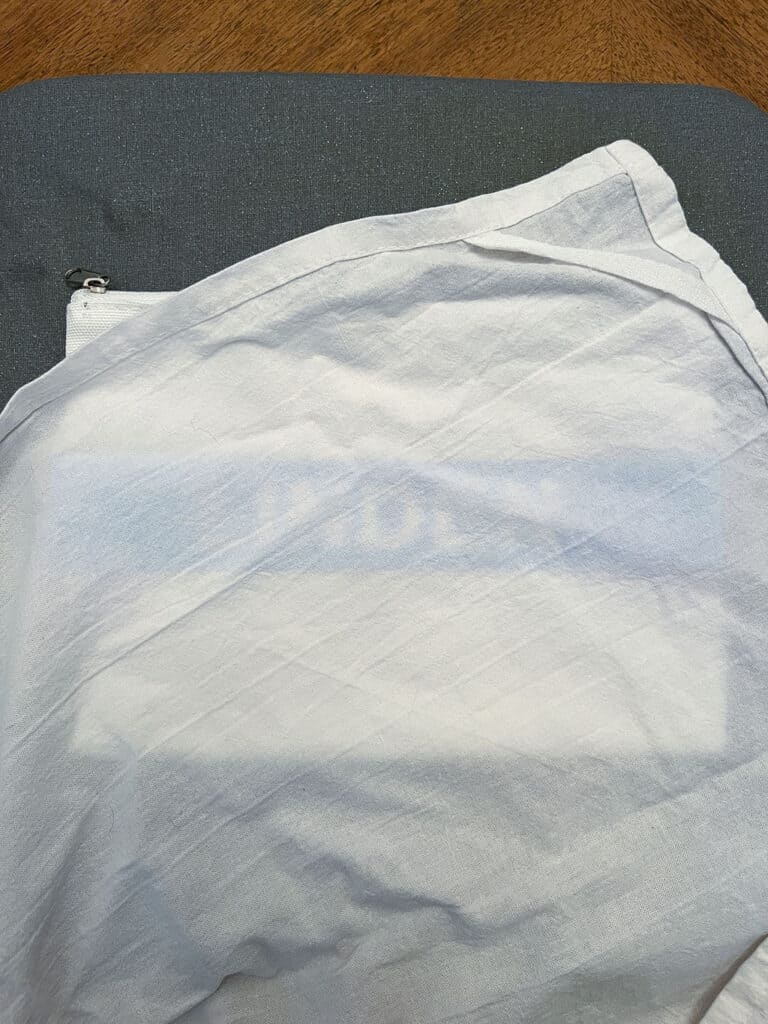
I warmed up my cosmetic bag blank for 5 seconds, then placed the material on the bag in my desired location.
I always use a simple tea towel on top of my iron-on design to protect the material, but Cricut also sells white, uncoated butcher paper that works well.
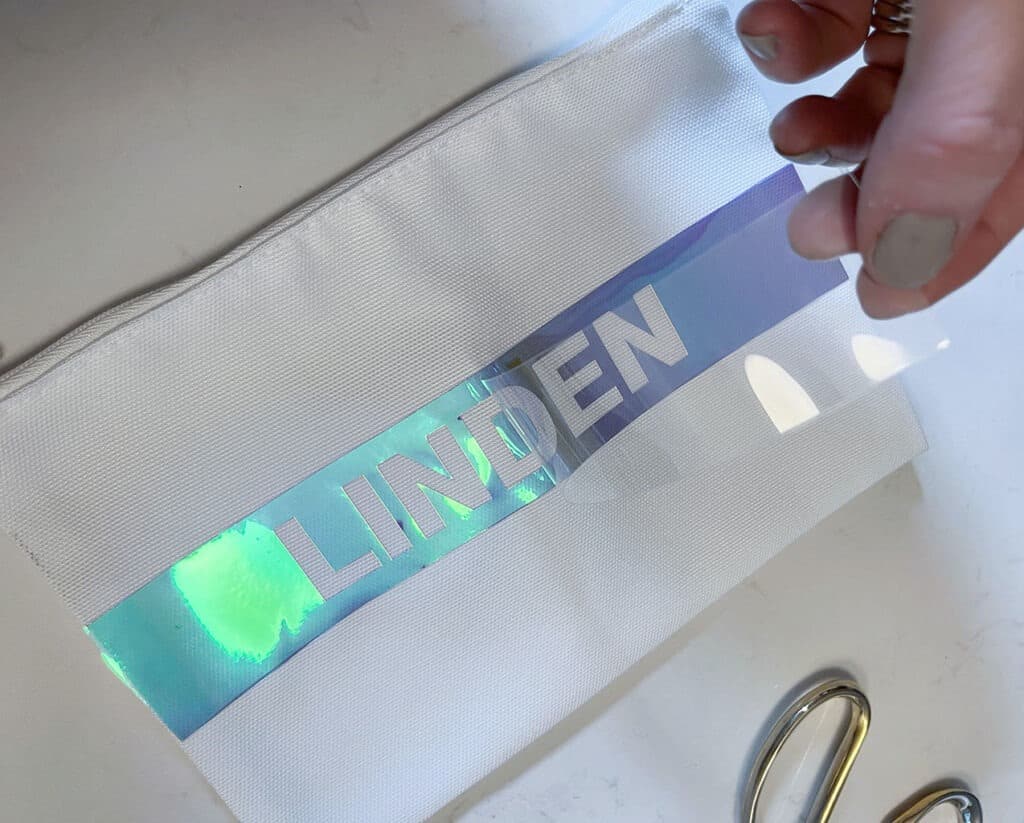
Once the iron-on was cool to the touch, I gently peeled away the top plastic layer, which revealed the beautiful final product – keep scrolling to the end to see!
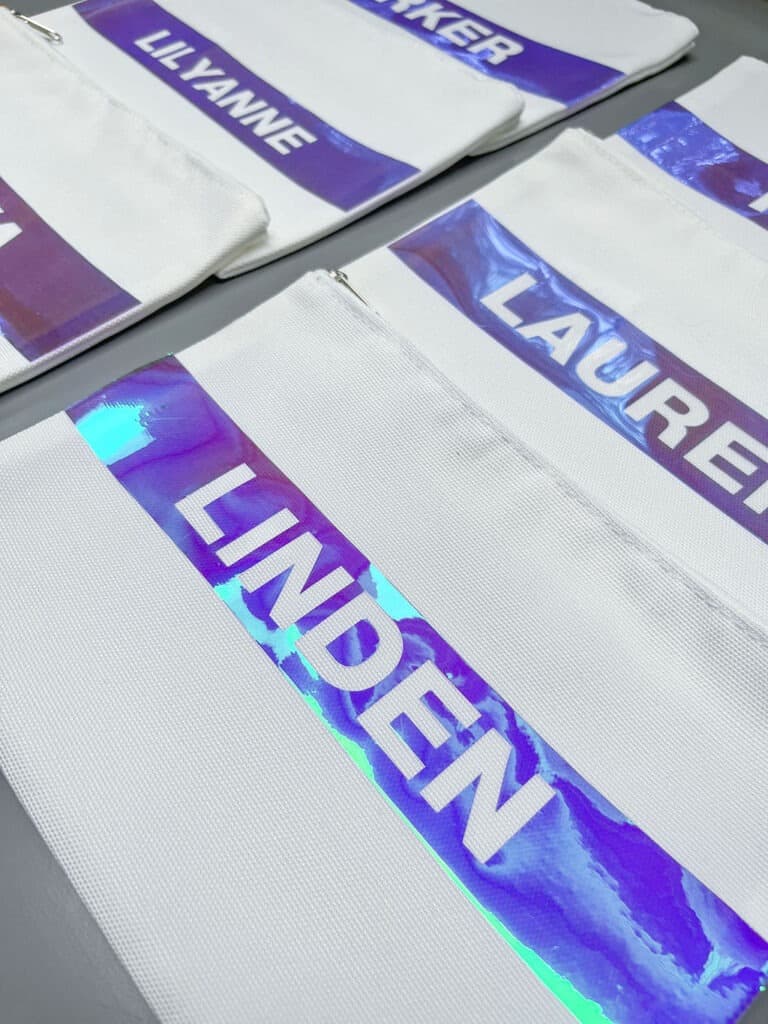
I repeated the exact same steps with all 6 cosmetic bags.
Then I decided to customize my daughter’s bag a little differently using a different shade of holographic Smart Iron-On vinyl in the color Dahlia.
I followed all the same steps listed above, but used a larger bag, so I adjusted my letter and material sizing accordingly.
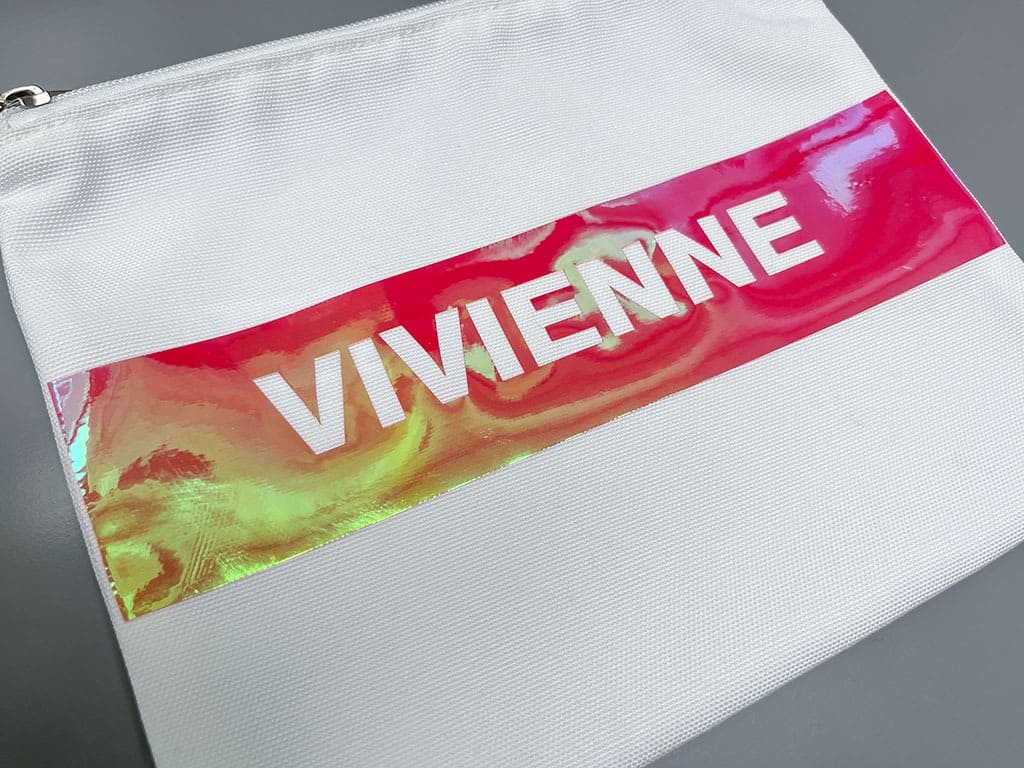
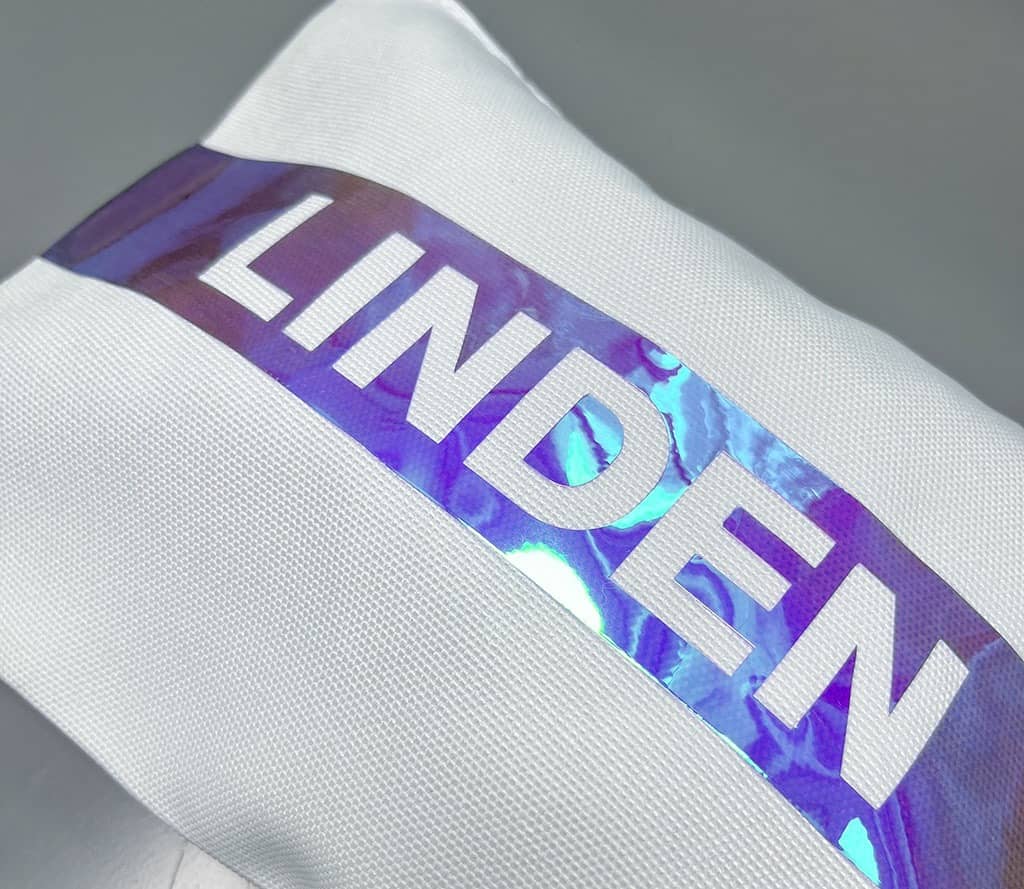
I think they turned out so cute — thanks to my favorite Cricut materials! I’m always so impressed by the quality.
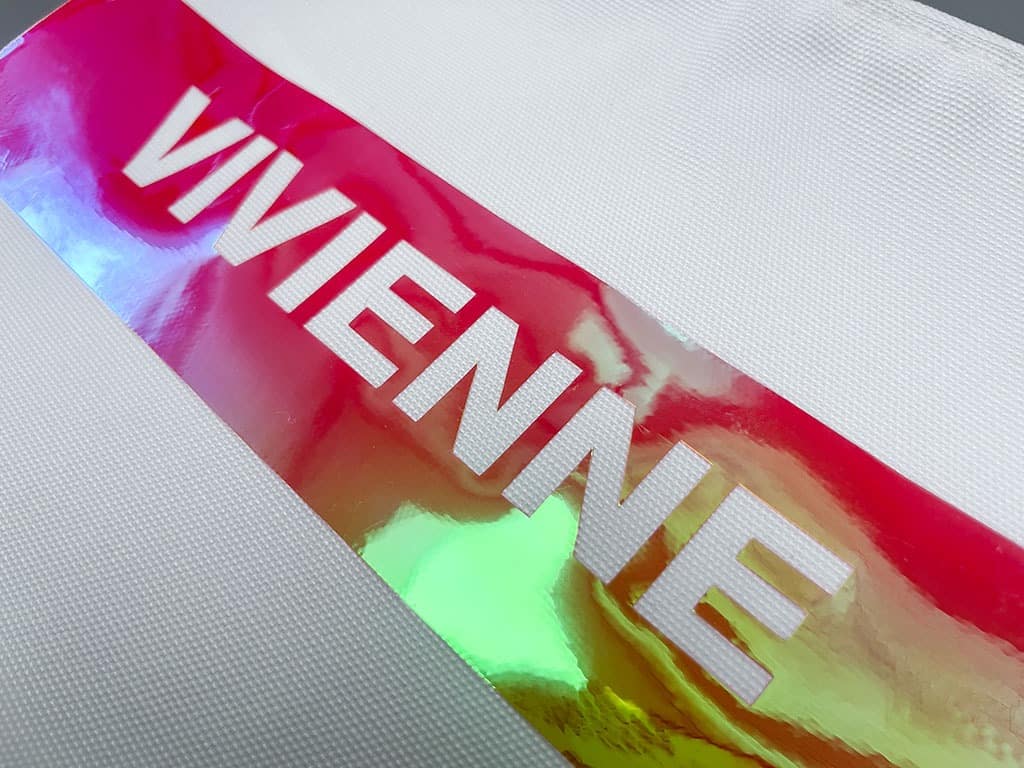
The holographic iron-on is seriously so cool — the color changes as you move it around in the light.

Here’s a closer look at the iron-on detail…
We’re going to fill them with some fun cosmetics closer to the party date. I hope the kids enjoy them as much as I enjoyed making them. 🙂

I highly recommend Cricut Materials. They’re always so user friendly and the best quality!
Pin this post for later
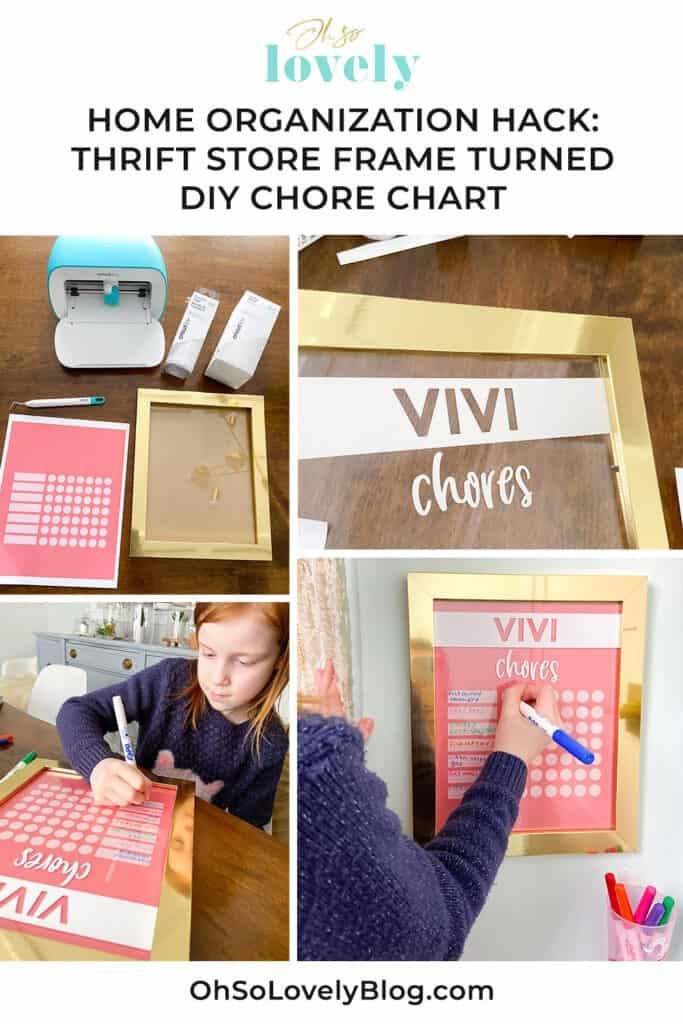
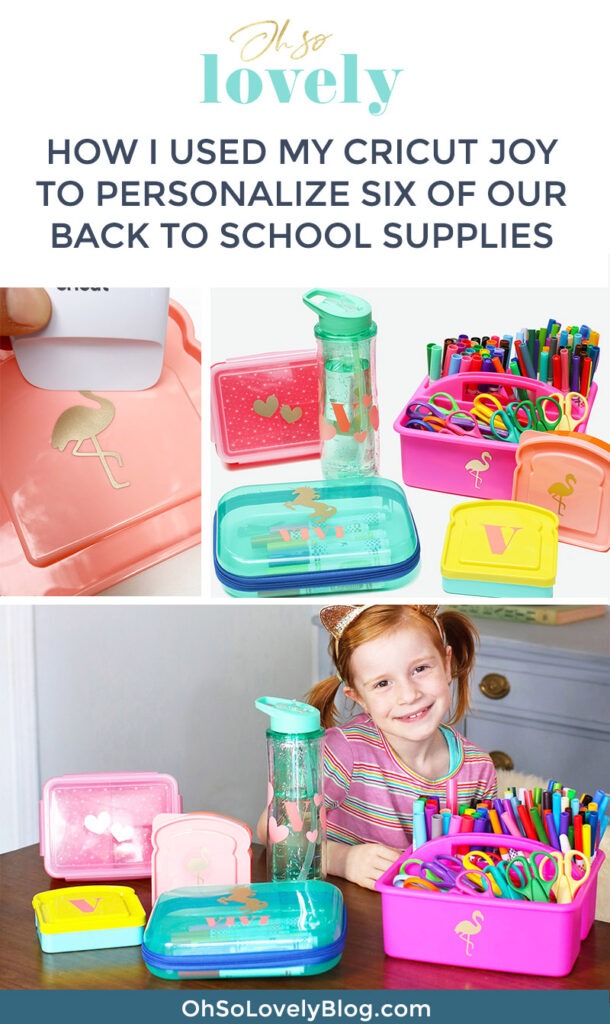
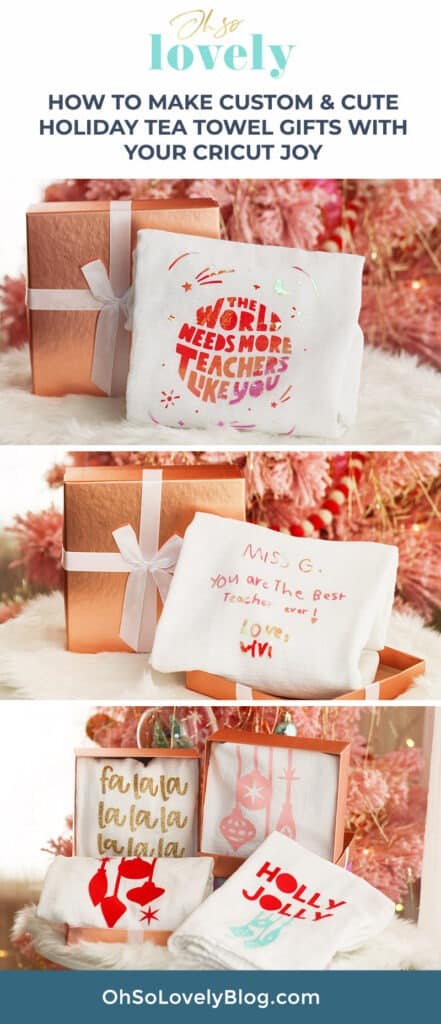
Check out some of my other Cricut projects!