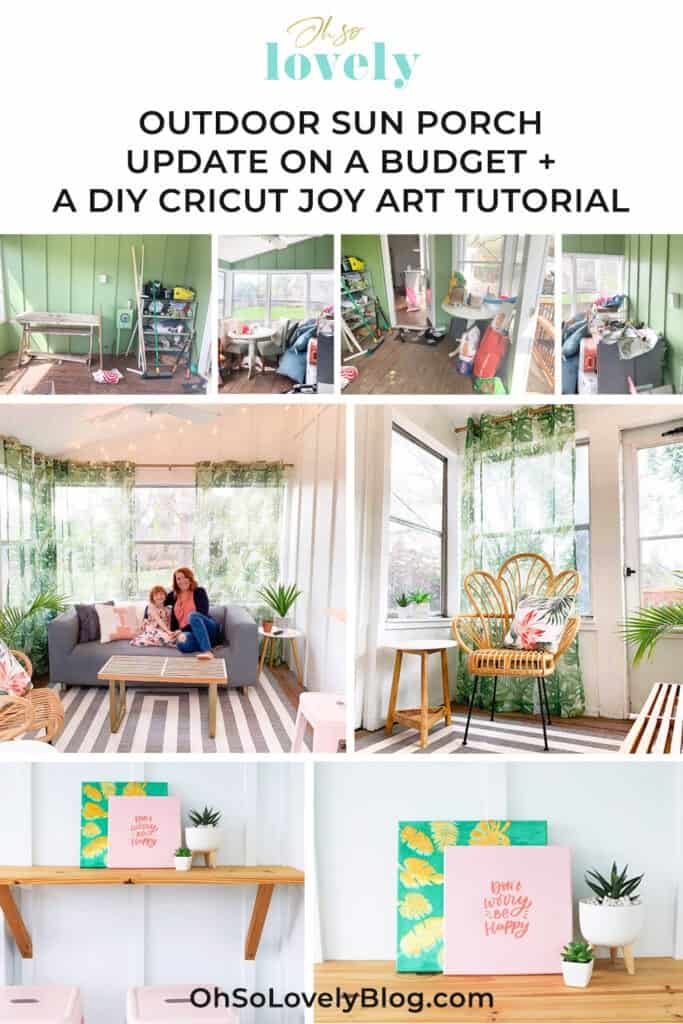
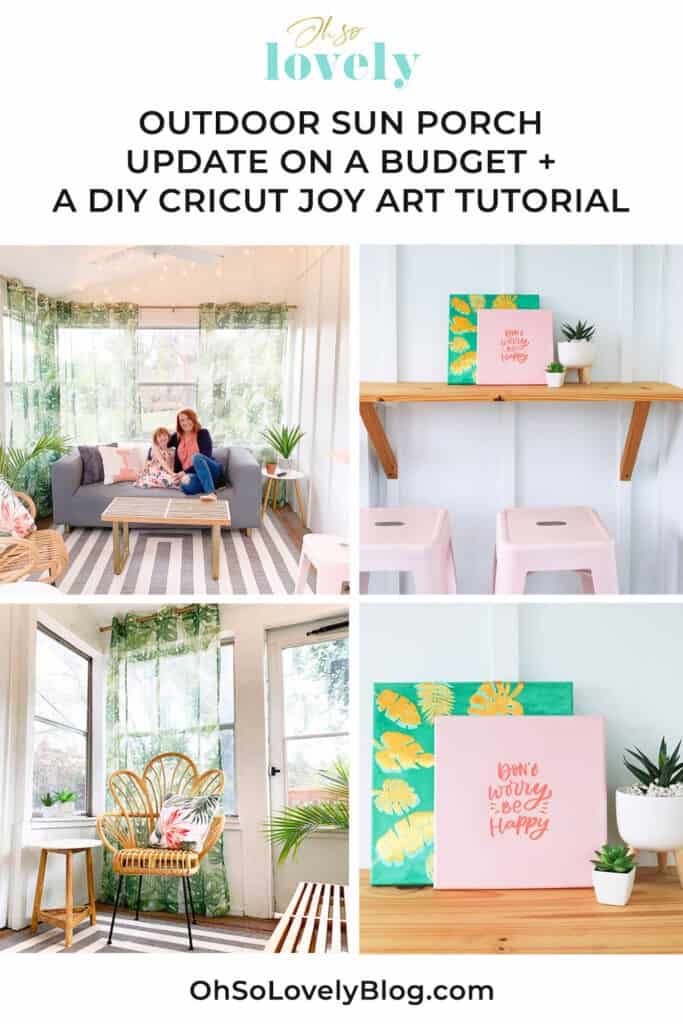
I recently updated our small sun porch on a small budget, and turned it into our own midwestern tropical oasis. As a finishing touch, I added some fun DIY art made with my Cricut Joy.
Scroll to the end to see the Cricut Joy tutorial, which injects some personality into the space.
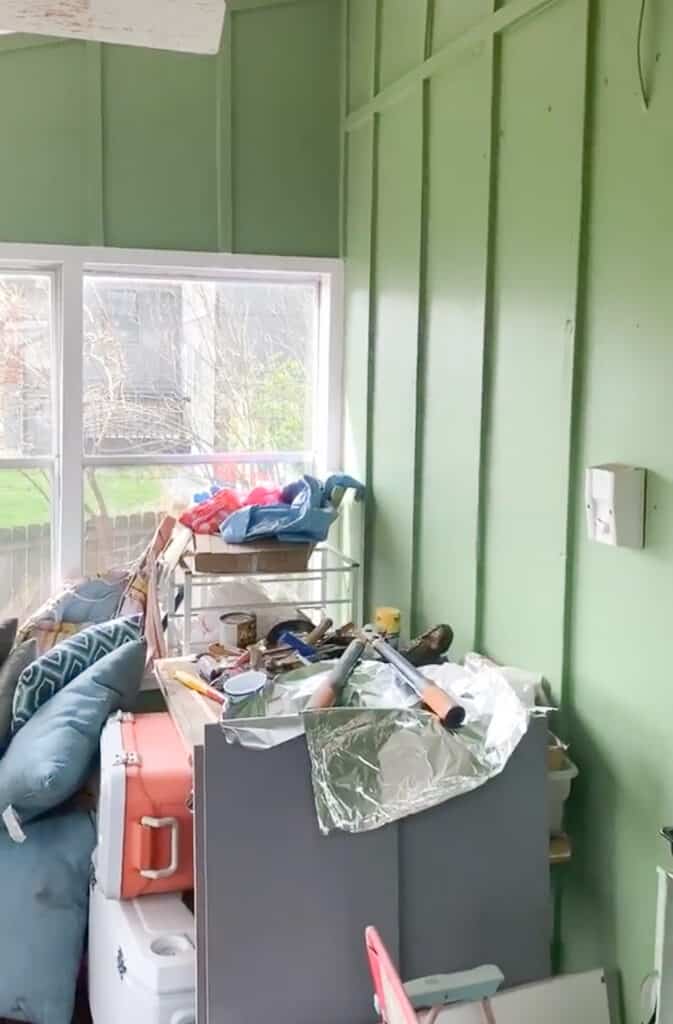
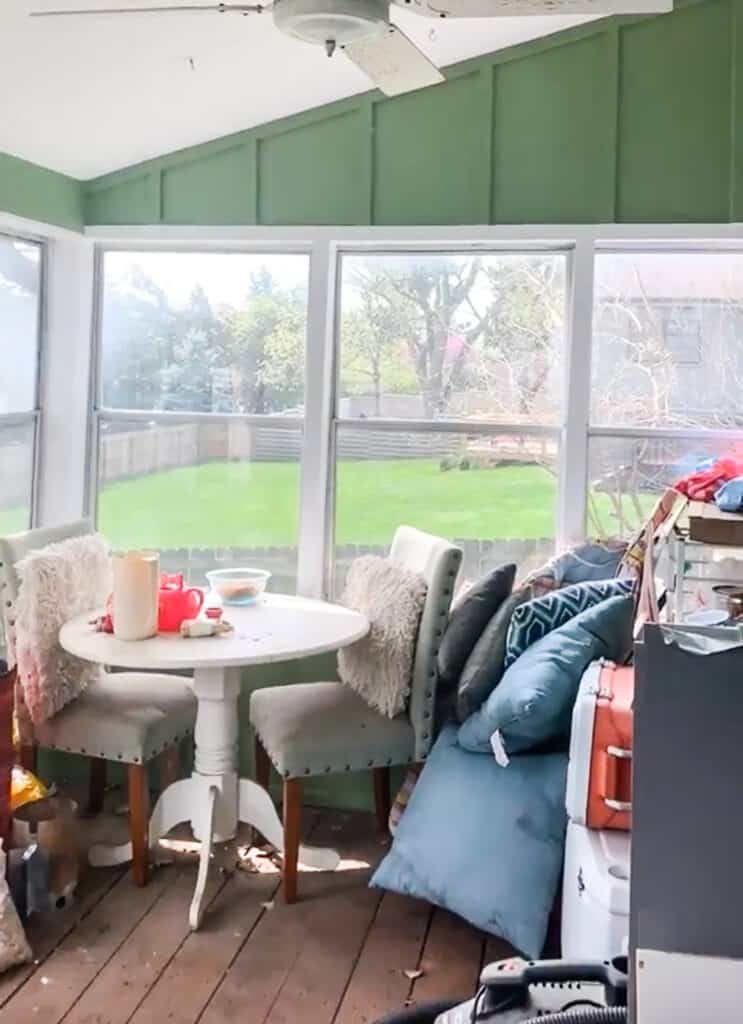
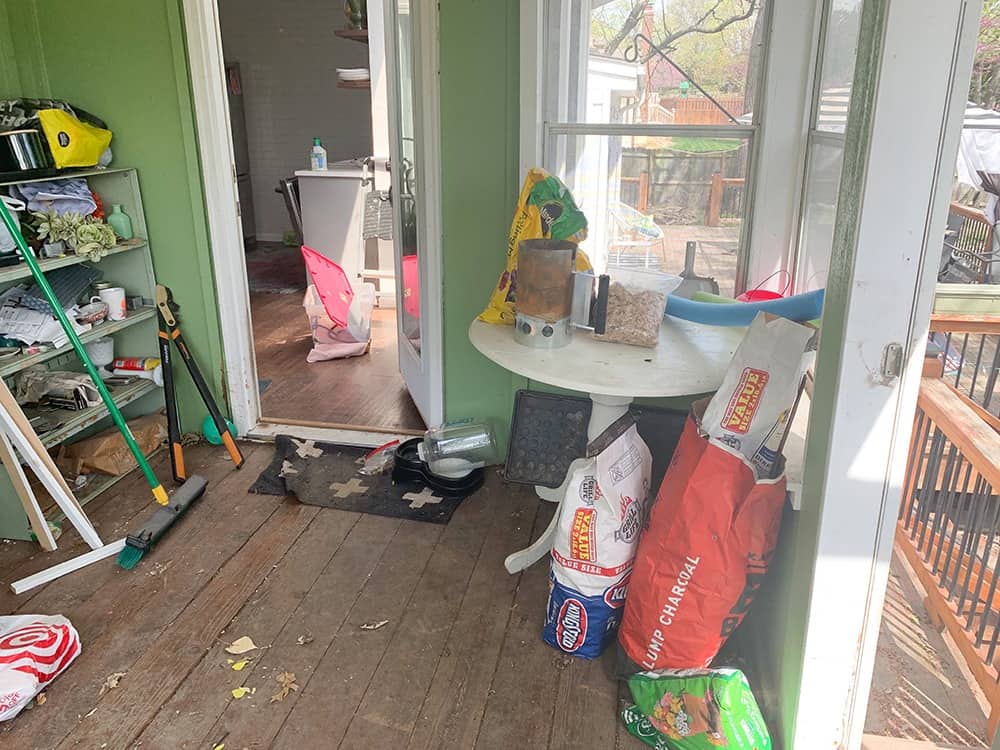
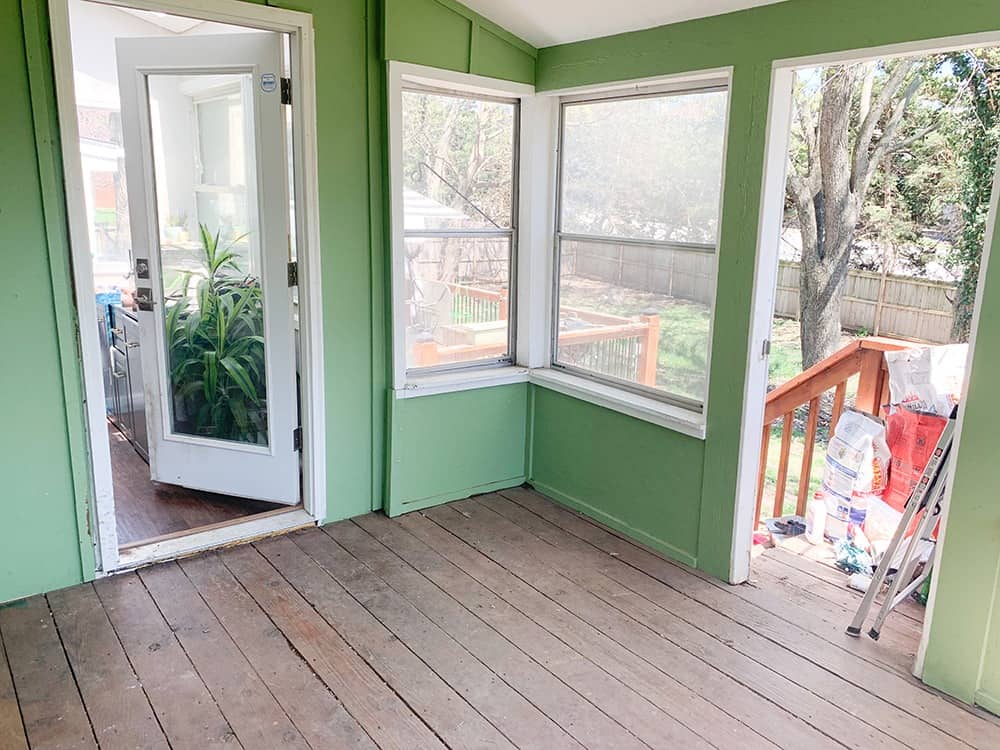
Prior to the affordable update, our sun porch was mainly used as a junk room — I hated looking at it. I hated even more it was a wasted space that was very under utilized.
One weekend I found the motivation to clear out the junk and reimagine the space.
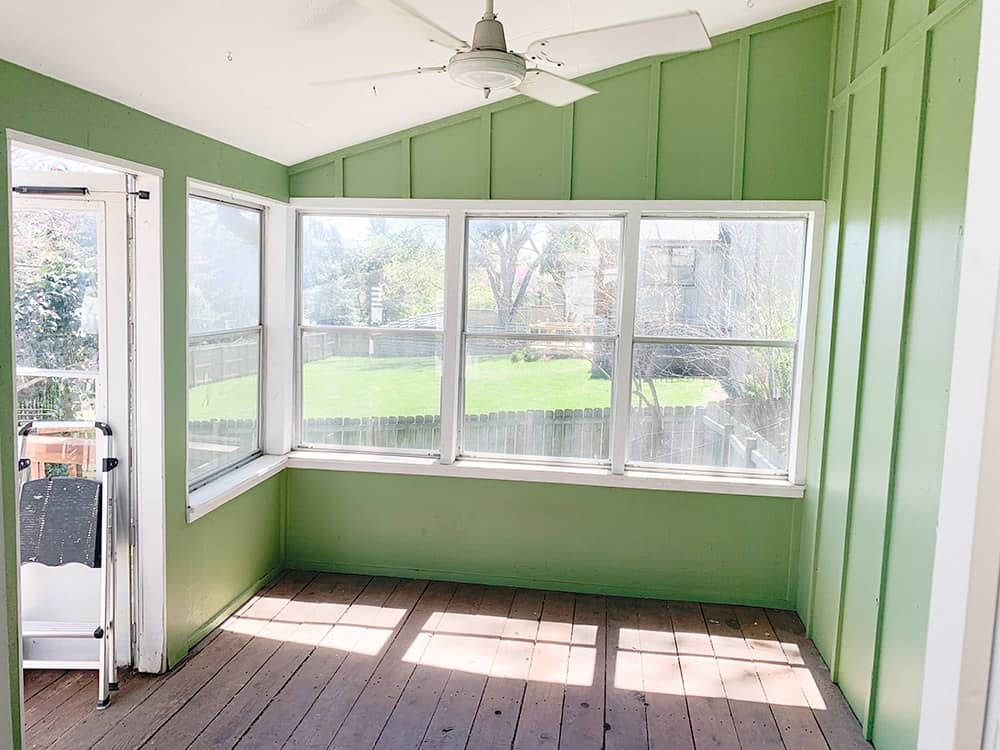
Take a look at the before photos. It was filled with random junk and unused furniture and painted a bright green color — I knew I would immediately change the wall color.


I cleaned up the sun room and sold all the furniture on Marketplace – I was excited for a clean slate!
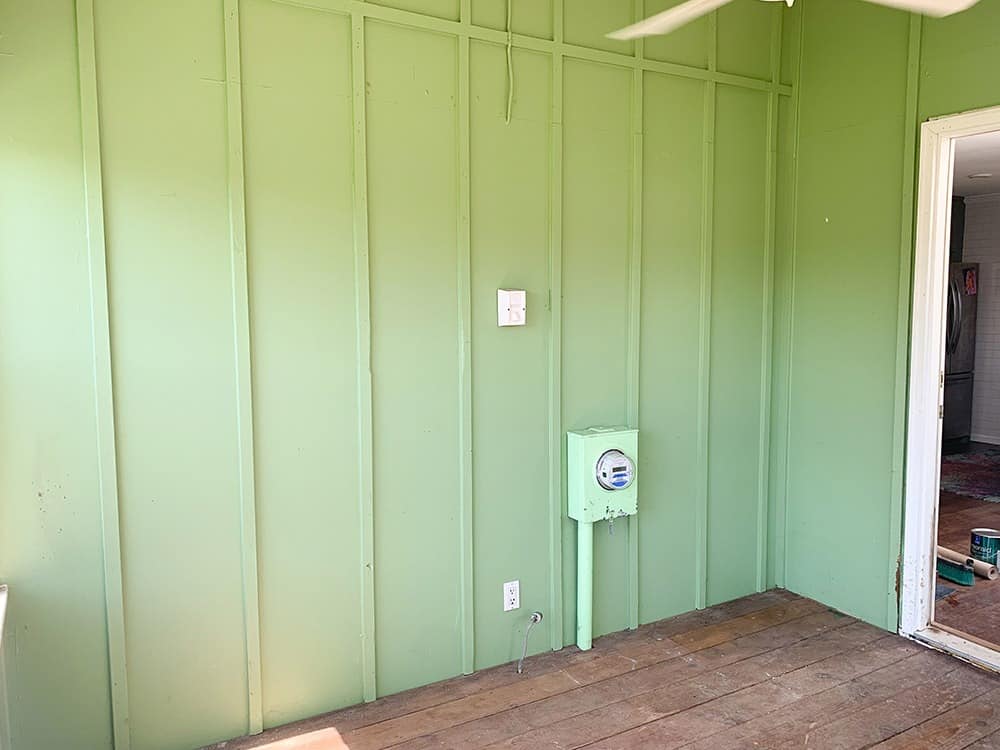
After I gave the room a good wipe down, it was time to start prepping, then painting. My kiddo wanted to help and actually did quite a bit of the work, ha!
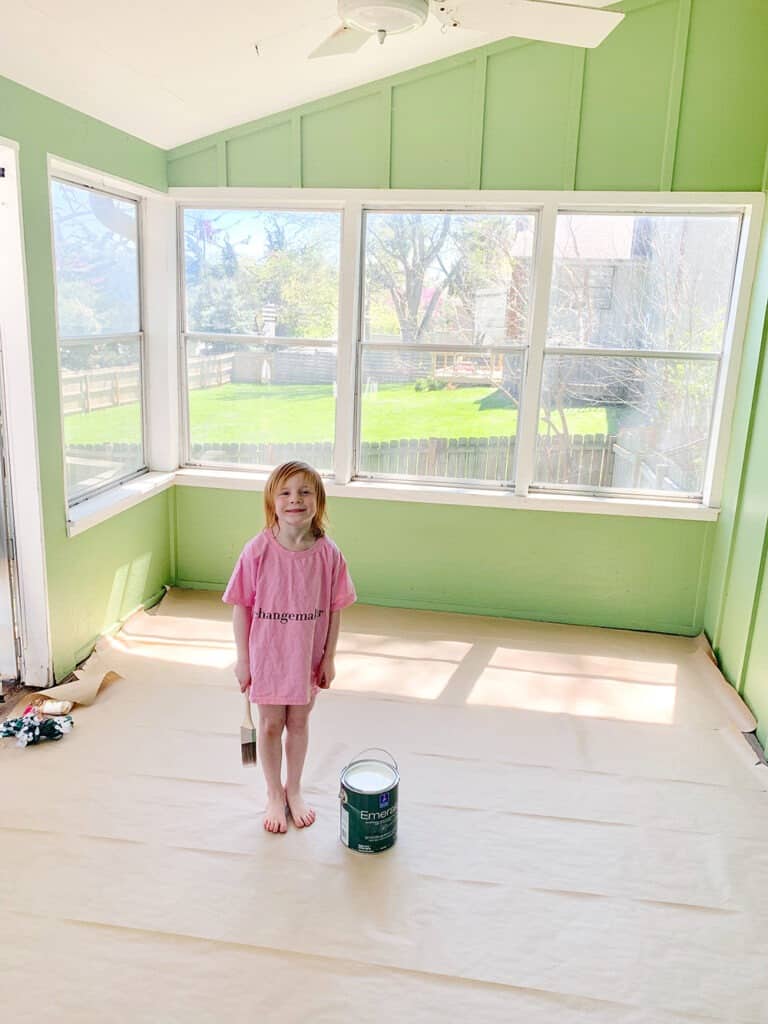
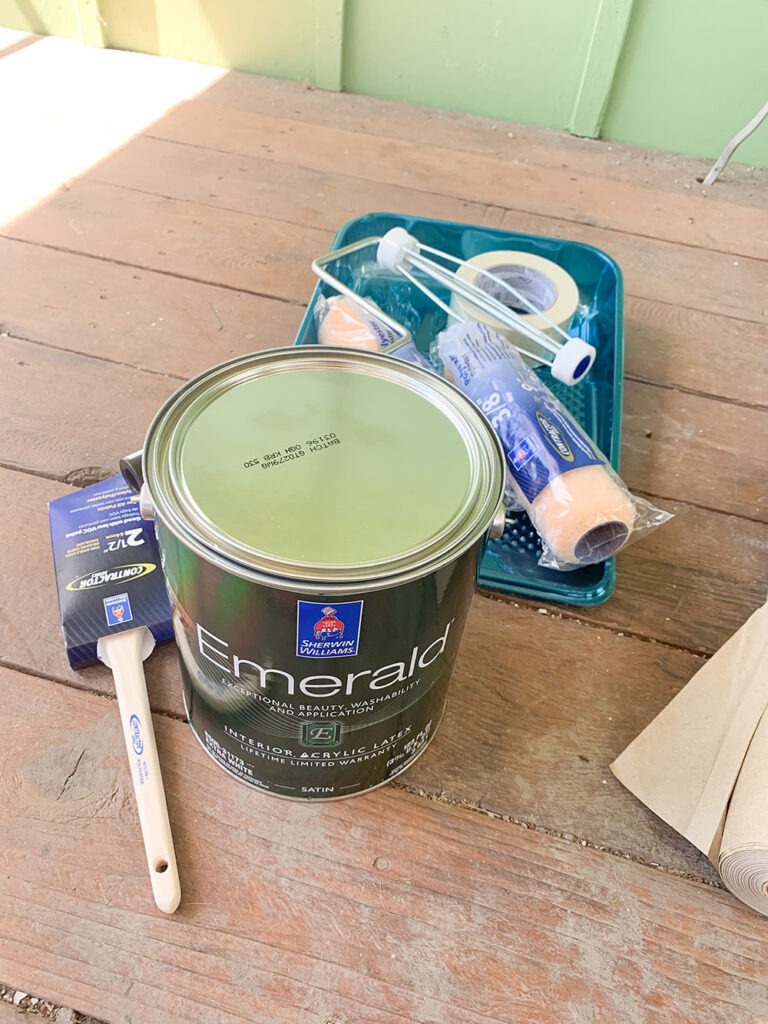
We used a high quality Emerald paint from Sherwin Williams (with primer added) in basic white to match our current window trim.
I know it’s a no-no to use white straight from the can, but I liked how much it brightened the room and blended with the ceiling. 🙂
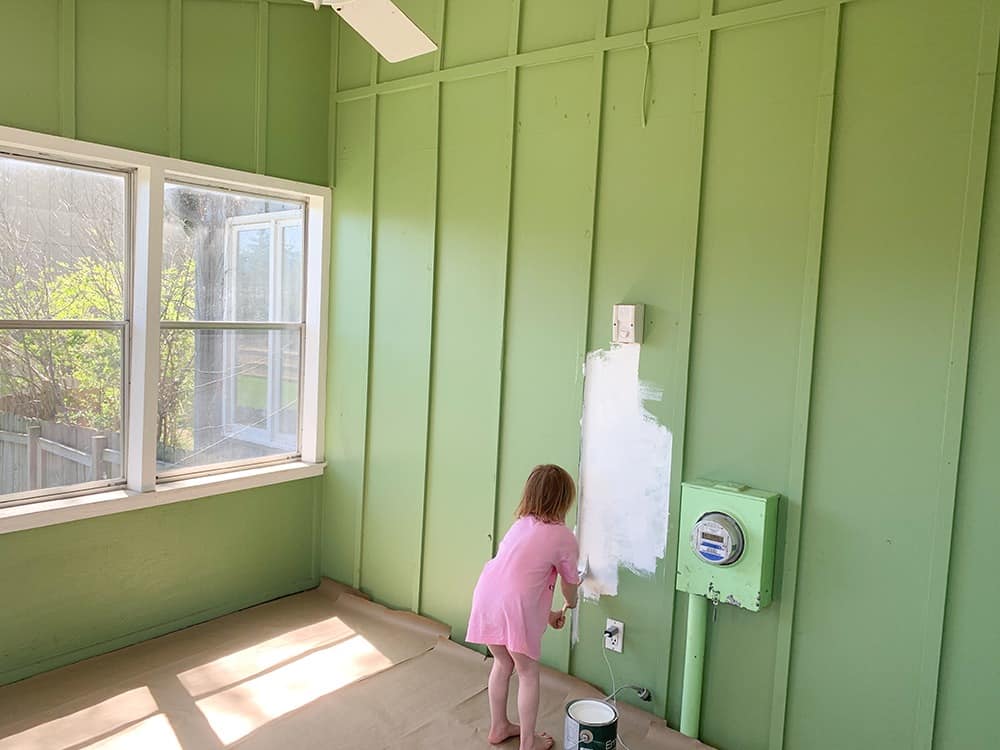
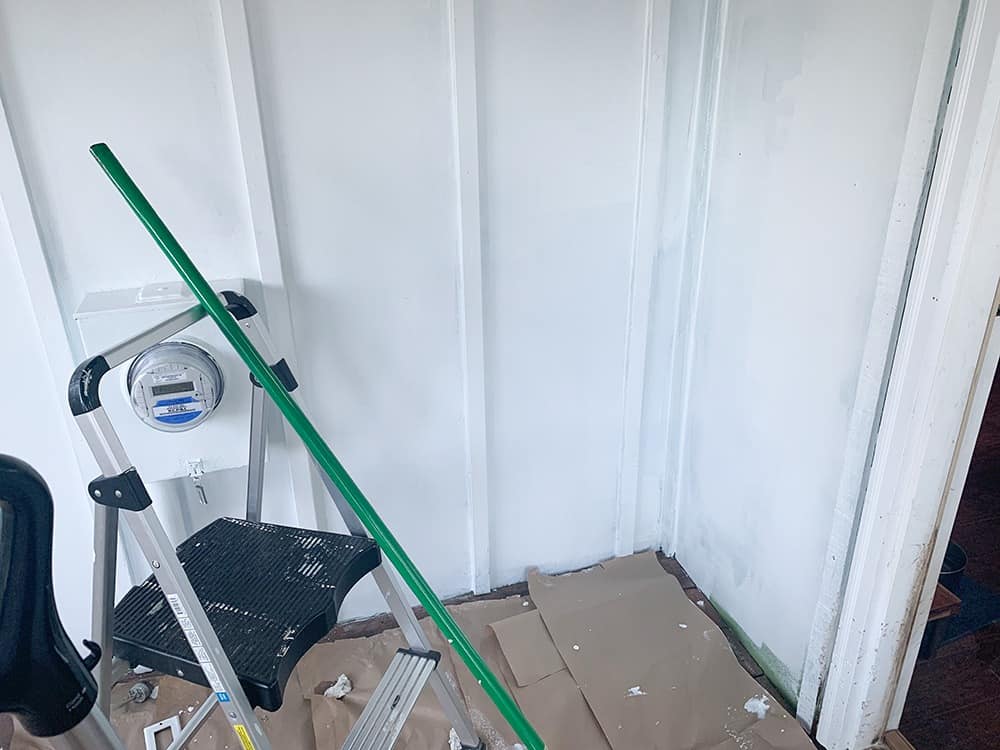
It took us two days to paint two coats, and I was so happy with how much brighter the sun porch space felt.
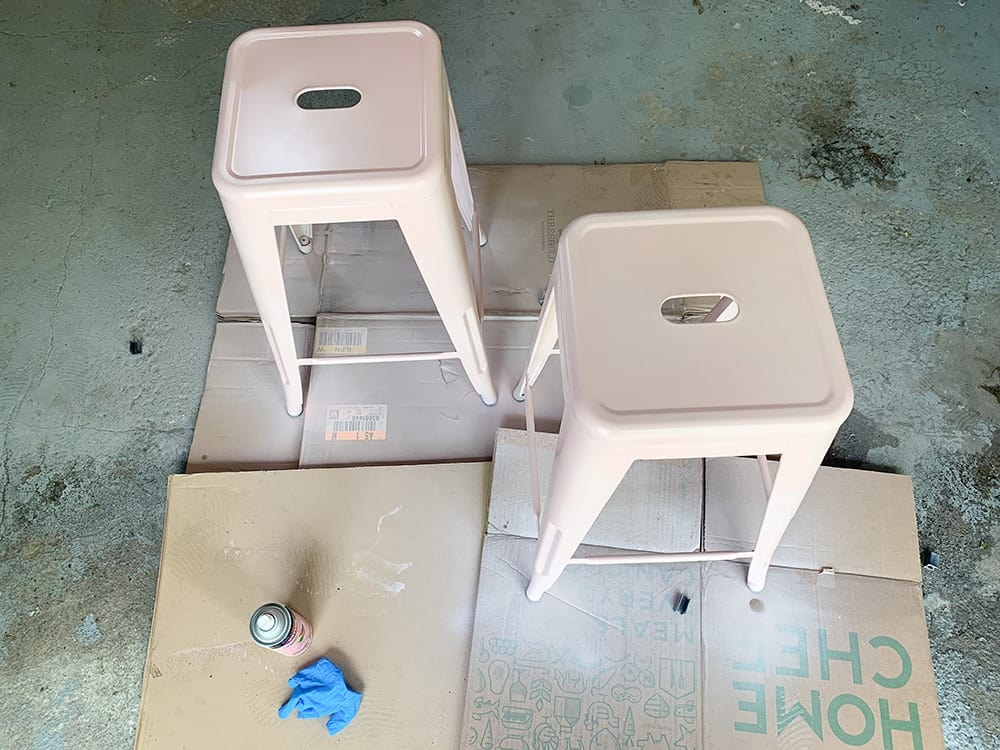
Once the wall paint dried, it was time to paint our white metal barstools a light pink shade.
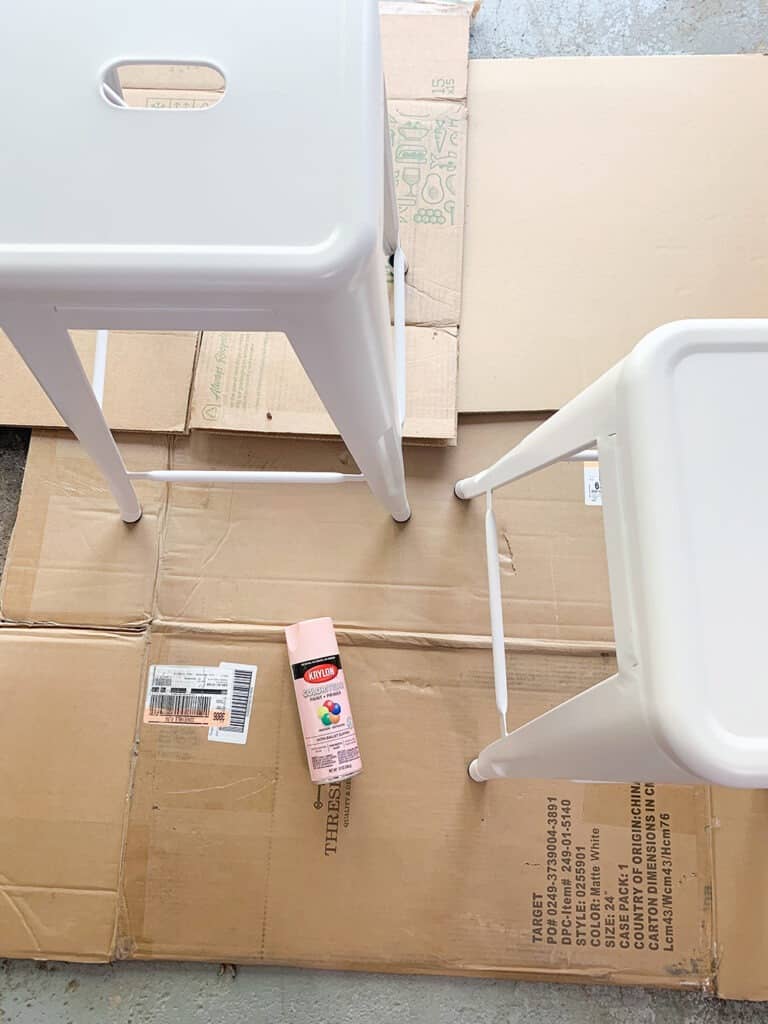
This light pink color was a big stretch for me, but I felt the room needed a couple slight pops of color.
Next up, it was time to style the room – my very favorite part!
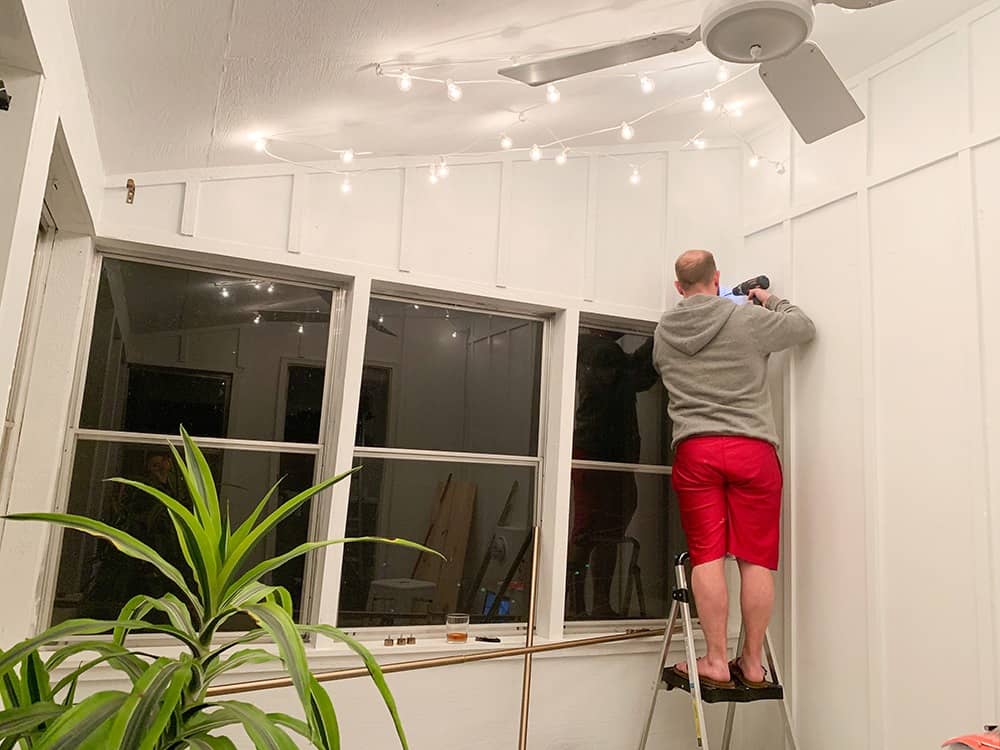
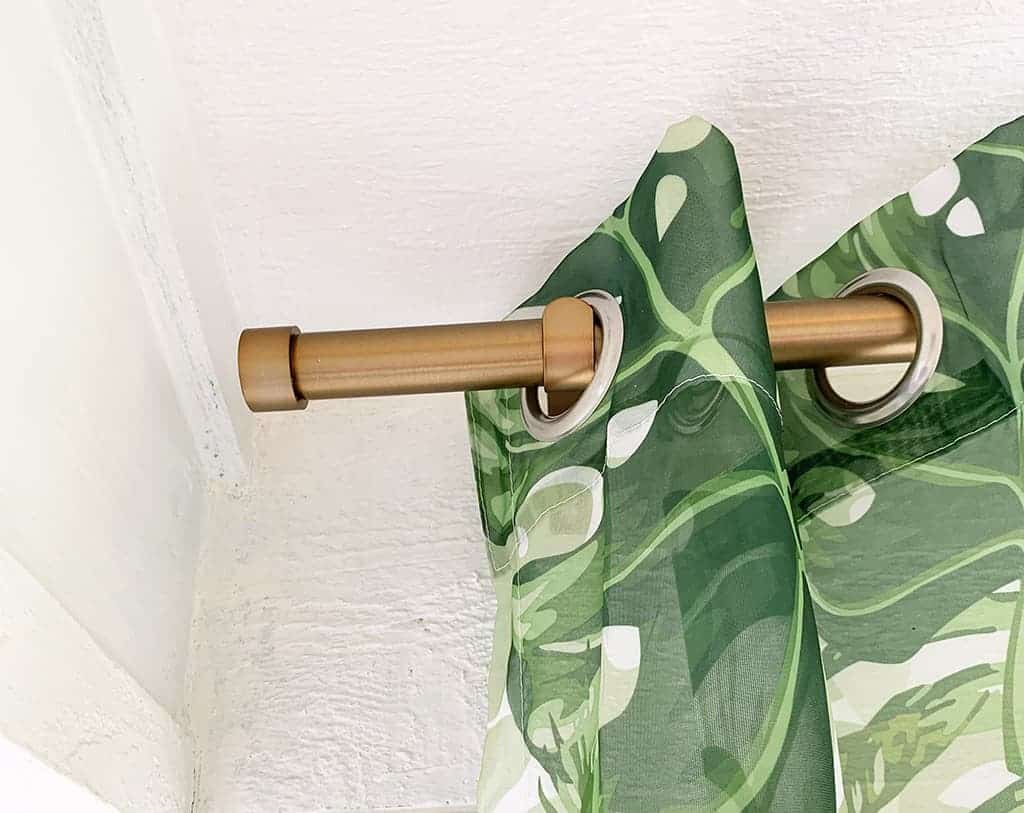
Ted helped me hang two long brushed brass curtain rods over each set of windows.
The curtains
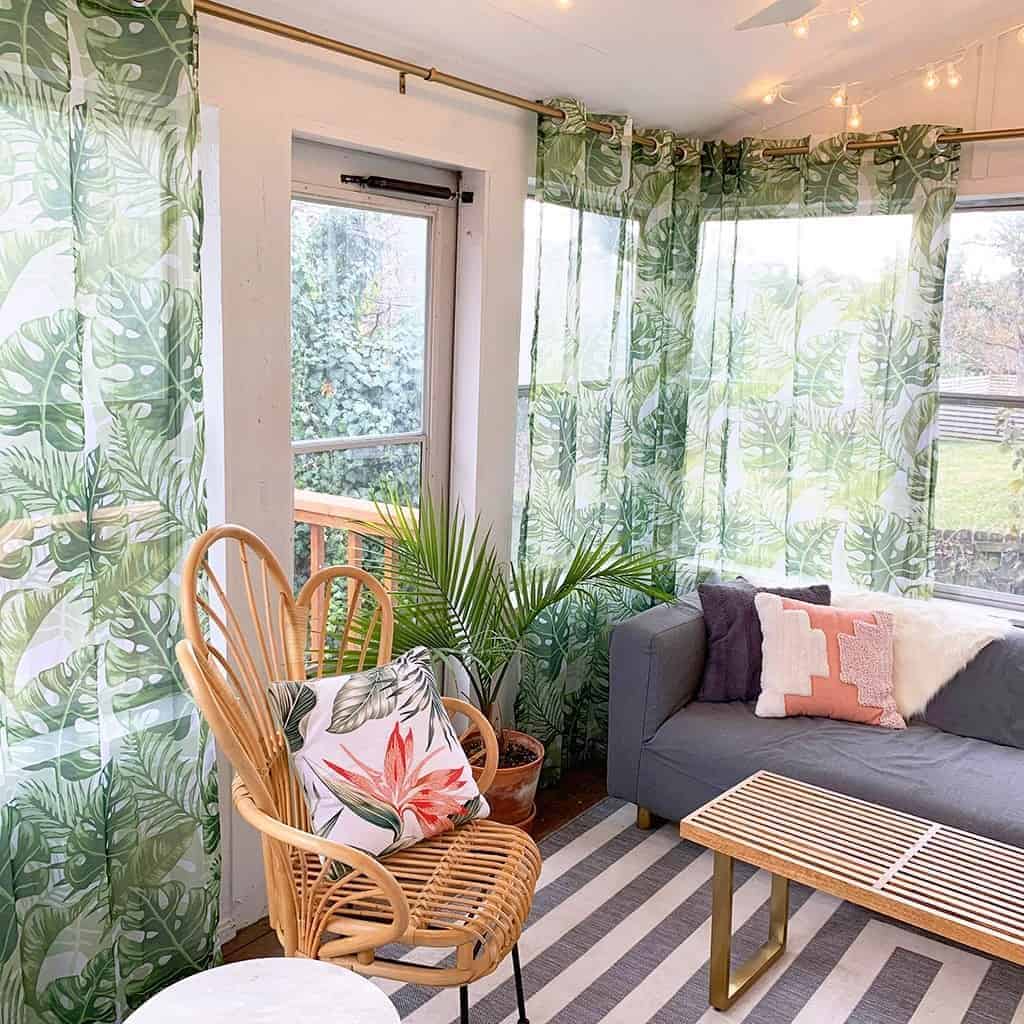
Then I added four beautiful semi-sheer palm leaf curtain panels to the rods. I am so in love with these curtains! They sell out quickly, but here is a similar curtain option.
Next, I added a 7′ x 10′ striped indoor/outdoor rug from Target. I really love the look and quality of this rug, and it vacuums very well – even dirty dog prints. 🙂
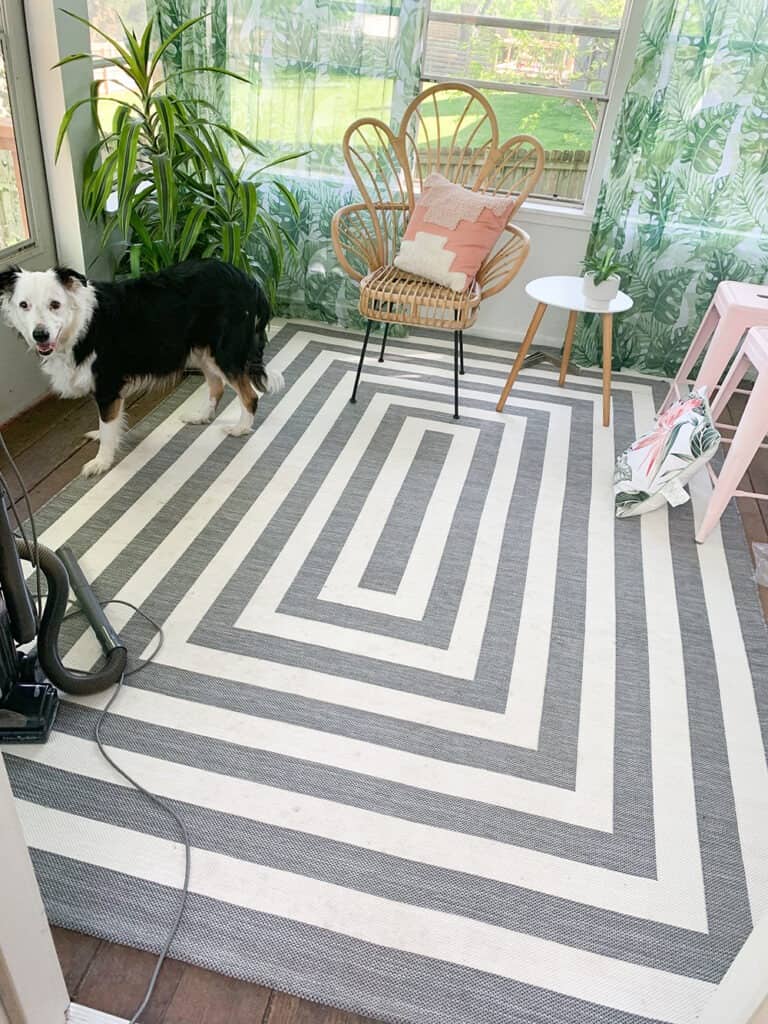
Next, I added a wicker chair, tropical (similar) and geometric (similar) pillow, a faux sheepskin rug, our 15 year old slipcovered couch from IKEA, and some other accessories recycled from other parts of our house.
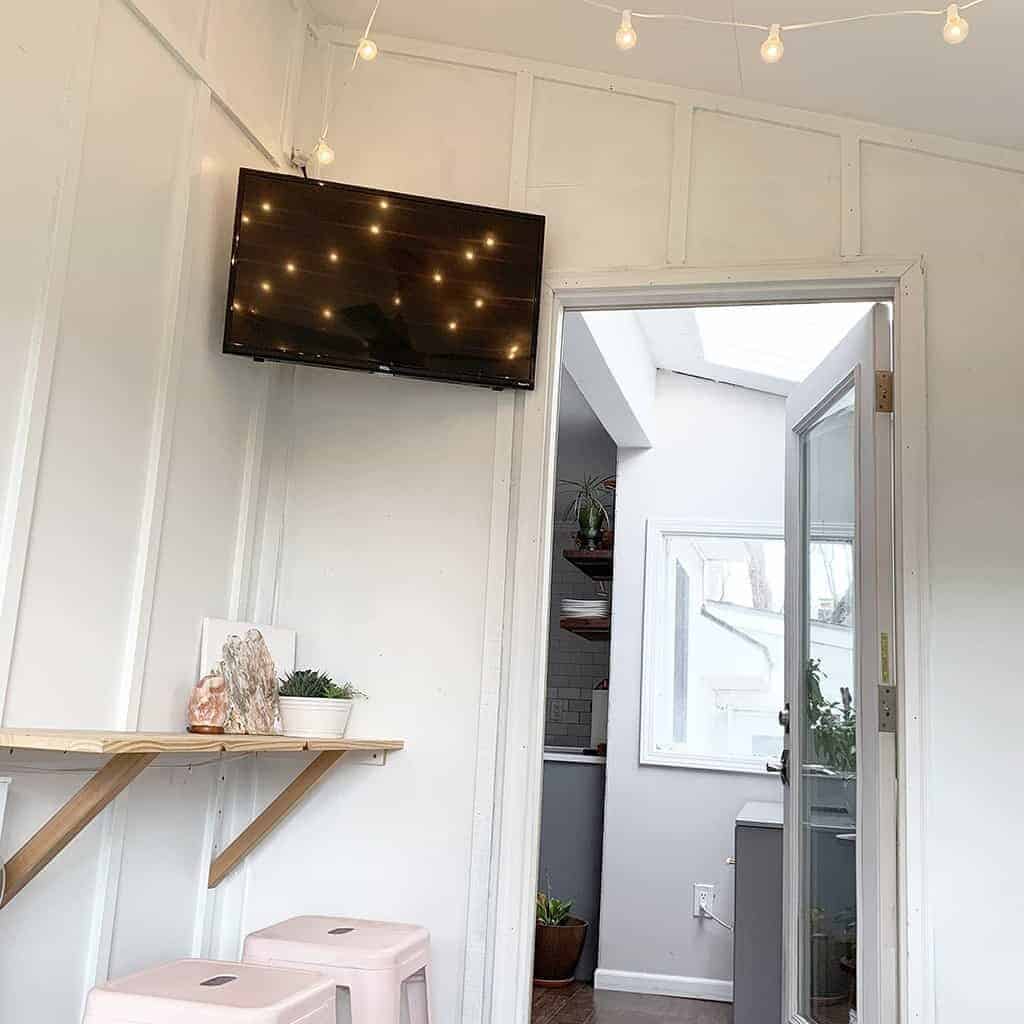
I also added strand of white deck lights to the ceiling using the hooks that were already installed in the ceiling, and I love the glow they bring to the room.
My only splurge for the space was this beautiful wicker chair ($150). I adore it and can’t believe there are still some available!
The coffee table was from Target about 5 years ago and is no longer available, but I found a similar option here.
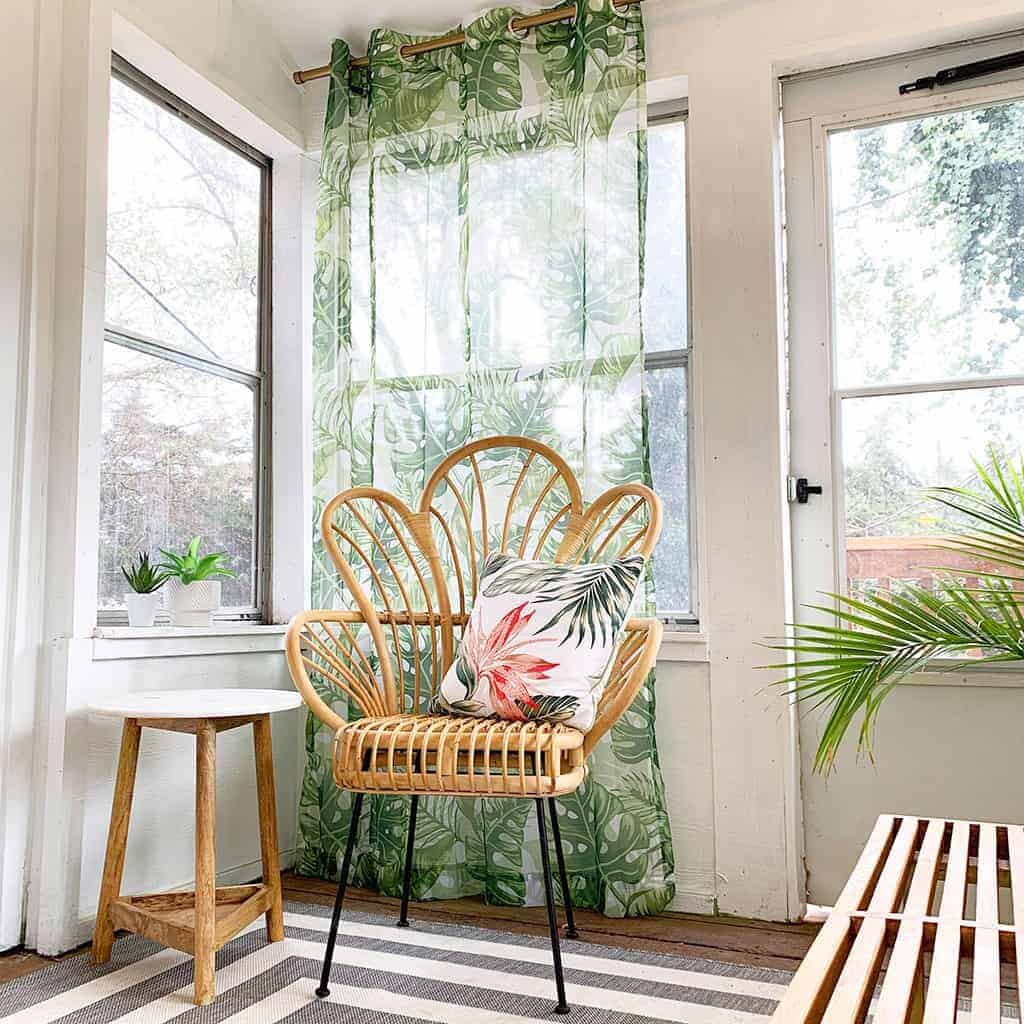
I repurposed the marble side table from our primary bathroom remodel and added in some real and faux plants.
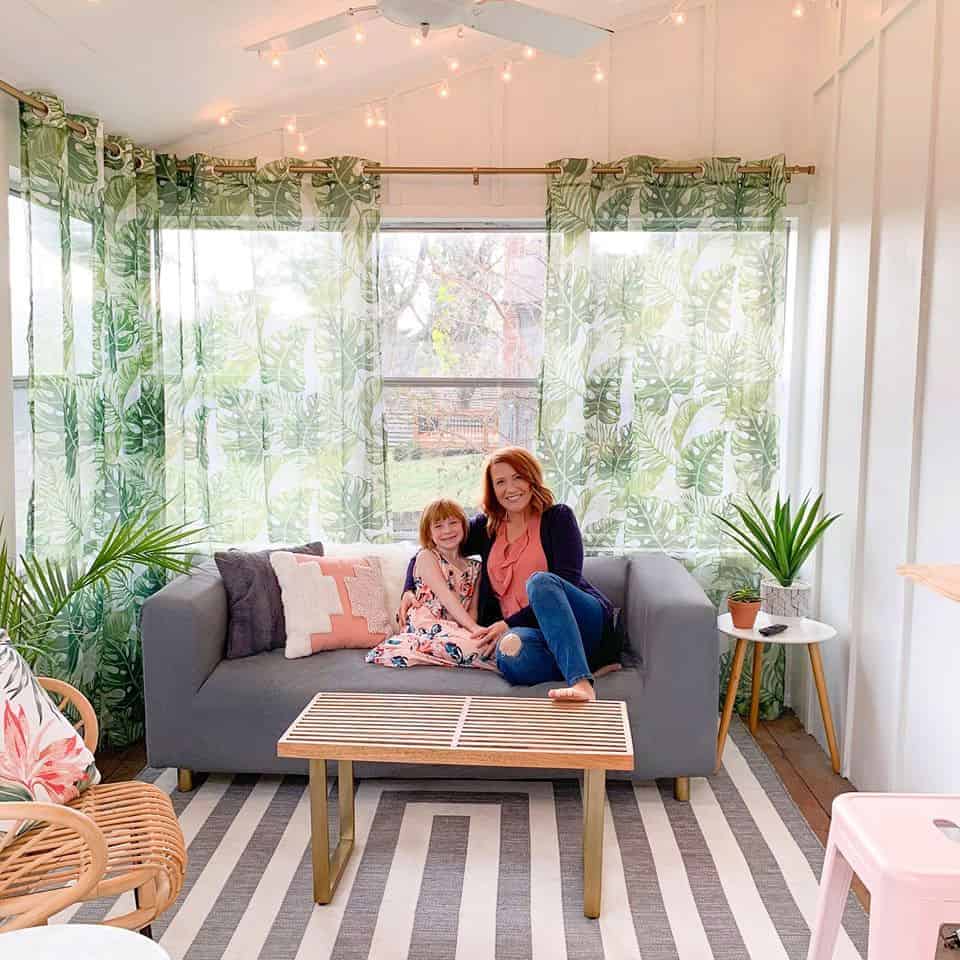
This is my favorite view of the room, and I absolutely love how this space turned out – we spend so much time in here as a family!
The sun porch TV and bar area
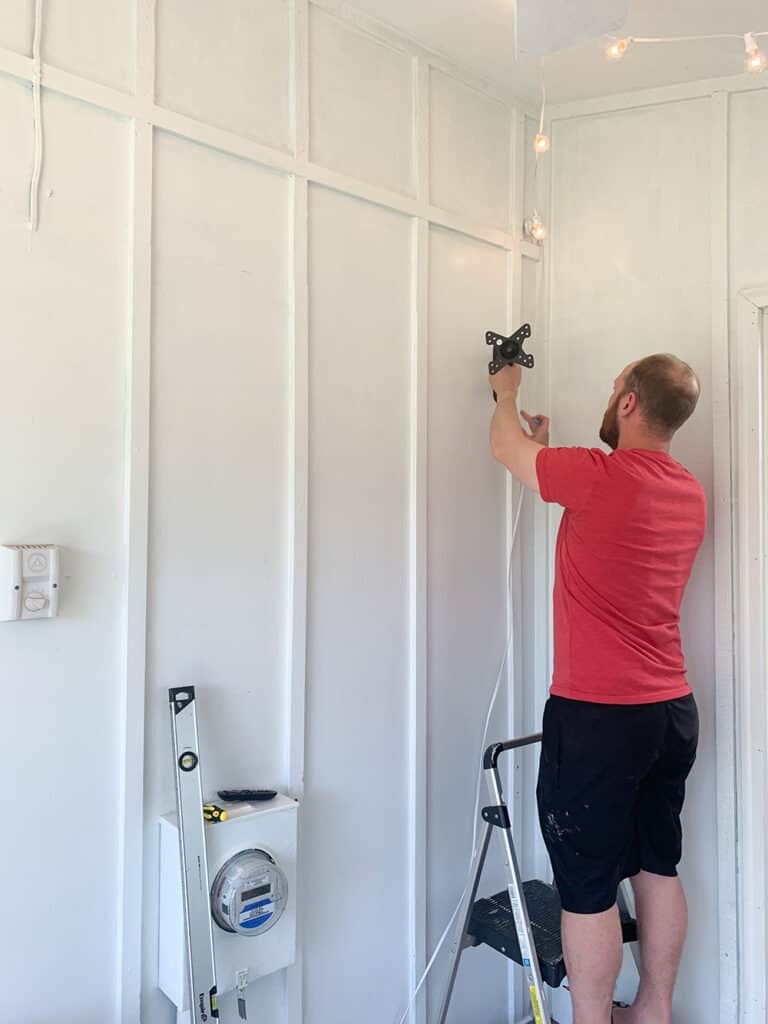
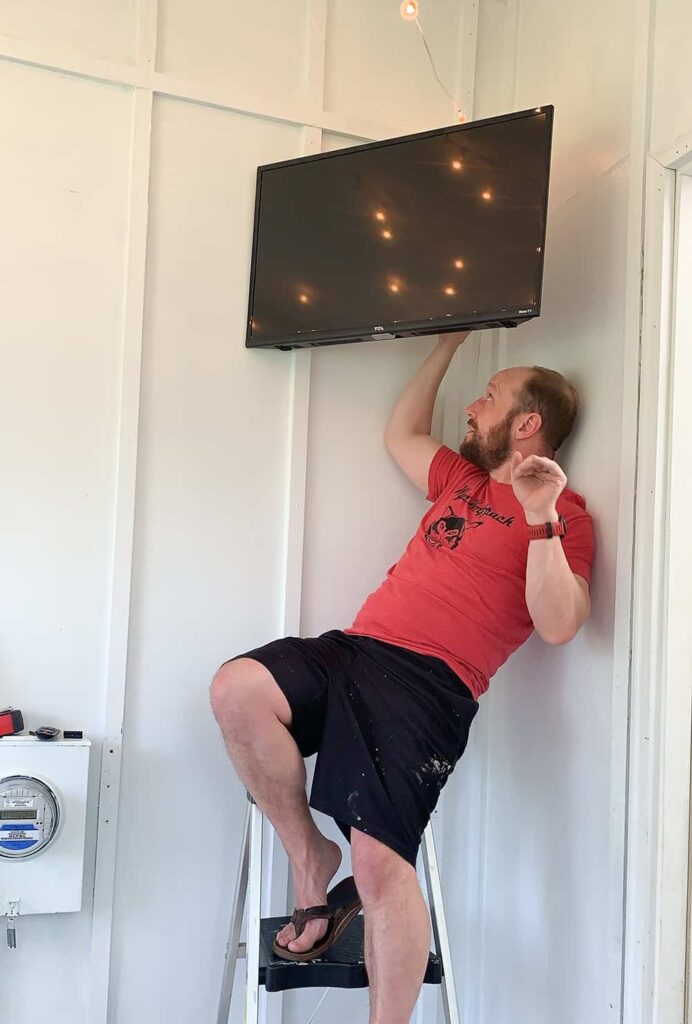
Ted mounted a very affordable TV we got on clearance on the wall – we use it to watch our Roku apps and listen to music.
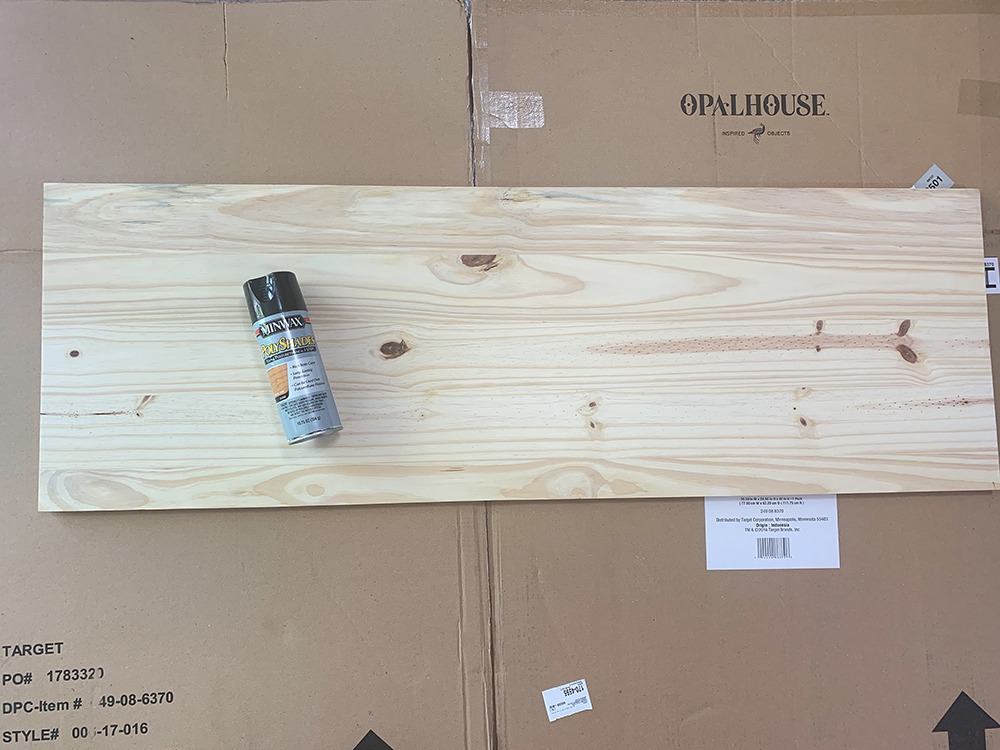
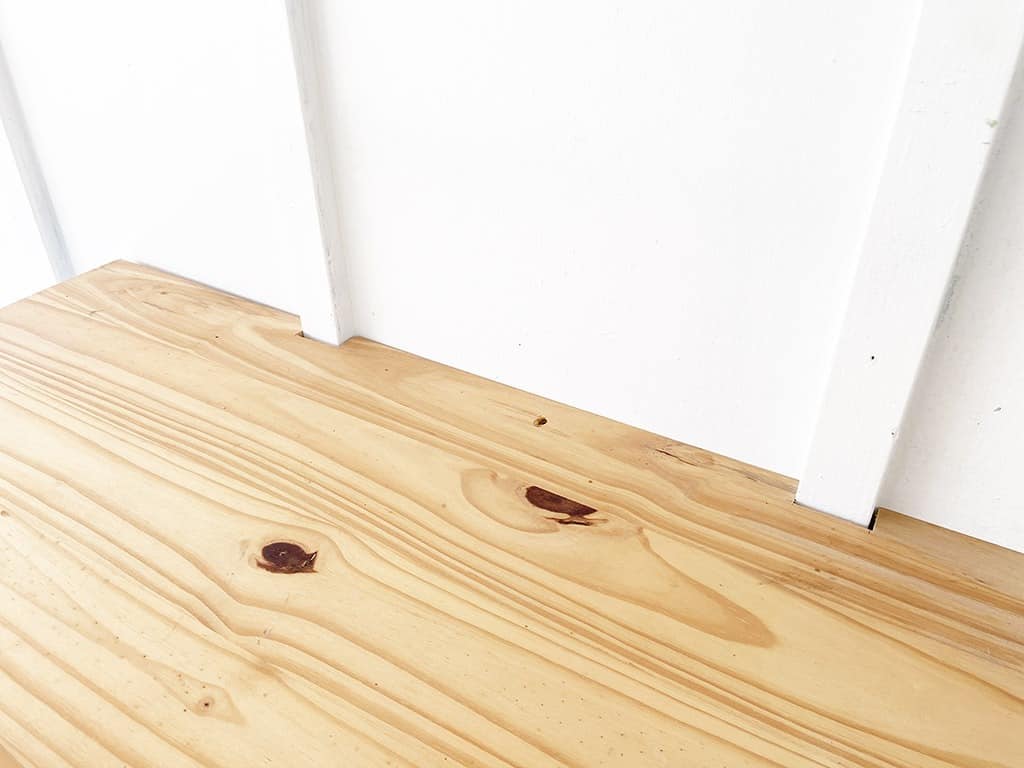
And finally, we wanted a small bar area, so Ted built us a very affordable bar top out of one sheet of pine that I spray stained.
He used some extra pieces of wood leftover from other home projects and created some cleats to attach to the wall for the table top to rest on.

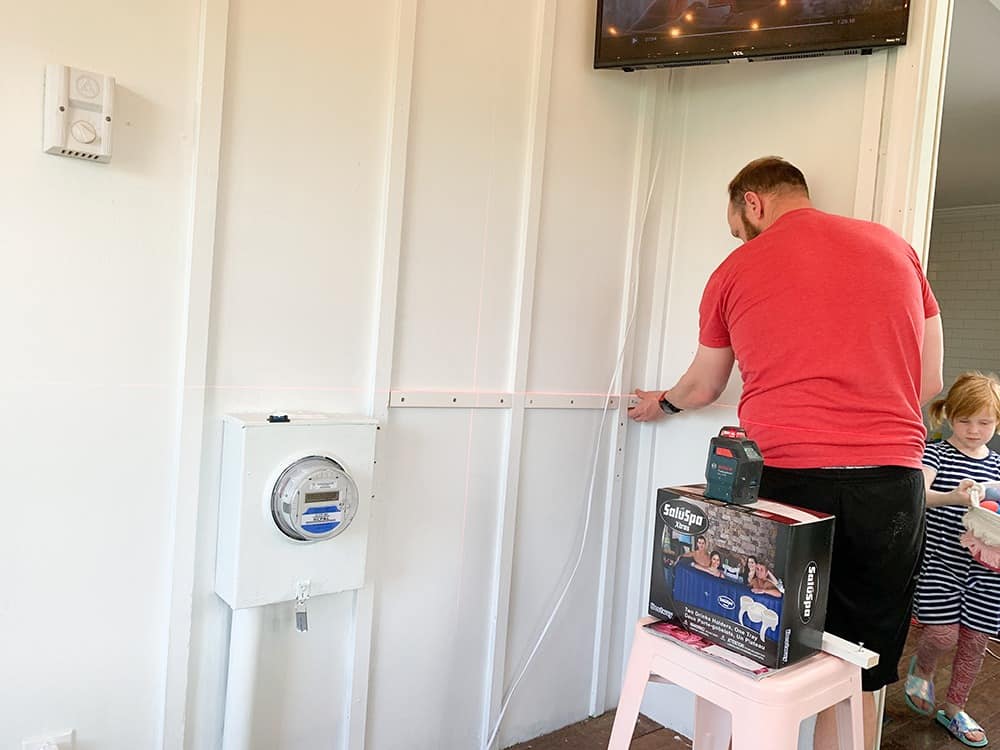
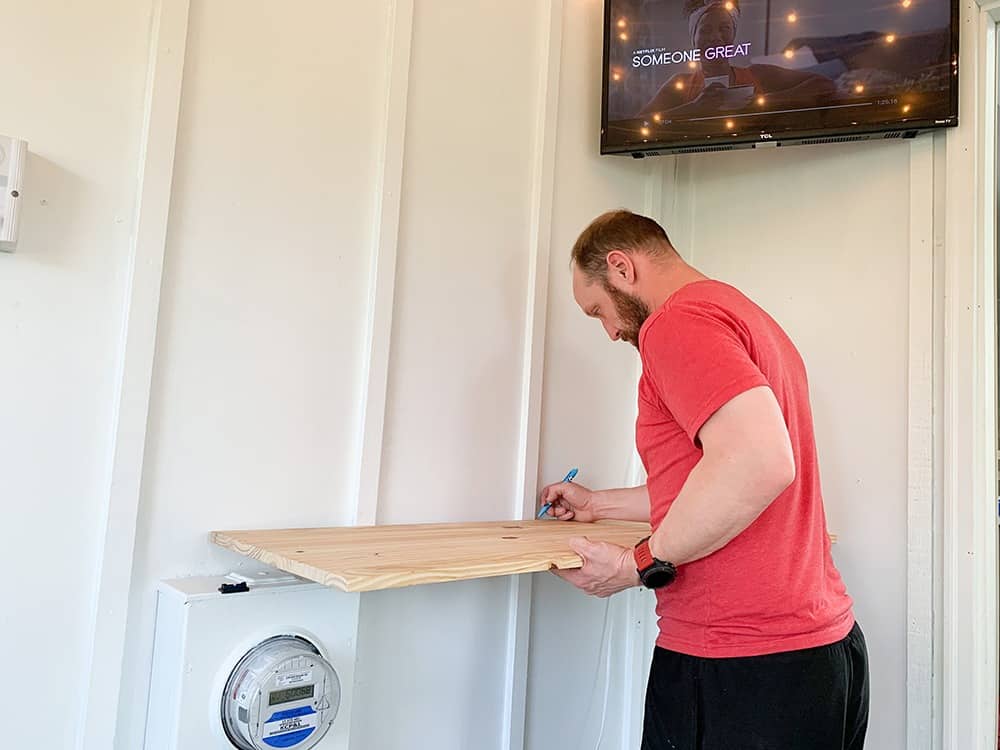
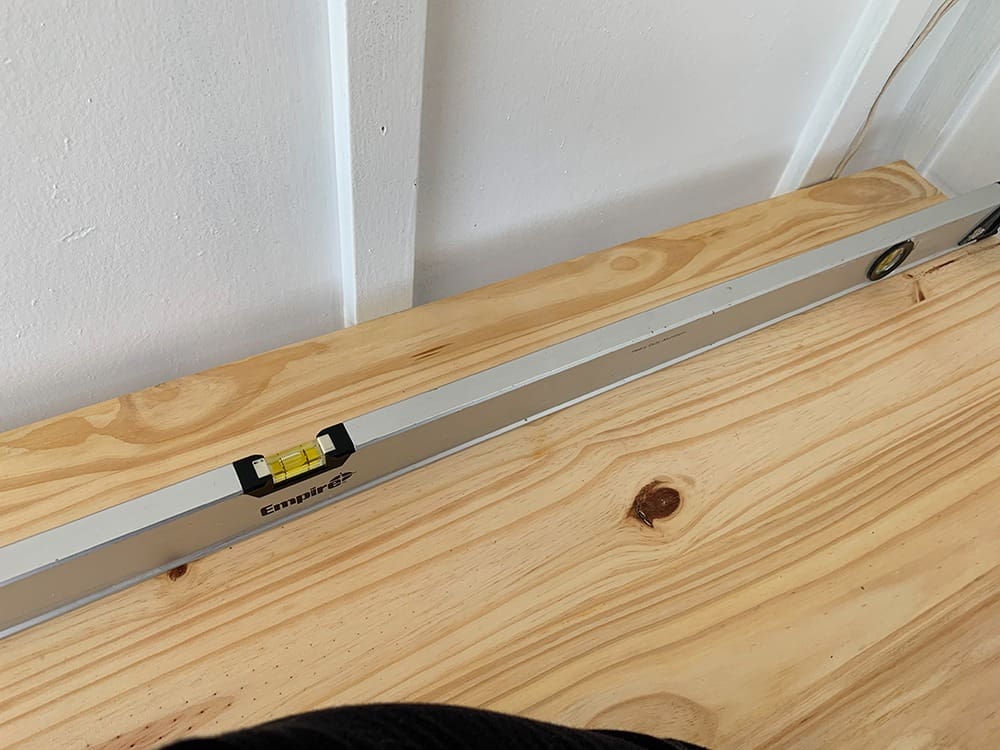
The wood top was added and supported from the bottom with two extra wood pieces we had in the garage.
I love our little bar top, but really wanted to infuse some more character into this sun porch corner. I grabbed my Cricut Joy and created some palm leaf designs.
Supplies needed:
Cricut Joy (or any other Cricut machine)
Cricut basic tool set
Standard grip mat for Joy
Vinyl (Premium textured metallic in gold)
Smart Vinyl (removable in coral and aqua)
Cricut Design Space
Cricut Access (Standard or Premium)
Scissors
Canvas(es)
Acrylic or spray paint
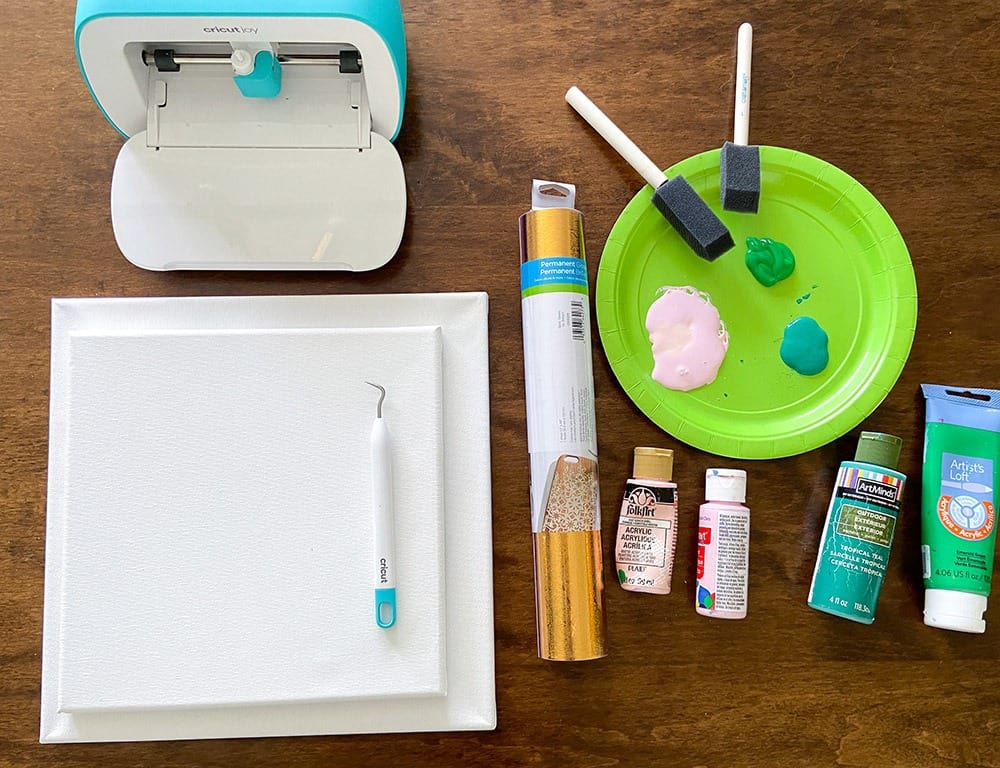
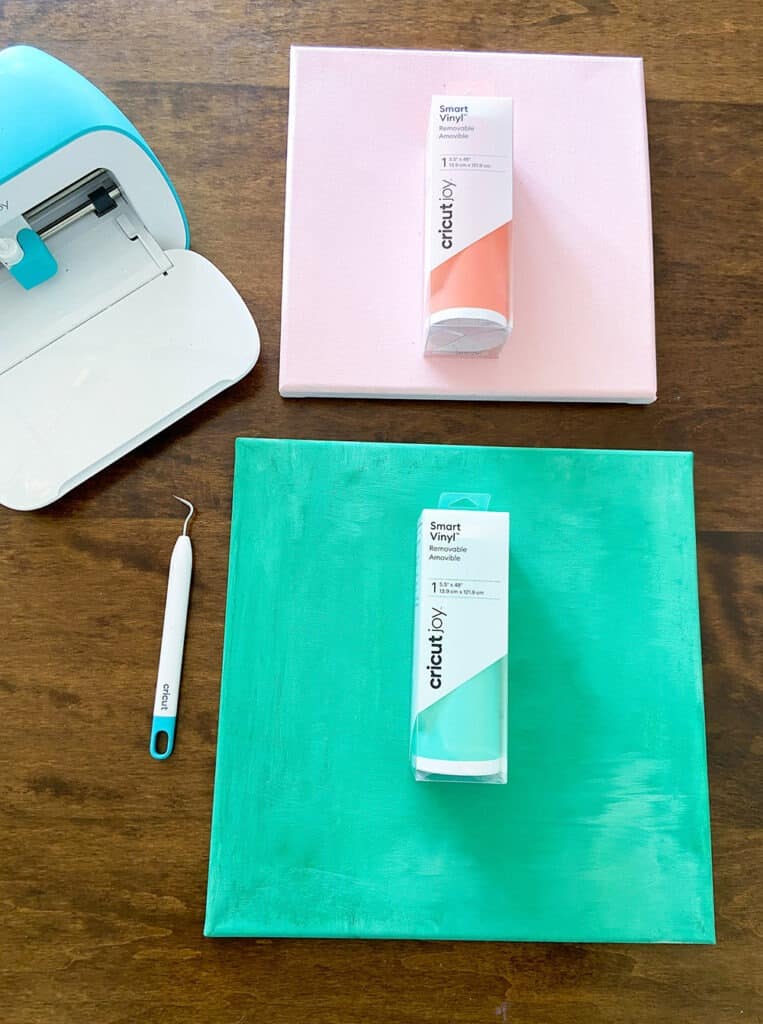
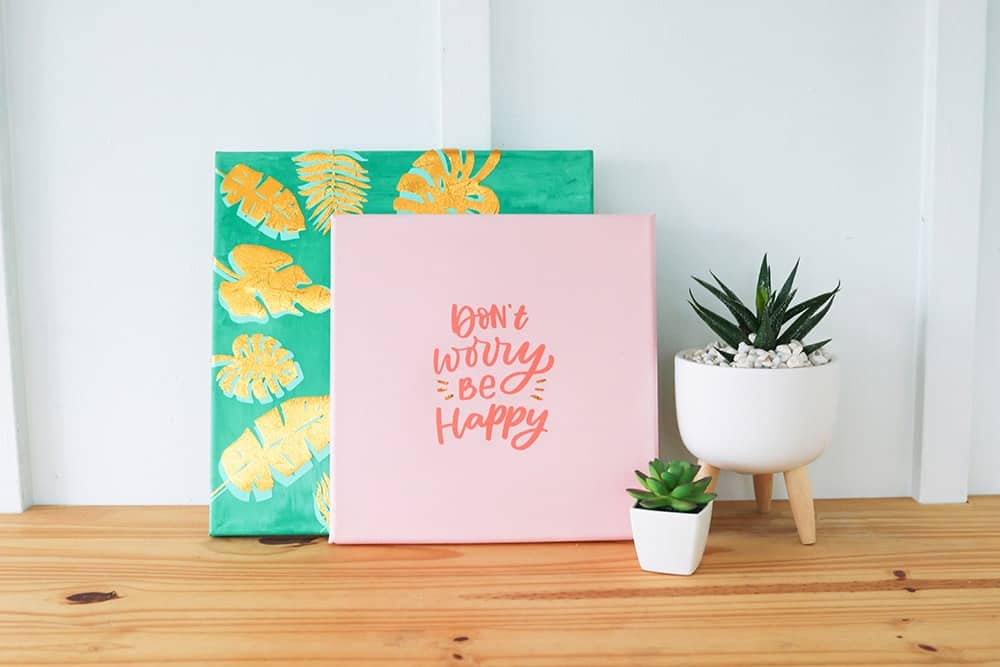
Using affordable acrylic paint, I painted two canvases.
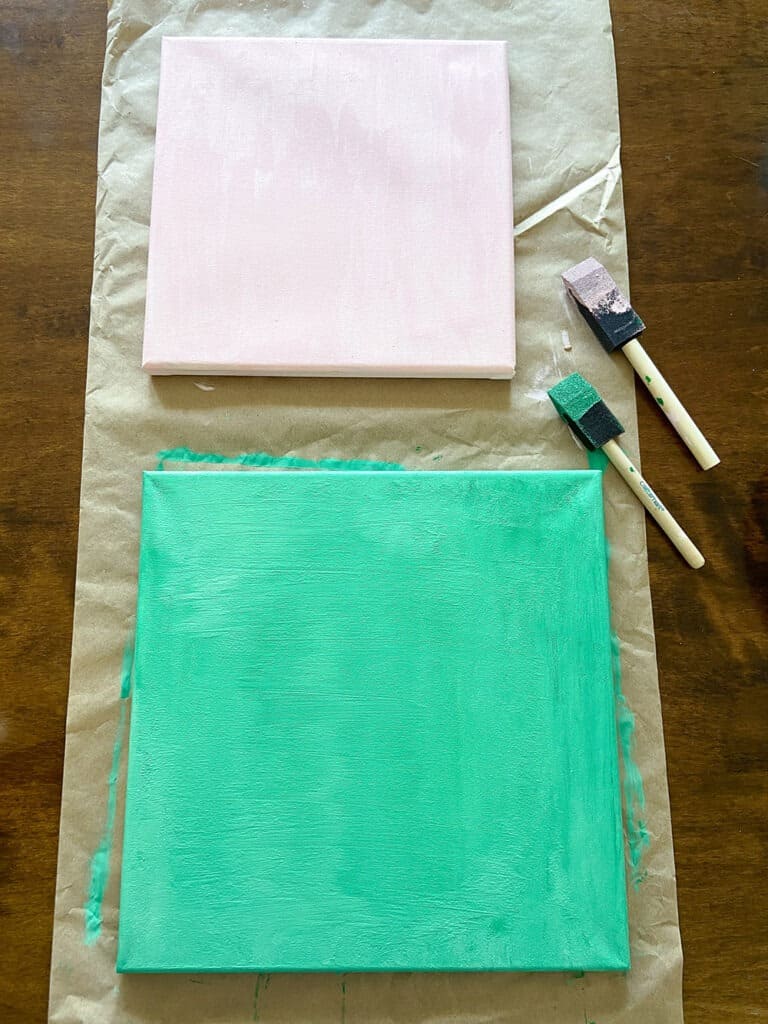
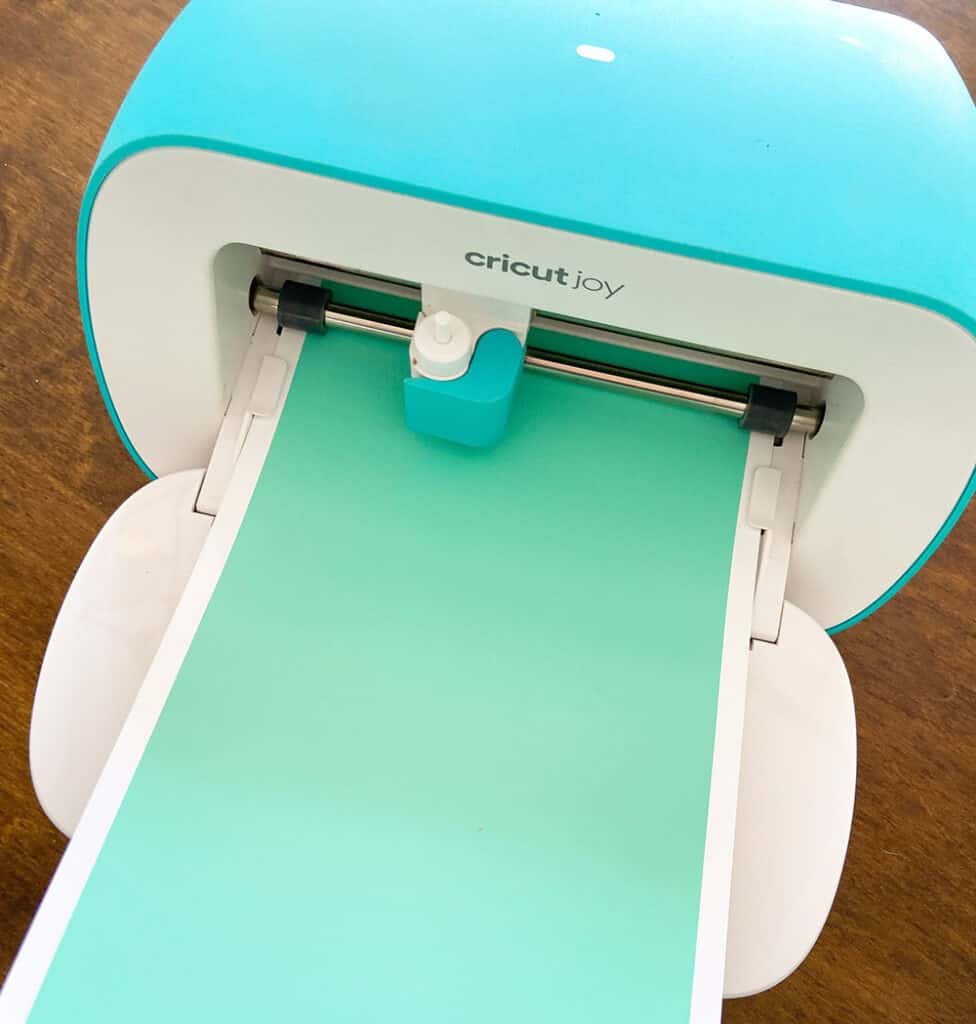
Once dry, I pulled coordinating Smart Vinyl and opened up Design Space to start the design process.
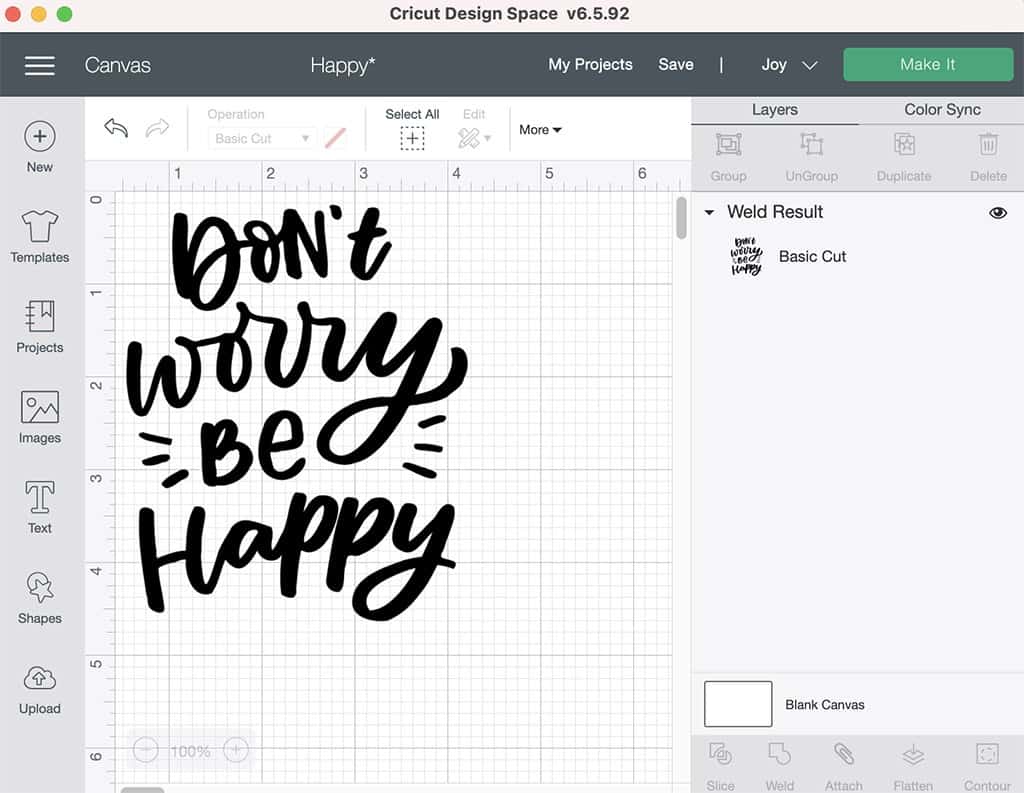
In Design Space I searched “palm leaf” in images and placed them into my canvas. When I was ready to print I welded the leaves together and cut the vinyl.
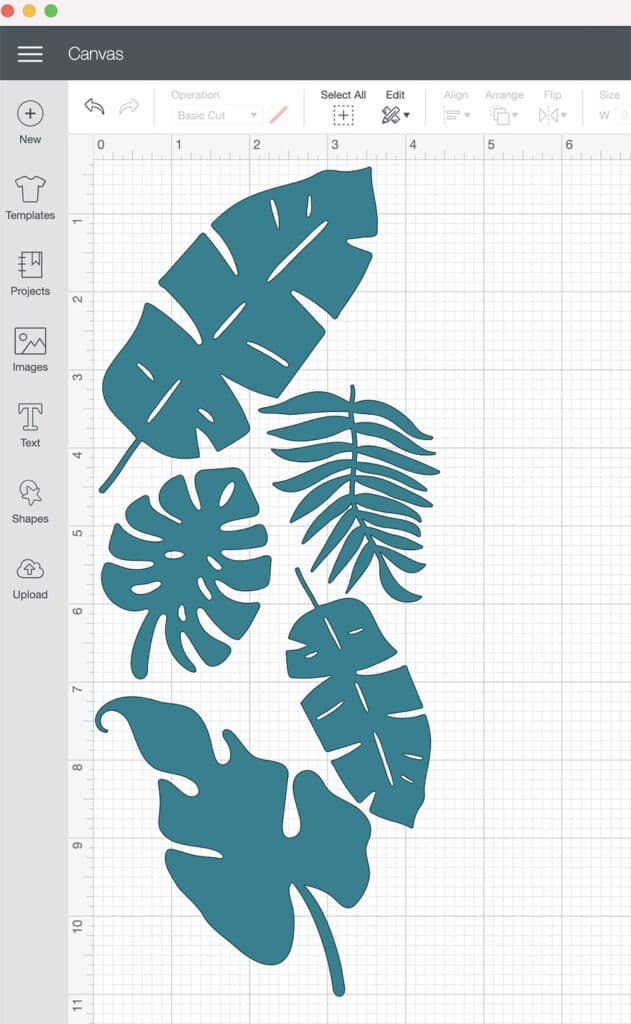
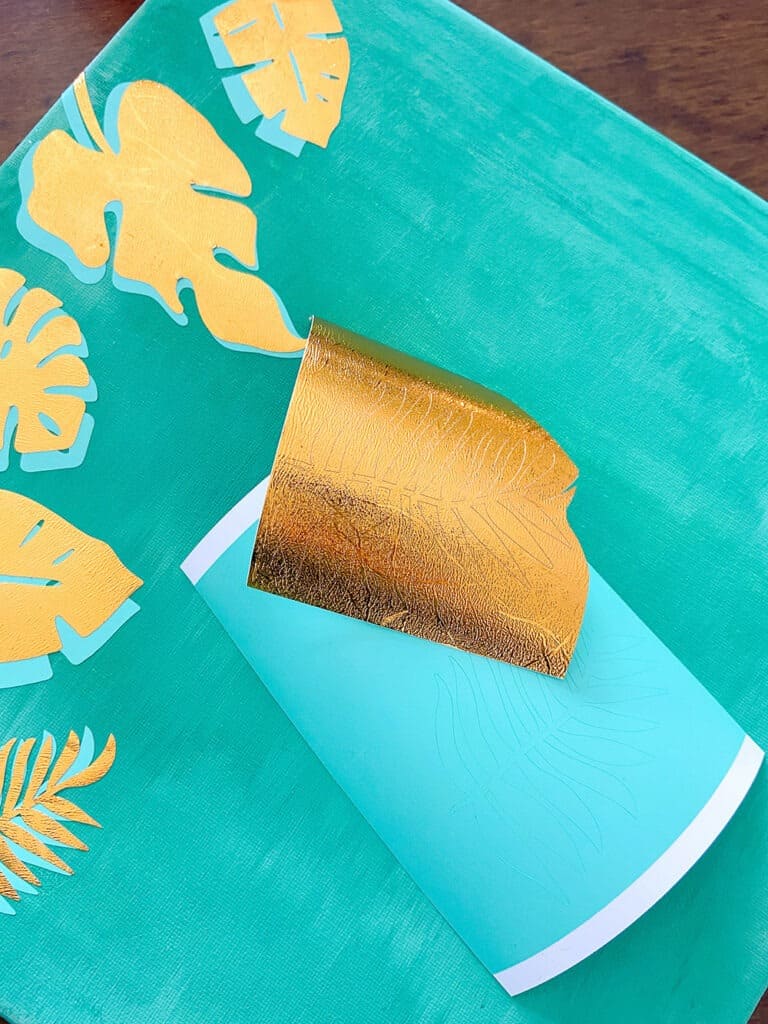
I decided to print the same leaves in both the aqua vinyl and the textured gold vinyl so I could layer them for some depth and interest.
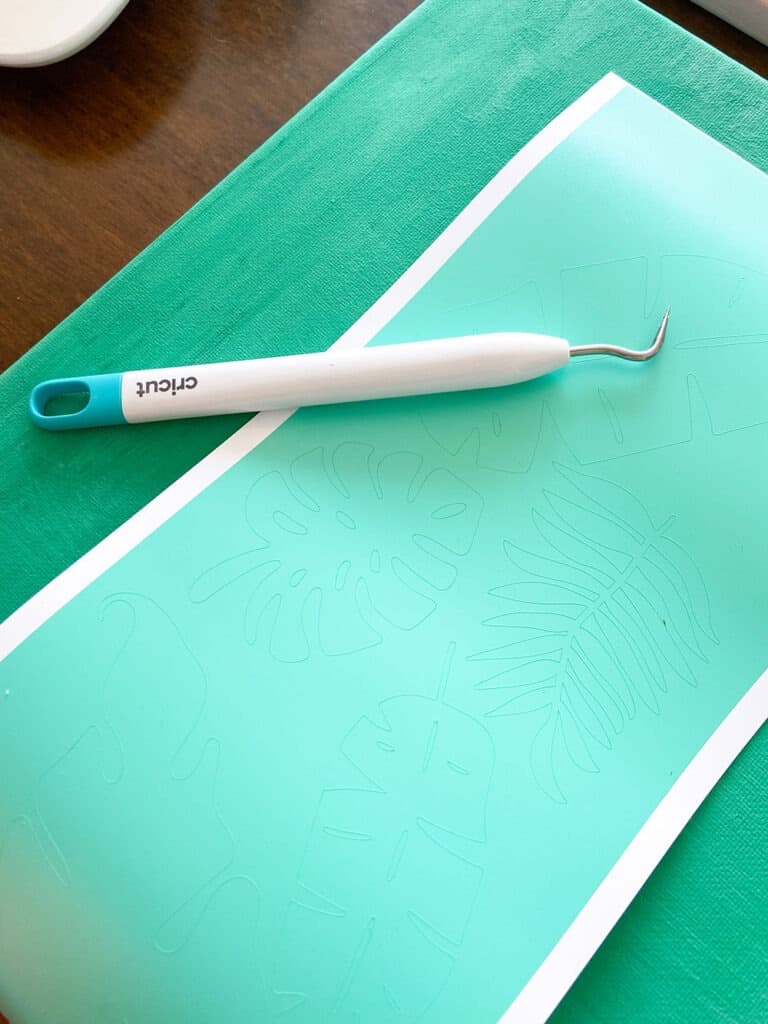
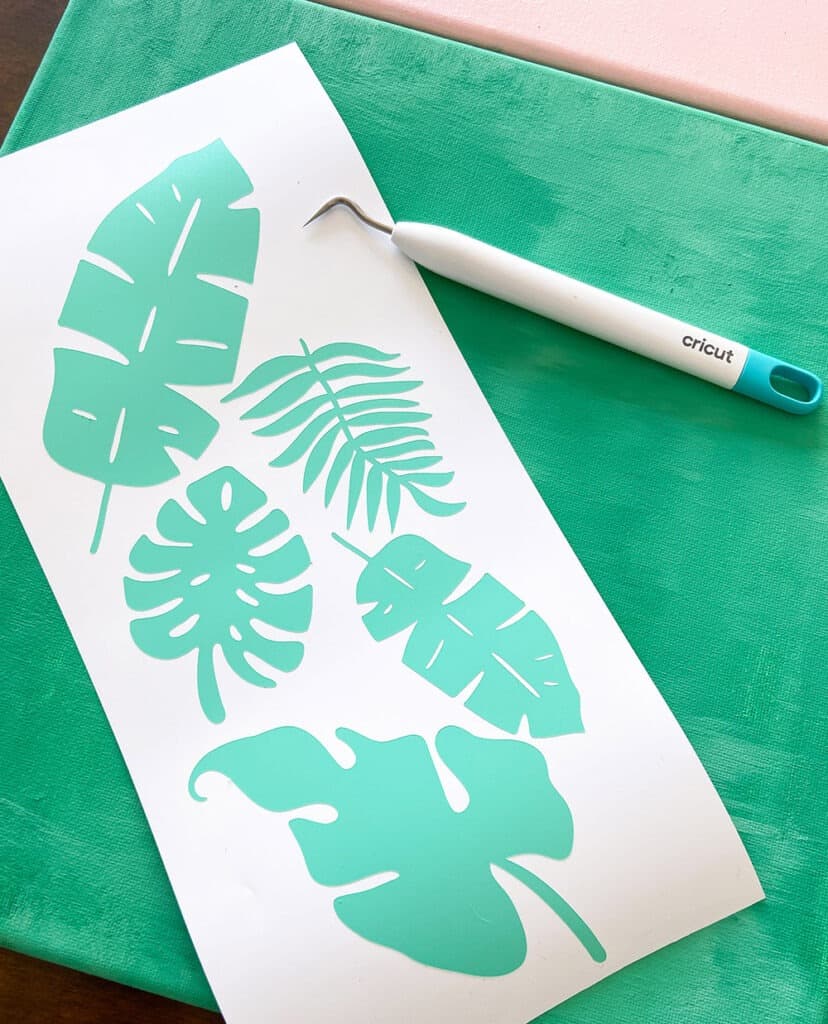
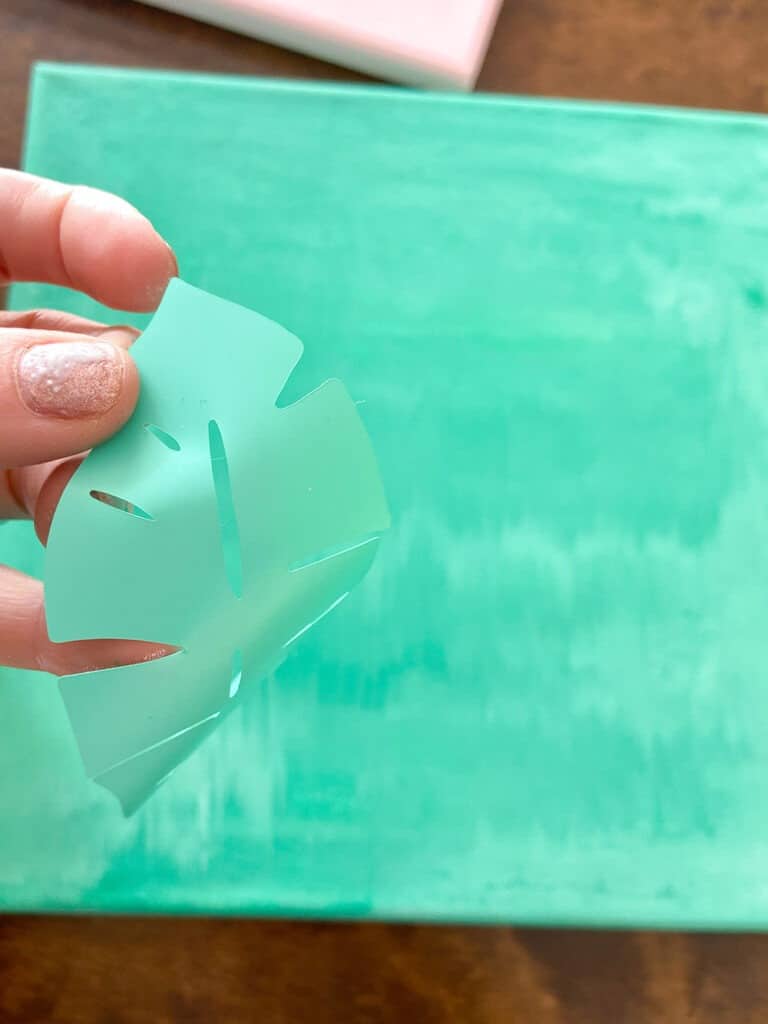
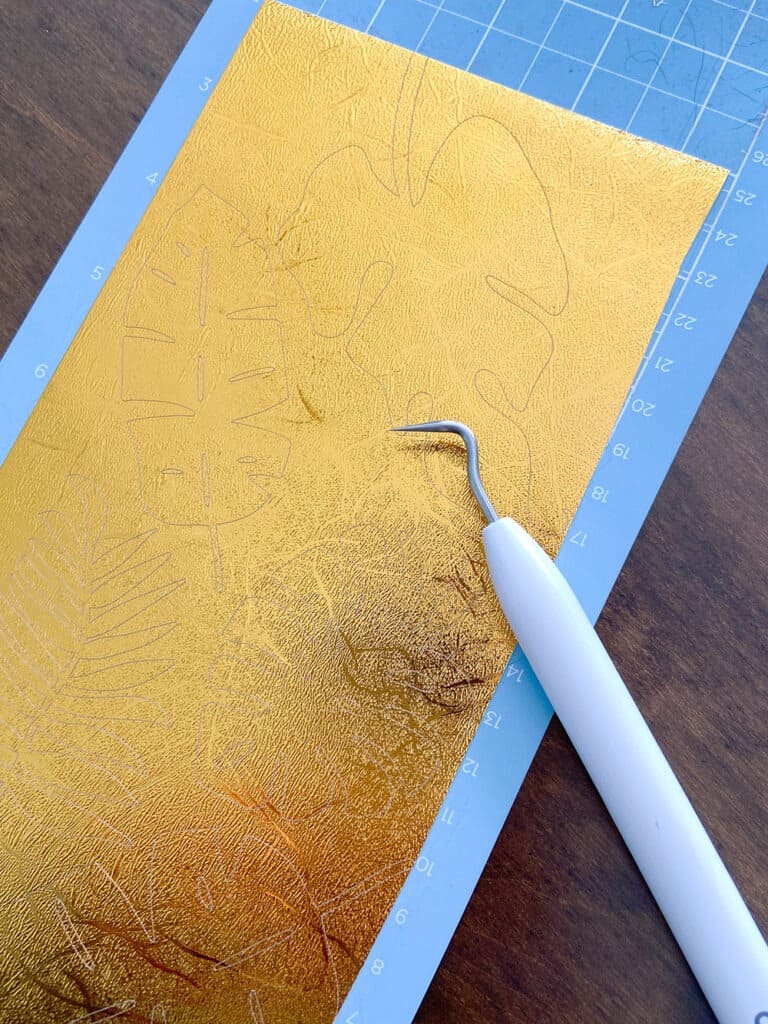
Once the vinyl was cut, I weeded away the access.
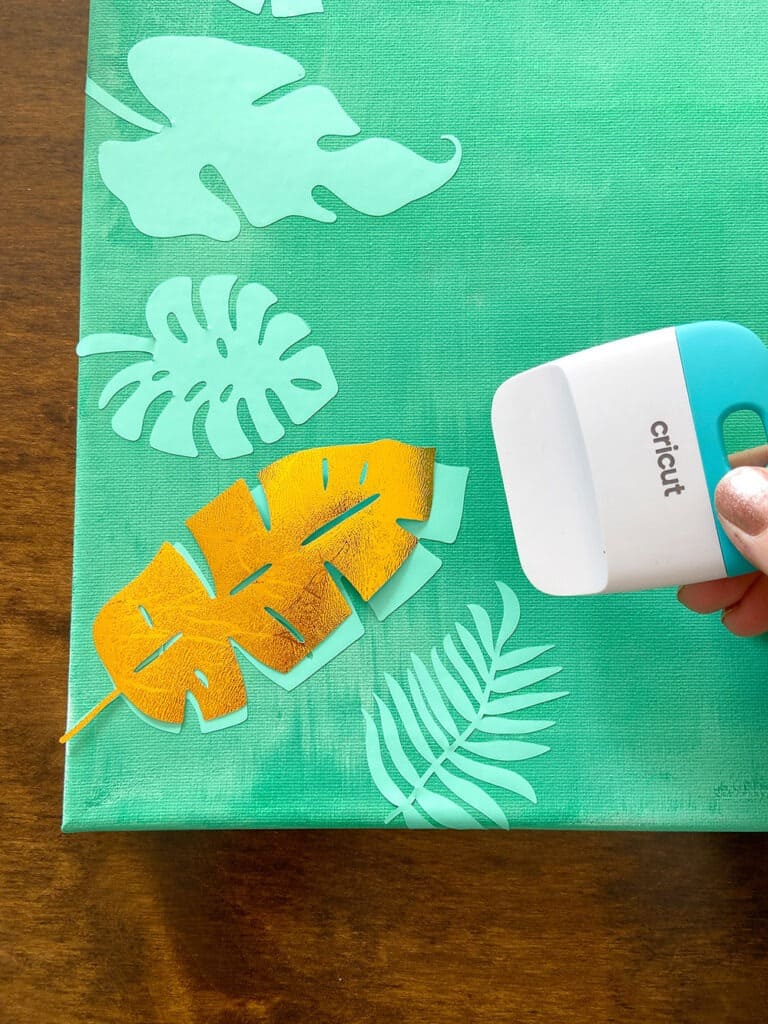
I placed the aqua leaves around the left edge of the canvas first, and used the burnishing tool (from basic tool set) to ensure everything went on smoothly.
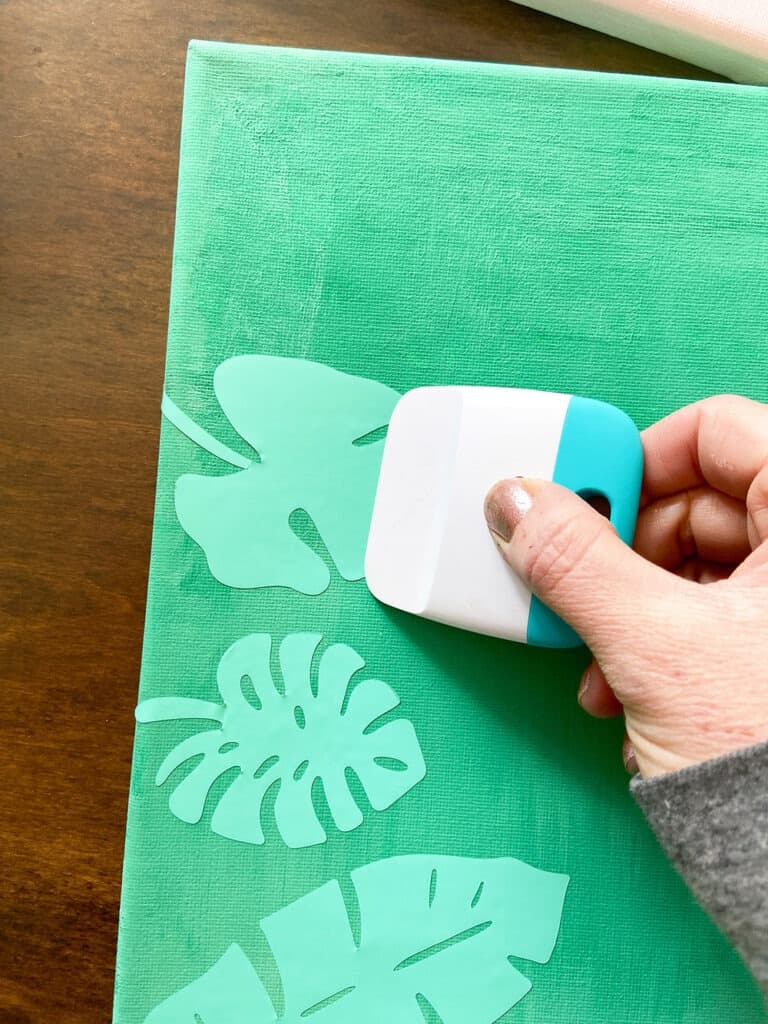
The leaves were added to the left side of the canvas since the pink canvas was going to be layered on top on the right-hand side.
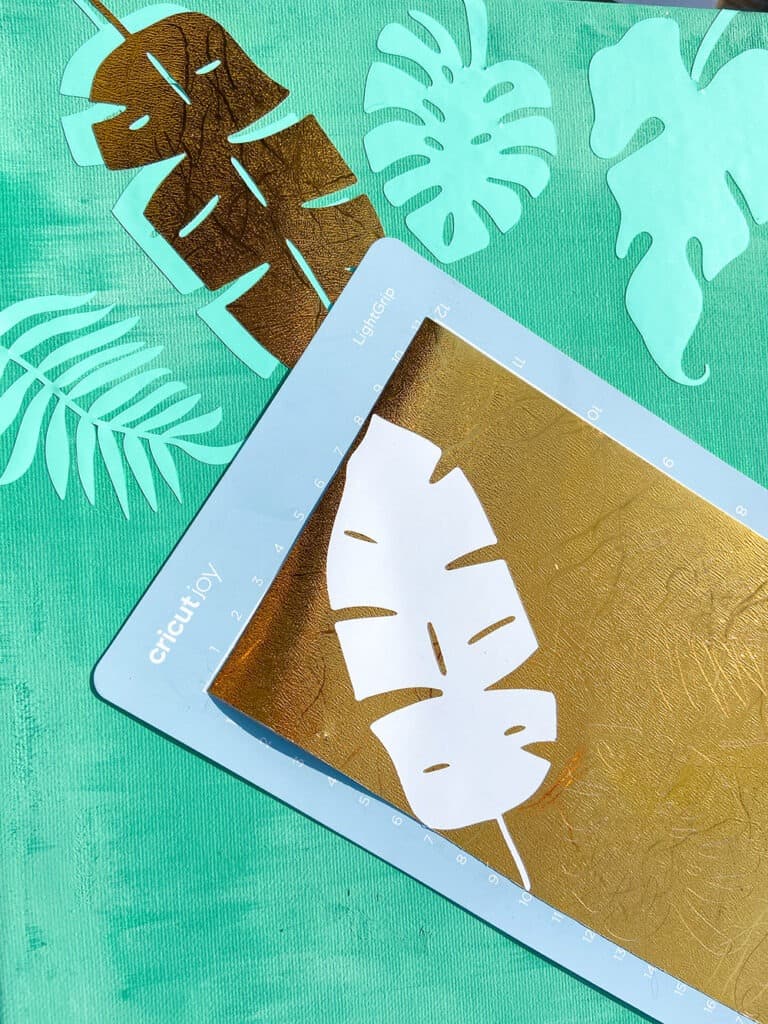
I repeated the same steps with the textured gold vinyl.
The gold vinyl was applied offset with the aqua vinyl to bring some interest and depth.
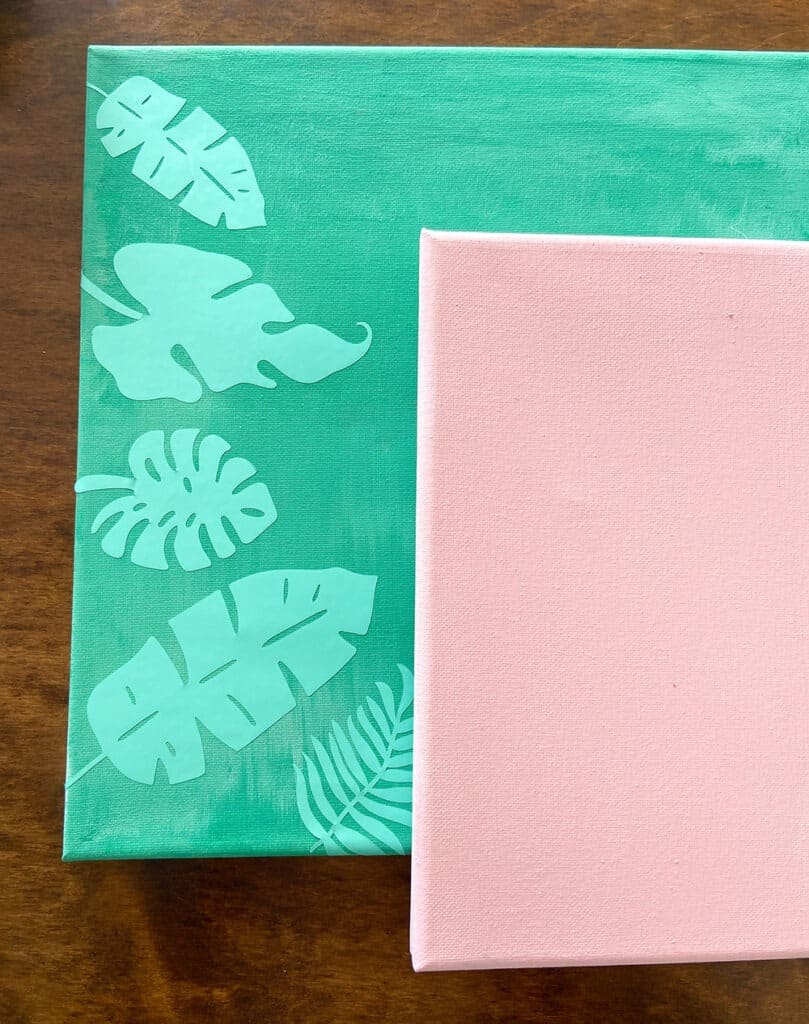
The final leaves were added and it was then time for my second canvas.
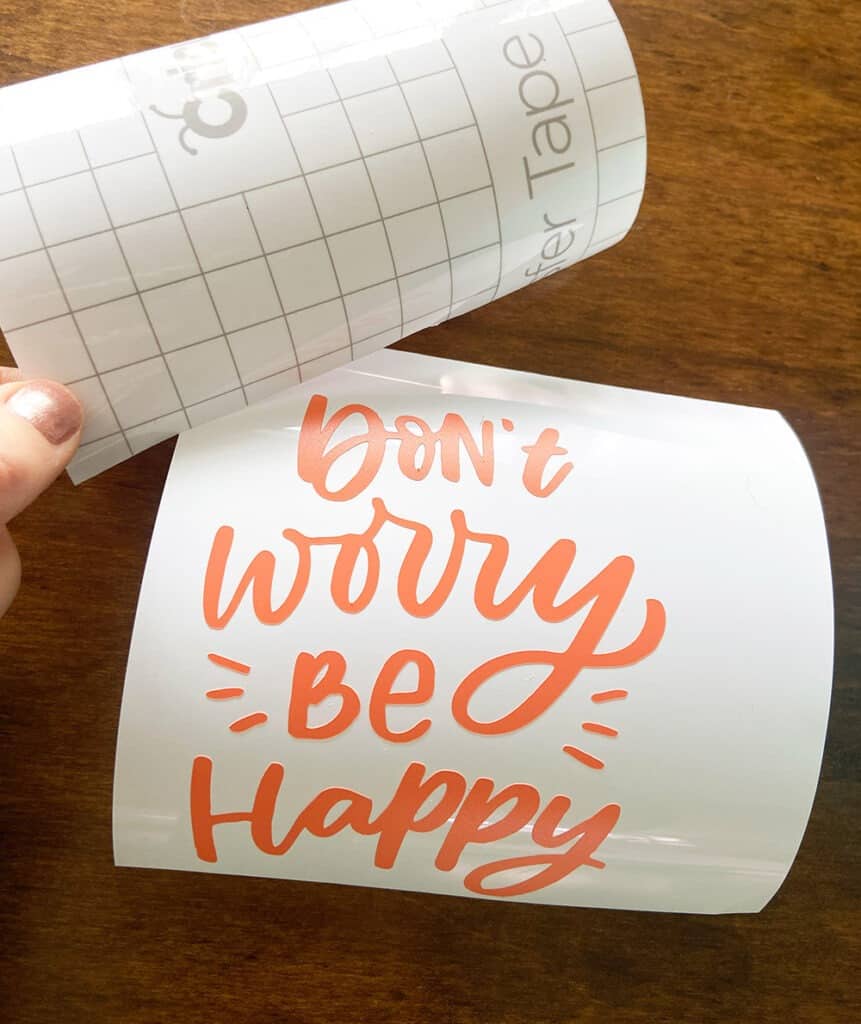
In Design Space I created my second design using the phrase “Don’t worry be happy,” which I purchased from a stock site.
I cut the coral vinyl and weeded away the excess.
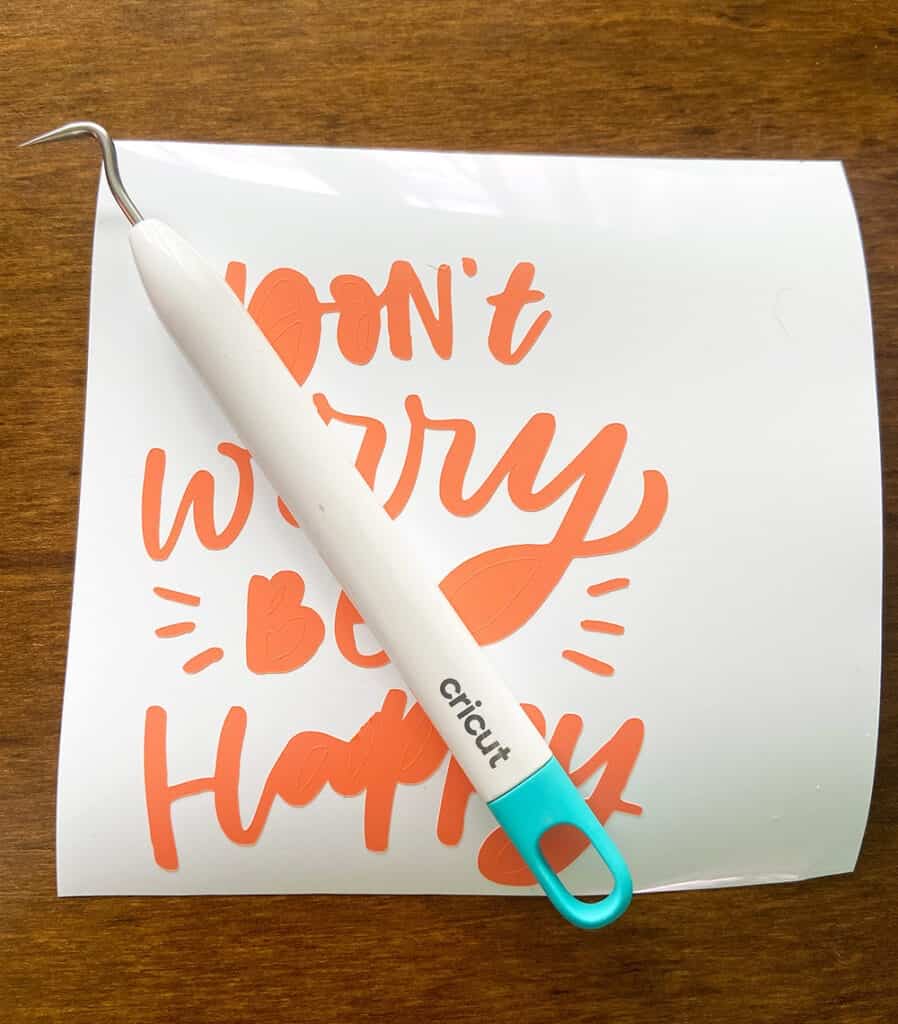
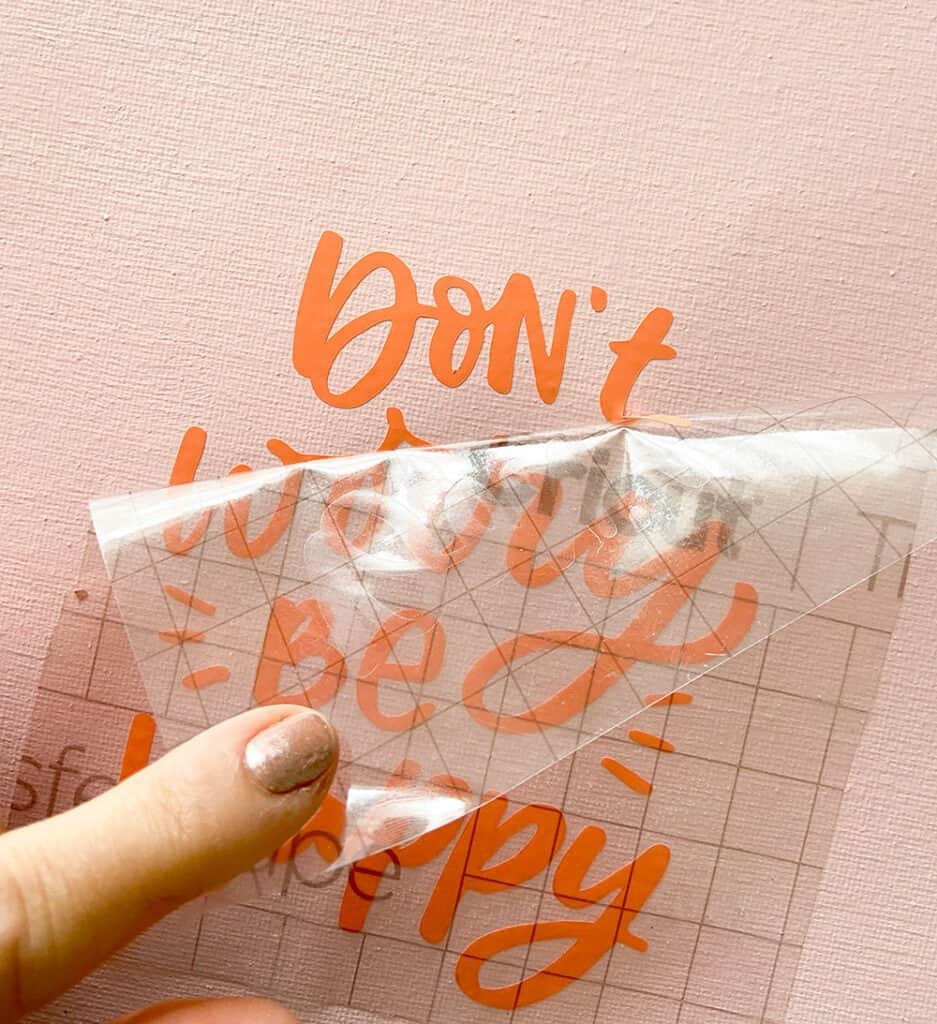
The weeding was complete, and I burnished some transfer tape for an easy transfer to the canvas.
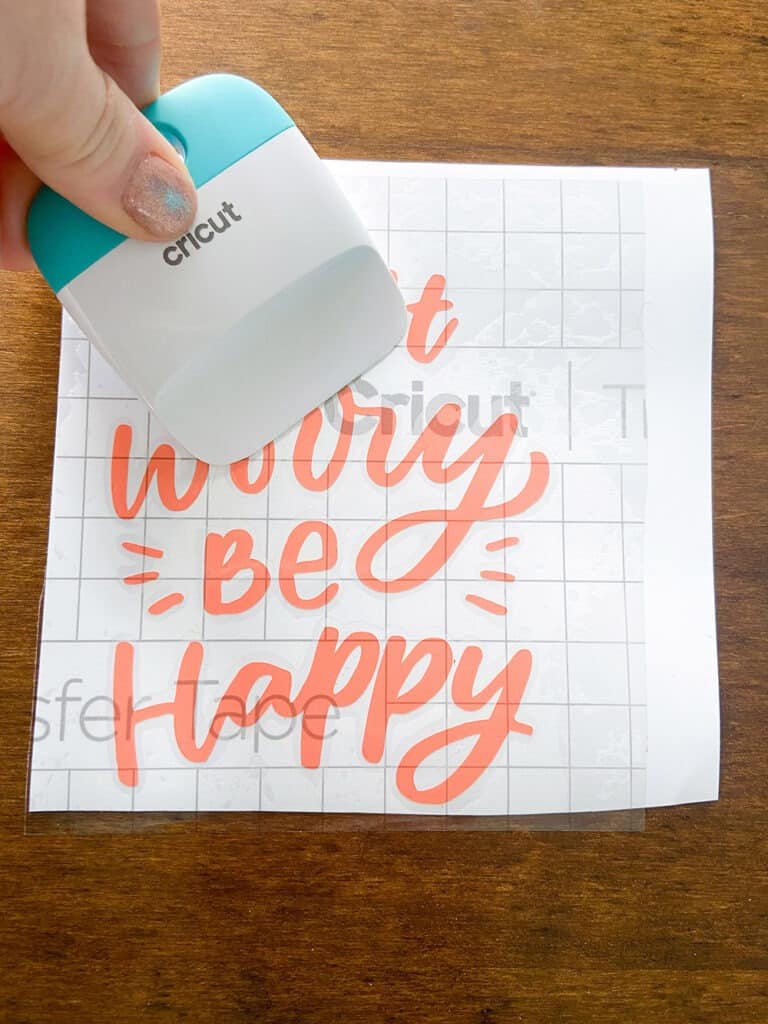
It was time to transfer the vinyl to the pink canvas – I love the coral and pink combo!
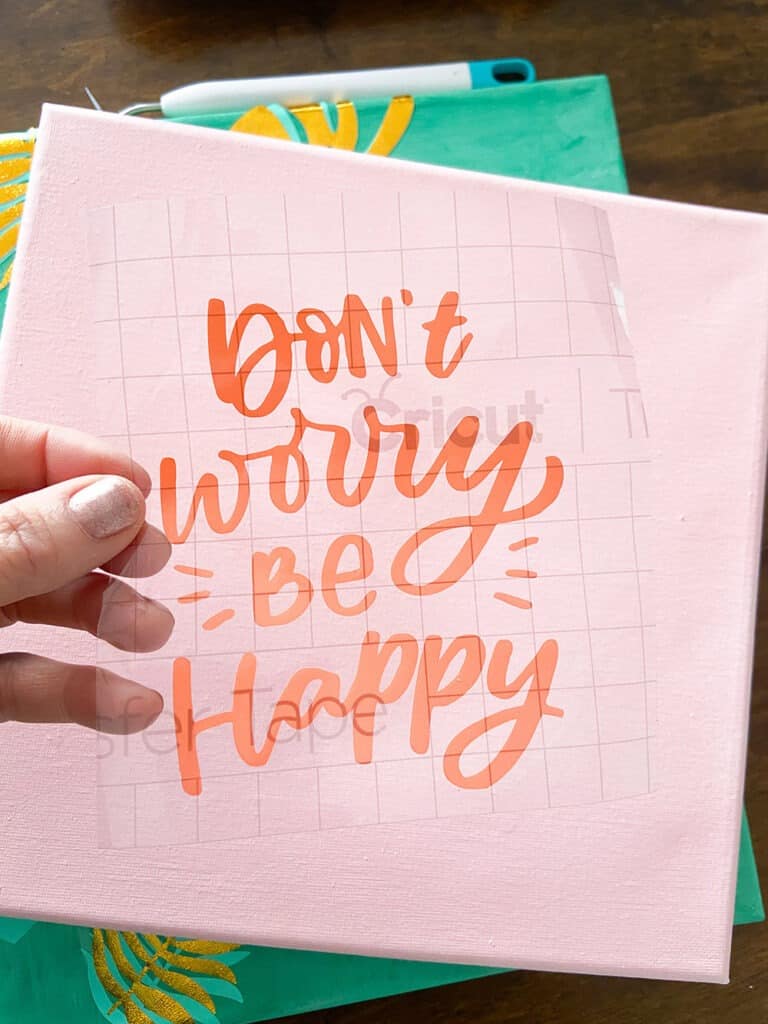
This burnishing tool really helped smooth the vinyl onto the canvas.
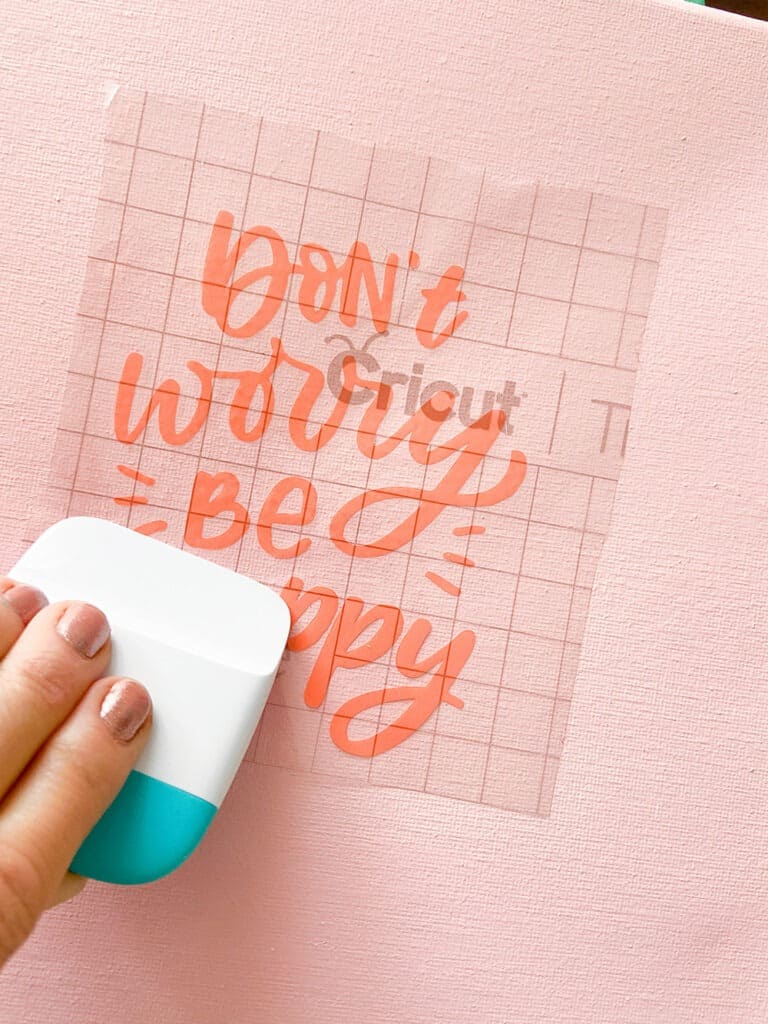
After the design was transferred, I gently peeled away the transfer tape and revealed my cute and easy design.
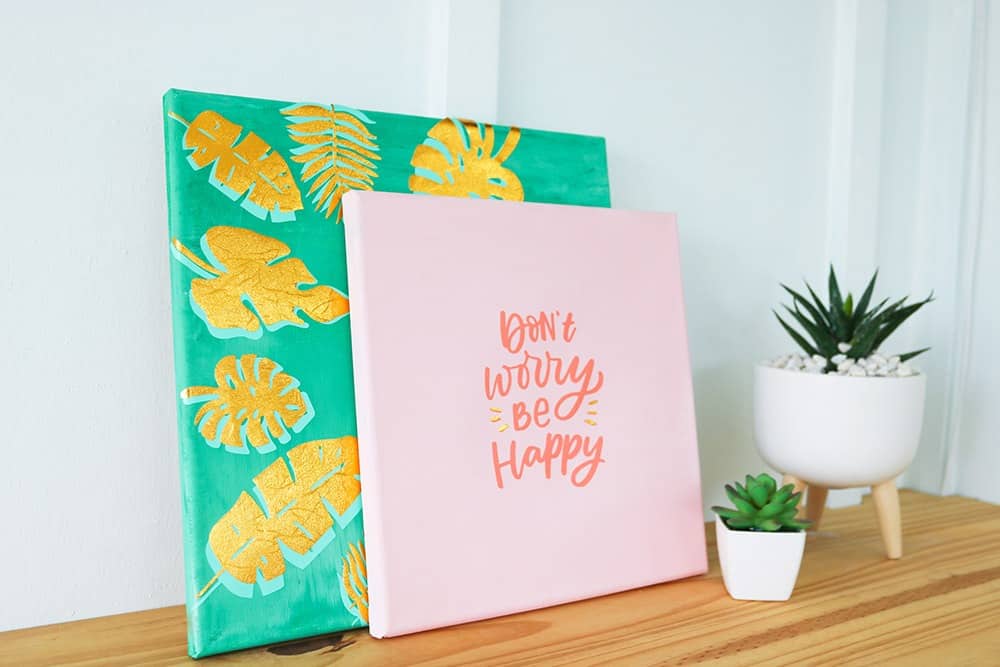
I was really happy with the design, but thought it needed a pop of the same textured gold vinyl to better coordinate with the other canvas.

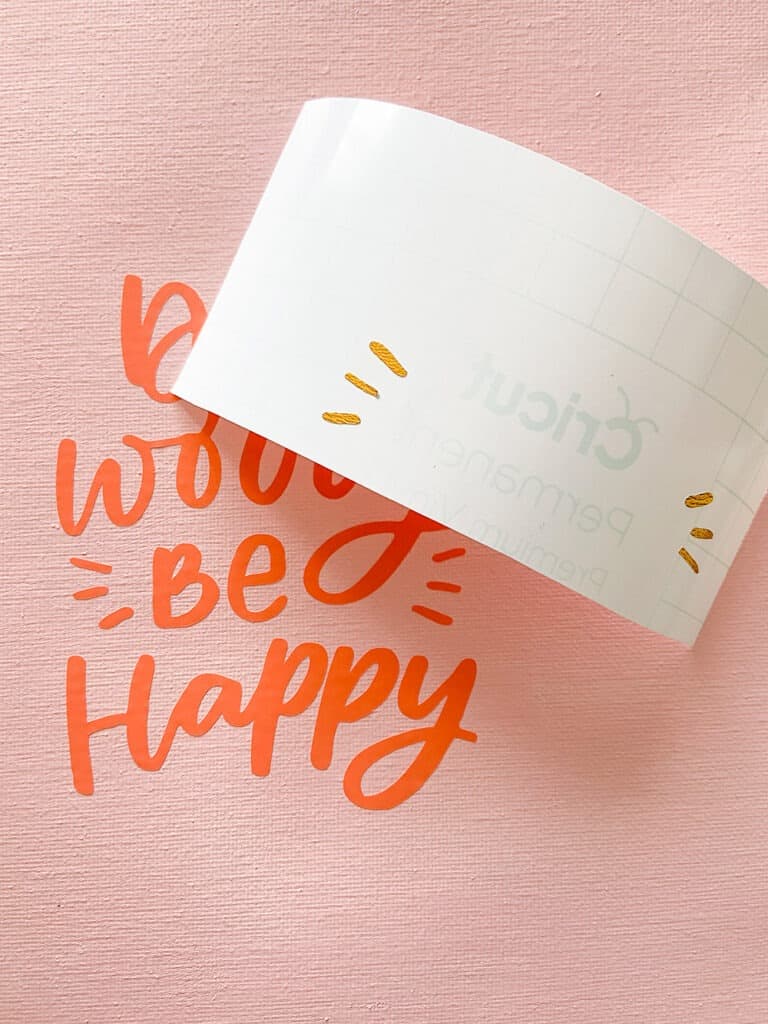
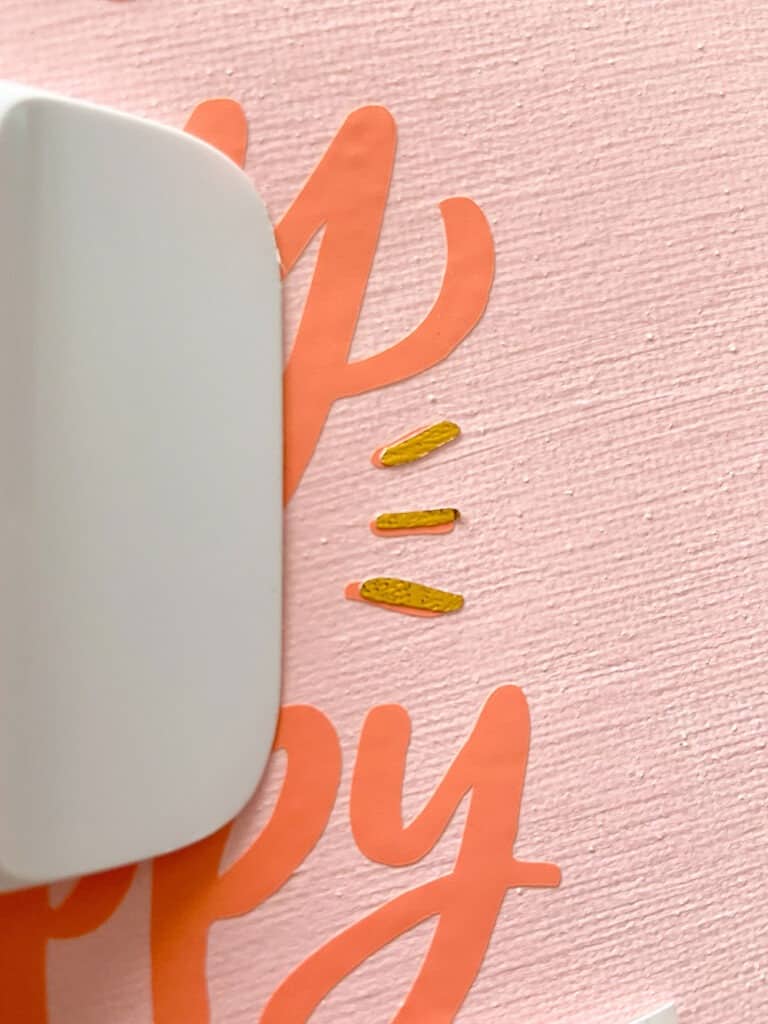
I love this pop of gold!

Easy as that, I had created two custom decor pieces for the sun porch bar.
I love the touch of fun and color they bring to the space, and love even more that they were so easy and affordable!
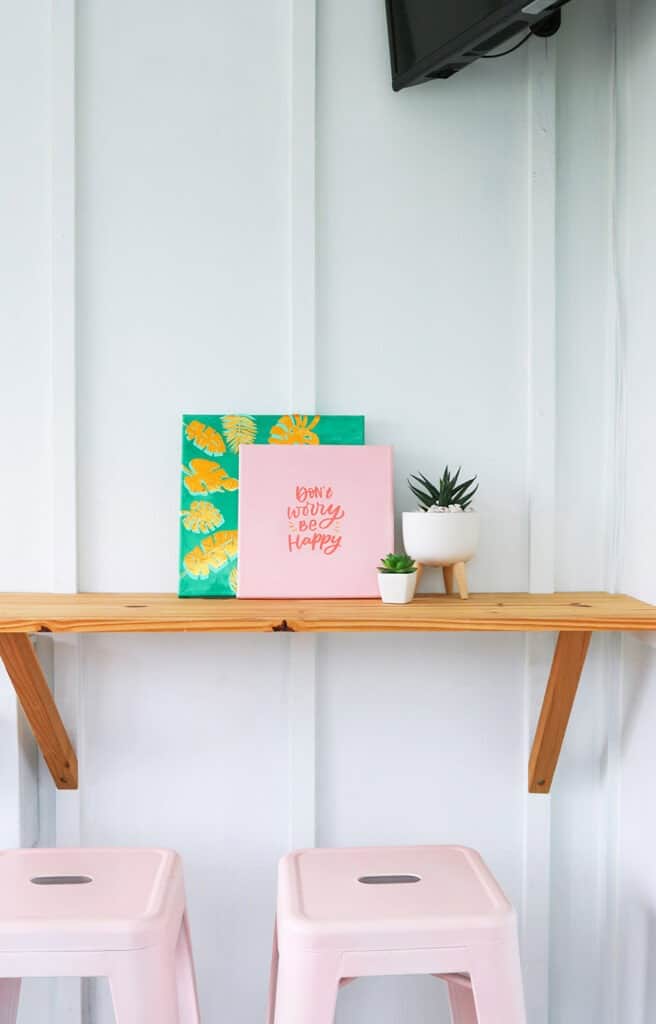
A closer look!

What do you think of our affordable sun porch makeover and DIY Cricut Joy art? Not too shabby, huh?
If you need us, we’ll be hanging out in this room indefinitely. 🙂
xoxo
Audrey
This post is sponsored by Cricut, but all opinions and projects are my own. I only share products that I love and make a small commission when you purchase fro my links at no additional cost to you. Thanks for your support!
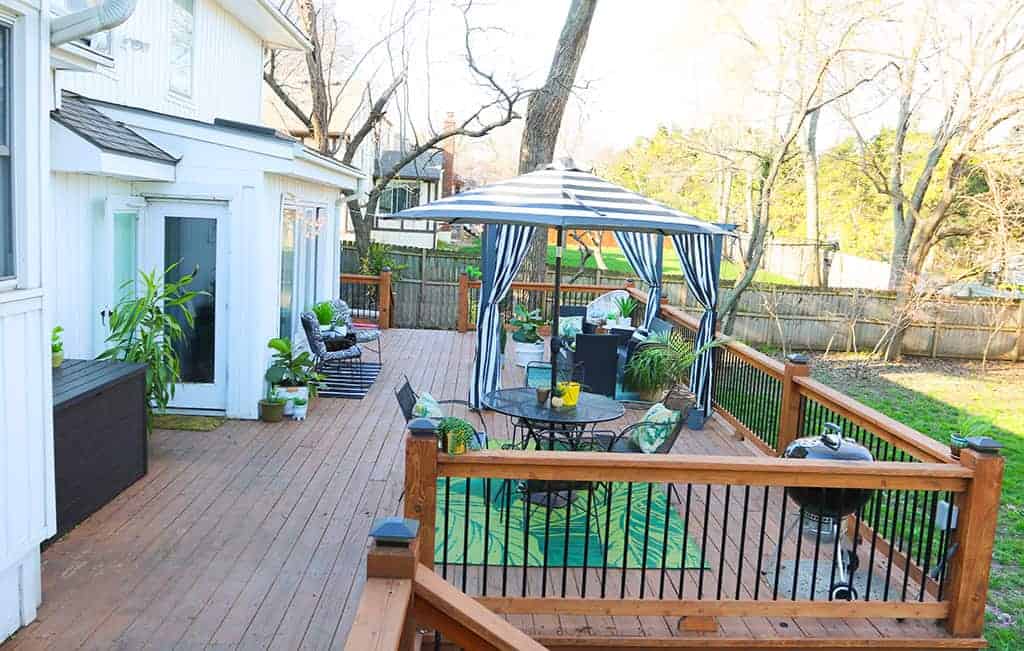
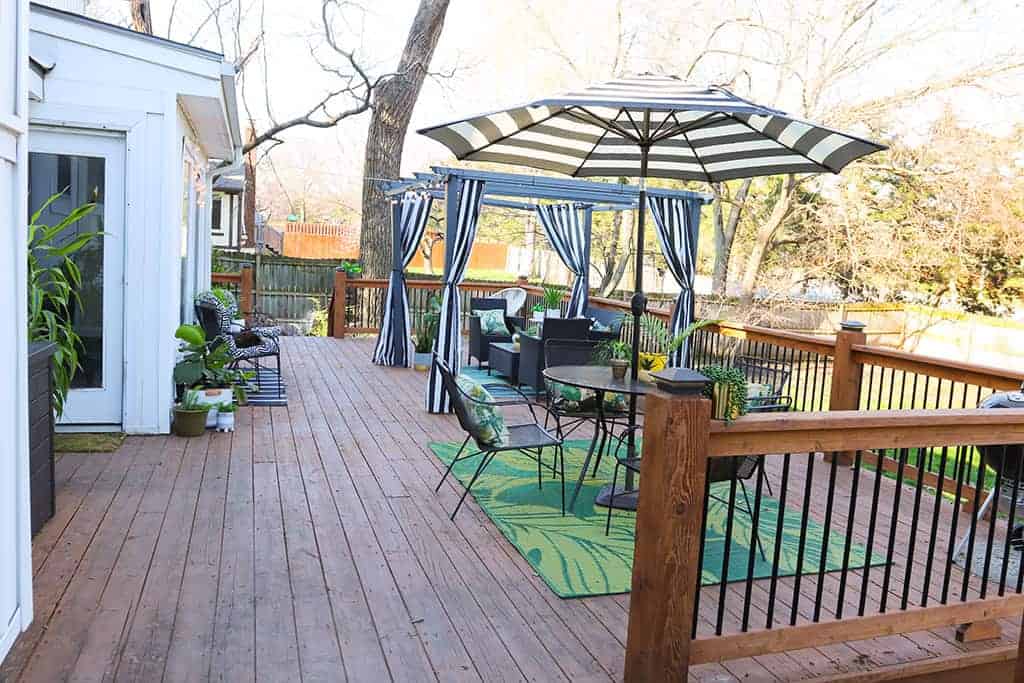
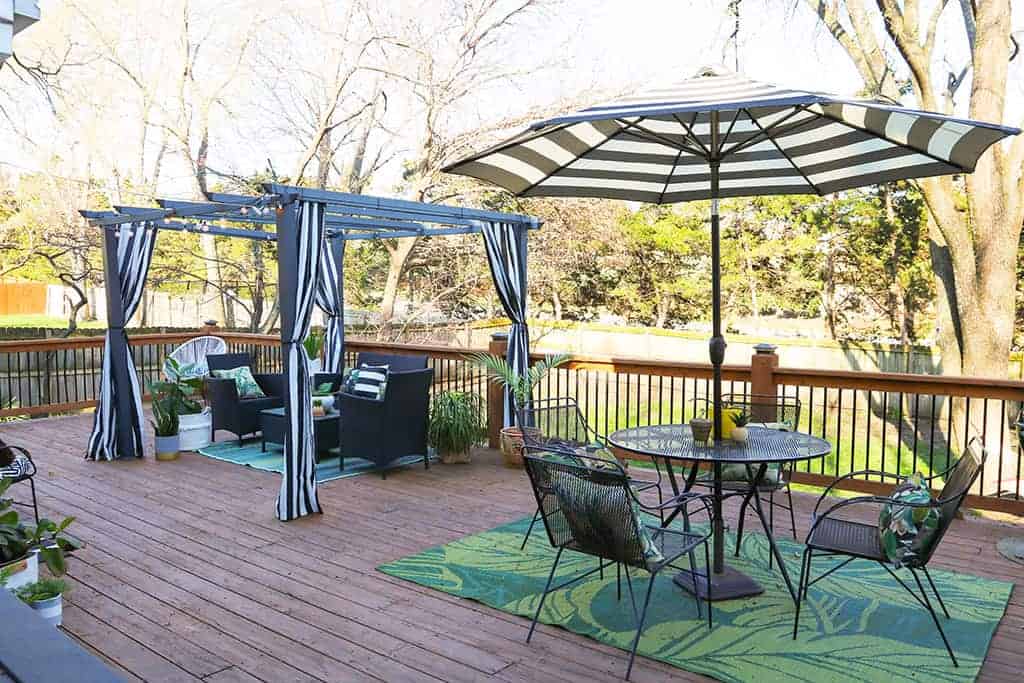
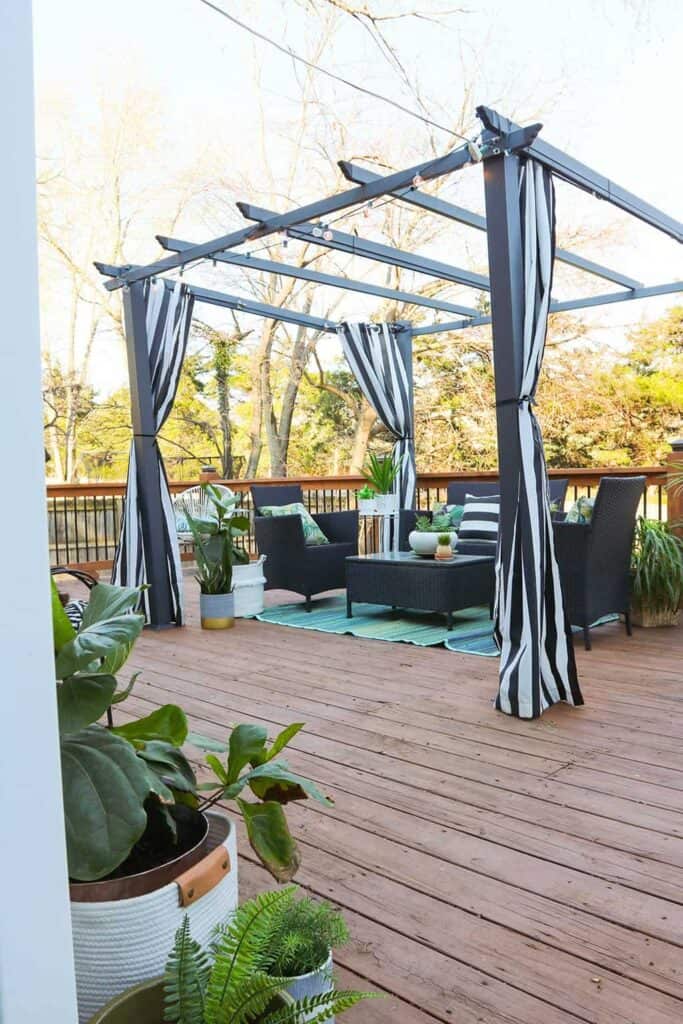
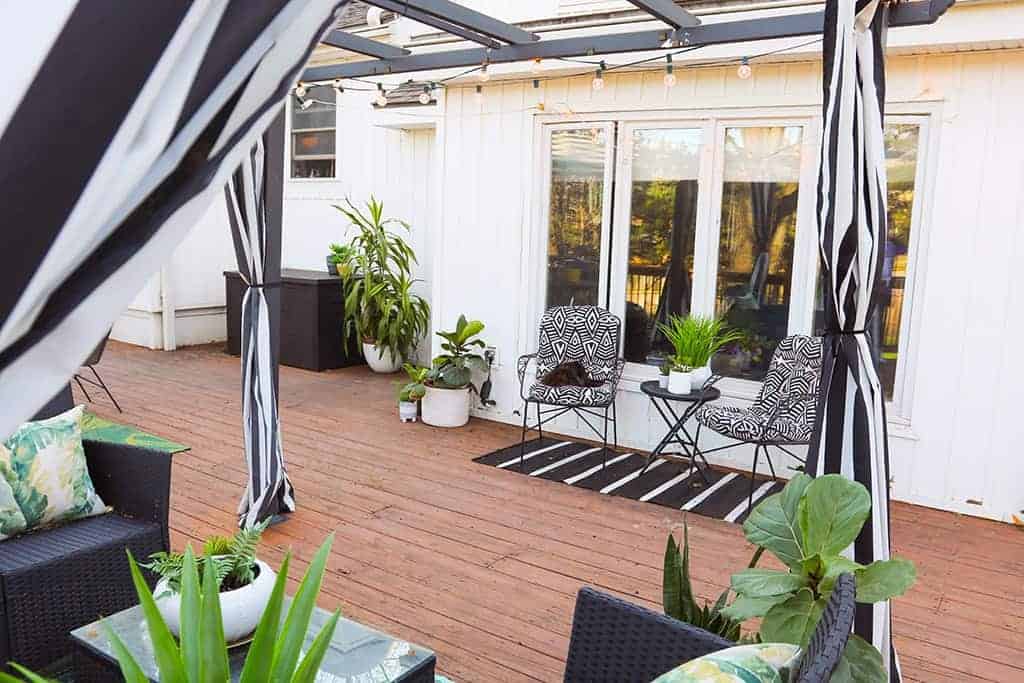
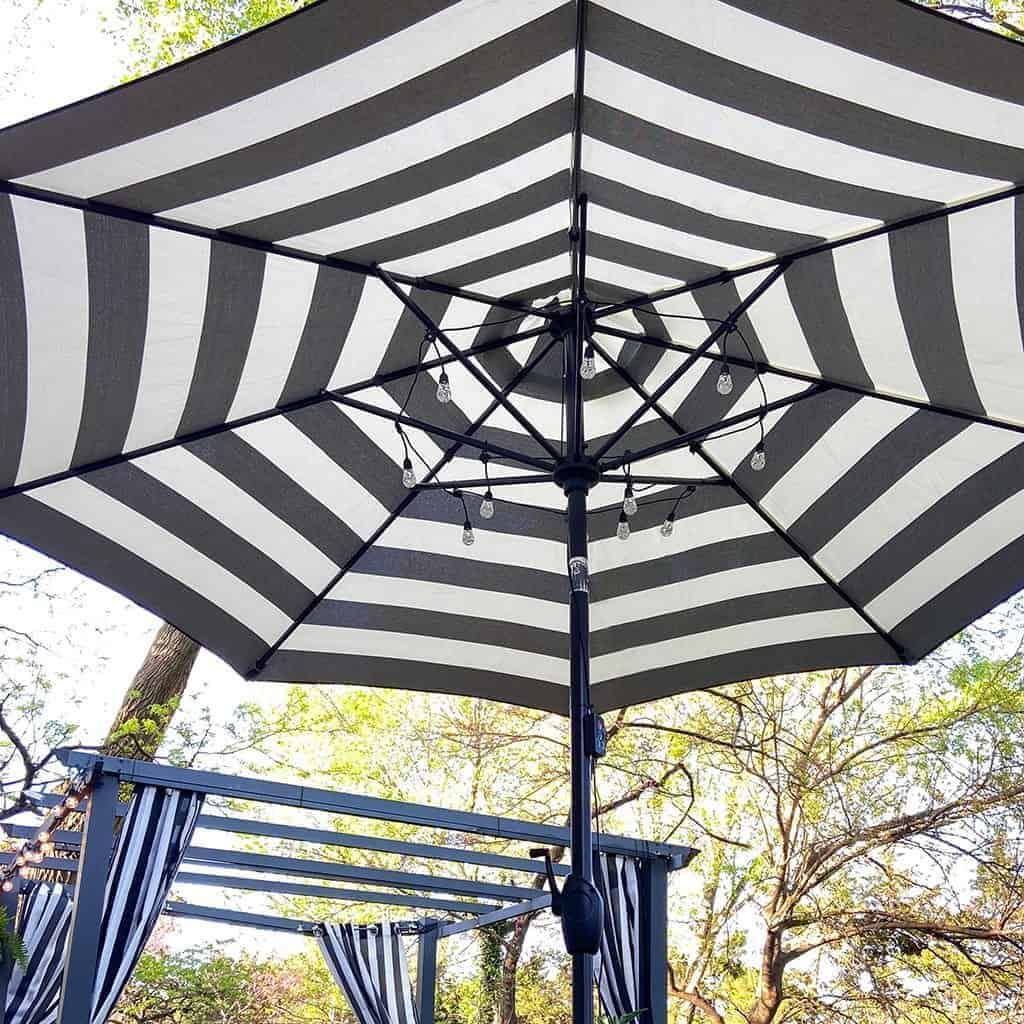
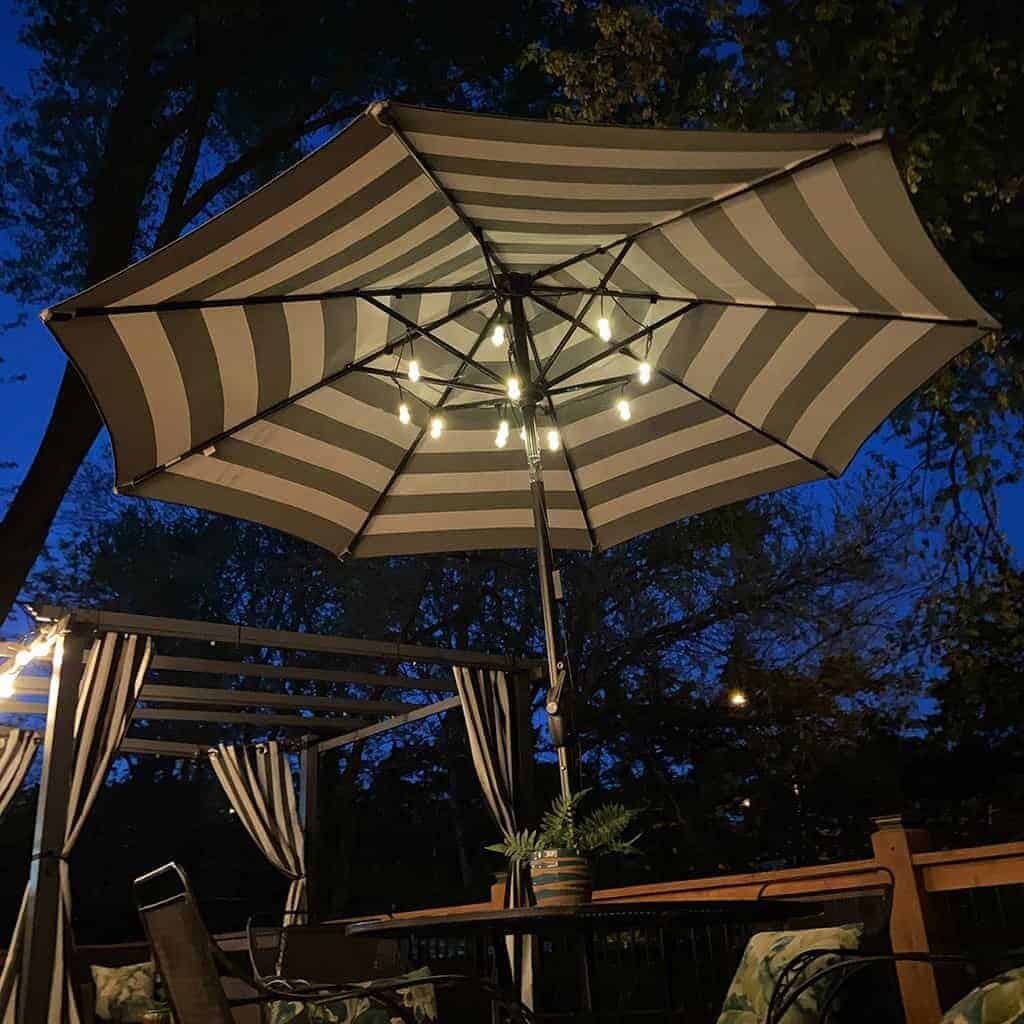
Oh, and in case you’re curious to see more, here is our deck outside the sun room. Al product links can be found in this blog post.
Pin our affordable DIY sun porch for later.

Check out my other Cricut DIY projects