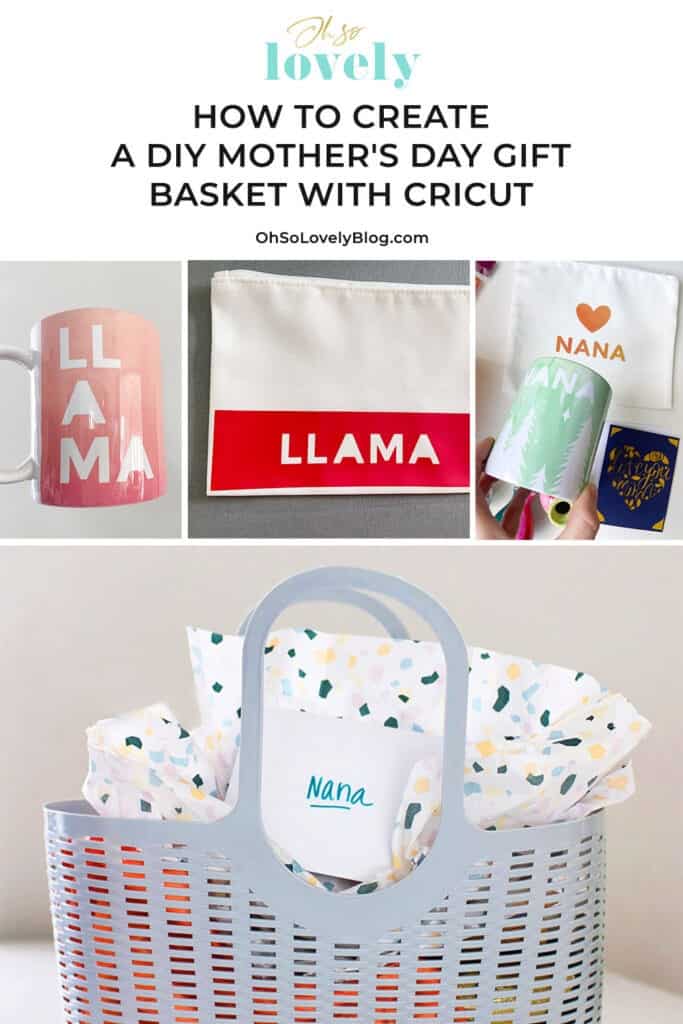
Mother’s Day is upon us! I loved using all of my Cricut supplies, tools, and machines to create some custom Mother’s Day gift basket items for my mother and mother-in-law!
Gather your supplies!
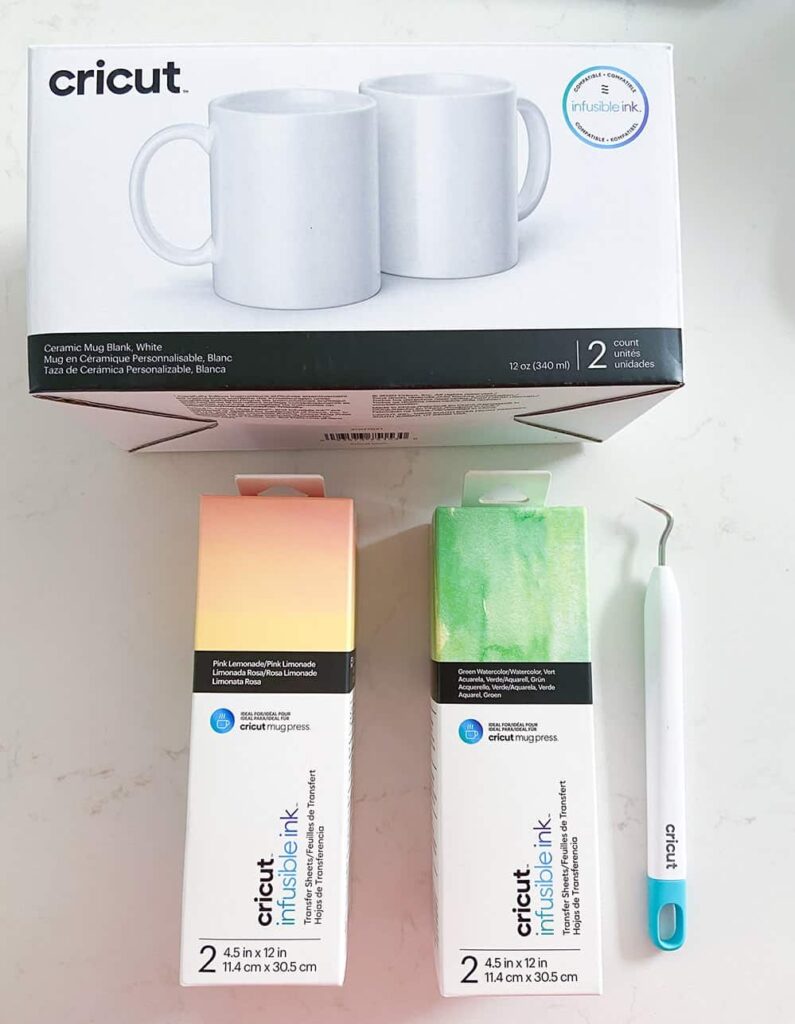
– Cricut Mug Press
– Cricut ceramic mug blanks (large or small size)
– Infusible Ink in your favorite colors and patterns
– Cricut Joy (or any Cricut cutting machine)
– Basic Tool Set
– Design Space
– Cricut Access
– Infusible Inks
– Infusible ink pens and markers (not required)
– Heat resistant tape
– Cosmetic bag blanks (set of 3)
– Smart Iron On
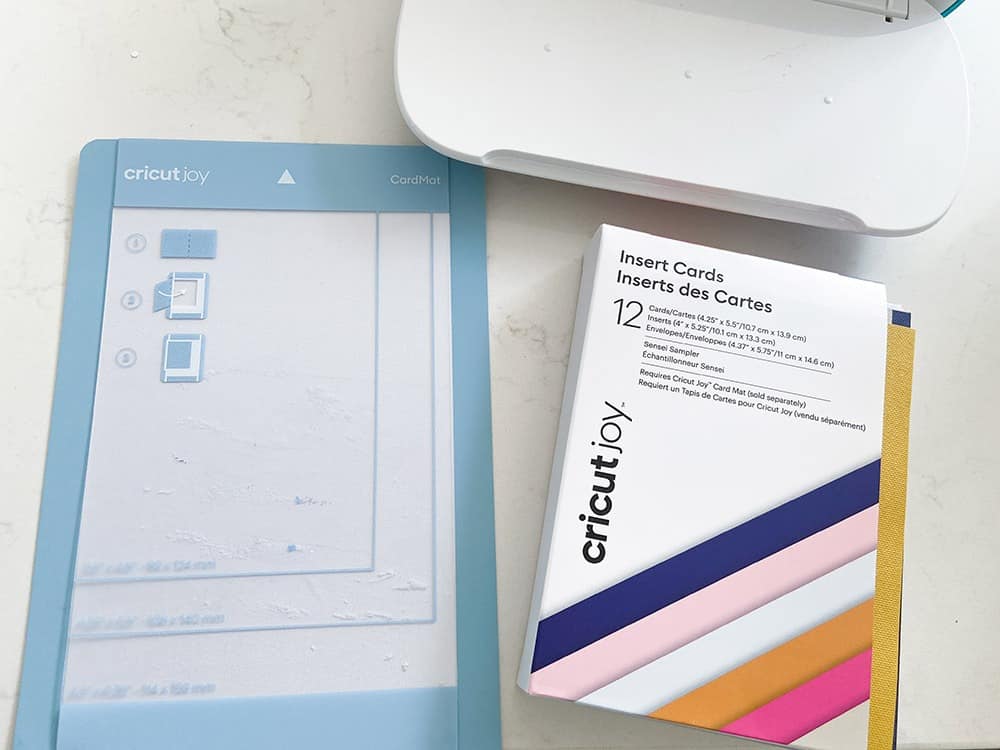
– Insert cards
– Card mat
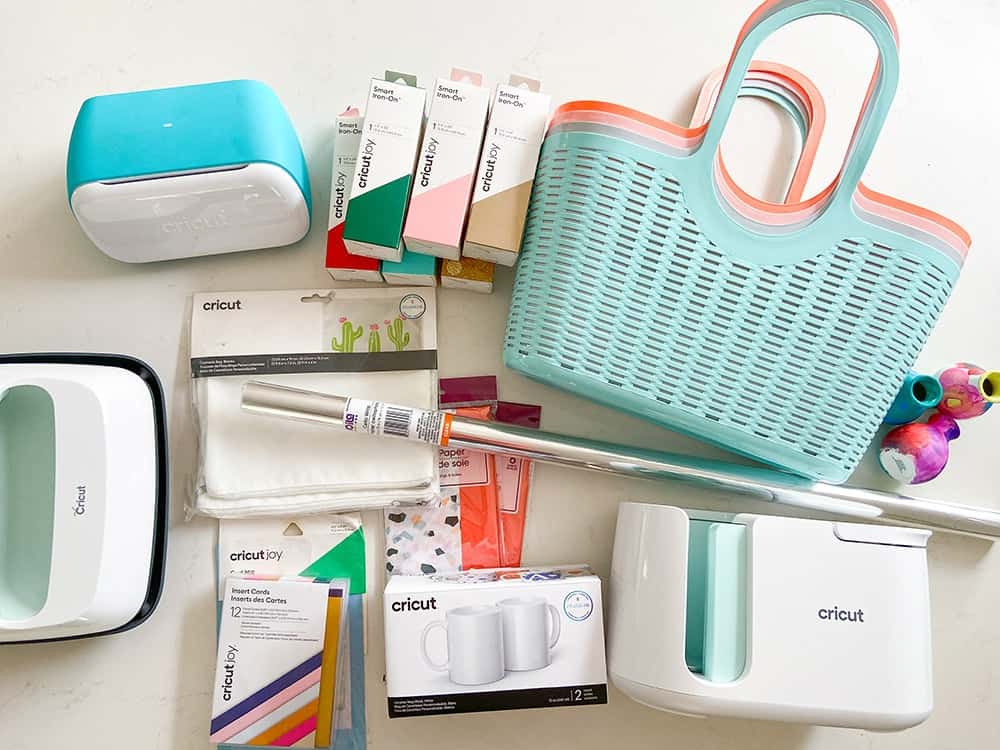
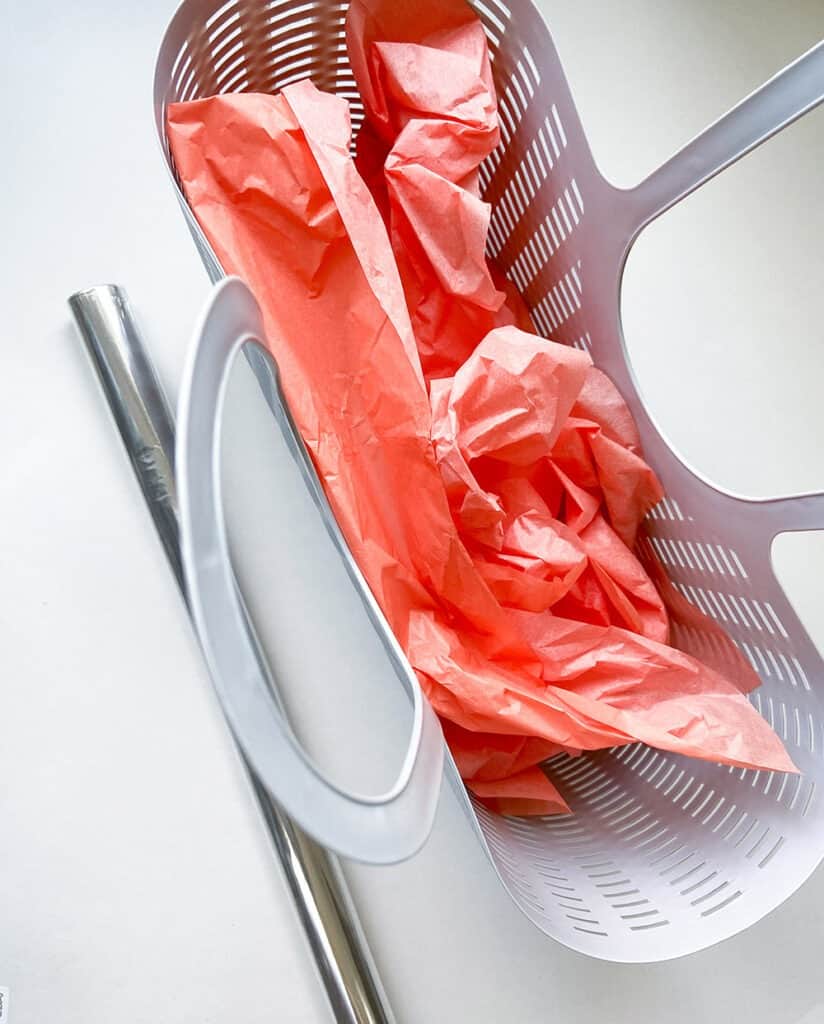
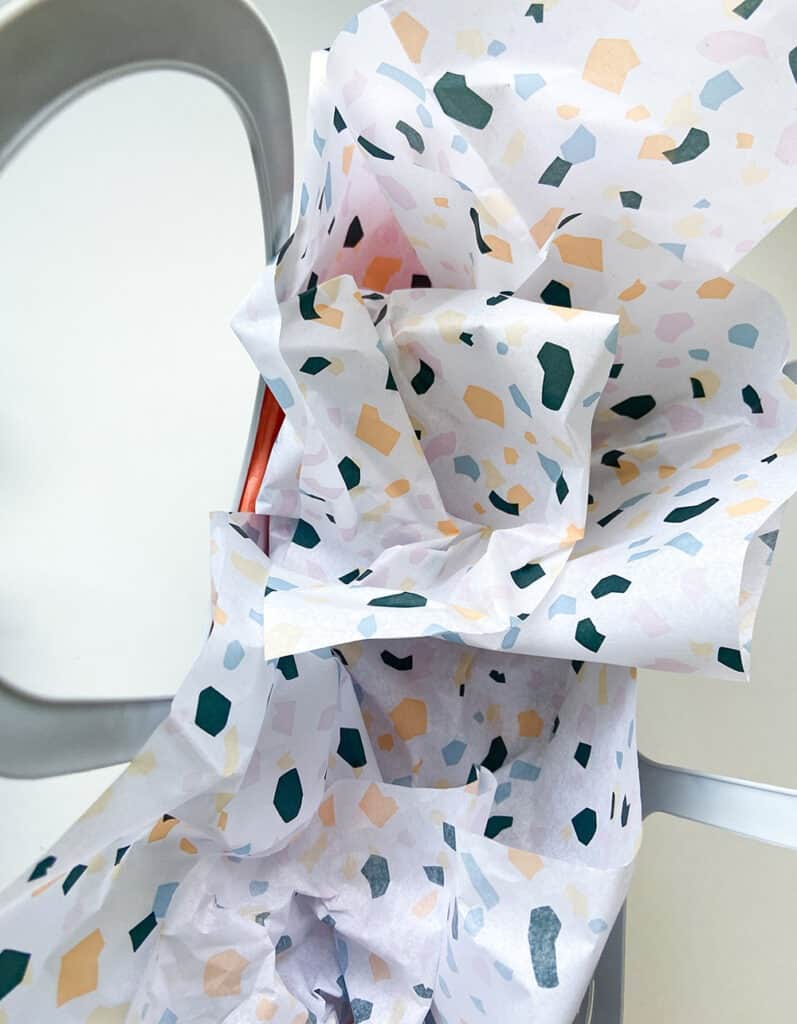
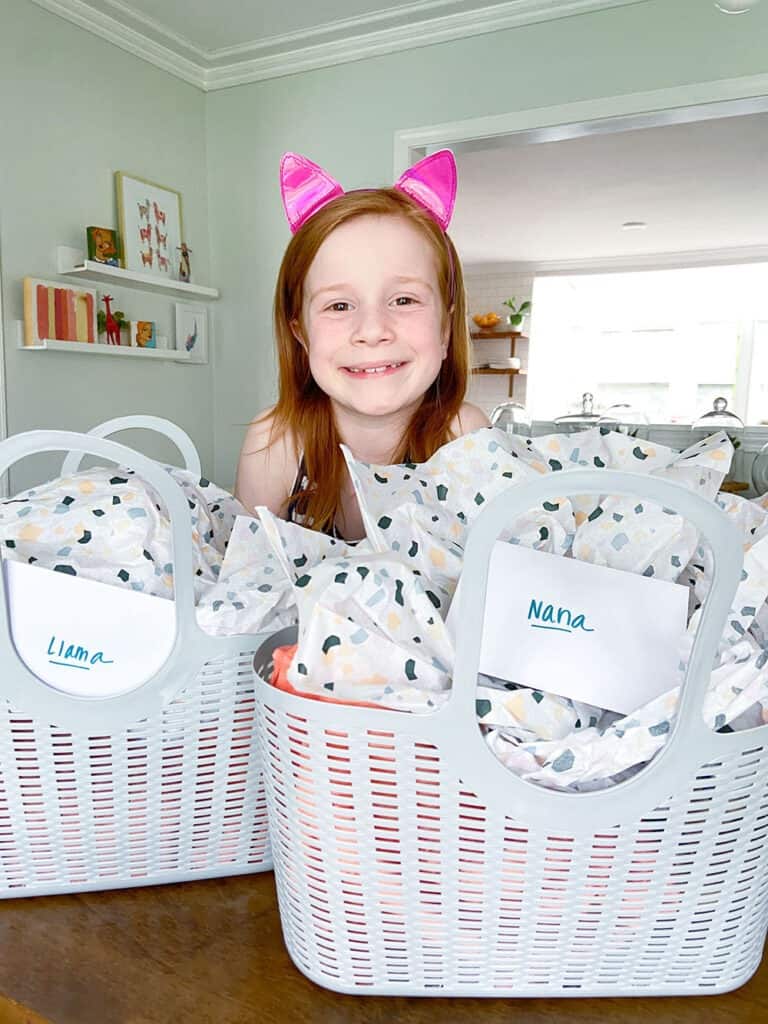
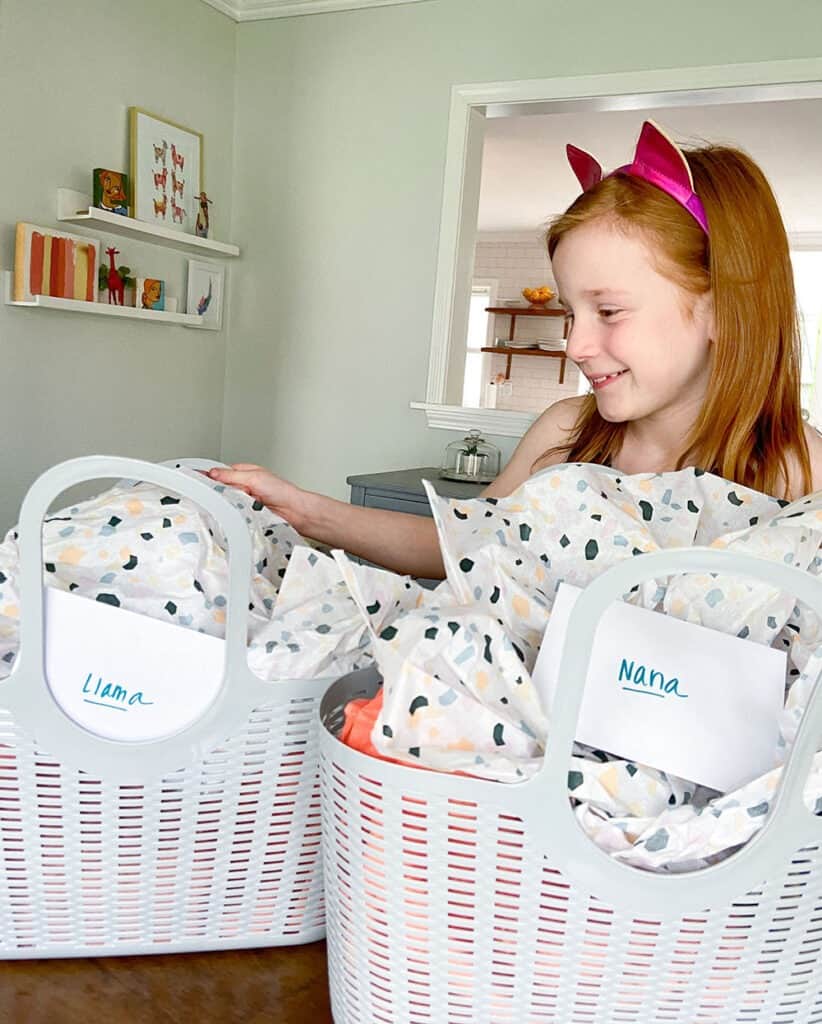
I got the pretty plastic baskets from Dollar Tree, and loved them so much I bought 11 of them, ha! The terrazzo tile tissue paper and cellophane also came from Dollar tree.
Ok, let’s get going on the DIY projects, shall we?
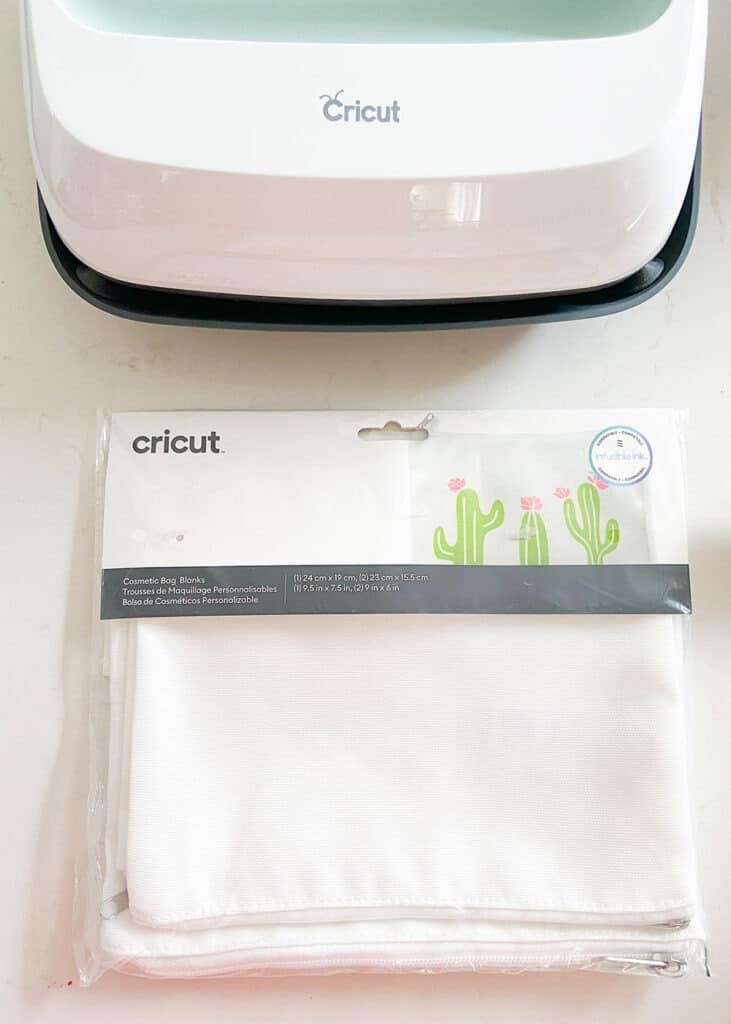
Personalized cosmetic bags
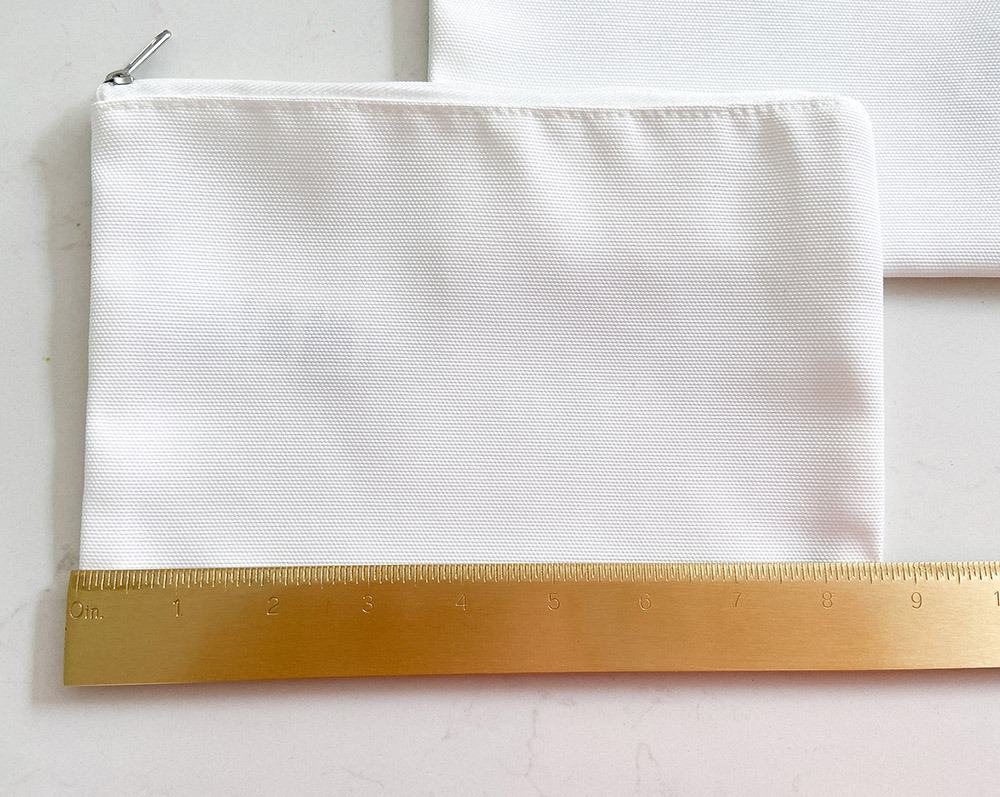
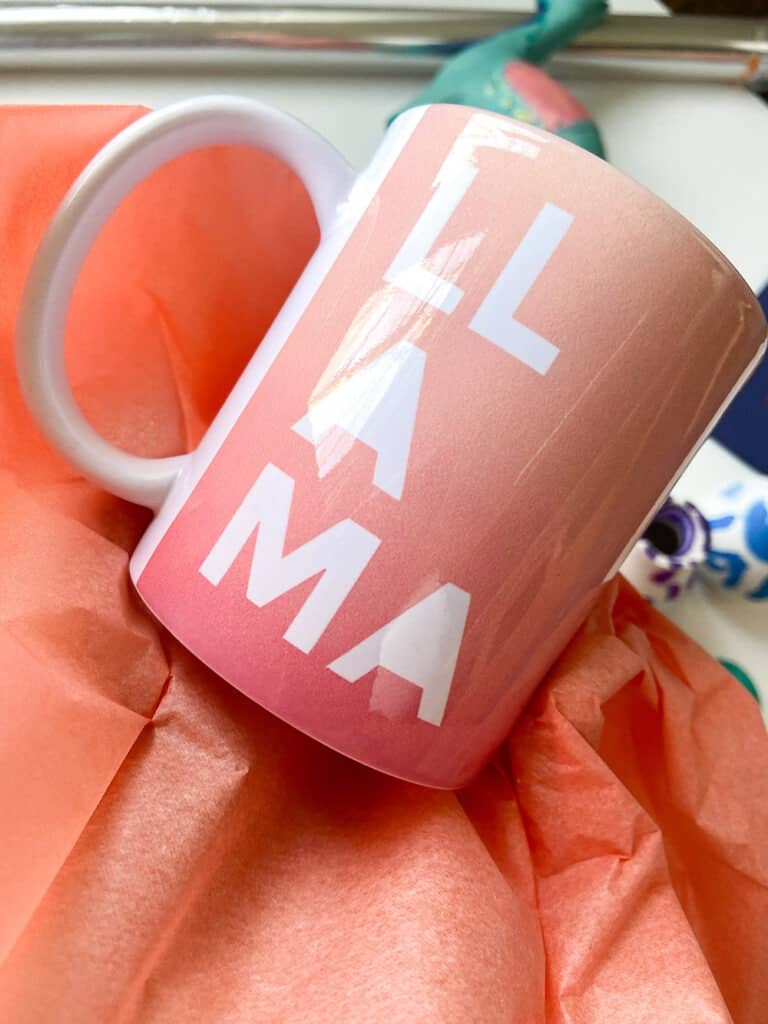
I turned on my Easy Press 2, opened my package of three cosmetic bags, and decided on a design for my mother-in-law (who we call “Llama”).
She loves the color red, so I decided on some red smart iron on.

Using a ruler, I measured the width of the bag before I headed to Design Space to get started on the design process.
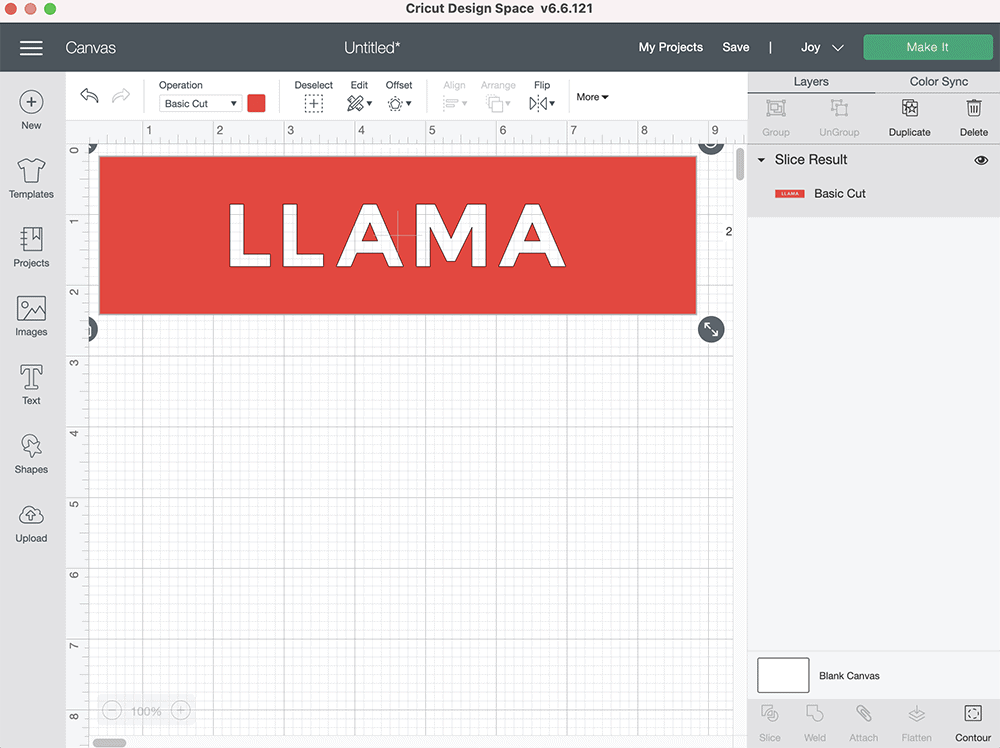
I created a simple rectangle that was approximately 8.5″ in length, and added “LLAMA” over the top. Then I sliced the text out of the triangle.
It was time to cut the design, but first I had to mirror the design so it would iron on facing the correct direction.
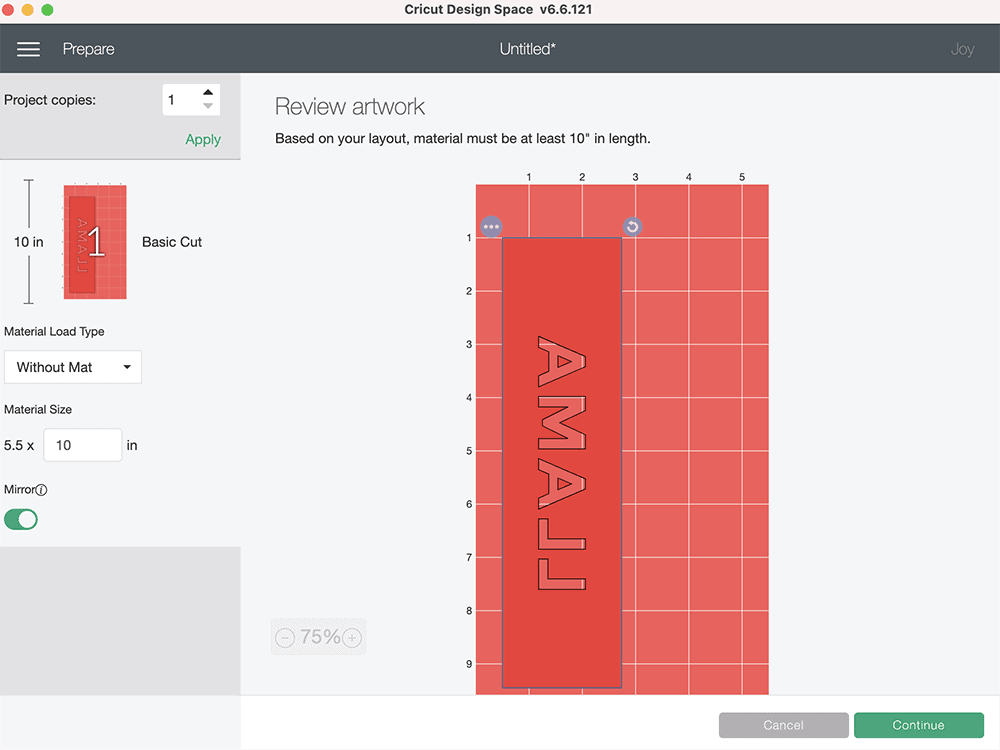
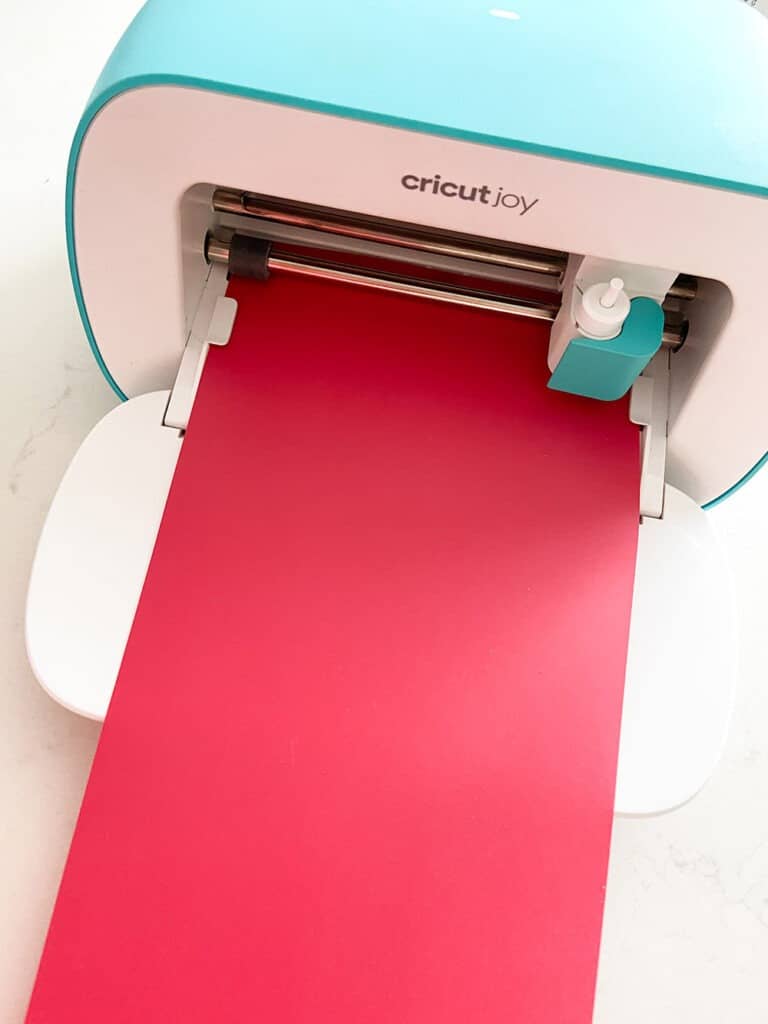
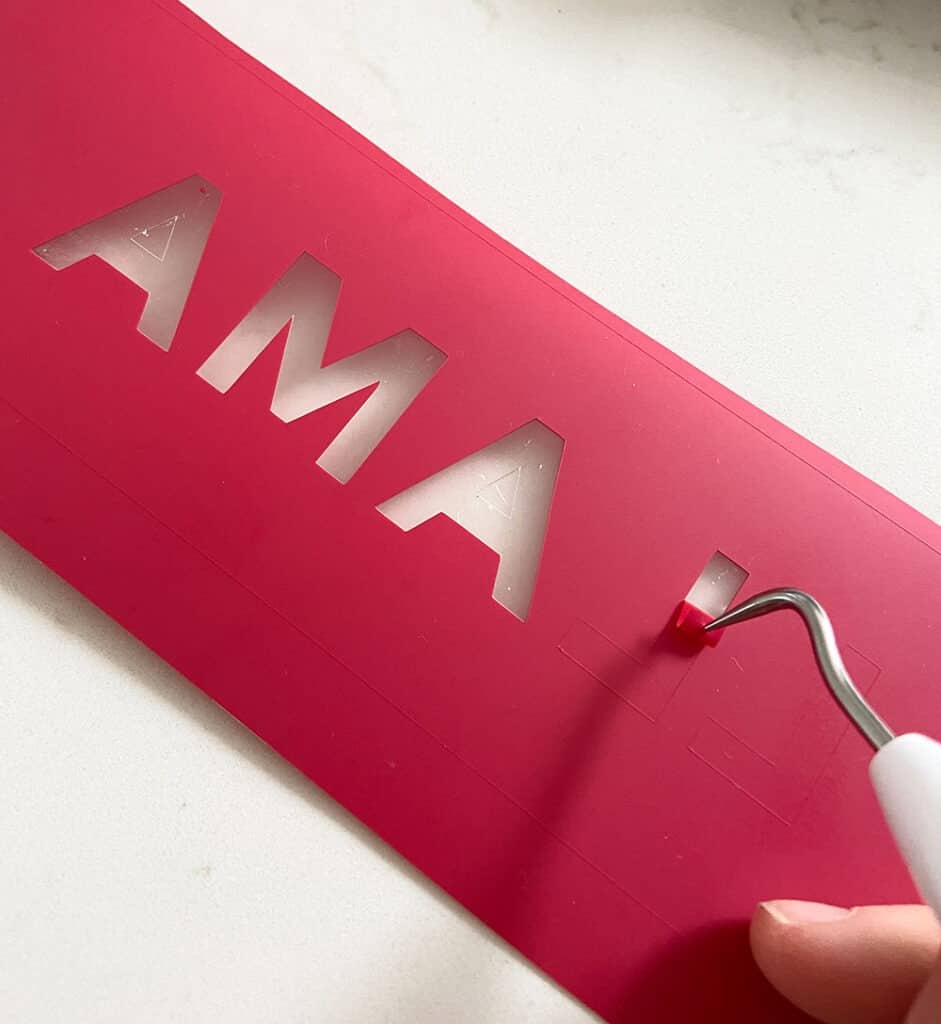
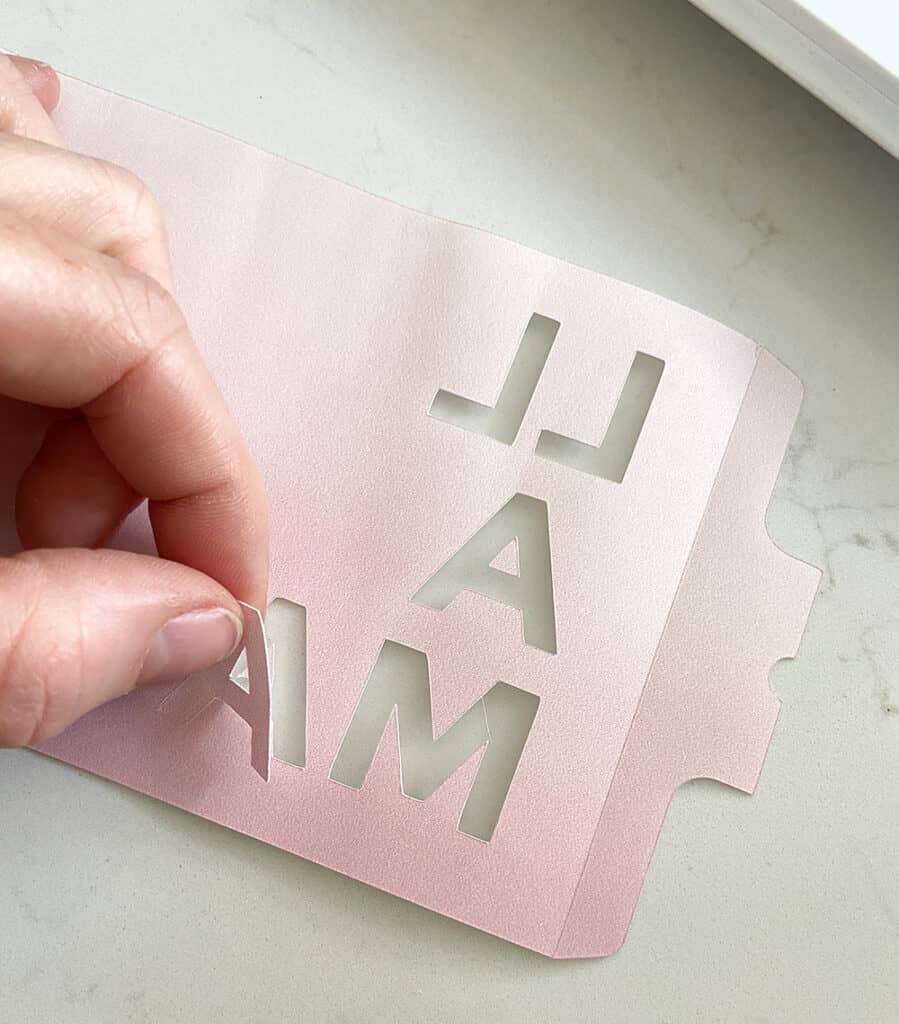
Using my Cricut Joy, I cut out the design (shiny side down).
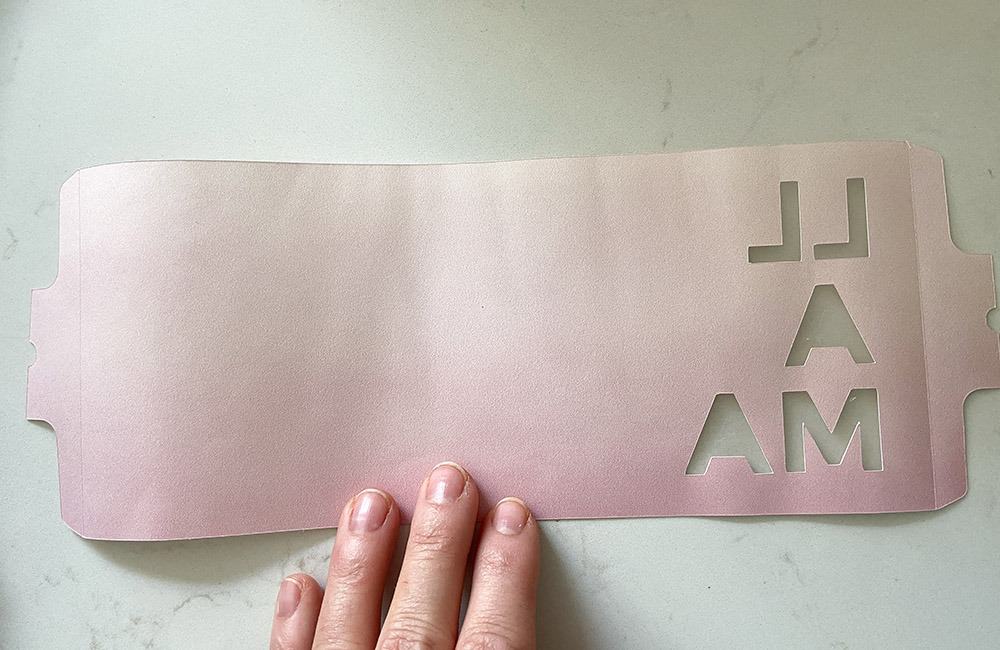
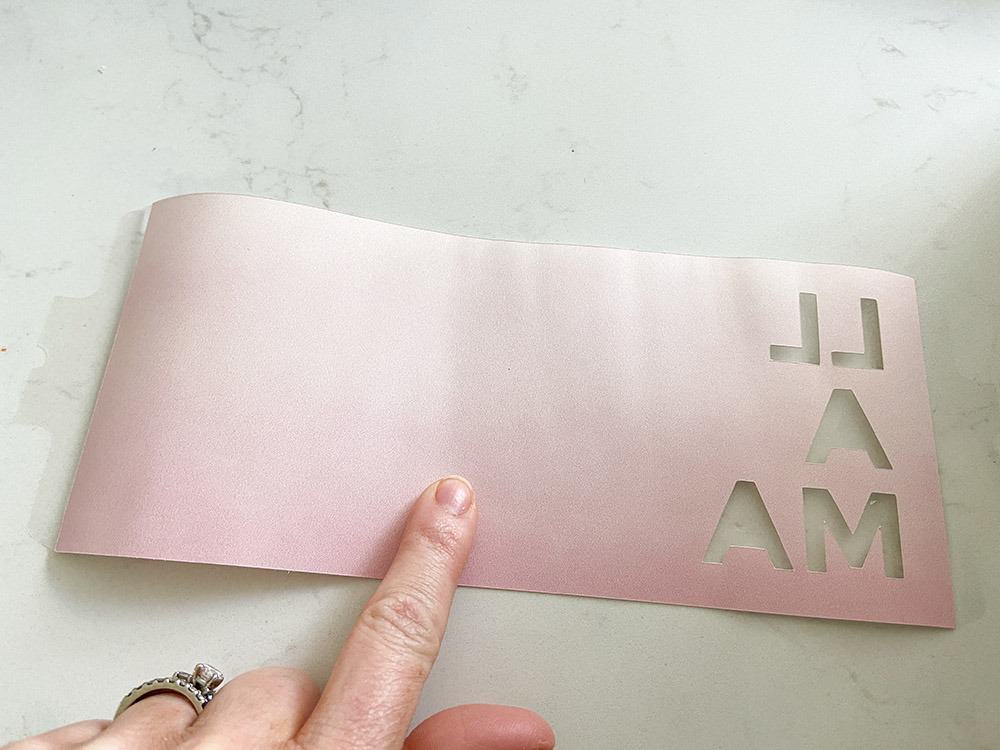
Once cut, I weeded away the excess design with my weeding tool.
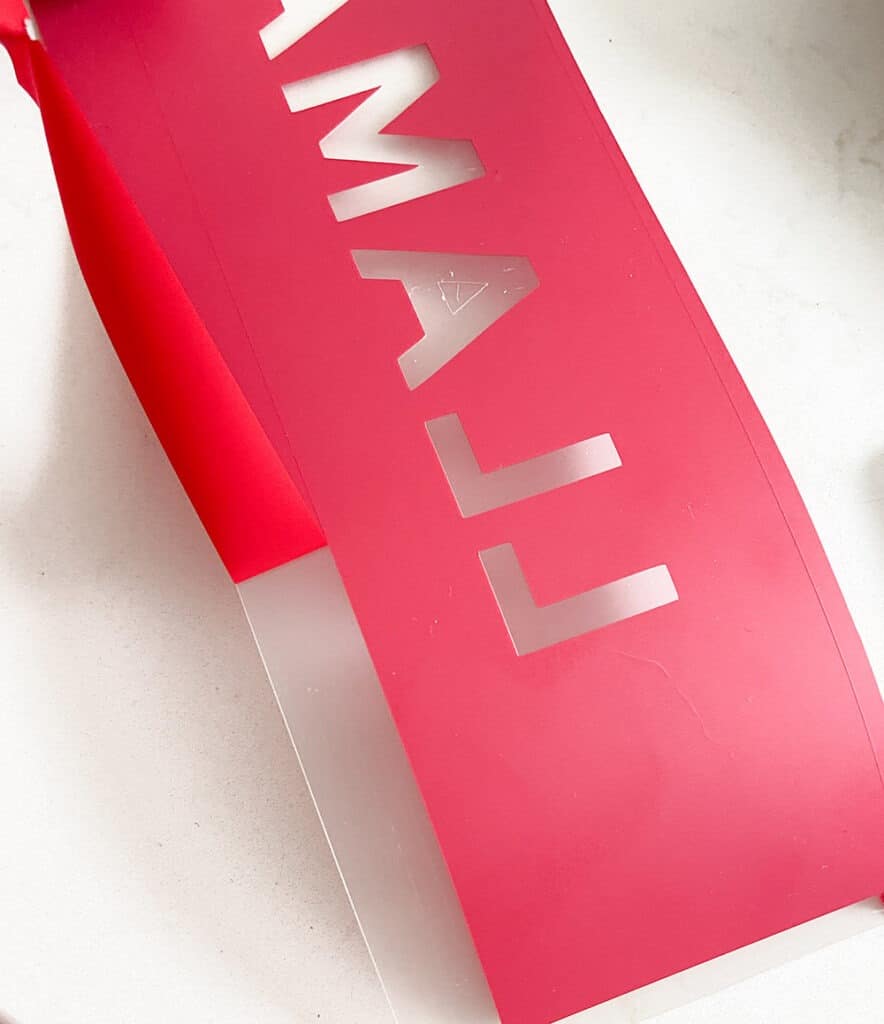
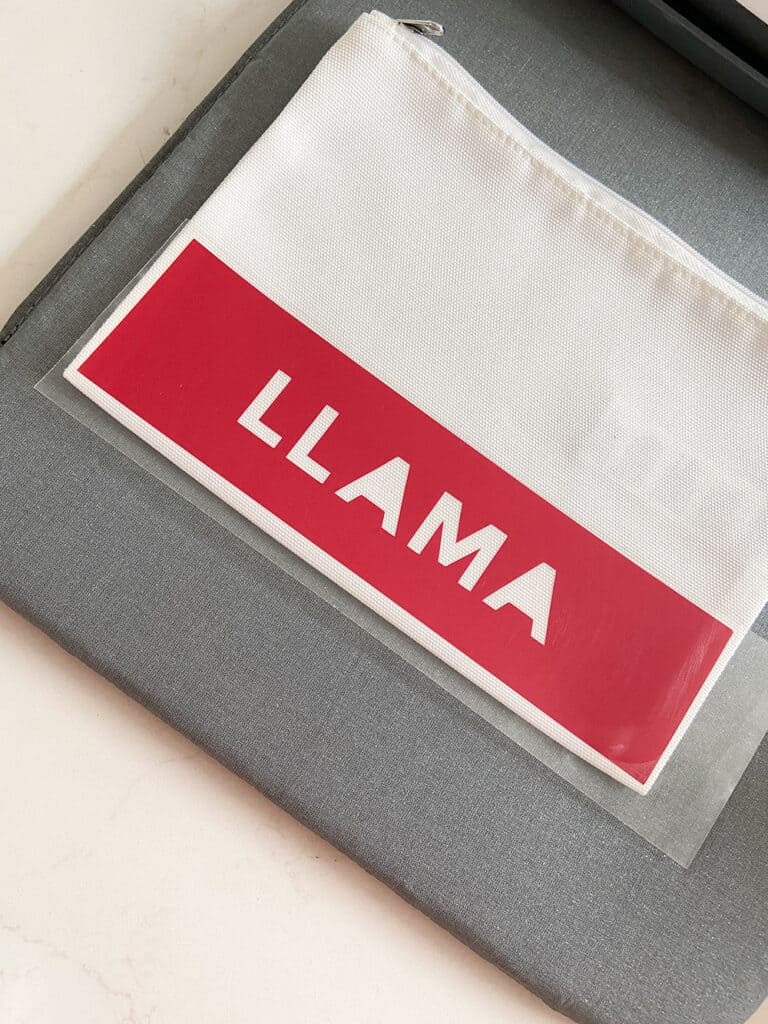
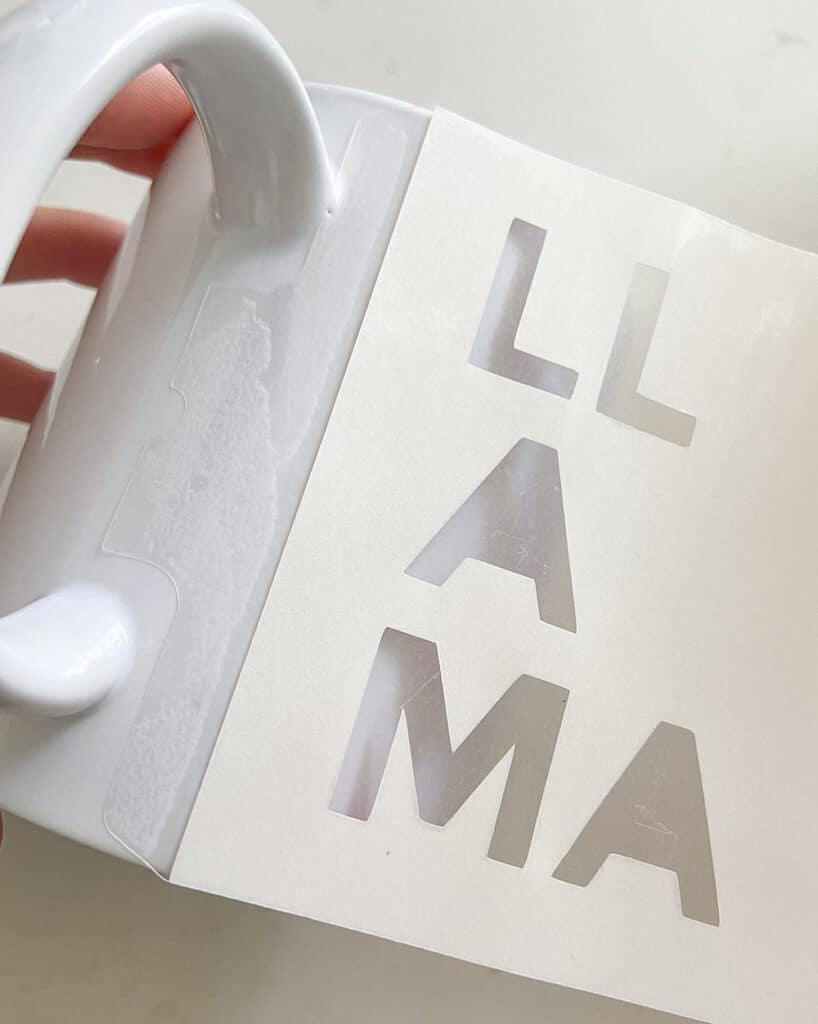
I laid out the design over the cosmetic bag to get a vision on how it will look.
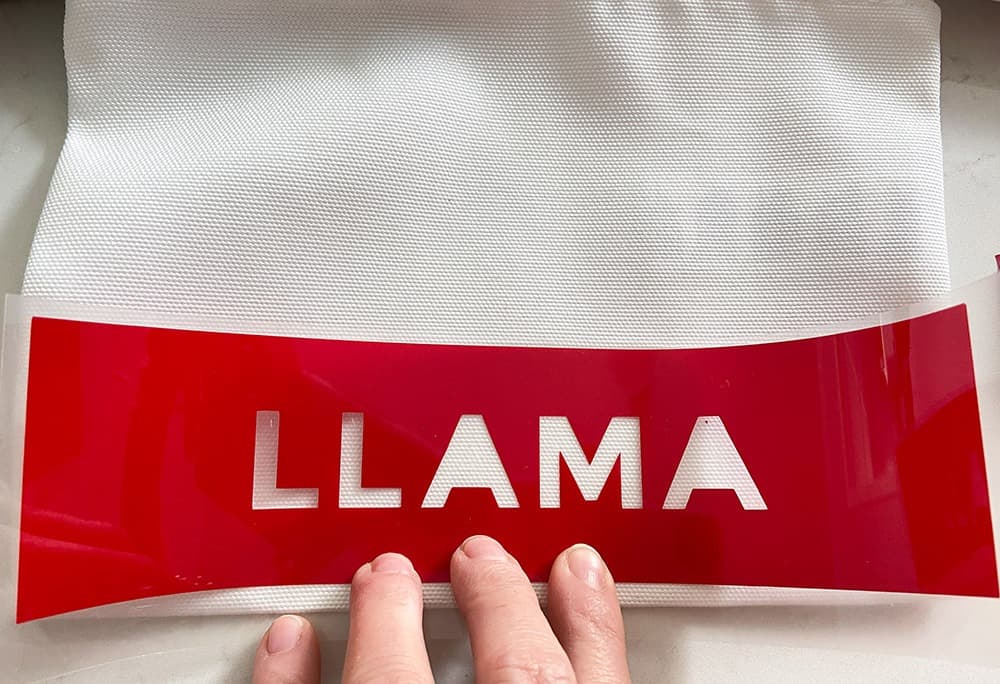
The Easy Press 2 was heated and ready to go at 315 degrees (according to the Cricut heat guide). I placed it over the design and let the timer go for 30 seconds.
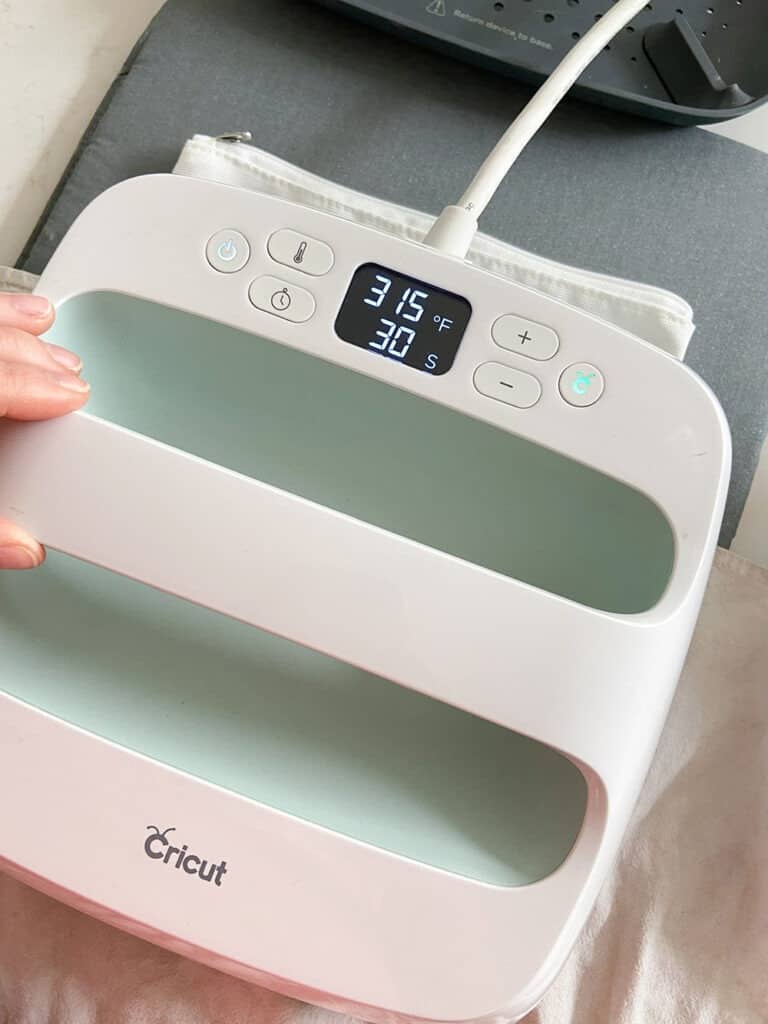
Once the timer went off, I removed the Easy Press 2 and put it back on its stand.
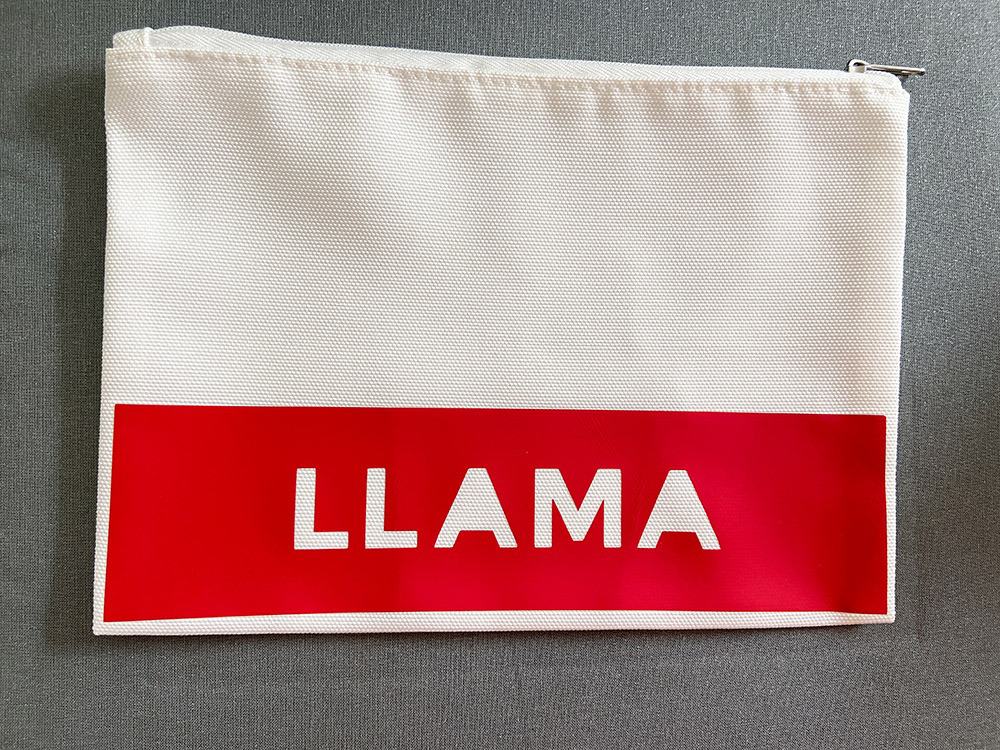
After everything cooled down, I gently pulled away the protective backer revealing my super cool, personalized design.
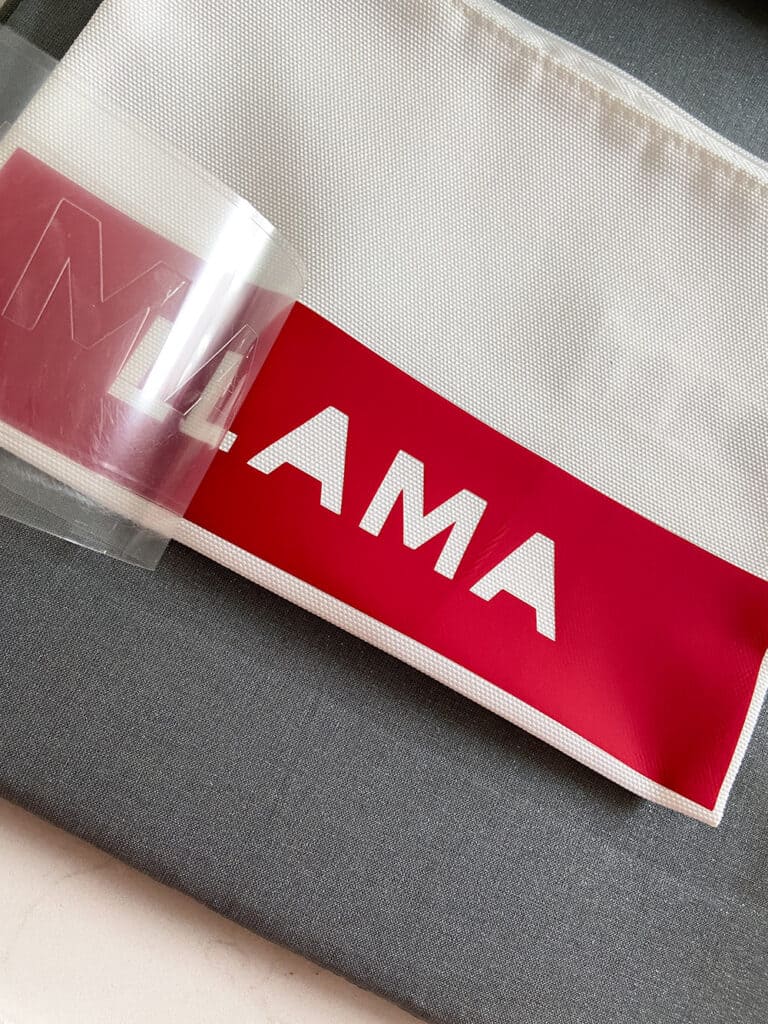
I love how this cute bag turned out and the color is so vibrant!
Time to make my mom’s bag now!
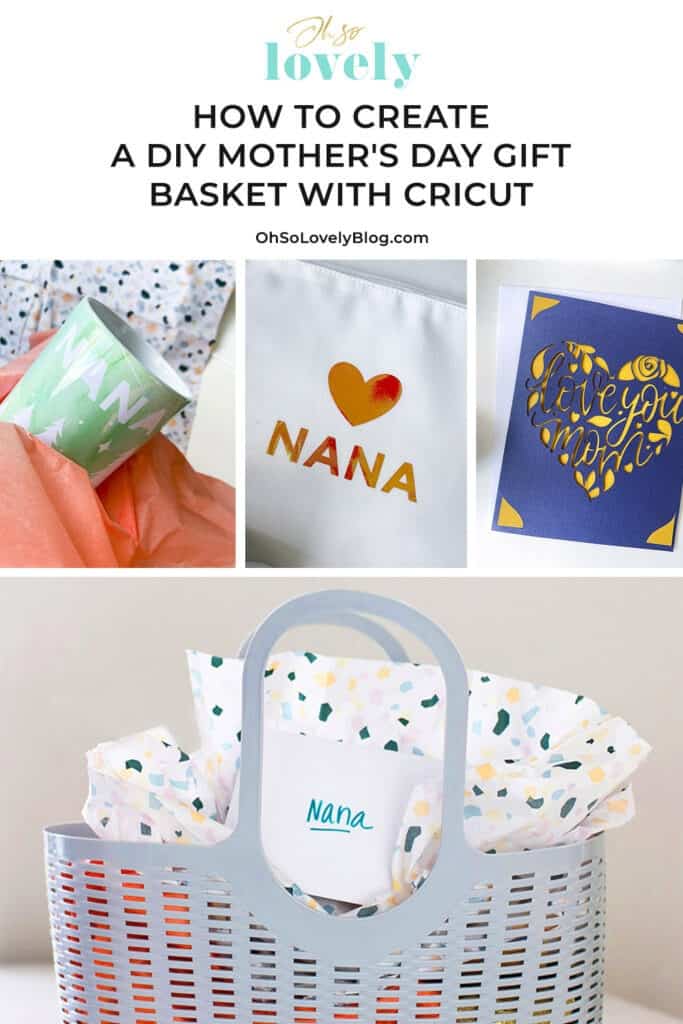
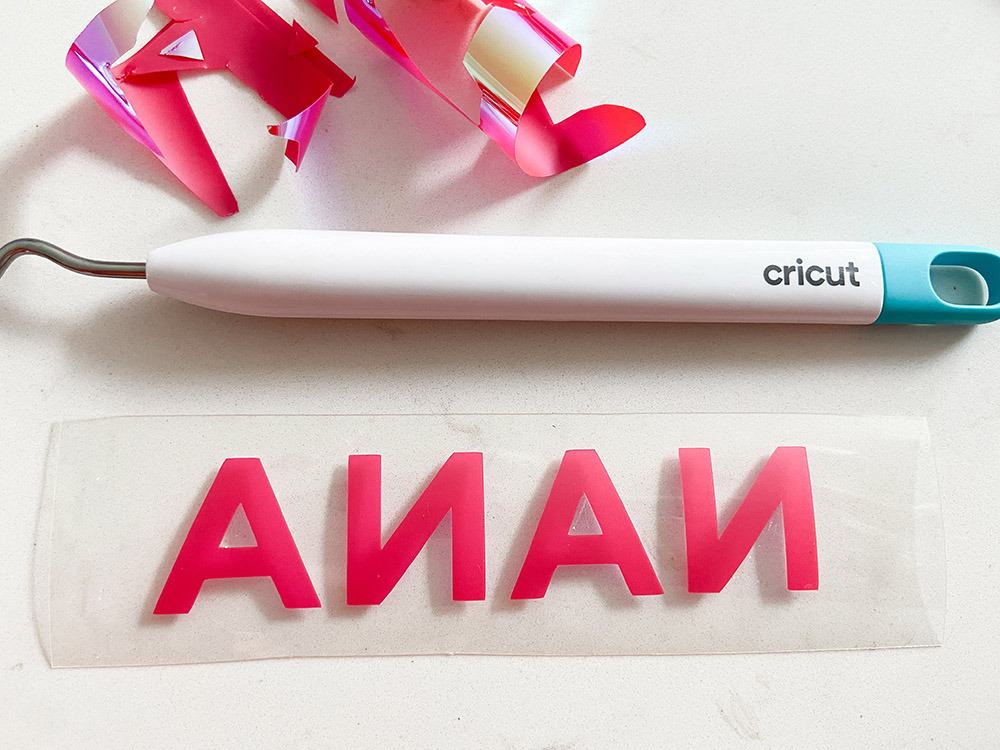
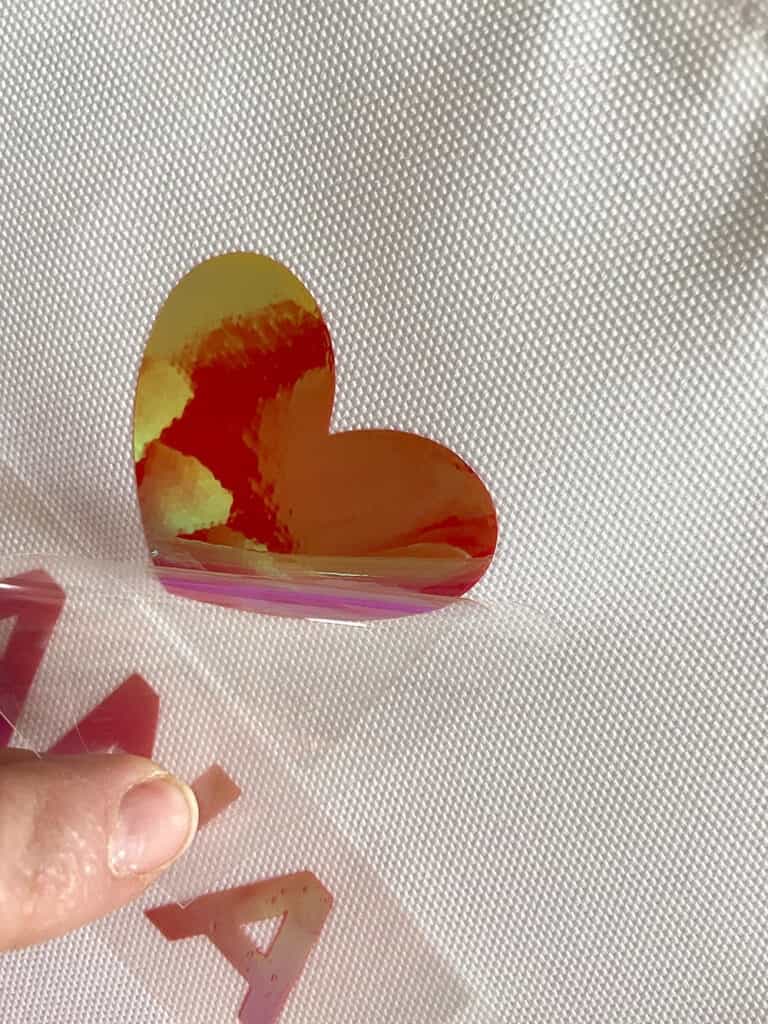
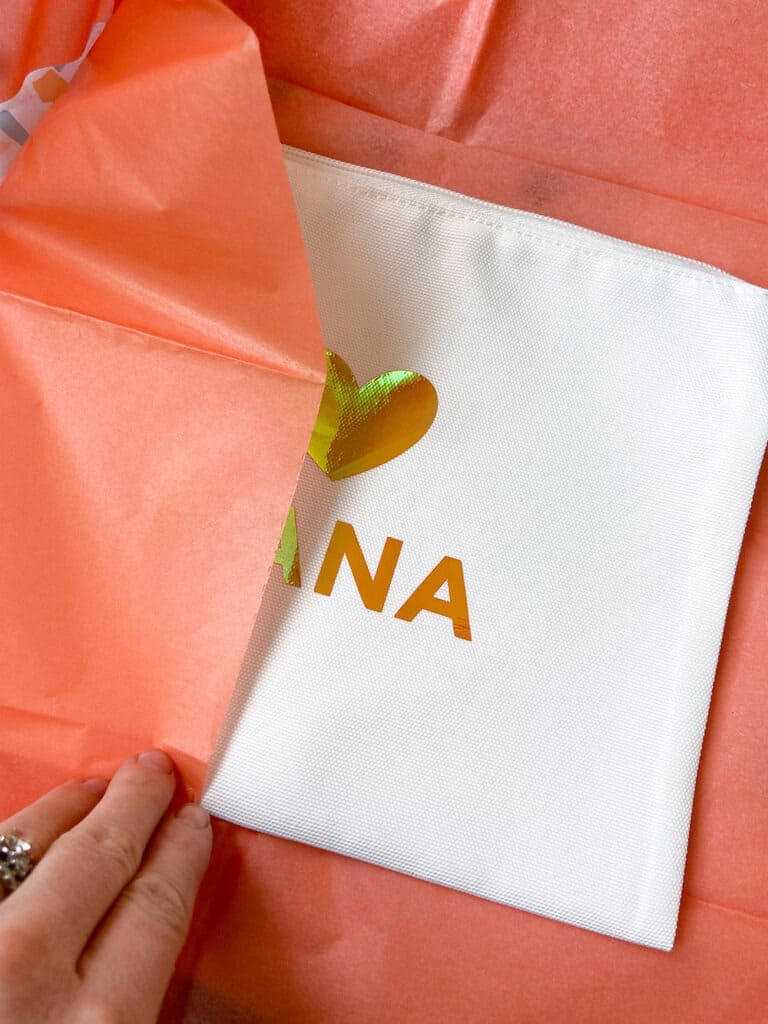
I found some excess holographic iron on from a previous tea towel project and decided to use it in a super simple design. I love the holographic iron materials on so much!
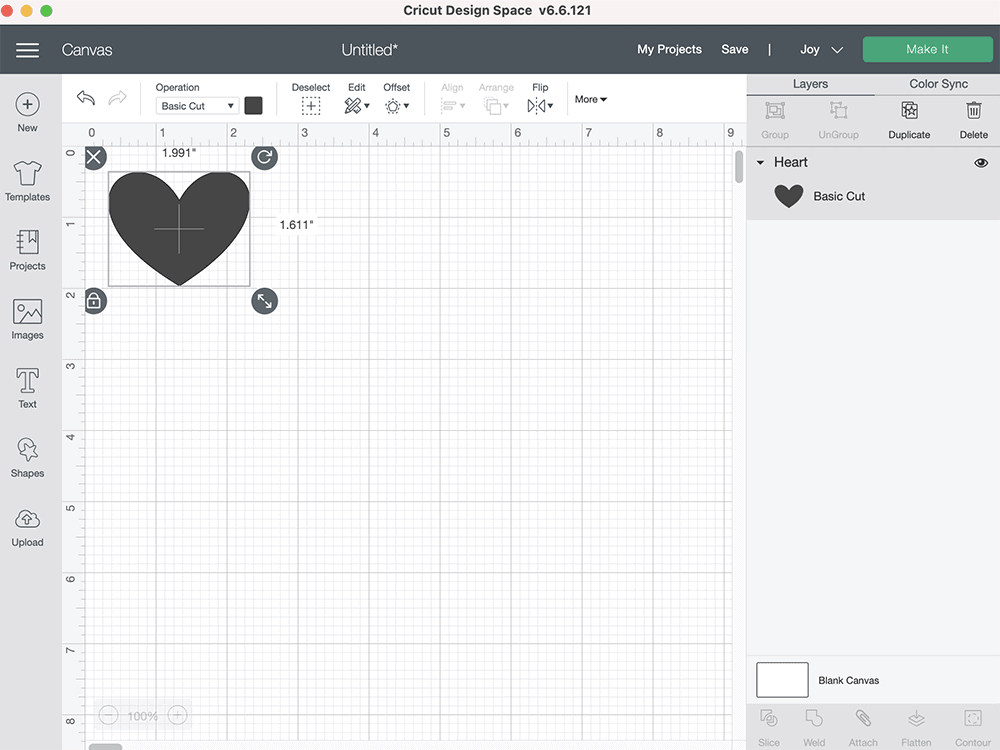
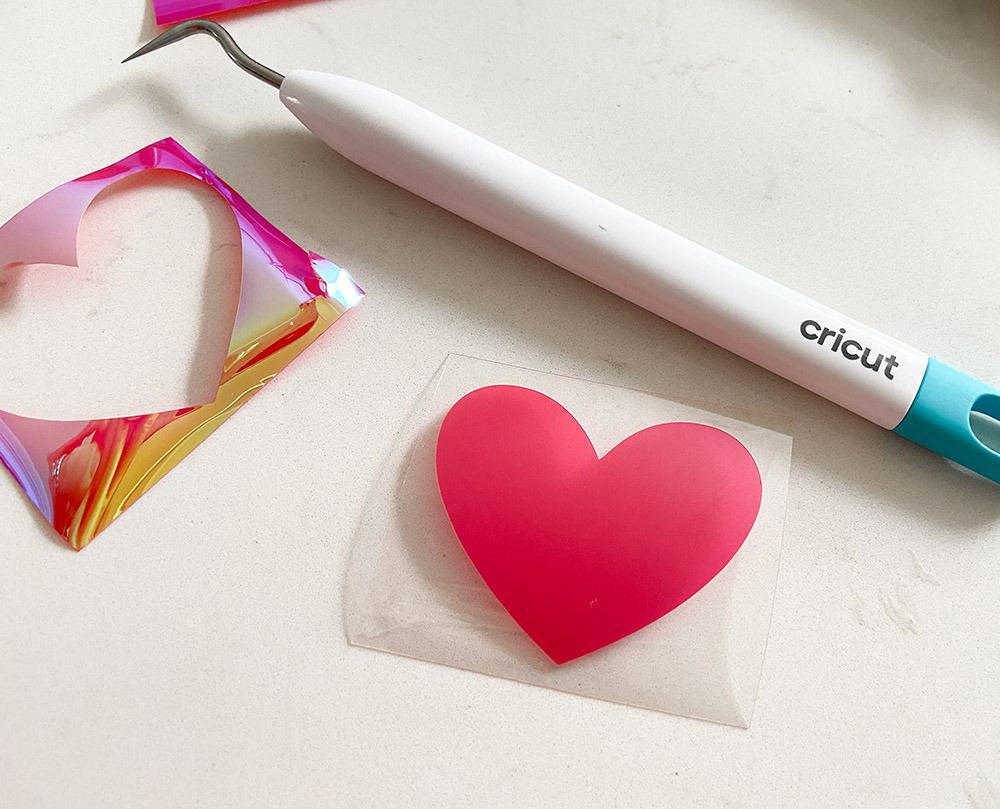
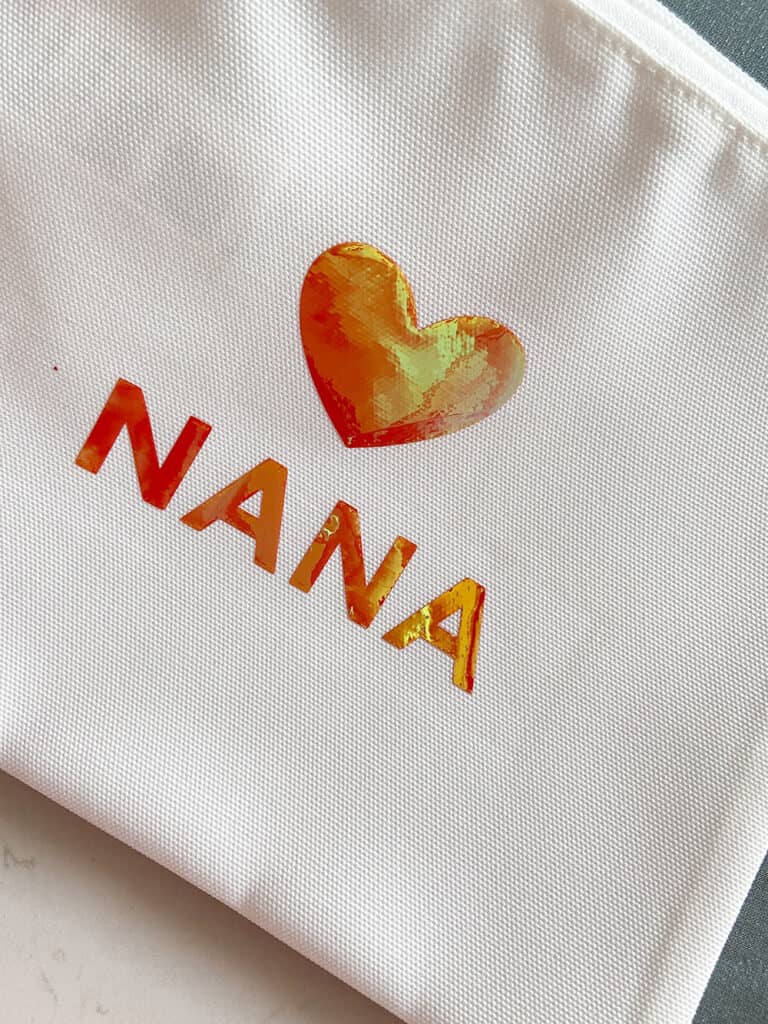
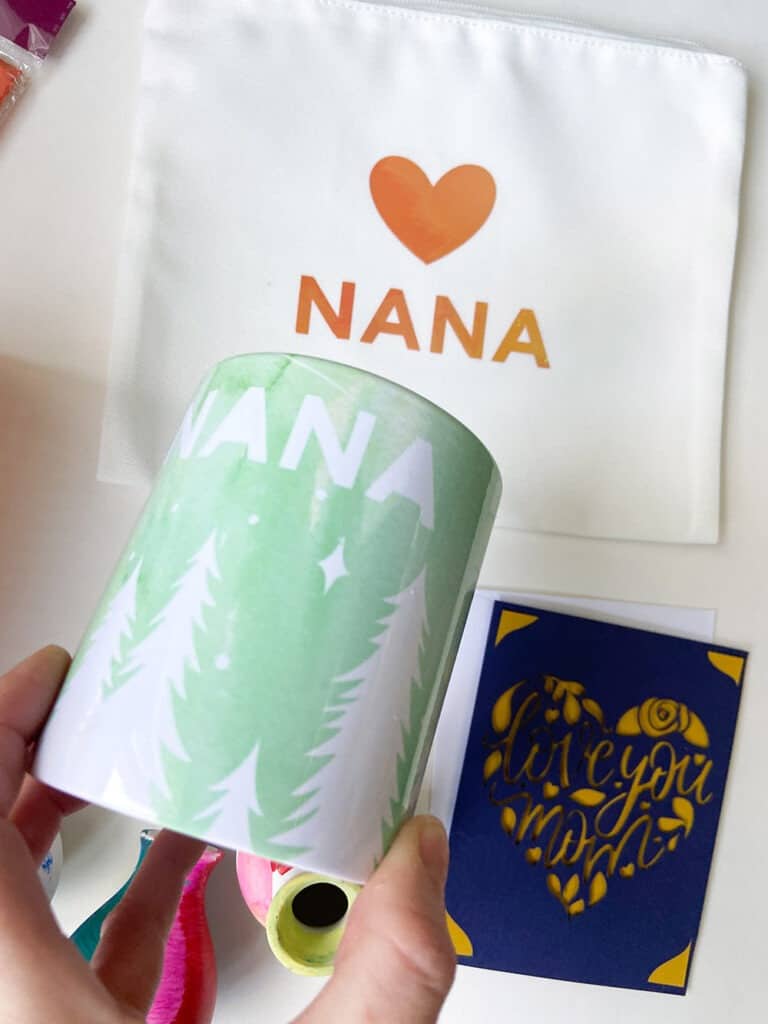
Off to Design Space I went – I made a simple heart and text that read “NANA.
My Joy quickly cut the design and it was time to wee away the excess.

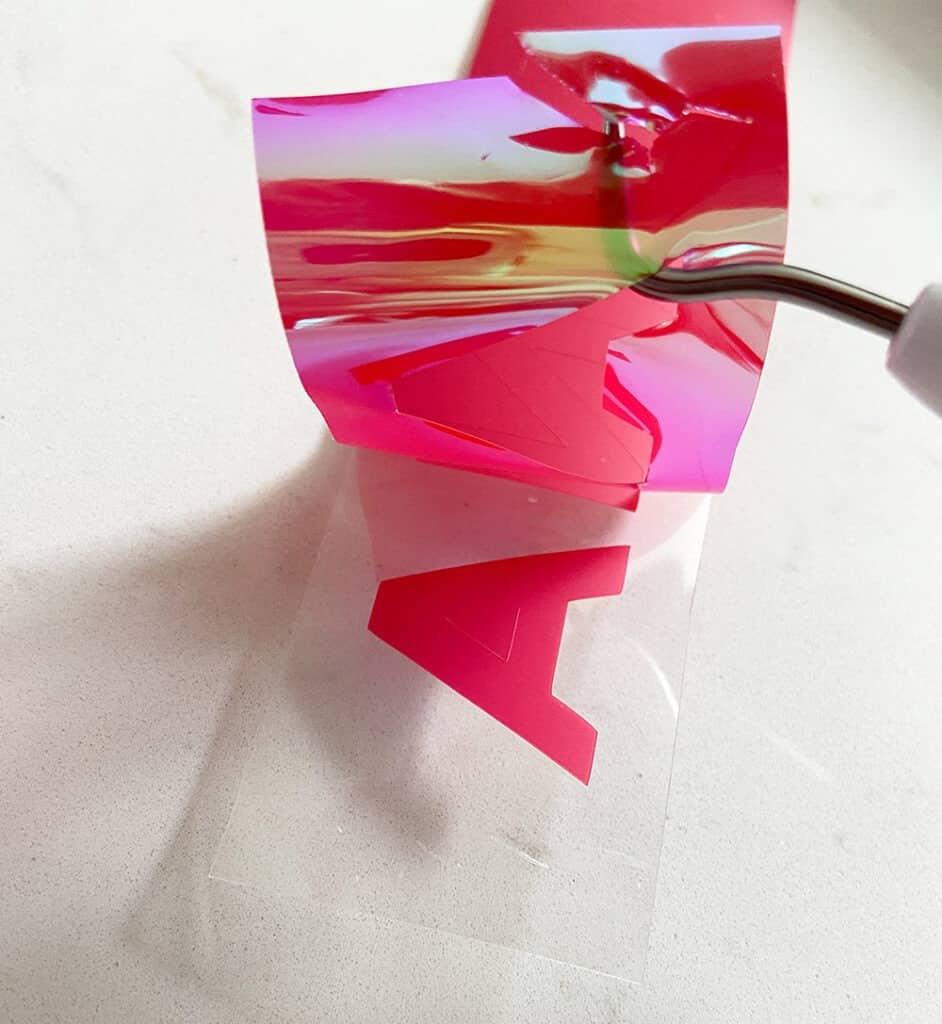
After the design was placed on my bag to my liking, I used the Easy Press 2 to adhere it (315 degrees for 30 seconds).
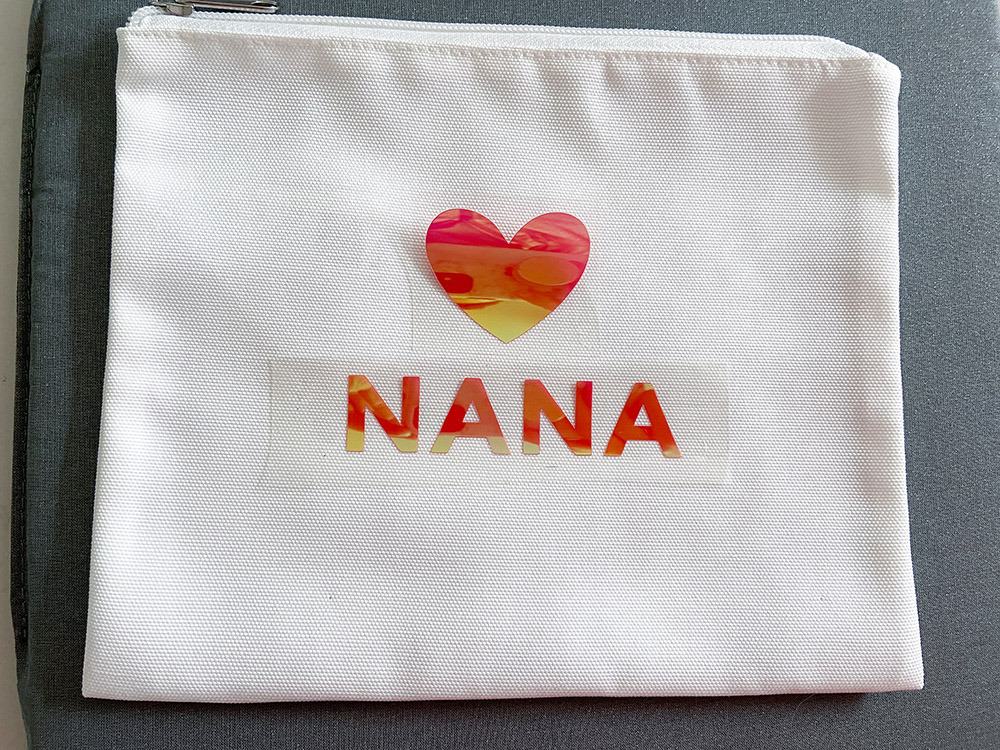
Once everything cooled, I gently peeled away the backer to reveal the holographic design.
I love how simple yet cool this cosmetics bag is, and can’t get over the holographic effect. It’s going to look great in the Mother’s Day gift basket.
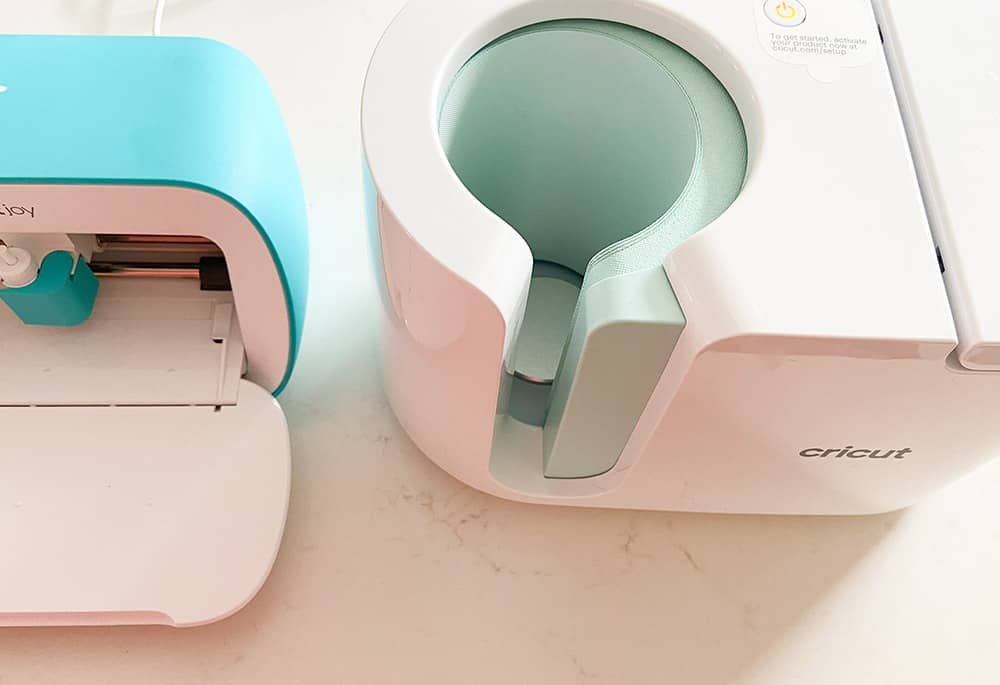
Time to make some mugs for the gift basket using my Cricut Mug Press
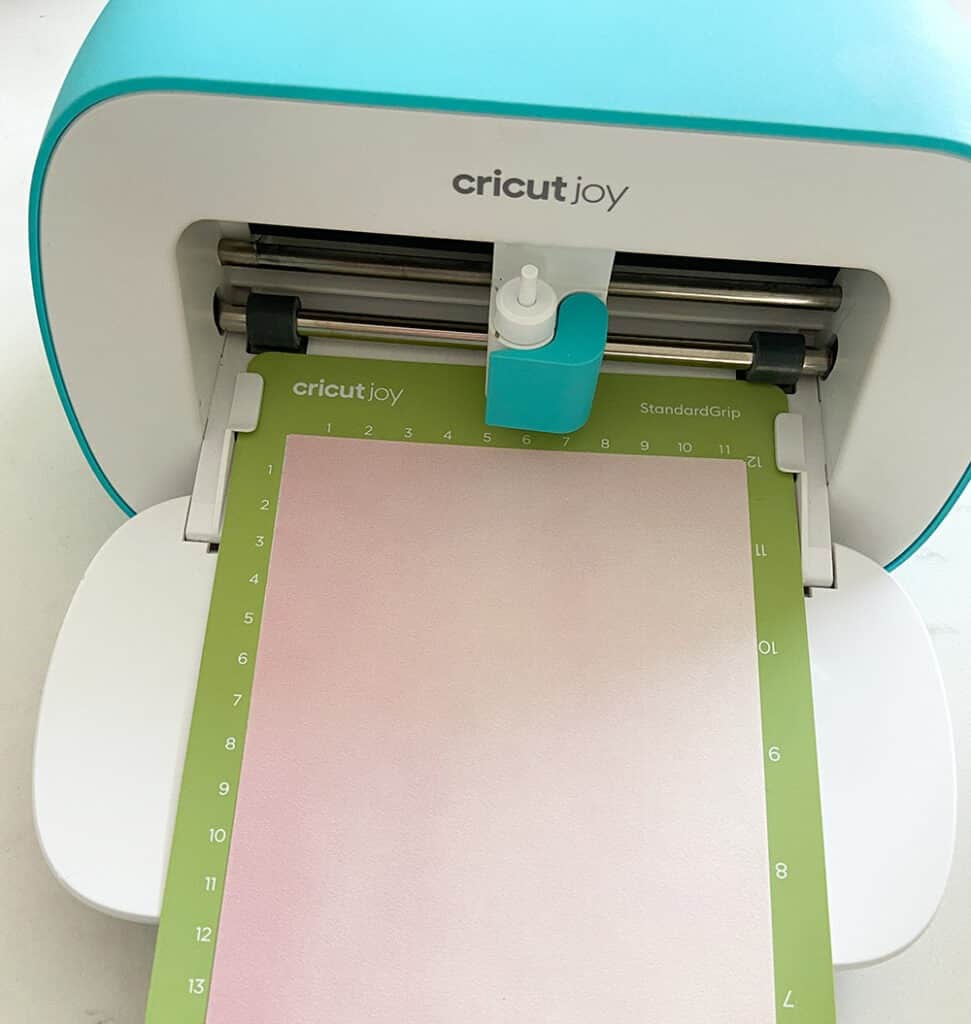
I turned on the Mug Press, grabbed two 12 ounce mugs, some infusible ink, my Joy, and got to work!
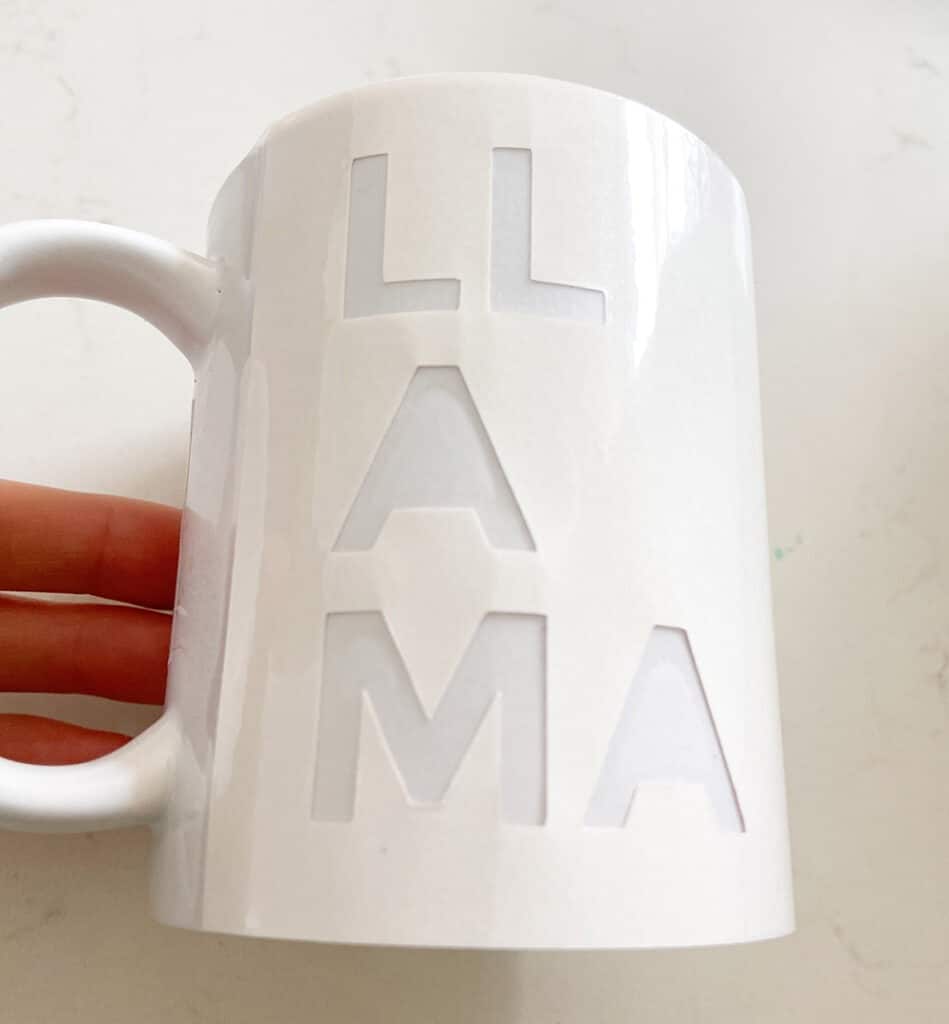
In Design Space, I designed my customized art using a mug template, then sliced the text from the design just as I did on the cosmetics bag.
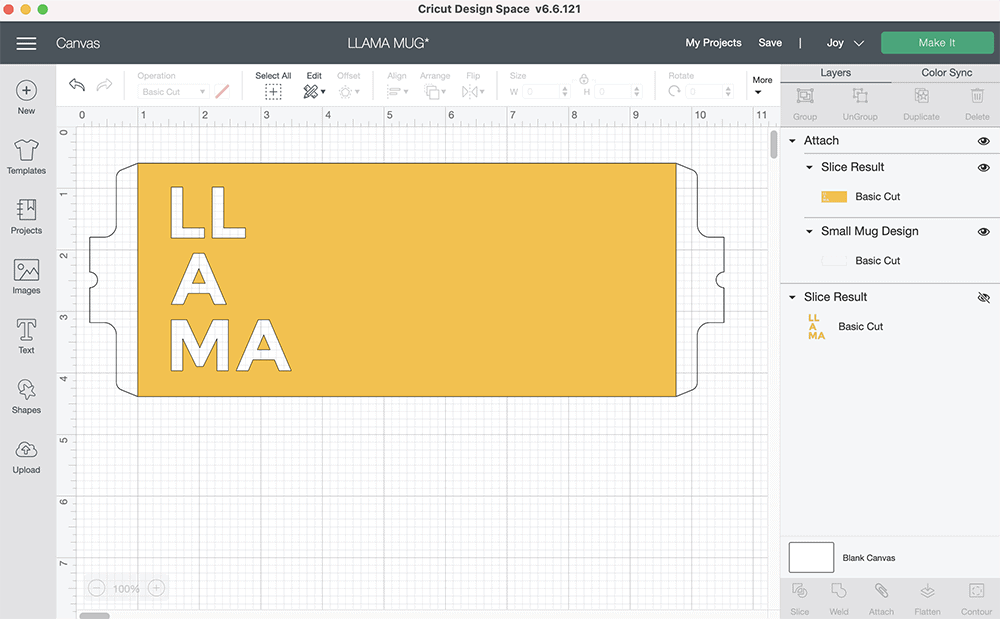
After mirroring the design it was time to cut!
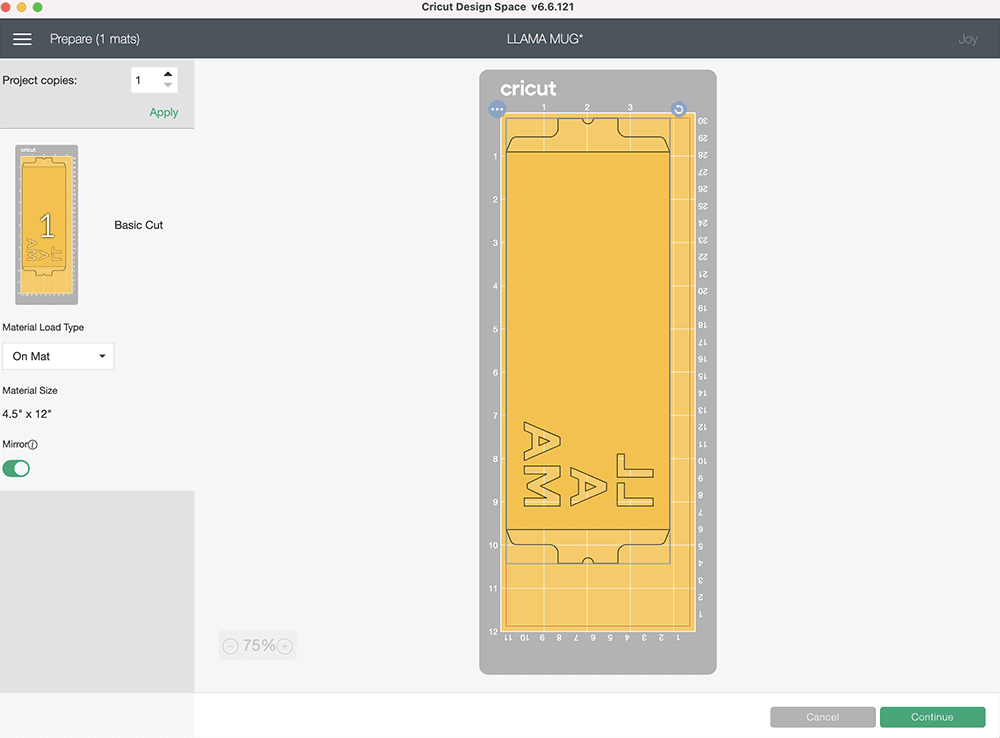
After the design was cut it was time to weed away all the excess material.
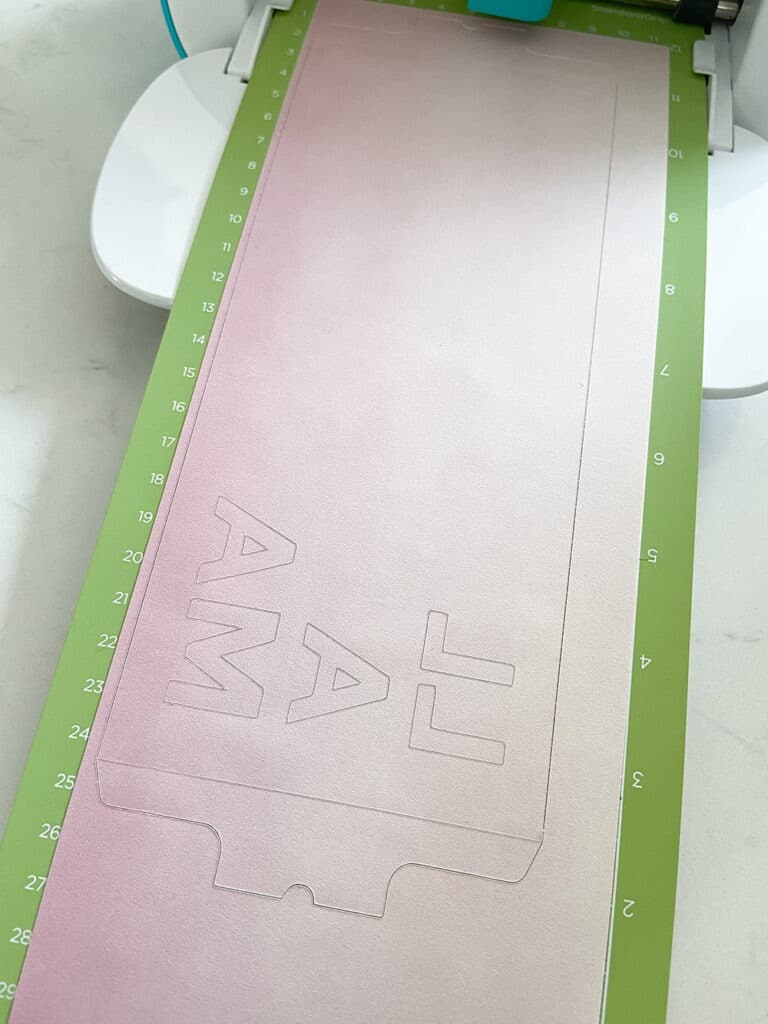
I used my hands for the most part, but you can use the weeding tool if that works better for you.
Finally I pulled away the material on the wrap edges so it could properly stick to the mug underneath the handle.
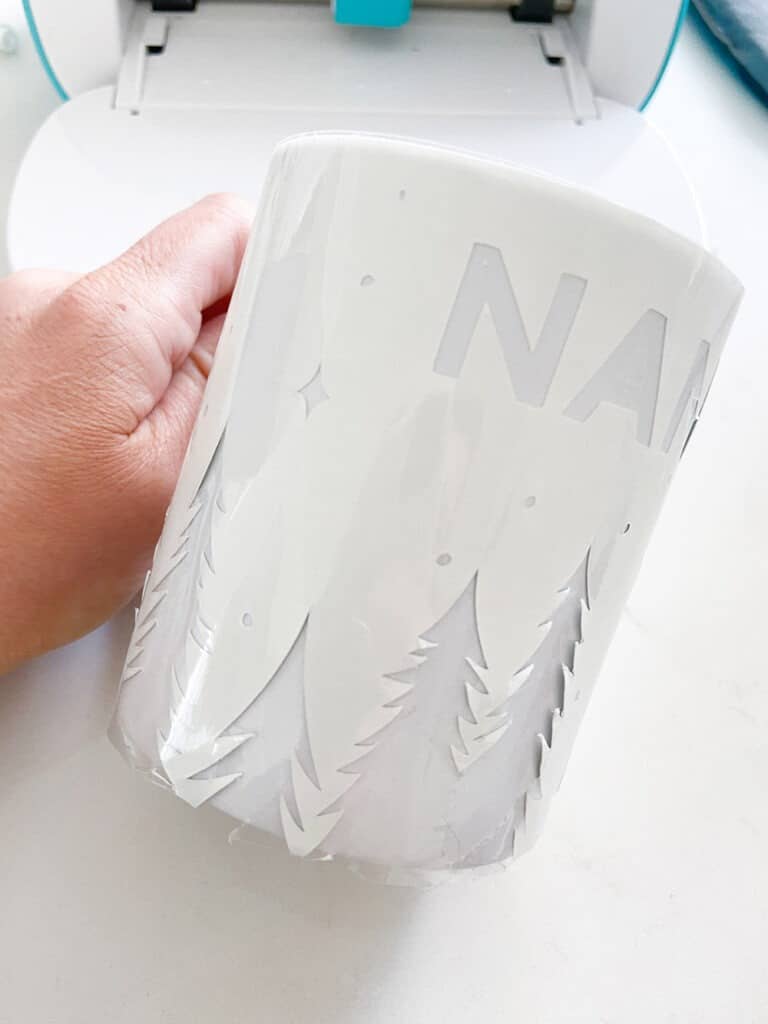
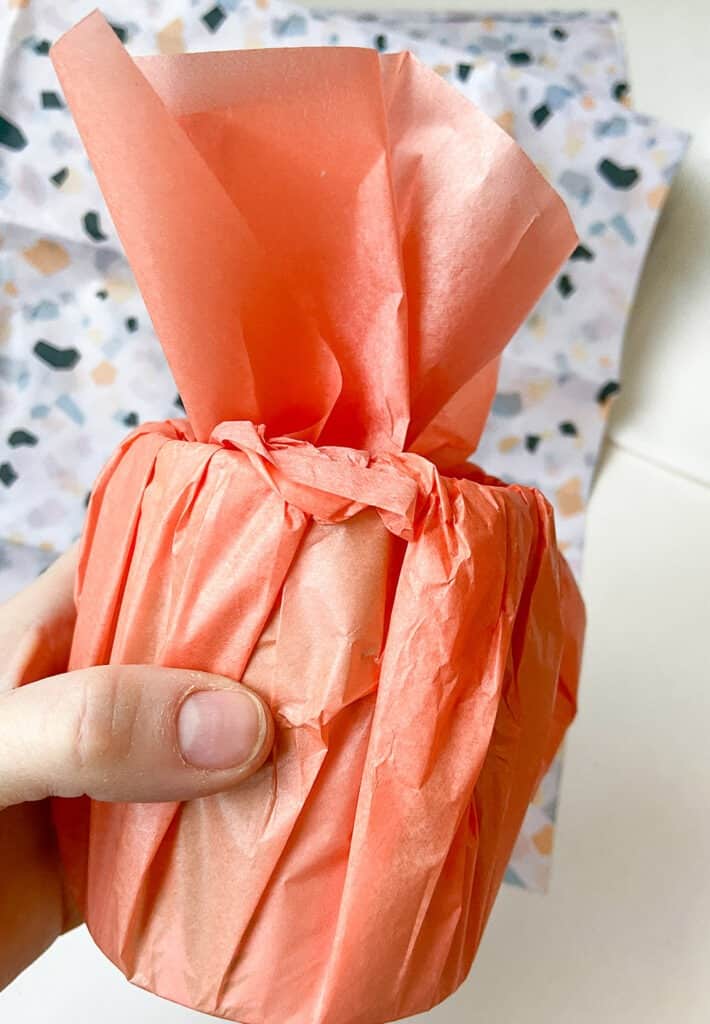
Time to wrap the mug and prepare for the Mug Press!
Once the design was carefully and firmly pressed to the mug blank, I put it in the Mug Press, which is super simple to use and does all the work for you.
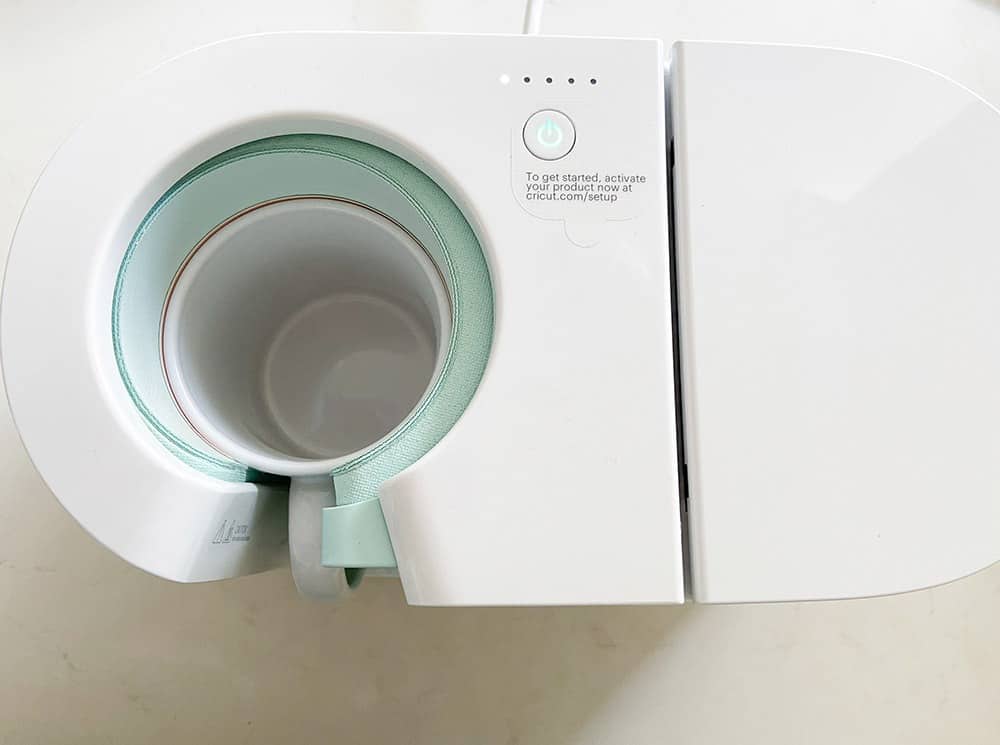
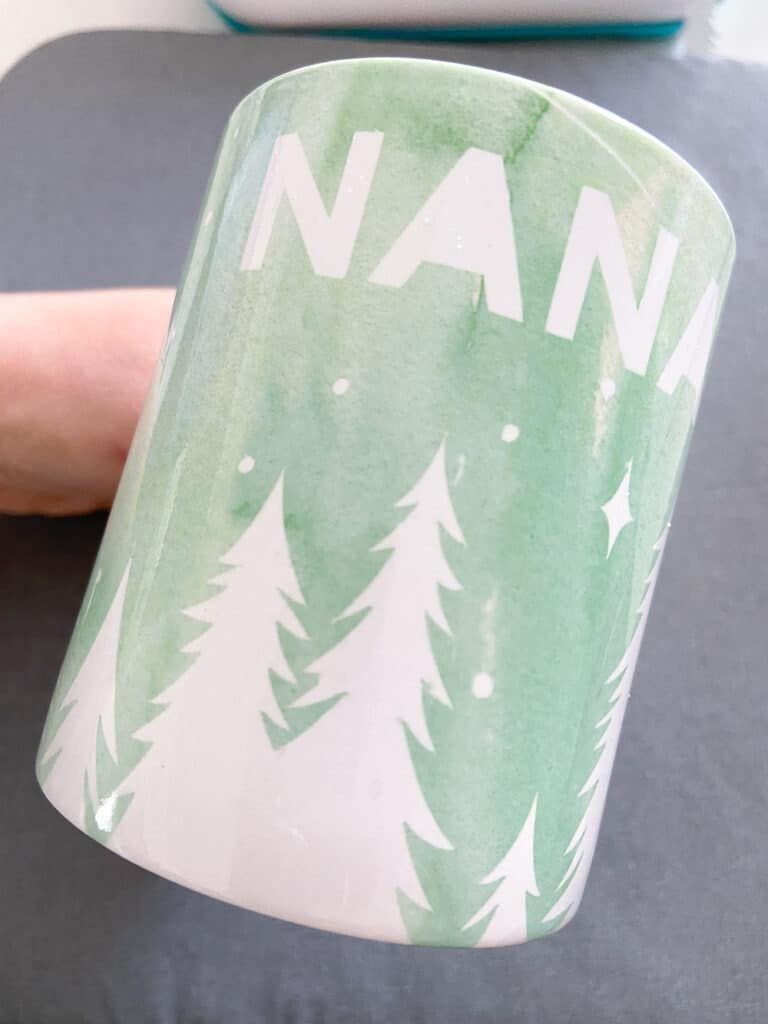
After the beep letting me know that the mug was finished, I gently pulled it out by the handle (which always stays cool), and set it on my mat to cool down.
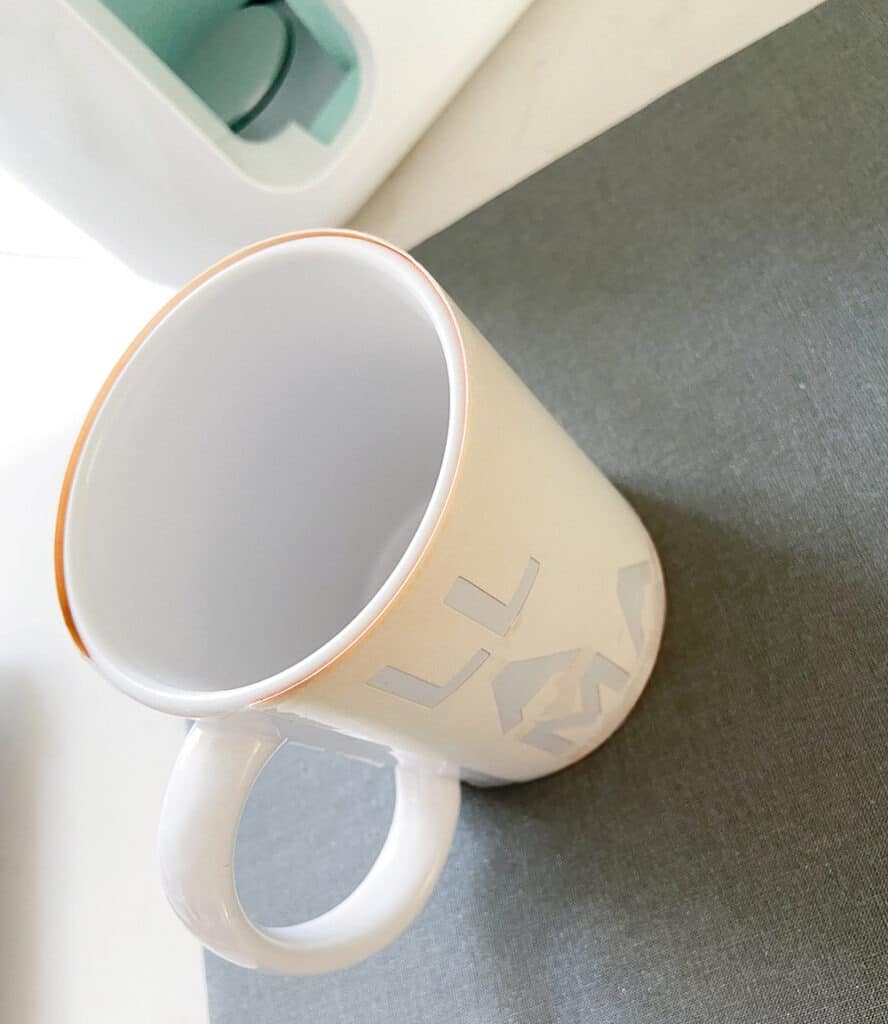
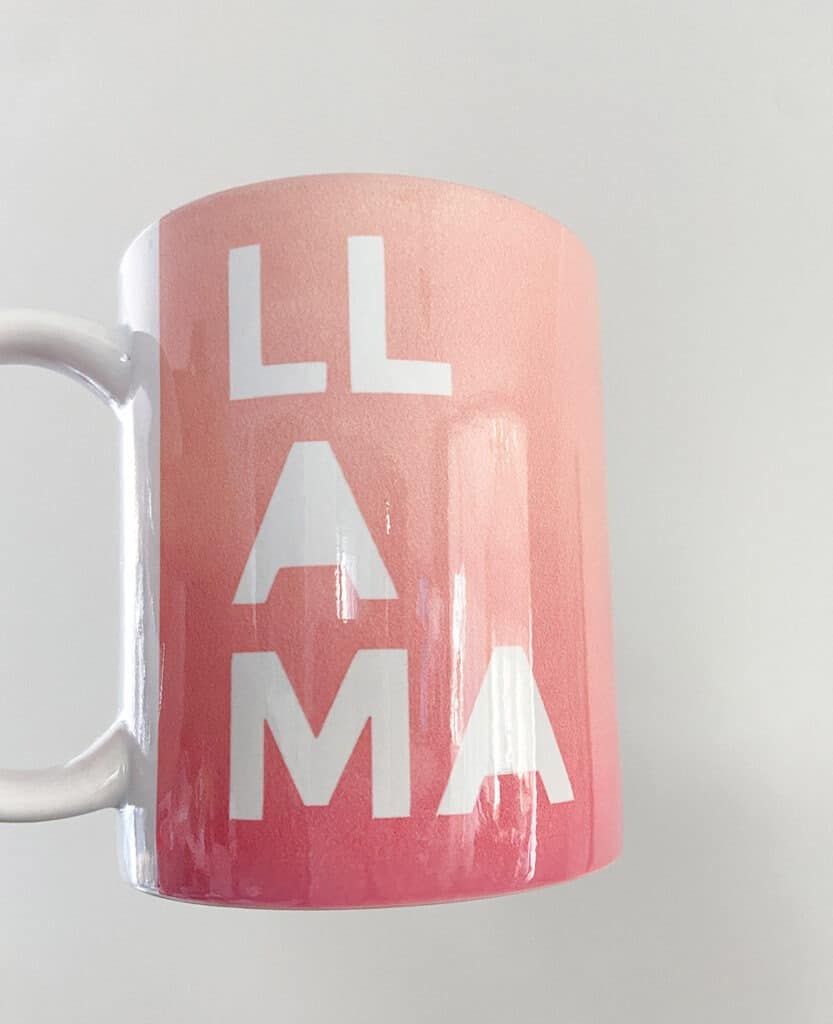
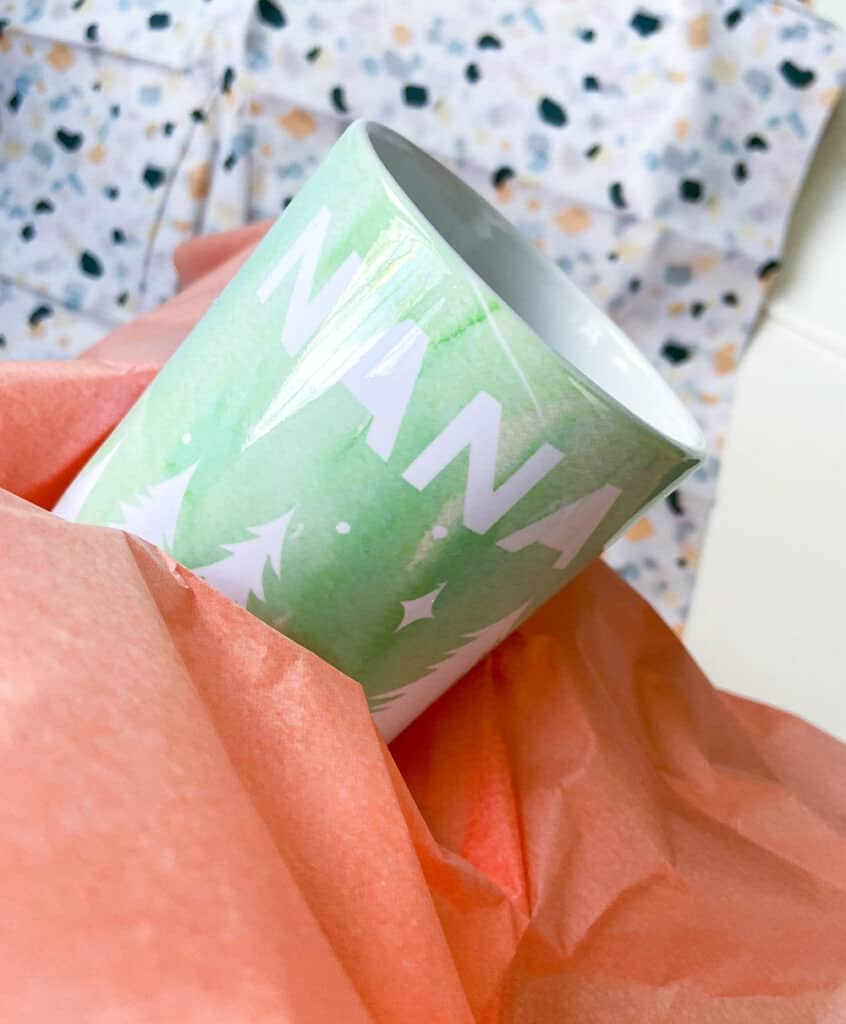
After it cooled down, I pulled away the wrap revealing my beautiful new mug. It’s going to be the best part of the Mother’s Day gift basket!
What I love the most about these mugs is that they are microwave and dishwasher safe. You can read all about the Cricut Mug Press here.
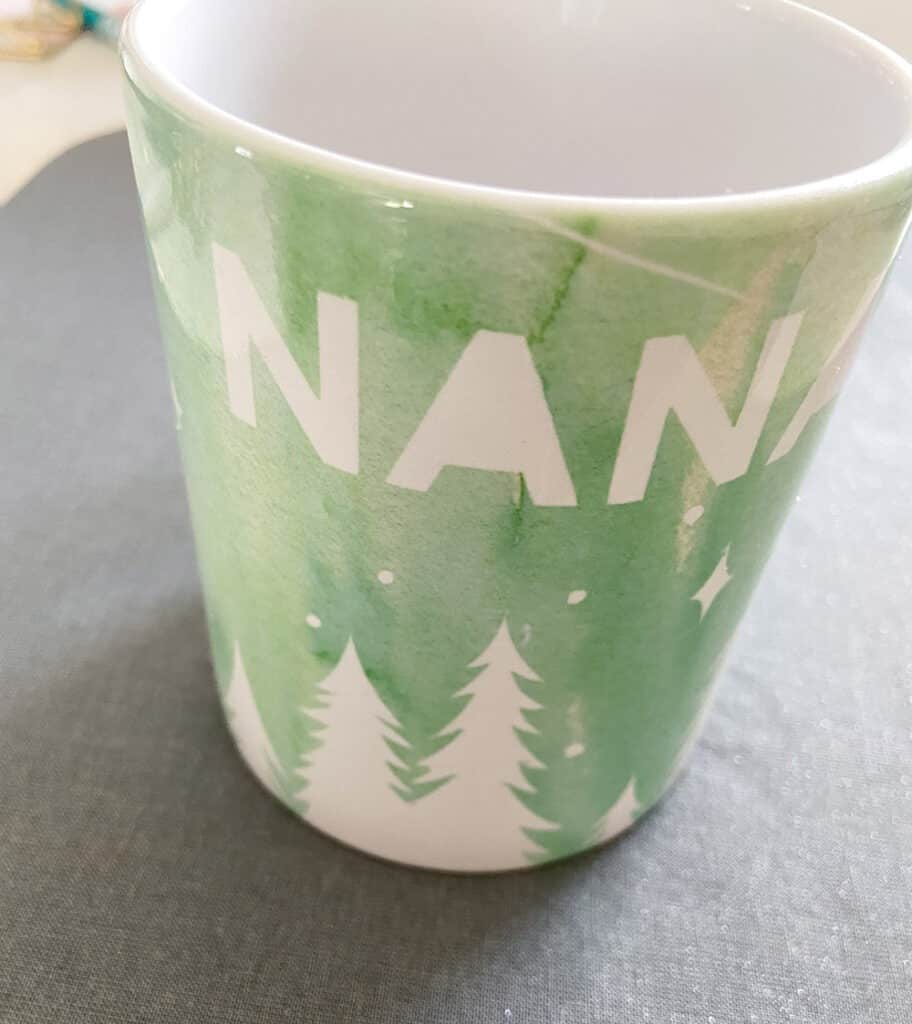
Time to do another mug in a more complicated design.
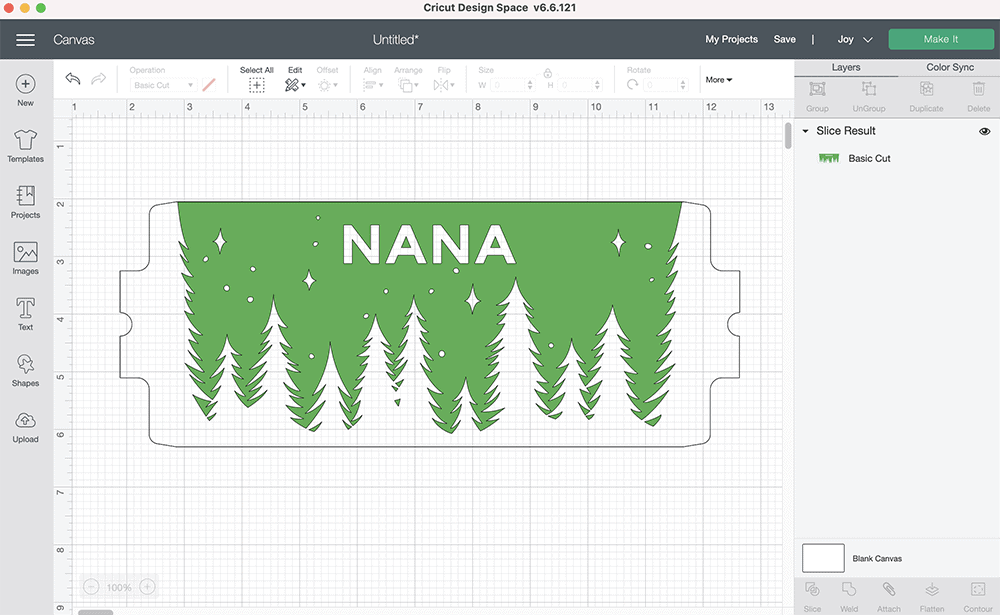
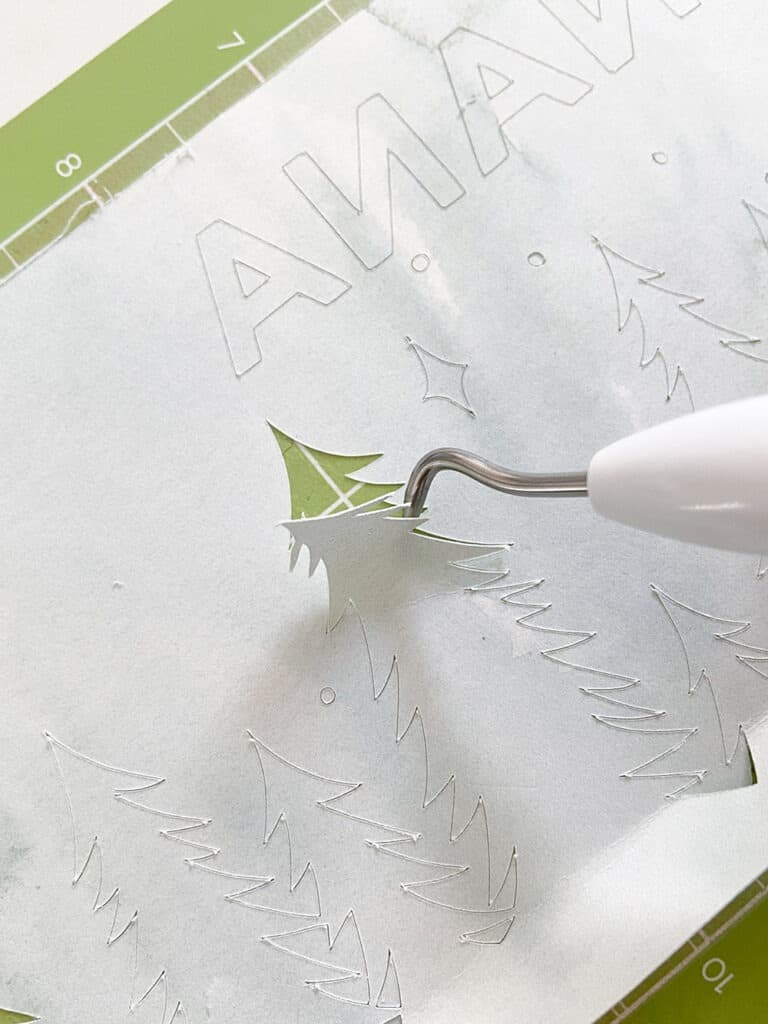
For my mom’s mug I found a wooded design in Design Space, and removed some of the stars to leave some room to add “NANA.”
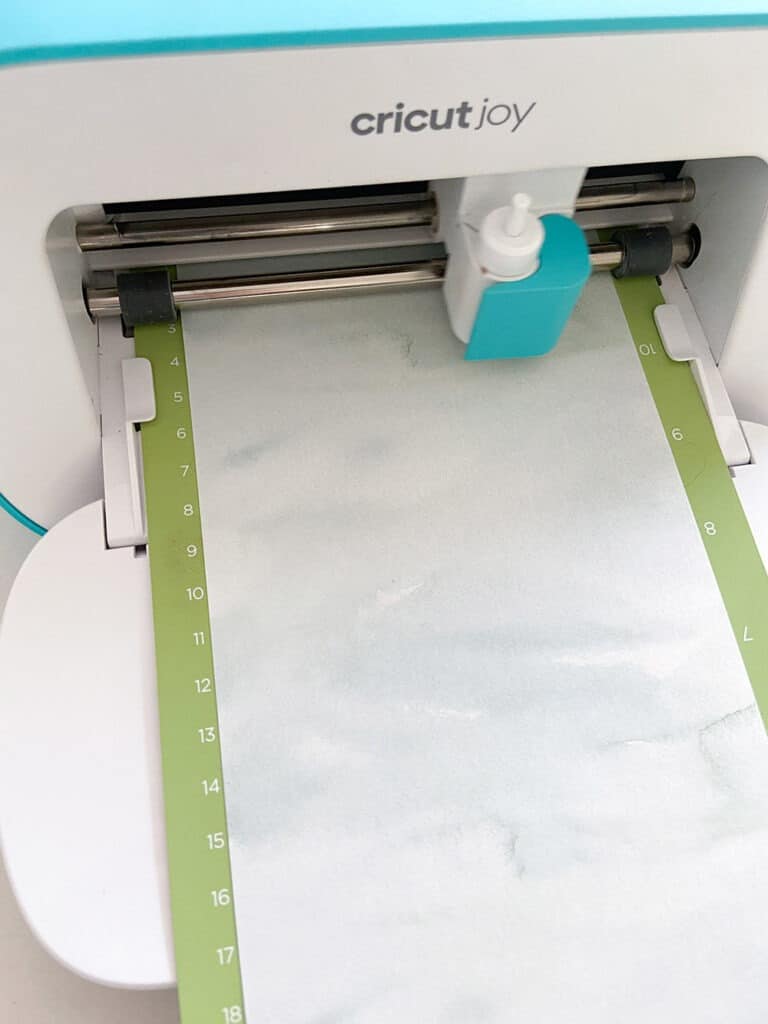
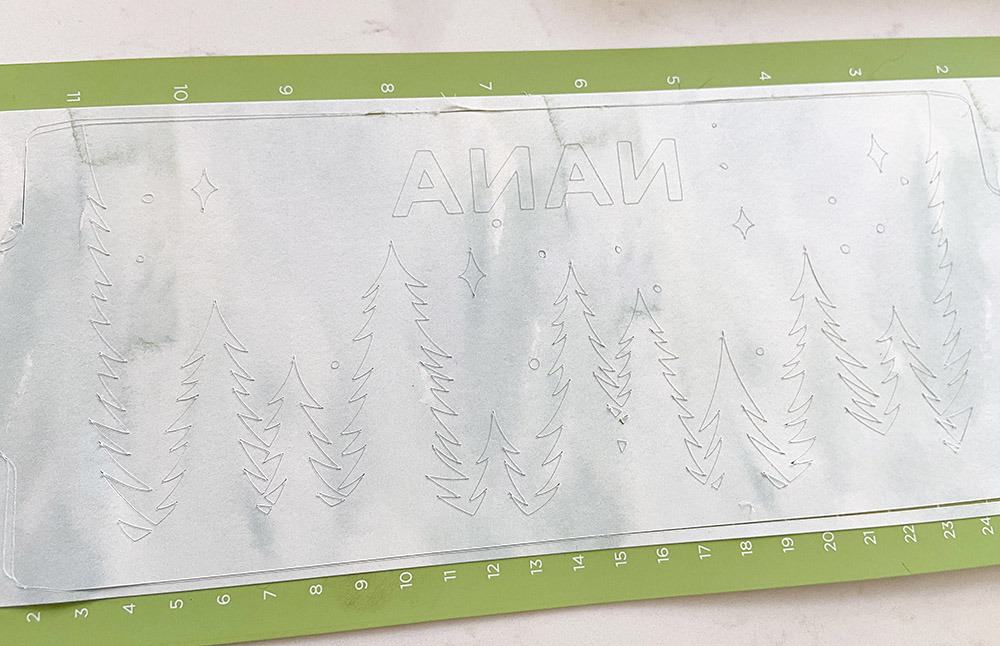
I mirrored the design and started the cut.
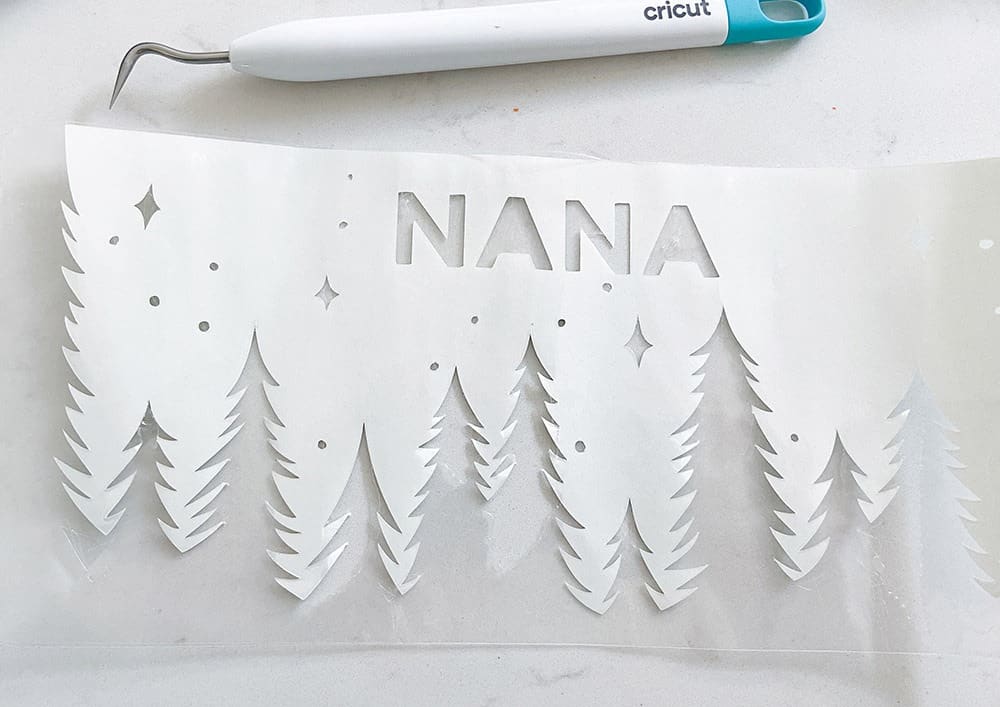
Once cut, I weeded away all the excess material until it was time to apply the wrap to my mug.
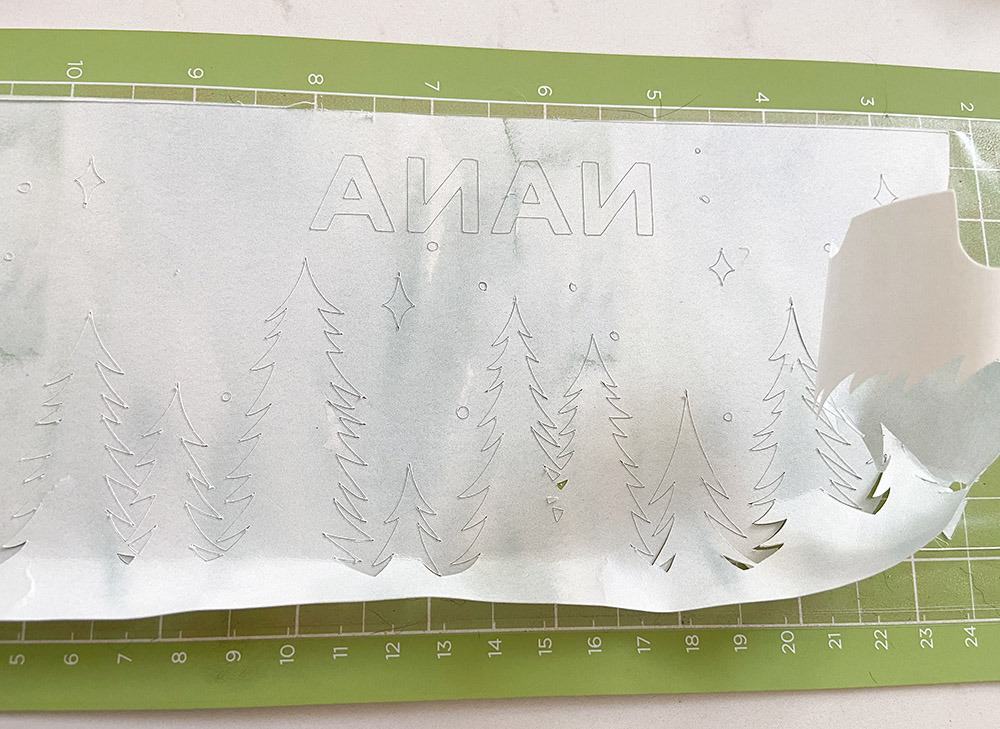
The weeding tool really helped with this one!
I added the mug into the Press and waited for the final beep indicating it was ready.
The mug looked so cool I decided to make another one for my dad using the text “PAPA.”
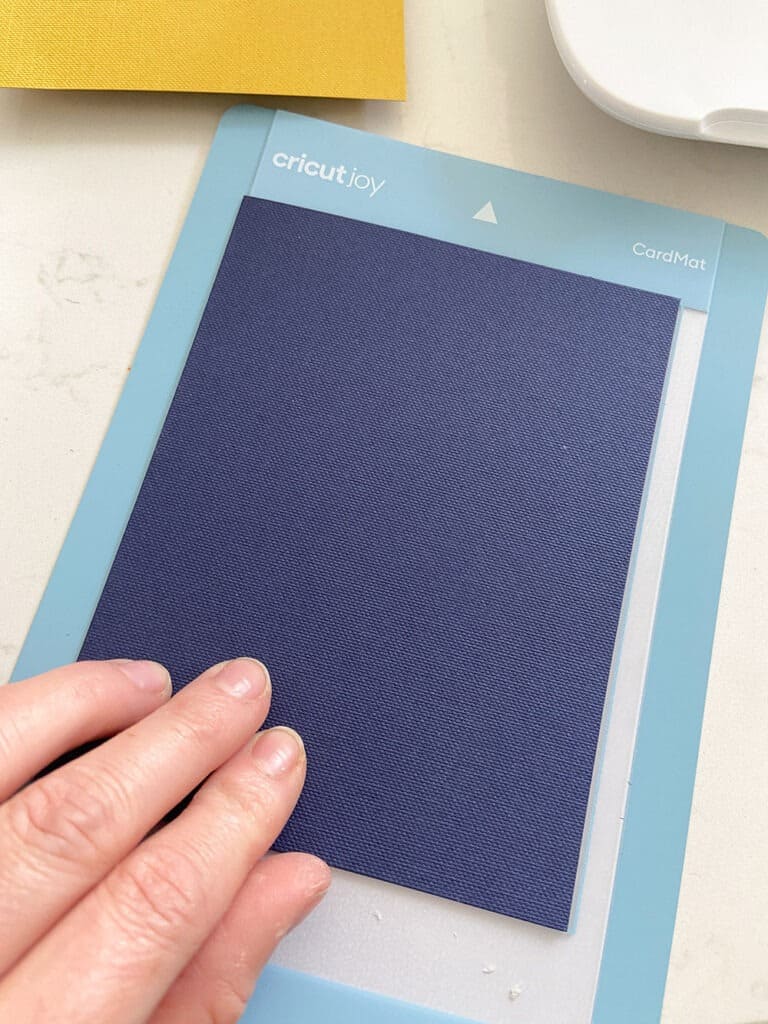
The final DIY projects for the basket are simple insert cards!
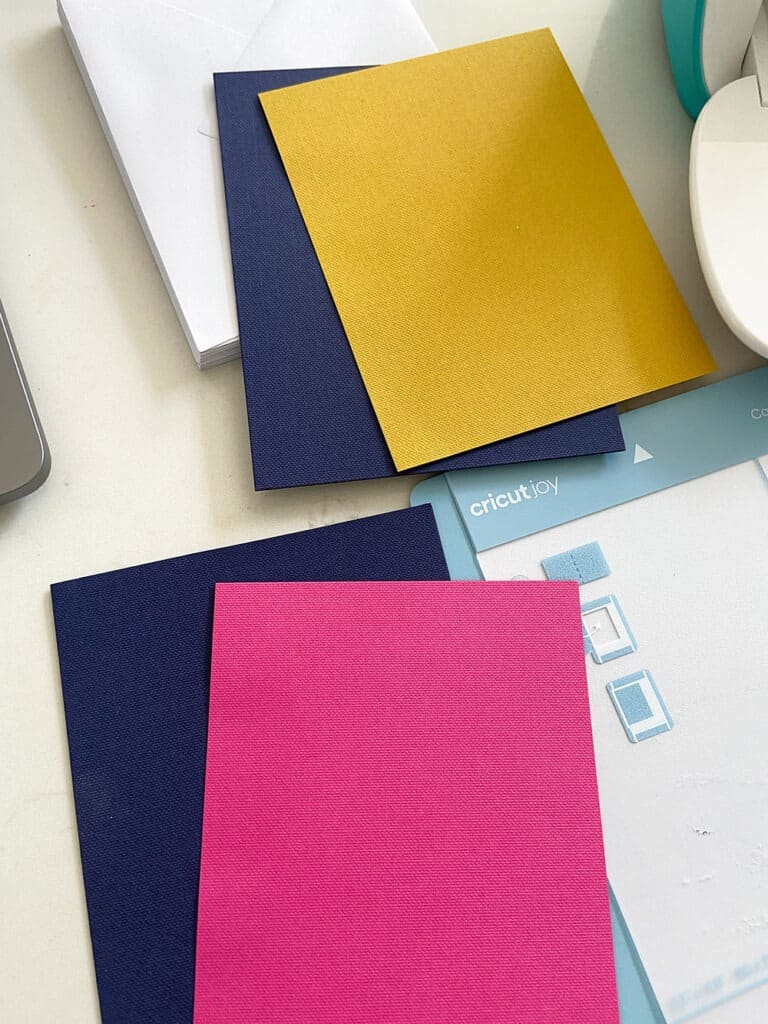
I pulled out my card mat and chose the papers I wished to use.
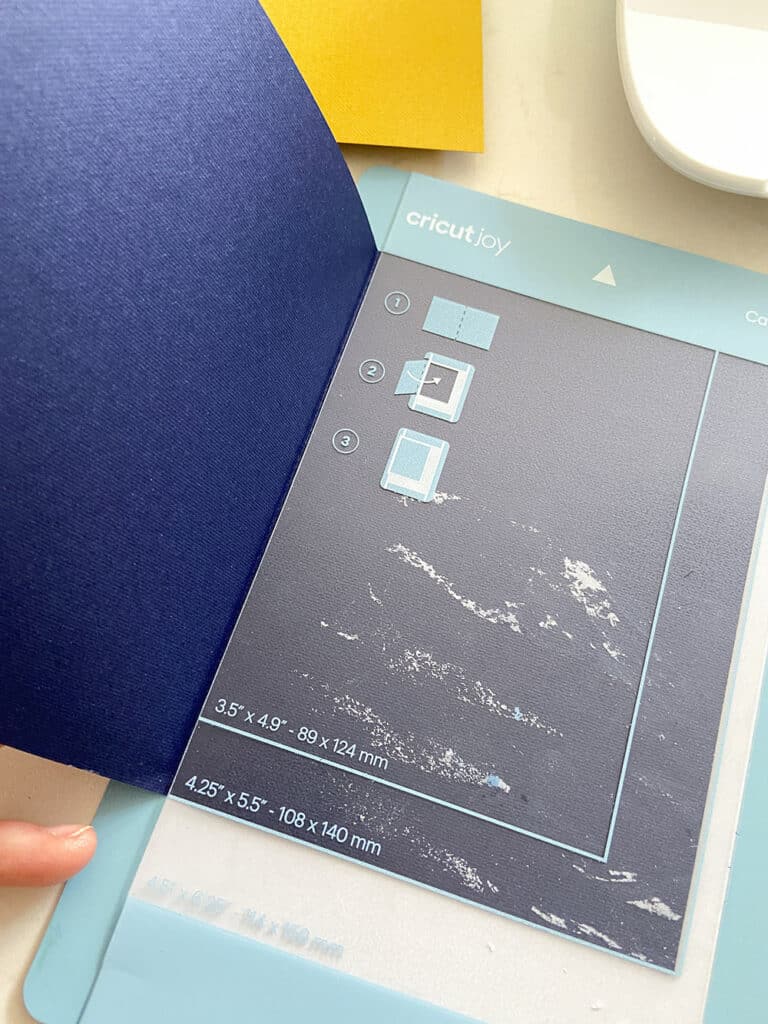
I inserted the back flap of the card into the mat and pressed the card closed.
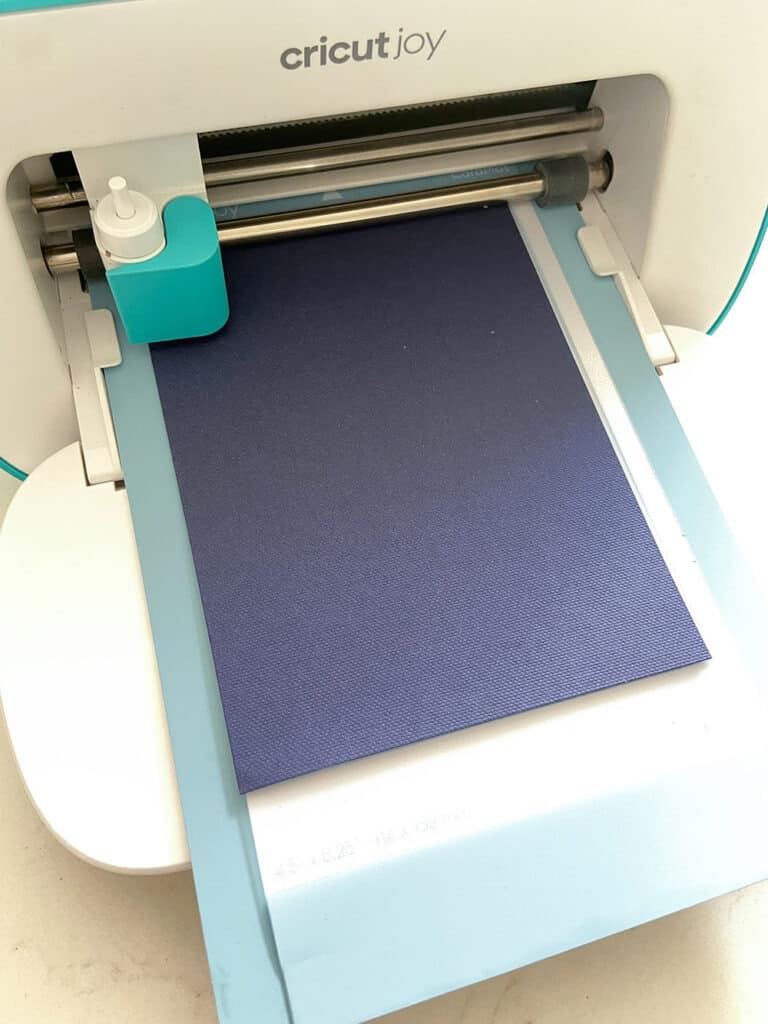
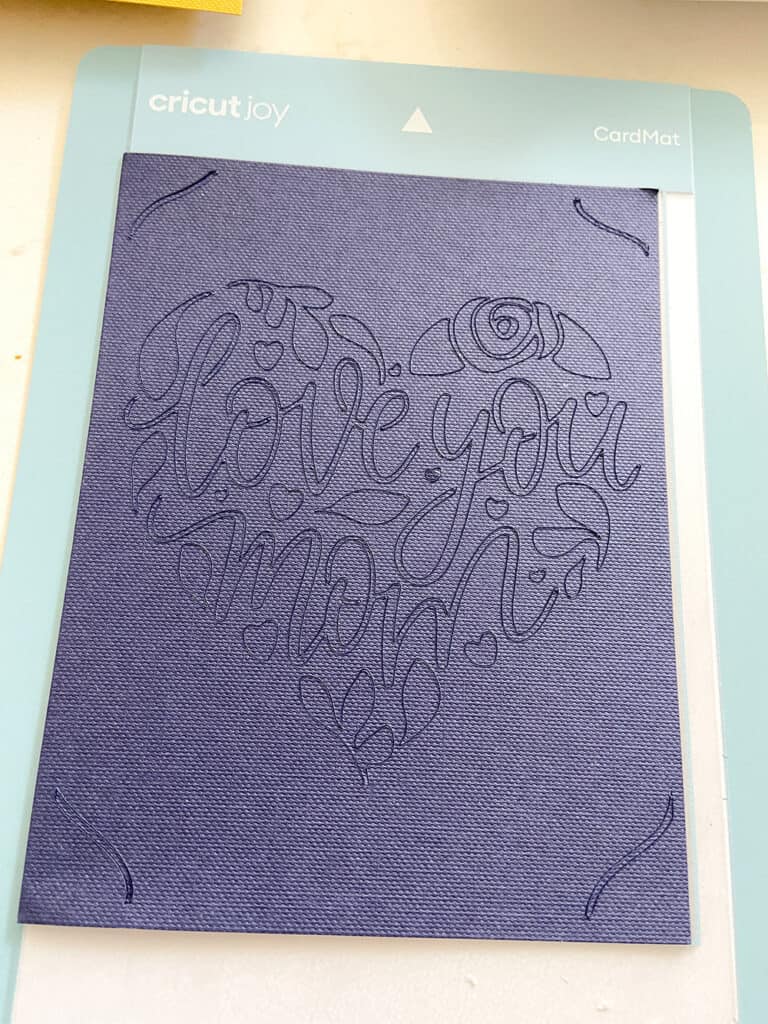
After choosing a pre-made design in Design Space, I cut it out.
I used the weeding tool to remove the excess paper fro the design.
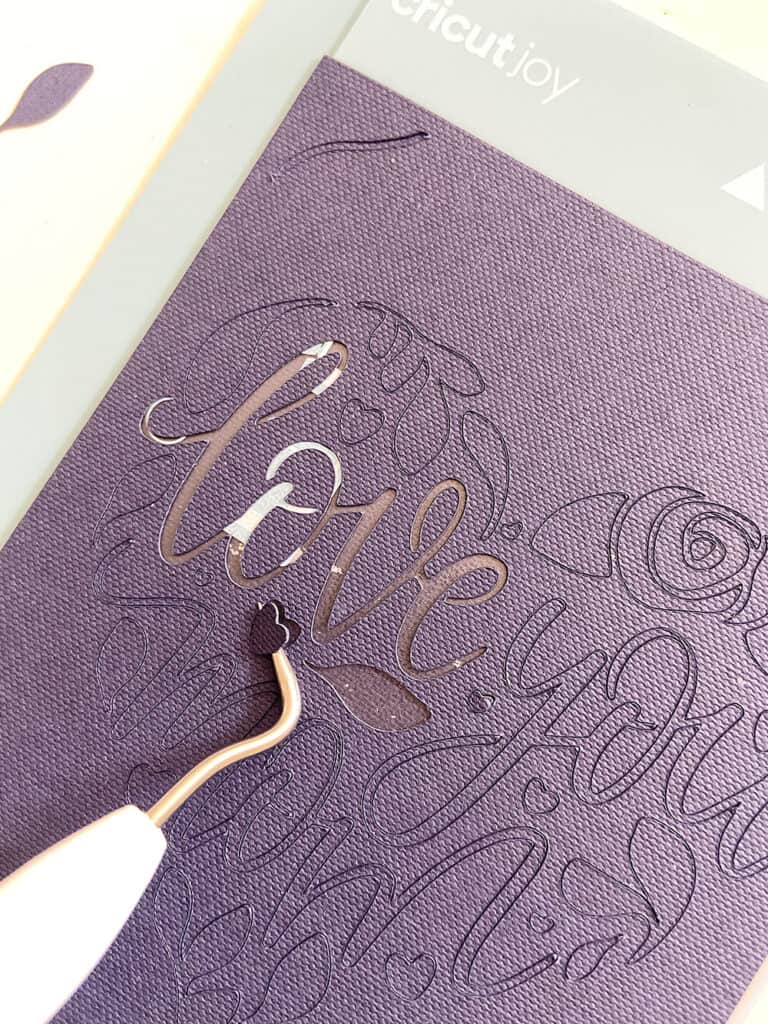
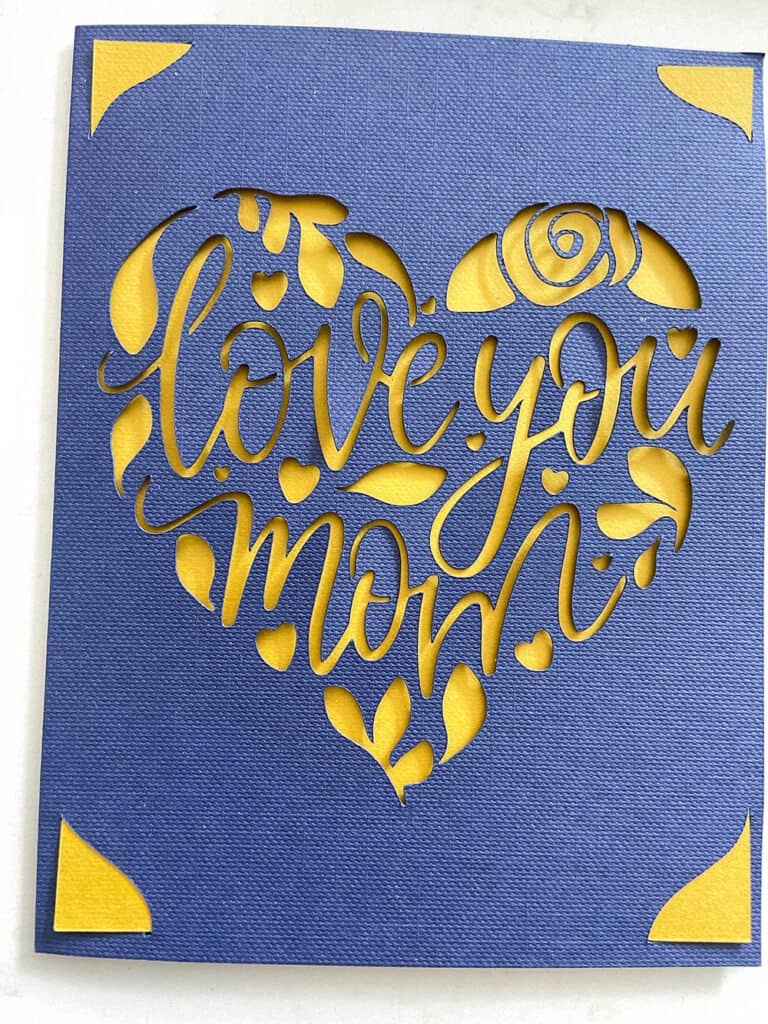
After the paper was weeded away, I tried out the pink insert card and then the yellow to see which one I liked best.
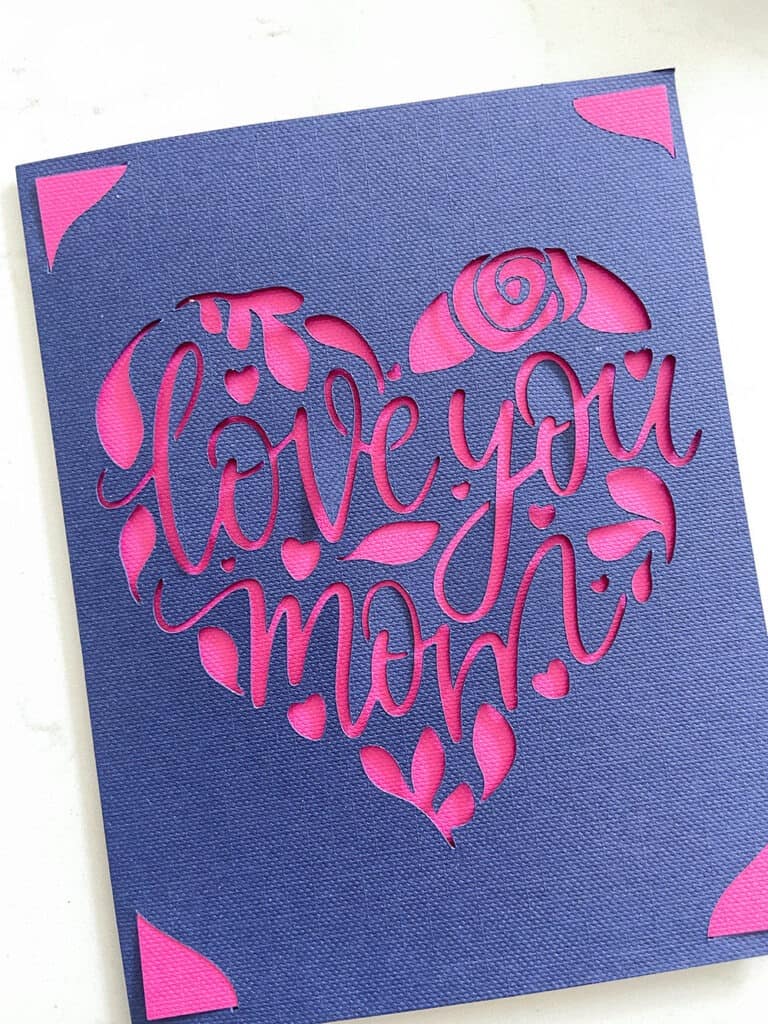
I decided to go with the yellow.
And finally, it’s time to put the whole Mother’s Day gift basket together.
My daughter painted some cute mini vases for each basket – I love them!
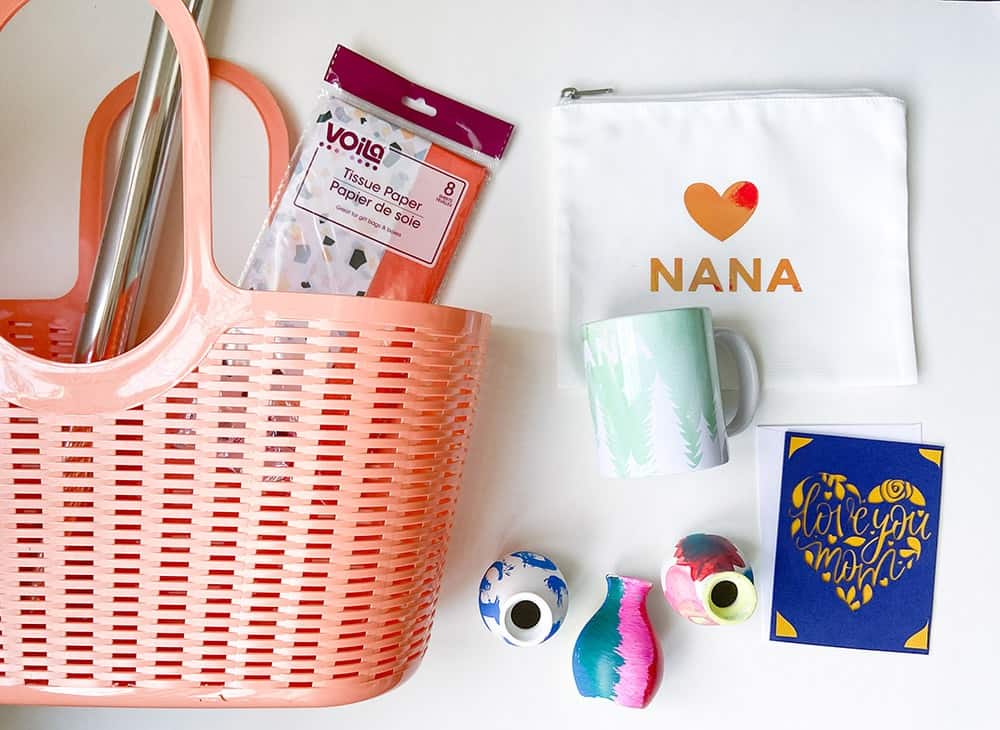
Here’s a closer look at some of the items I made with Cricut.
I wrapped each piece in the cute tissue paper.
And added it to the basket.
After one gift basket was filled, I moved onto the other.

Here are the other items from World Market that I added to the baskets. I hope the moms like it all!
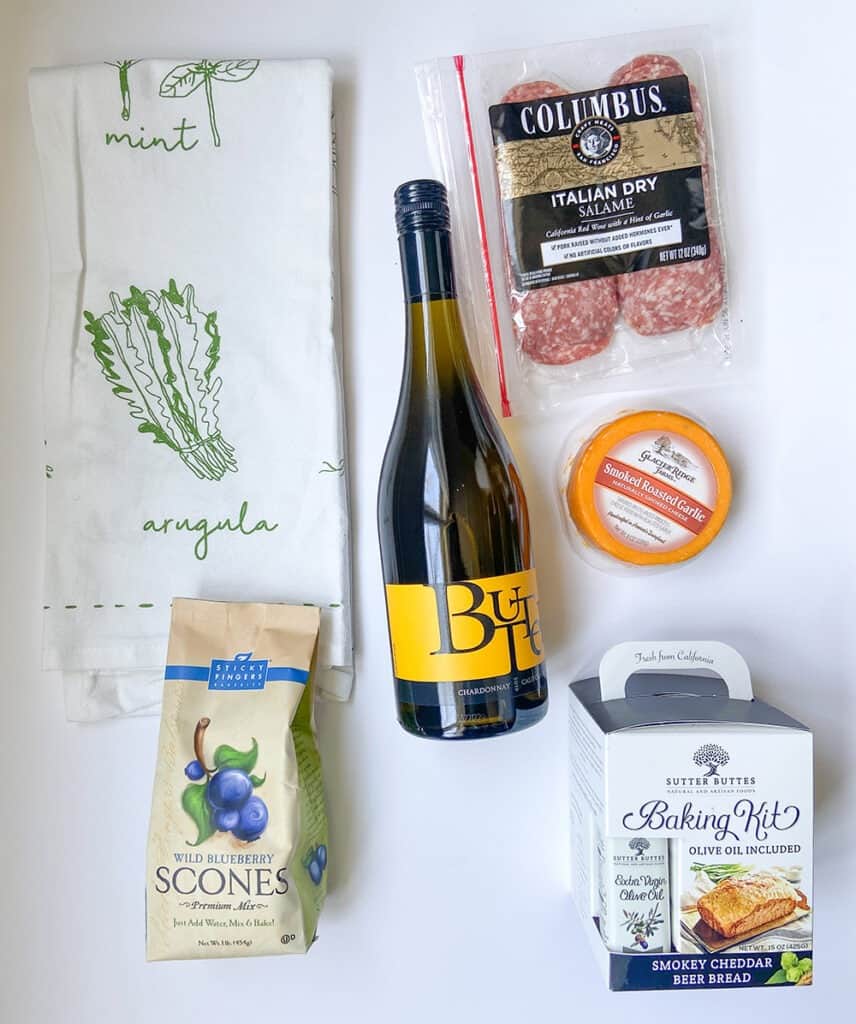
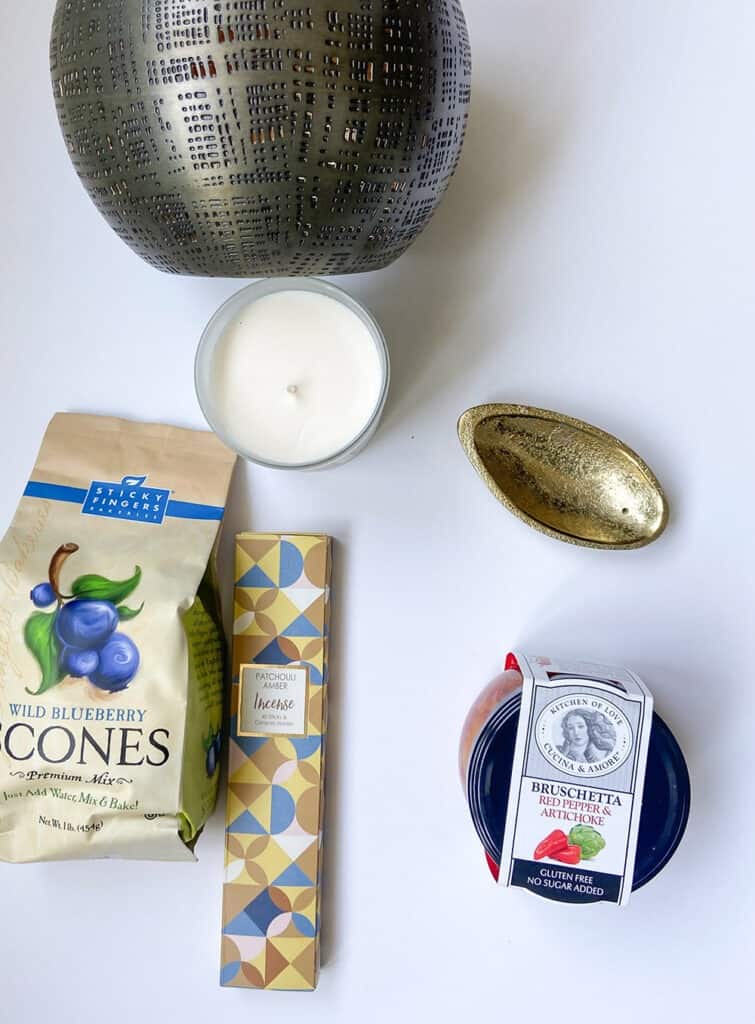
Links to the extra goodies included in the basket in case you’re on the hunt:
Tea towel, Scones, Beer bread, Cheese, Salami, Bruschetta, Punched metal votive, Candle
And here is one of the finished Mother’s Day gift baskets!
I love that the tote can be reused for storage, a beach day, or anything else. you can also choose to wrap the basket in cellophane. That was my original plan, but decided to skip that step.

I hope I’ve shown you just how easy these projects are to make with Cricut and inspired you to get creative!
I’ve blogged about my love for Cricut many times, and it’s probably pretty obvious that I’m a huge fan and truly love their products. This is a sponsored post, but all opinions and projects are 100% my own.
xoxo
Audrey
Pin my Mother’s Day gift basket for later!