Wanna learn just how easy it is to make your own gold leaf Easter eggs? I promise it’s so easy a kiddo can do it completely on their own.
We’ll take it a step further and make an even easier Easter egg planter too!
Let’s get started with our supplies!
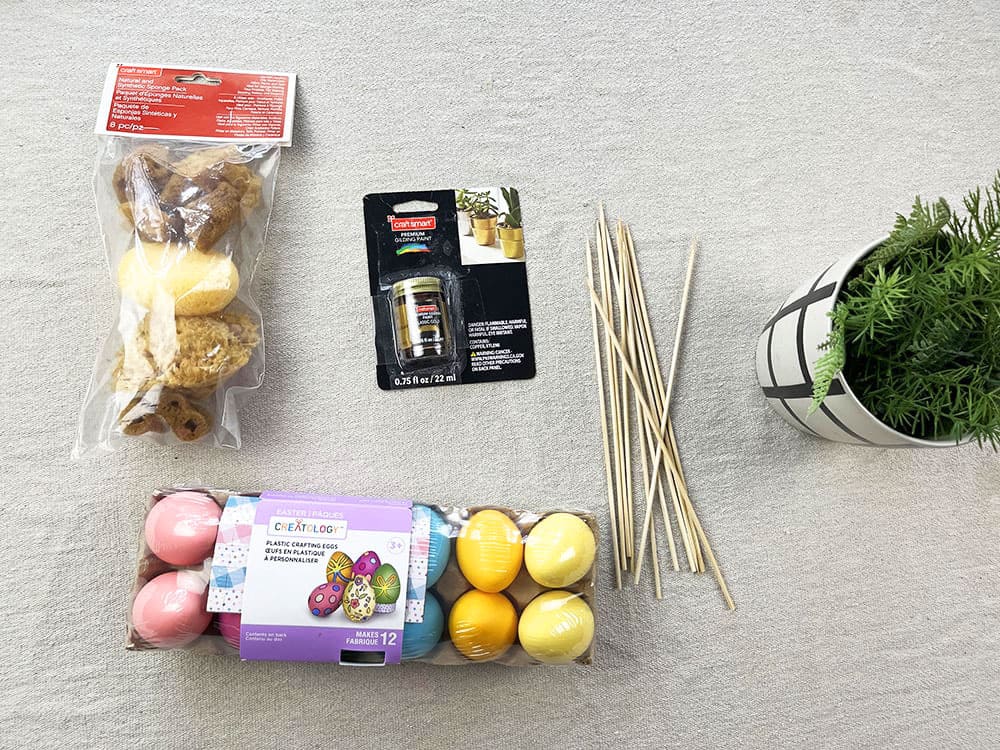
• Crafting eggs
Grab some pre-painted foam eggs (option 1, option 2, option 3), but if you wanted to paint your own you could buy these paintable plastic eggs.
• Gold gilding/liquid leaf paint
• Drill and bit
• Paper plate or cup to pour gilding medium into
• Potted real or faux plant(s)
My daughter had a friend over recently, and that usually means there will be some kind of craft project. They volunteered to gold leaf the eggs for me!
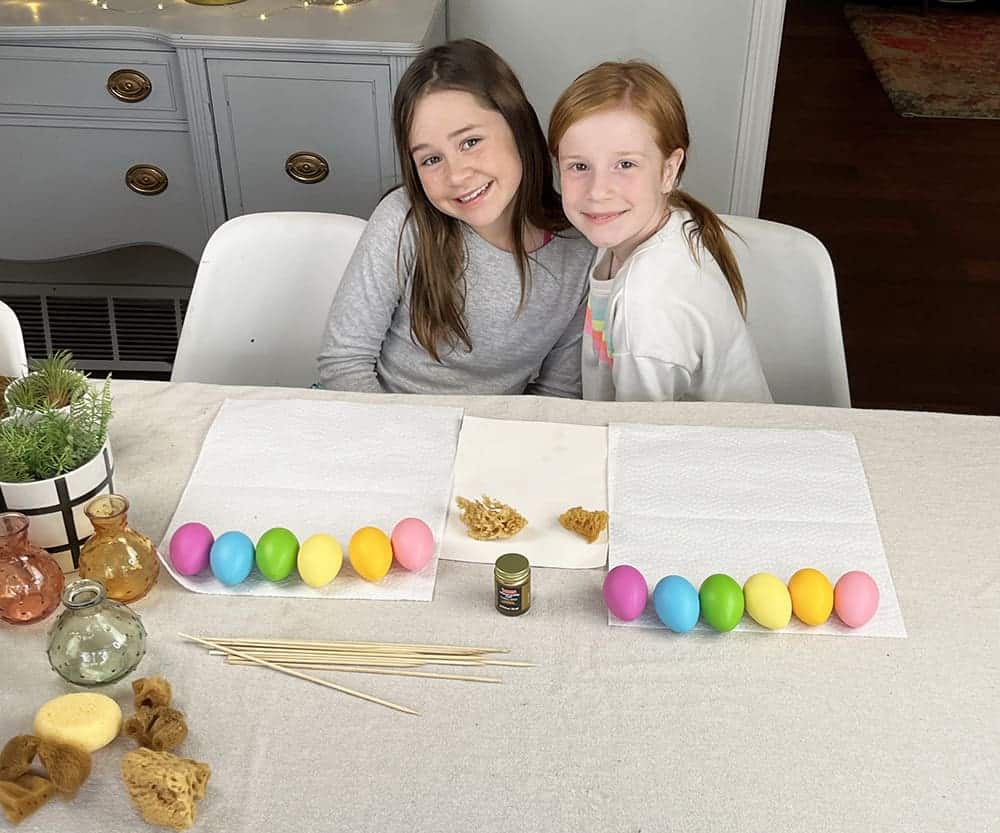
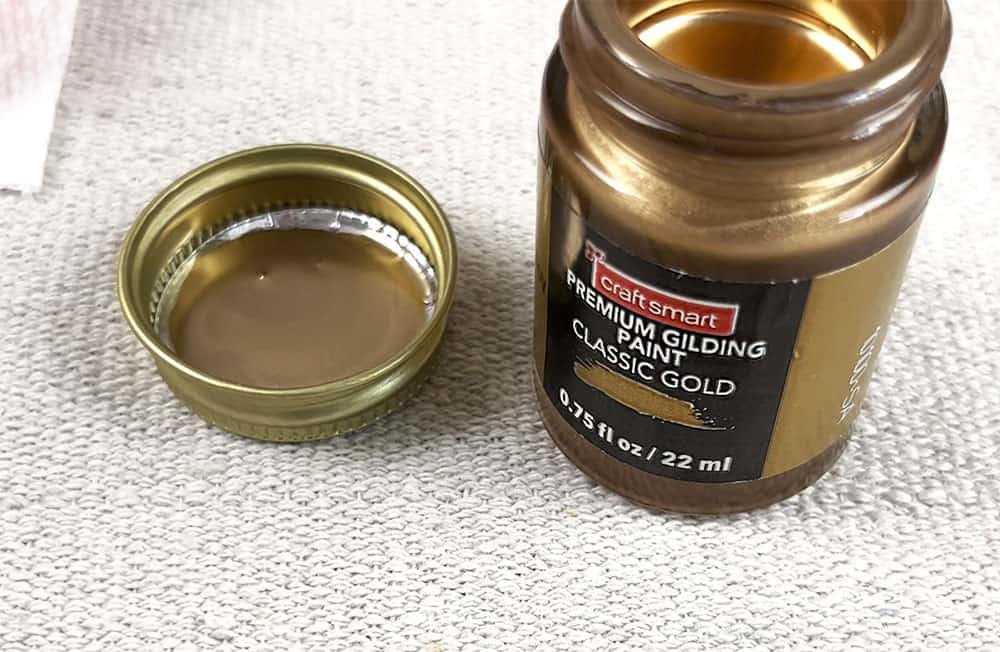
I shook, then opened the gold leaf gilding paint and poured a little bit out in two disposable cups, one for each kiddo. It’s very runny, and a little goes a really long way!
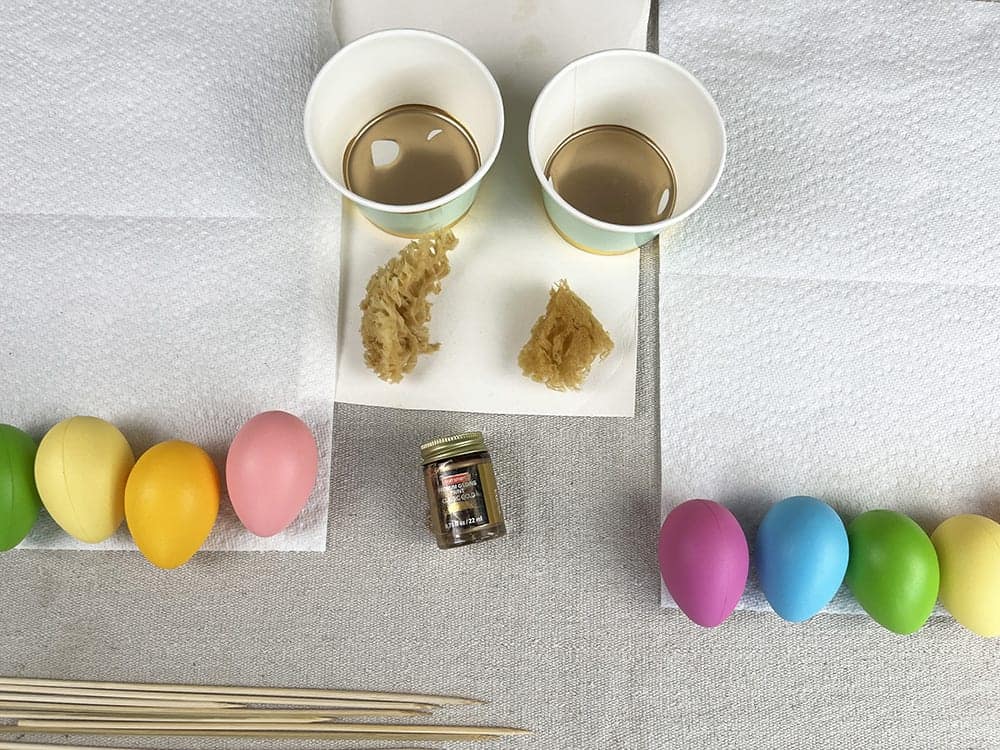
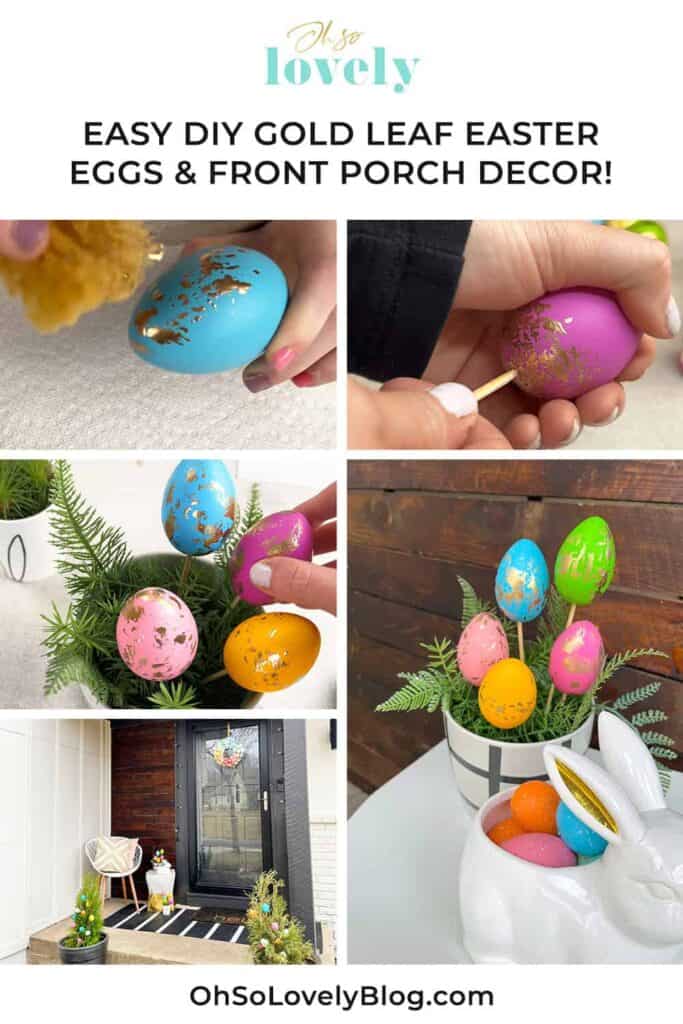
Next, I gently tore a sea sponge into two pieces and let the girls get to work!
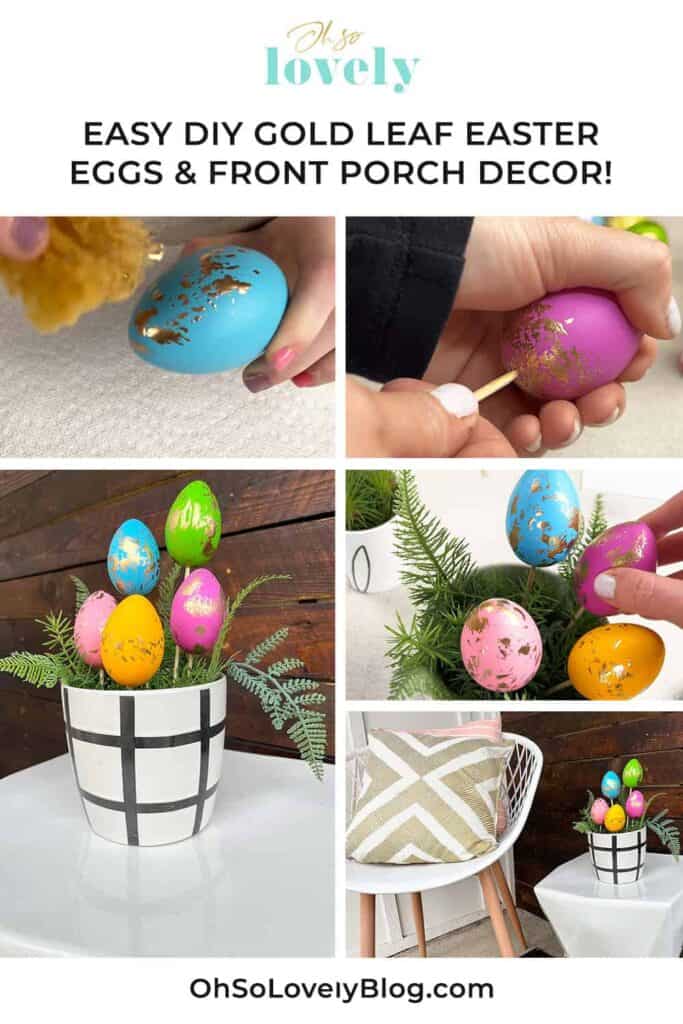
They dipped the sponge into the paint and then gently tapped it onto each egg.
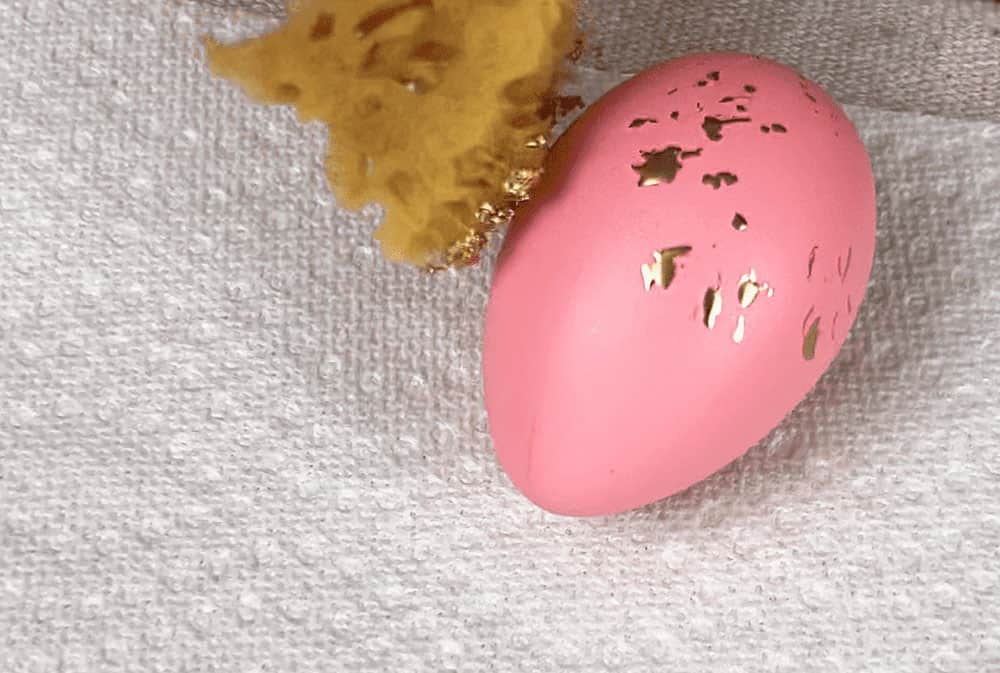
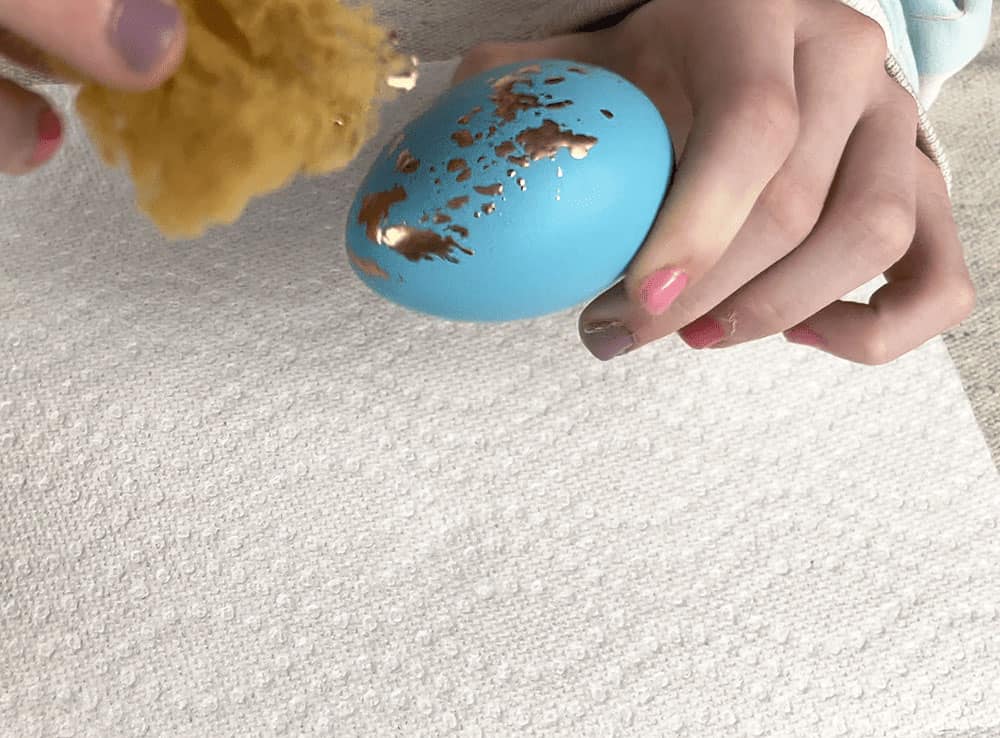
This project does get a little messy, so you might want the kiddos to wear a painting shirt.
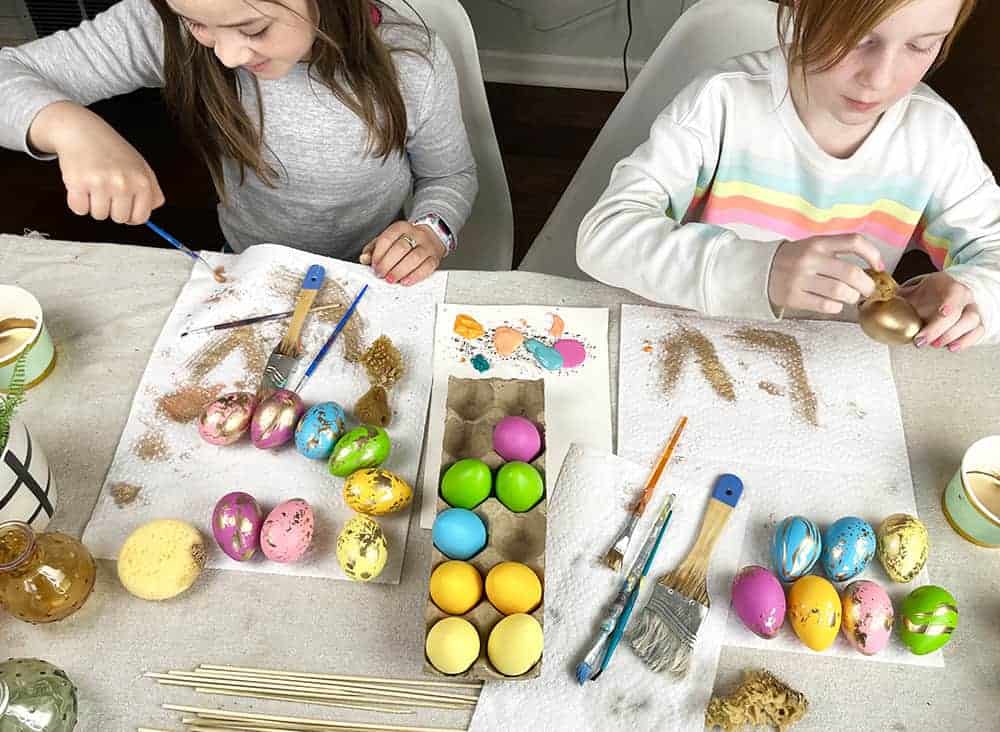
After only a few minutes, all the gold leaf Easter eggs were finished and set aside to dry!
I was expecting the dry time to be about 30 minutes to an hour, but they dried much faster – about 10-15 minutes.
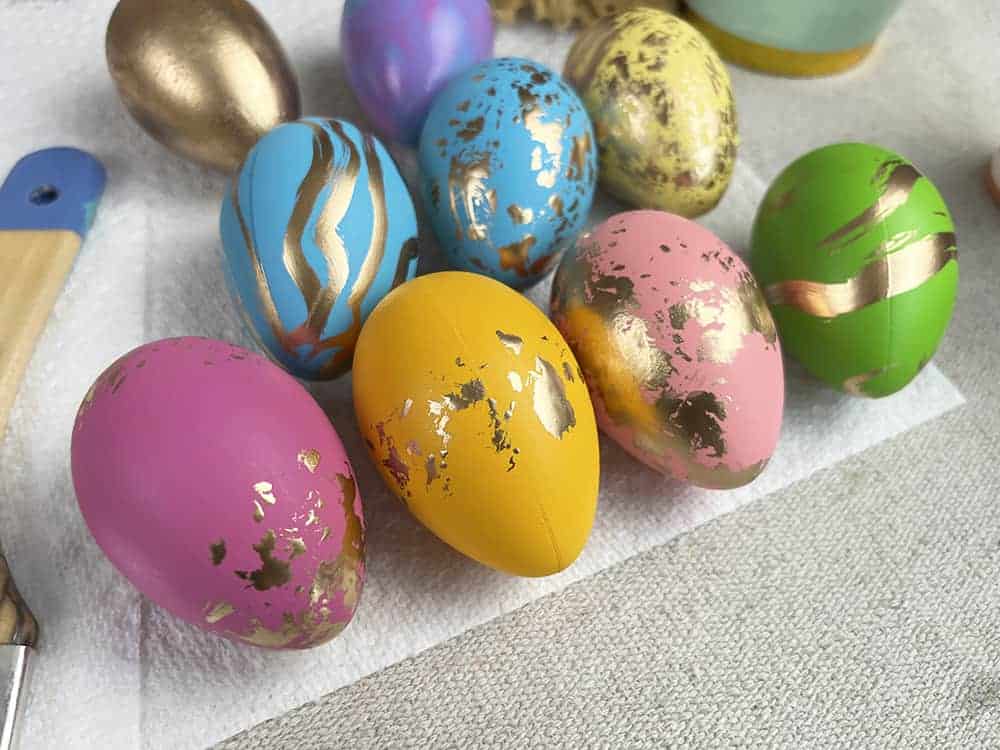
The eggs are pretty on their own and would look great in home decor, but I wanted to take it a step further and make “egg lollipops” (or egg floral picks) for use in a front porch planter.
Adding the skewers to the eggs
Some craft eggs are thin enough that it’s easy for a pointy wood skewer to puncture through, but these were more sturdy.
To make the process easier, I grabbed our drill and some bits.
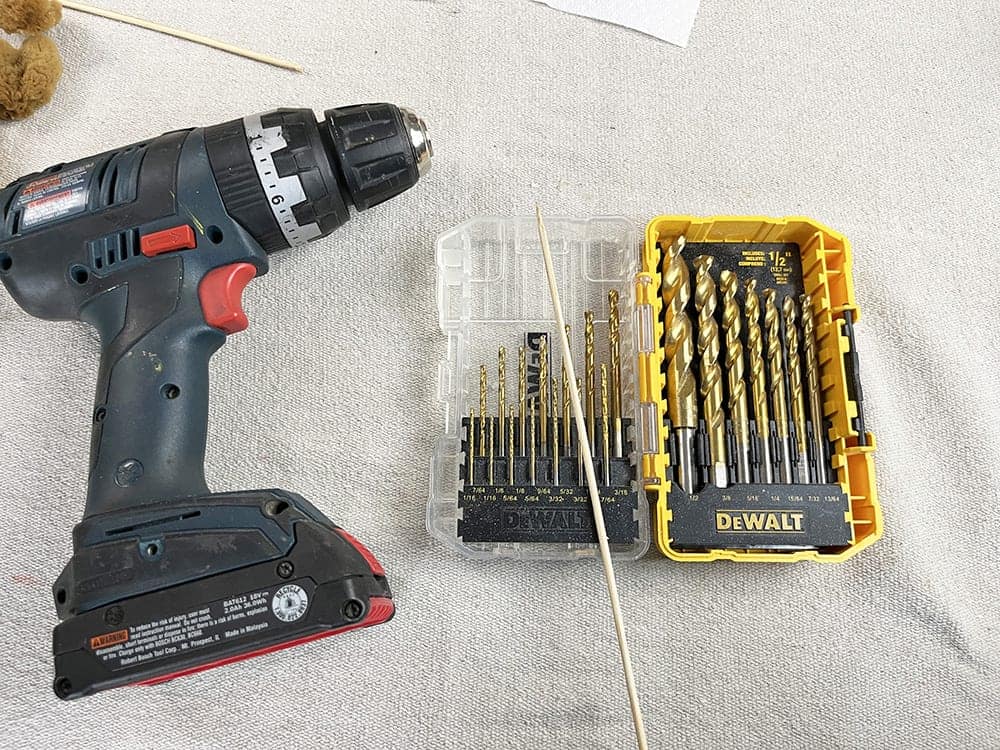
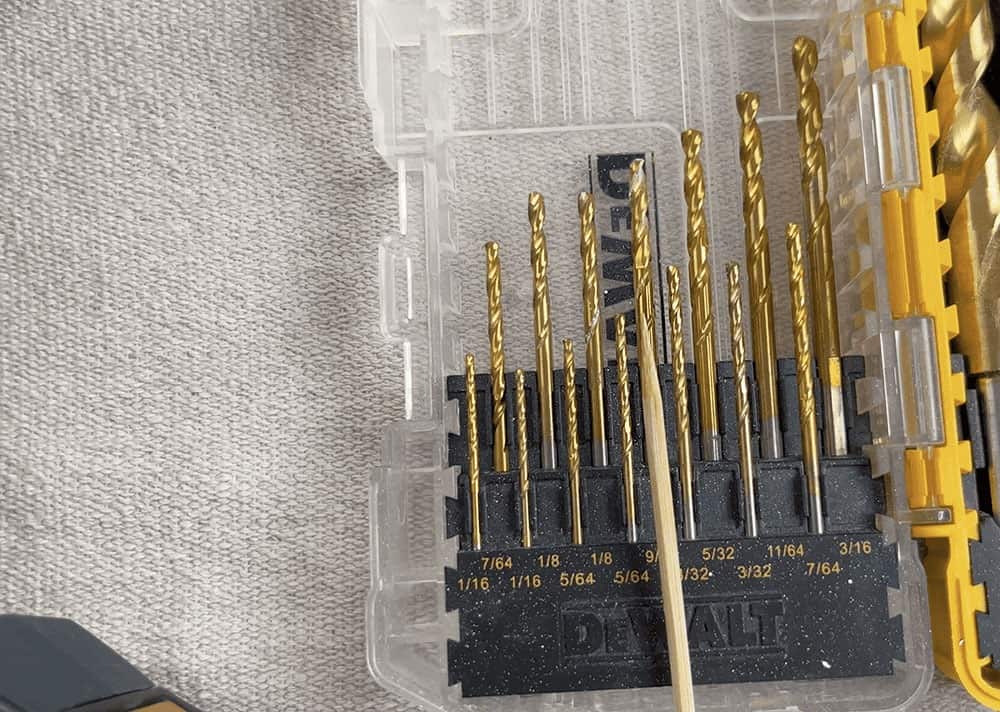
I chose the bit closest in thickness to the skewer, and added it to the drill.
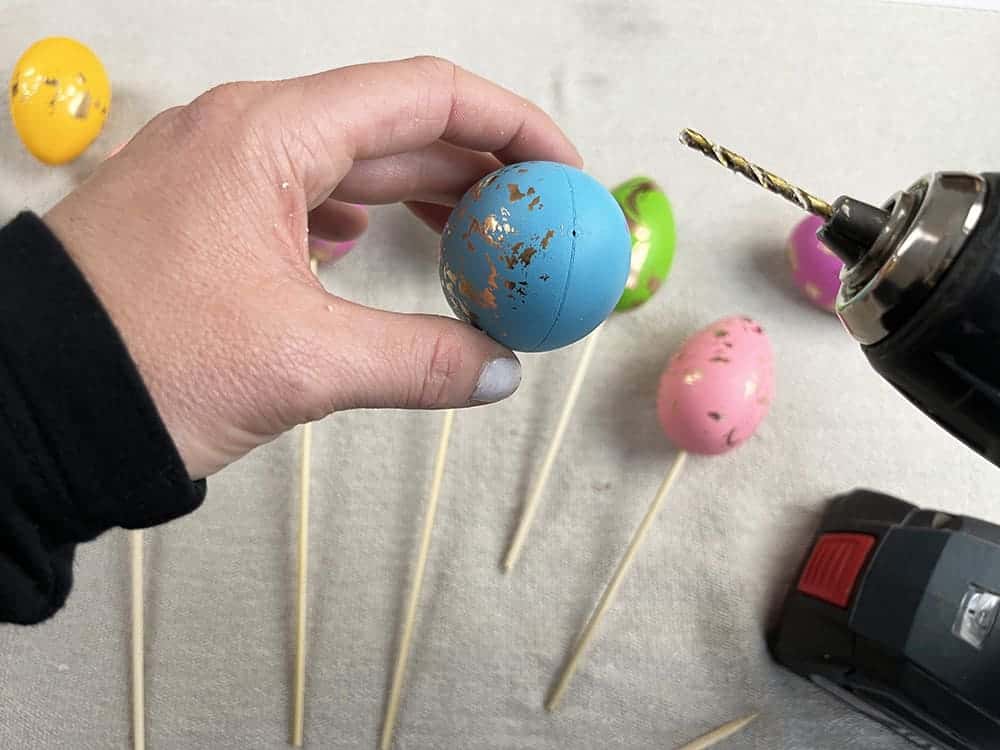
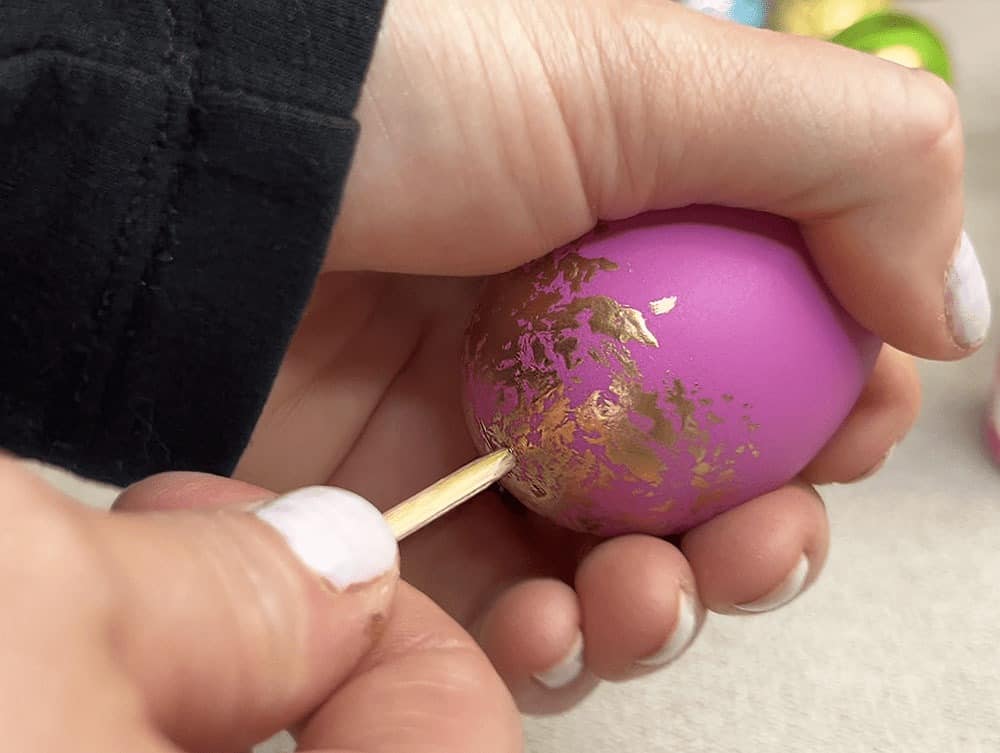
Then I gently drilled a pilot hole into the bottom of the egg. I found that drilling slightly off the seam keeps the egg from splitting.
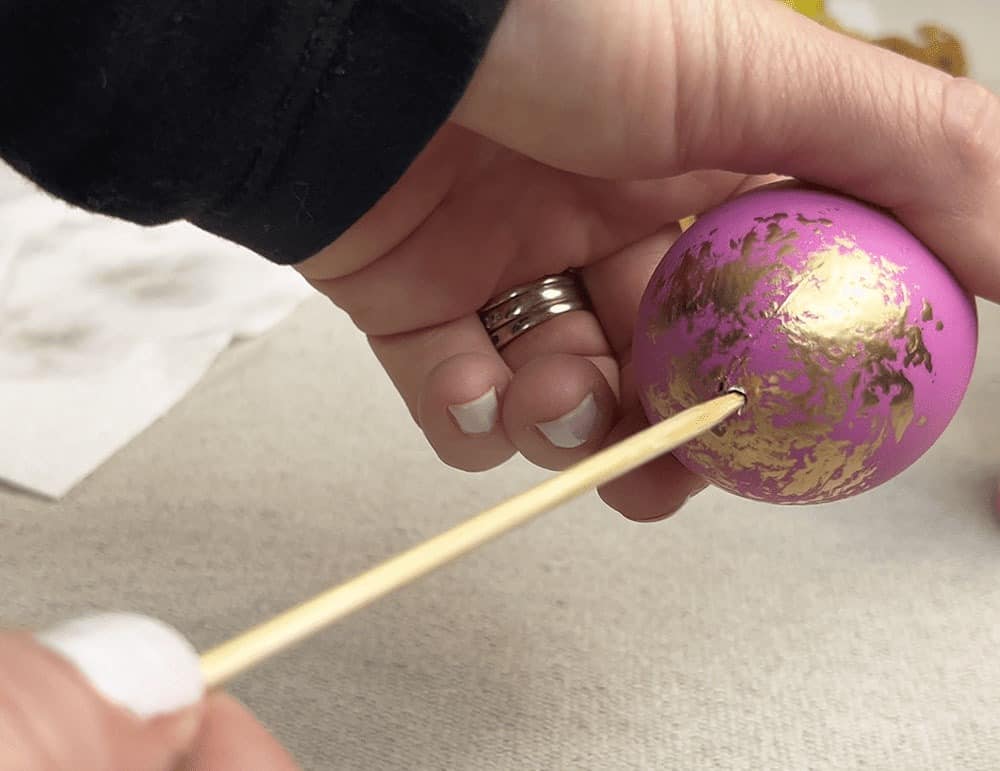
Once the holes were drilled I gently stuck each skewer in.
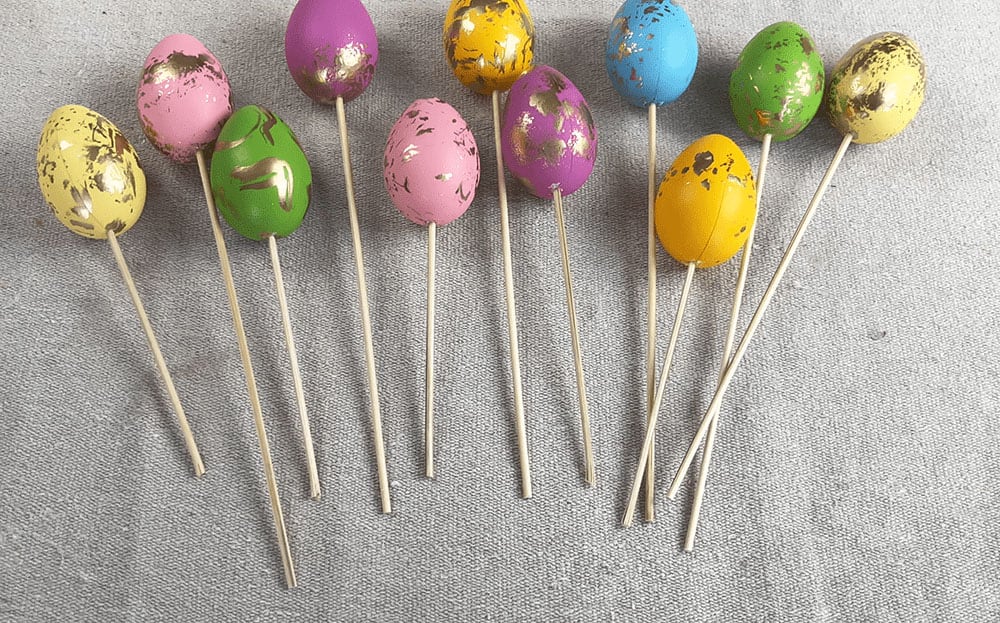
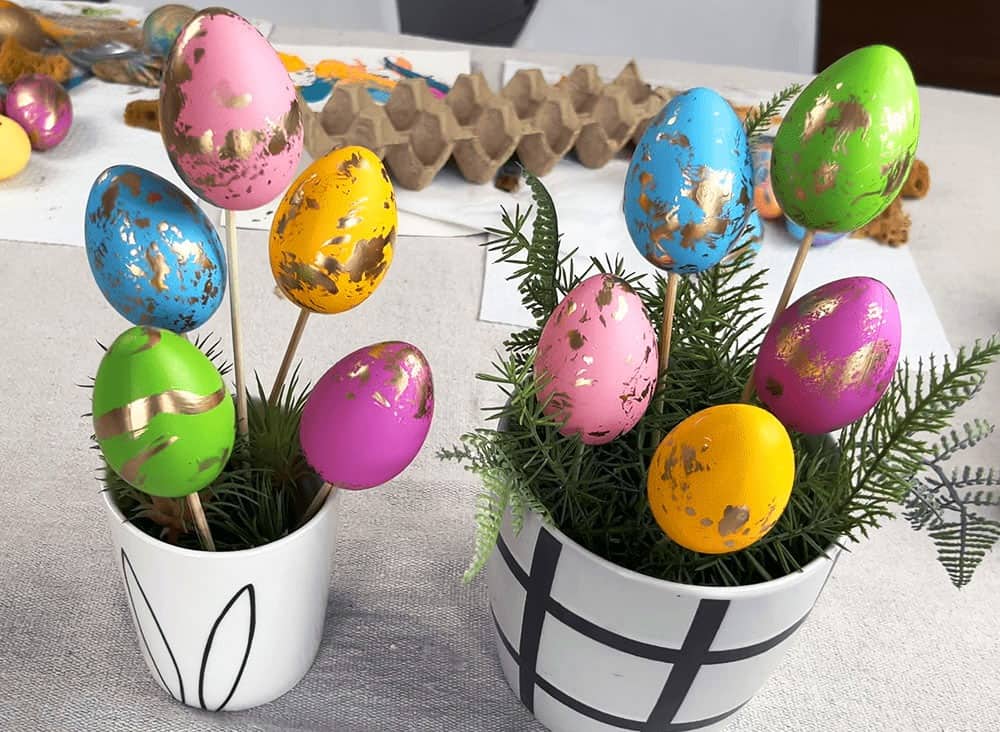
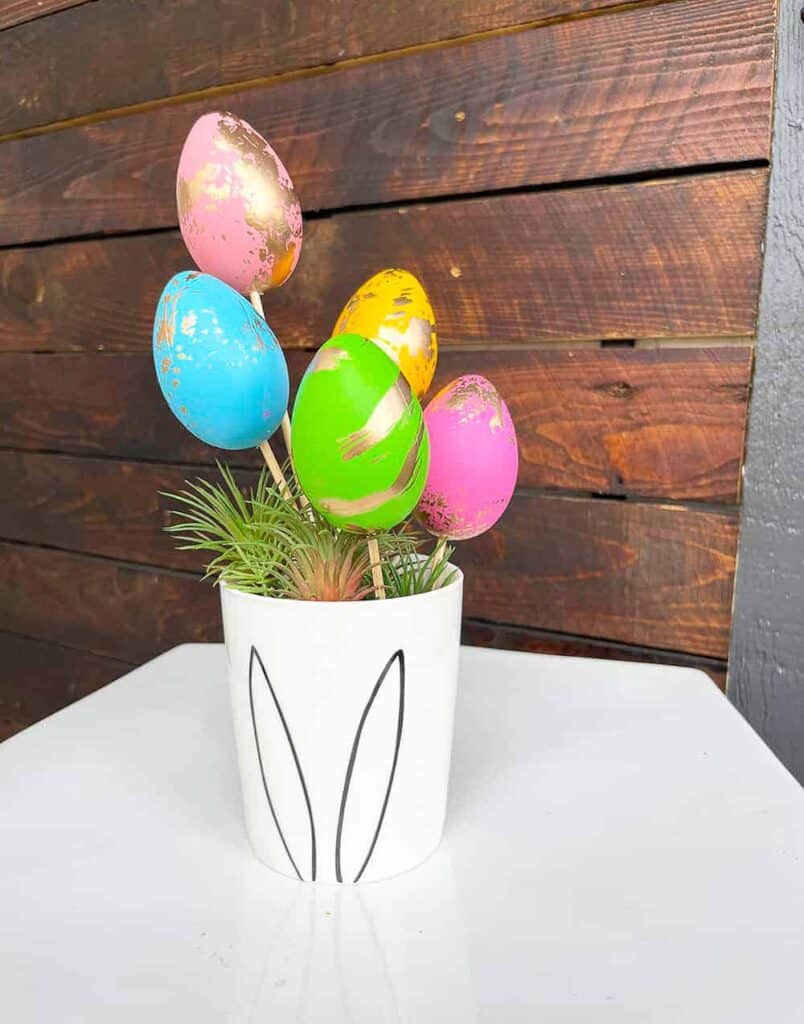
Eventually they looked like gold leaf Easter egg lollipops/picks – so cute!
I like for my decor pieces to have varying heights for interest, so I used pliers to snip a couple inches off of a handful of sticks (step not shown).
I love the look of Easter eggs in flower pots, so I grabbed some faux greenery and stuffed it into a flower pot. Both items were something that I already had on hand.
You can also use a real plant – totally a personal preference. The midwest weather is still a roller coaster of 80 degree days and 30 degree days with snow, so faux works best for my situation. 🙂
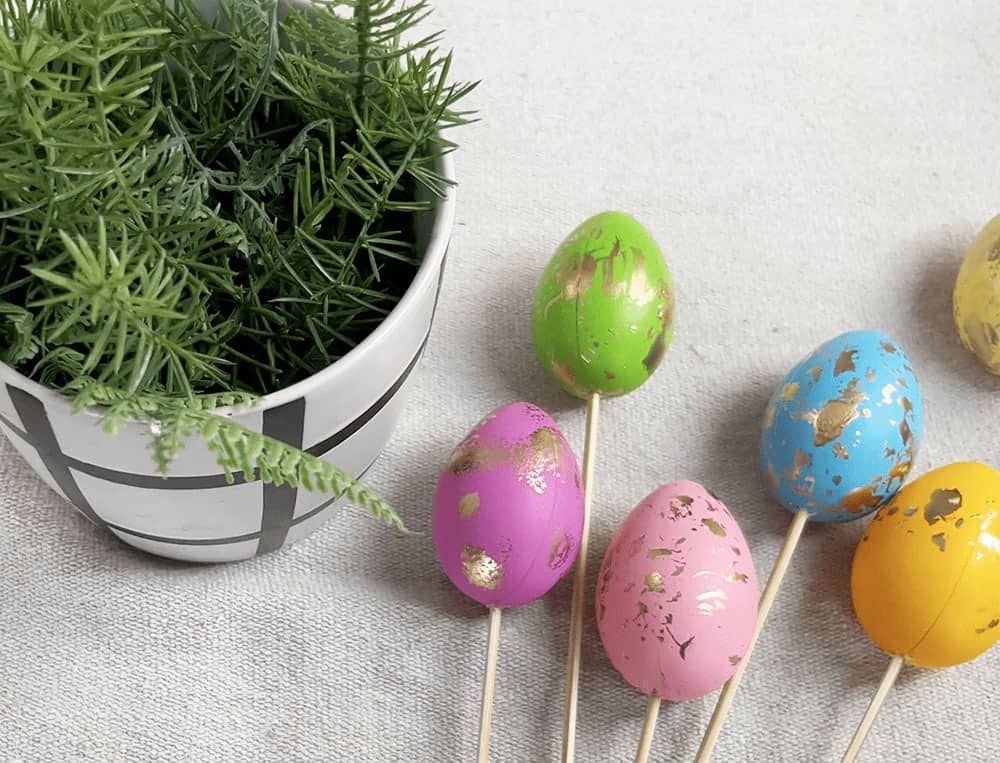
simply add a handful of the lollipops to the planter until you’re happy with the pacement.
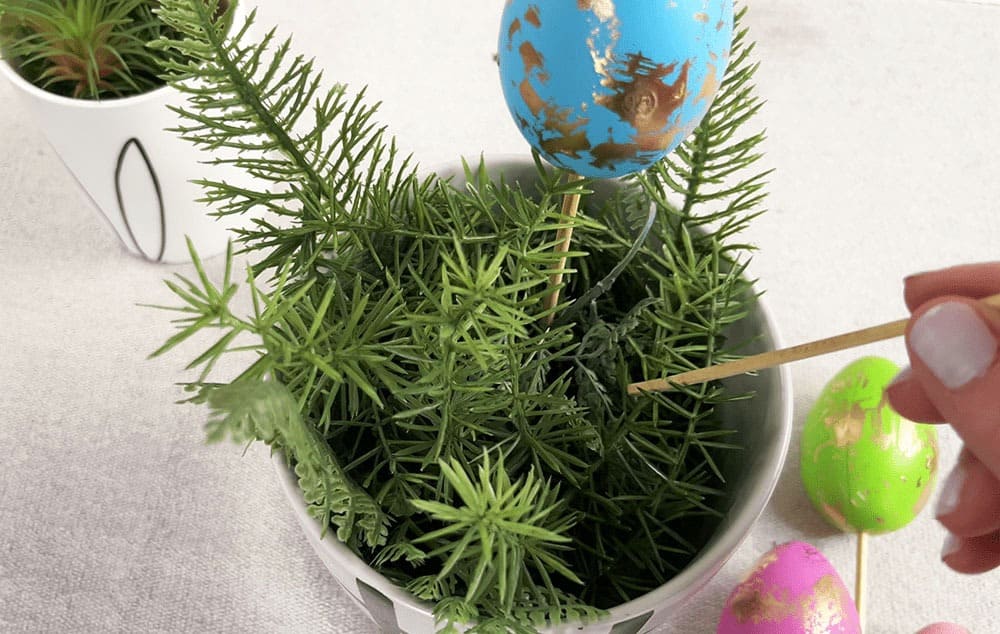
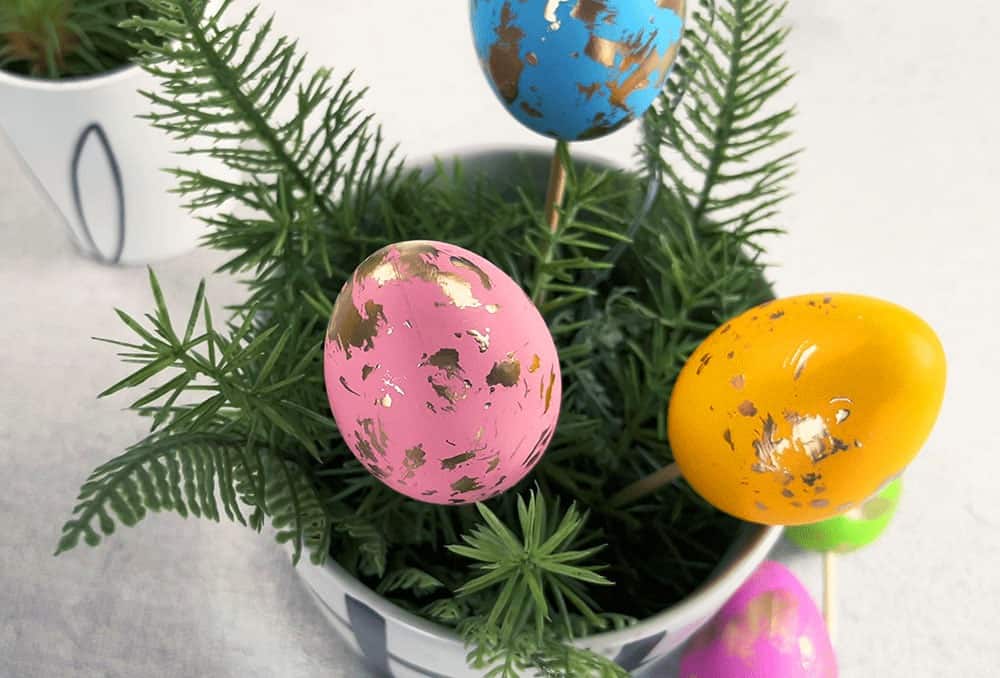
You can even trim more off of some of the skewers to get even more varied heights.
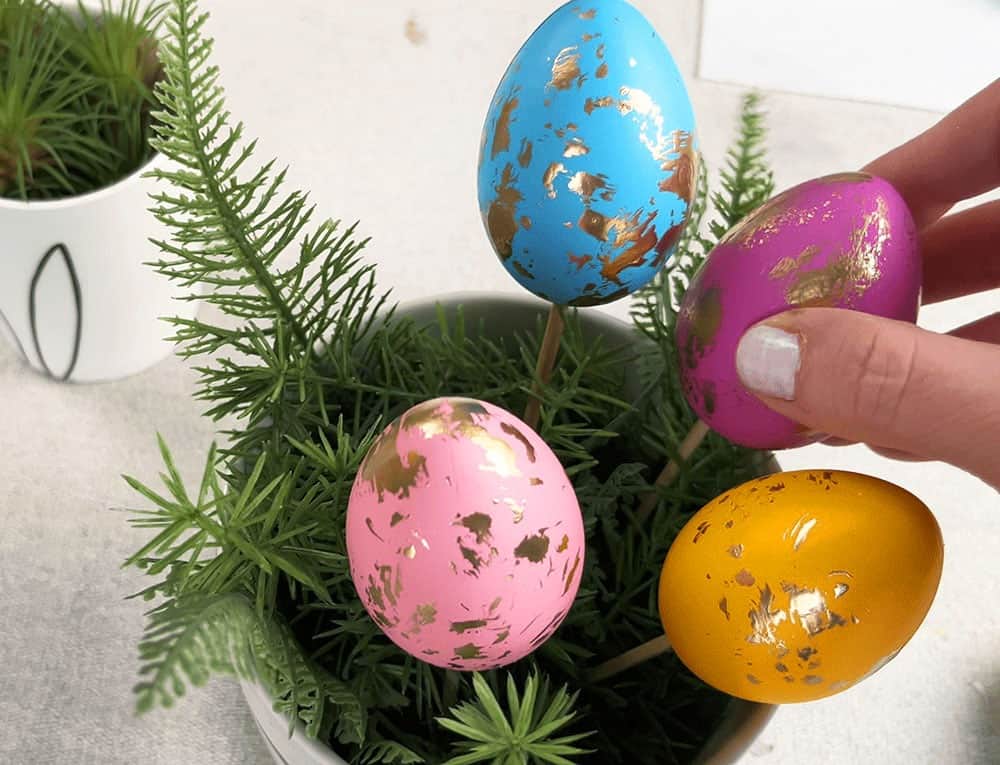
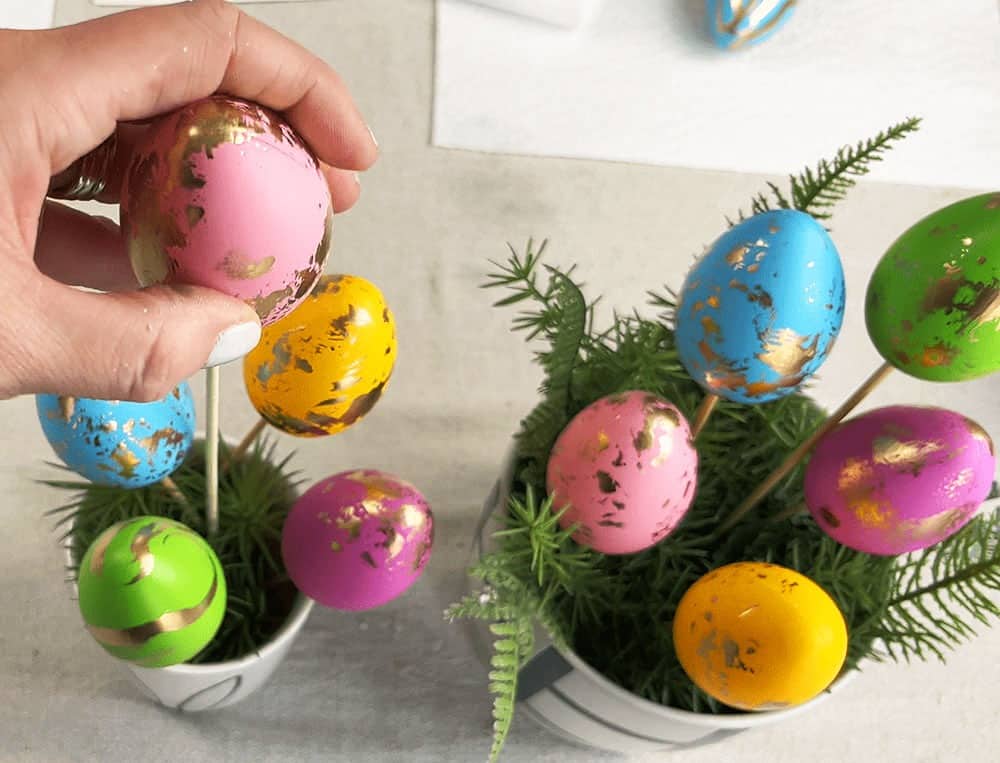
I repeated the same steps with a cute bunny ear planter from my favorite Kansas City home decor store, RE. So cute, and I love how both planter pots coordinate.
Time to head out to the front porch and window boxes to decorate!
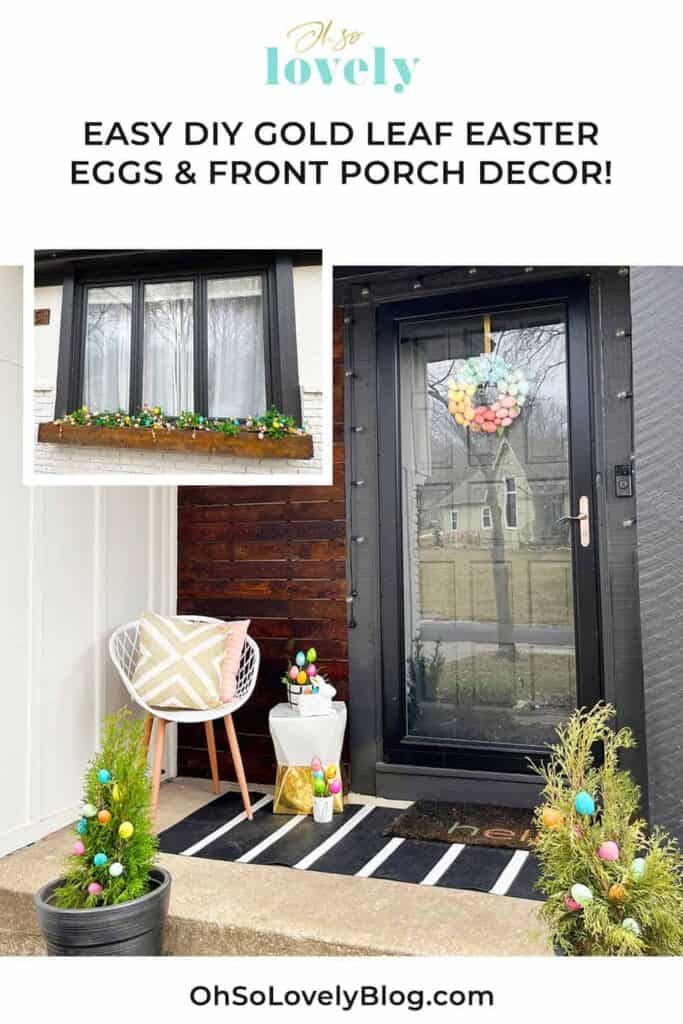
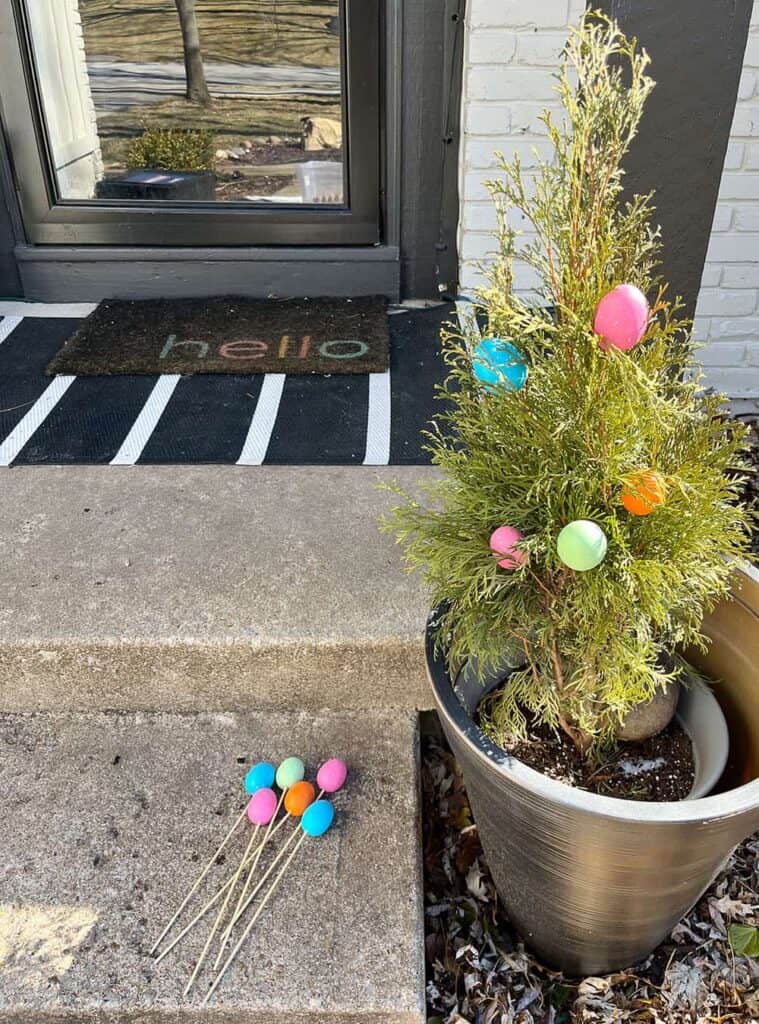
I started off using the colorful plastic egg lollipops I made last year and placed them into our two planters flanking the steps.
Then I wiped down the garden stool and made a spot for the larger planter.
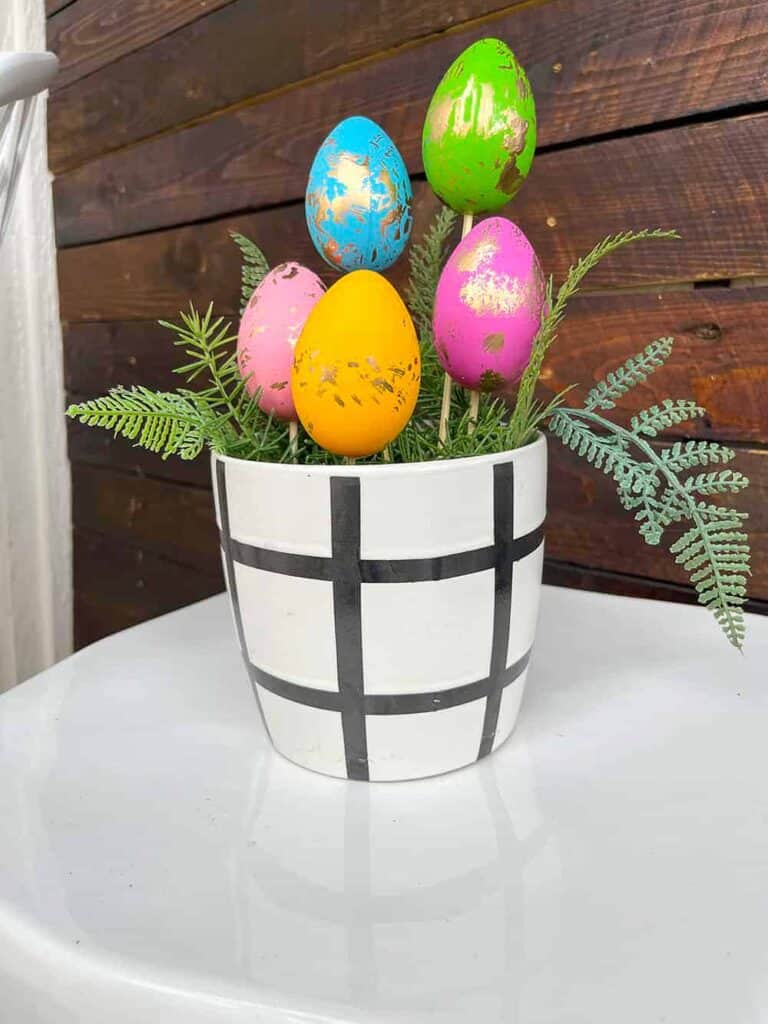
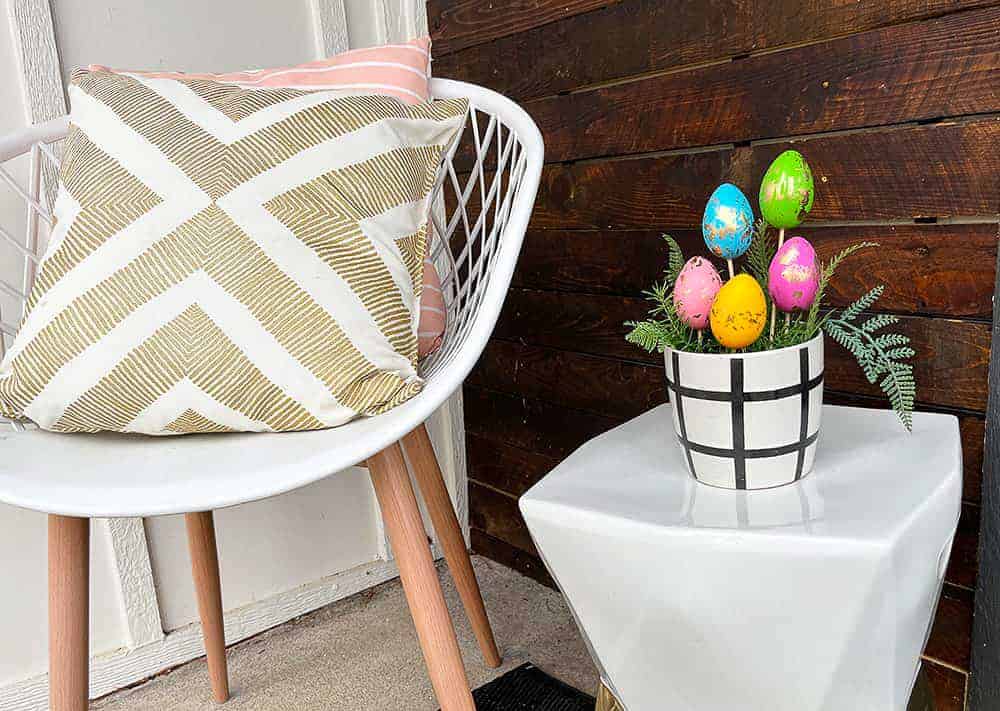
I added a couple springy outdoor pillows to the modern chair (I got mine for a steal at Home Goods a few years ago).
Something was missing, so I decided to add a glass bunny I got a few years ago at the Target Dollar Spot next to the planter. I filled it with some extra craft eggs I had on hand. I love how it looks!
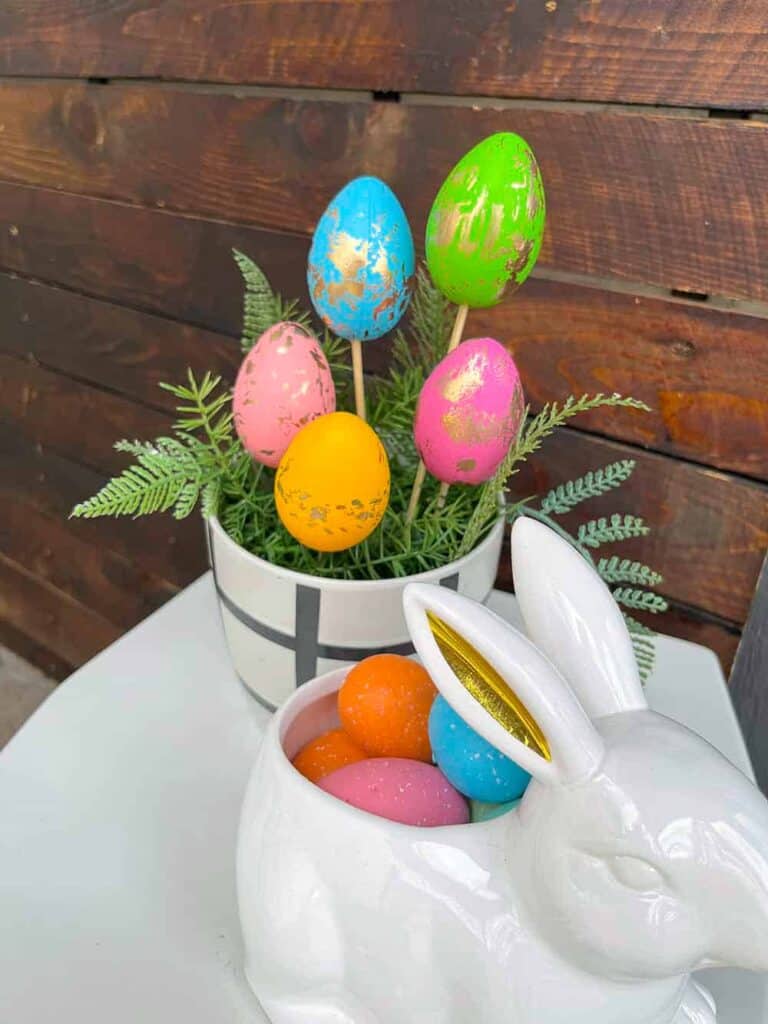
And here’s a look at the smaller planter pot. Ultimately, I decided to bring this one inside to use on the dining room table instead of the porch.
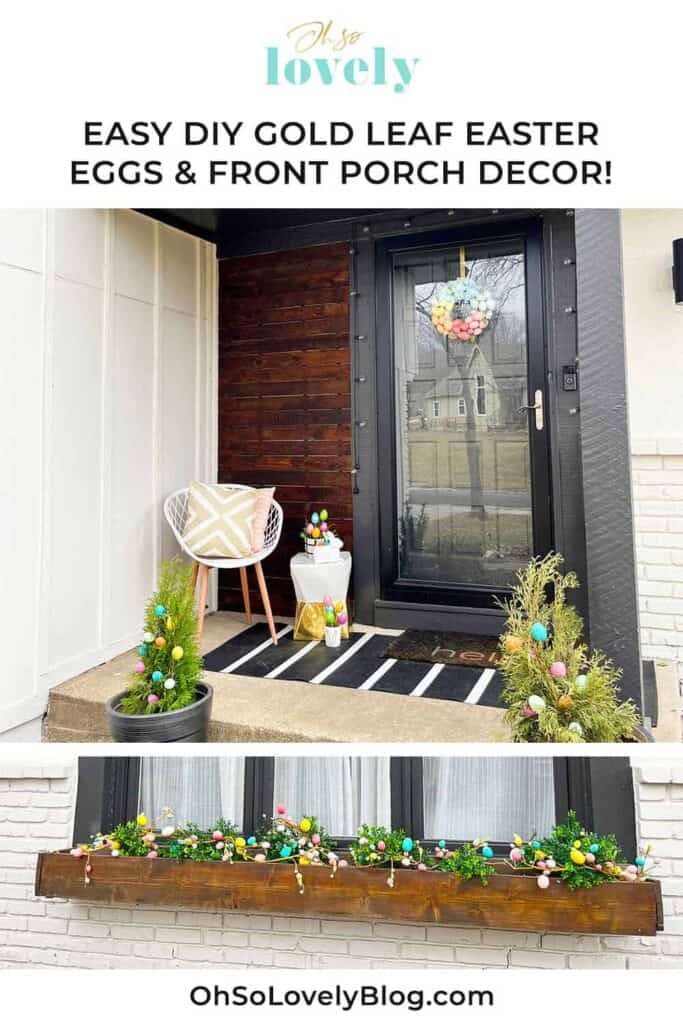
And finally, here’s a look at the zoomed out Easter front porch with my new DIY gold leaf Easter eggs!
I love how it turned out, and best part it was super easy and affordable.
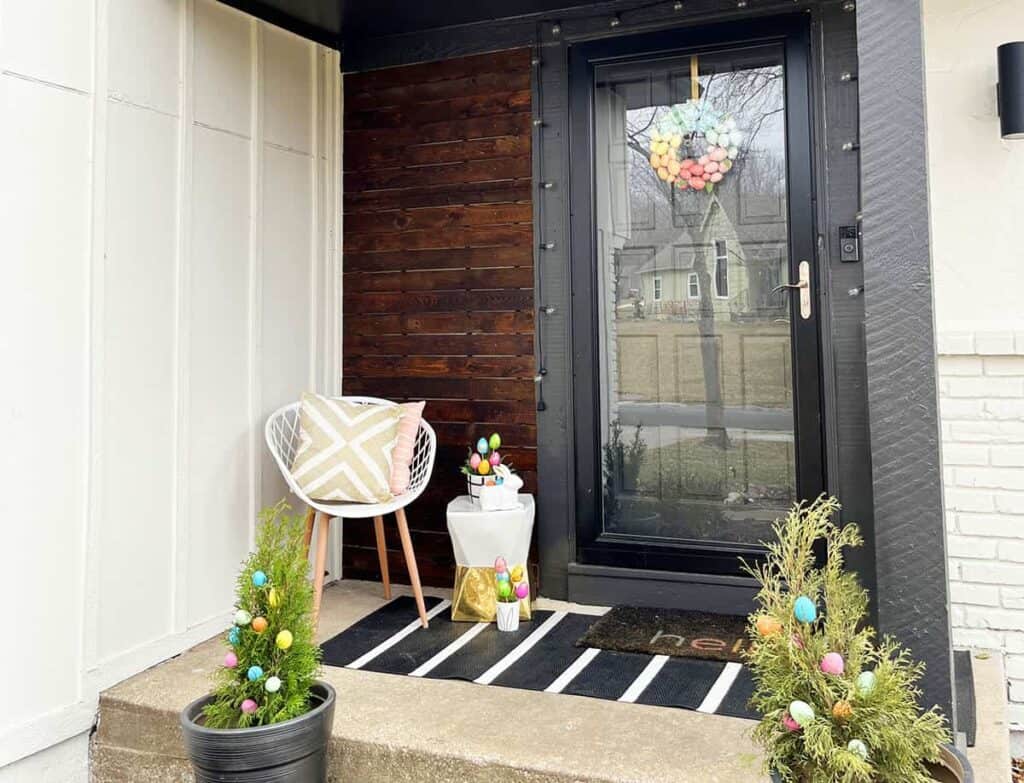
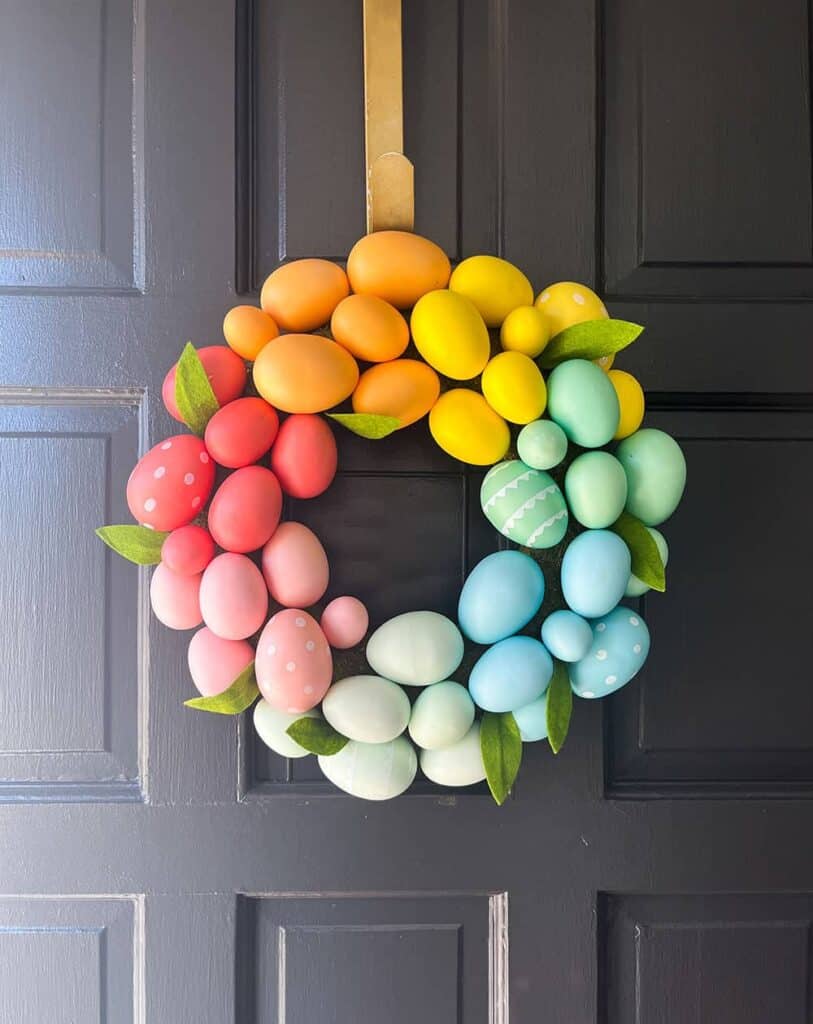
The $17 Easter wreath came from Michaels (similar option here and here and here) and ties it all together nicely.
Here’s a closer look!
(Edit: Since we added our new front door, I like to hang this wreath on our larger window above the window box).
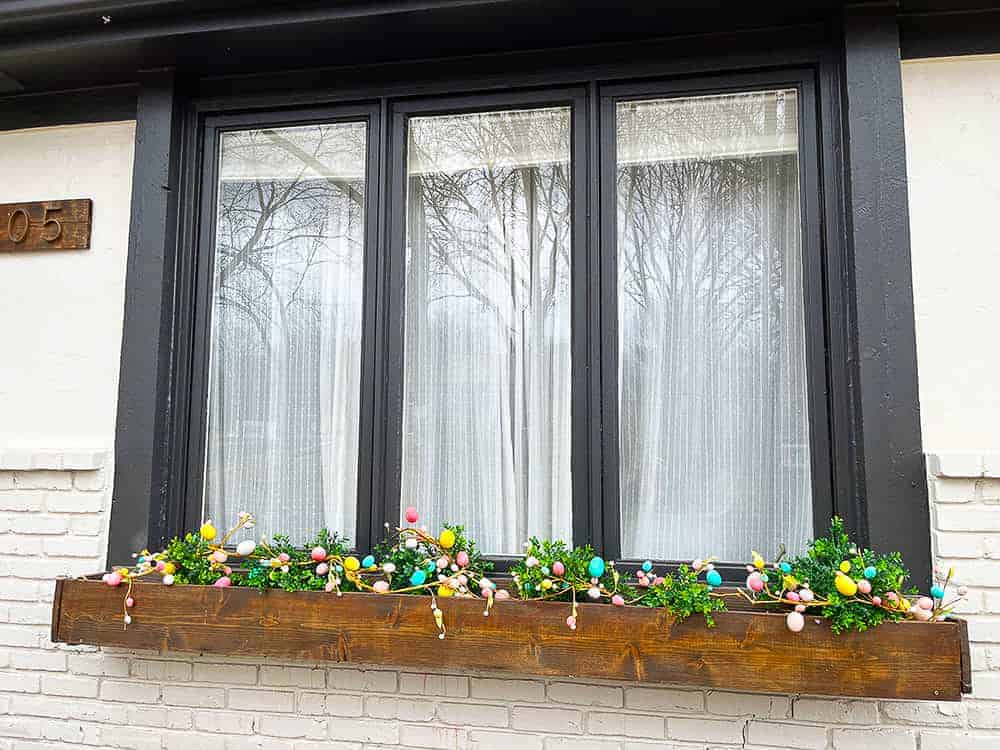
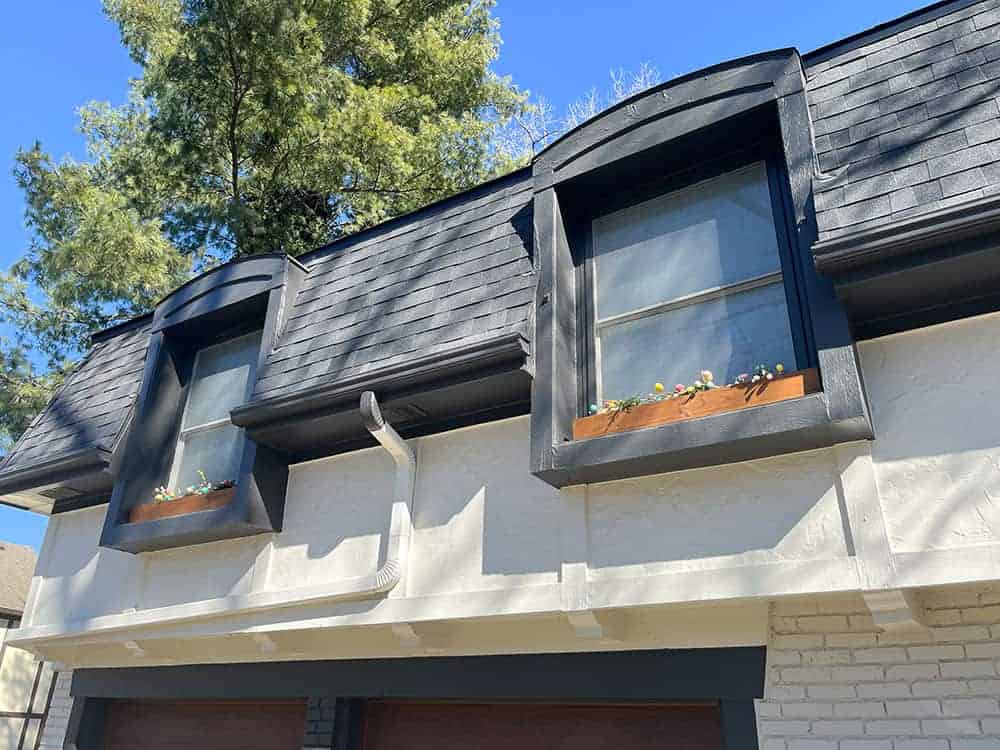
We have three window boxes that I love to decorate for Easter using simple strands of egg garland.
For the large window box I used 2 strands (similar option here) mixed with 6 faux sweet grass bushes. So easy!
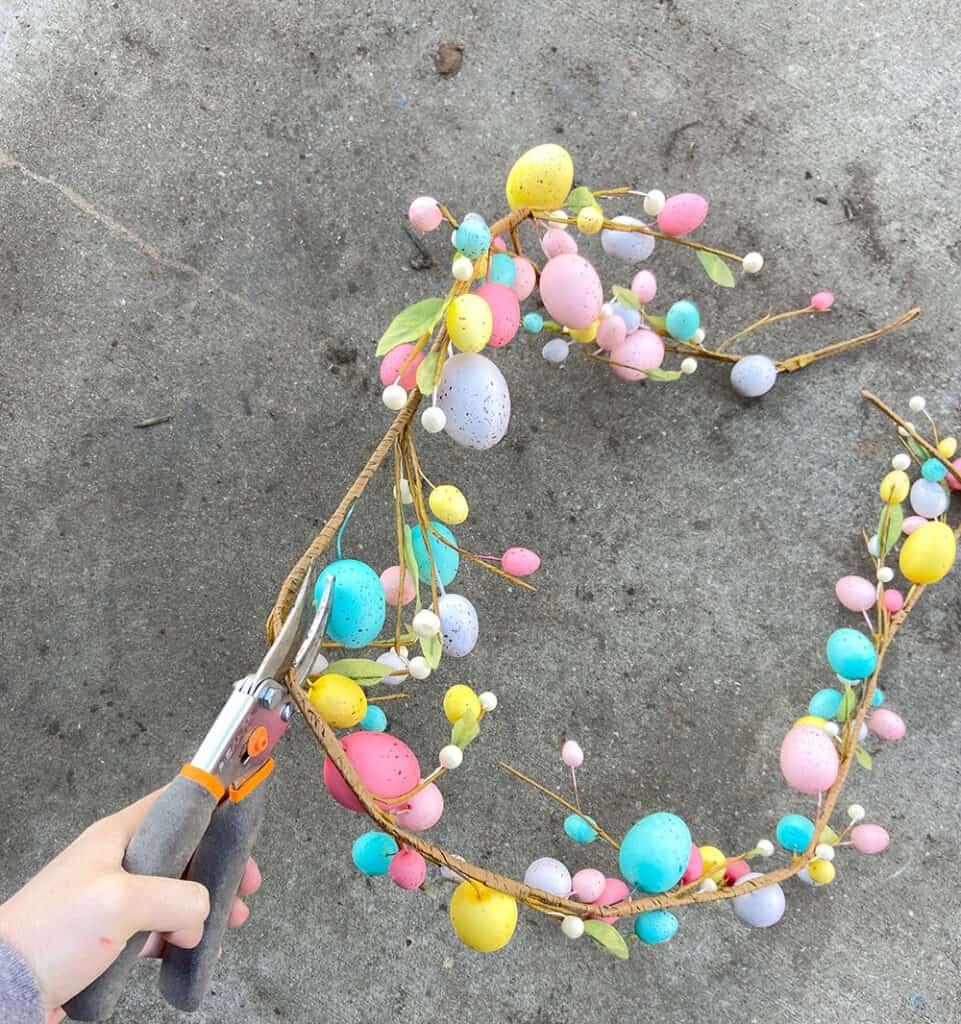
For our two smaller window boxes above the garage, I took one strand and cut it in half.
I got the extension ladder and placed one half strand in each window box.
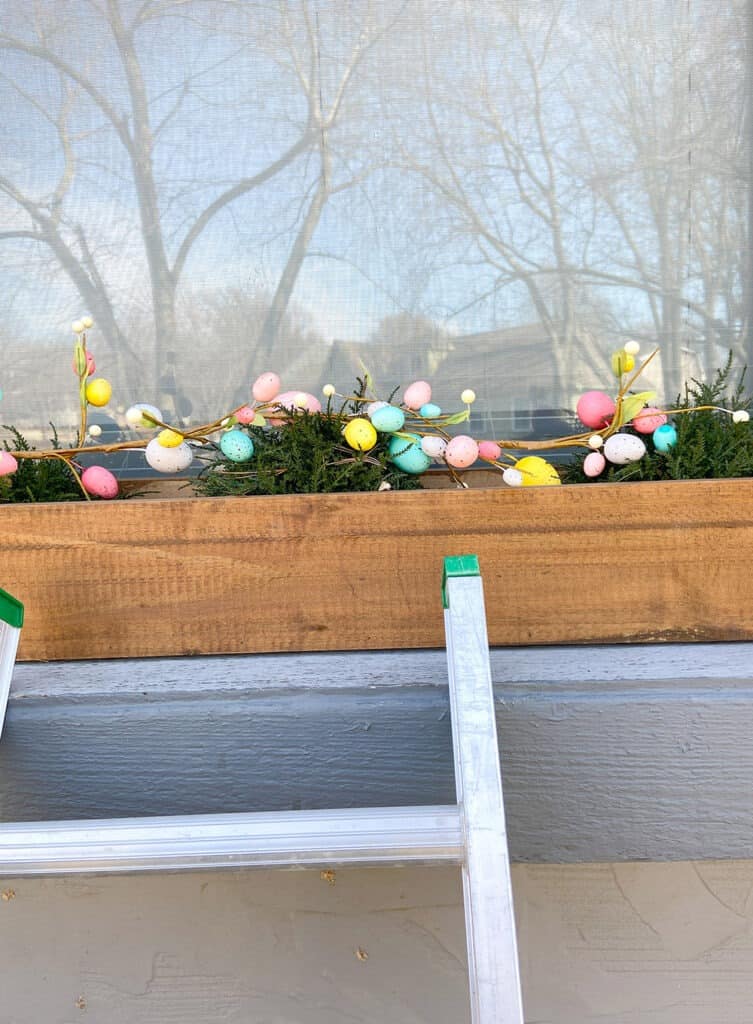
These are soooo cute don’t you think? If you’re ore into neutral colors, Michaels has other more muted color combos.
In each boxe I use faux cedar bushes that come in a set of 3, and really like them for all seasons. I’d use real plants, but it’s too difficult to keep them watered year-round at this height (our window screens don’t open)
That’s it – I hope you like my DIY gold leaf Easter eggs and front porch decor!
I always have such a great time decorating the exterior for the holidays!
xoxo
Audrey
Pin my gold leaf Easter eggs for later!
