I’ve been waiting seven years to start our DIY entryway beam and door update, and the time is finally here!
We worked with Dutch Boy® Paints to “Simplify the DIY” and update the entryway on a smaller budget in about one week.
Disclaimer: This is a sponsored post. It’s been so fun working with Dutch Boy® Paints on this project. All opinions are 100% honest and my own. Thank you for your support!
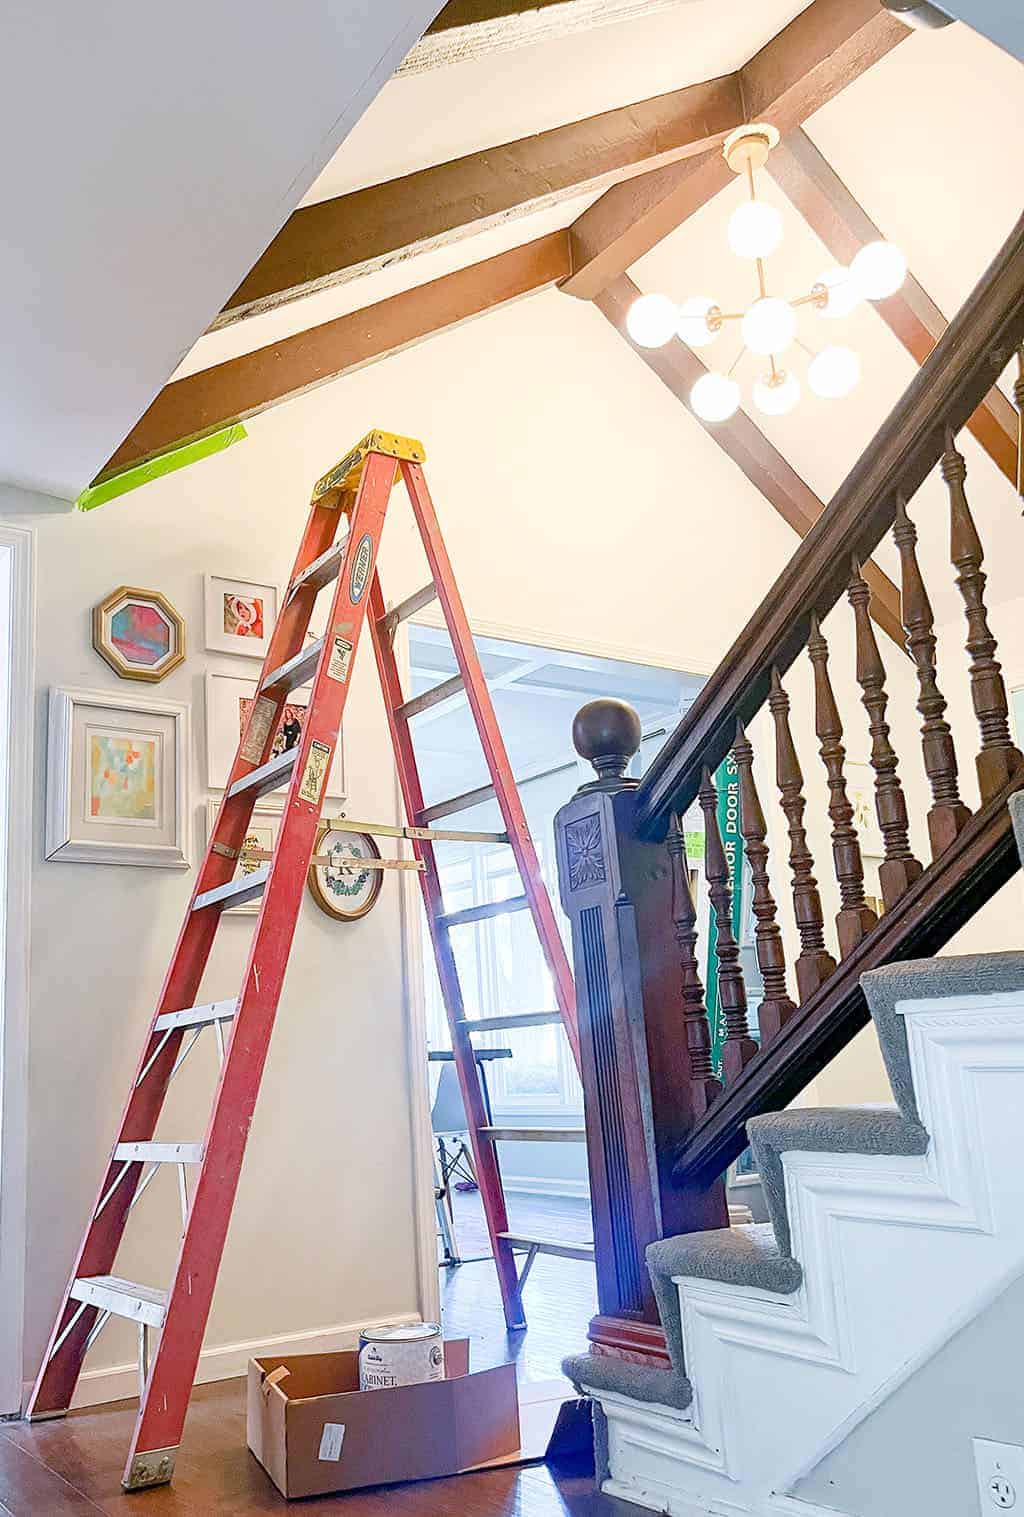
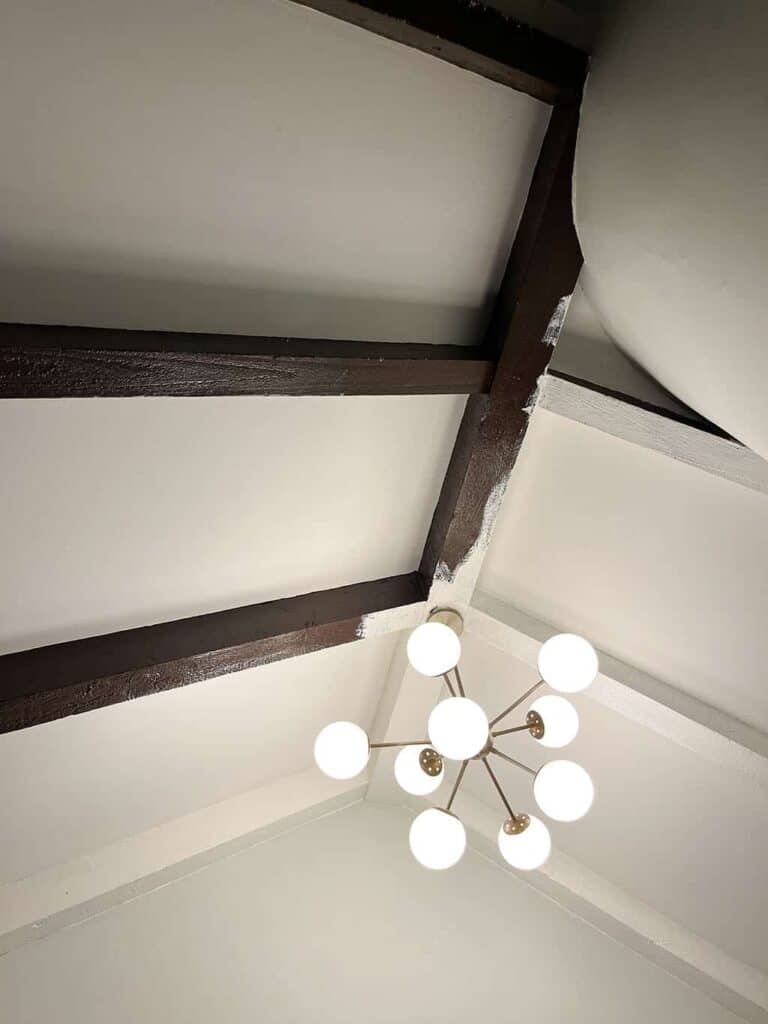
The entryway before
I love the tall ceilings and beams in this space, but have never been a fan of the dark brown painted beams we inherited.
Here is the entry on the day we moved in. Eww.
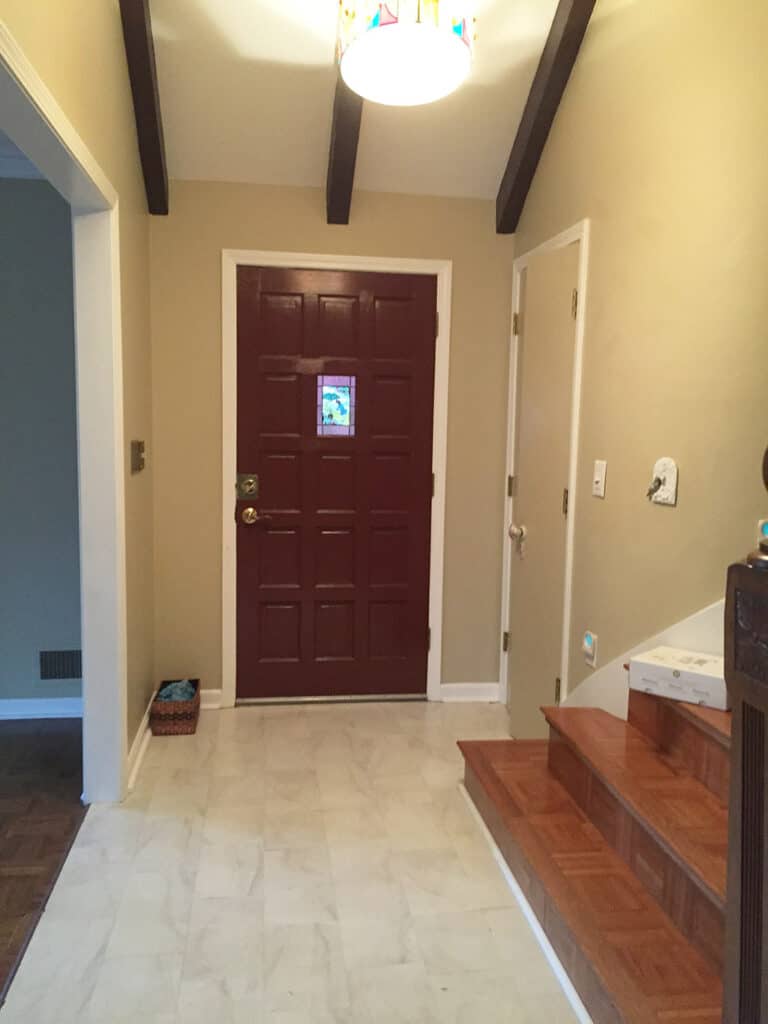
Over the years we switched out the light, redid all the flooring, painted walls and front door, but were finally ready for more!
We’d been dreaming of updating our front door with a more modern one with windows to bring in more light.
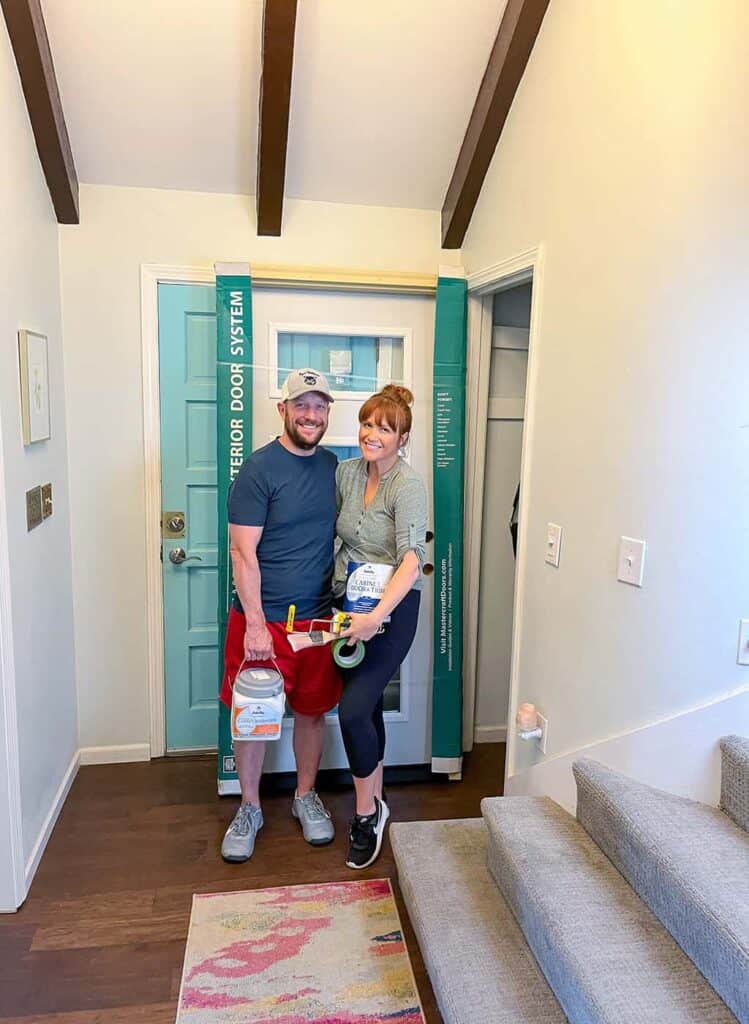
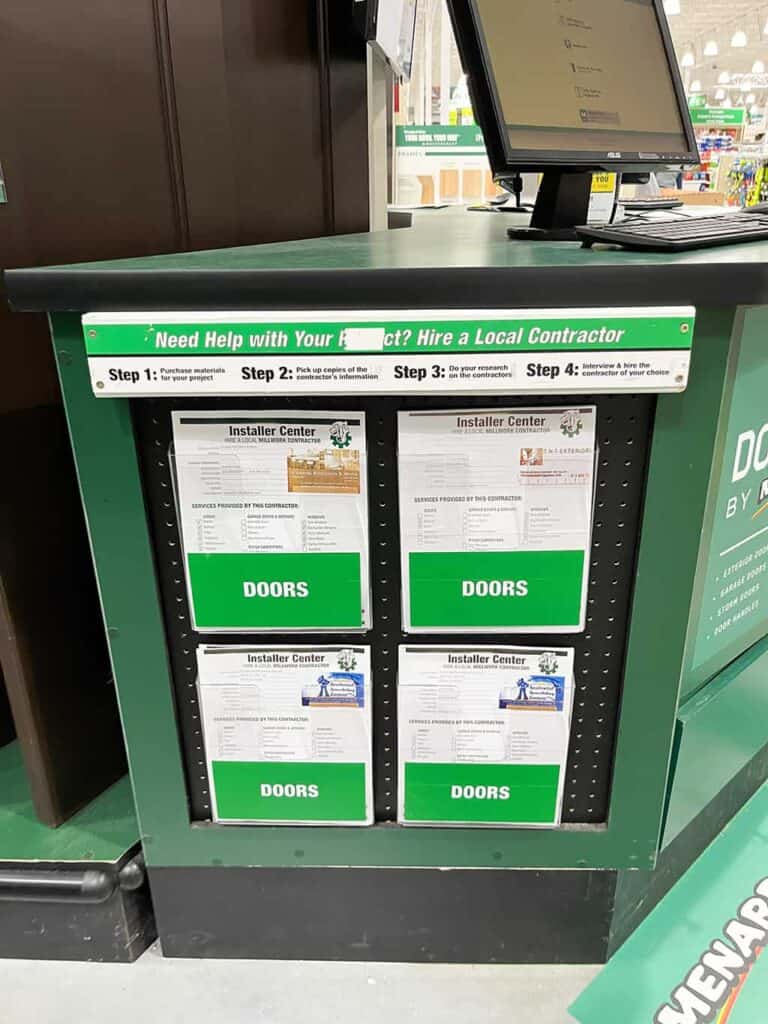
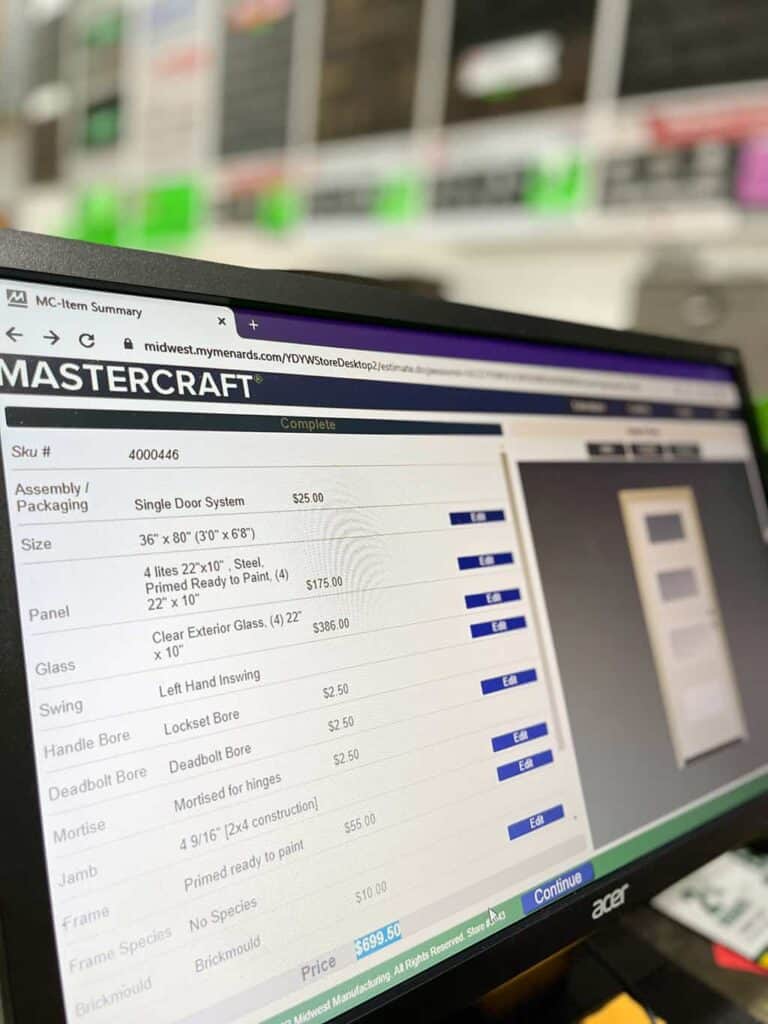
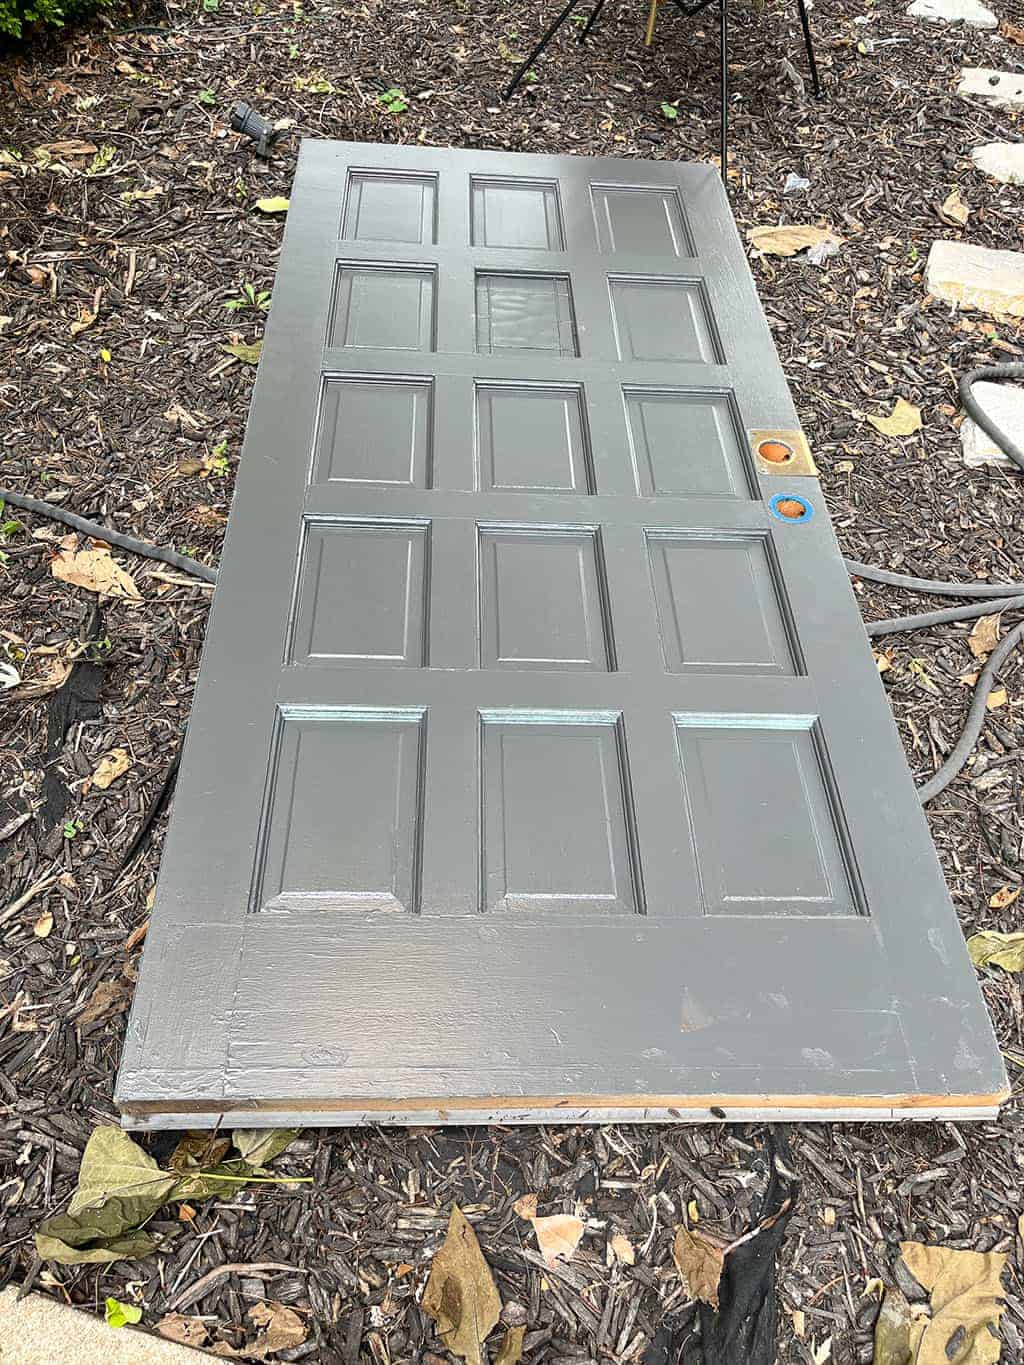
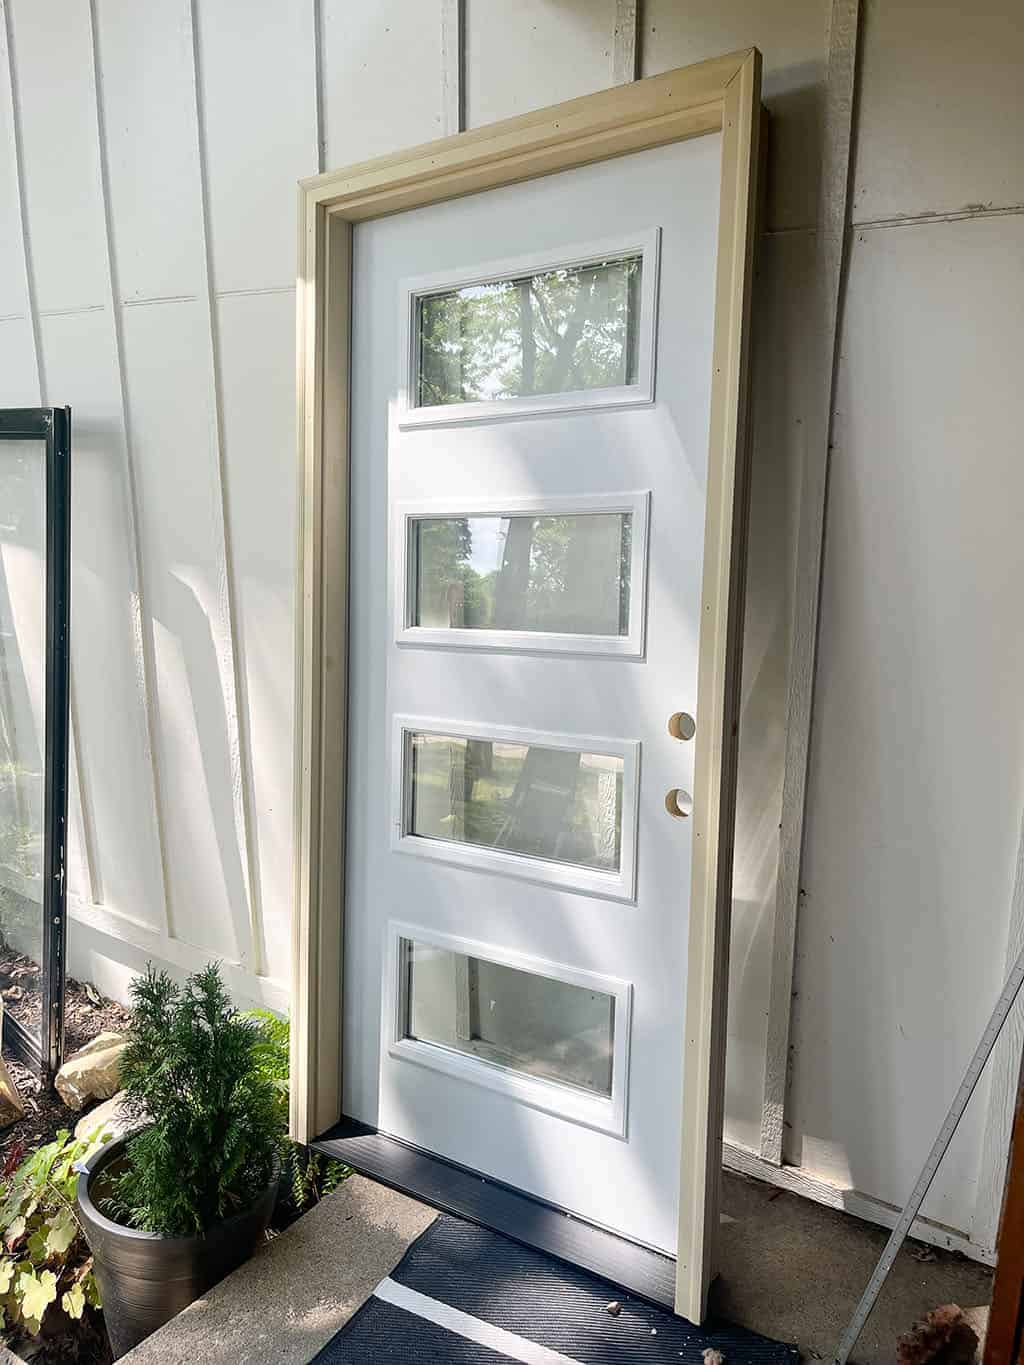
We ordered the perfect custom door (for our smaller budget) at our local Menards Home Improvement Store. I had a vision for it, and couldn’t wait to get it installed and painted with Dutch Boy® Paints.
More on that soon!
Entryway beam and door update task one: Purchase the door and paint.
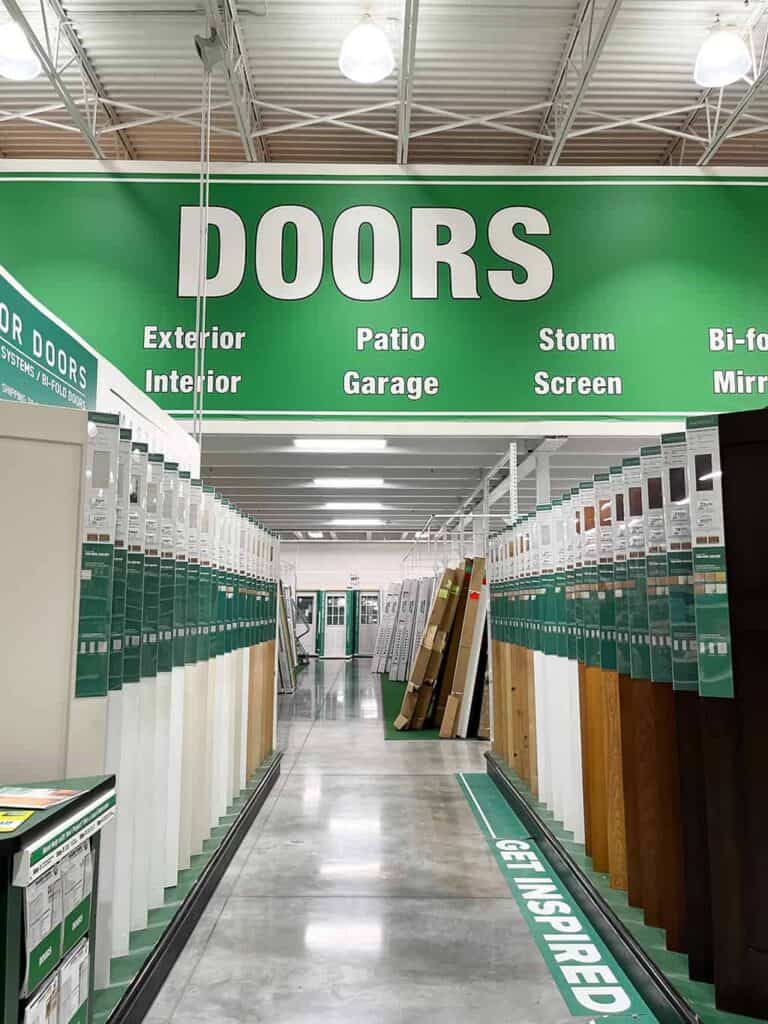
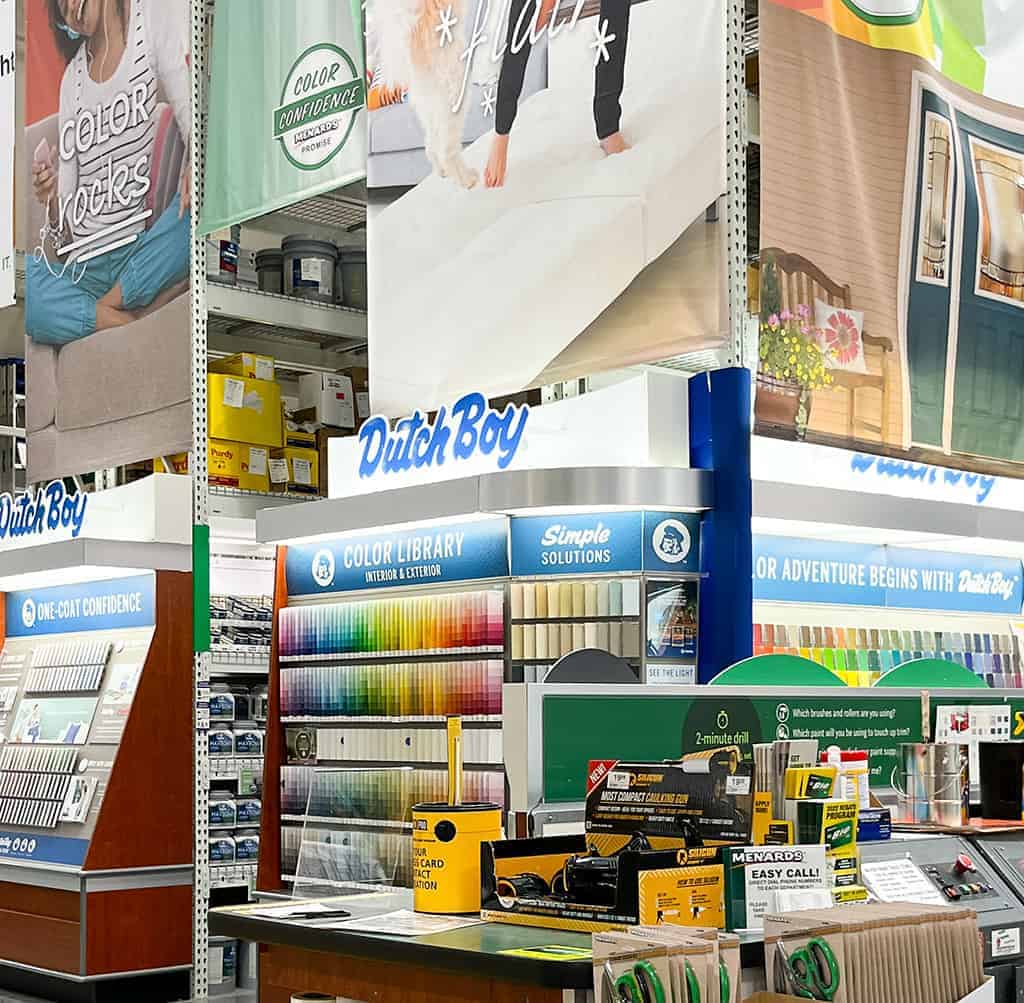
We headed to our local Menards to order our custom door and choose our Dutch Boy® Paints.
To start, we worked with a door expert to get our custom door ordered. And we only had to wait one week for it to arrive, which was a very pleasant surprise! I headed to the store and had the door loaded into our SUV in less than 5 minutes.
Menards also has door install experts you can hire if you don’t want to go to the DIY route.

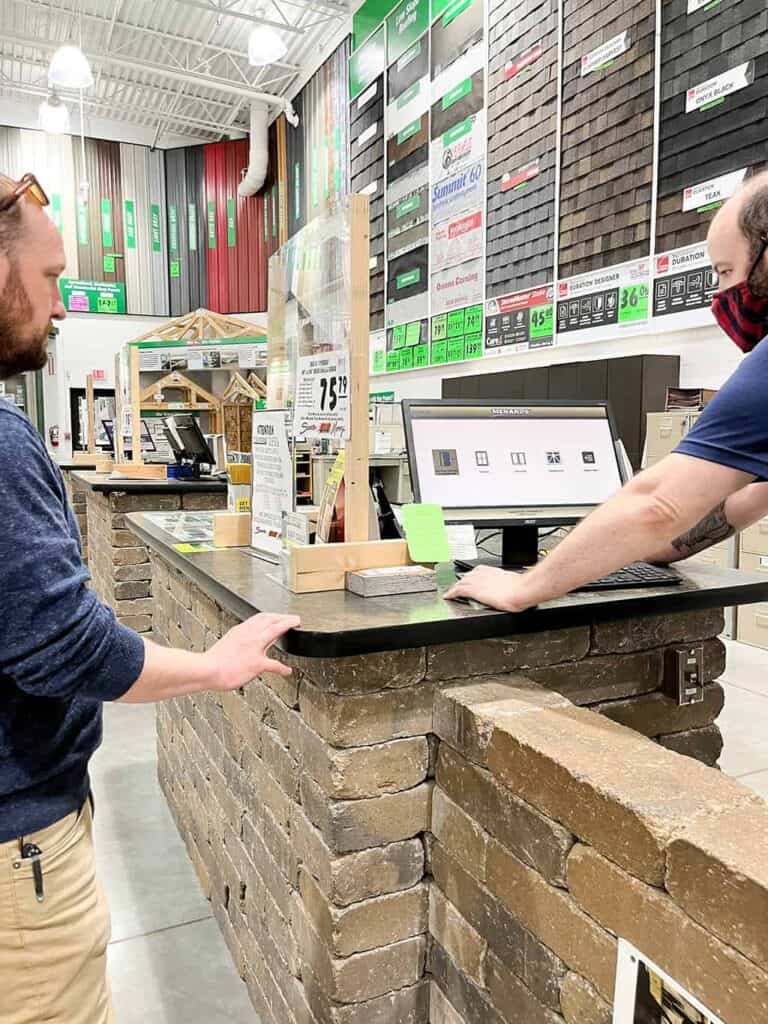
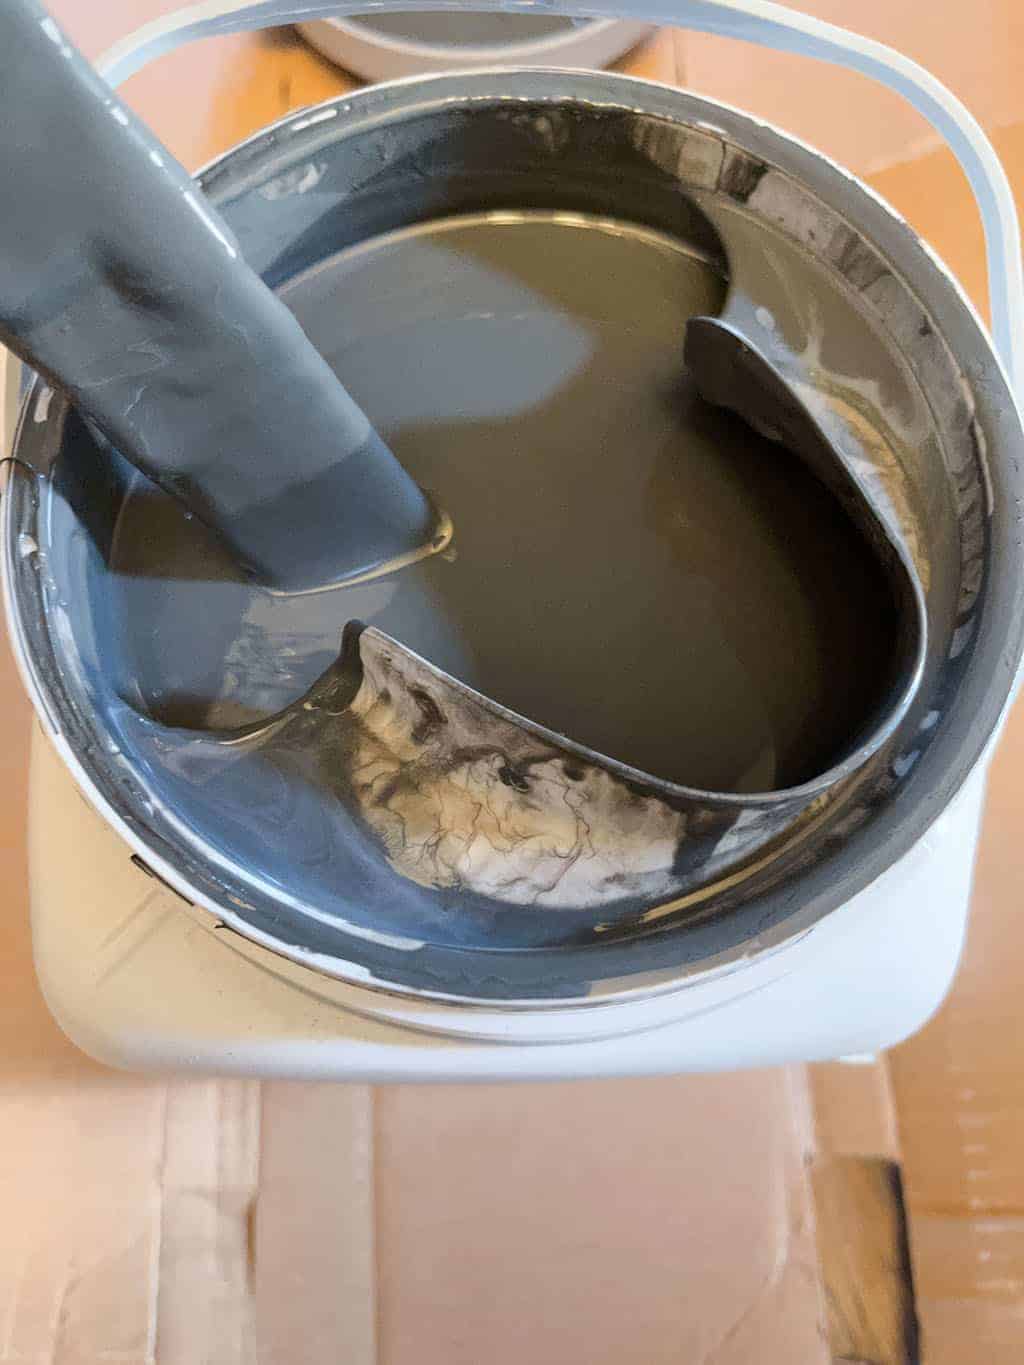
We chose our paint and had them both matched to our current interior and exterior trim colors.
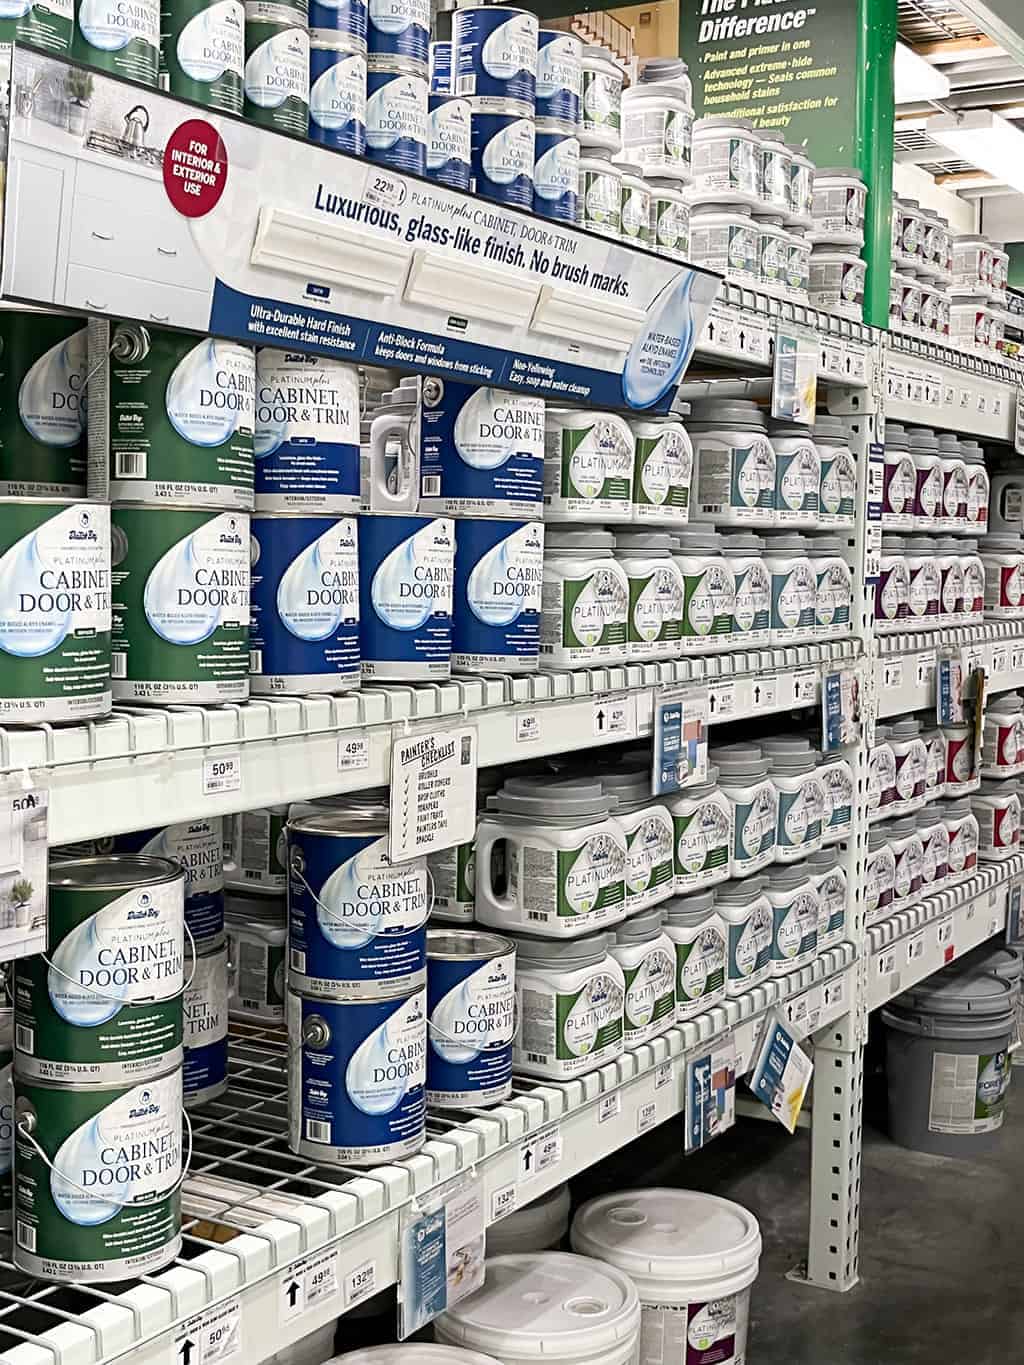
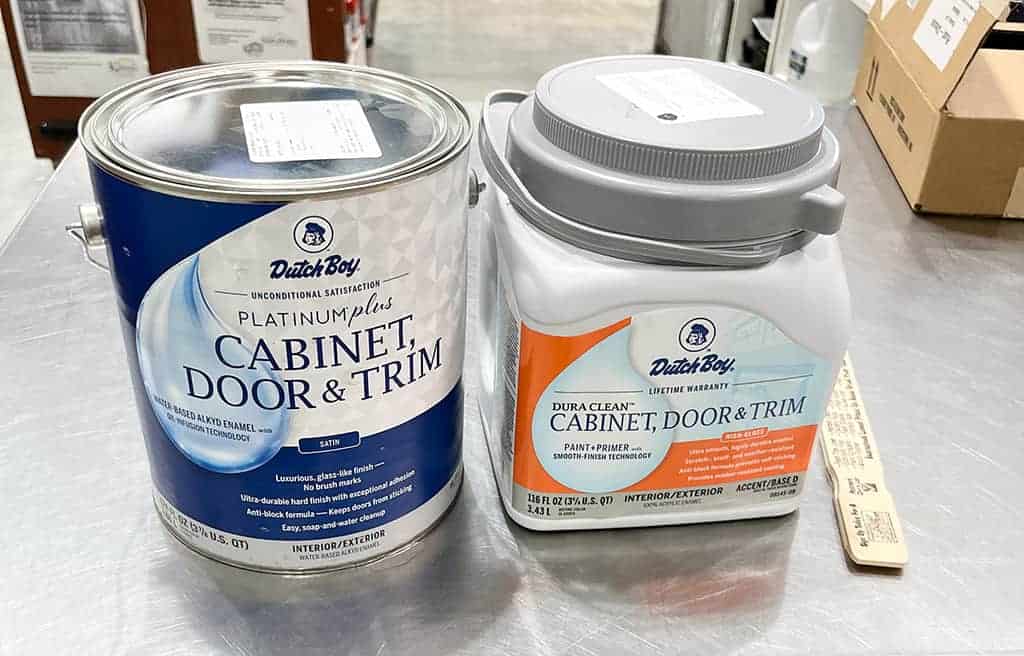
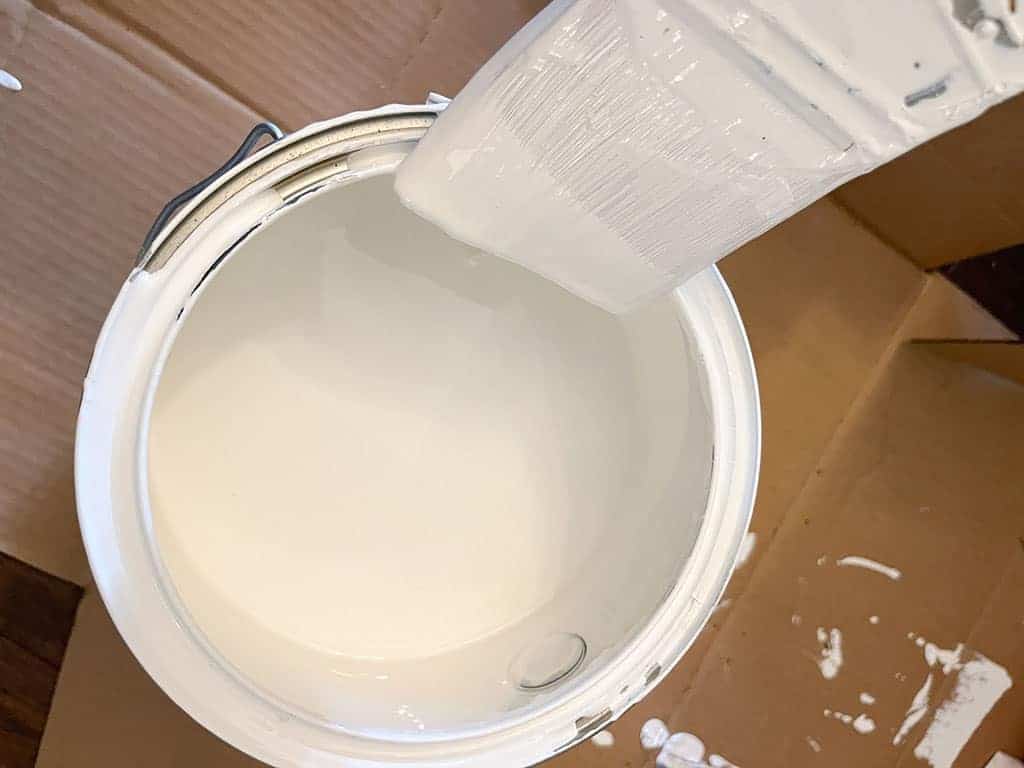
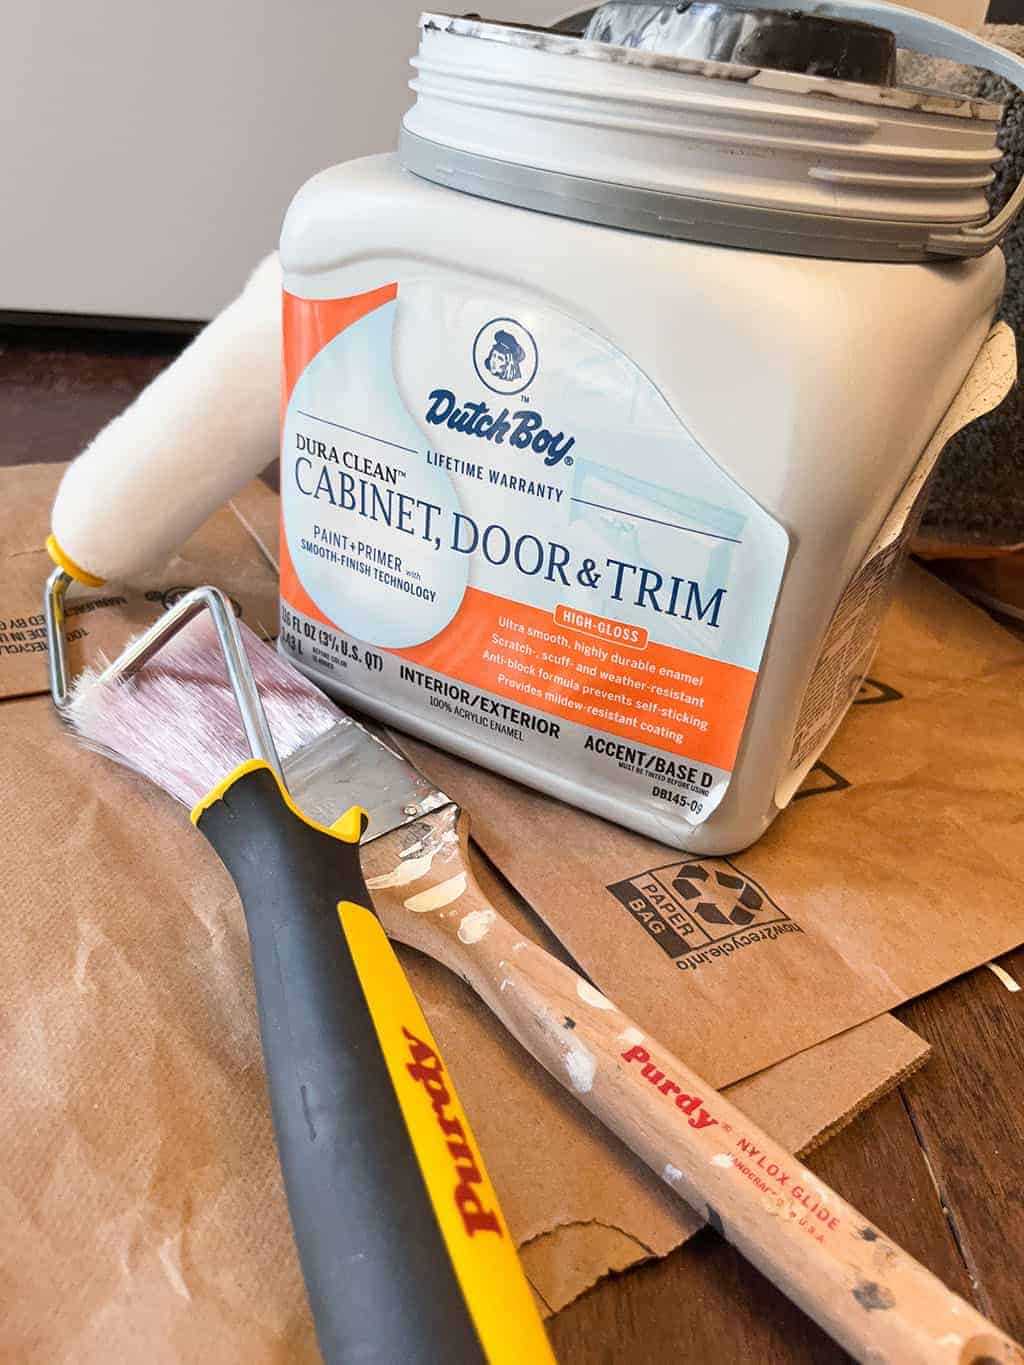
We ended up going with Dutch Boy® Platinum Plus Cabinet, Door & Trim Paint (satin) for our beams, and Dutch Boy® Dura Clean Cabinet, Door & Trim Paint (high gloss) for our door.
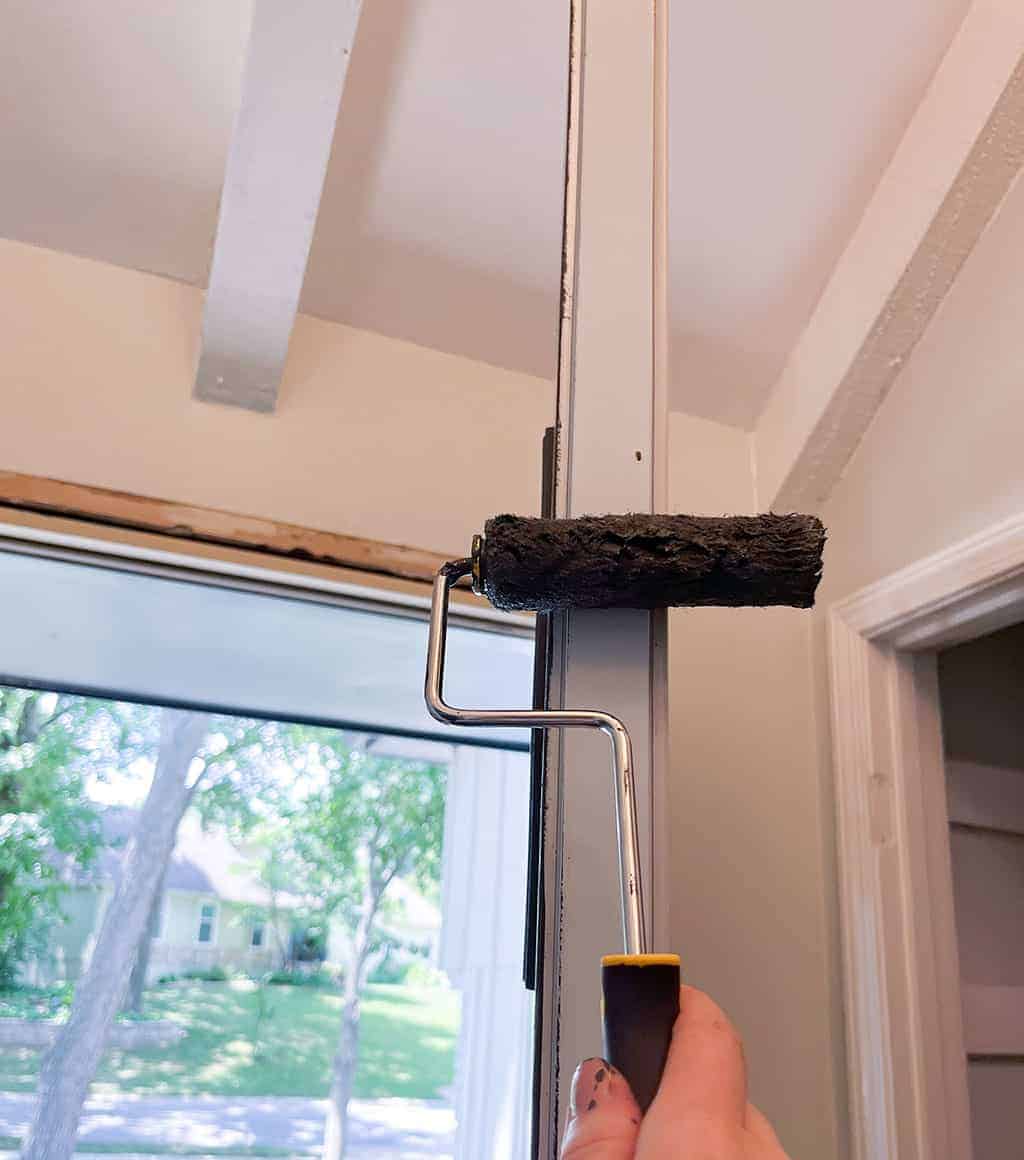
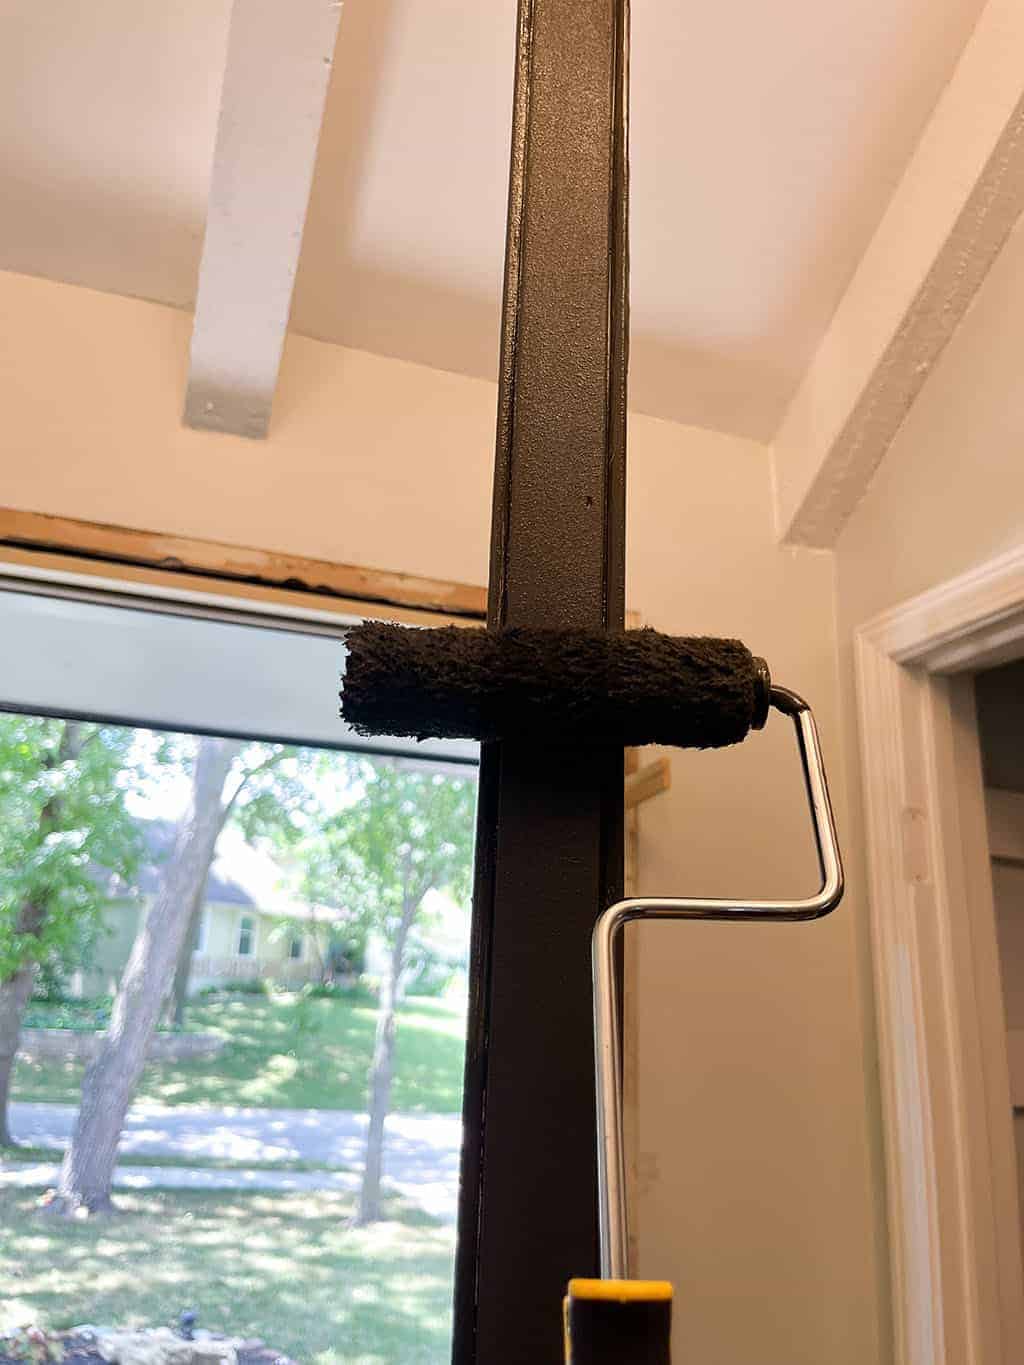
Entryway beam and door update task two: Paint the beams.
I gathered my Dutch Boy® Platinum Plus Cabinet, Door & Trim Paint, my Purdy brush, tape, and a ladder.
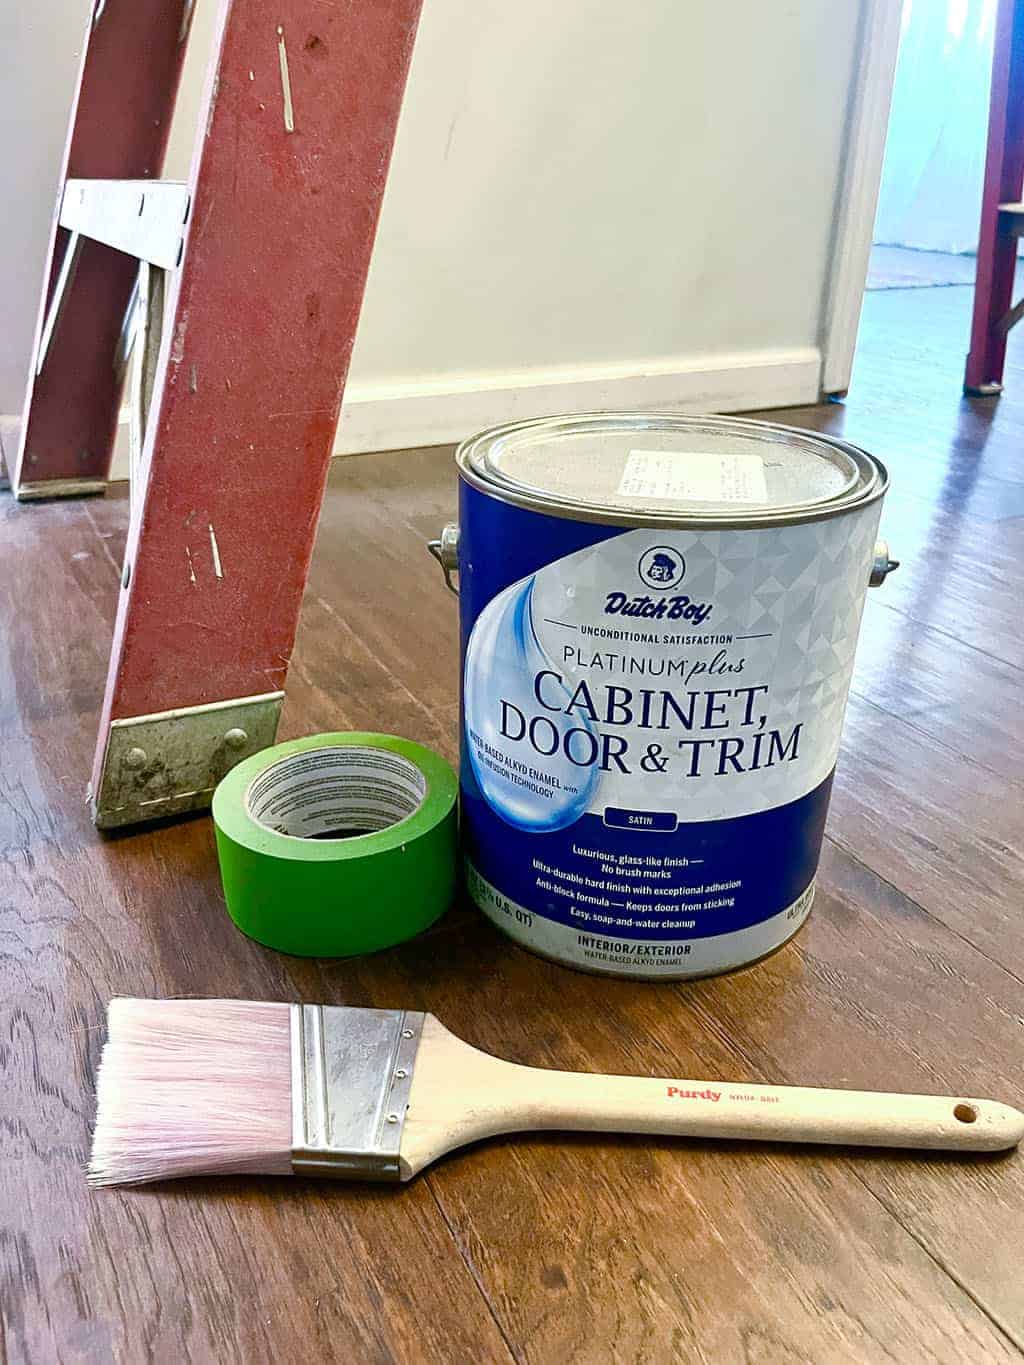
One coat of paint usually does the trick since this paint has great coverage, but painting over such dark paint required two coats.
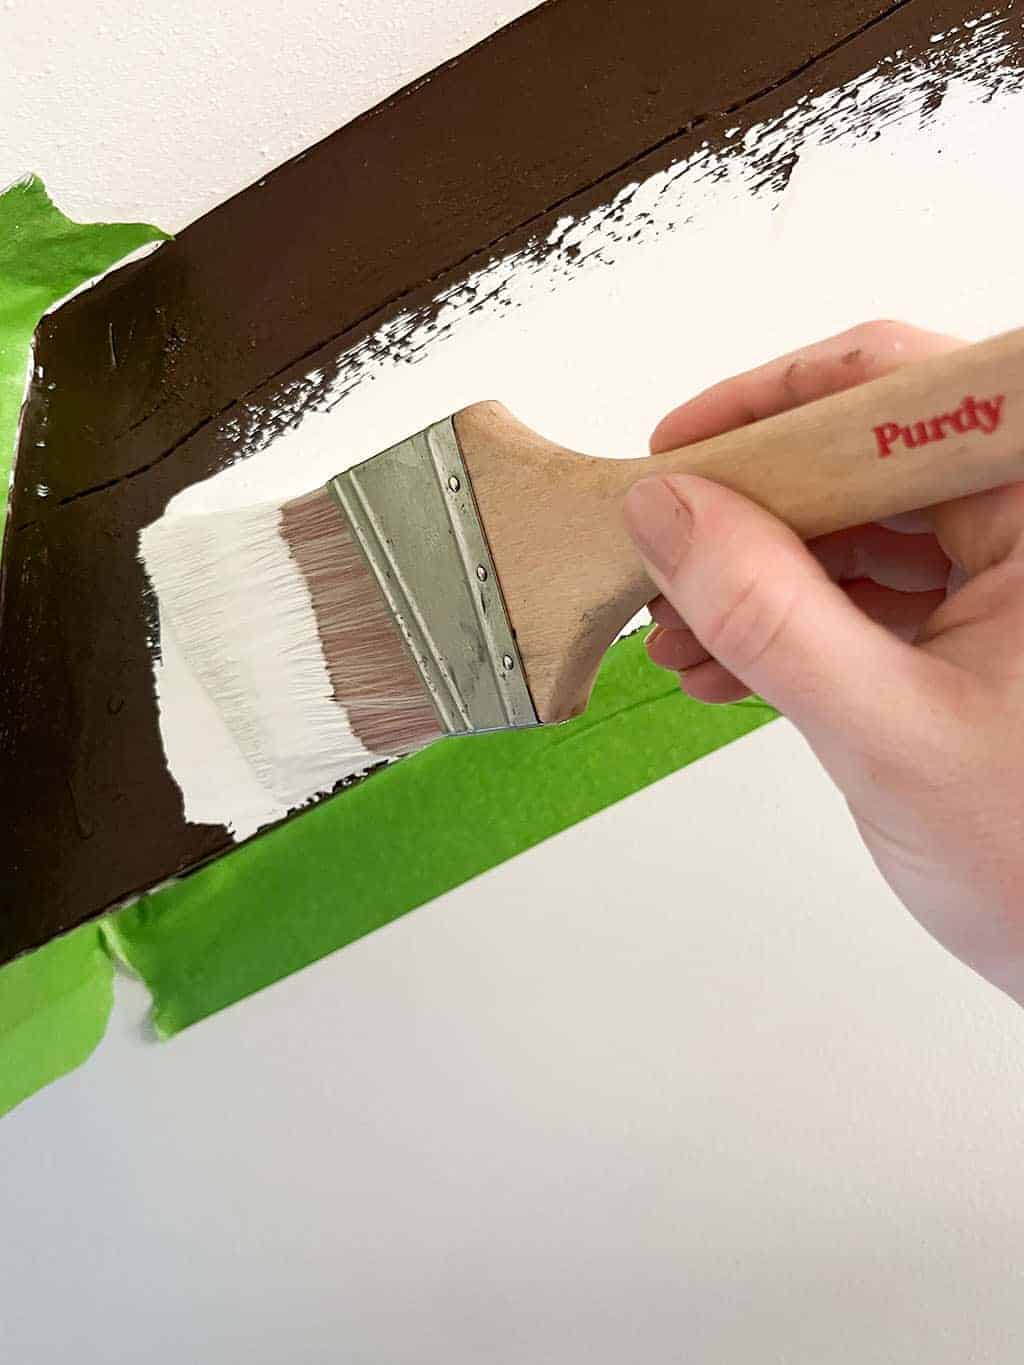
The painting process went pretty quickly once I got started.
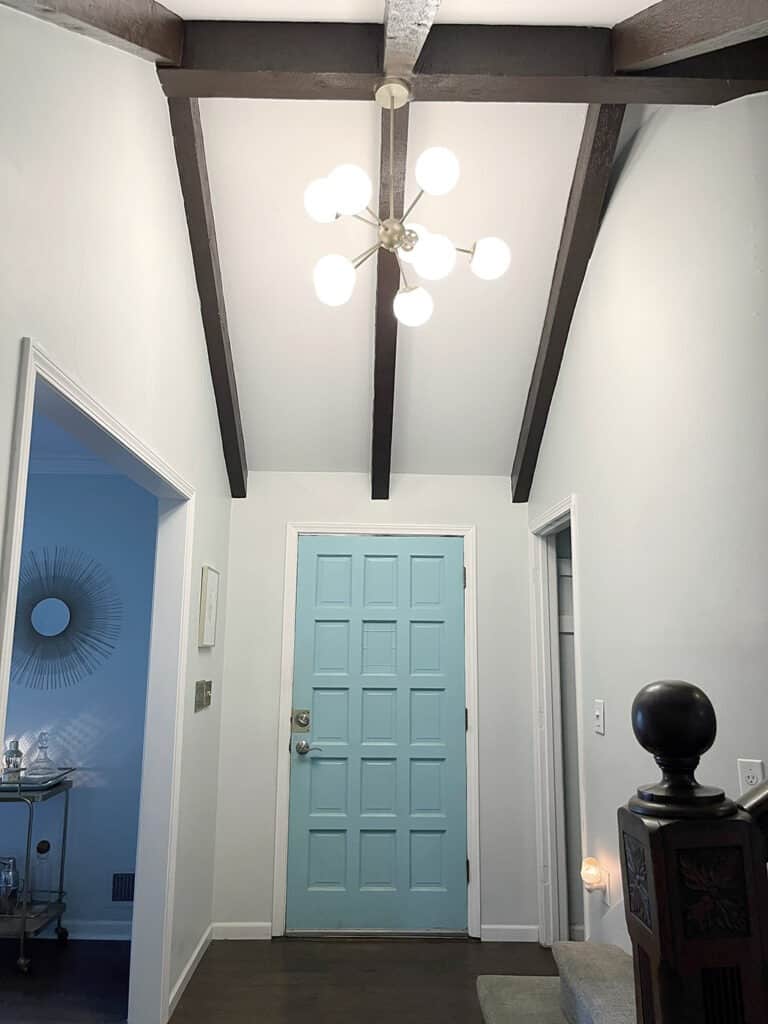
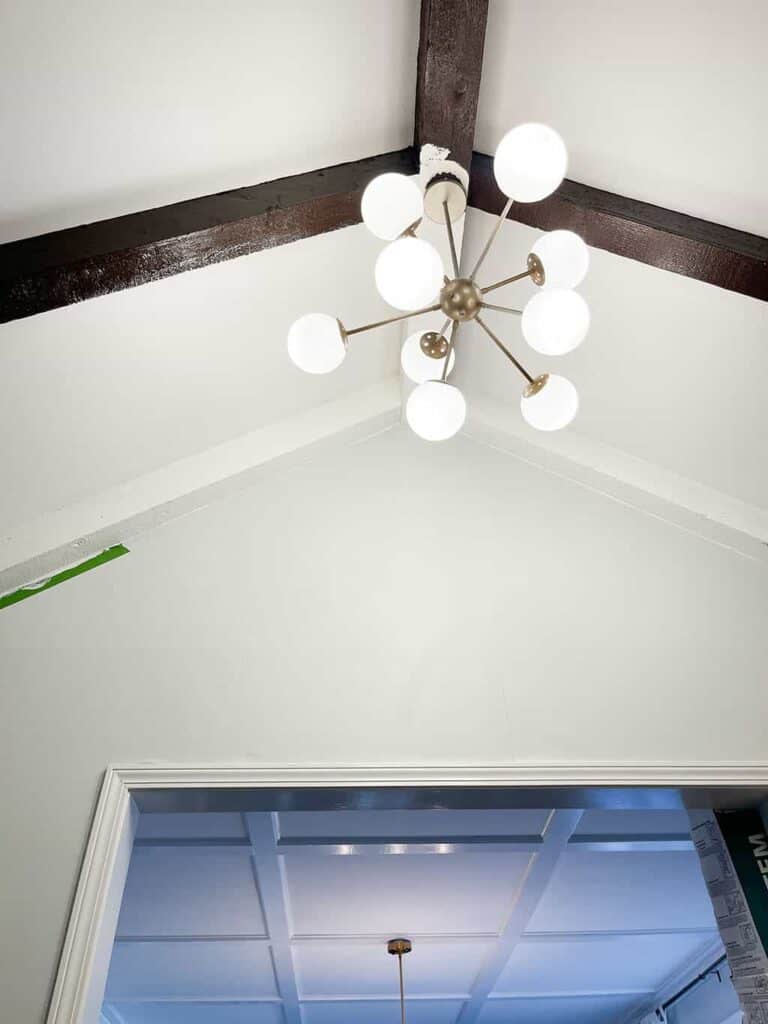
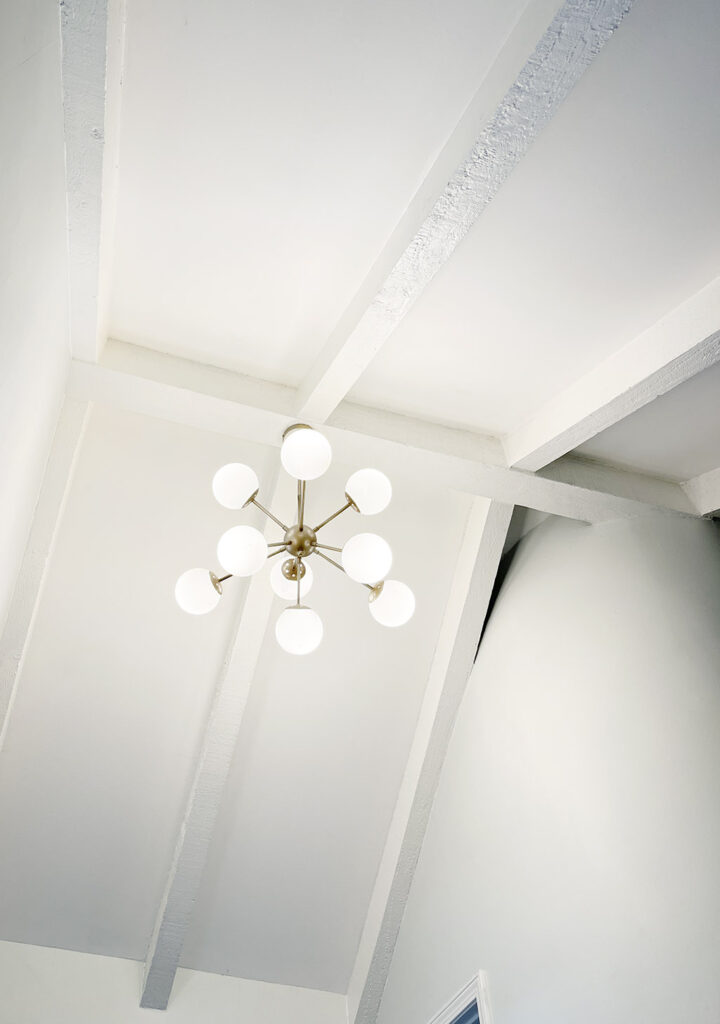
We chose to go with white beams so they’d match all other ceiling details throughout our house. It was the perfect choice for us. And wow, the white really brightens up this space!
I decided to ditch the tape and use some cardboard as my guide. A tiny craft paint brush worked well to fill in any tiny nooks.
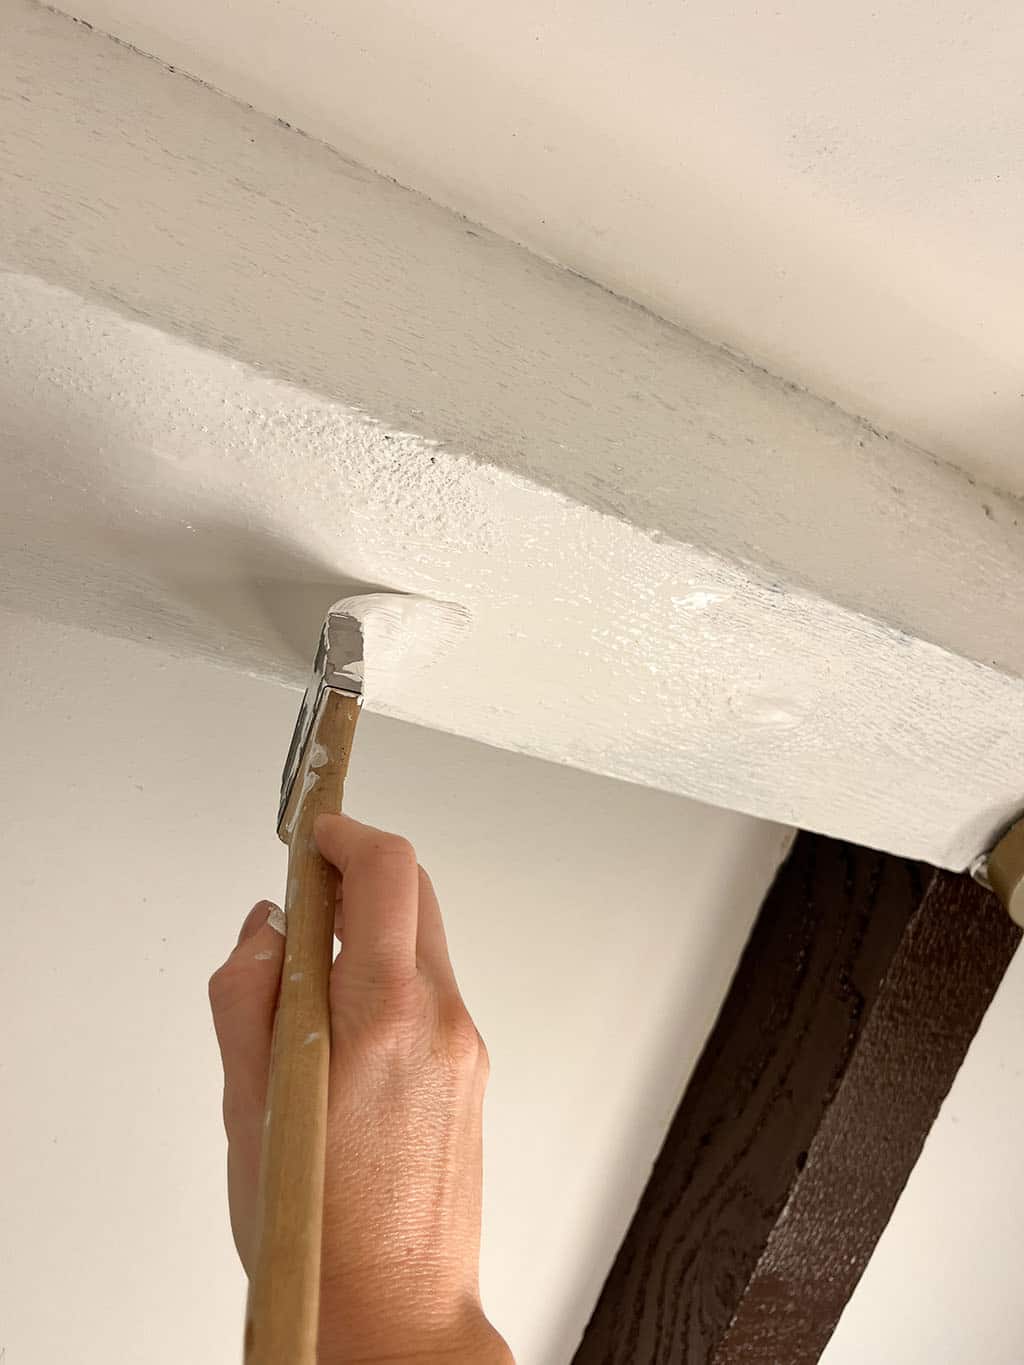
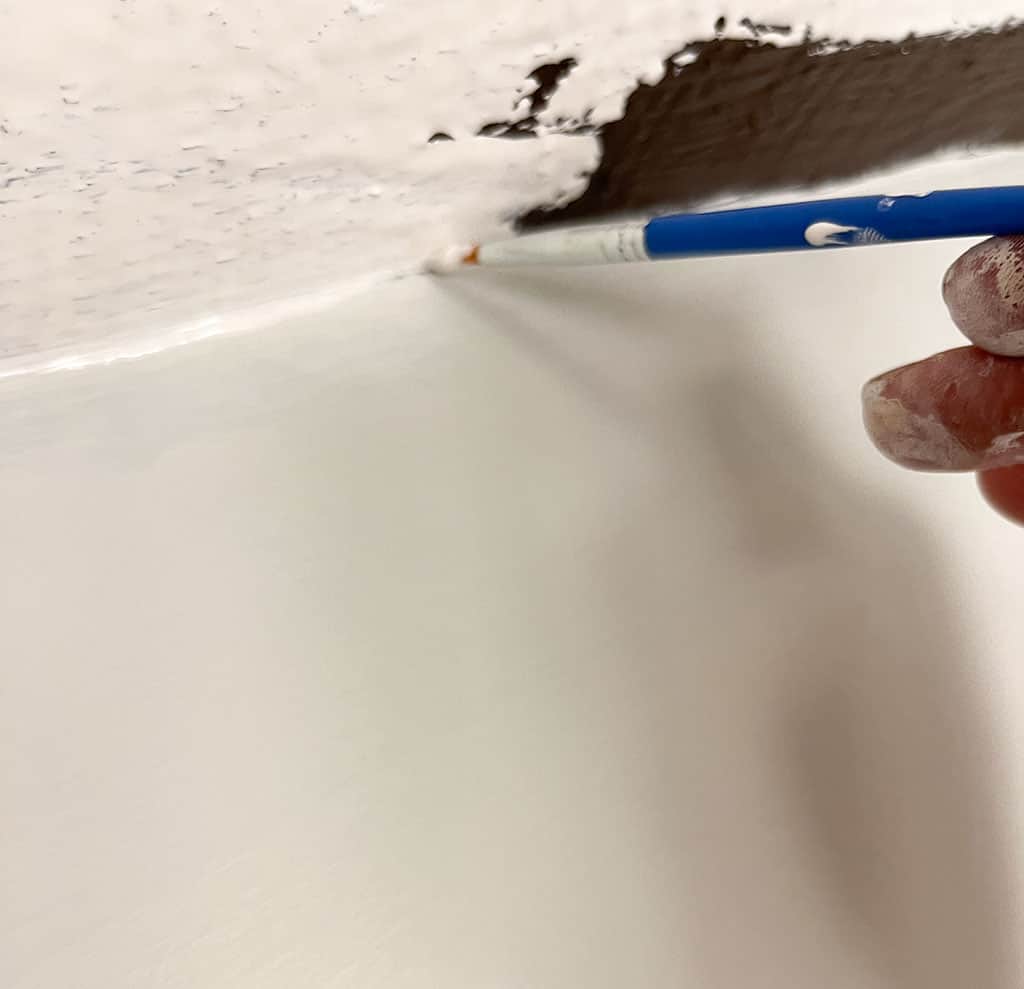
I painted for two evenings until all the beams were completely covered.
And here is the after – we love the look of our new beams!
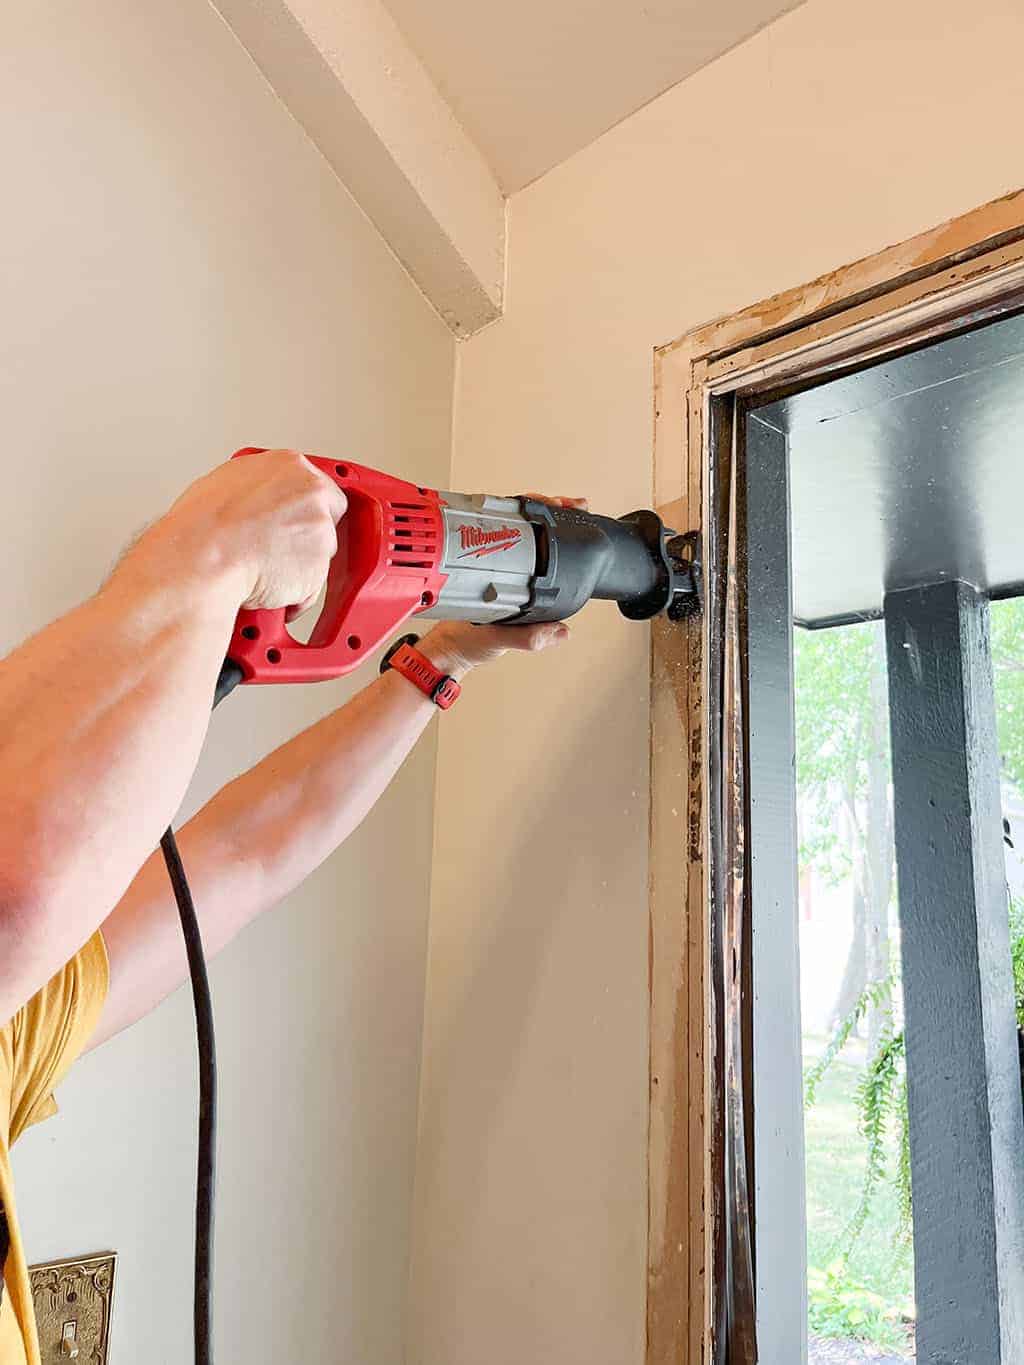
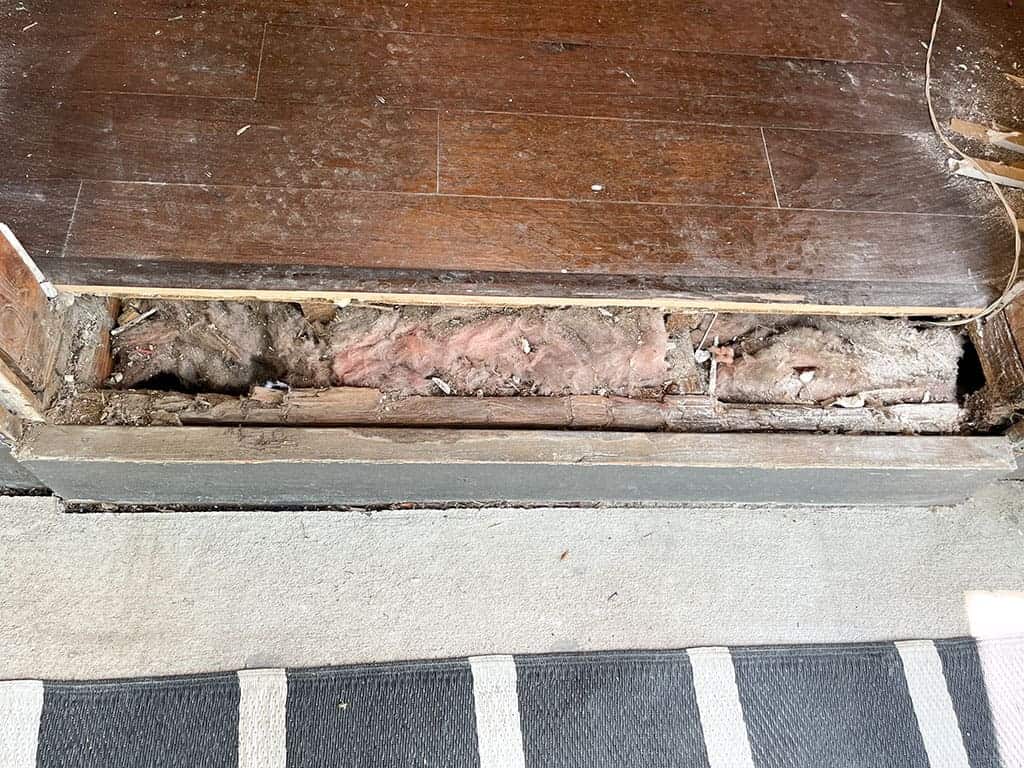
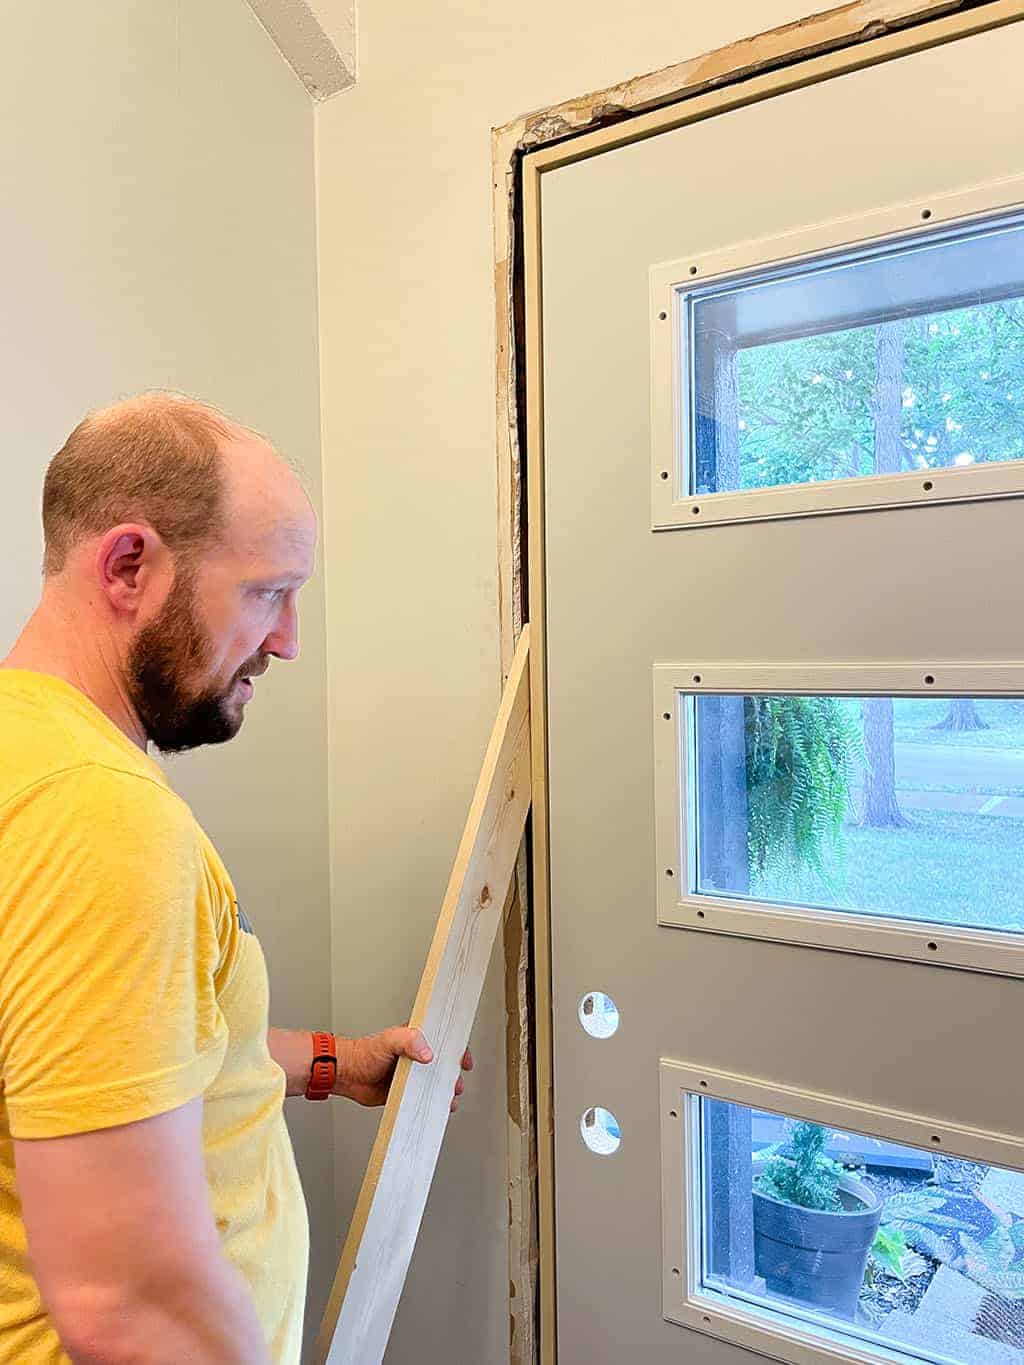
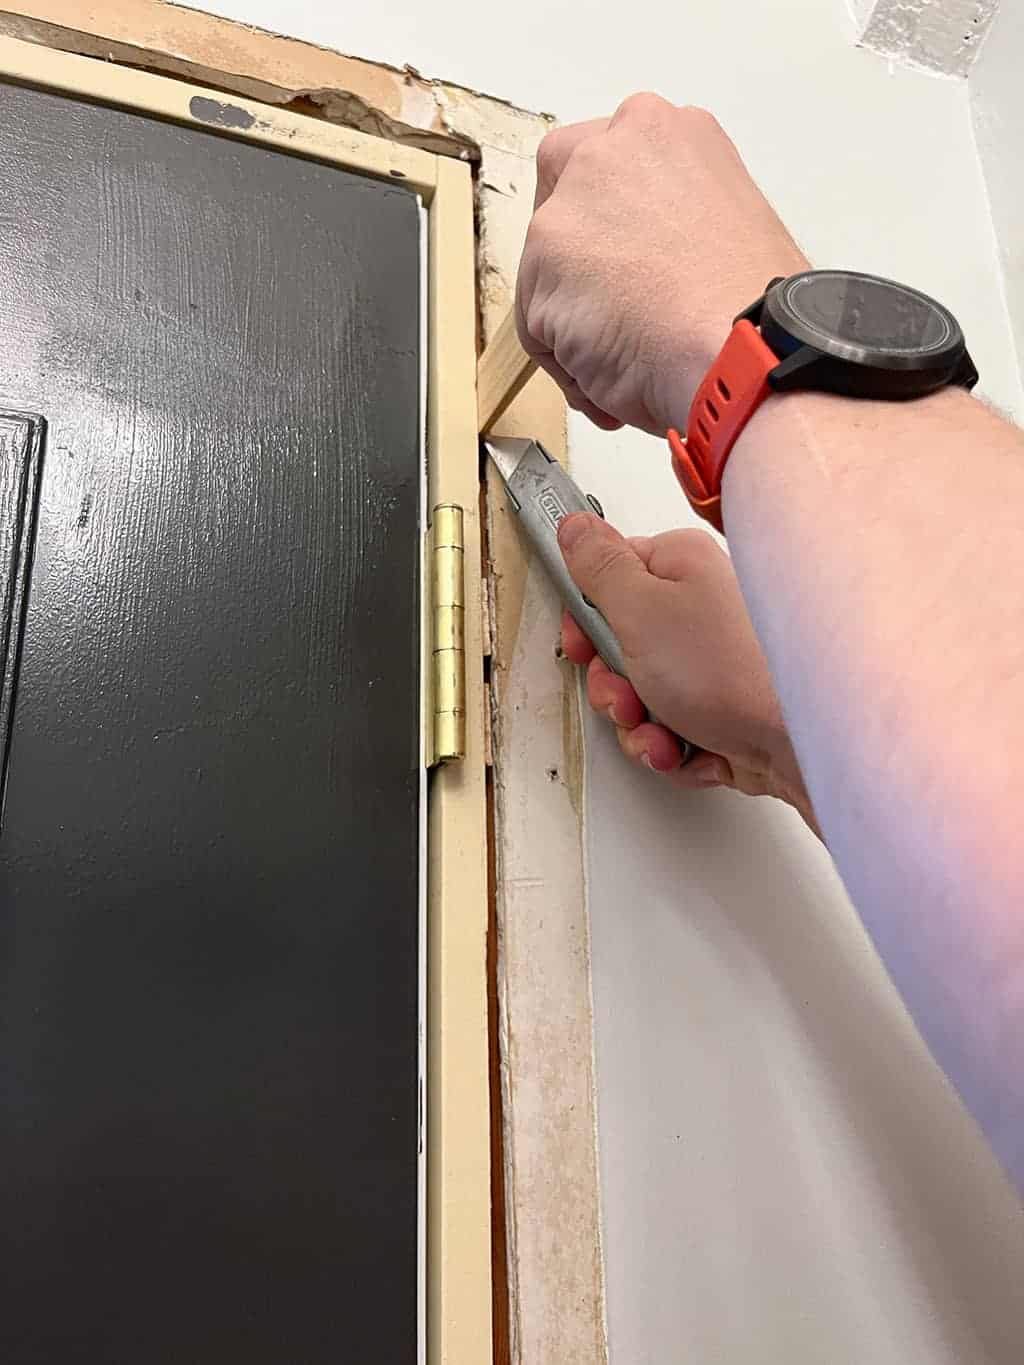
Entryway beam and door update task three: Remove the old door.
As I mentioned, this old door served us well for seven years. But we were hoping for a more modern one with windows. We were excited to bring in some much needed light to the space.
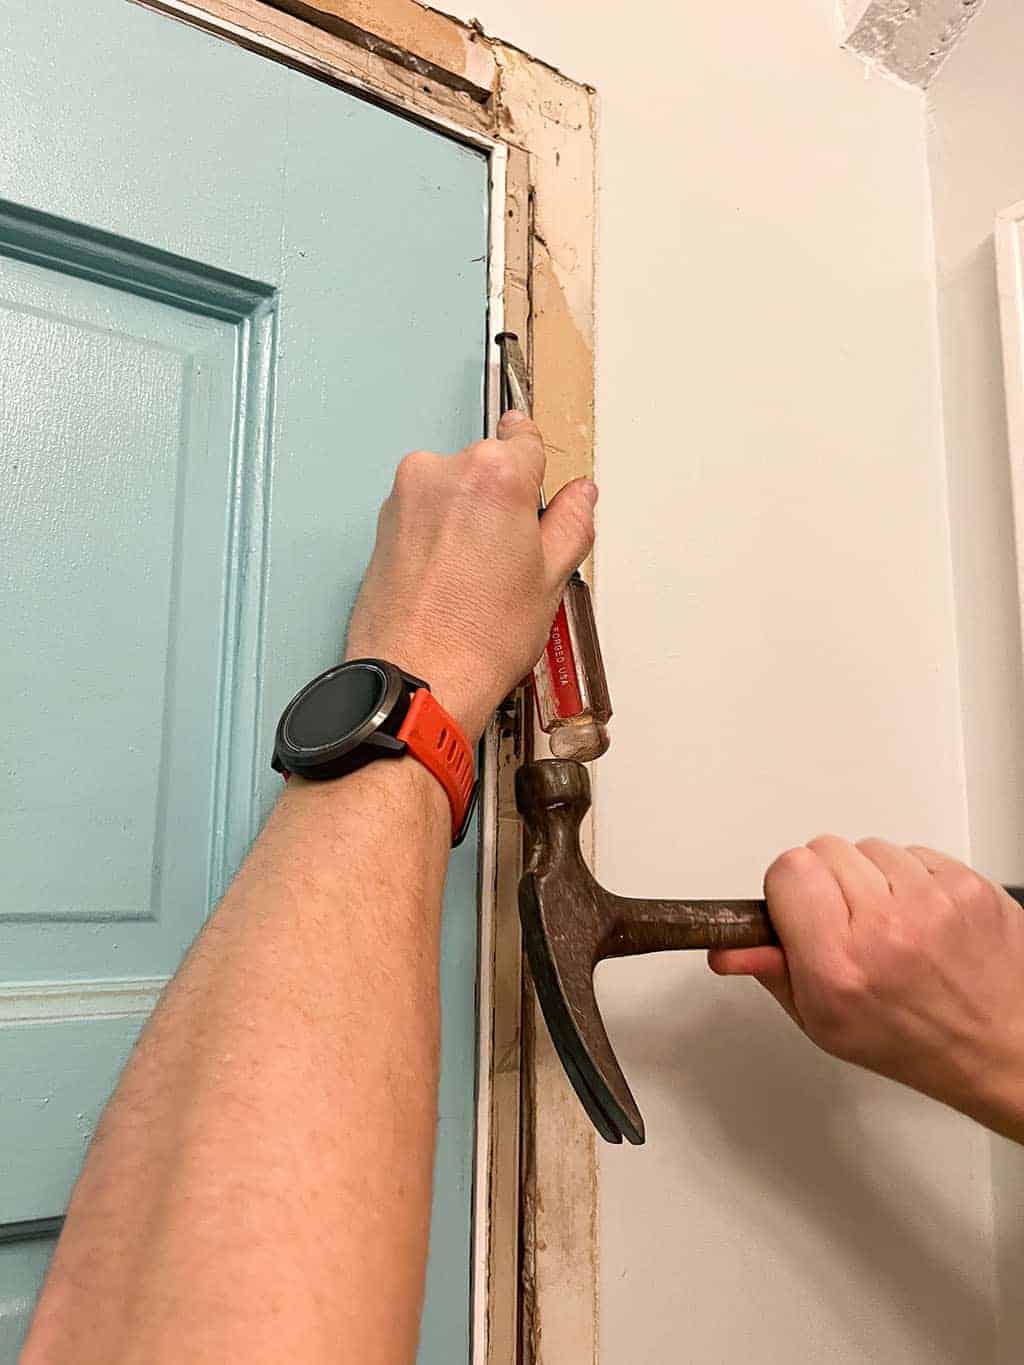
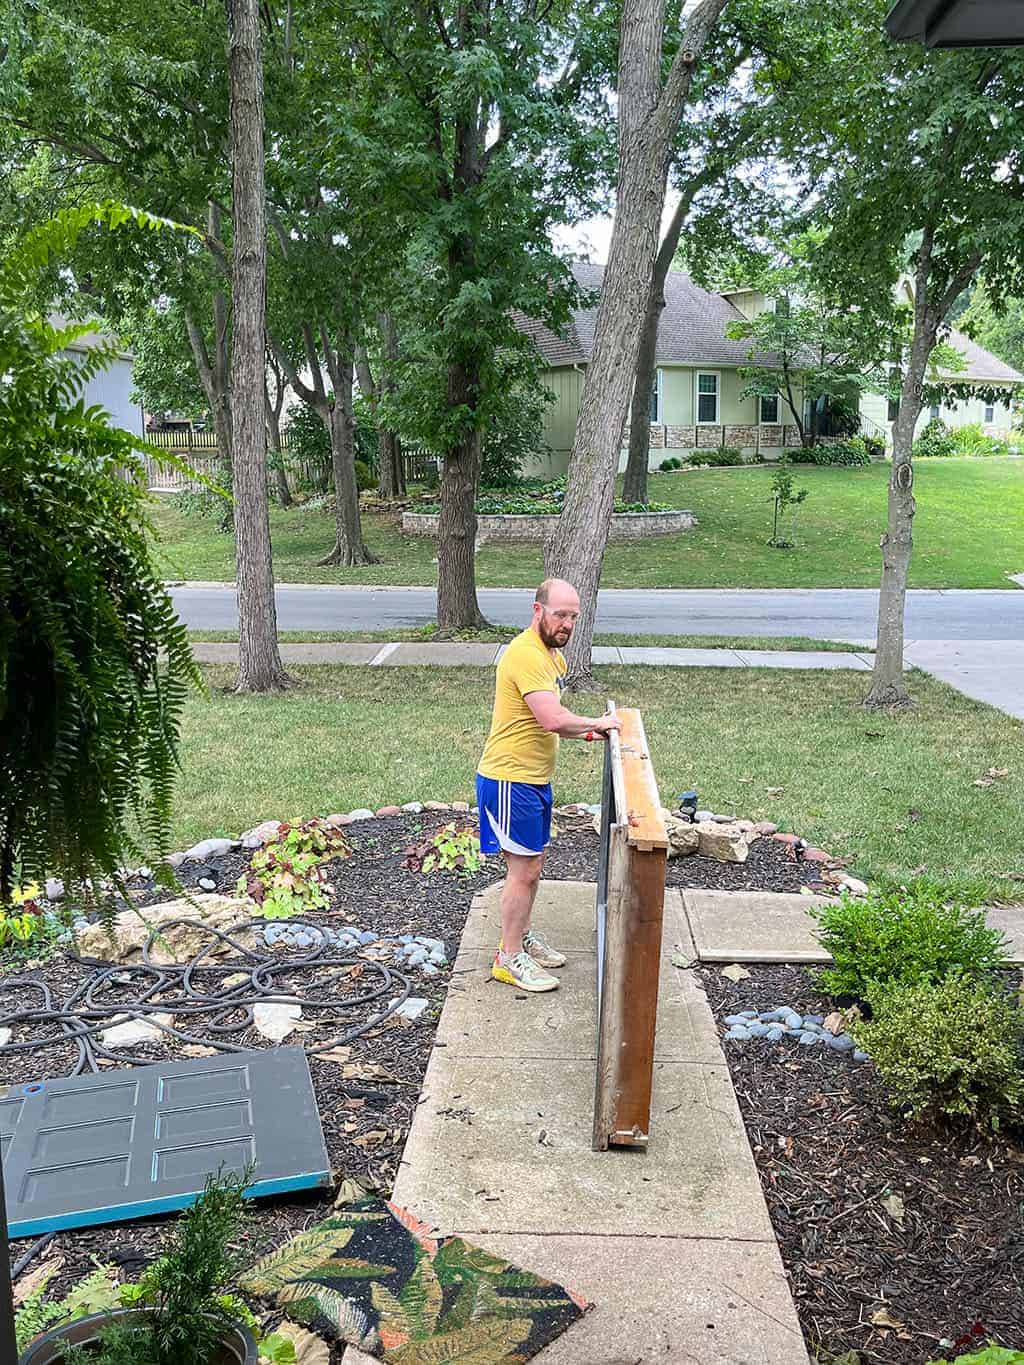
Ted removed our exterior storm door first.
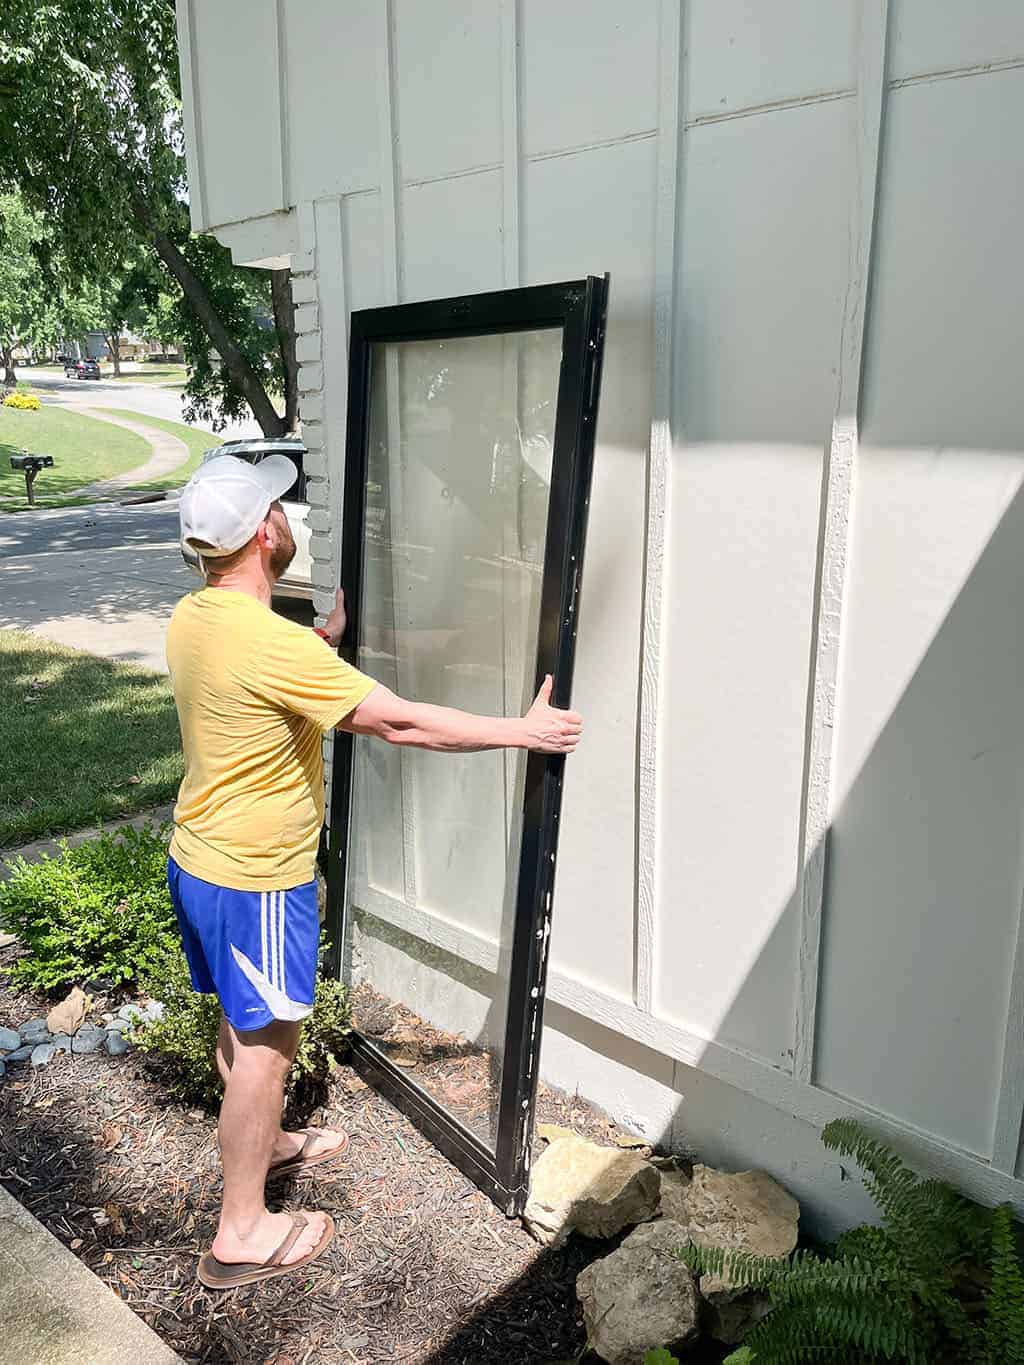
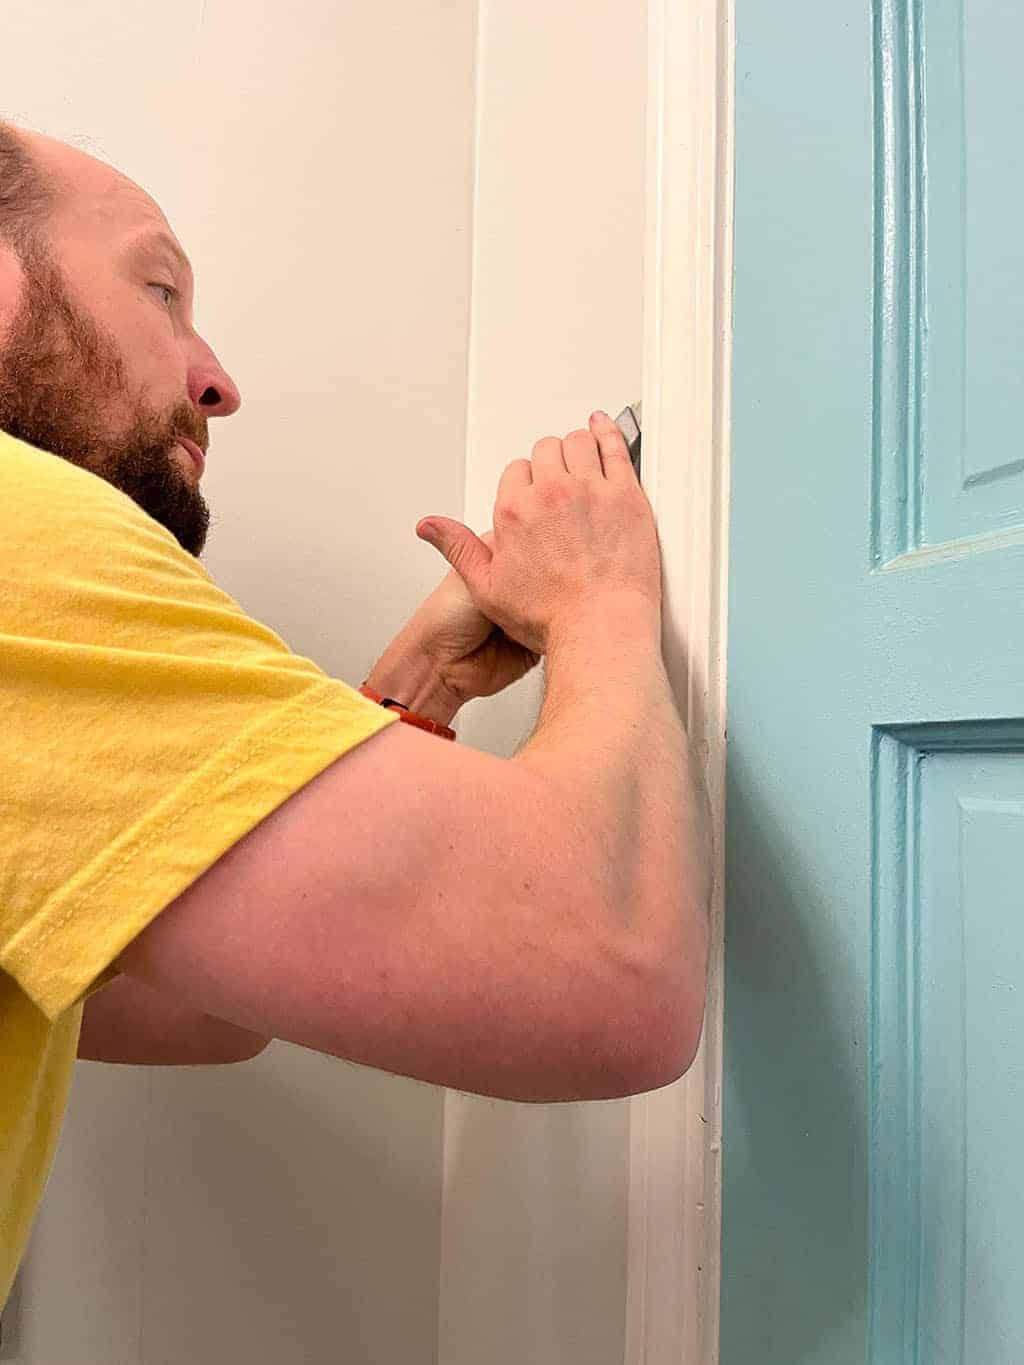
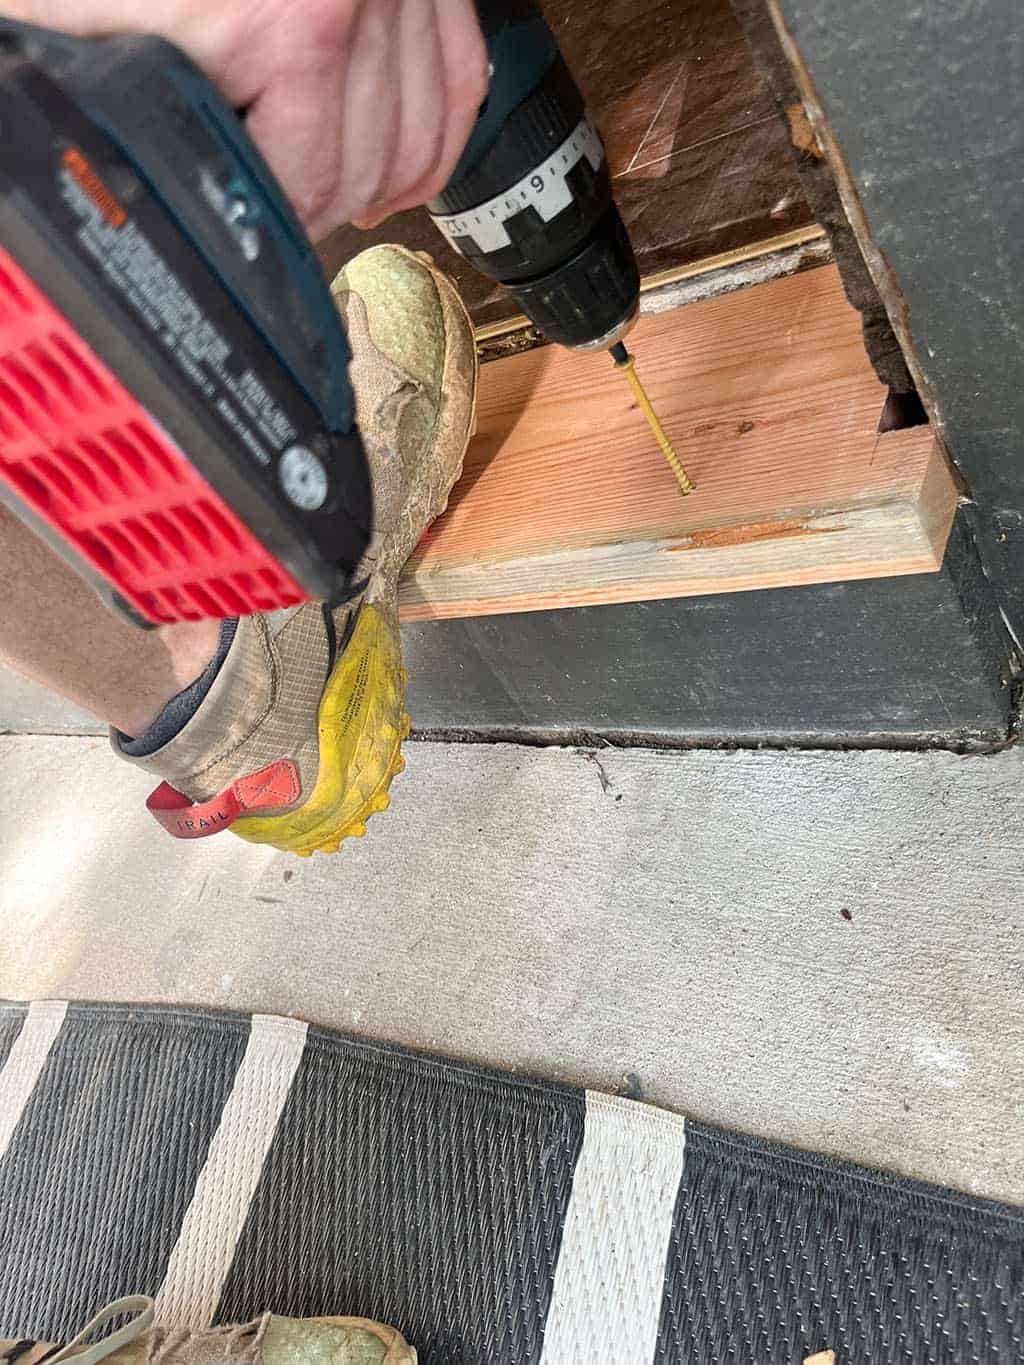
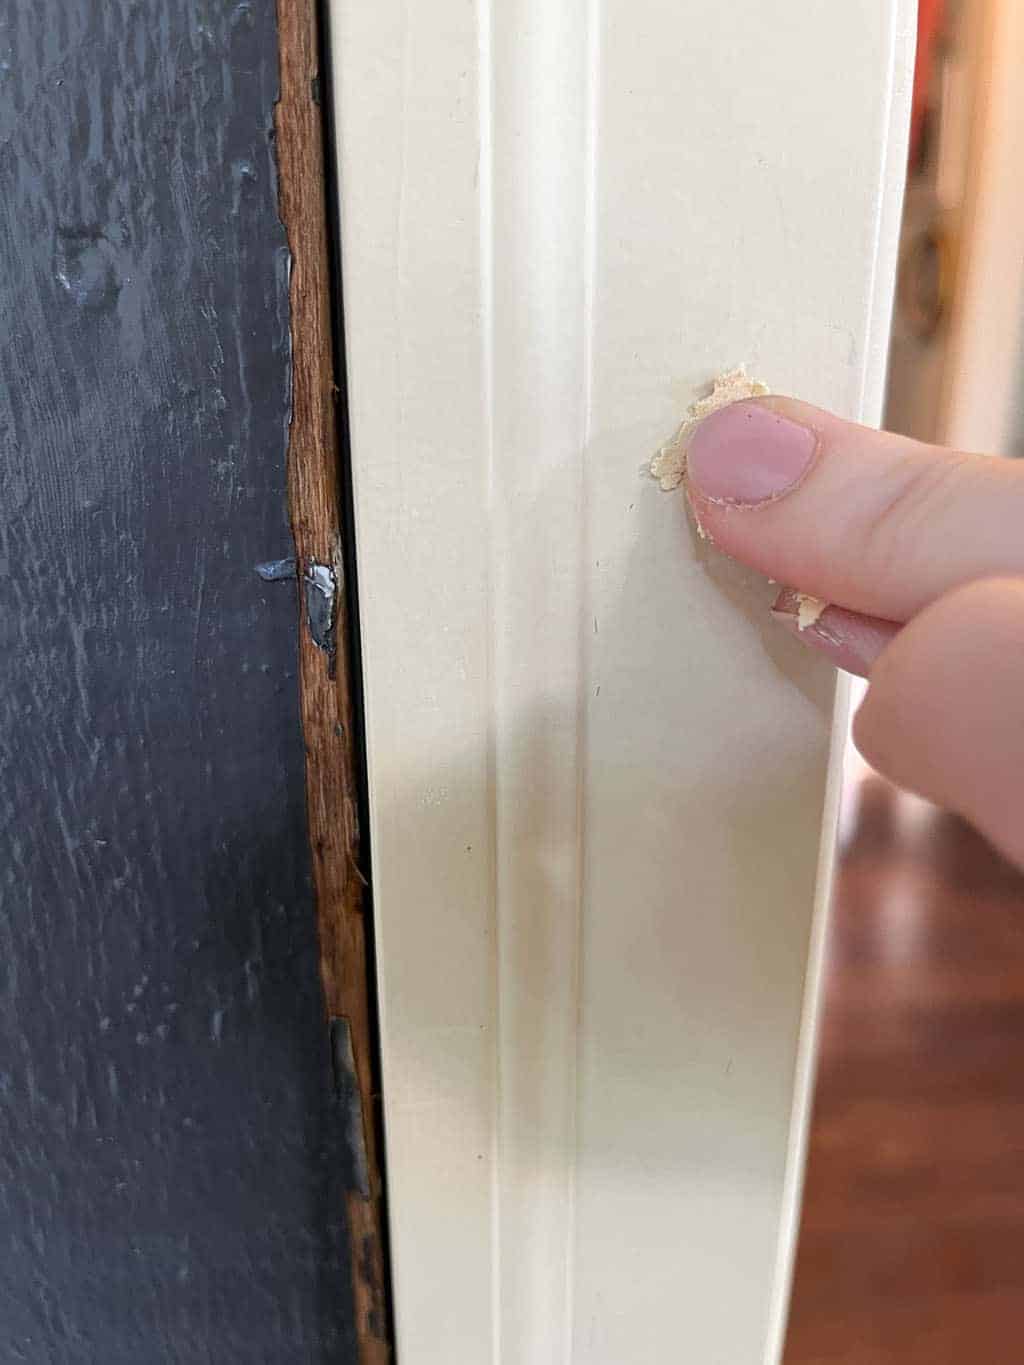
Then he gently pulled up the trim around the interior side of the door. He removed the hinges and used his sawzall to completely remove the old door kit.
This whole process took about 45 minutes.
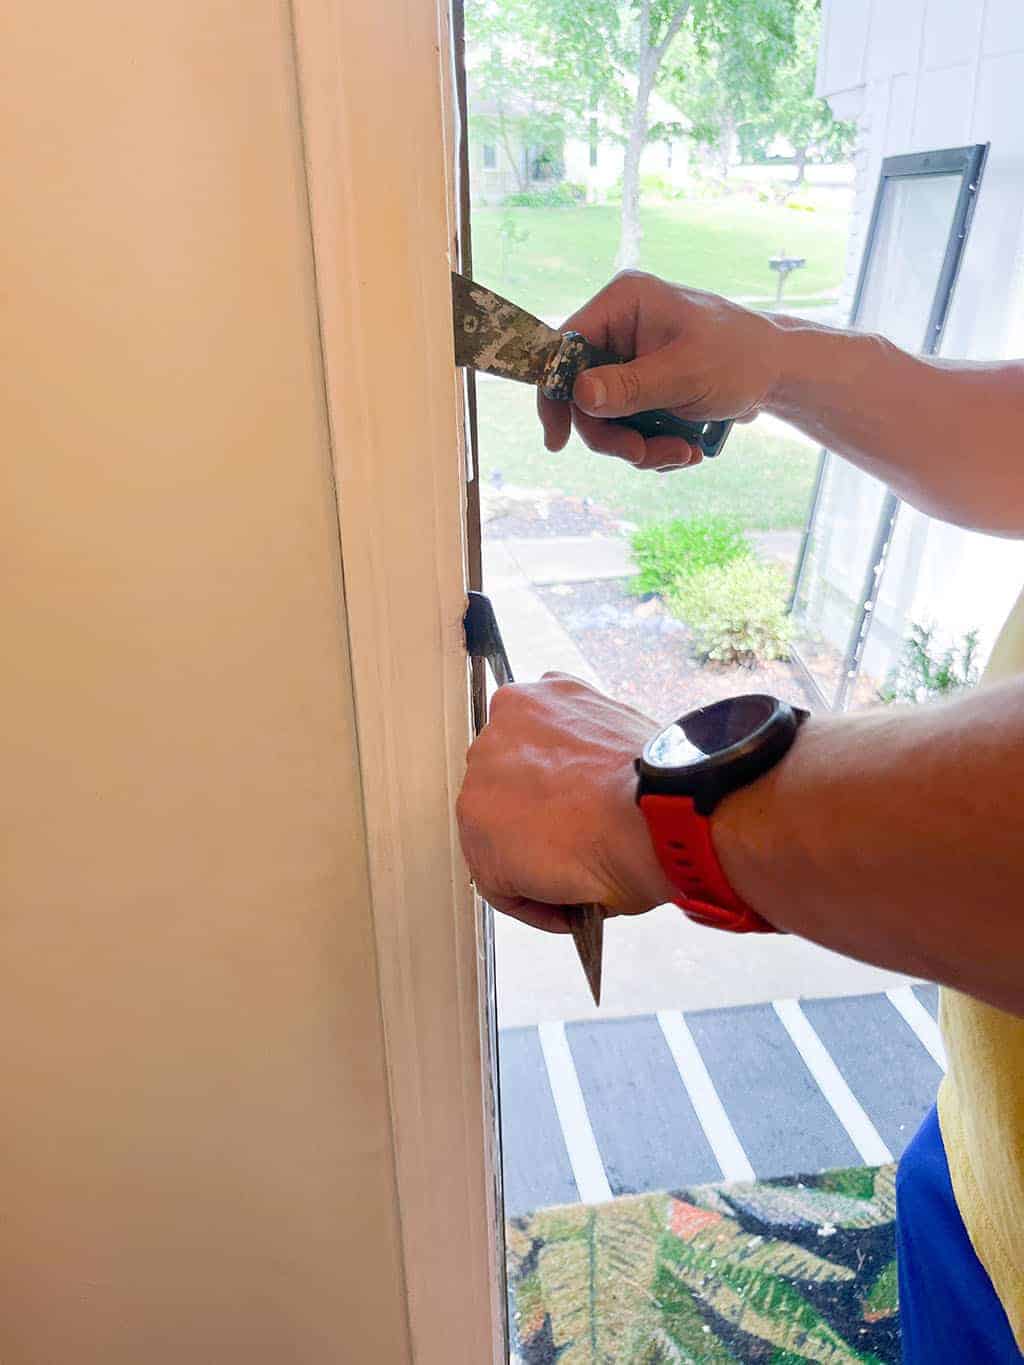
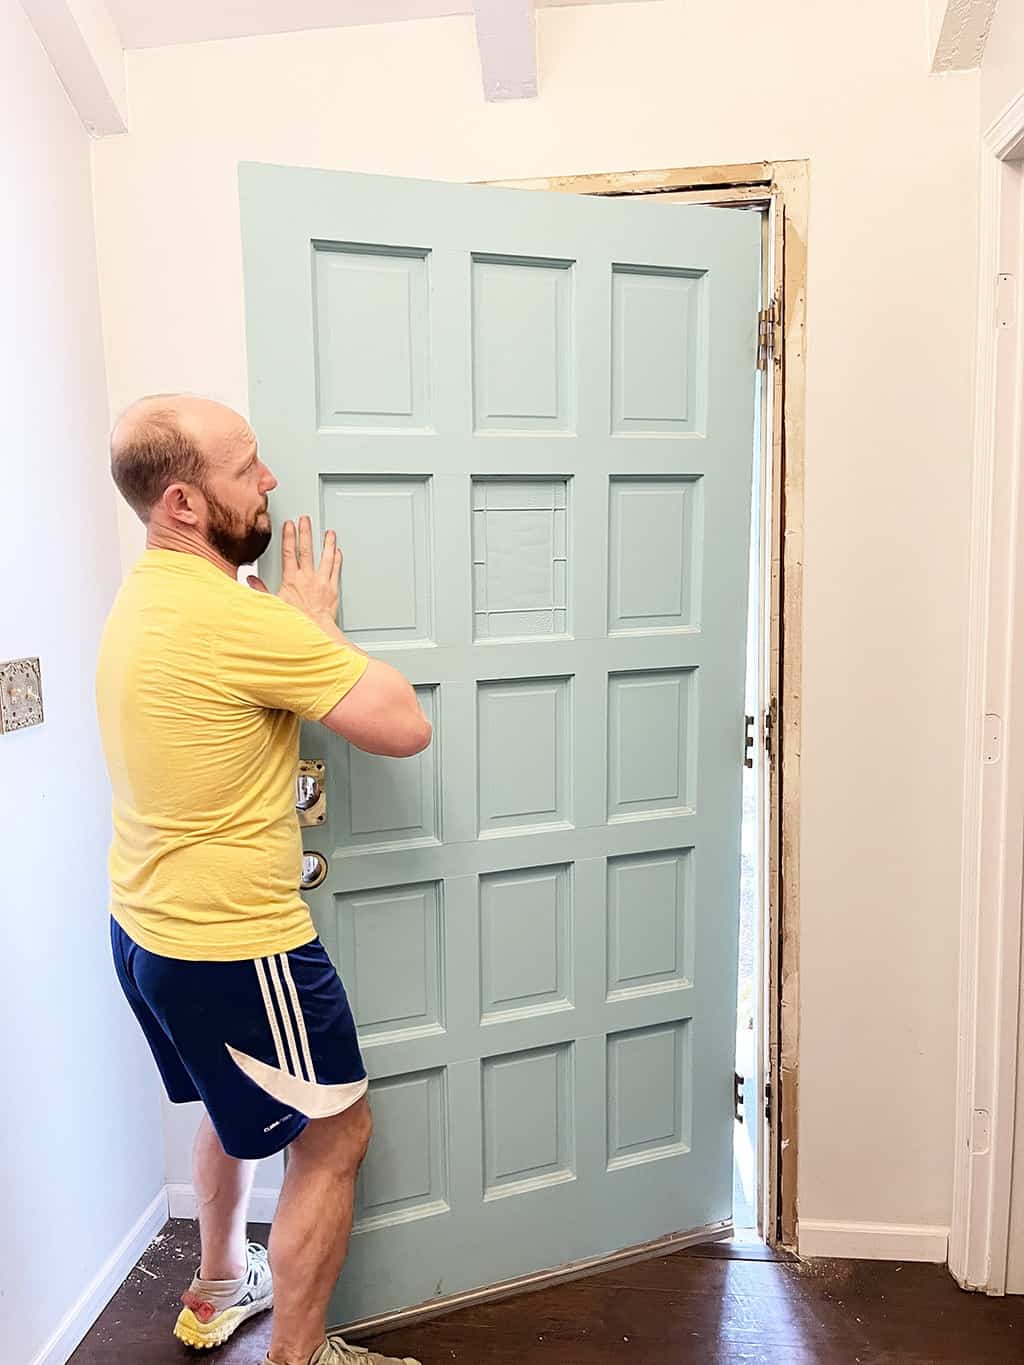
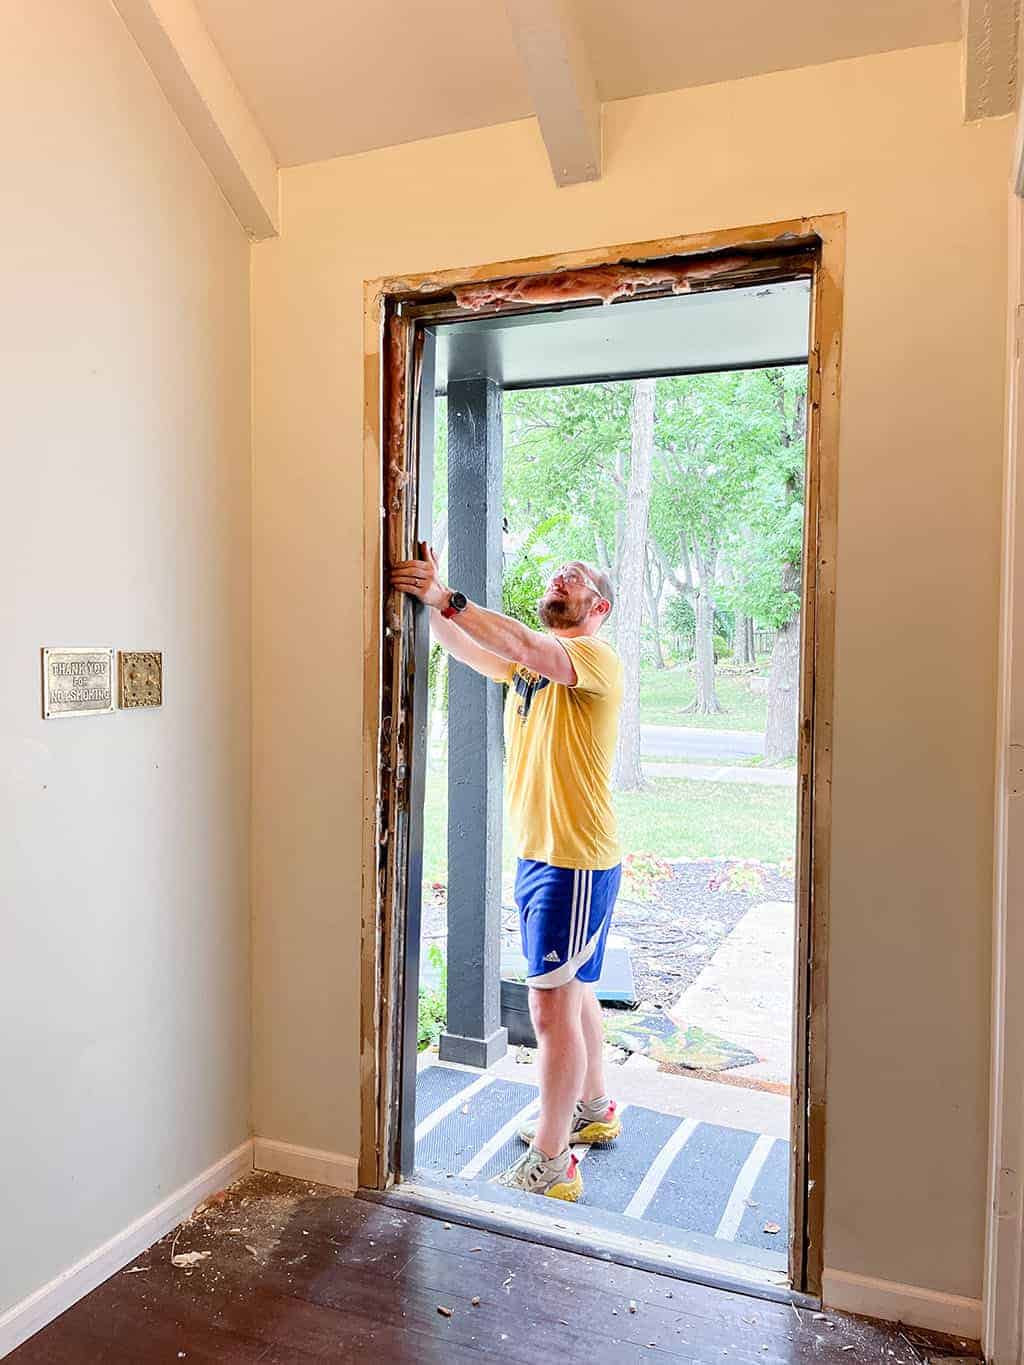
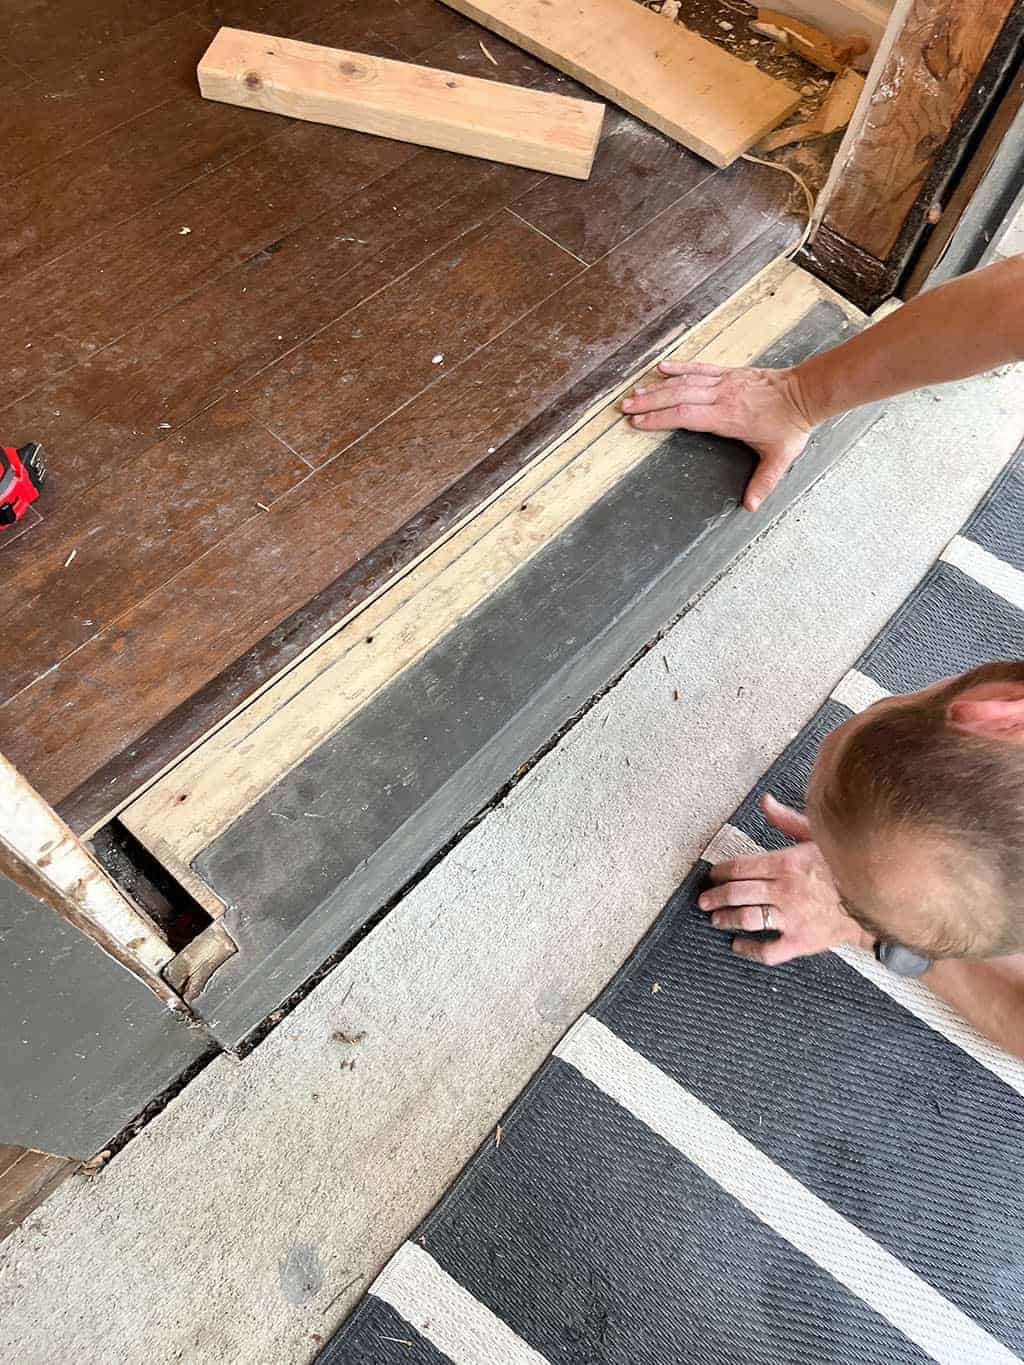
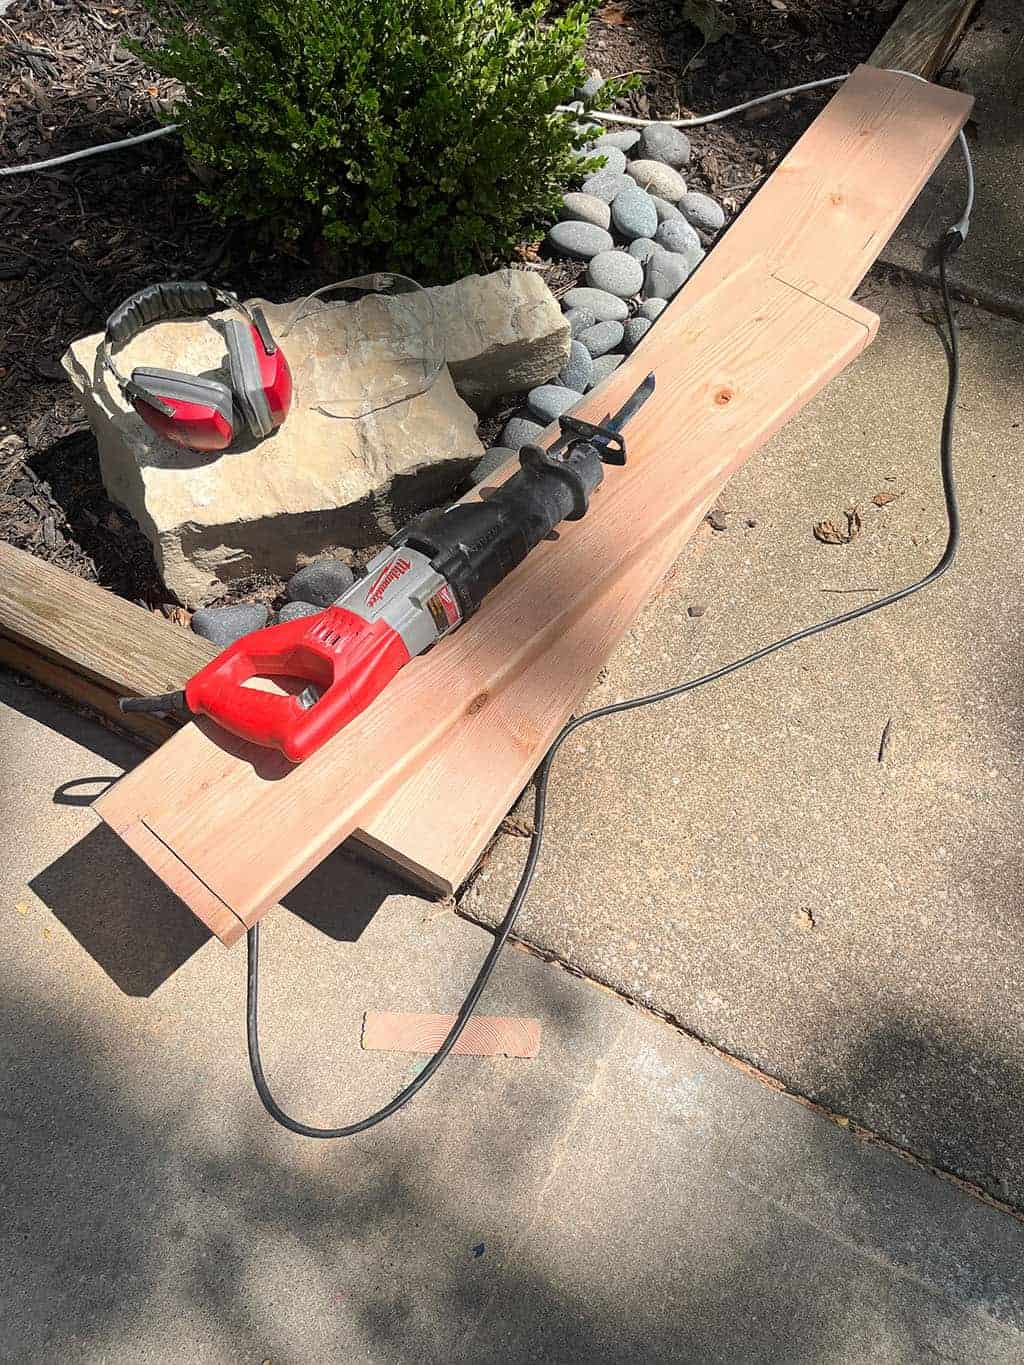
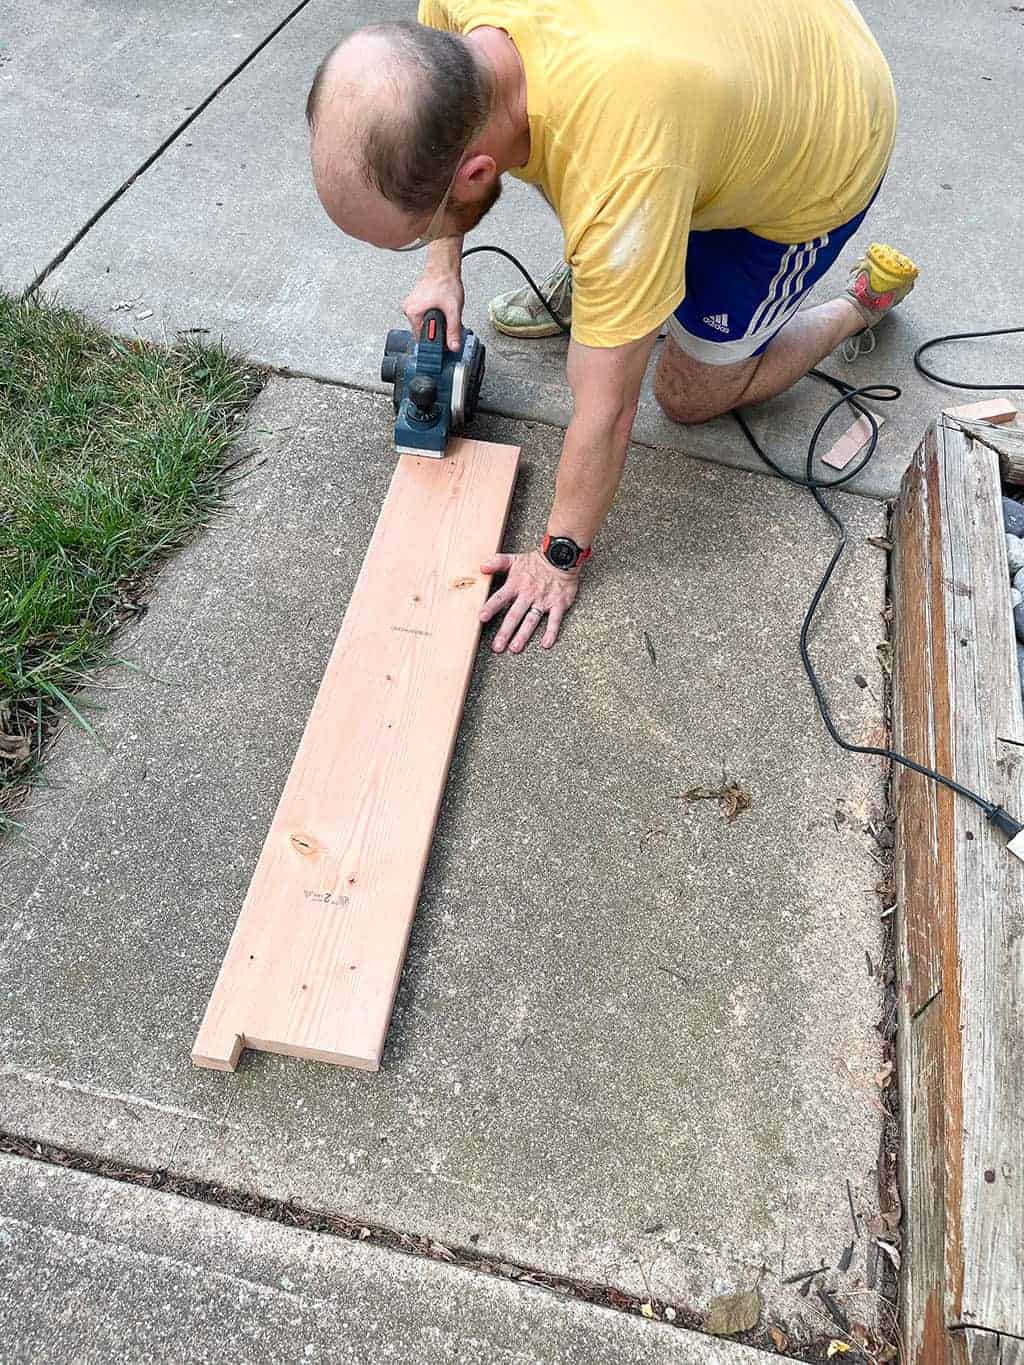
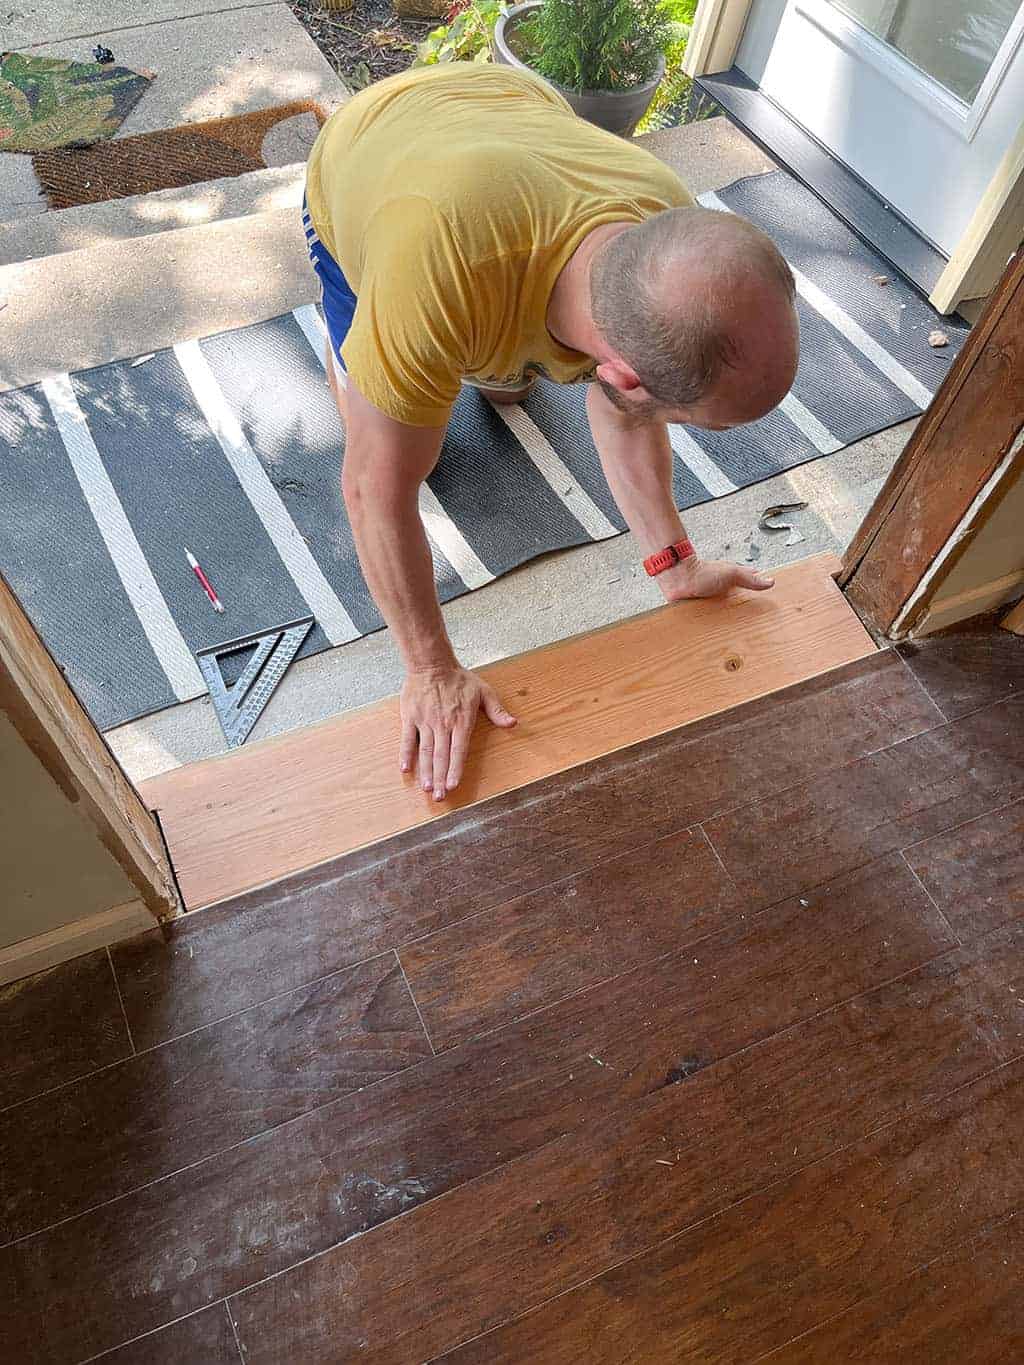
We decided to build a new sill for the base using the old sill as a template. We could have just reused the old sill, but it was damaged and too narrow (width-wise) for the new door.
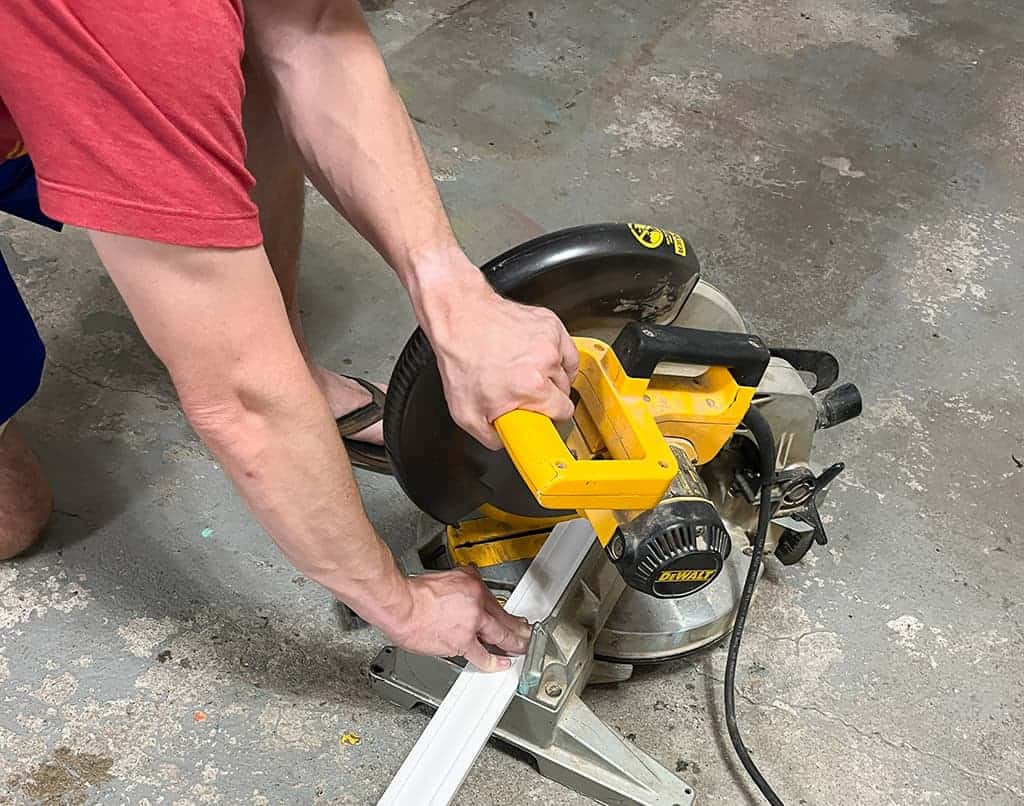
Ted cut a new board and planed it down 1/4″ allowing the perfect fit for the door. And finally, he screwed it in and checked to make sure it was level.

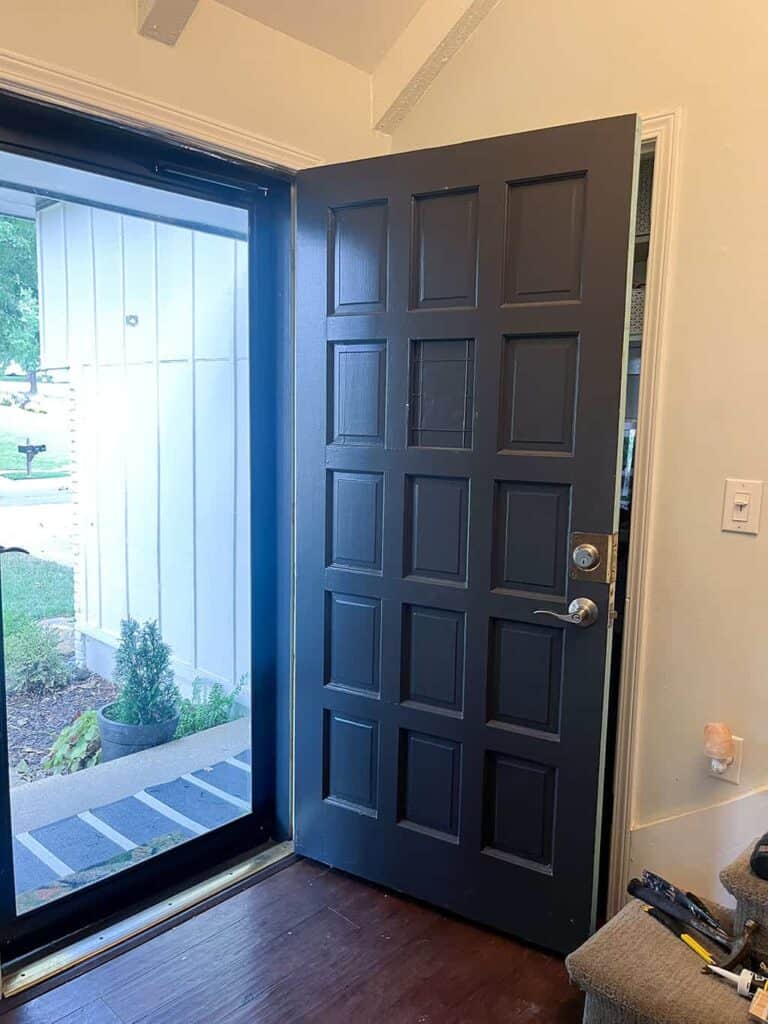
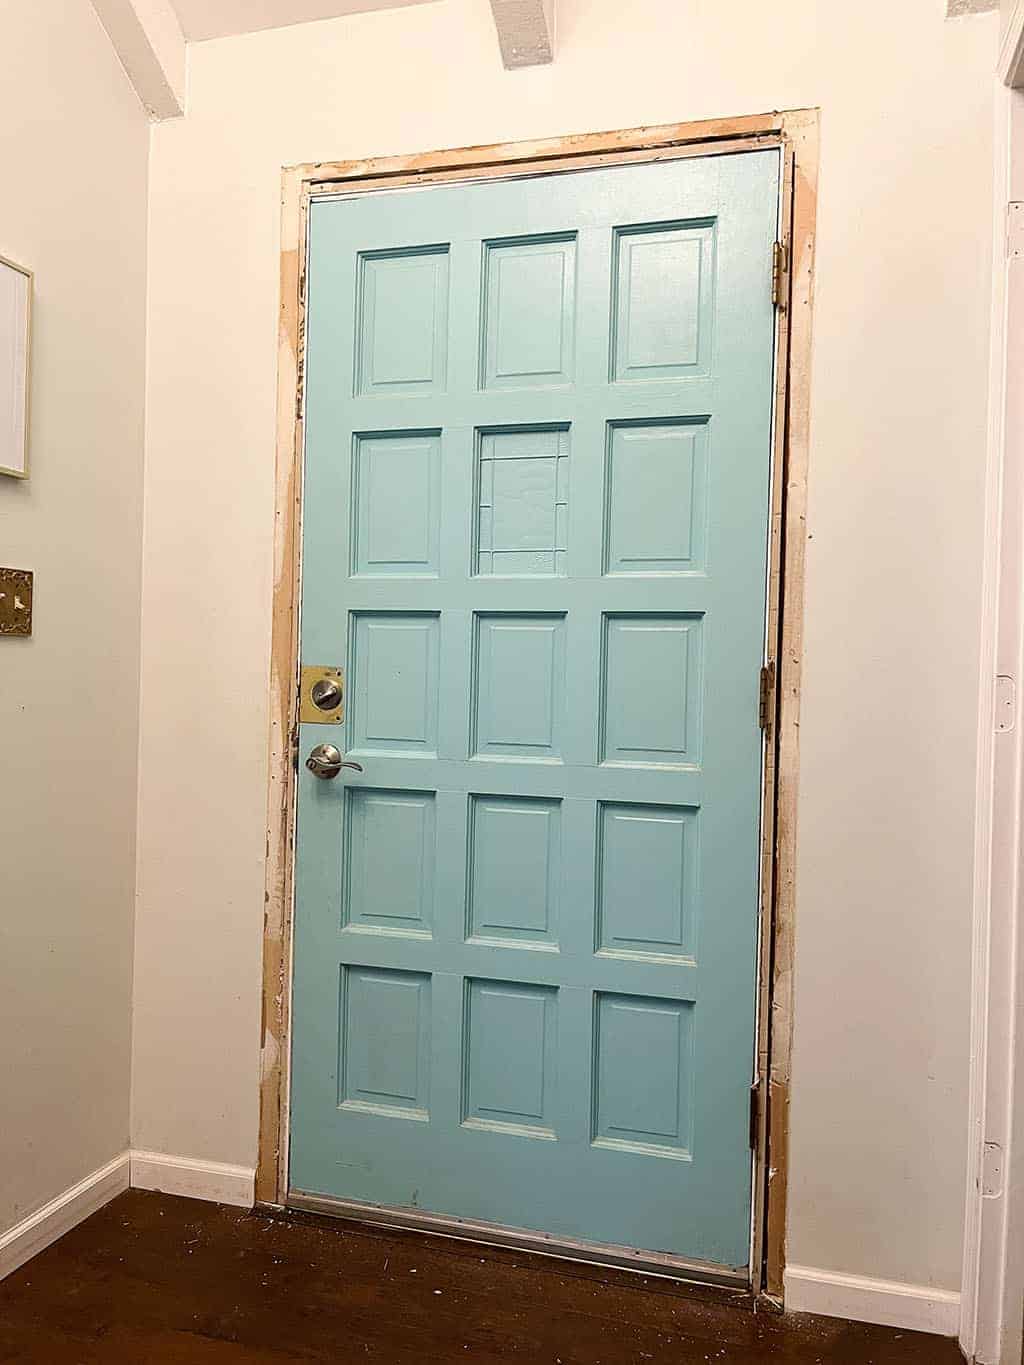
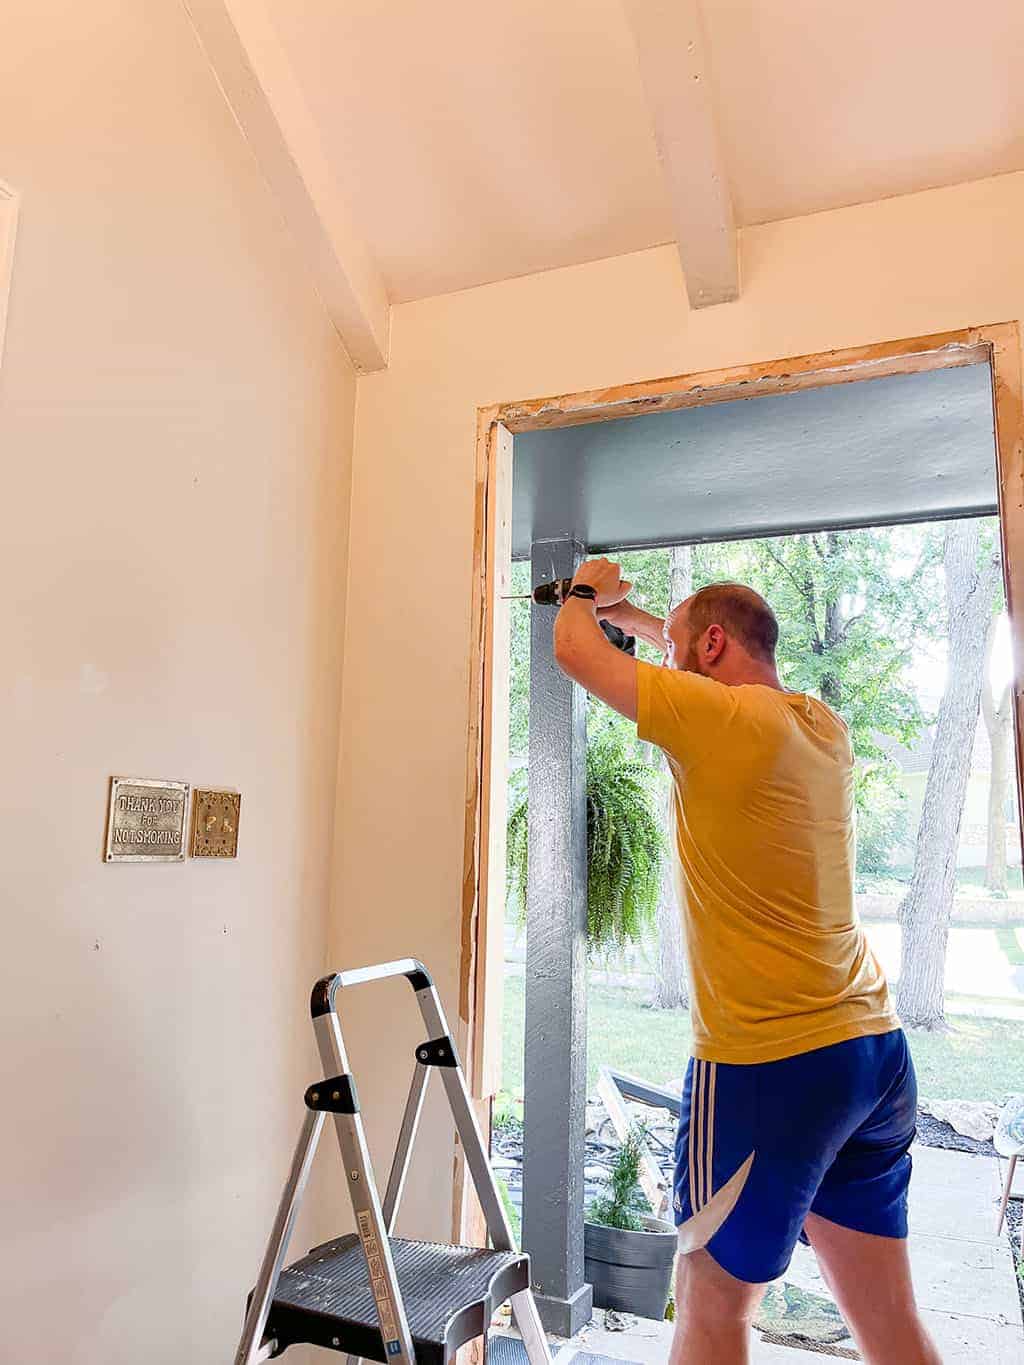
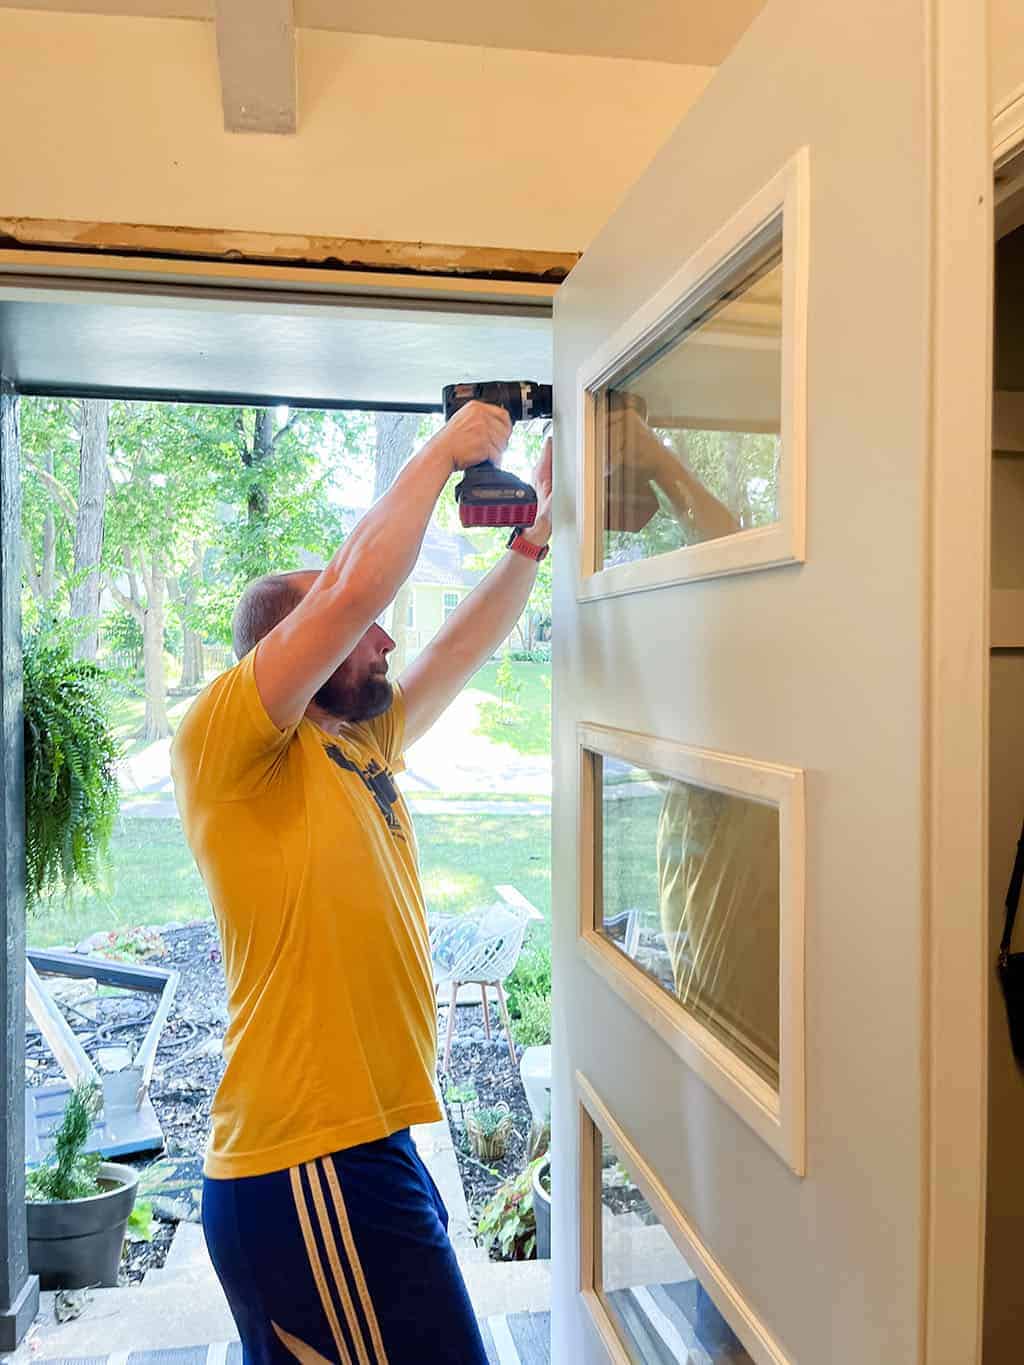
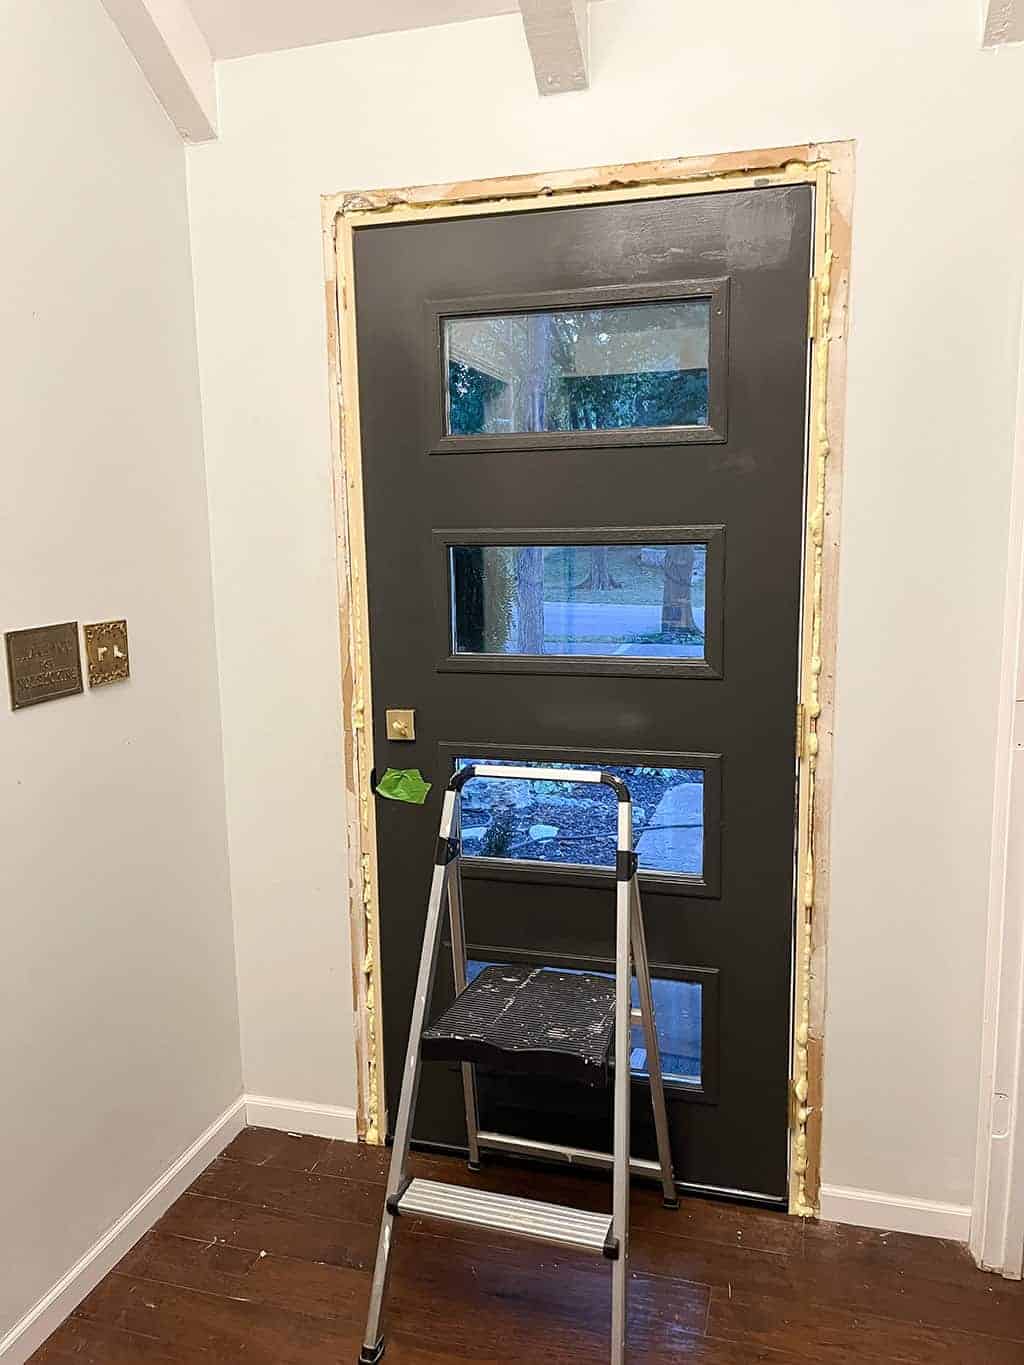
Entryway beam and door update task four: Install the new door.
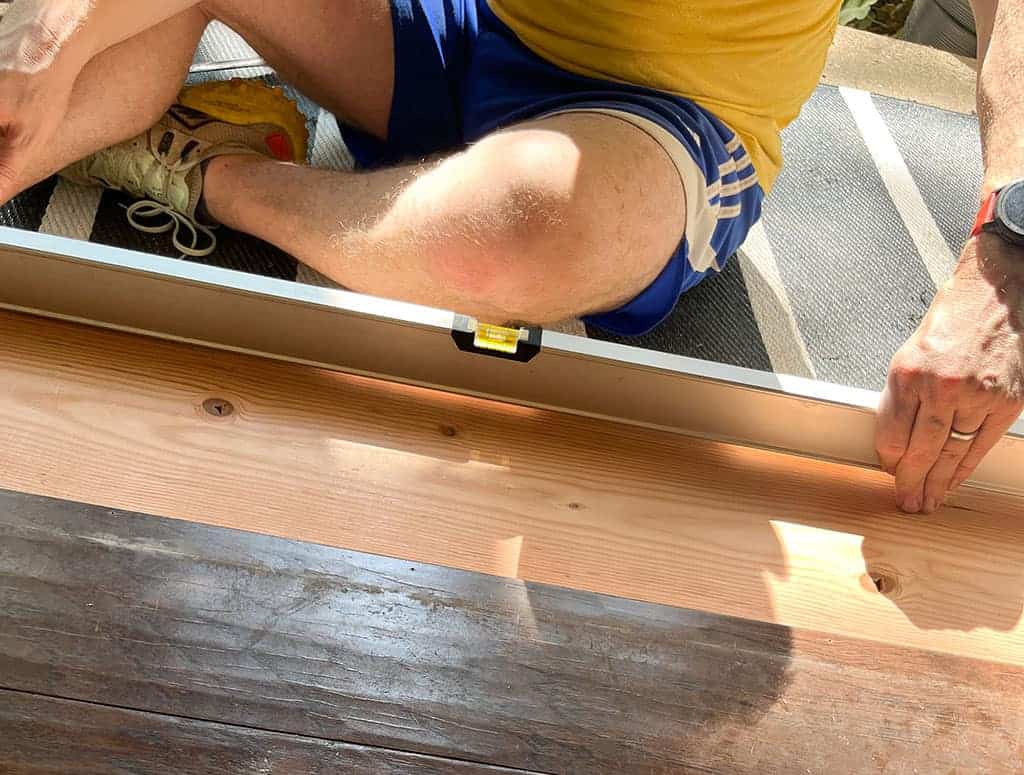
We did five test fits before officially installing the door, which required both of us to lift and place. Once it was in place, Ted screwed it in and shimmed it up as needed until it was square.
From start to finish the door removal/install took us seven hours – we have an older house. If you have a newer one, it should go much quicker. 🙂

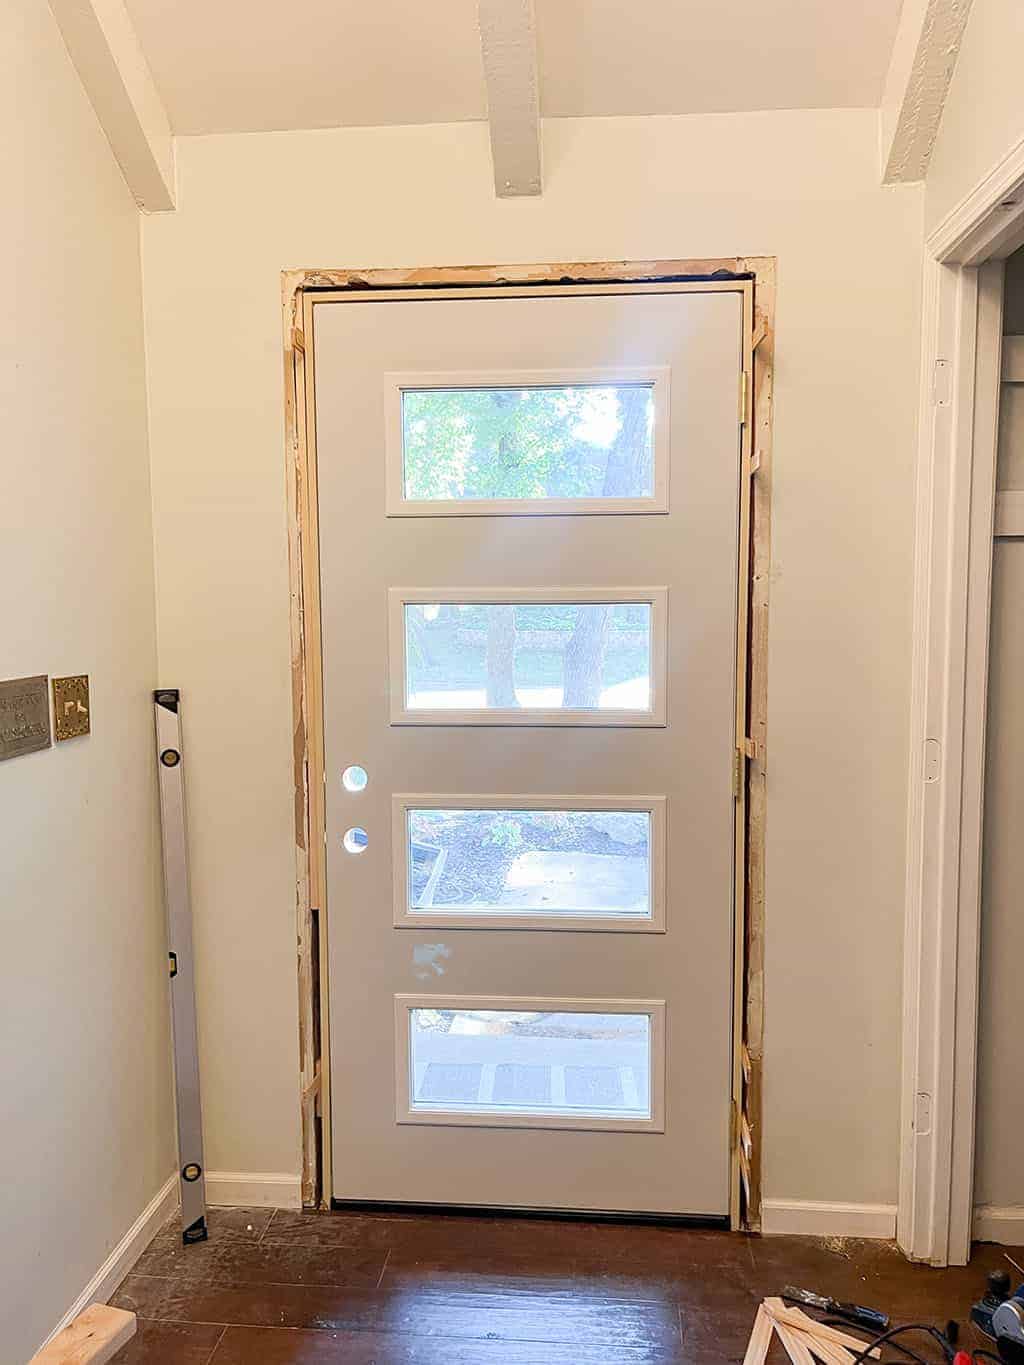
Here’s a view from the exterior side after install.
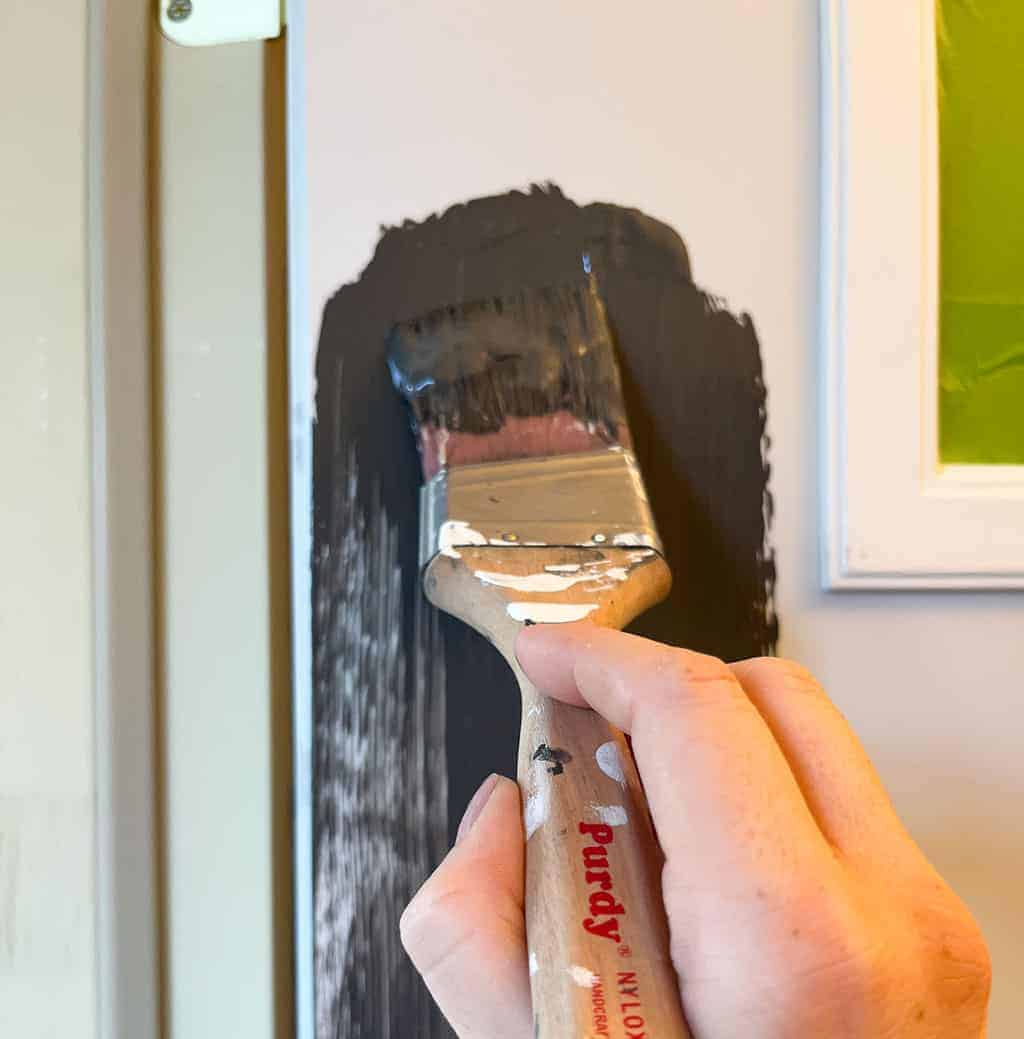
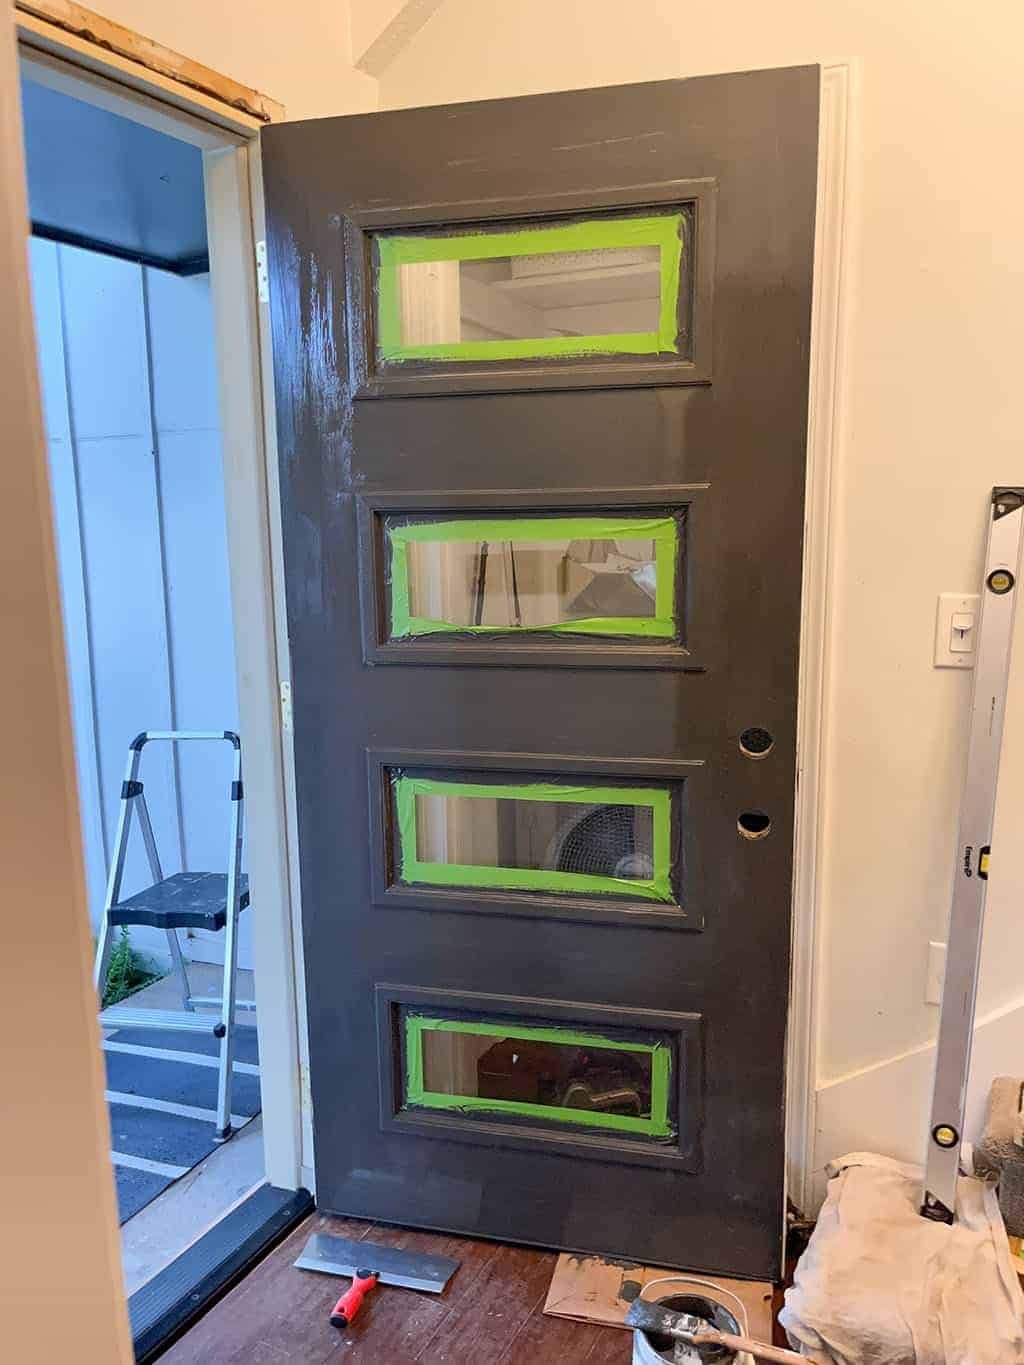
Entryway beam and door update task five: Paint the new door.
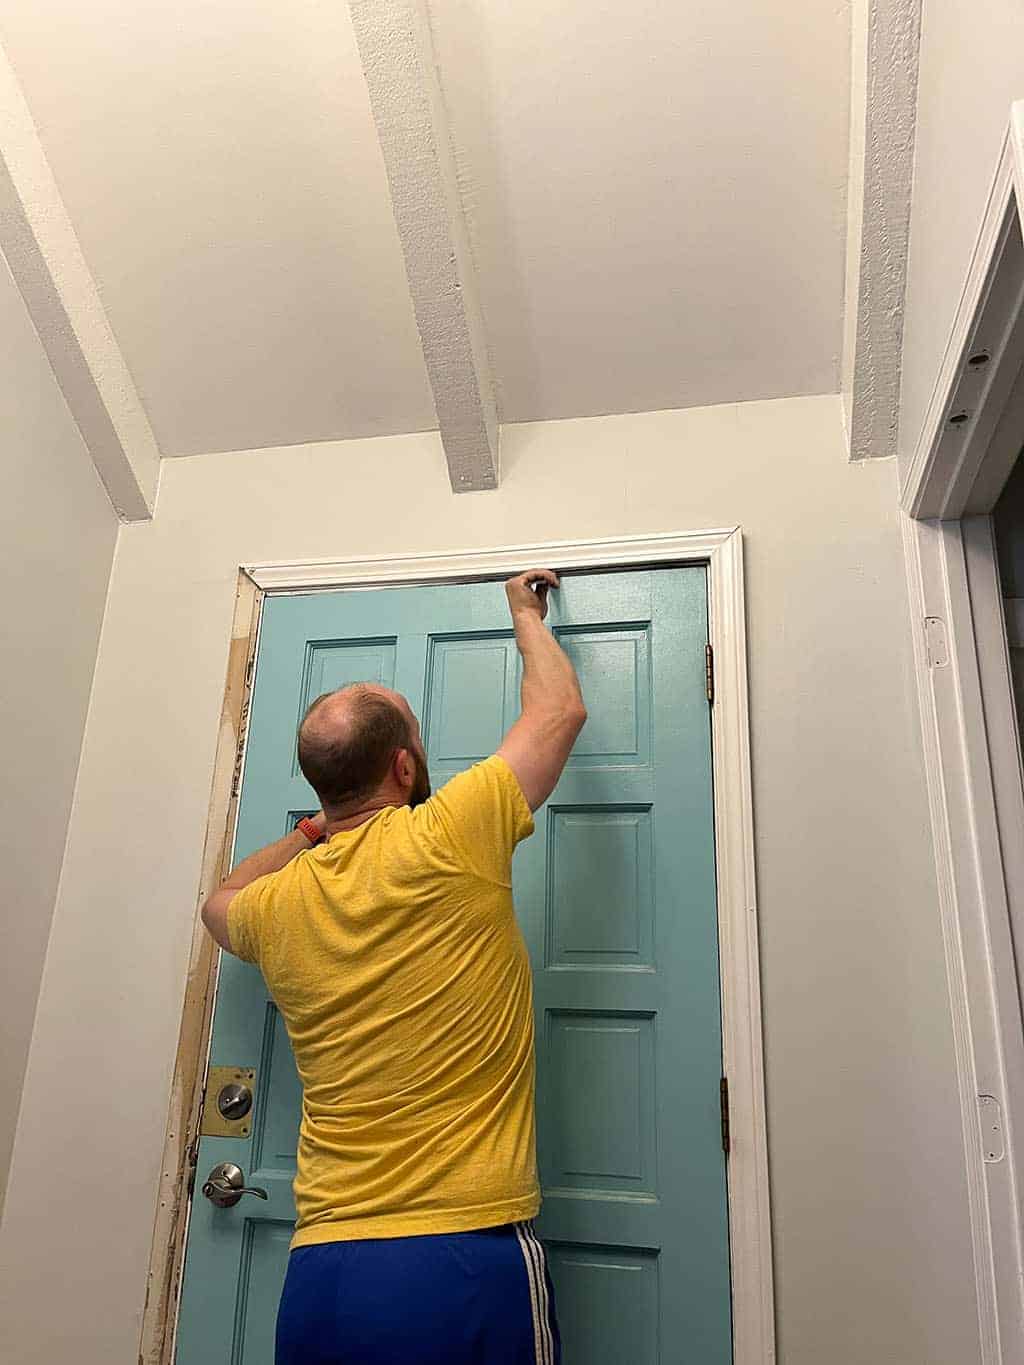
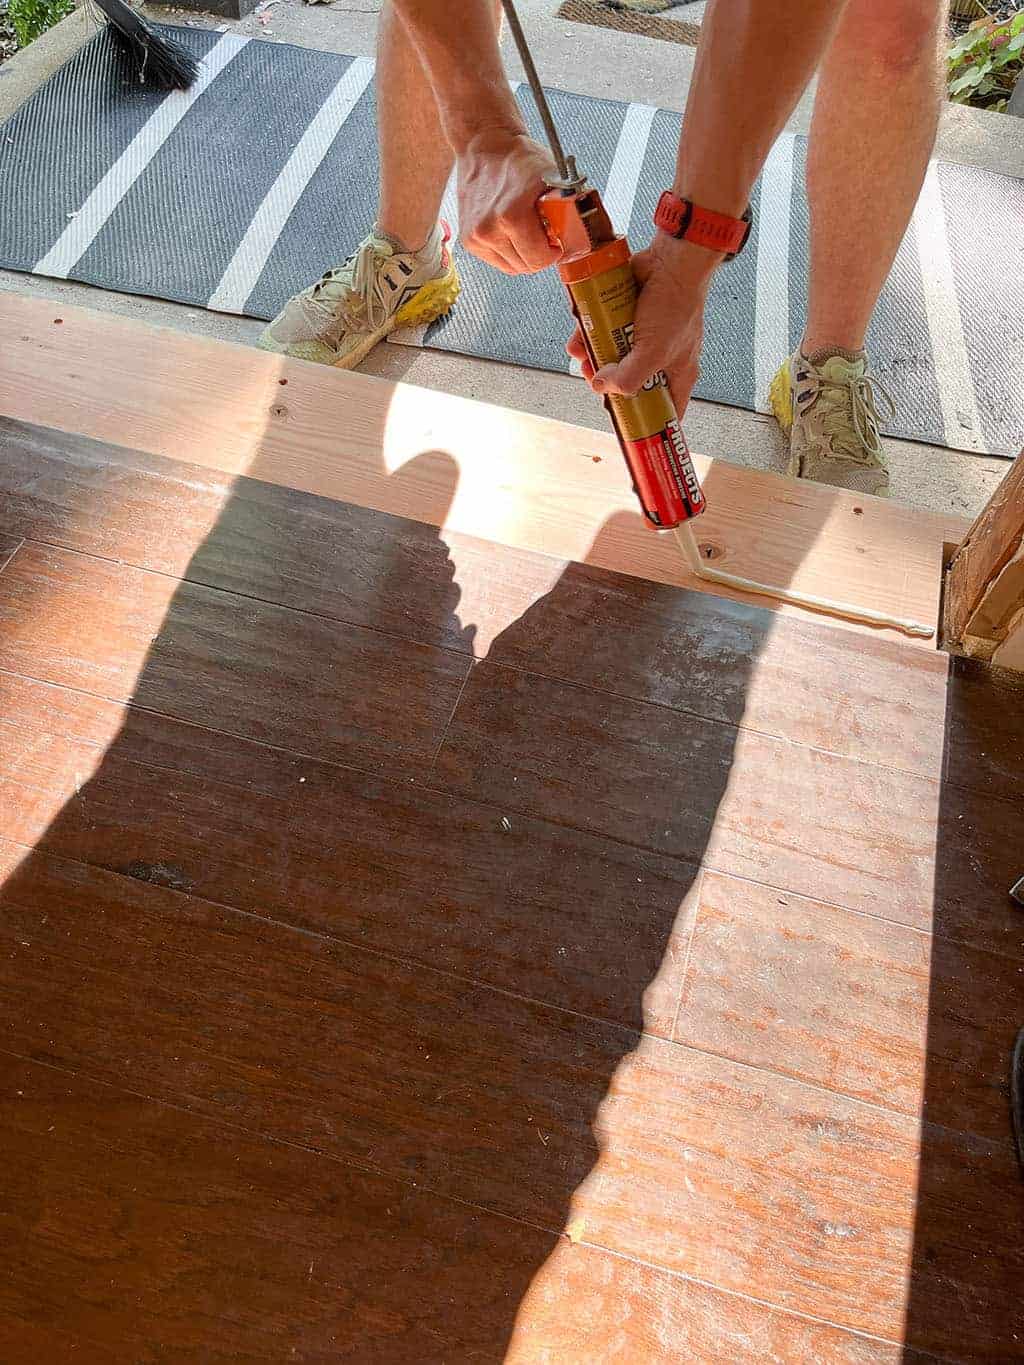
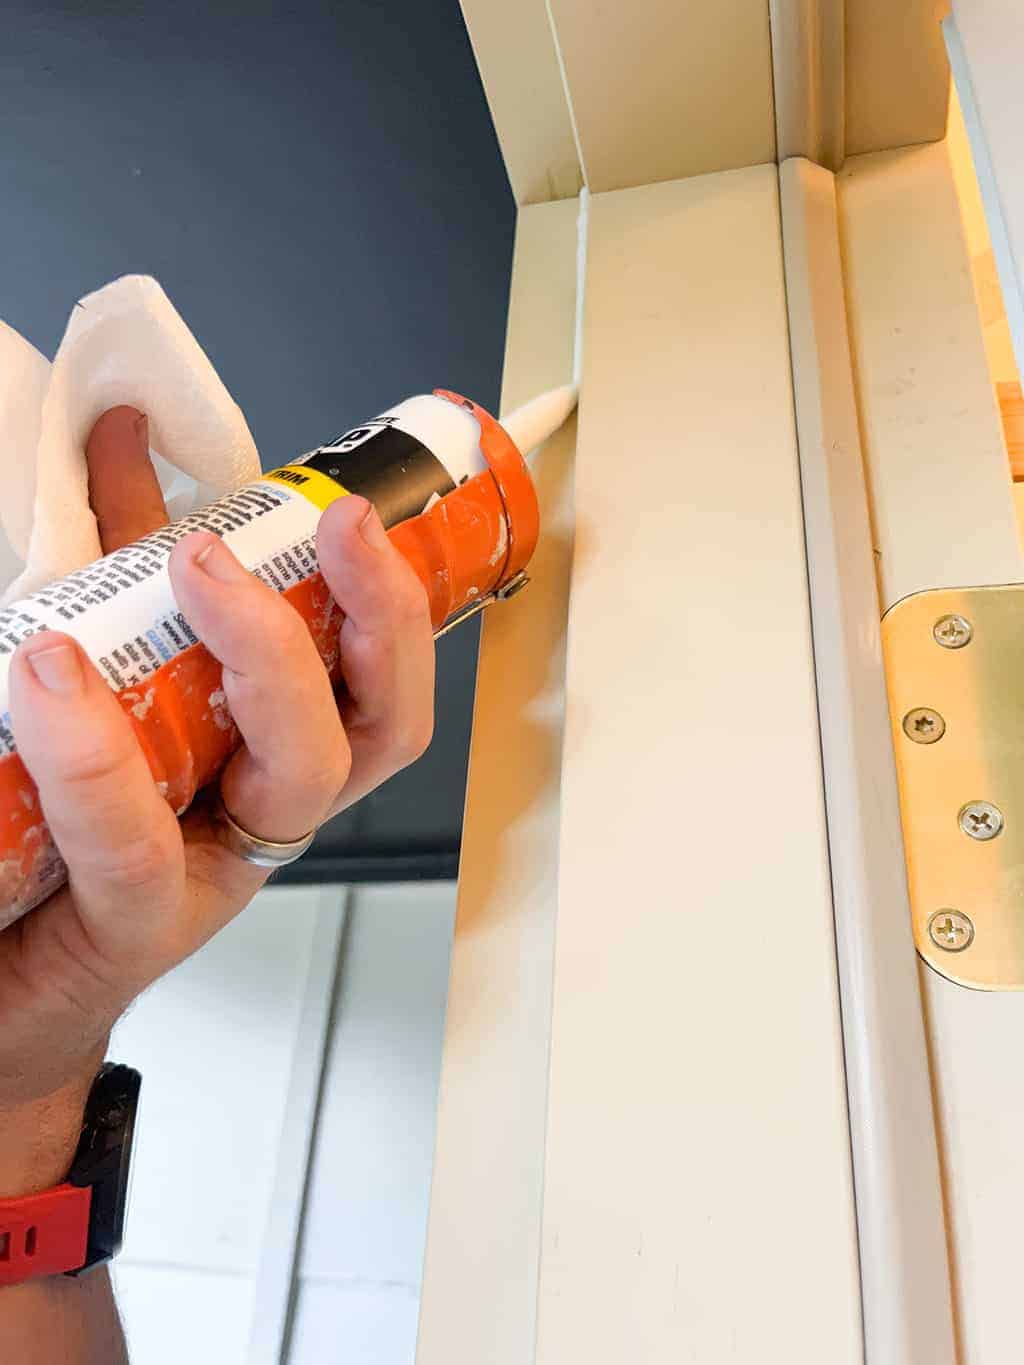
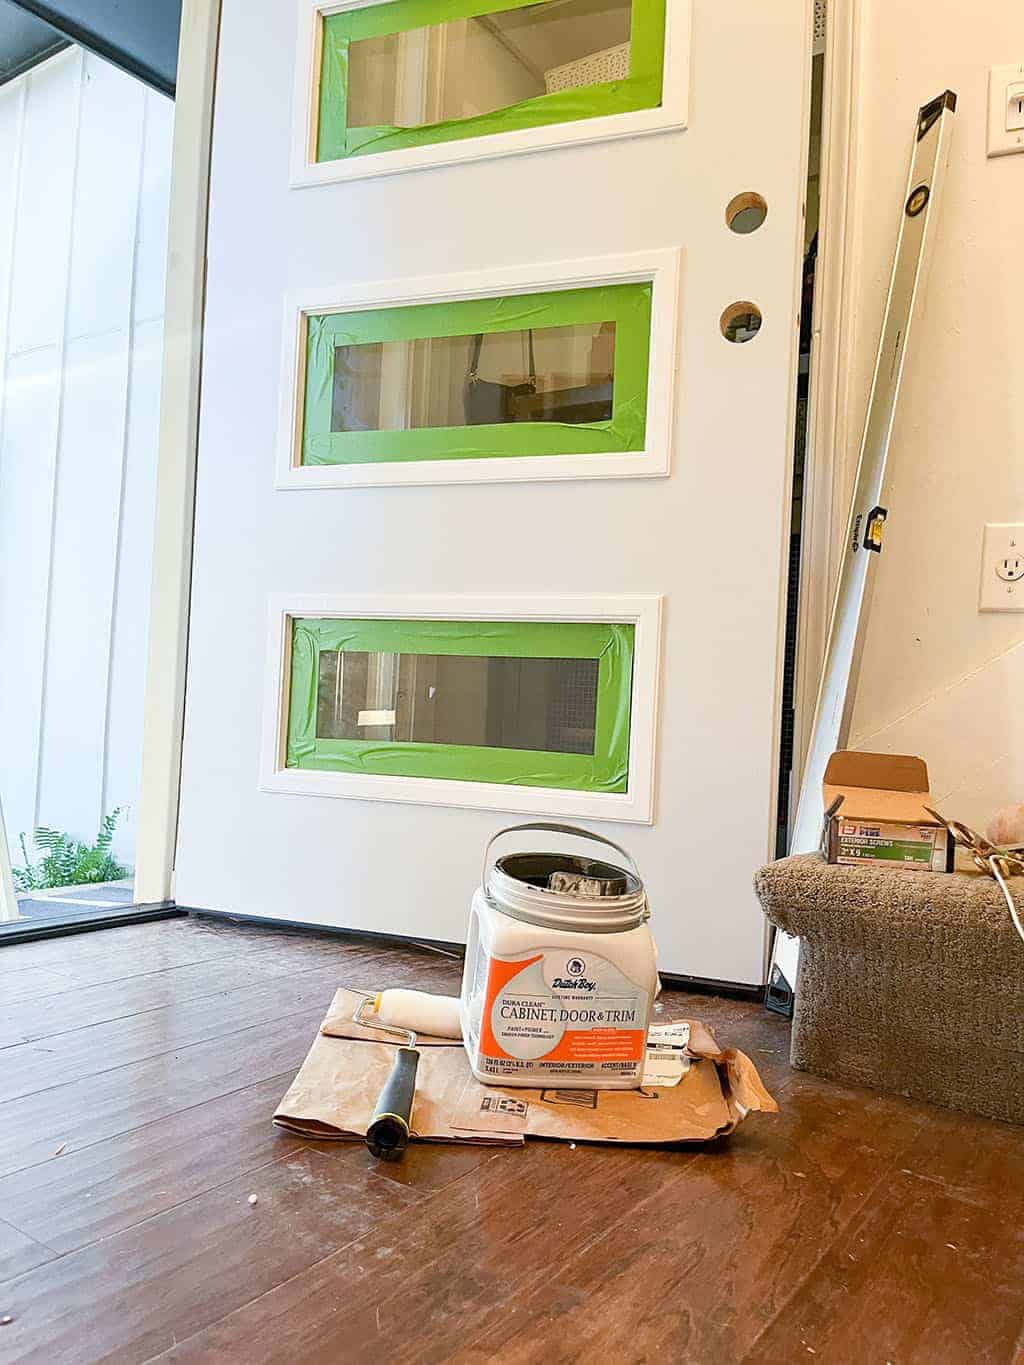
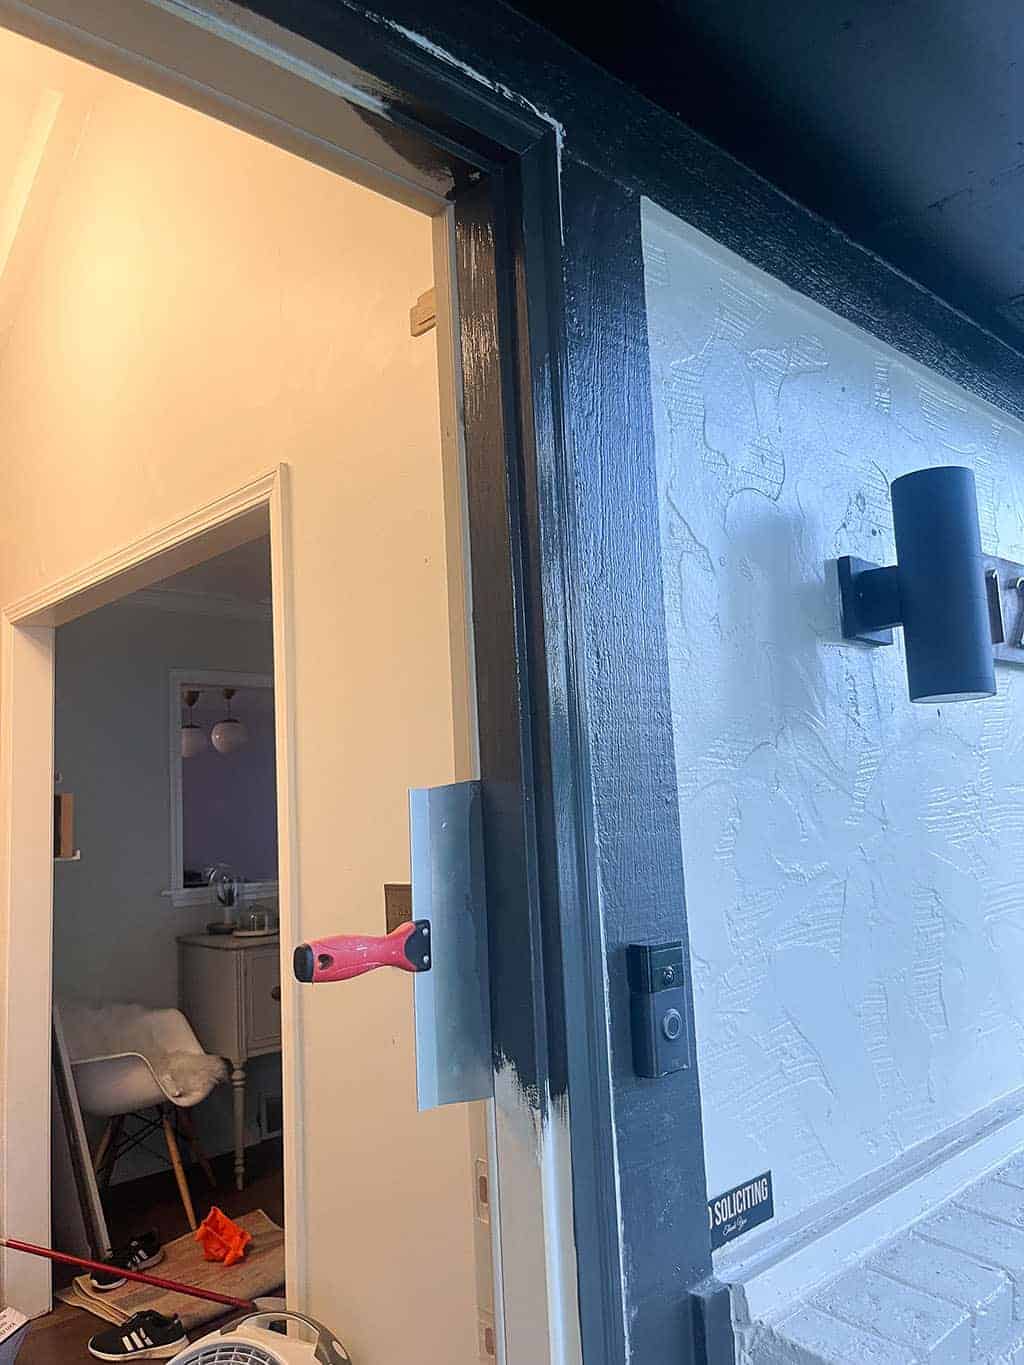
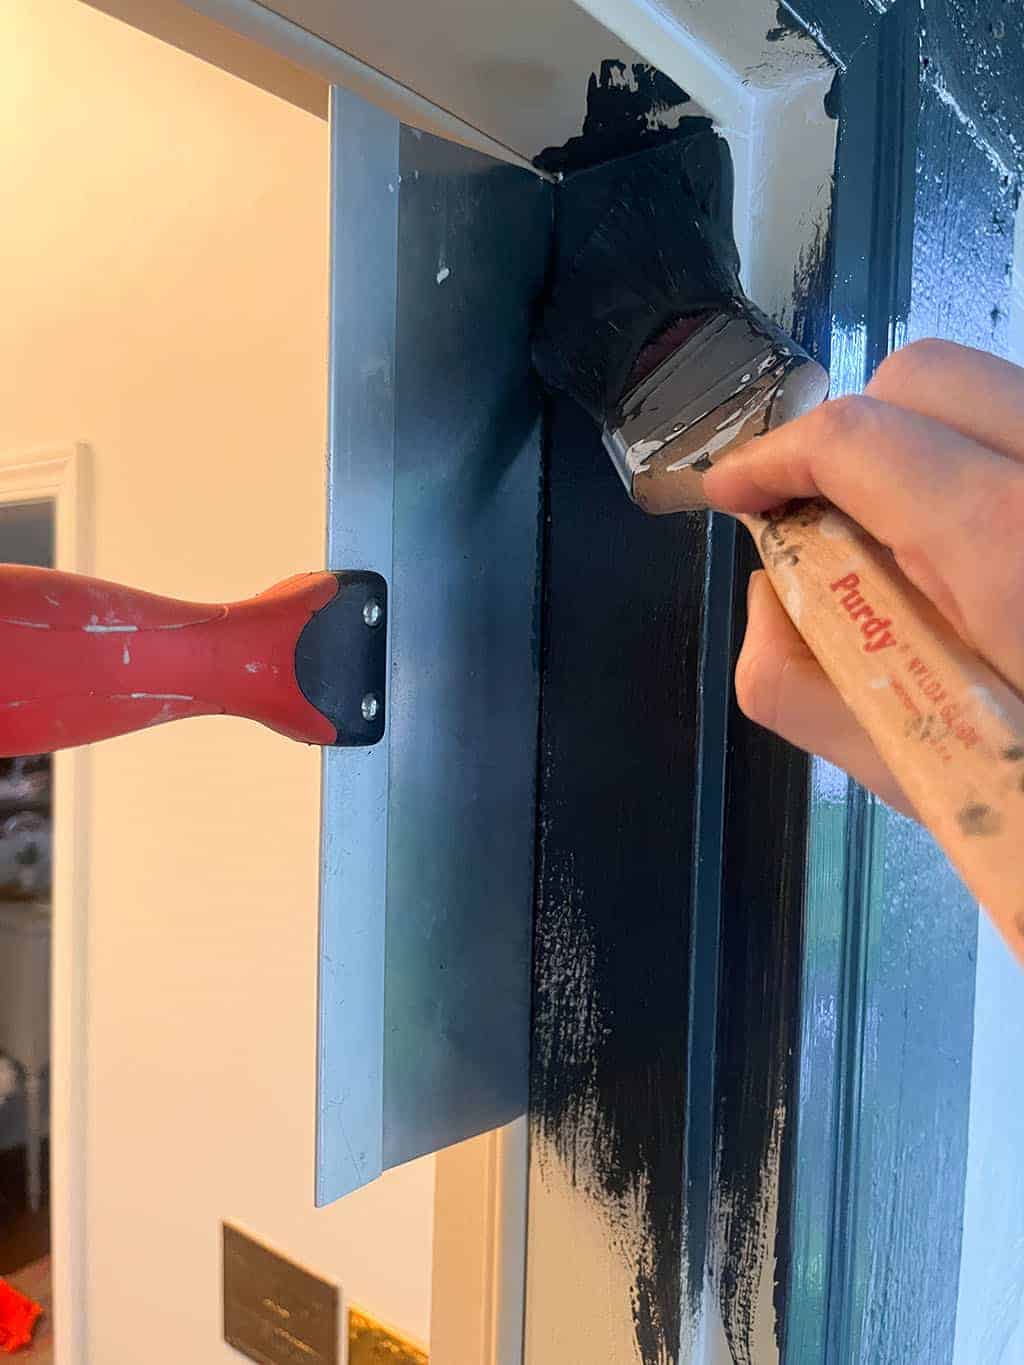
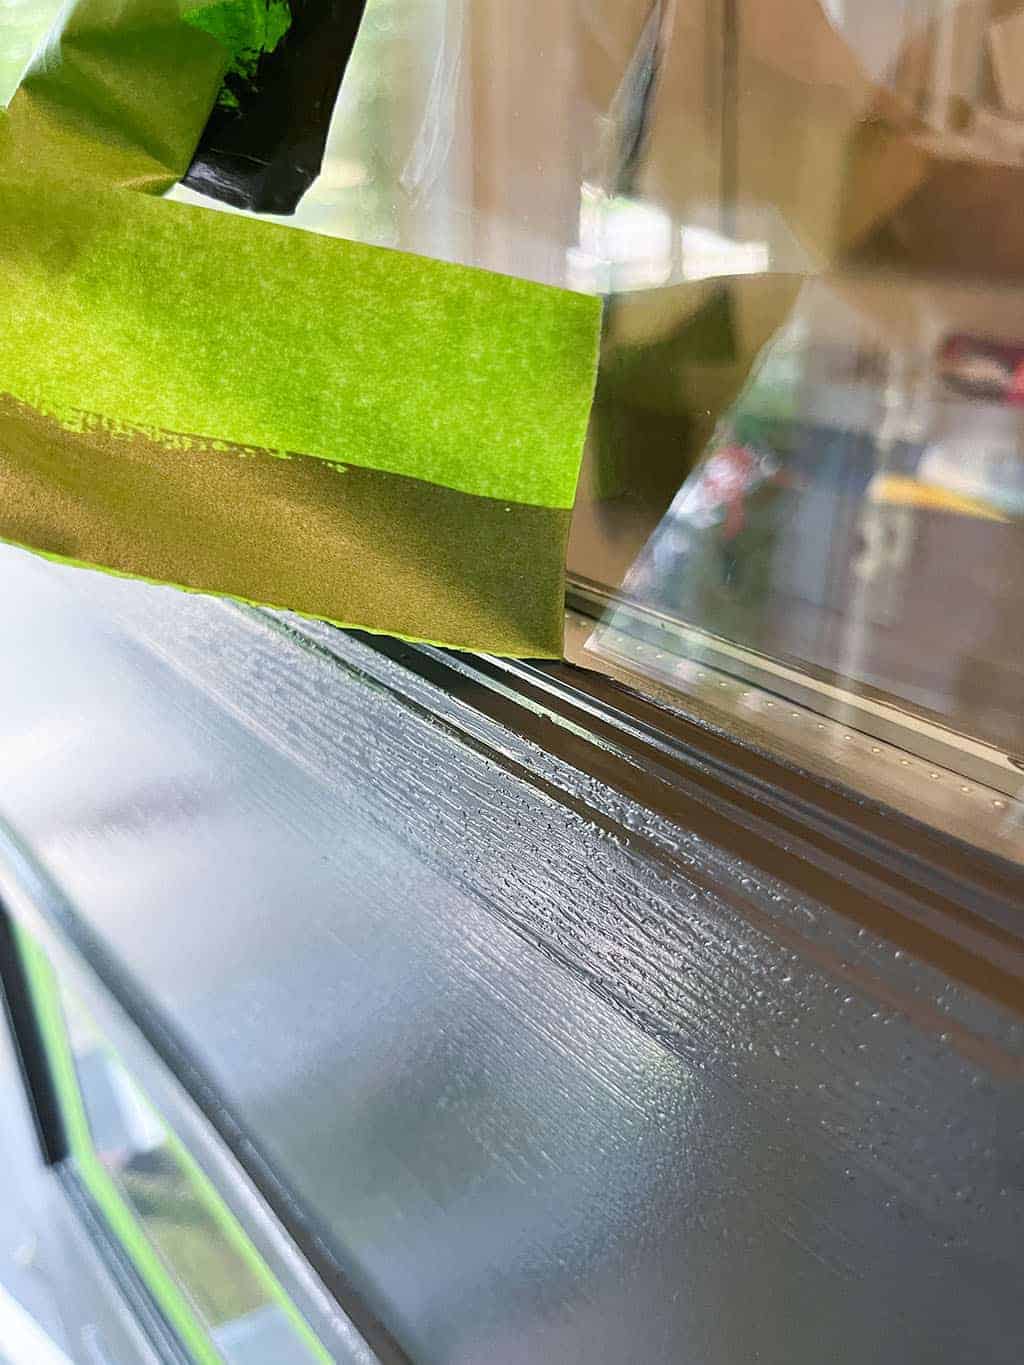
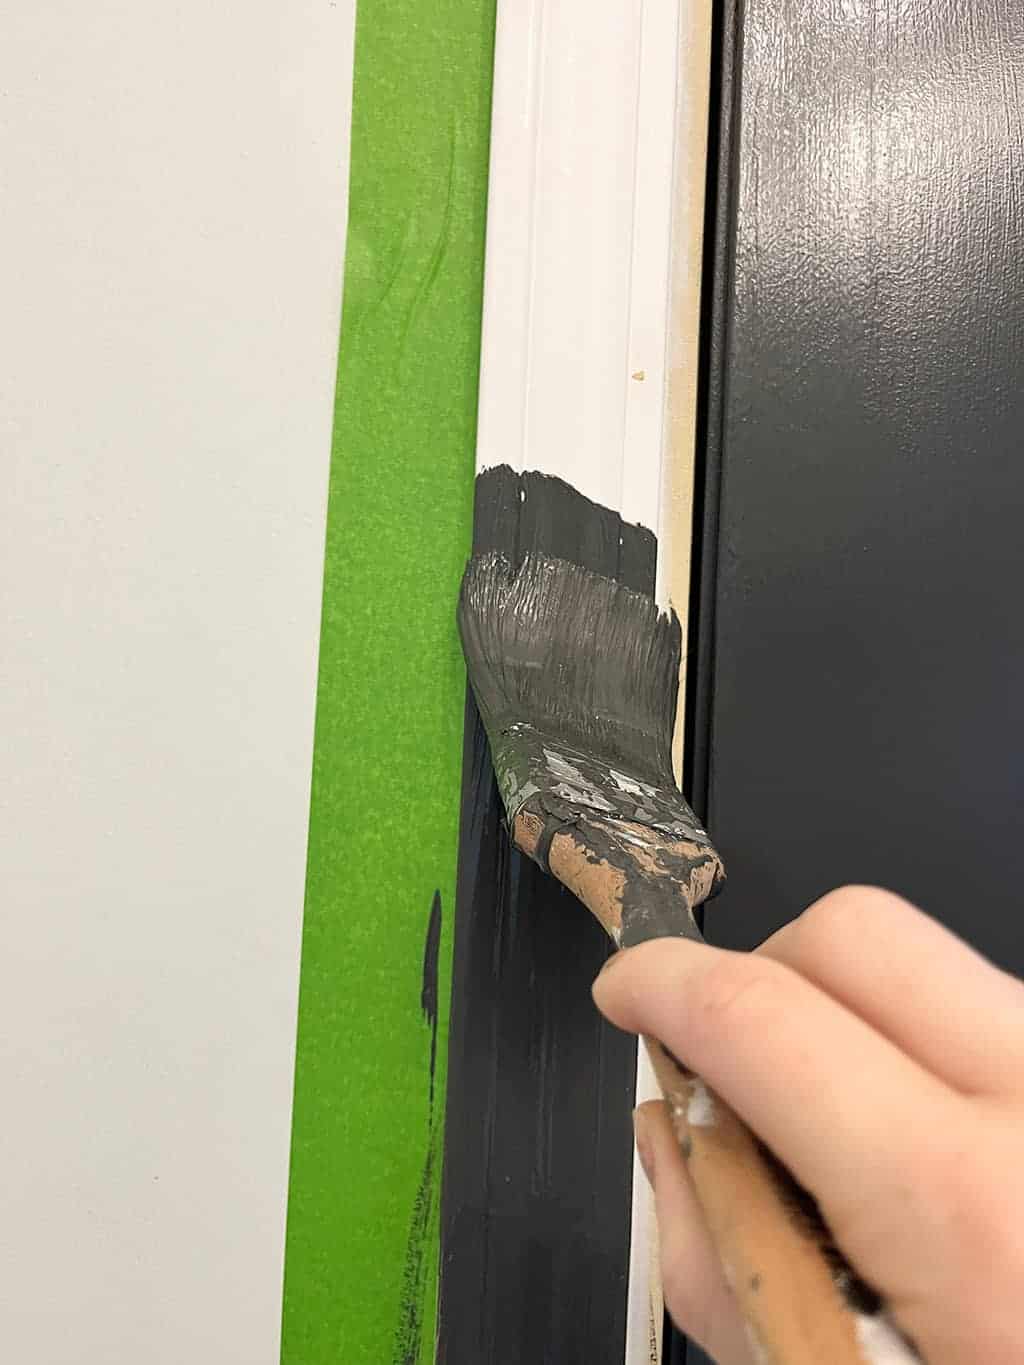
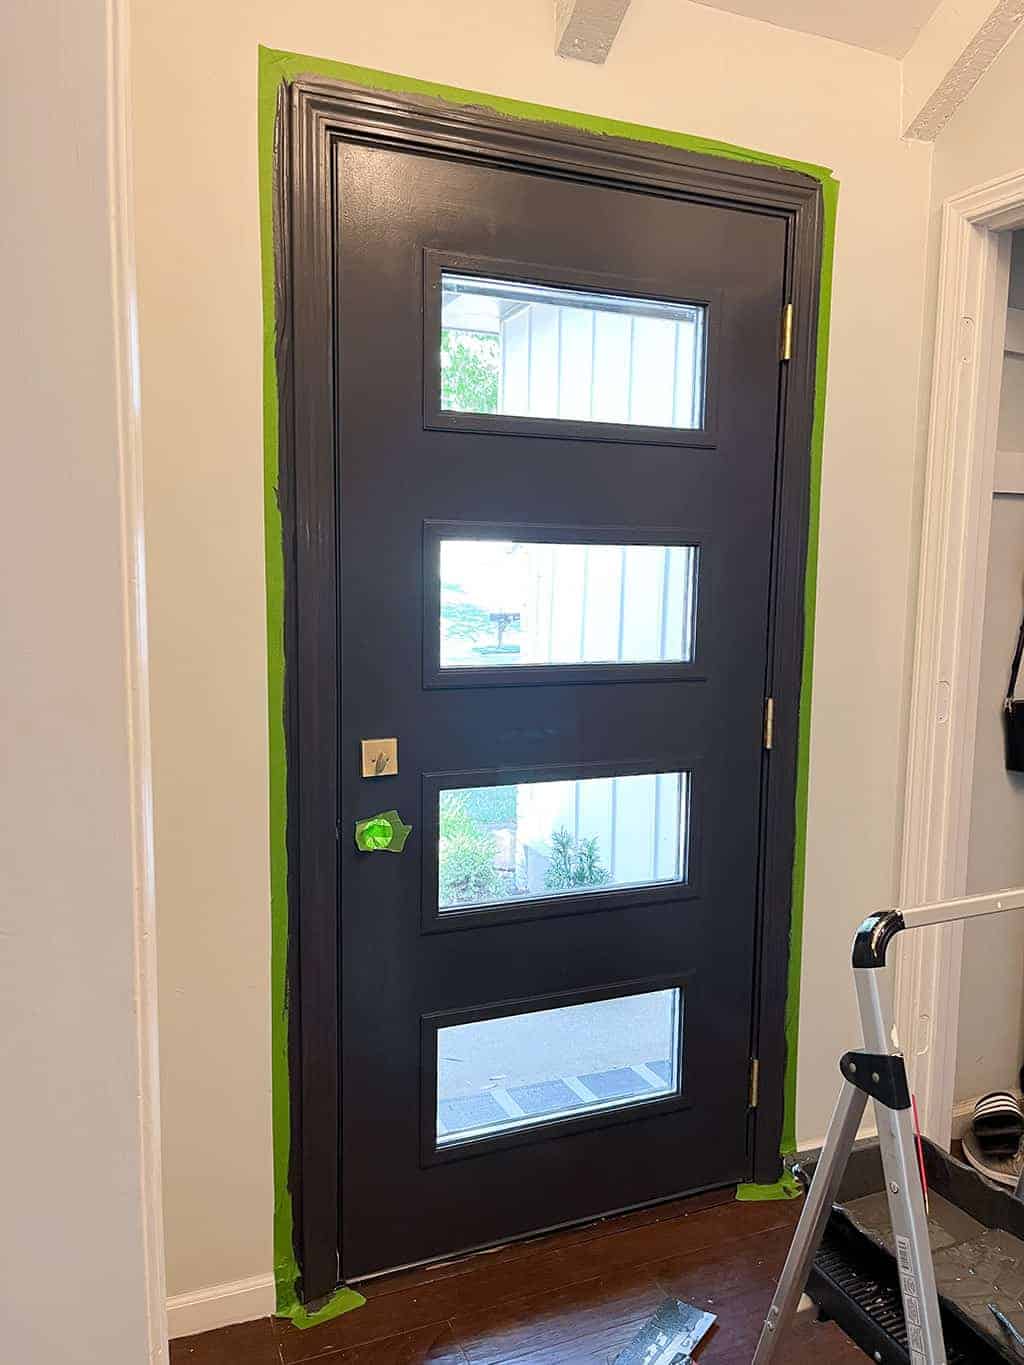
We caulked, filled nail holes, taped, and then I finally started painting.
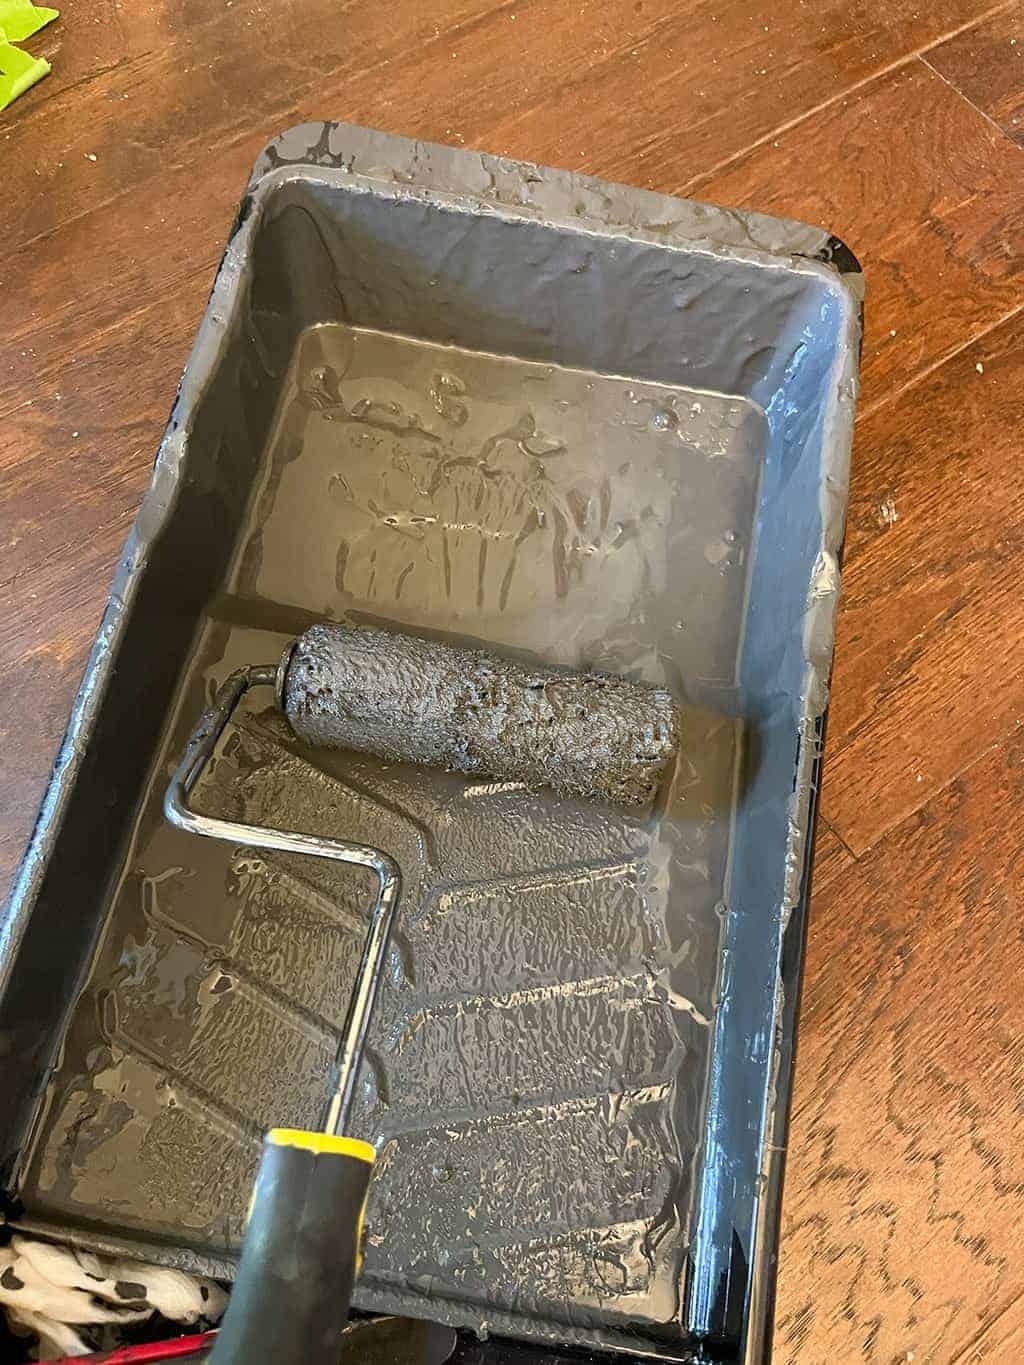
I grabbed my Dutch Boy® Dura Clean Cabinet, Door & Trim Paint and Purdy brush and applied coat one.
I love the built-in spout that makes pouring simple, and the tight seal makes it easy to store leftover paint. Win-win!
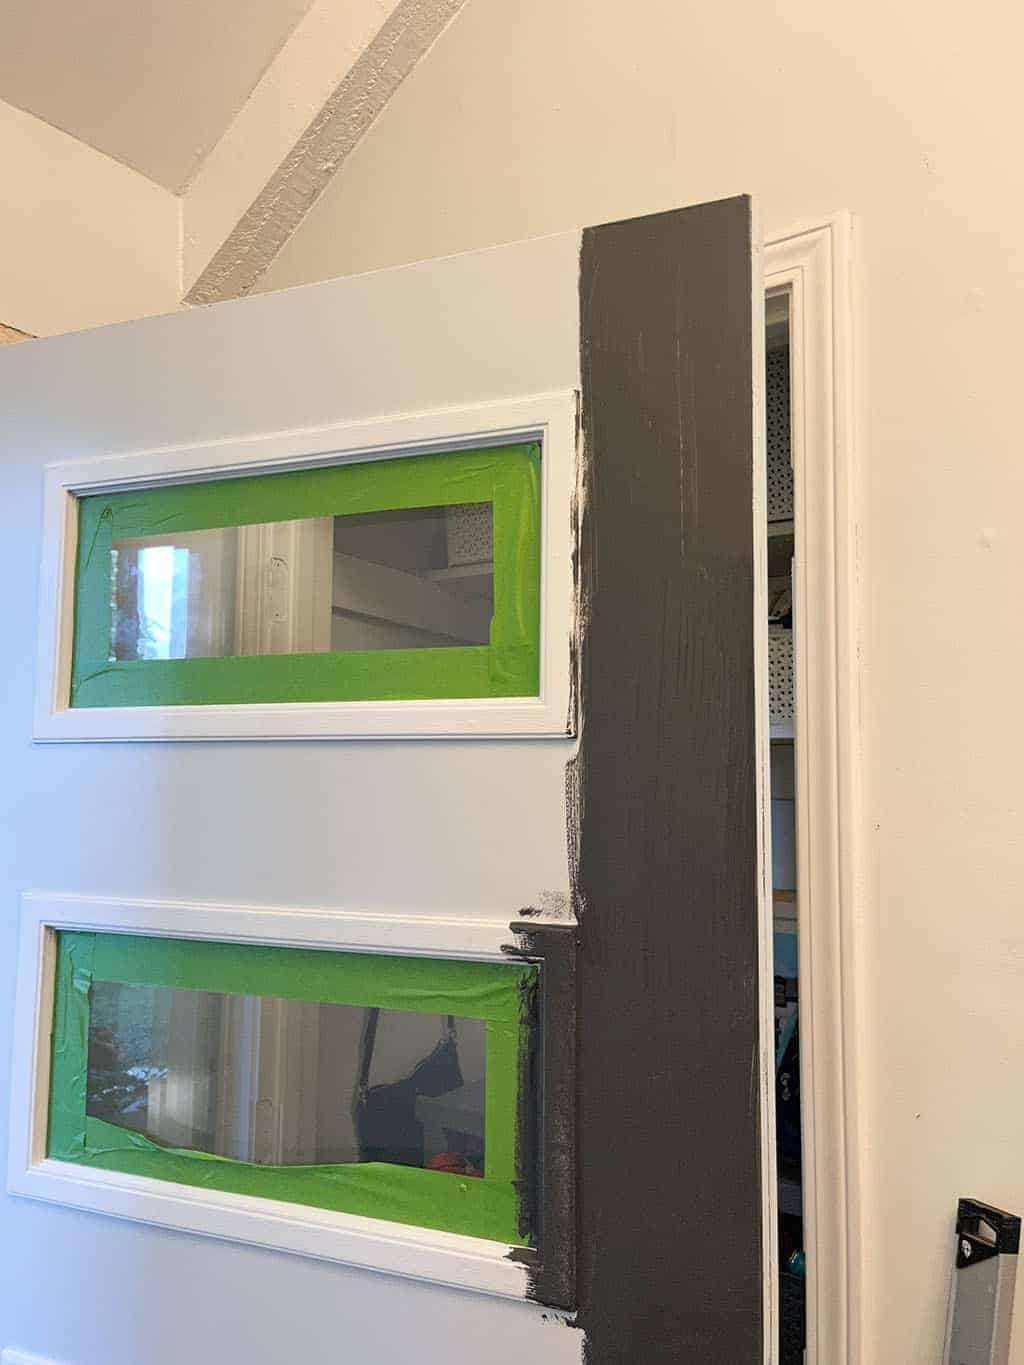
Then I painted the exterior trim to match the existing – the match was spot on!
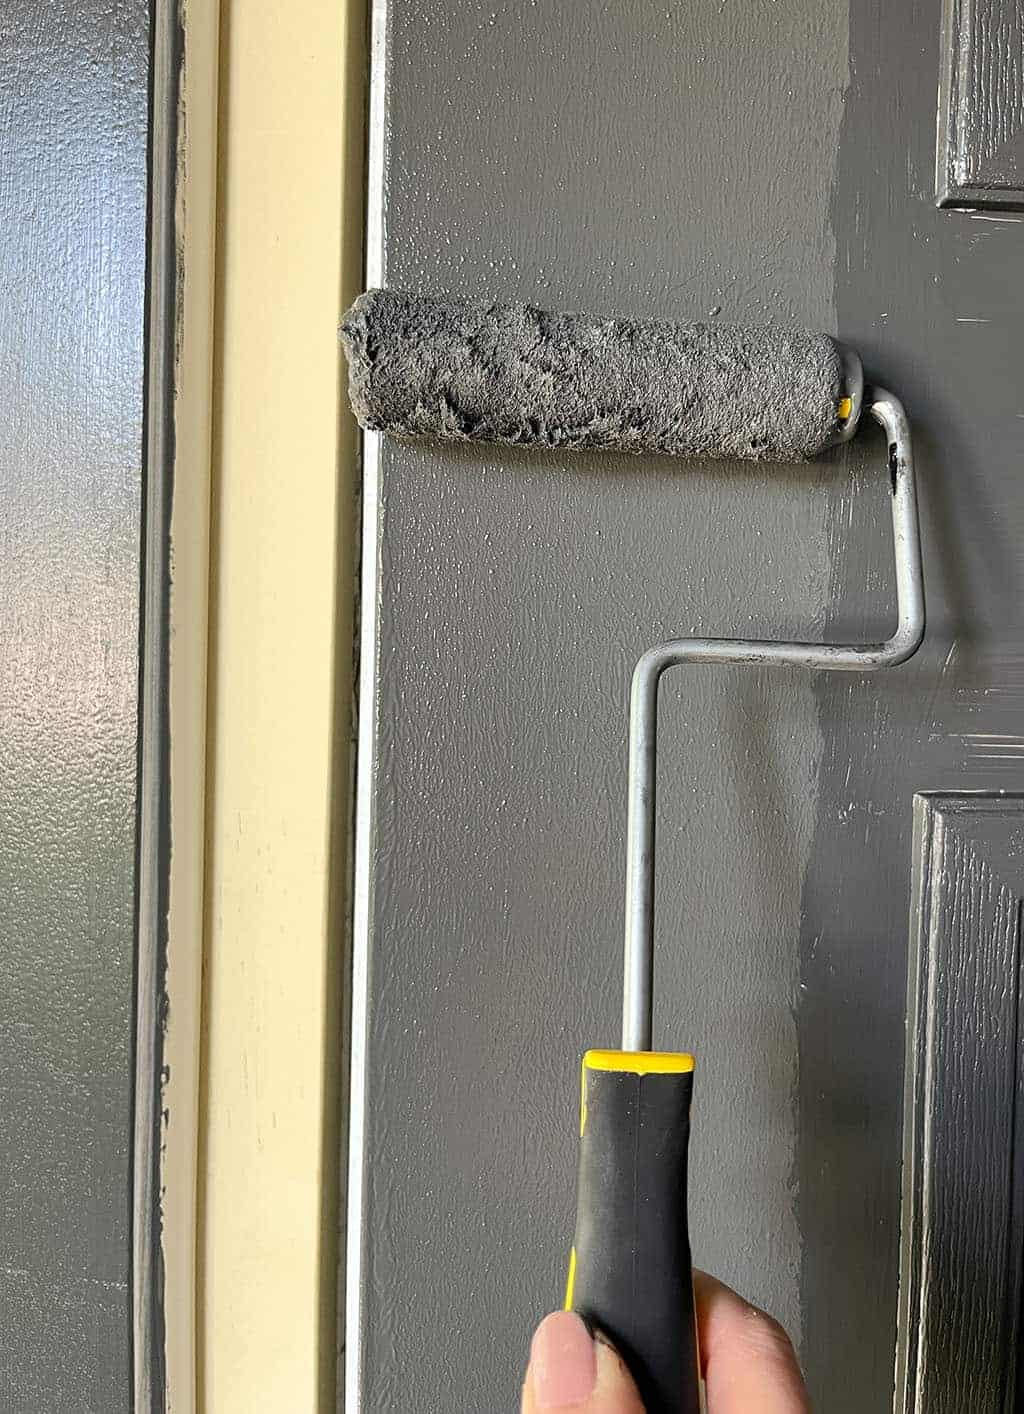
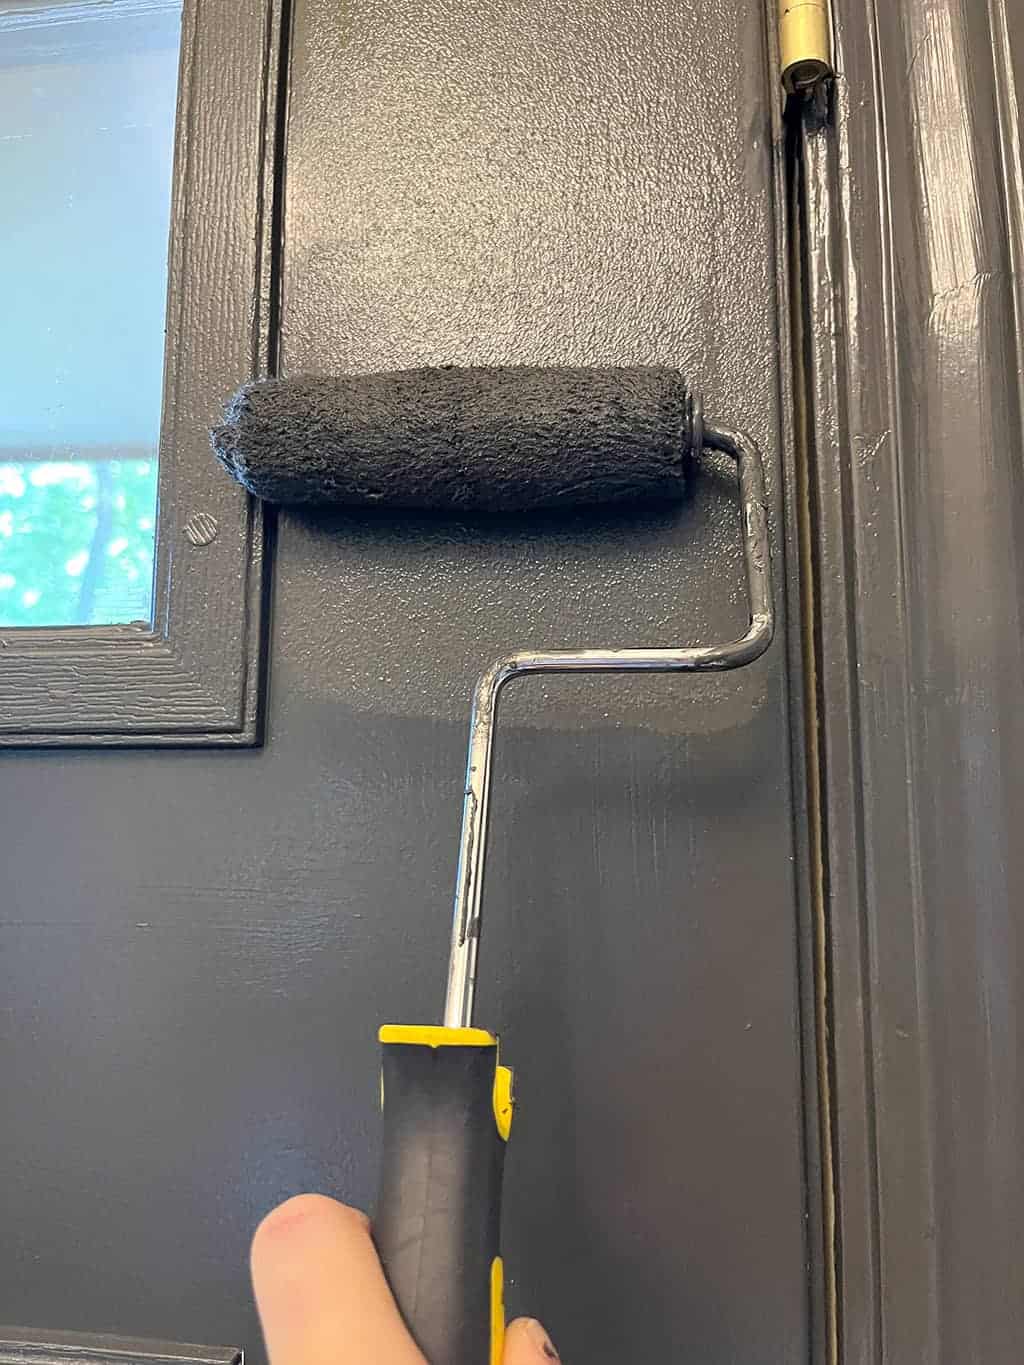
For my second coat I used a smaller Purdy roller for a more smooth finish. I repeated those steps on the inside of the door as well.
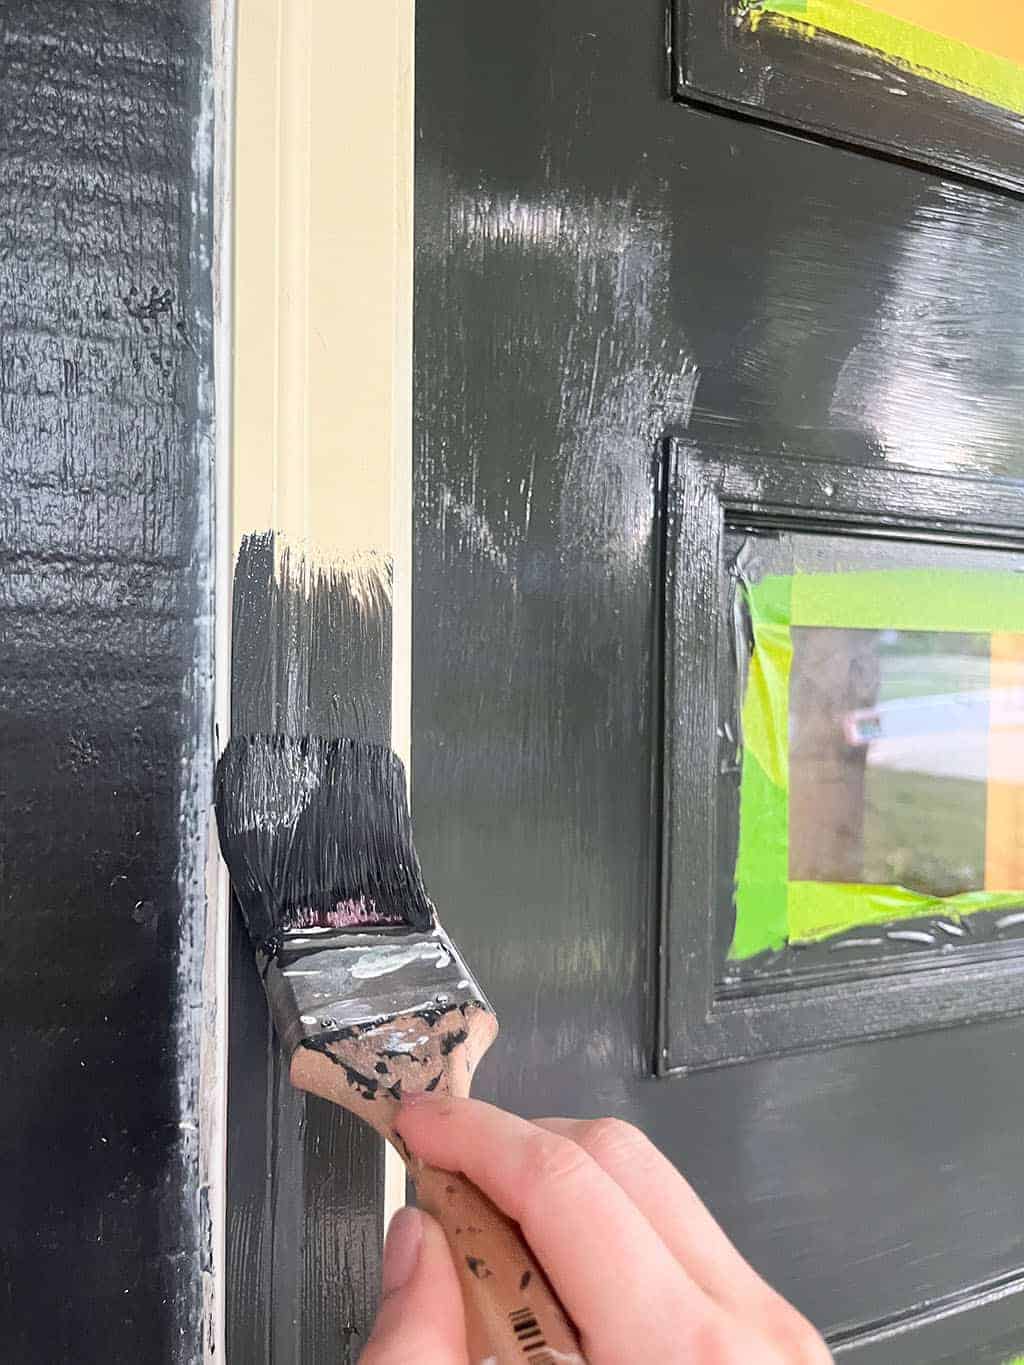
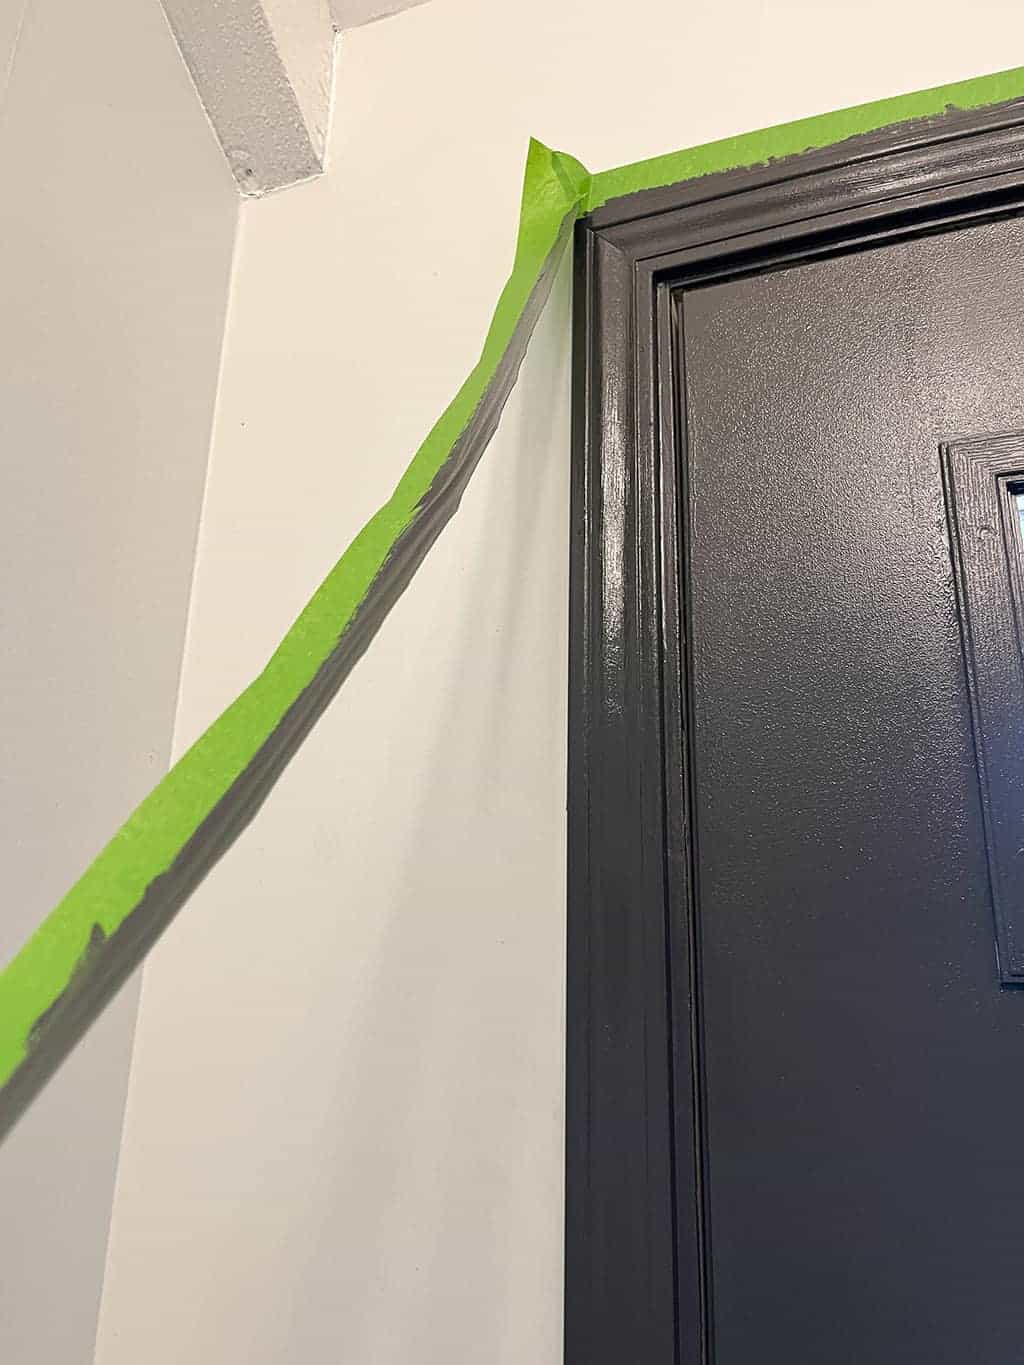
I was so excited to peel away the tape to see crisp paint lines!
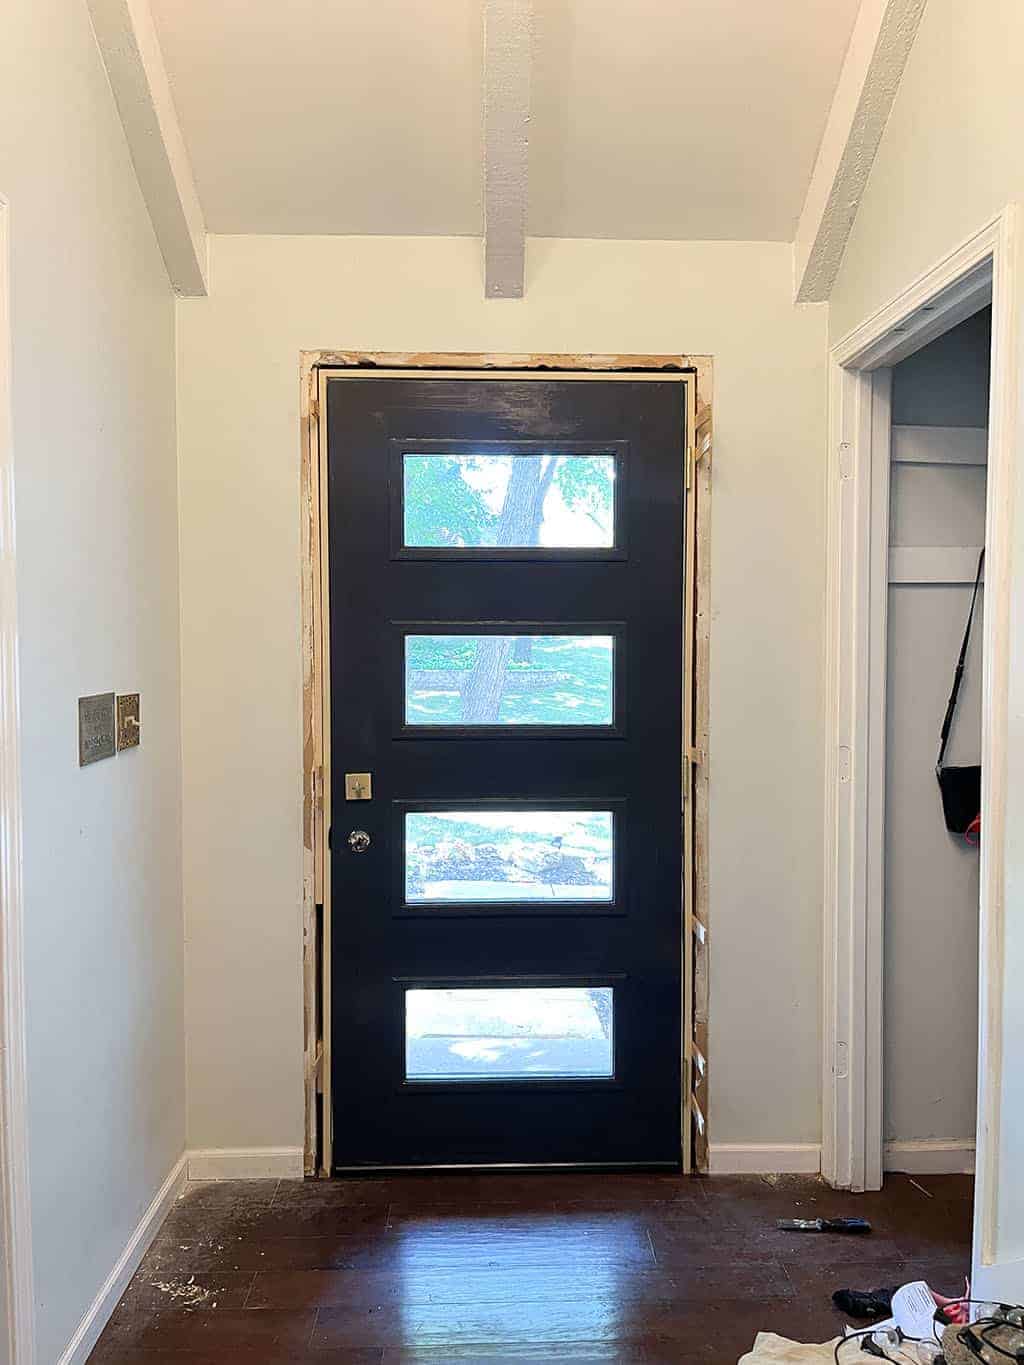
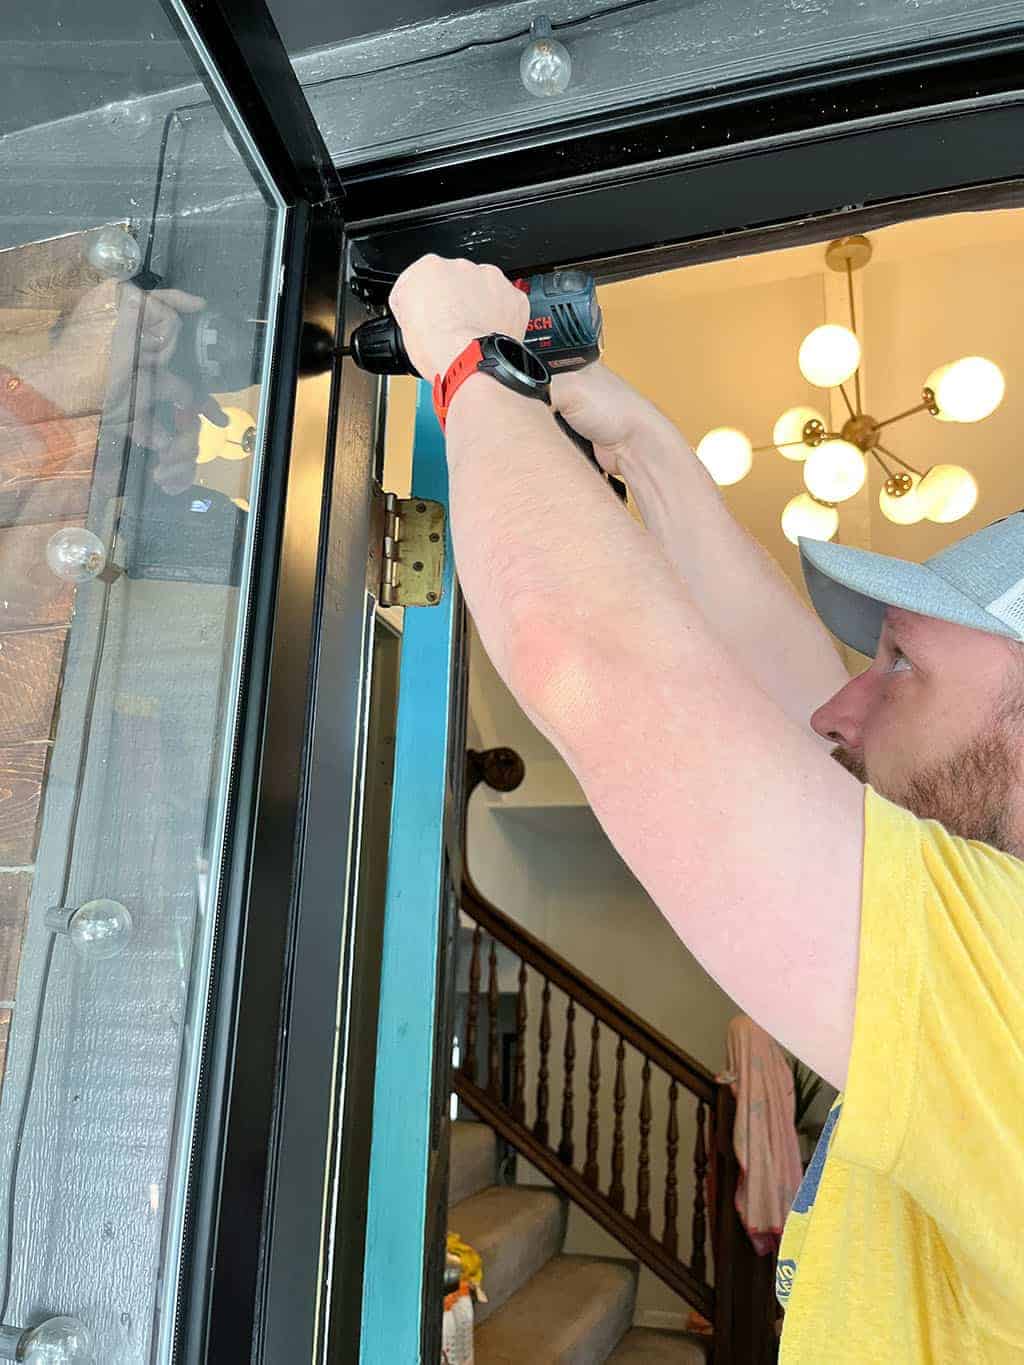
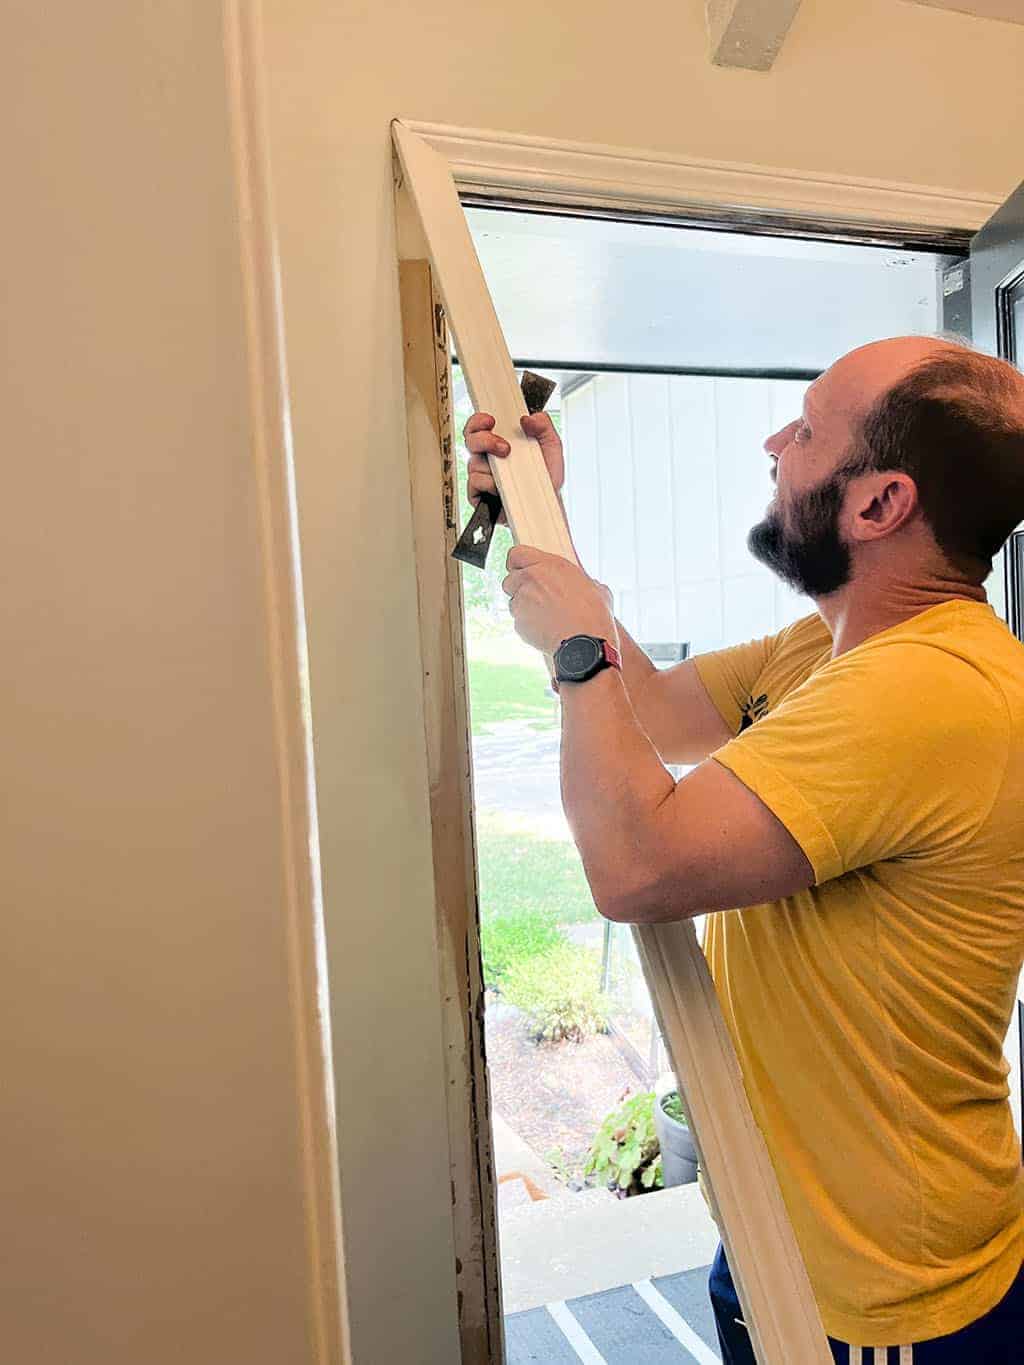
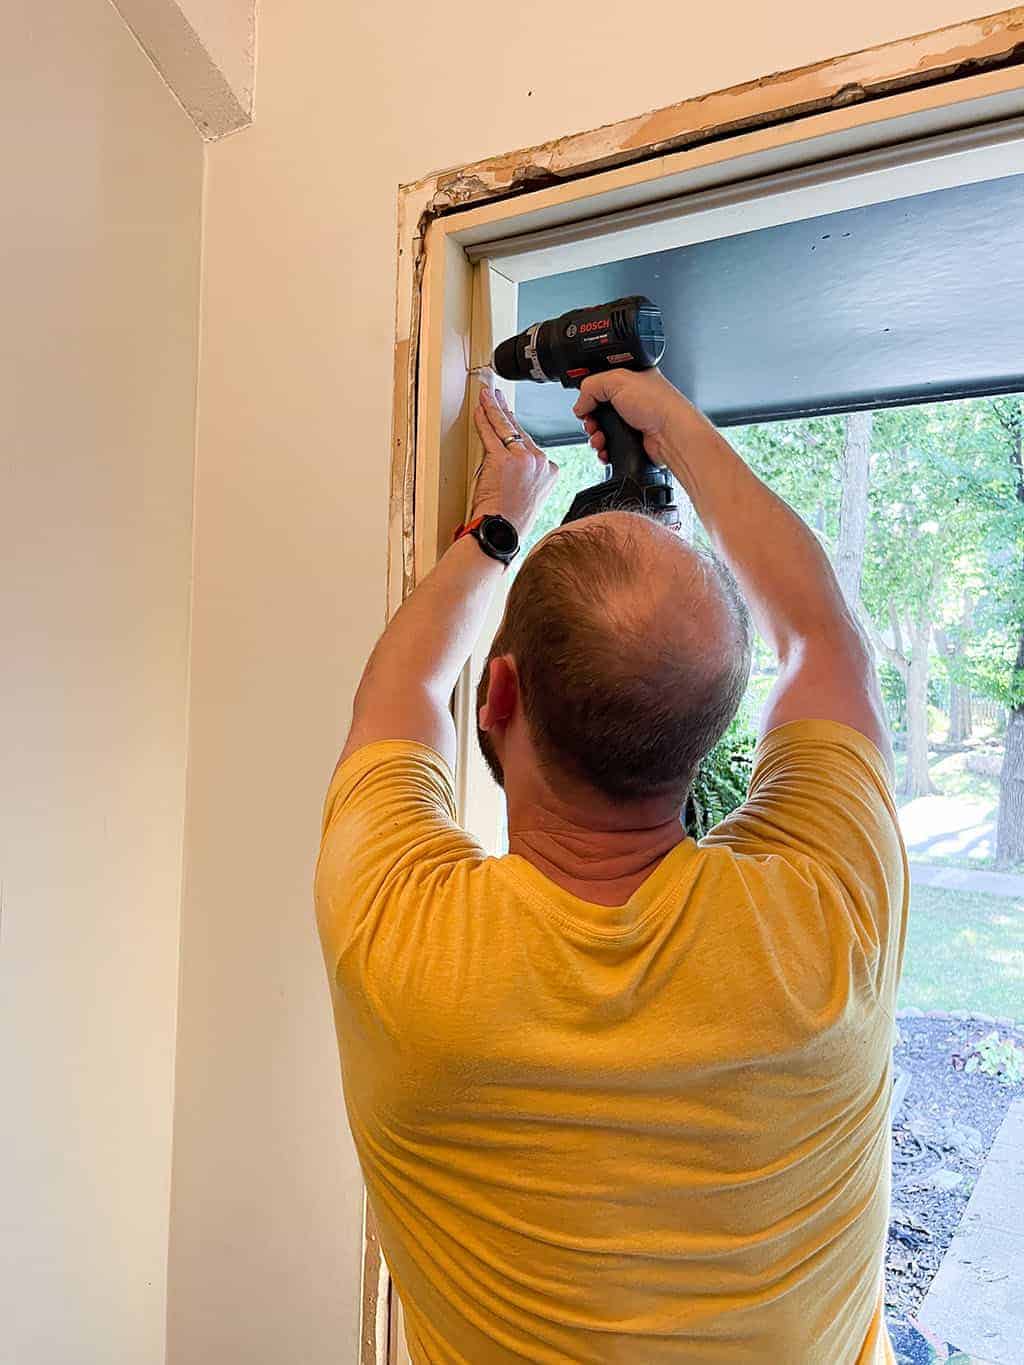
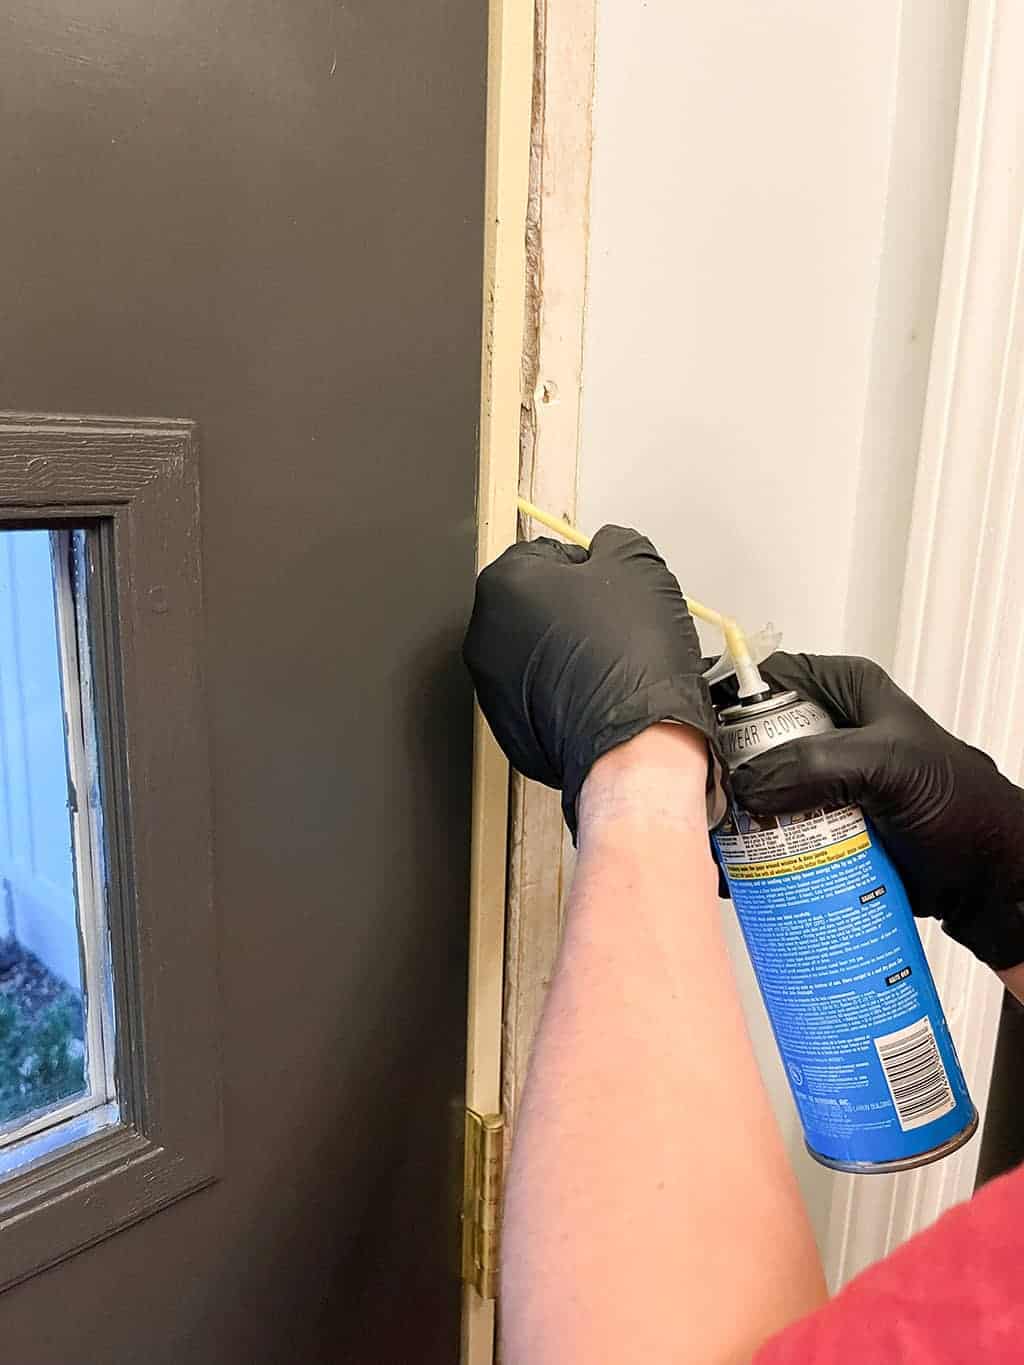
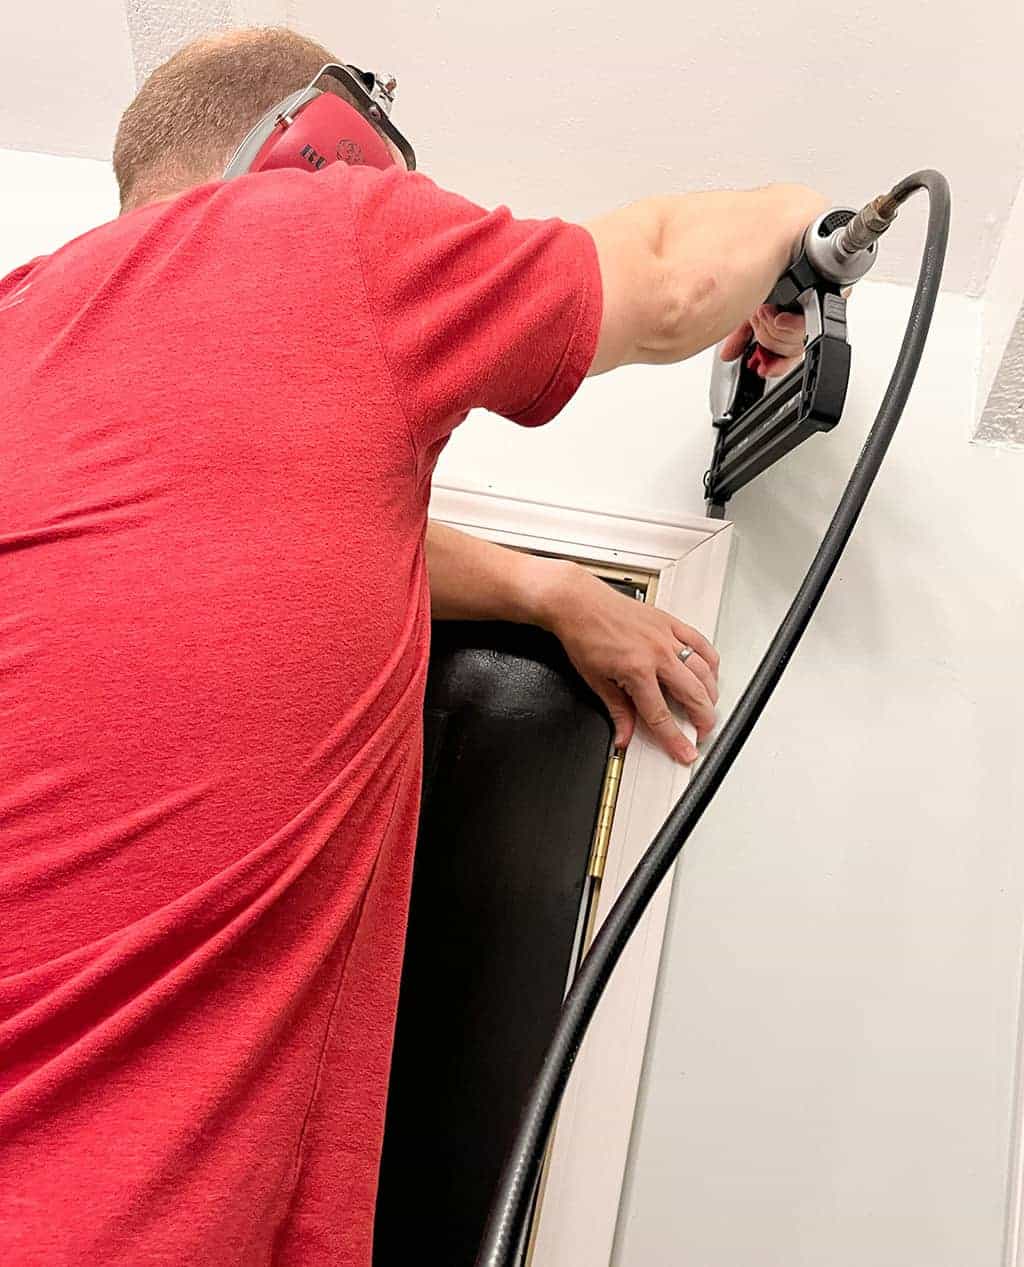
Ted cut all the shims down, added spray foam, then installed fresh trim around the interior side of the door.
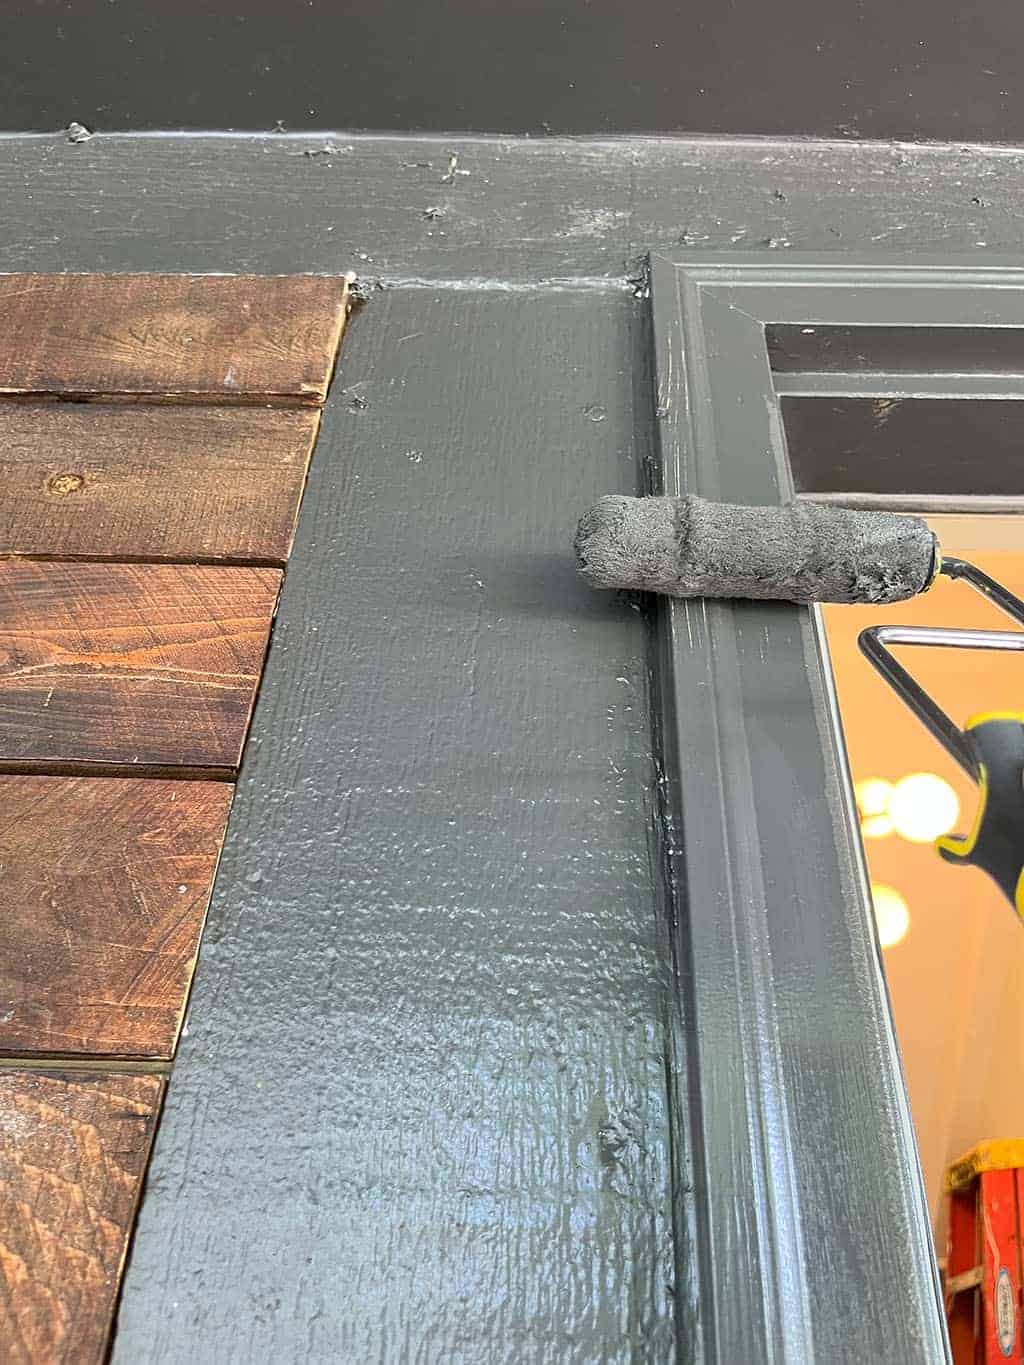
I painted the trim the same color as the door to make it feel even more substantial in size. Next, I rolled on one final coat of paint on the door.
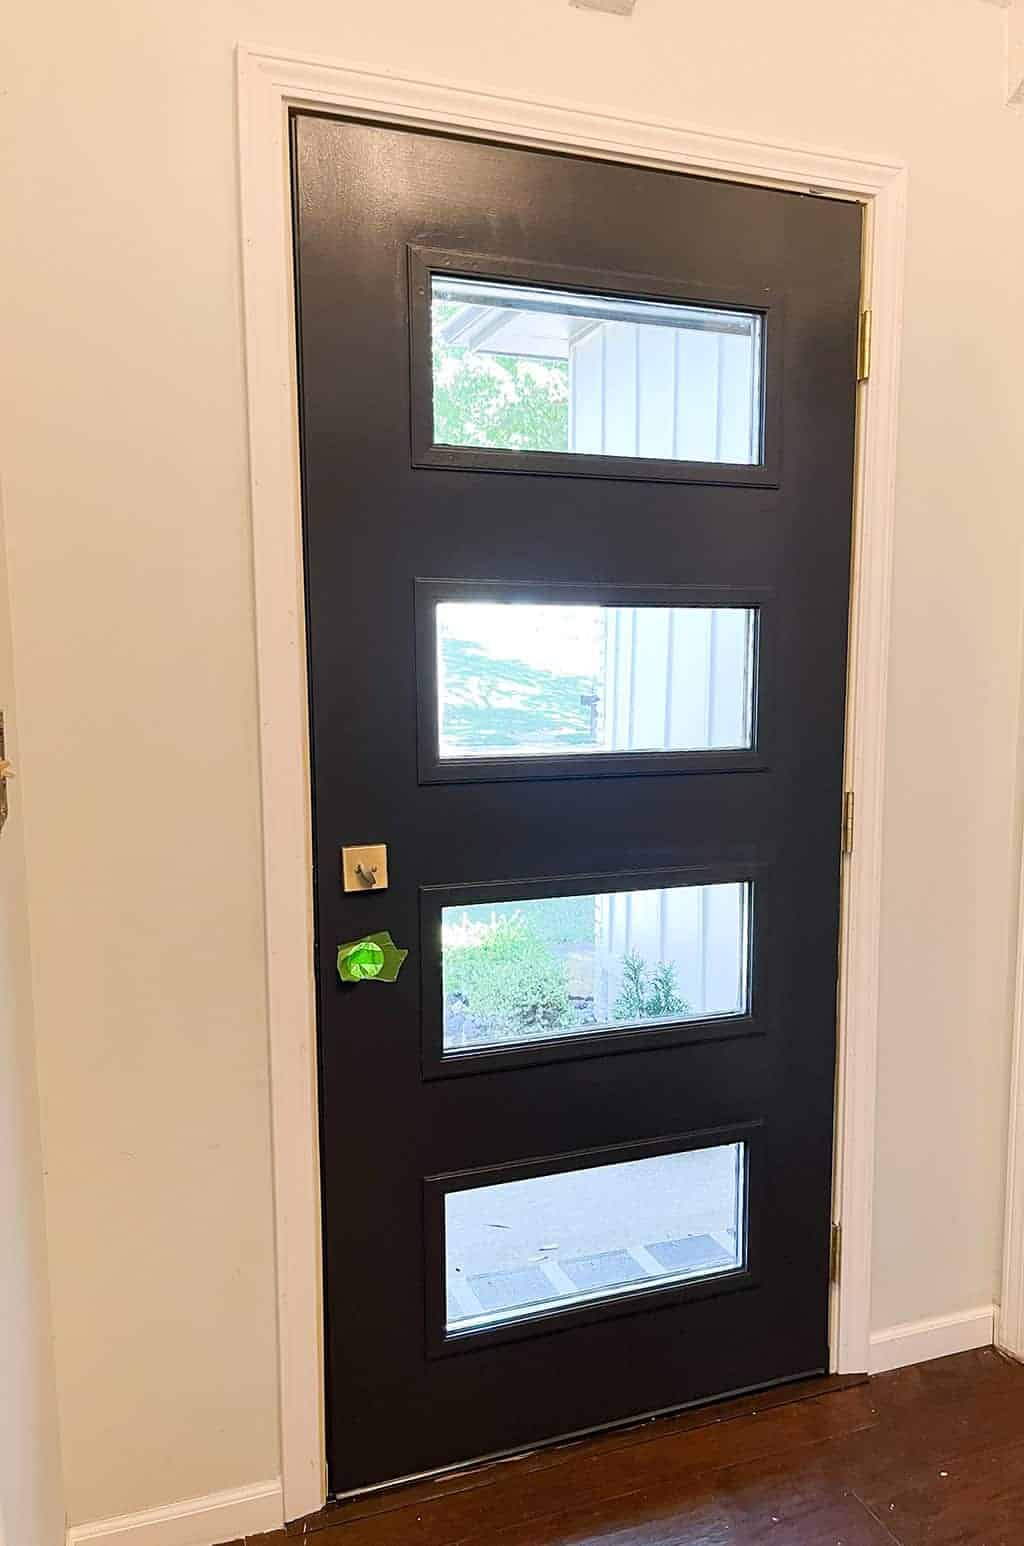
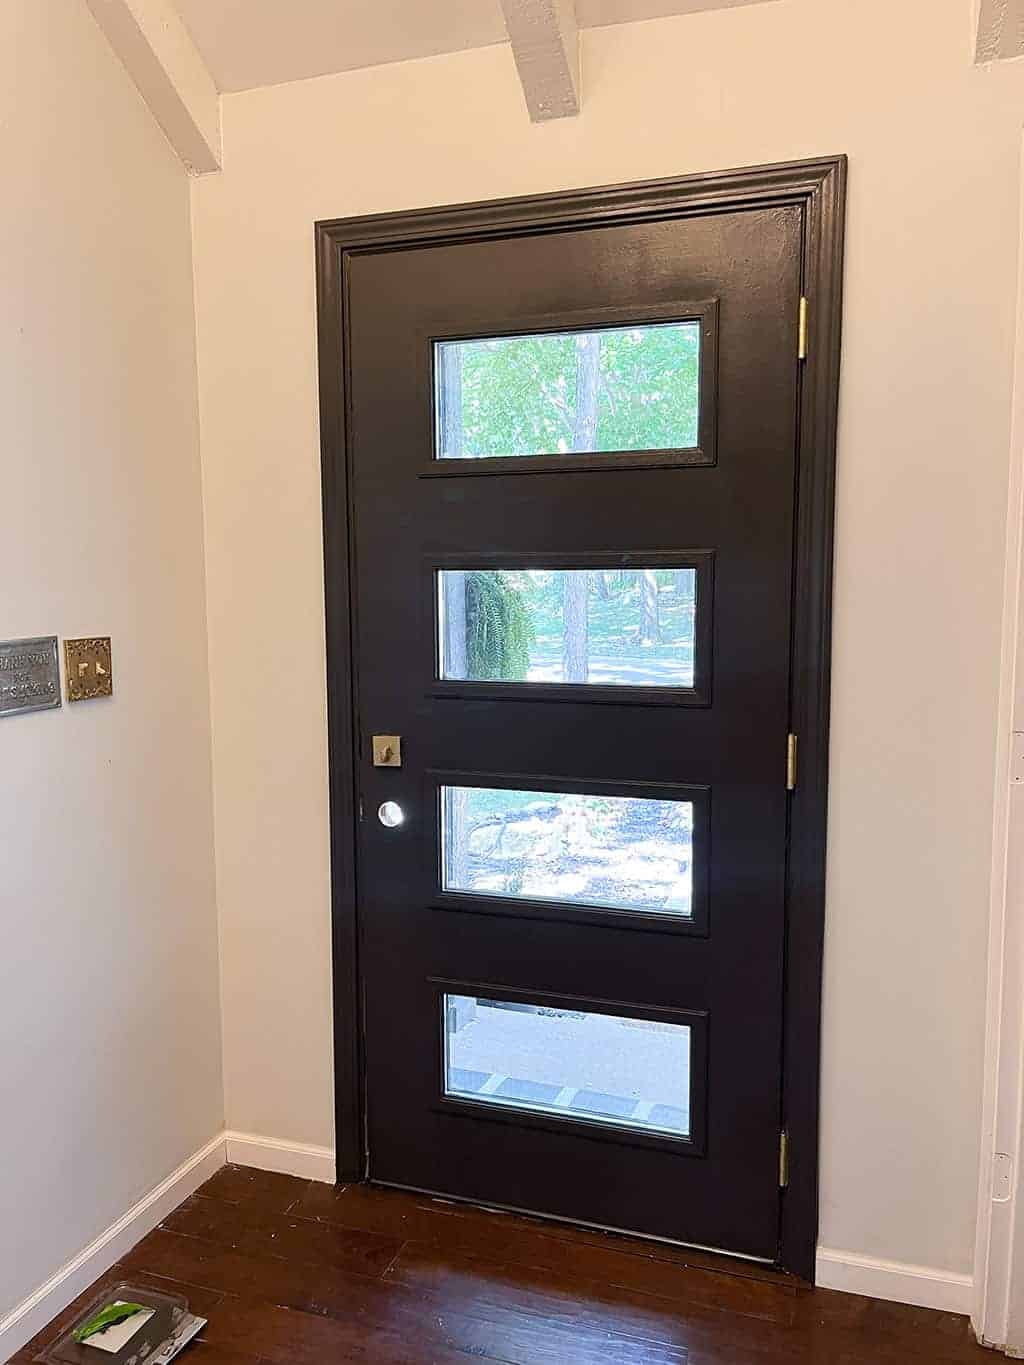
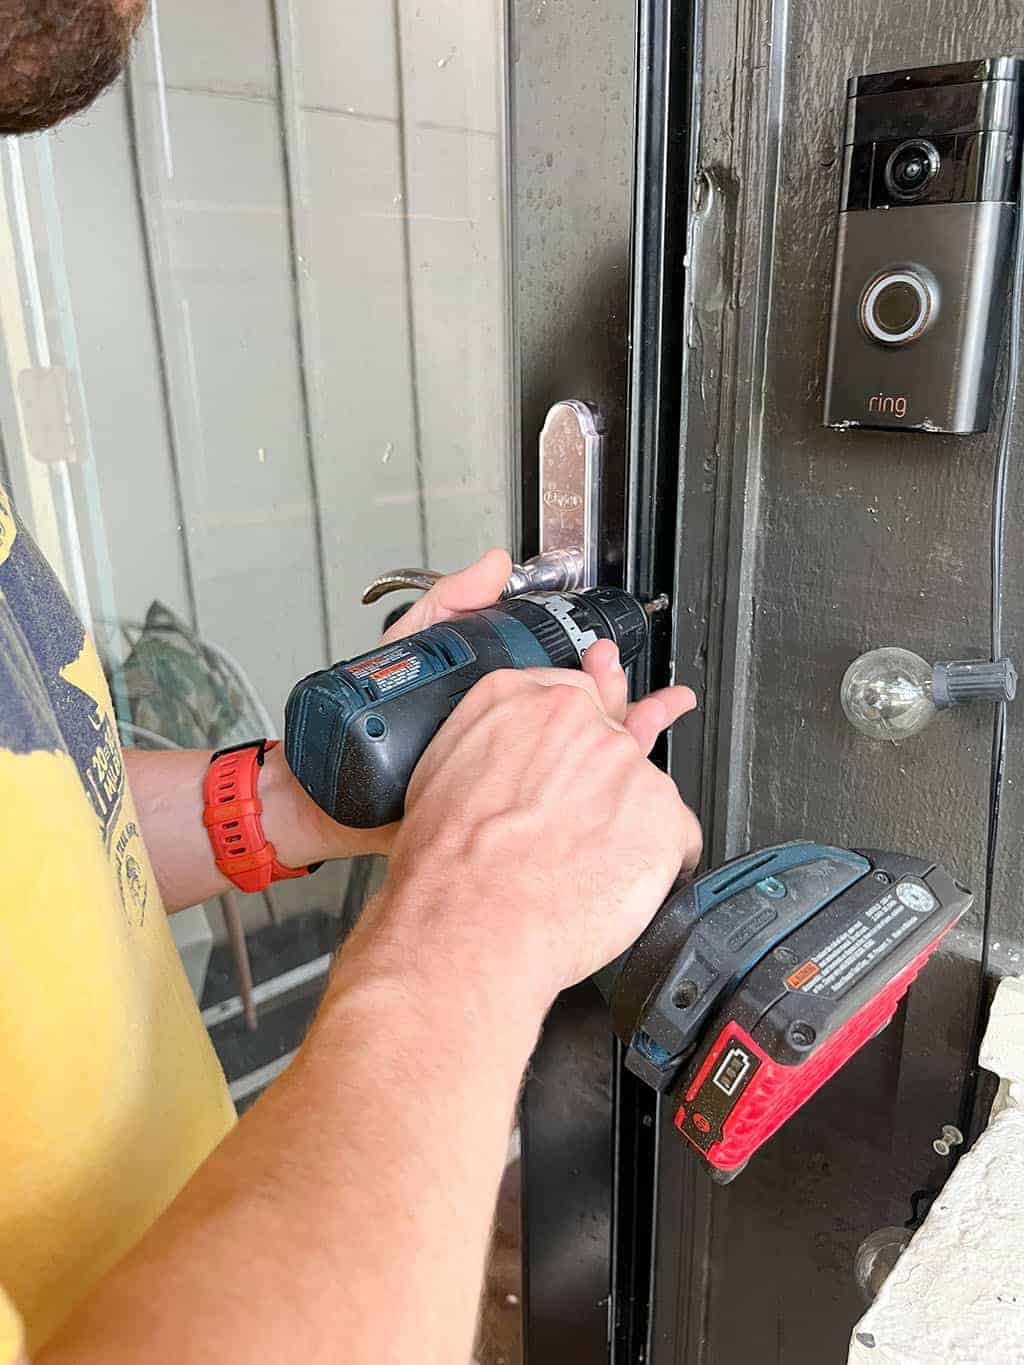
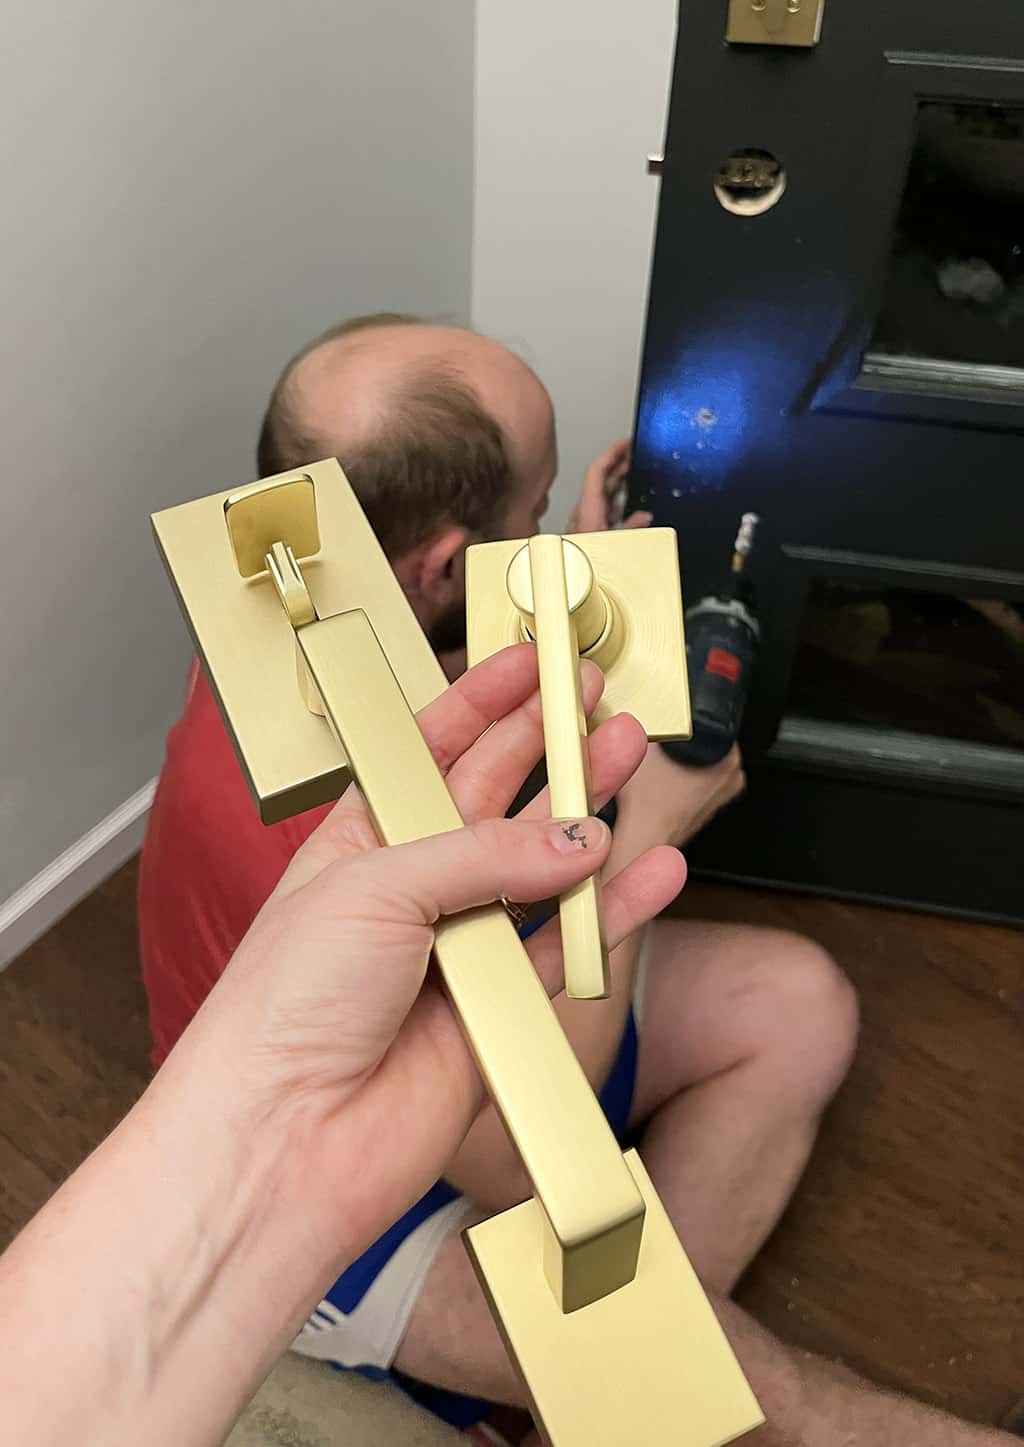
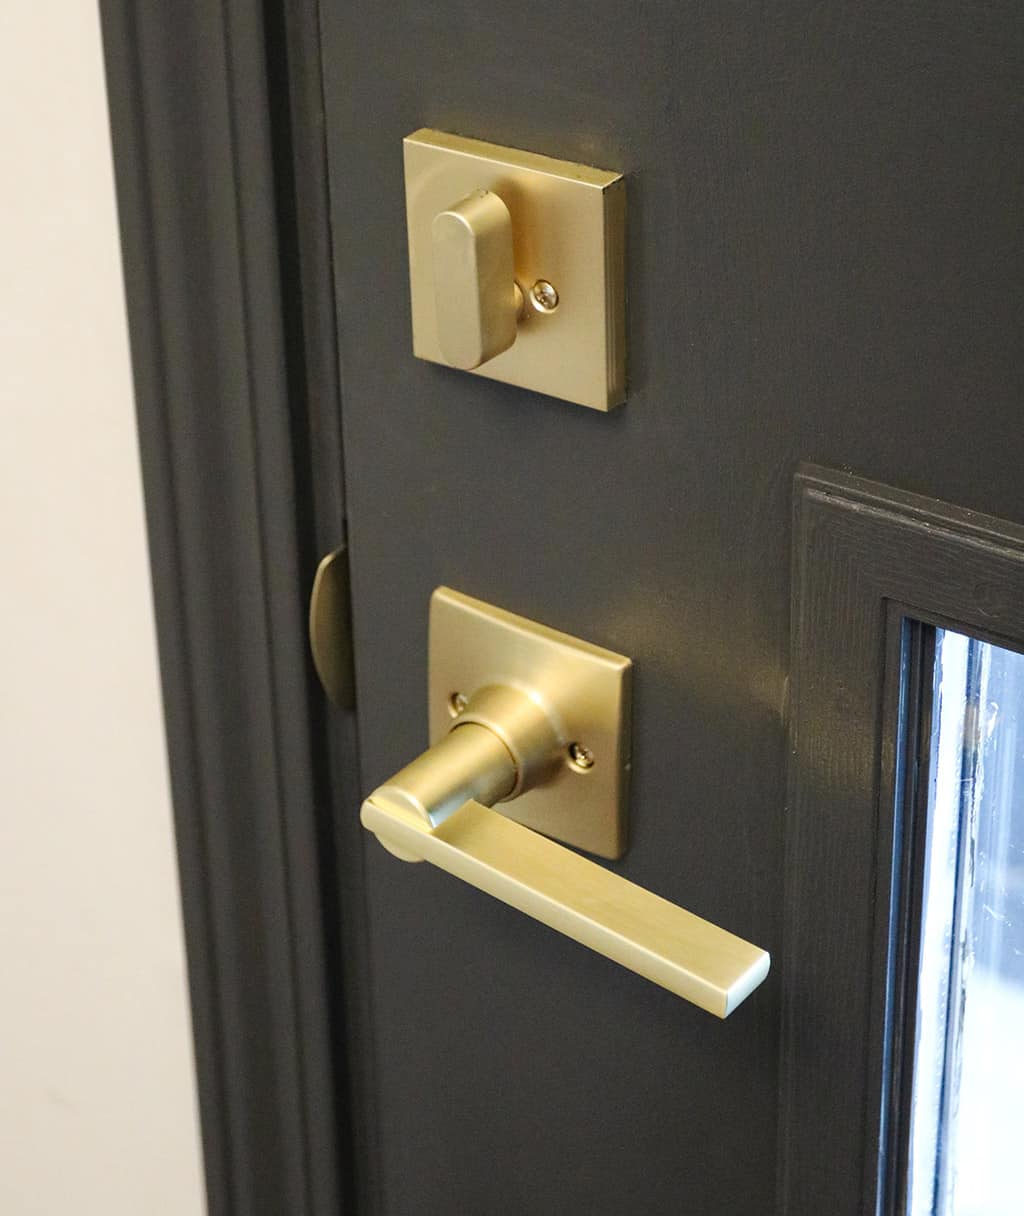
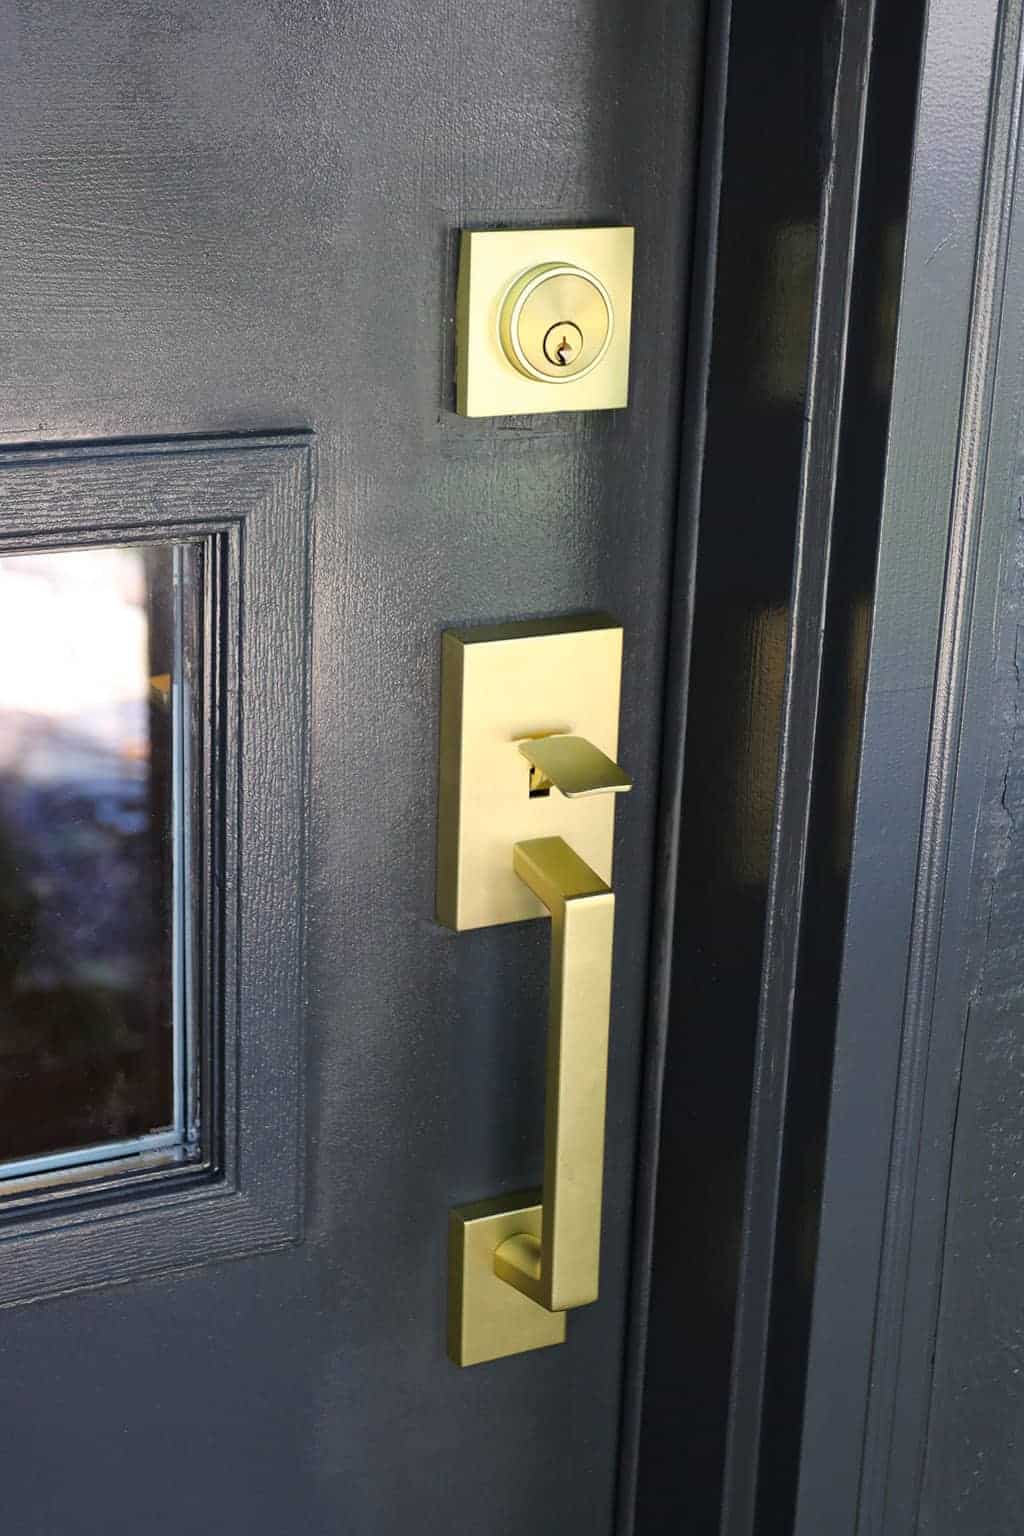
And finally, we added the door hardware.
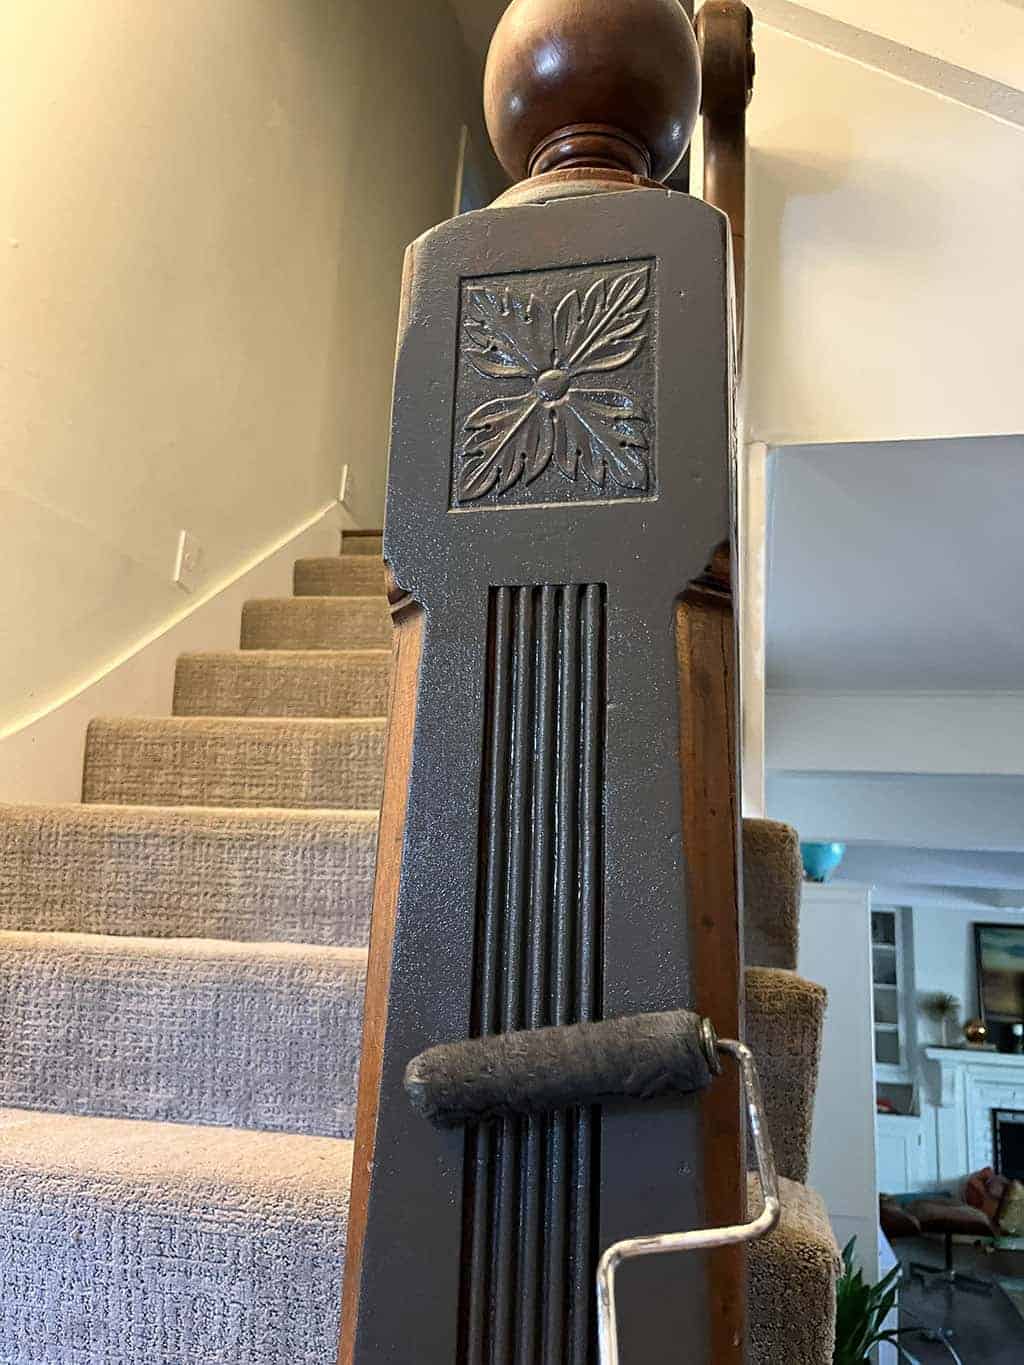
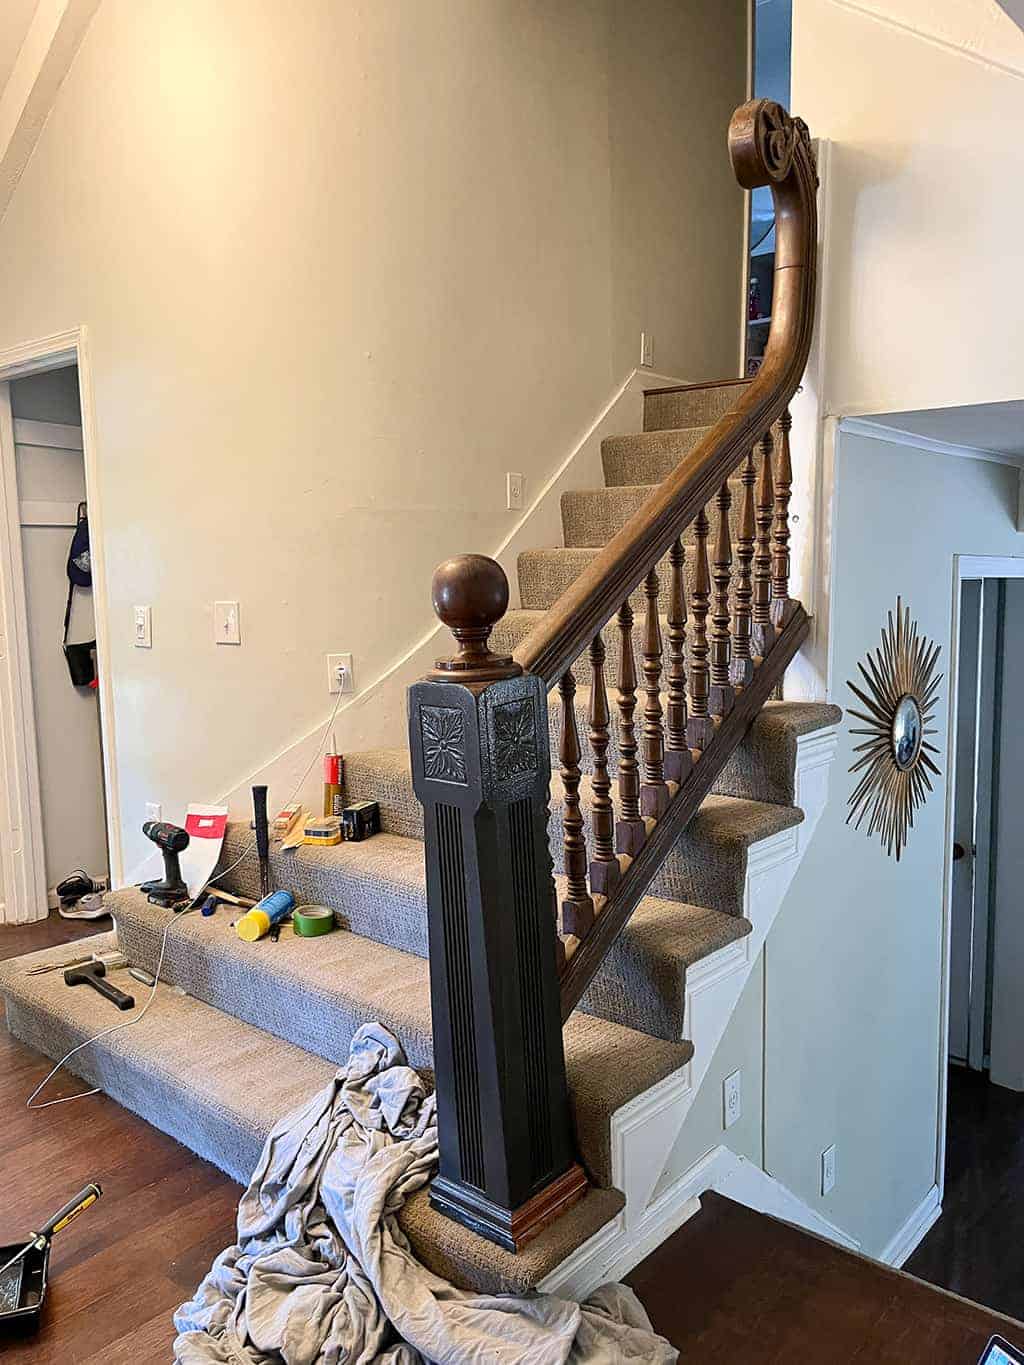
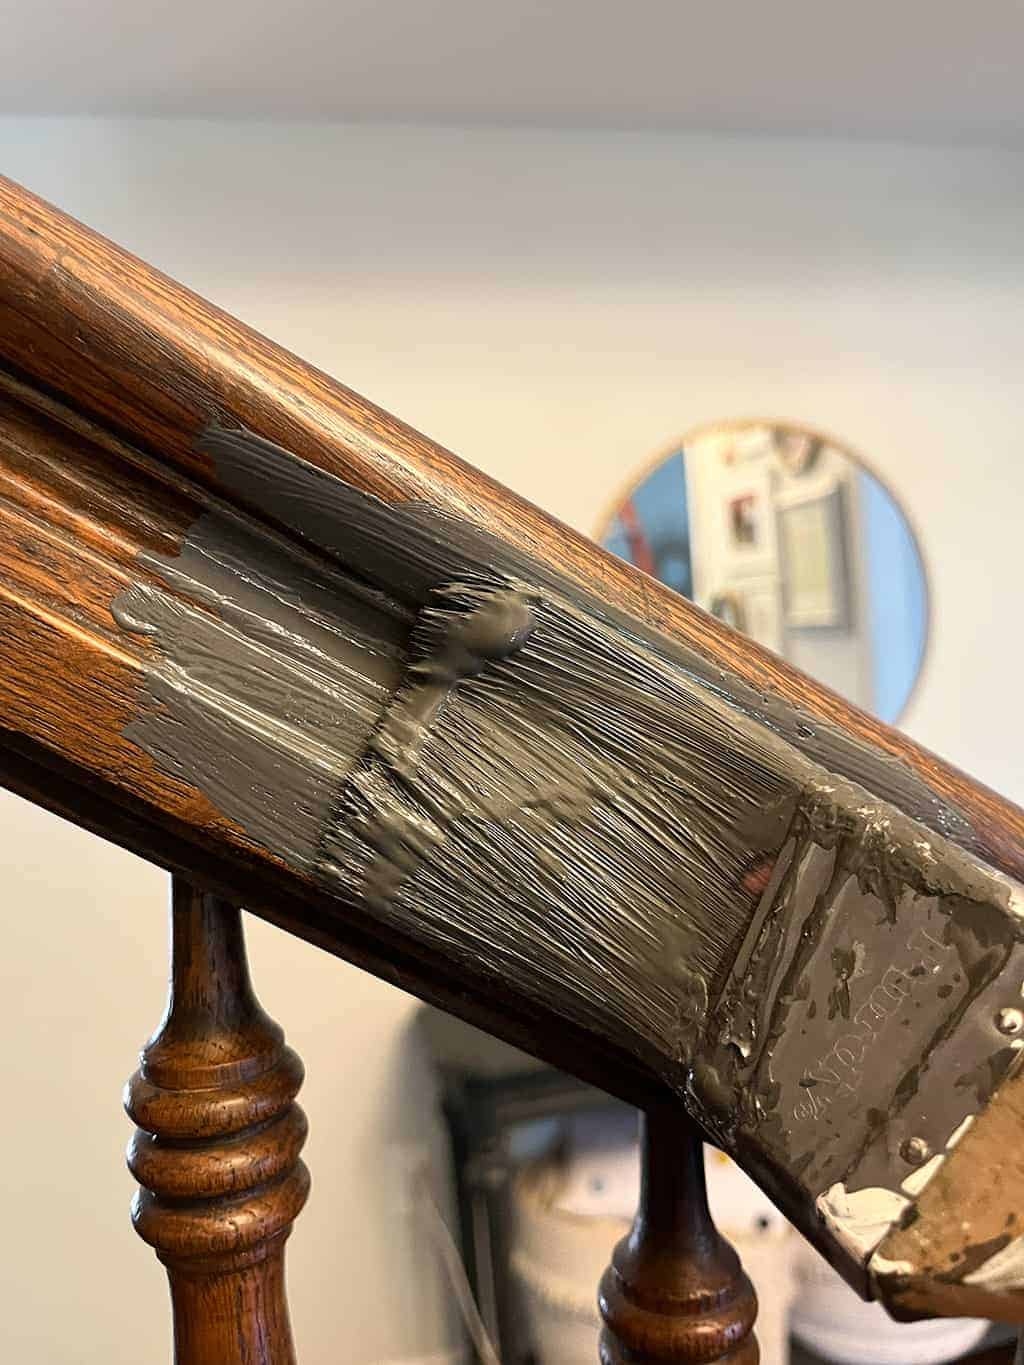
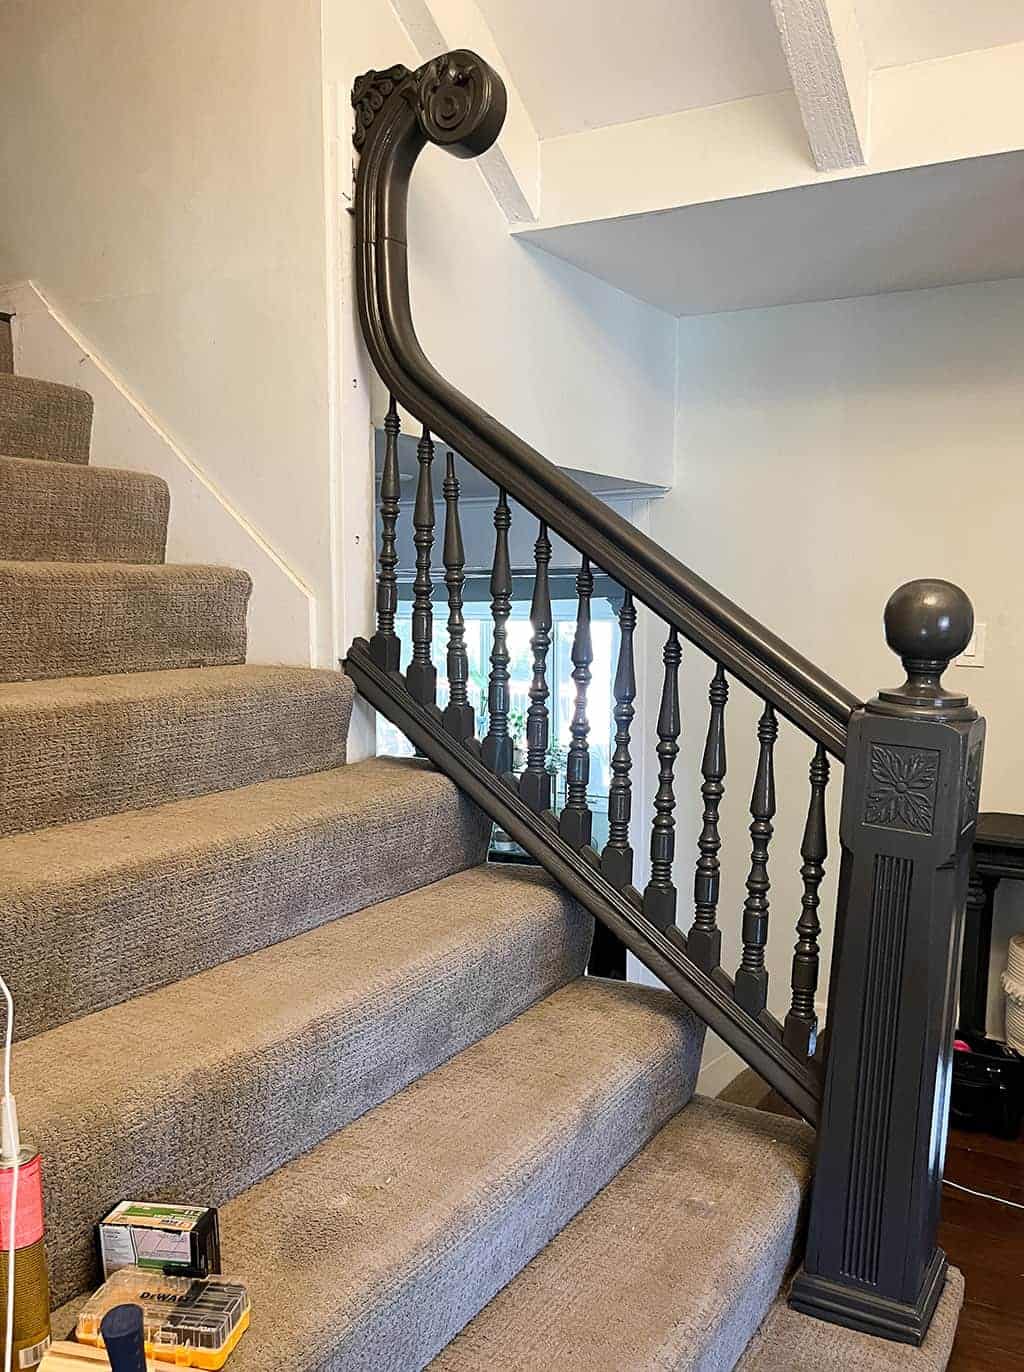
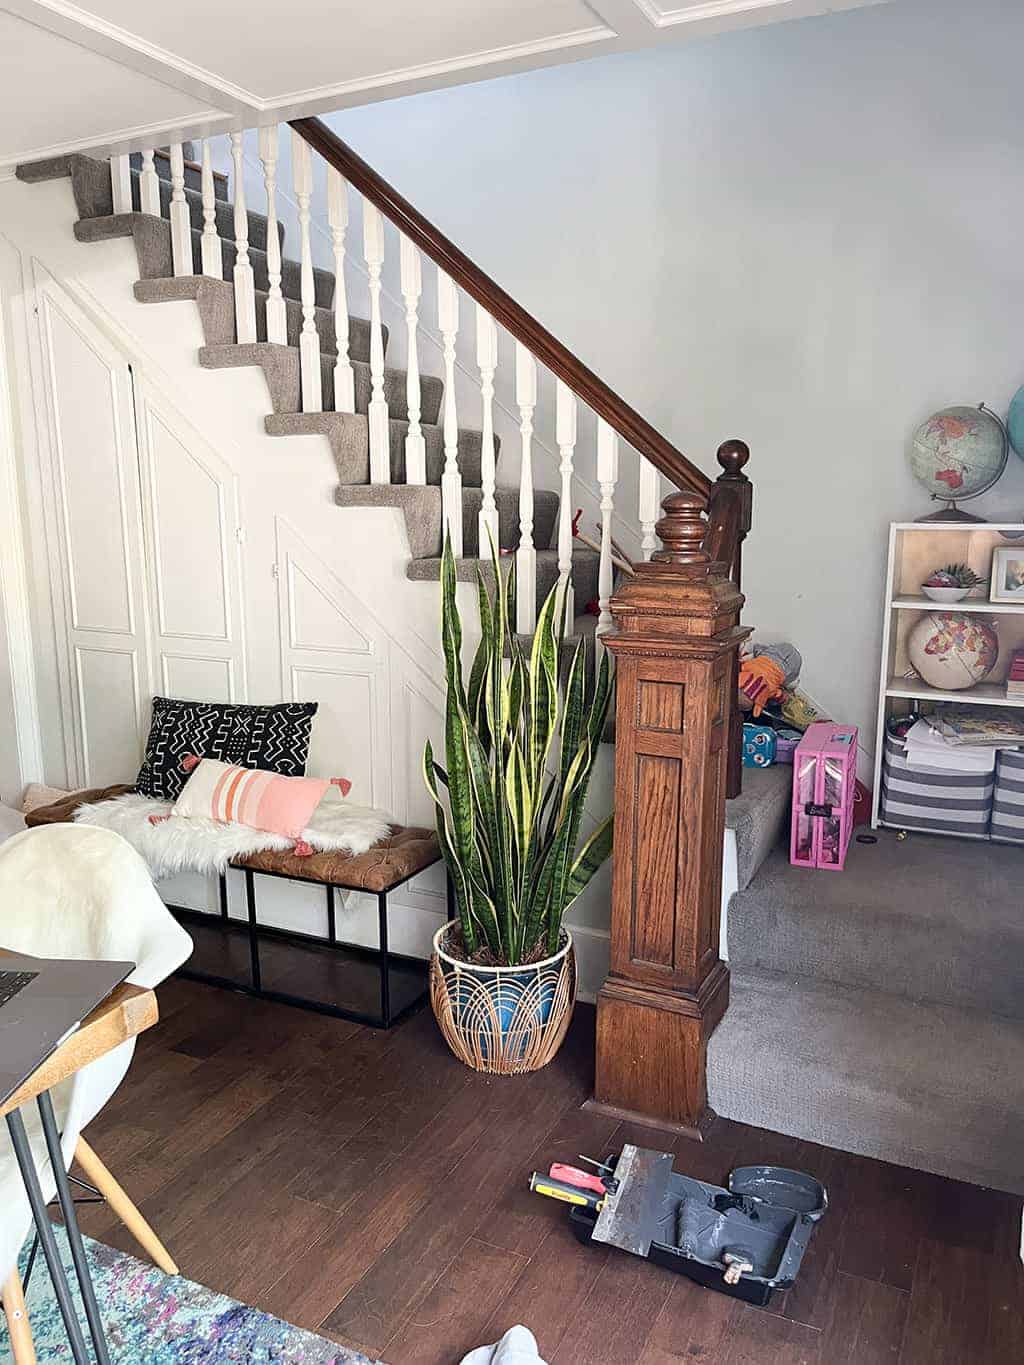
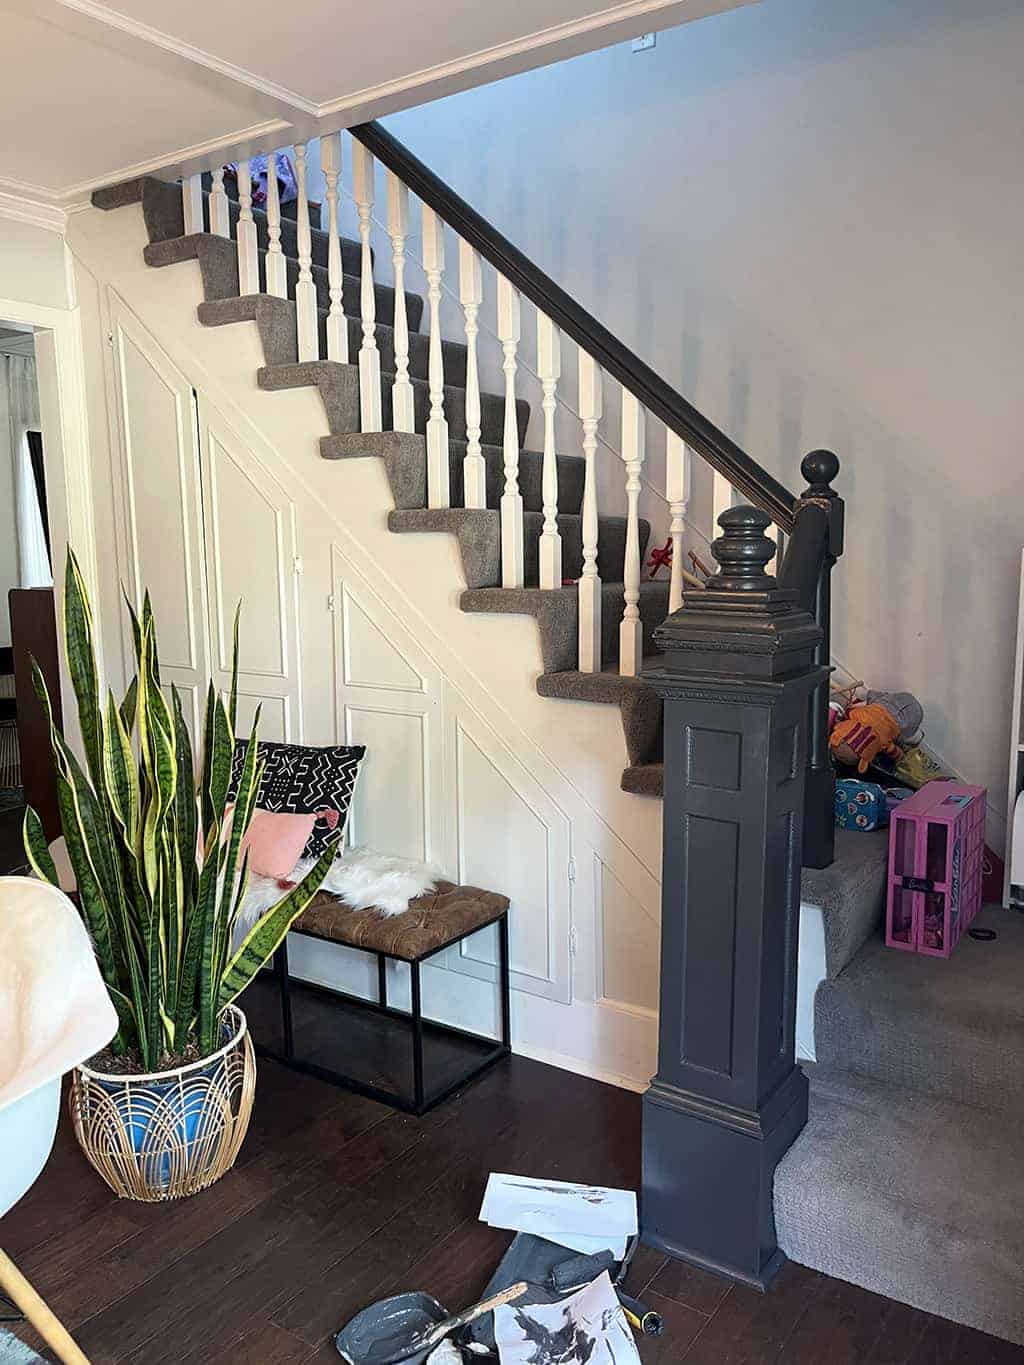
After the door was finished I decided to paint the bannisters on both sets of stairs near the entryway.
I used the exact same paint from the front door, and it worked perfectly. The old entry bannister is cracked and wobbly, and we’ve been planning on replacing it in the next year or two. It’s just not our style. This fresh paint lives it a new life until then, and ties in perfectly with the door.
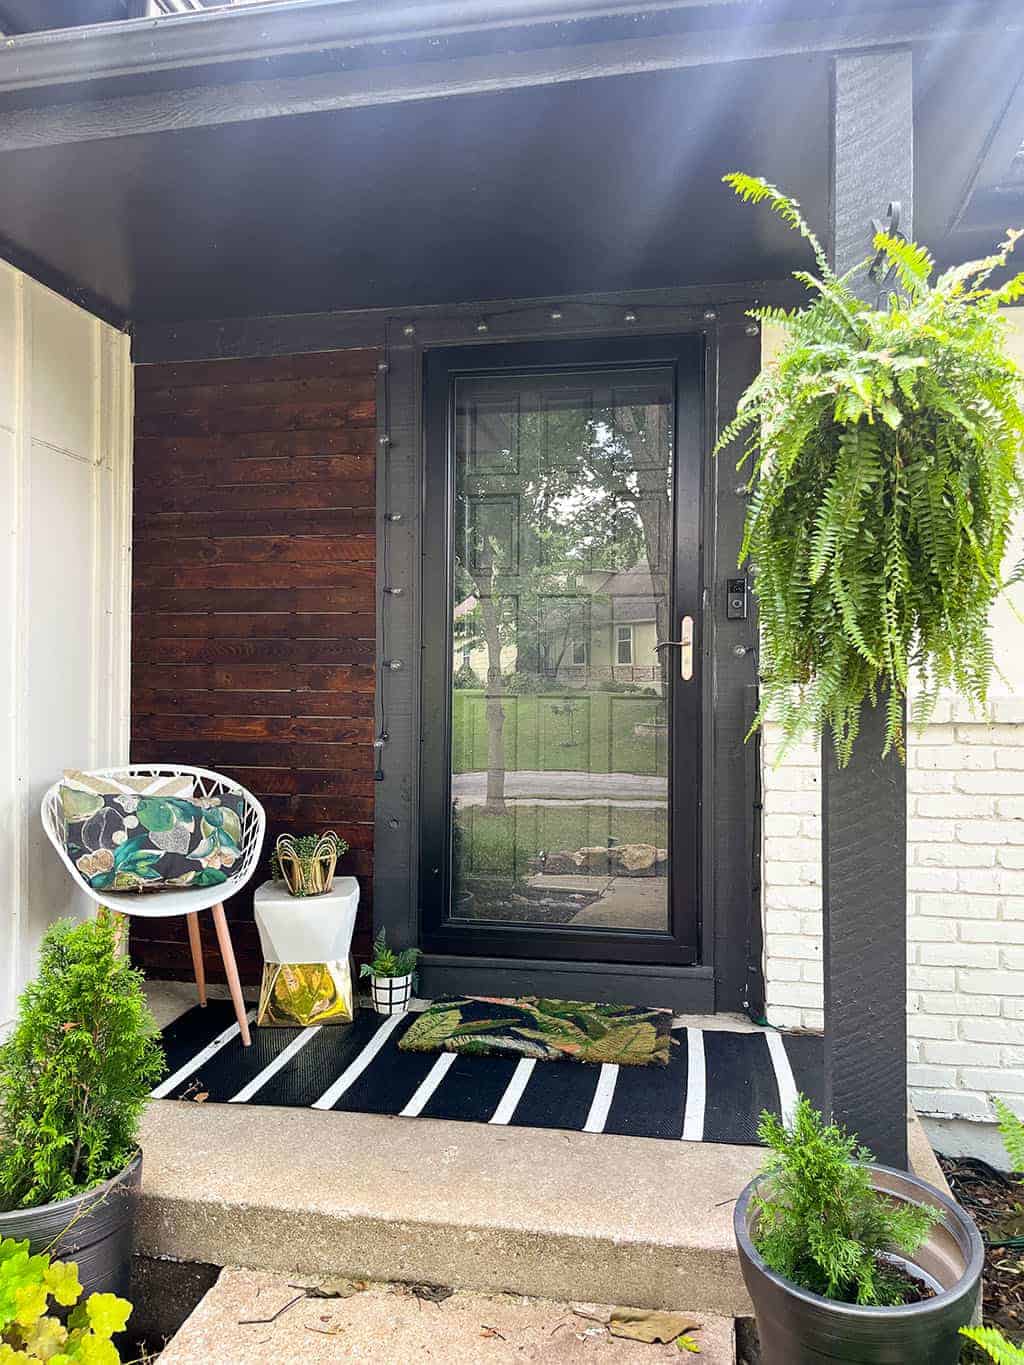
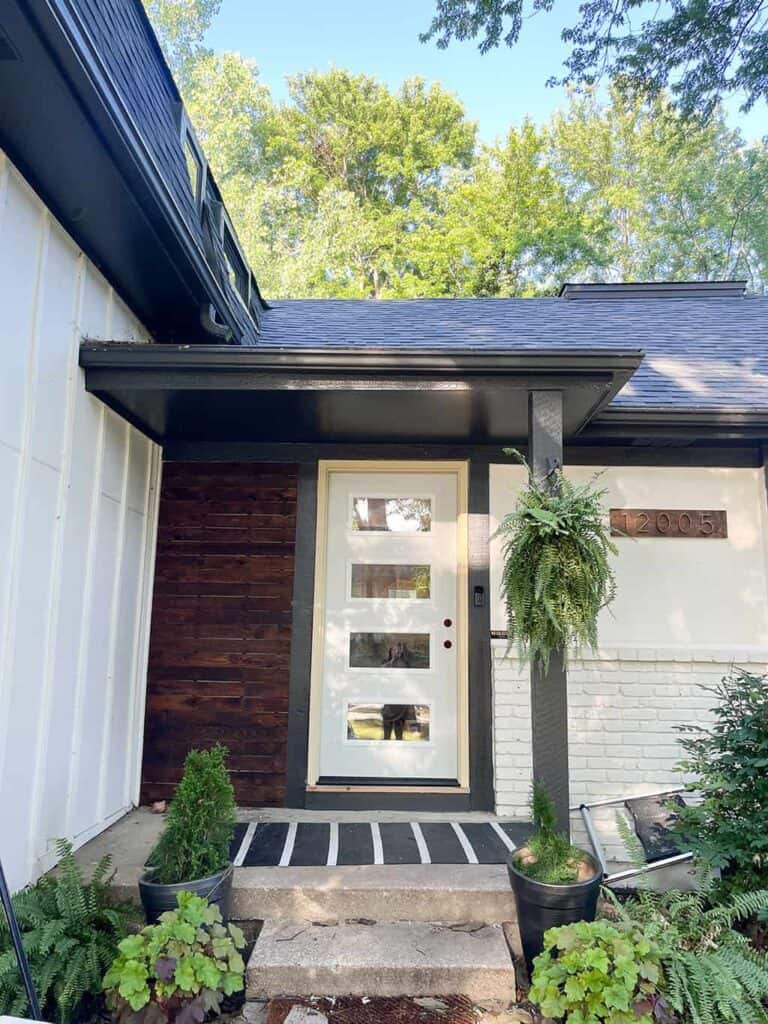
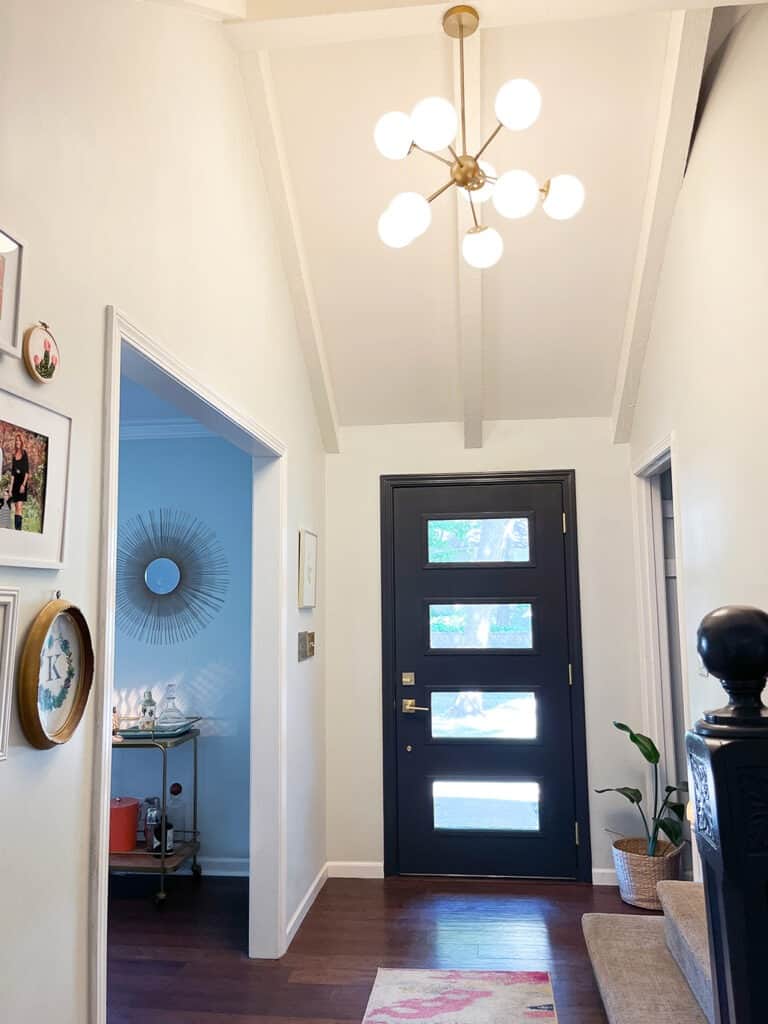
It’s final reveal time!
Look how much brighter our entryway is now – I’m SOOO in love with it.
I’m also blown away with the quality and superior coverage of Dutch Boy® Paints – I definitely recommend!!
And a view from the outside…
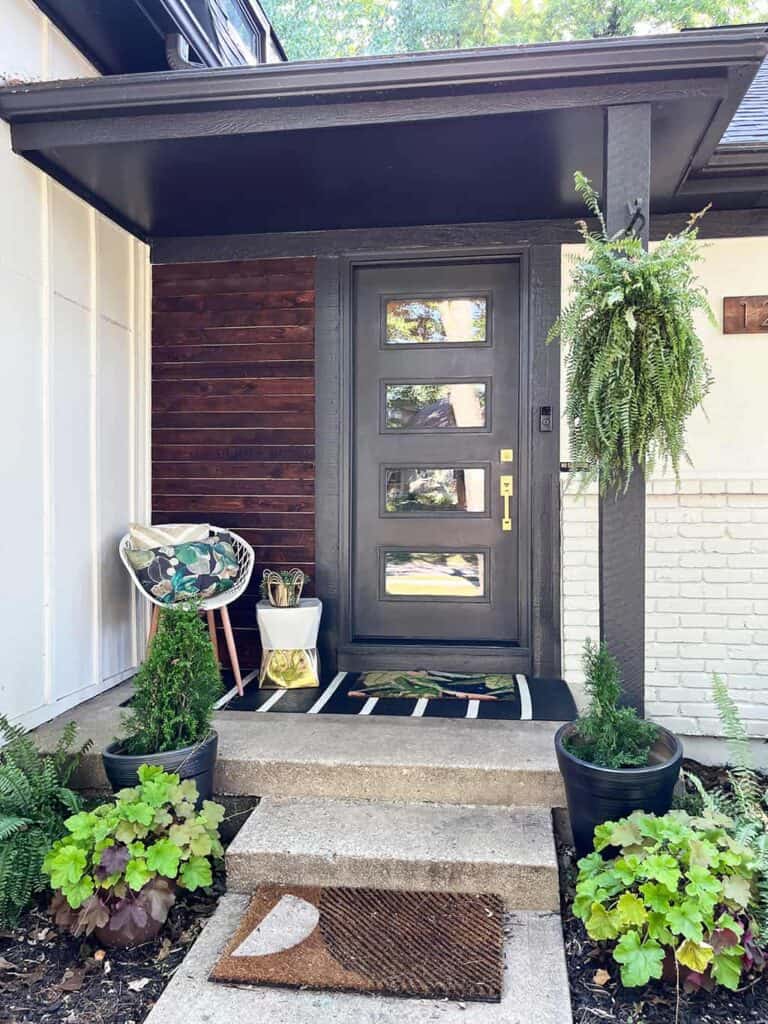
What do you think of our DIY entryway update – I am just so stinking happy with it!
xoxo
Audrey
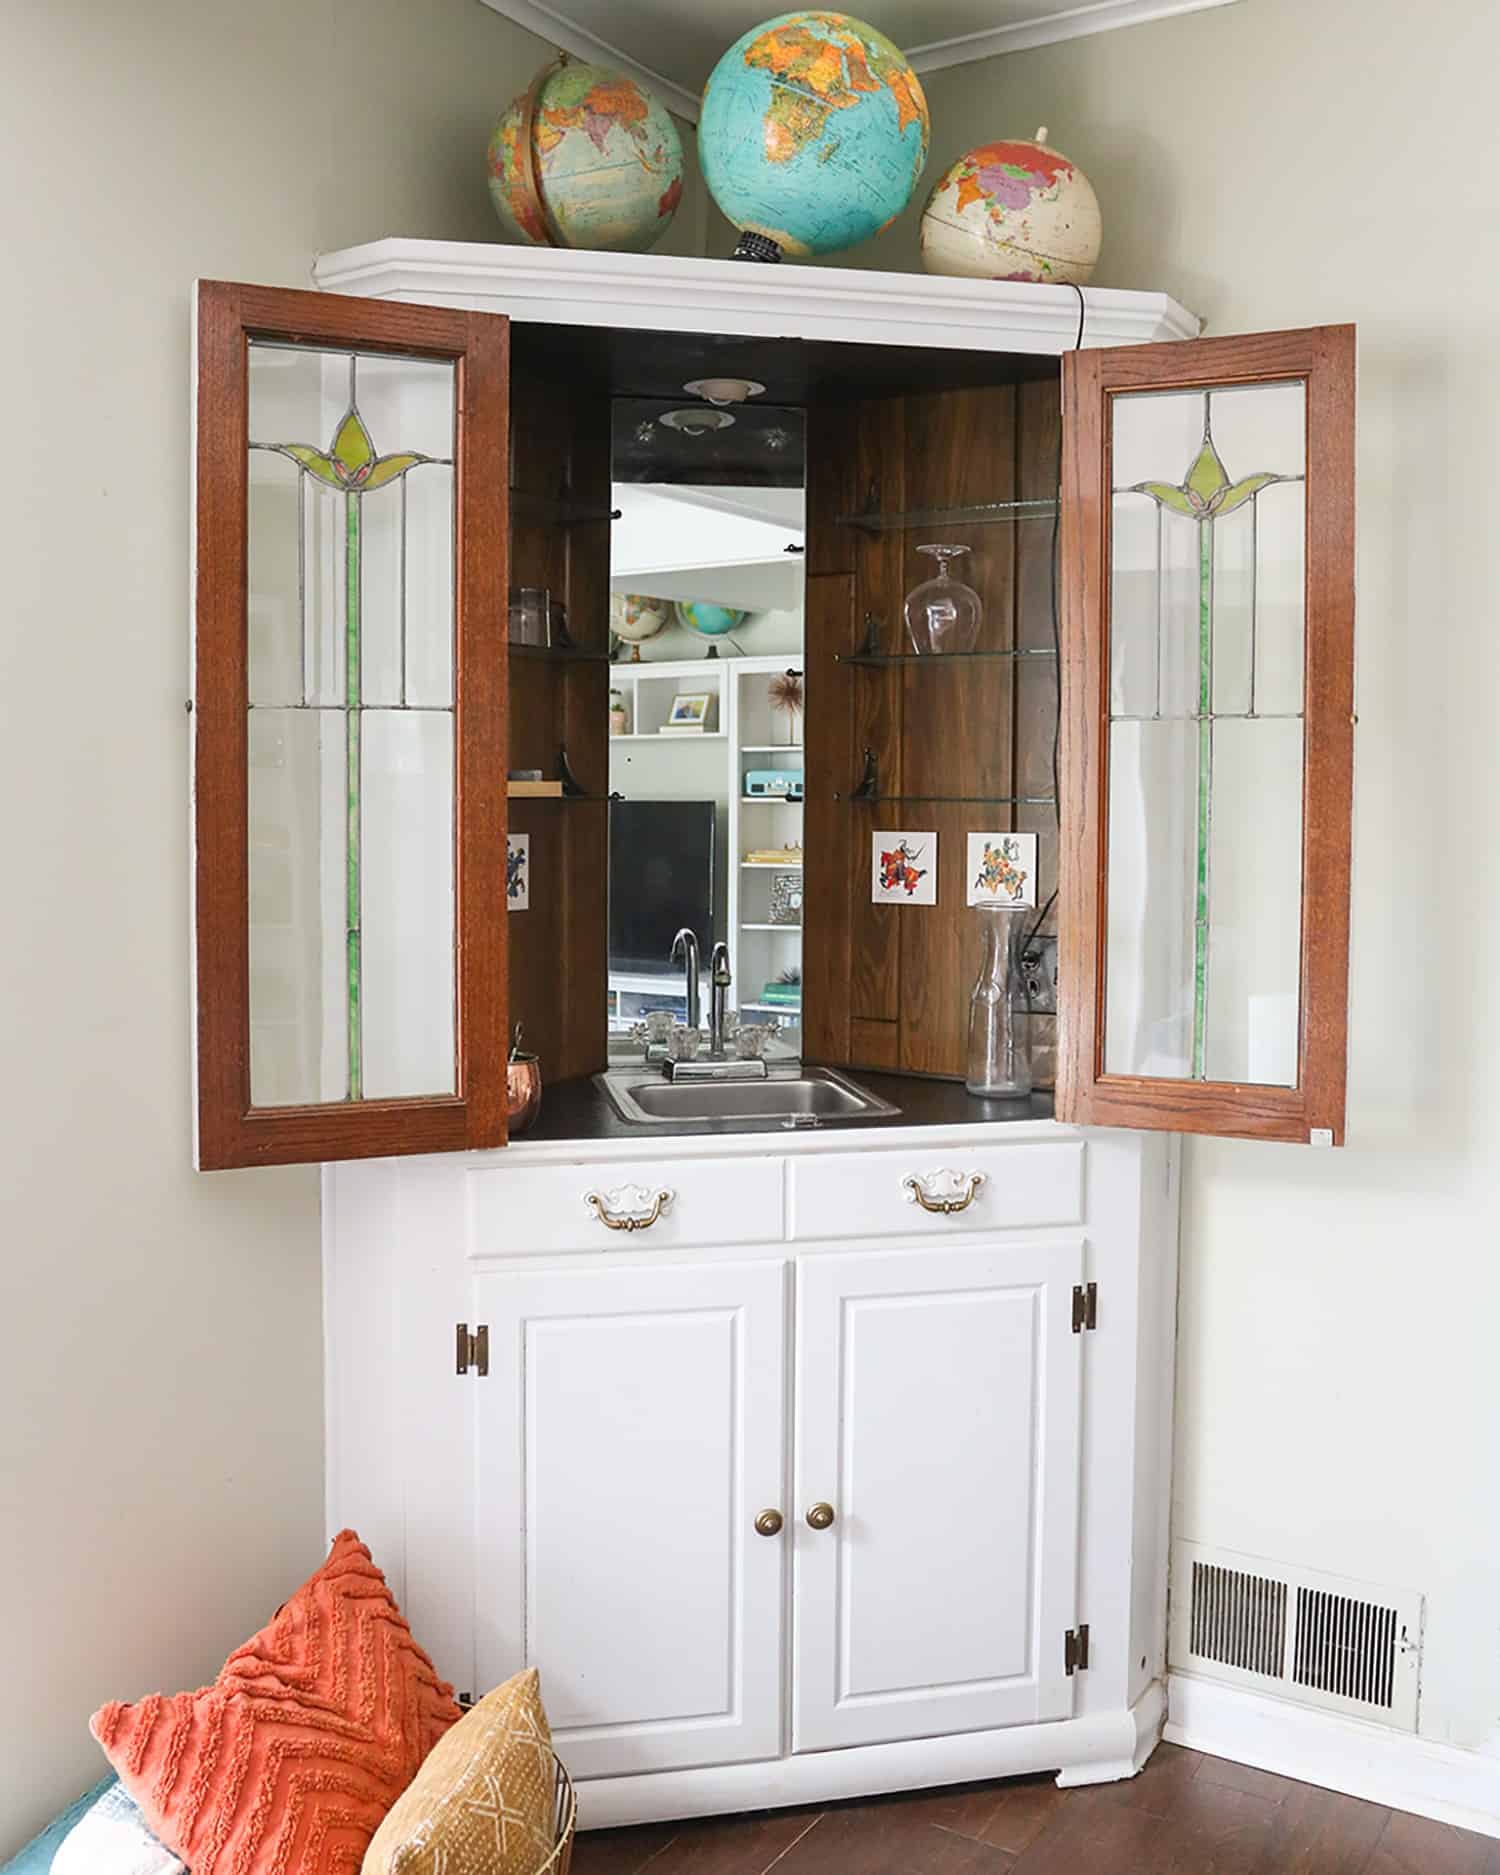
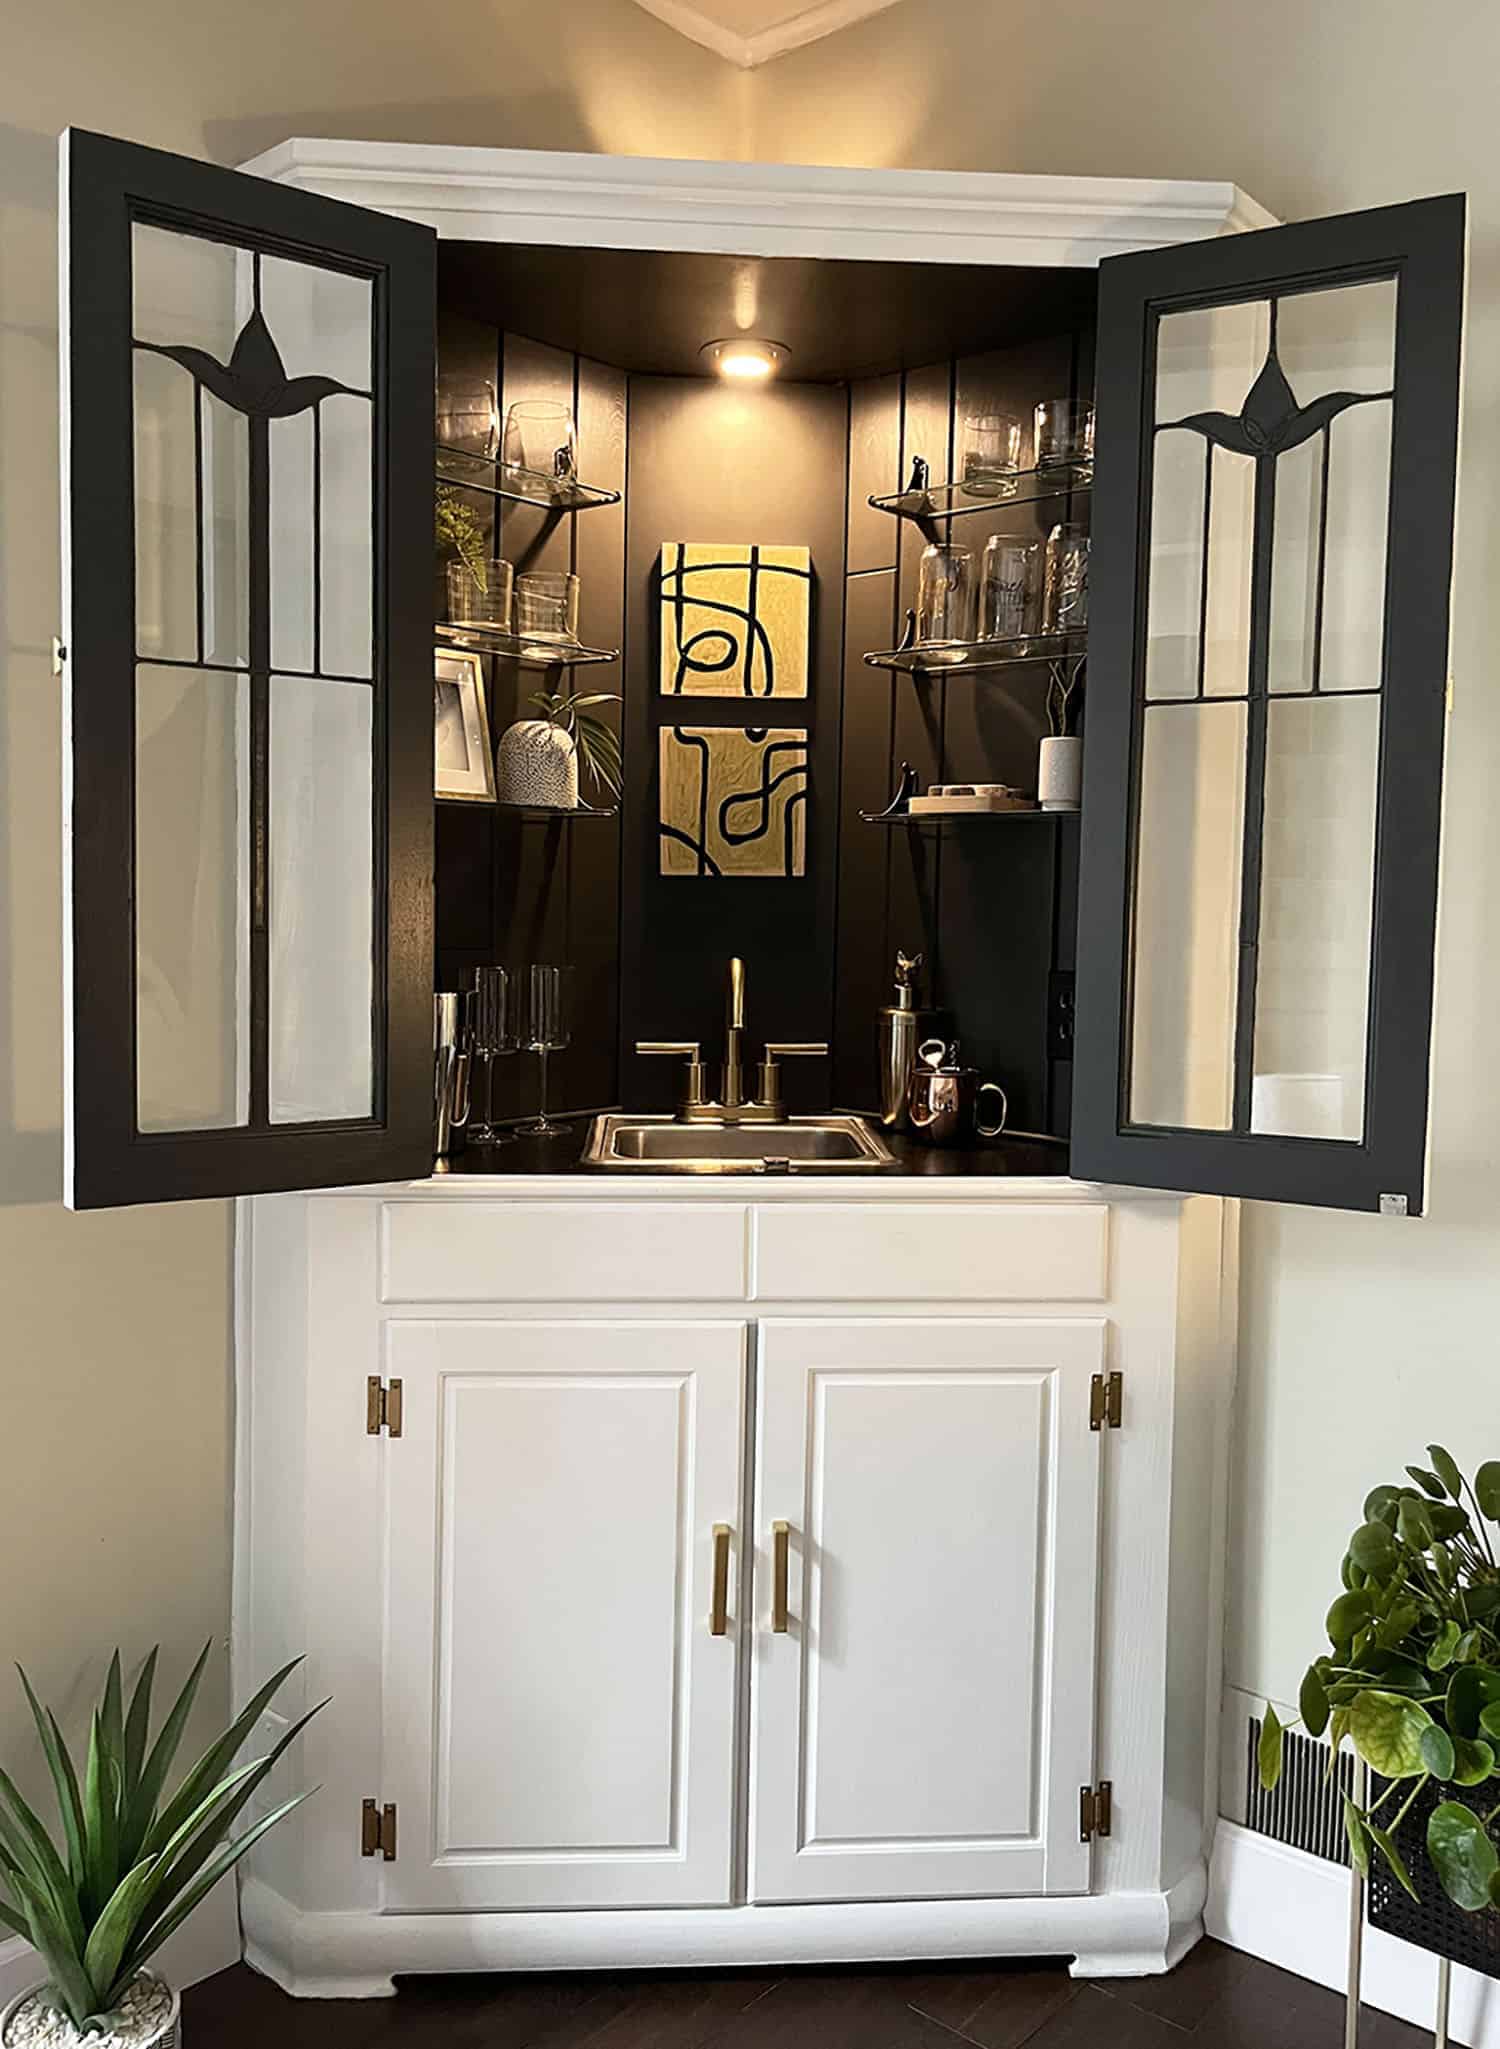
You might also want to check out the wet bar I updated with the help of Dutch Boy® Paints! This update only cost us $150.
More about Dutch Boy Paints
Founded in 1907, Dutch Boy Paints is an industry leader in delivering innovative and high-quality products and is one of the market’s most recognizable brands. The promise of Simple Solutions has shaped the brand, empowering and inspiring DIYers and paint enthusiasts with products, advice, how-tos, and inspiration that make painting and transforming spaces easier. Their paints are known for performance and unexpectedly affordable price.
Find Dutch Boy at Menards®
- Dutch Boy paints are available exclusively at Menards
- Get in-store support with samples, paint, color, and tool selection
- Take advantage of enhanced options for online ordering and store pickup
- Access complementary products, like high-quality Purdy applicators