Today I’m going to walk you through a DIY window box tutorial. It’s super easy and coordinates perfectly with the DIY modern house numbers I recently made. I can’t get over how these two DIY projects have helped our curb appeal!
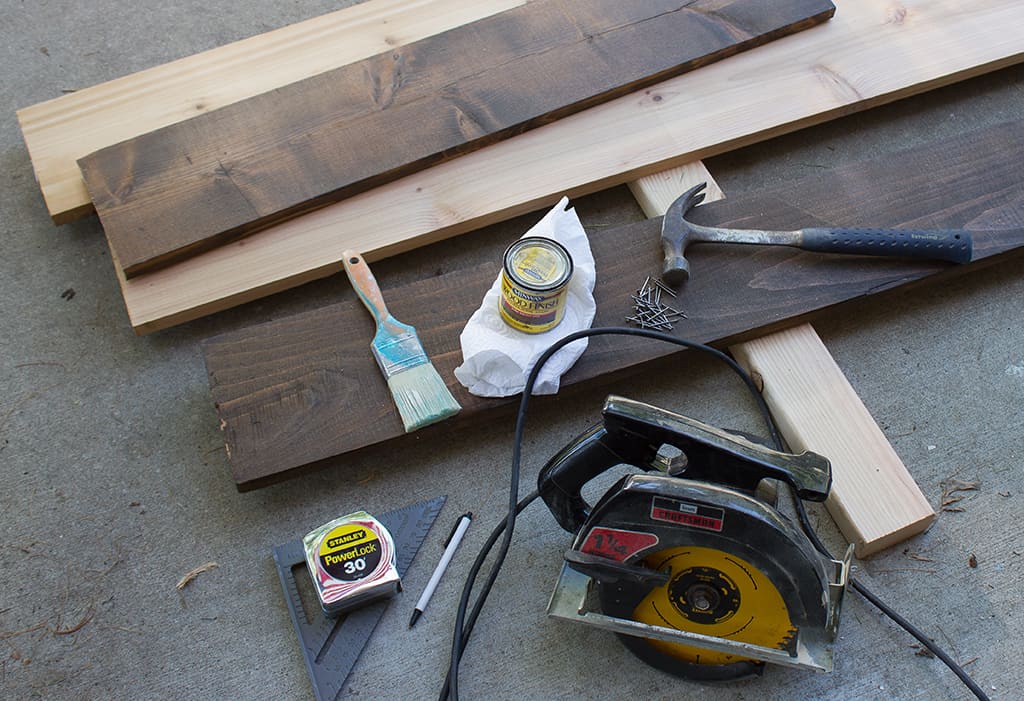
Gather your supplies.
+ Cedar boards in the length of your window width(s)
+ Wood stain
+ Brush
+ Paper Towel
+ Tape measure
+ Angle tool
+ Pencil/Pen
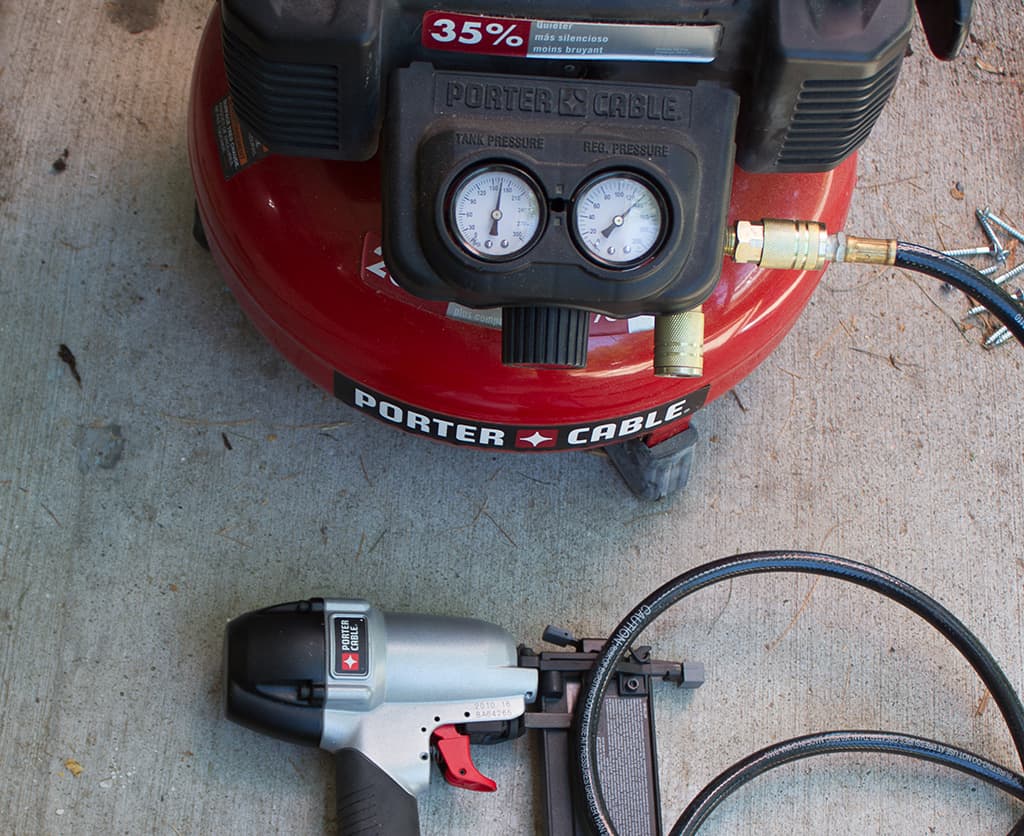
+ Hammer and Nails (or a nail gun and compressor)
+ Saw
+ Screws and small screw driver (for attaching to house)
+ Saw horse
+ Safety glasses (or sunglasses)
+ Ear protection
+ Level
+ Drill and bit
The length of the cedar boards I bought happened to be exactly the width of the three windows, so I only had to cut the side pieces. Lucky me!
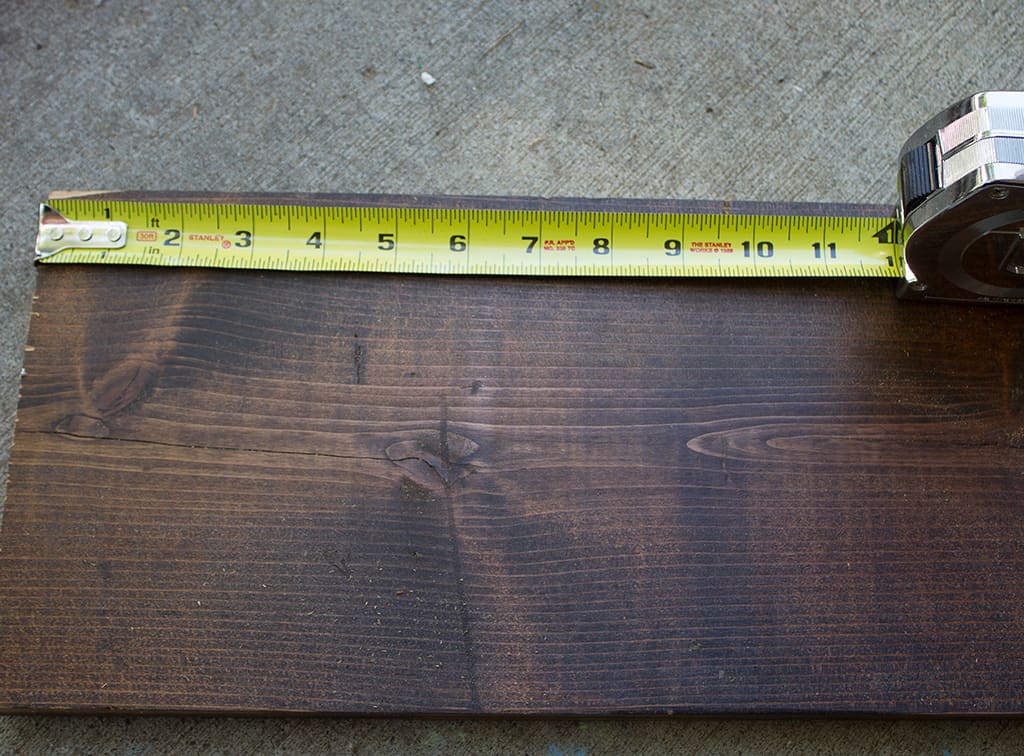
I measured and marked a cut line.
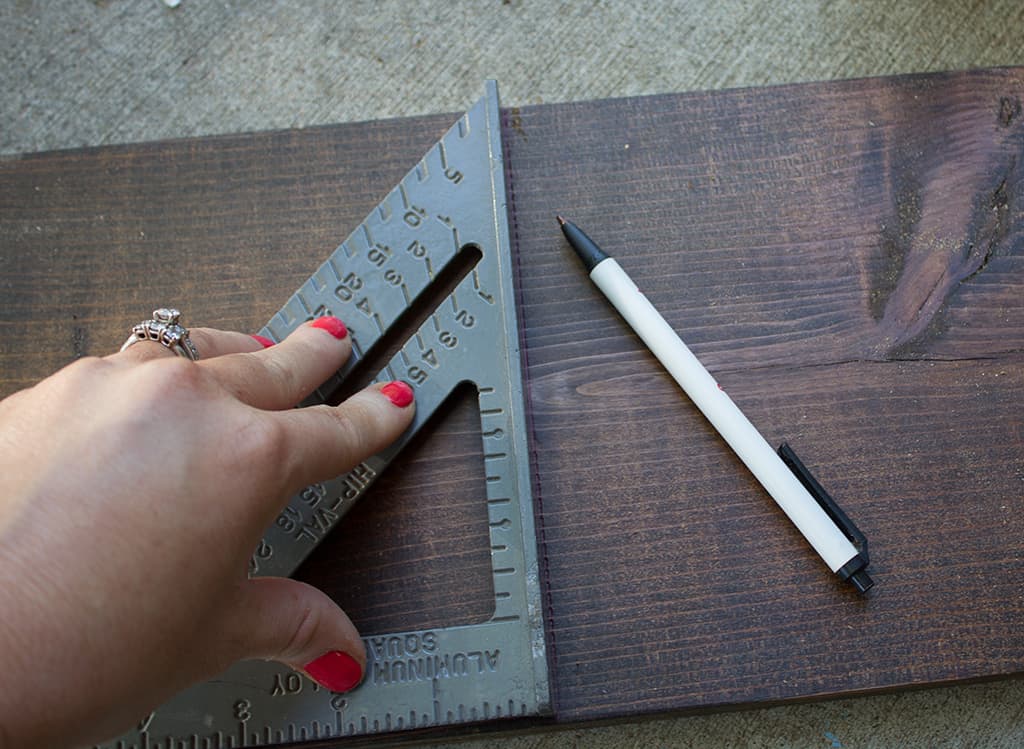
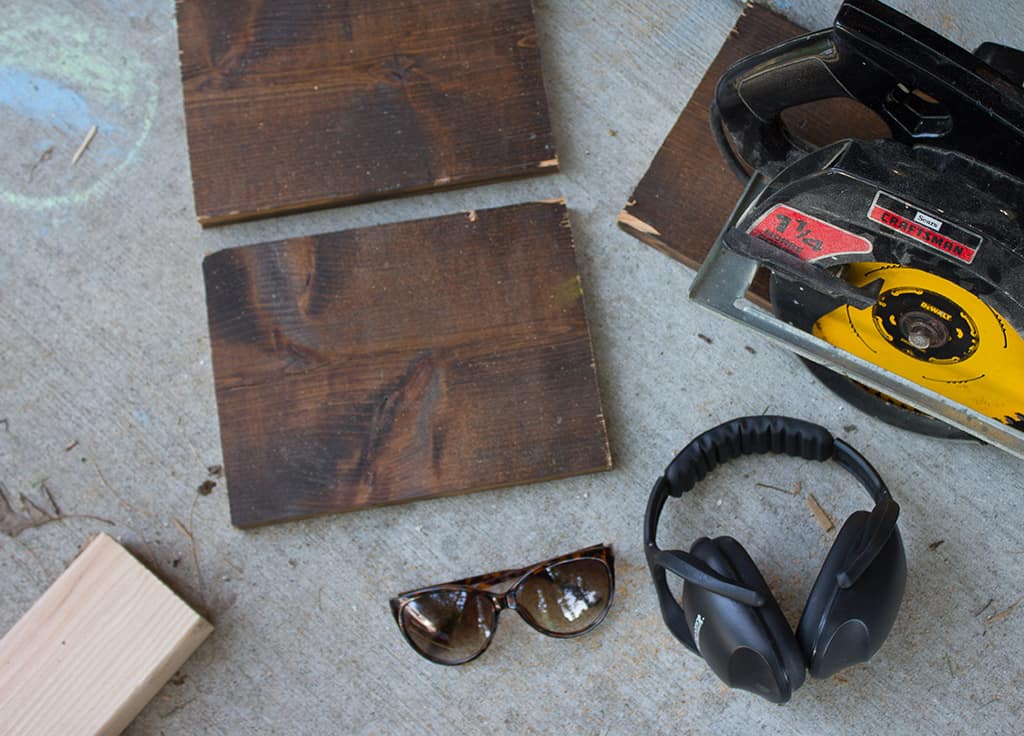
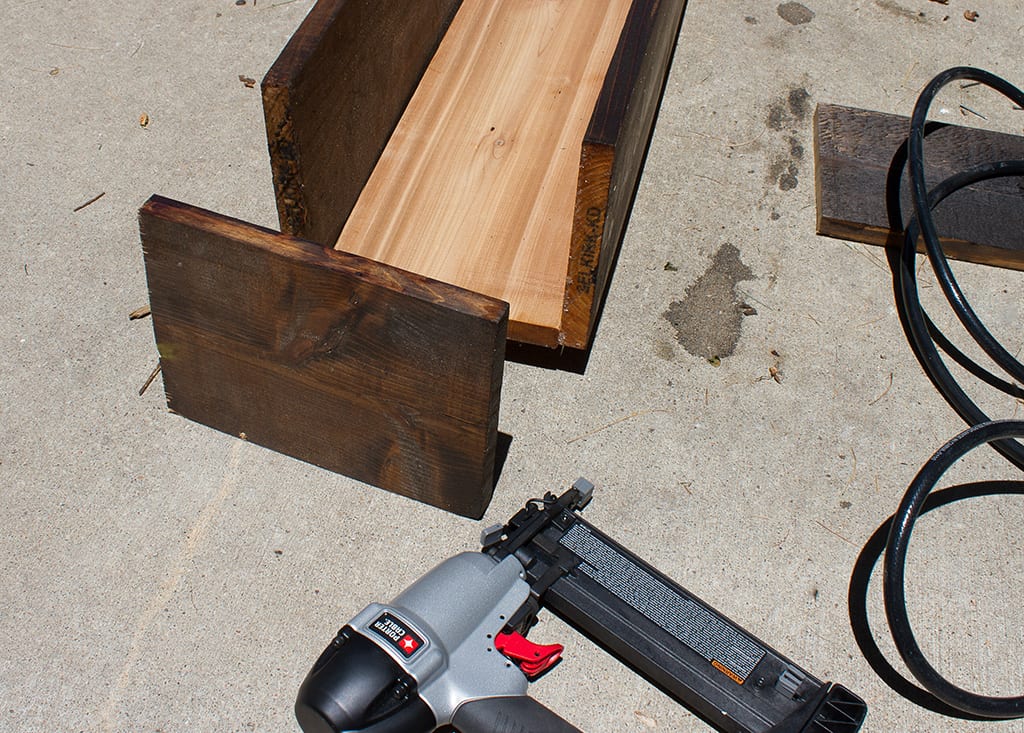
I took the saw and carefully cut the two side pieces to size. I used a board that was previously stained.
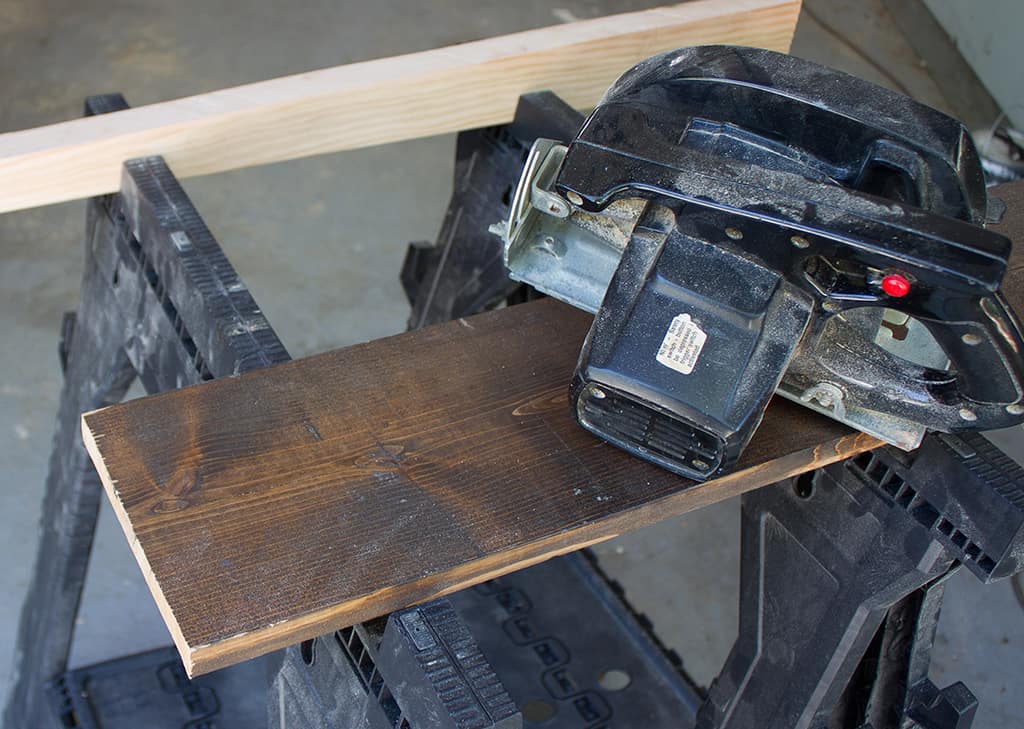
Make sure you protect your eyes and ears. I used my sunglasses for safety glasses. You can touch up the wood nicks with more stain and a q-tip.
Start by staining your boards following the direction on the can. I stained one board when I was working on my DIY house number project, so I only had to stain the sides and one long board. Don’t forget to stain the insides of the boards (can can be seen) as well.
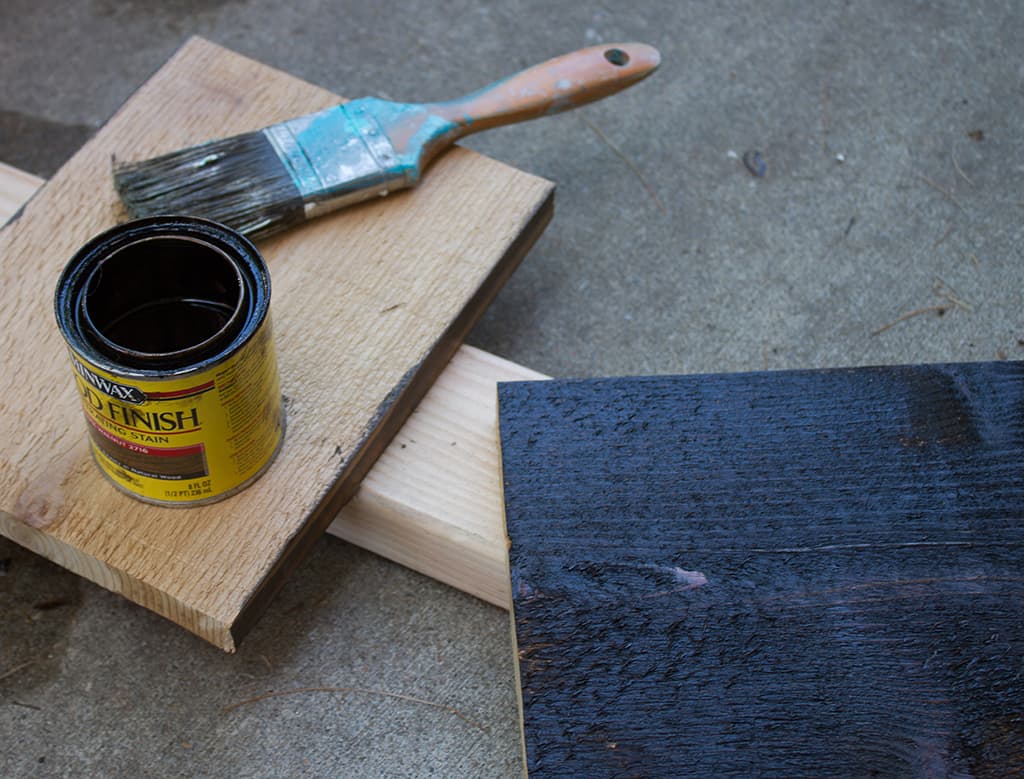
Wipe off the excess stain with a paper towel and let the boards dry. I decided to leave the board that will go on the bottom non-stained since it will not be seen.
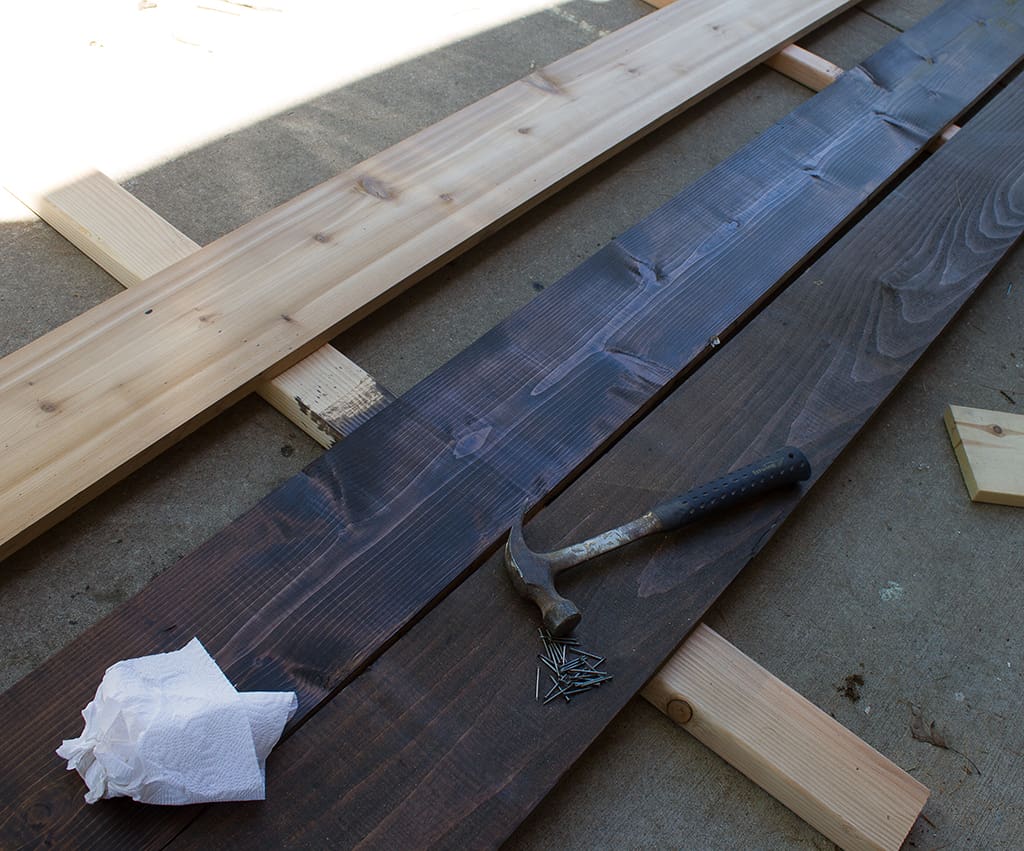
Once dry, take your boards and place them how they will be connected.
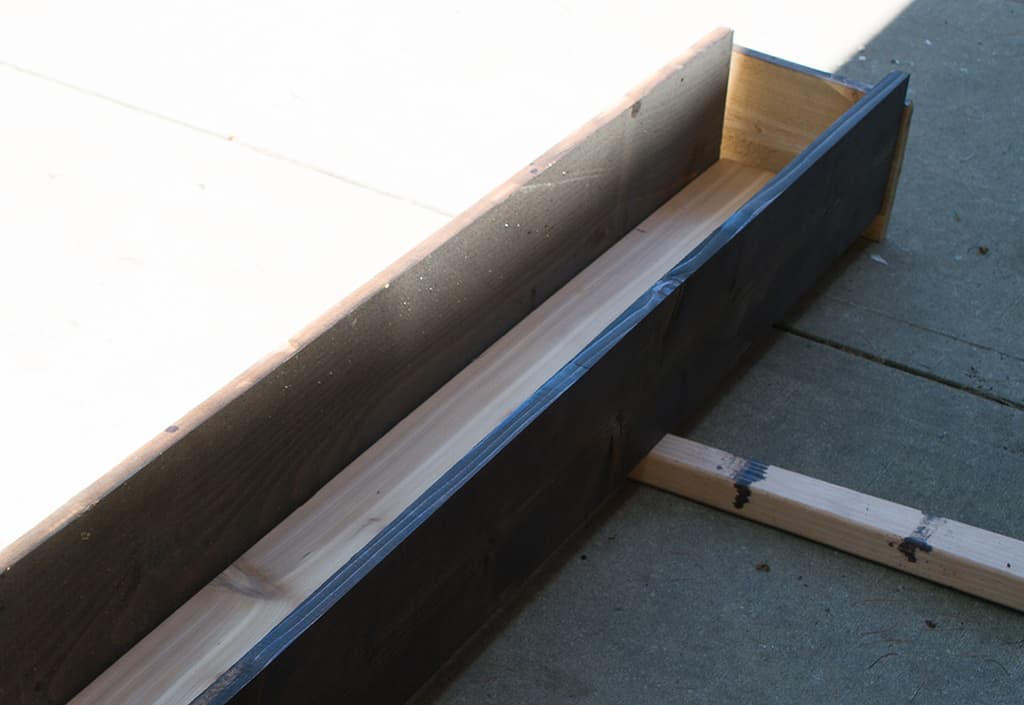
You can use a hammer and nails to connect the pieces, but I decided to get the nail gun out and learn how to use it. It took a few tries and a call to my husband, but I was proud I figured it out. Nail guns really do work well and speed any project along.
I nailed all corners and on the long side I nailed about every 8″.
I love how discrete the nail holes are.

Once all sides are nailed together the box is already almost finished. I told you it was easy!
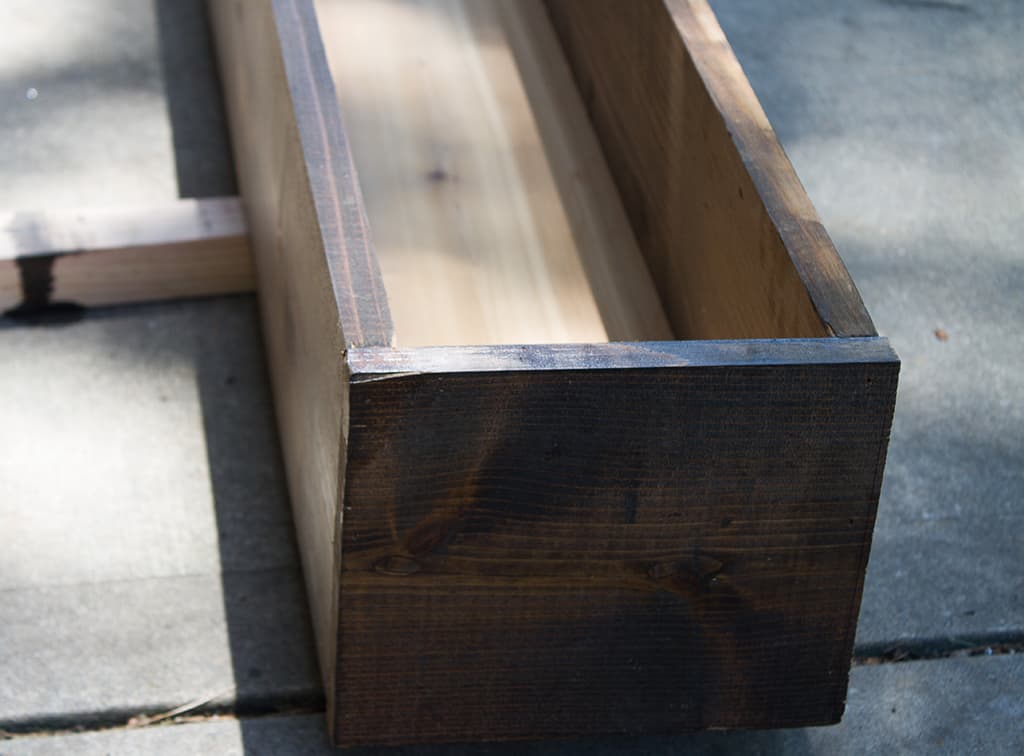
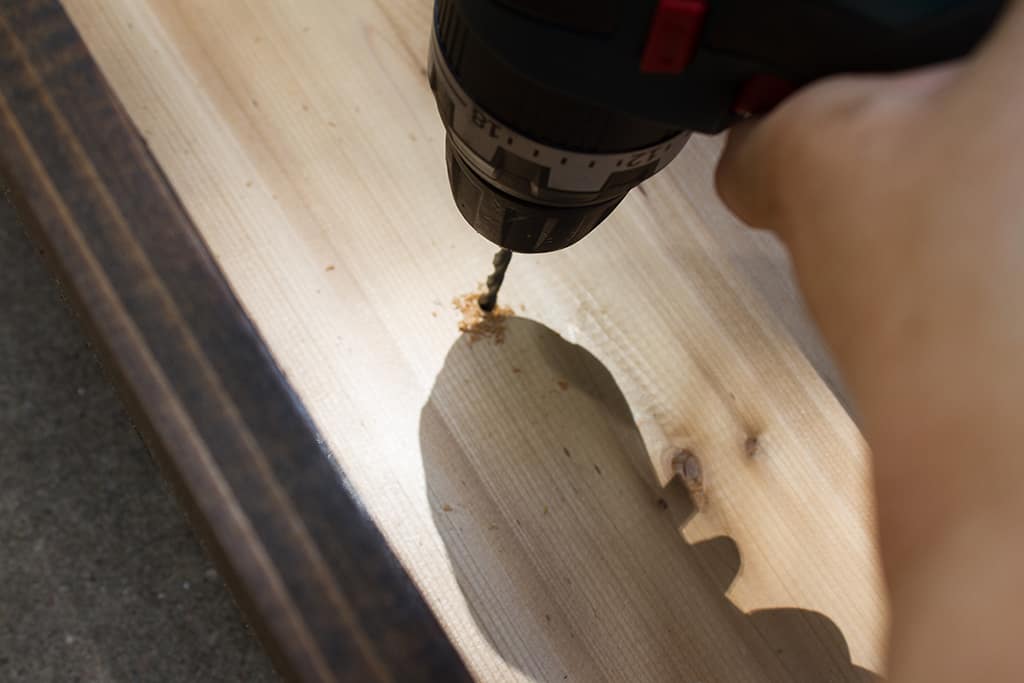
I drilled about 6 holes in the bottom board to assist with drainage.
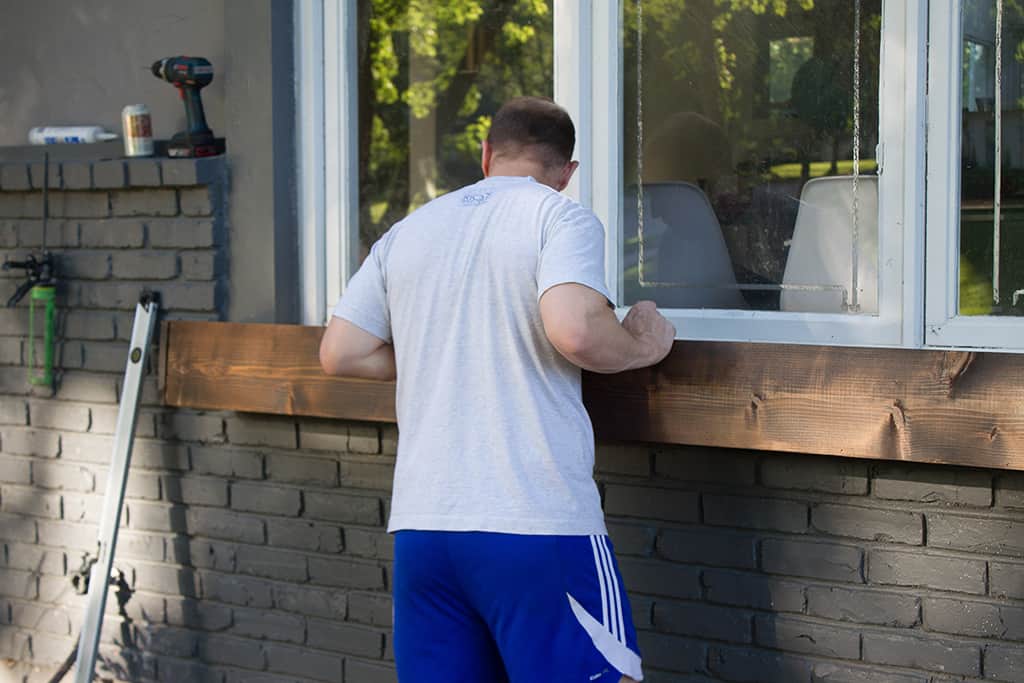
I took the box over to the window and waited for my husband to get home. Hanging the box is easiest with two people.
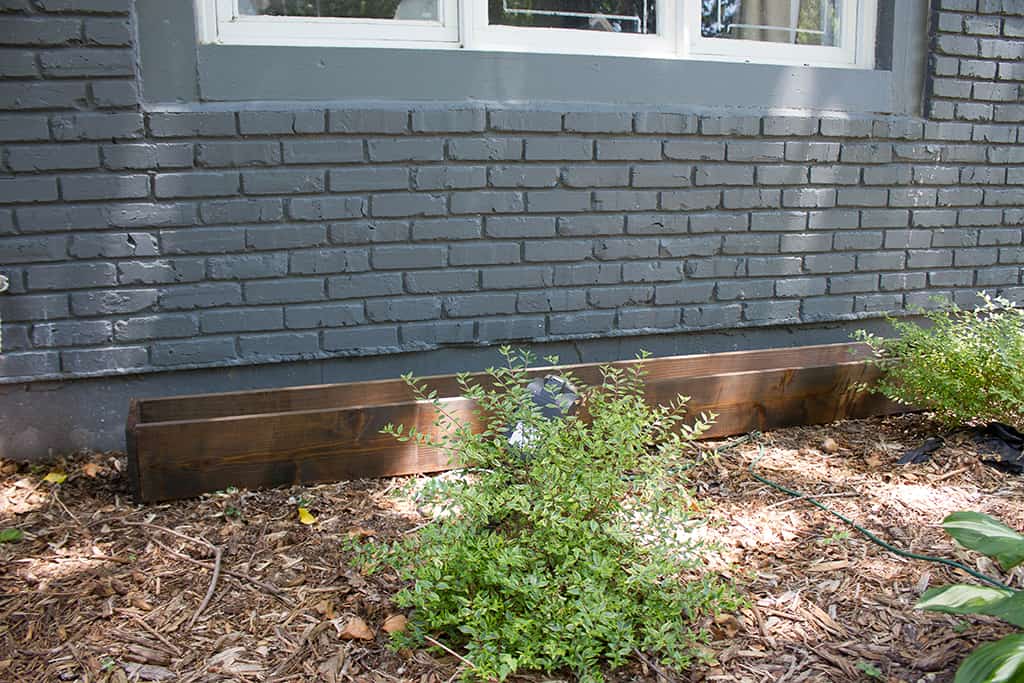
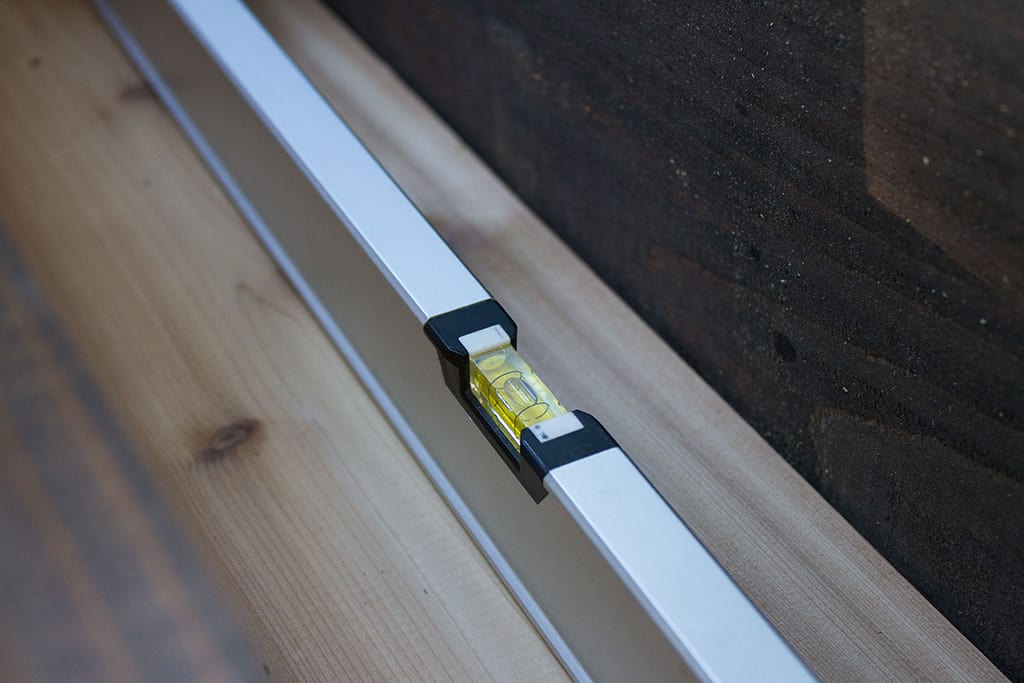
In the evening we got to work—I was so excited to see the box hung. We placed the box and held it in place used a level to ensure the box would be level.
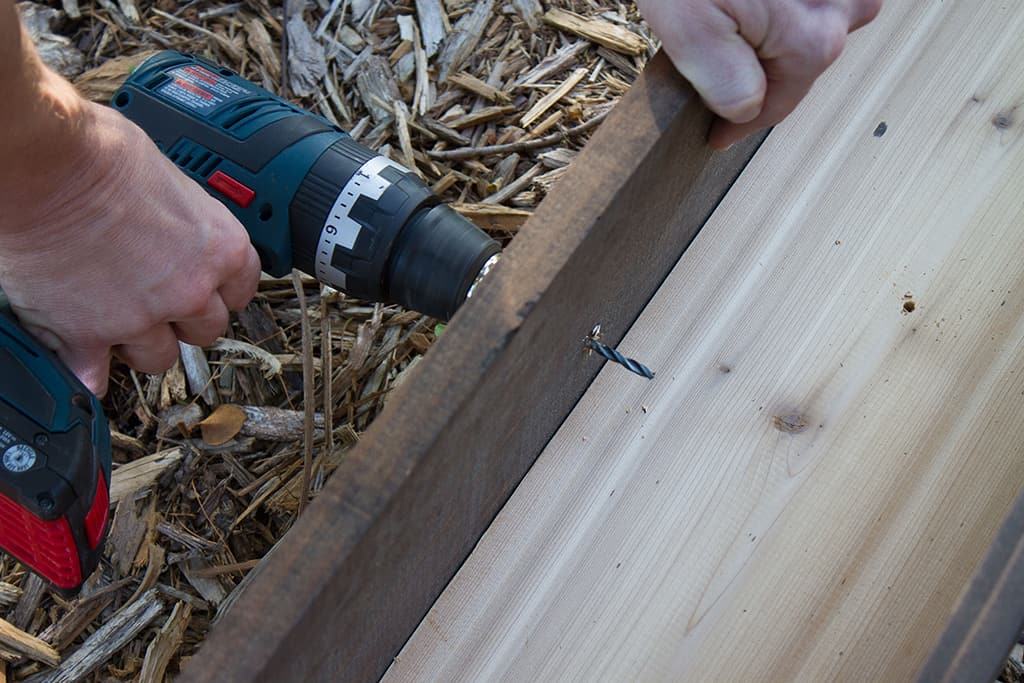
First, we drilled pilot holes in the back of the box where we would screw into the house. We took a sharp end of a screw and made a mark on the wood ever 10-12″ where the pilot holes would be drilled.
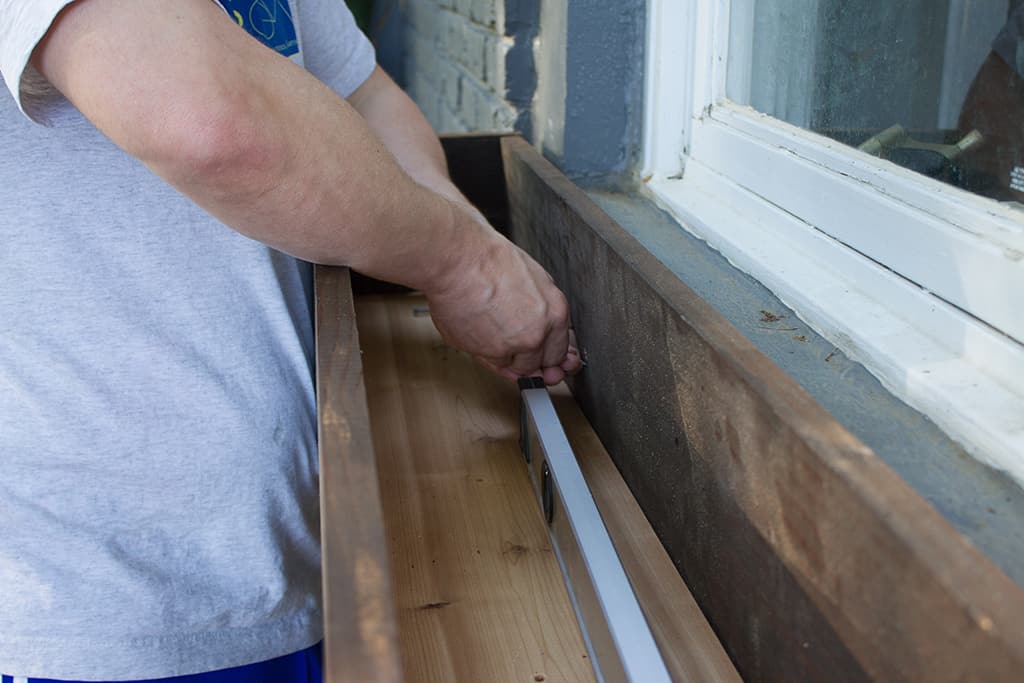
Next, we quickly drilled the pilot holes.
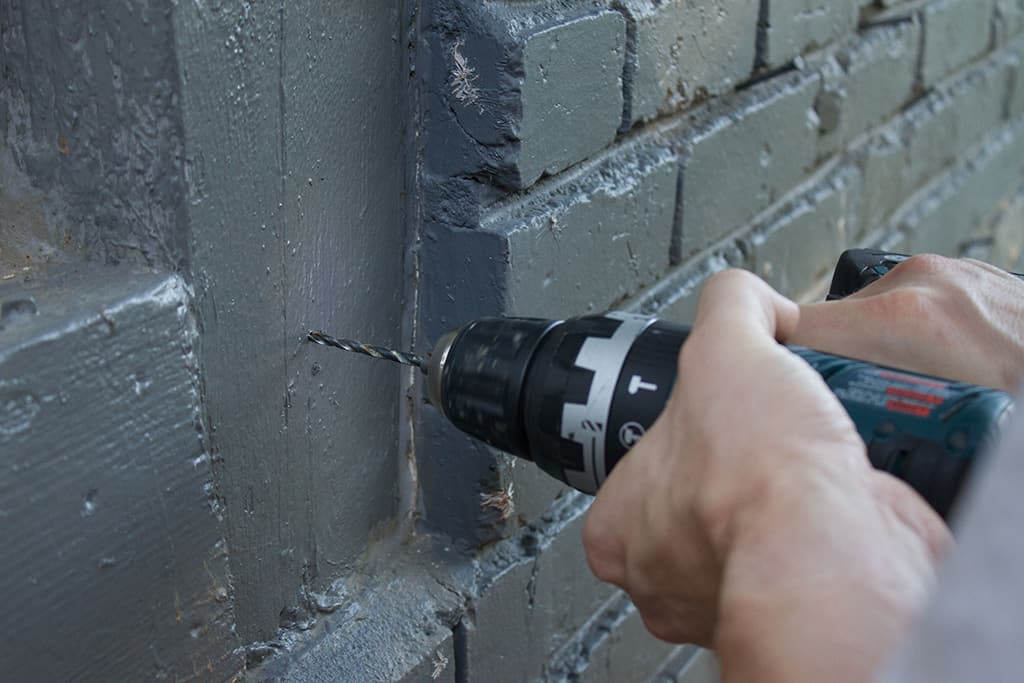
We also wanted to drill pilot holes on the house, so we held the box up to the house and made a mark on the house through the drilled holes using a skinny drill bit.
Once the marks were made, we drilled the pilot holes on the house. Pilot holes just make drilling a screw easier and ensure that the wood doesn’t split from the pressure.
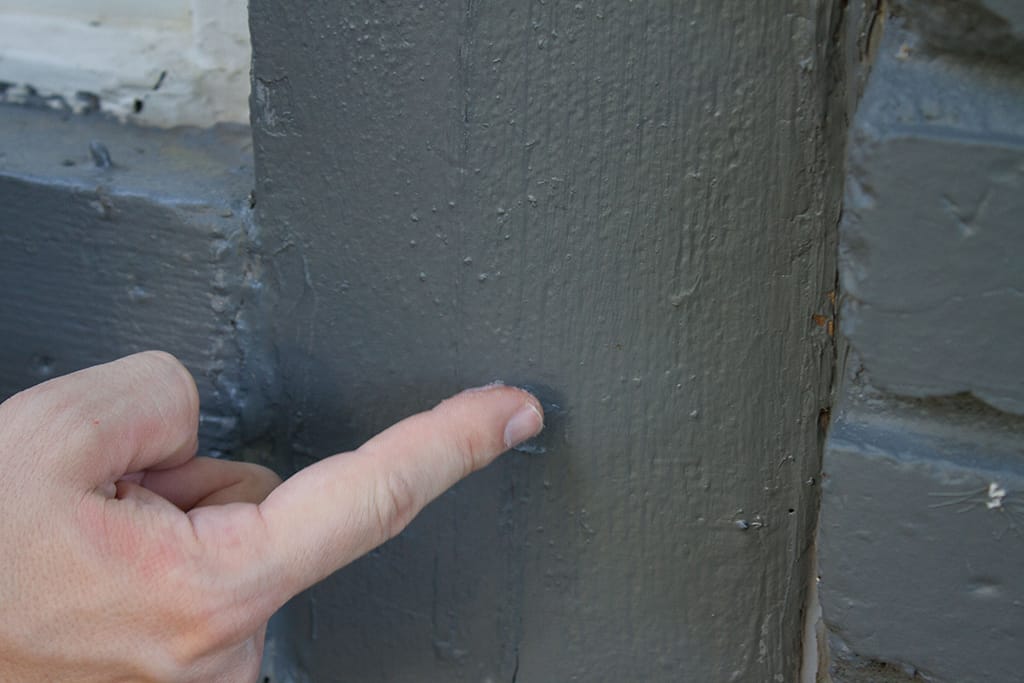
We then filled the holes with a clear caulk filler to ensure that there would be no water damage to the wood. This step is optional.
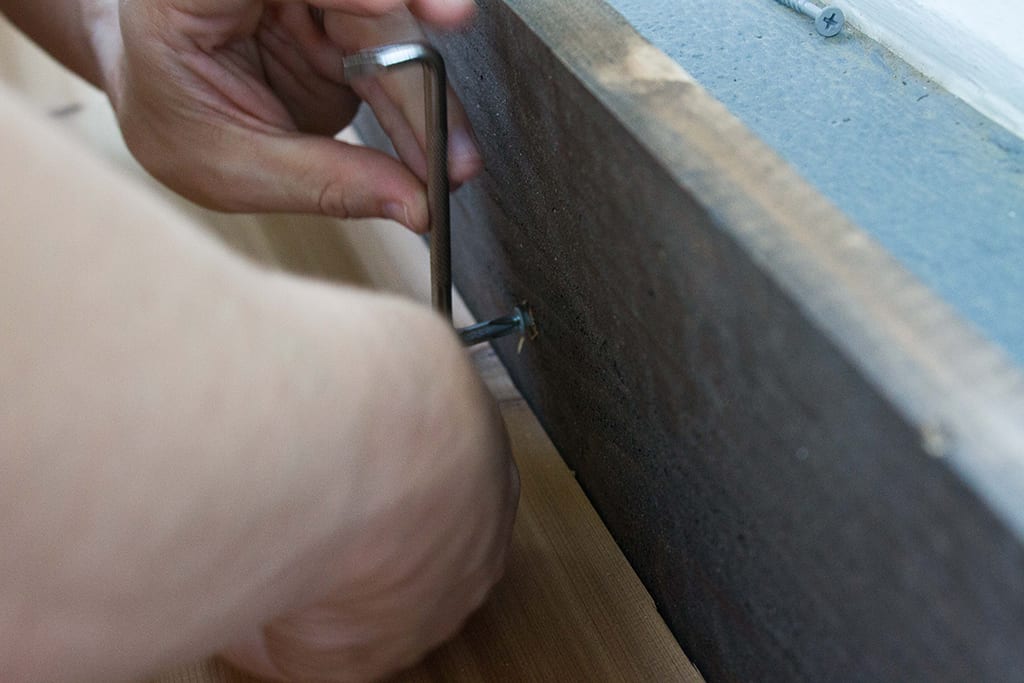
Then we got our screws and screwed them into the house using an Allen wrench. We couldn’t find our short screw driver, so this wrench had to do. A regular sized screwdriver won’t work because of the limited depth of the box.
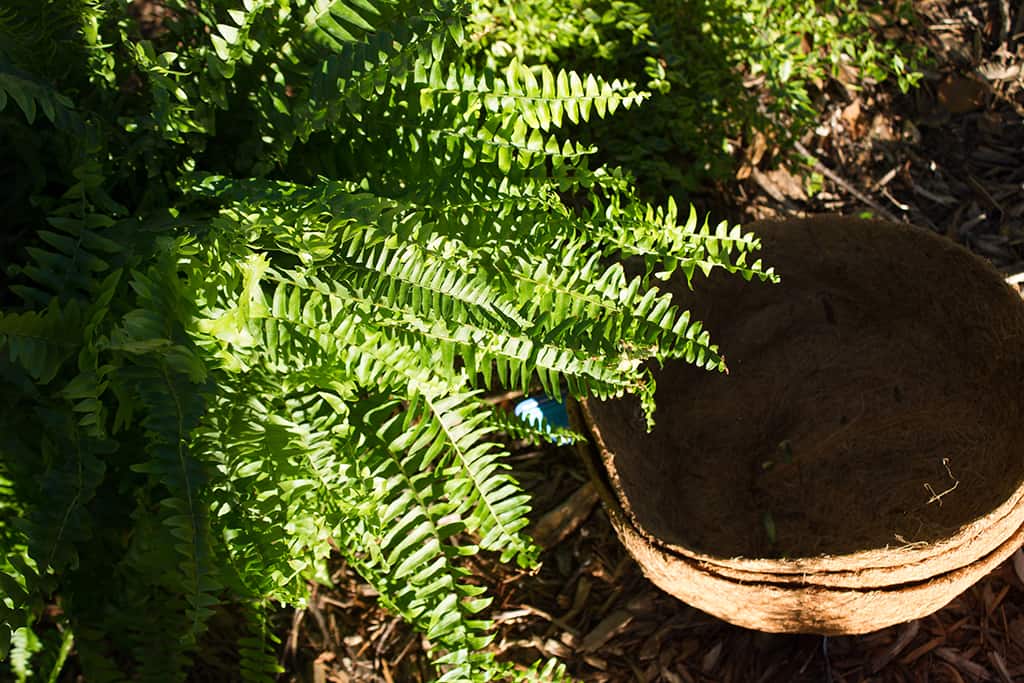
Once the box was completely screwed in, I ran to the store to buy three Boston Ferns. I love how hearty they are in the hot summer temps and also love how they affordably fill a space.
I decided to purchase some inexpensive coconut plant inserts because I knew they would be flexible and fit into the box well.
I broke up the dirt and put the three plants in the coconut liner. You could also choose to completely fill the box with dirt and plant them traditionally
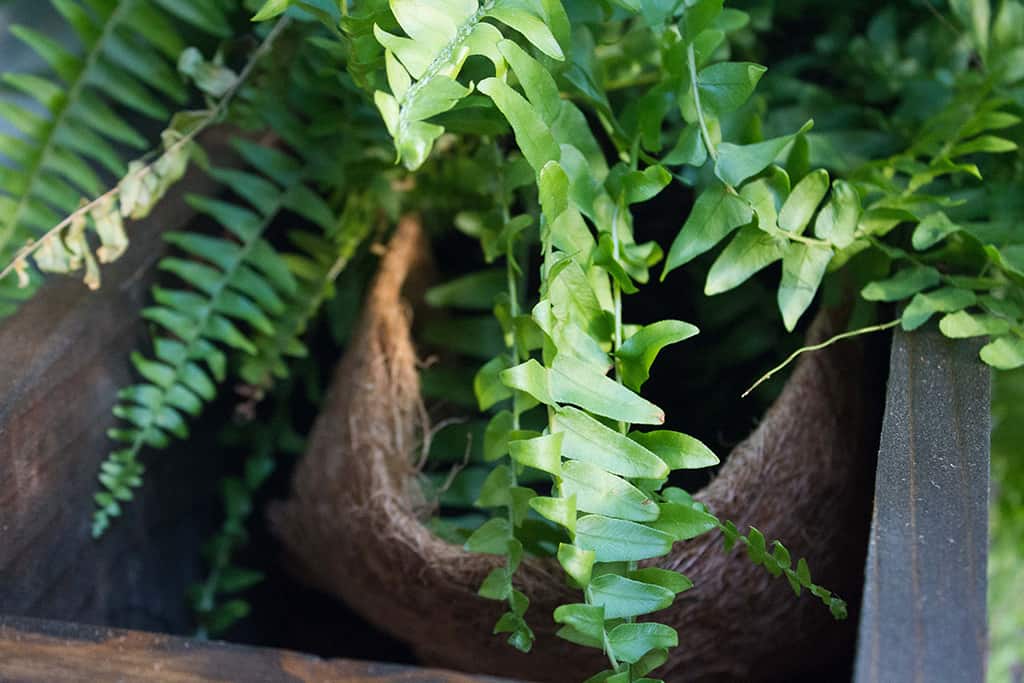
The ferns completed the project!
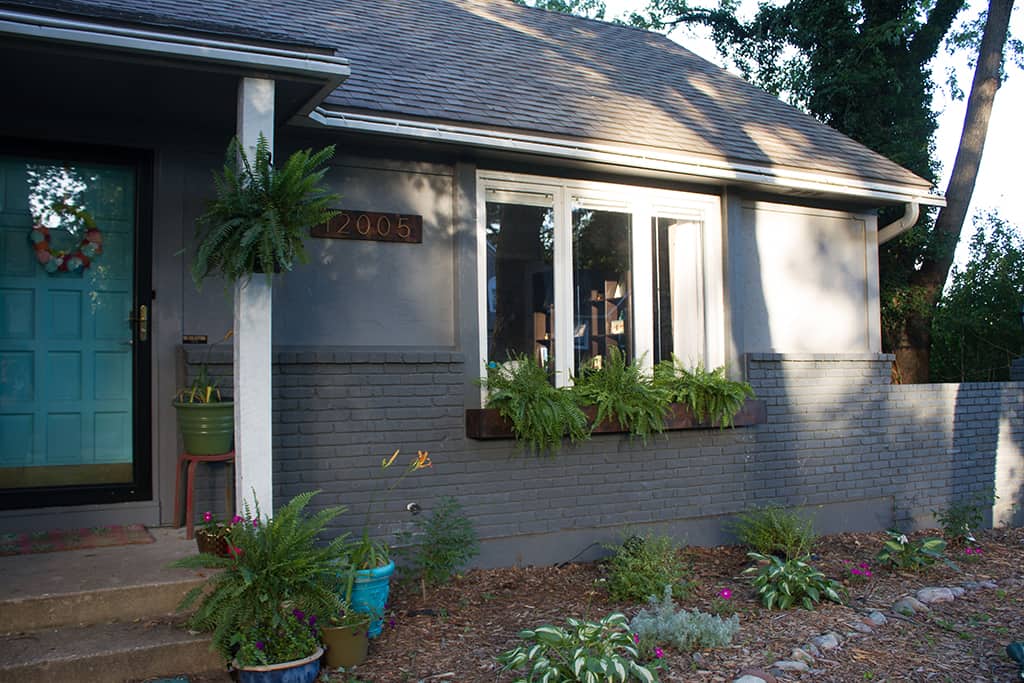
They turned out even better than expected. The board cuts aren’t perfect since I’m such a novice at using some of the tools, but I absolutely love how it looks from the sidewalk.
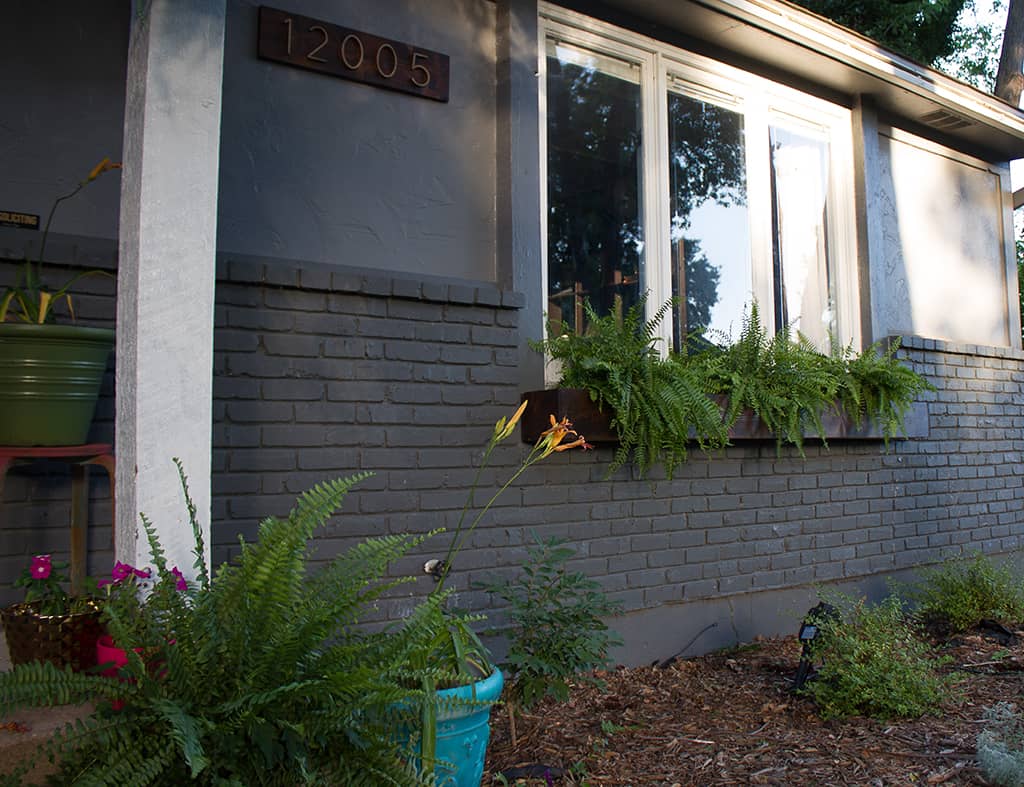
As previously mentioned, I LOVE how the DIY window box coordinates with the DIY house numbers! It really ties them together.
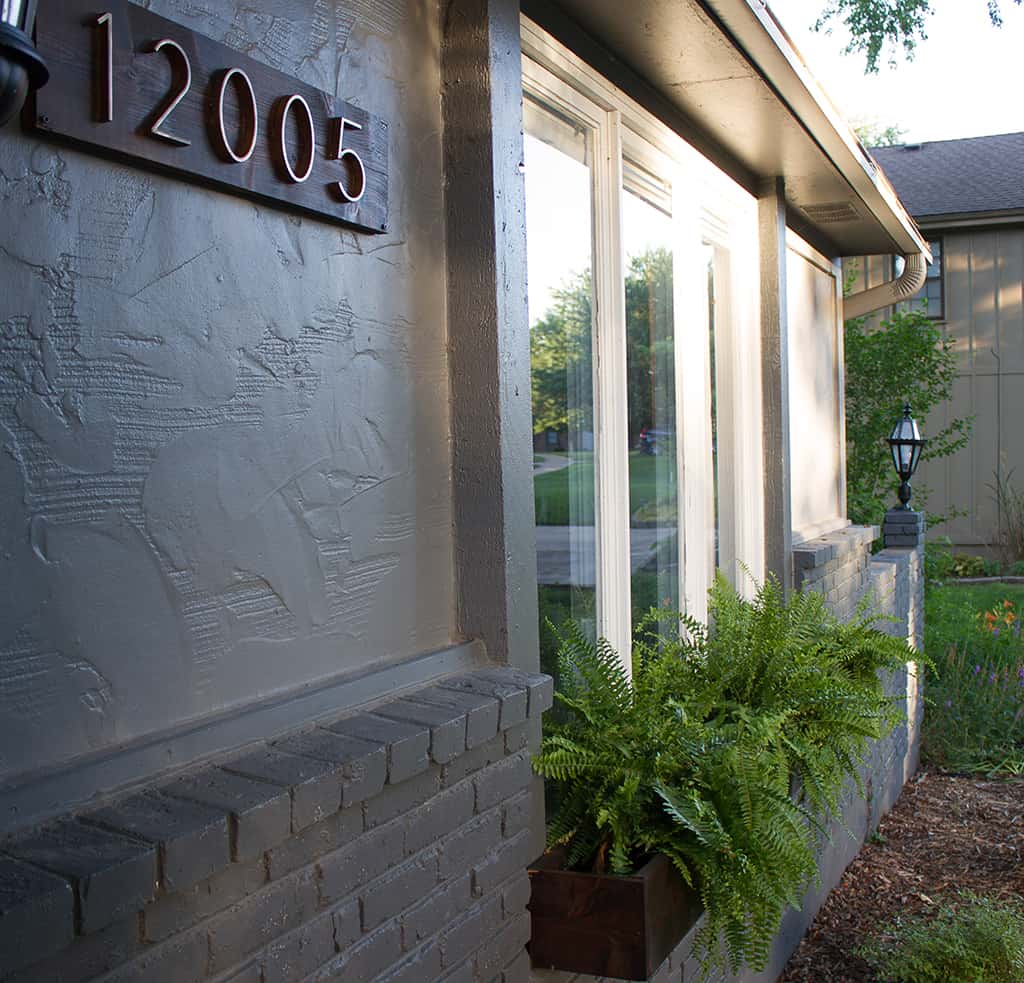
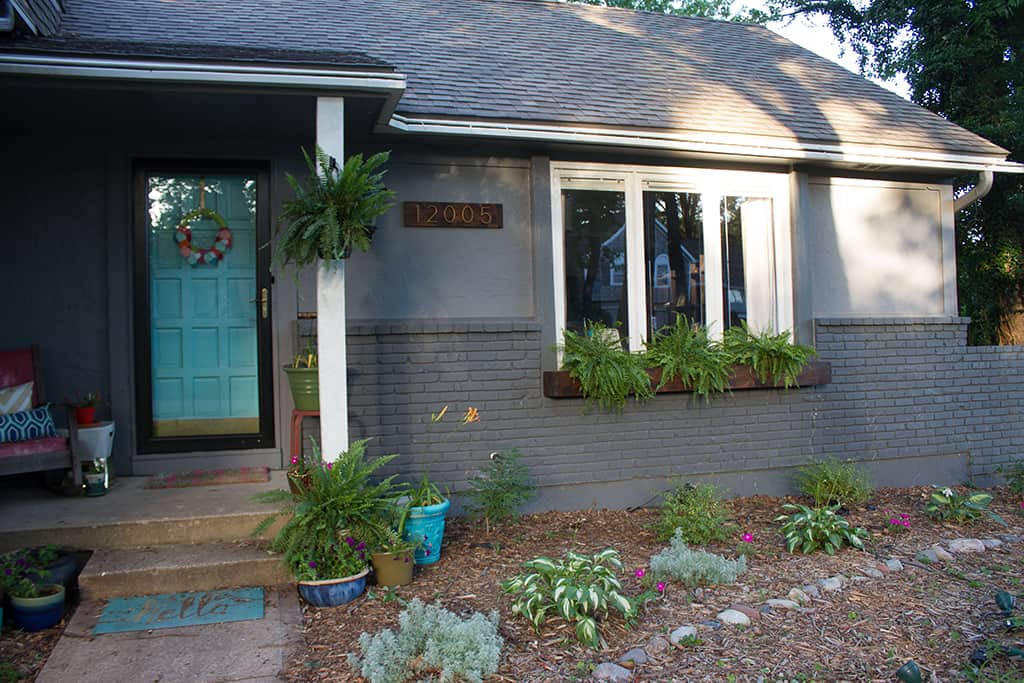
Here is one more look. I just can’t get enough. The new Larson storm door, updated porch decor, house numbers, and window box really make the house feel more welcoming.
I love the pretty view from the inside dining room. The touch of green really makes the room feel more alive.

What do you think? Will you give this DIY window box project a try? I HIGHLY recommend it!
xoxo
Audrey