Who’s ready for a DIY painted cushion tutorial?
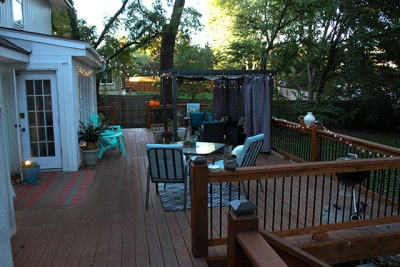
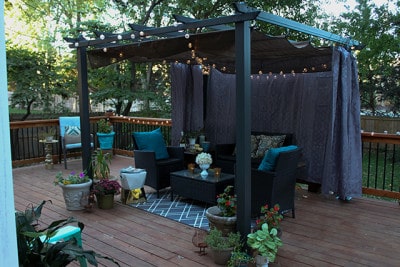
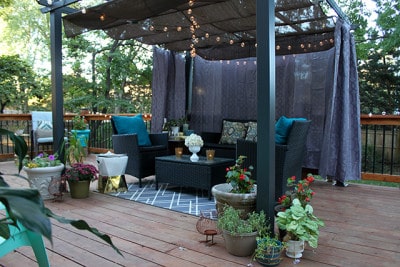
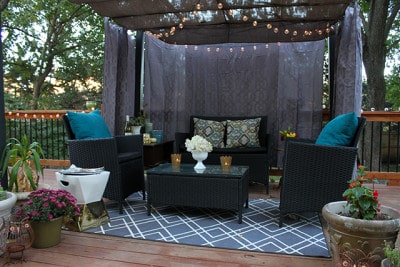
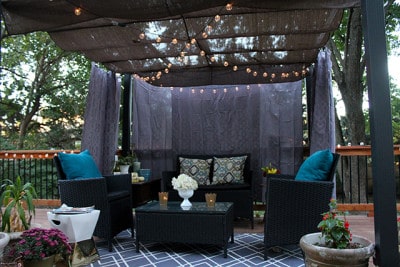
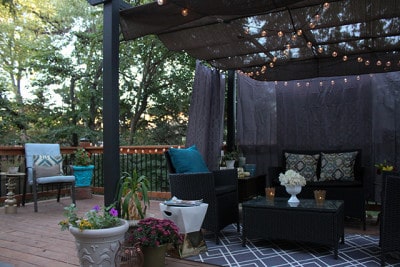
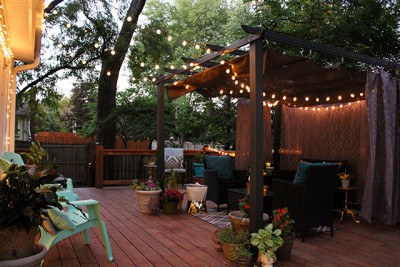
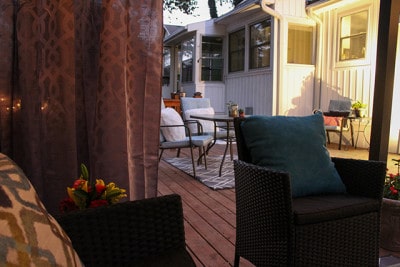
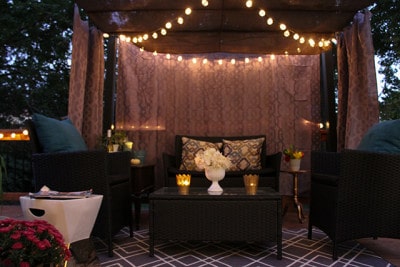
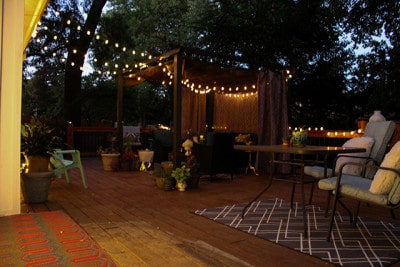
Last October I added some life to our back deck with an affordable cabana and seating area. Remember that? I also updated our old, faded outdoor seat cushions by painting them—that’s right, painting them!
It made a huge difference at a super low cost, and they turned out much better than I expected. I promised you all a tutorial on how I did it, and today’s the day!
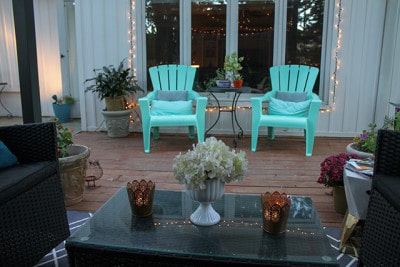
I’m so loving the 70 degree temps here in Kansas City, and it’s getting me all sorts of excited for spring! I can’t wait to get the cushions and pillows out of winter storage, and start enjoying the cabana again. We love sitting out there.
Anyhoo, onto the painted seat cushion tutorial.
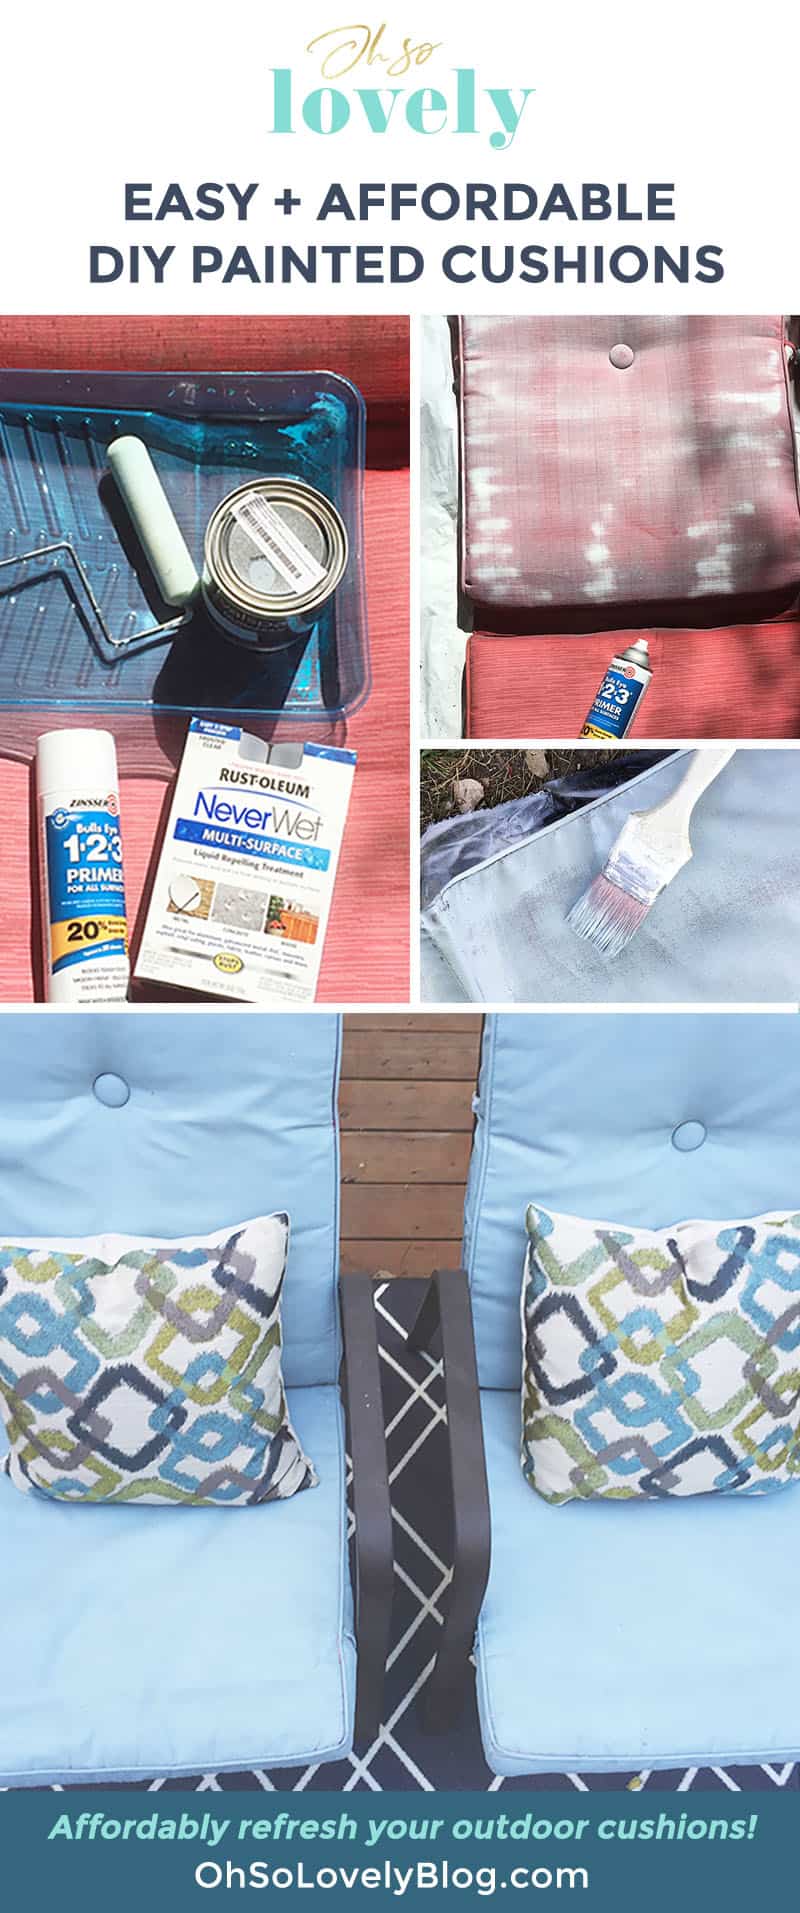
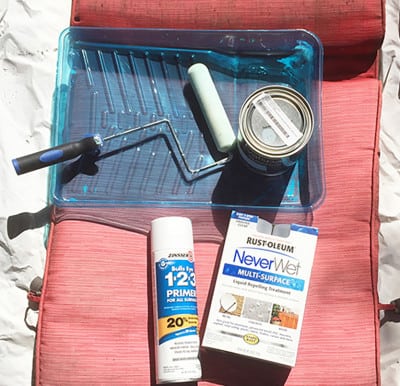 Gather your supplies.
> Small paint roller
> Paint brush
> Paint tray
> Bull’s Eye 1-2-3 Primer Spray
> Tarp
>A quart of outdoor paint in your fave color
(I used Valspar Duramax Exterior satin in Blue Arrow)
Ignore the Never Wet spray–I used that on a couple of outdoor rugs.
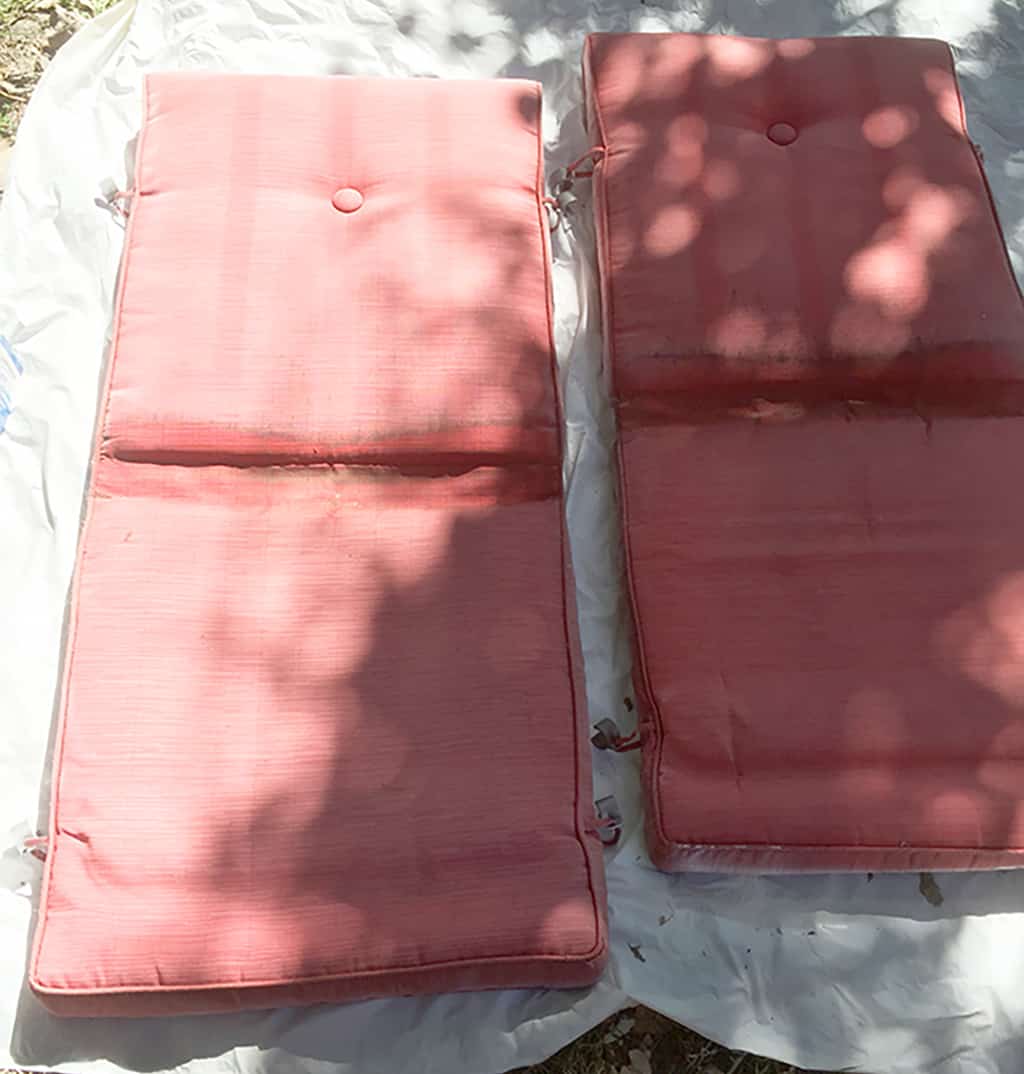
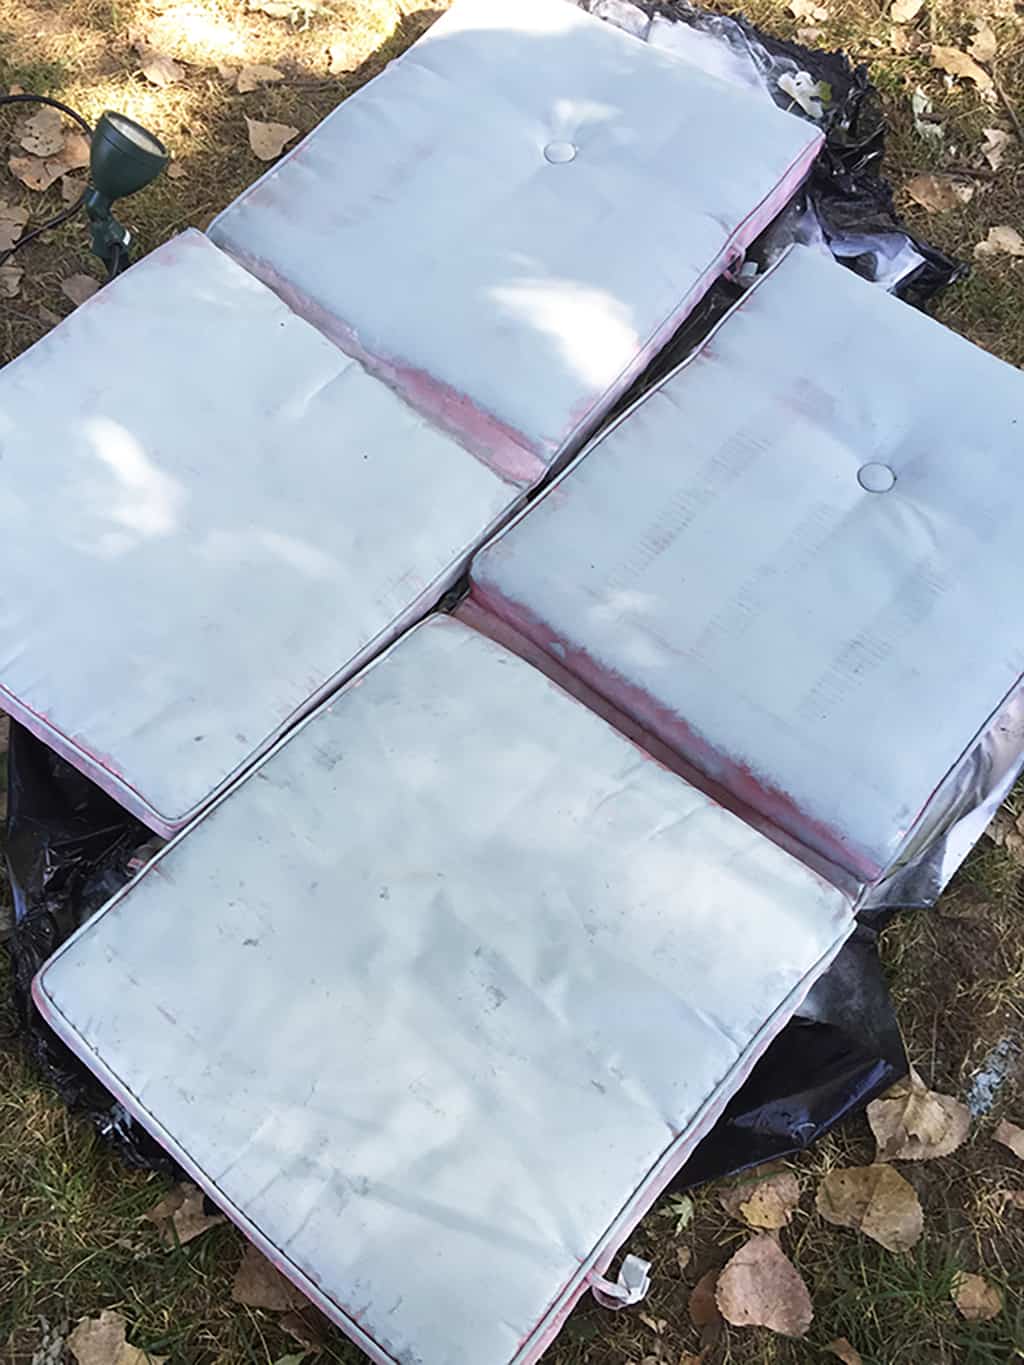
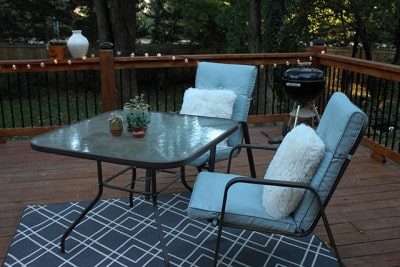
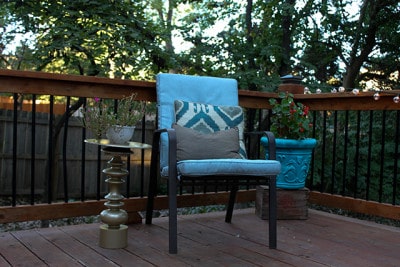
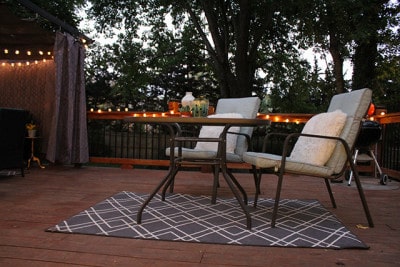
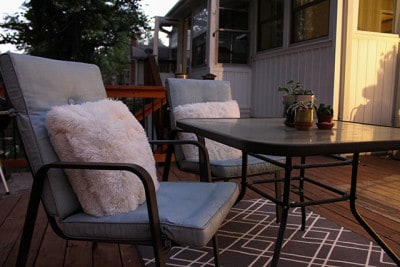
I took my four cushions and cleaned them off as much as possible. Look how faded they are!
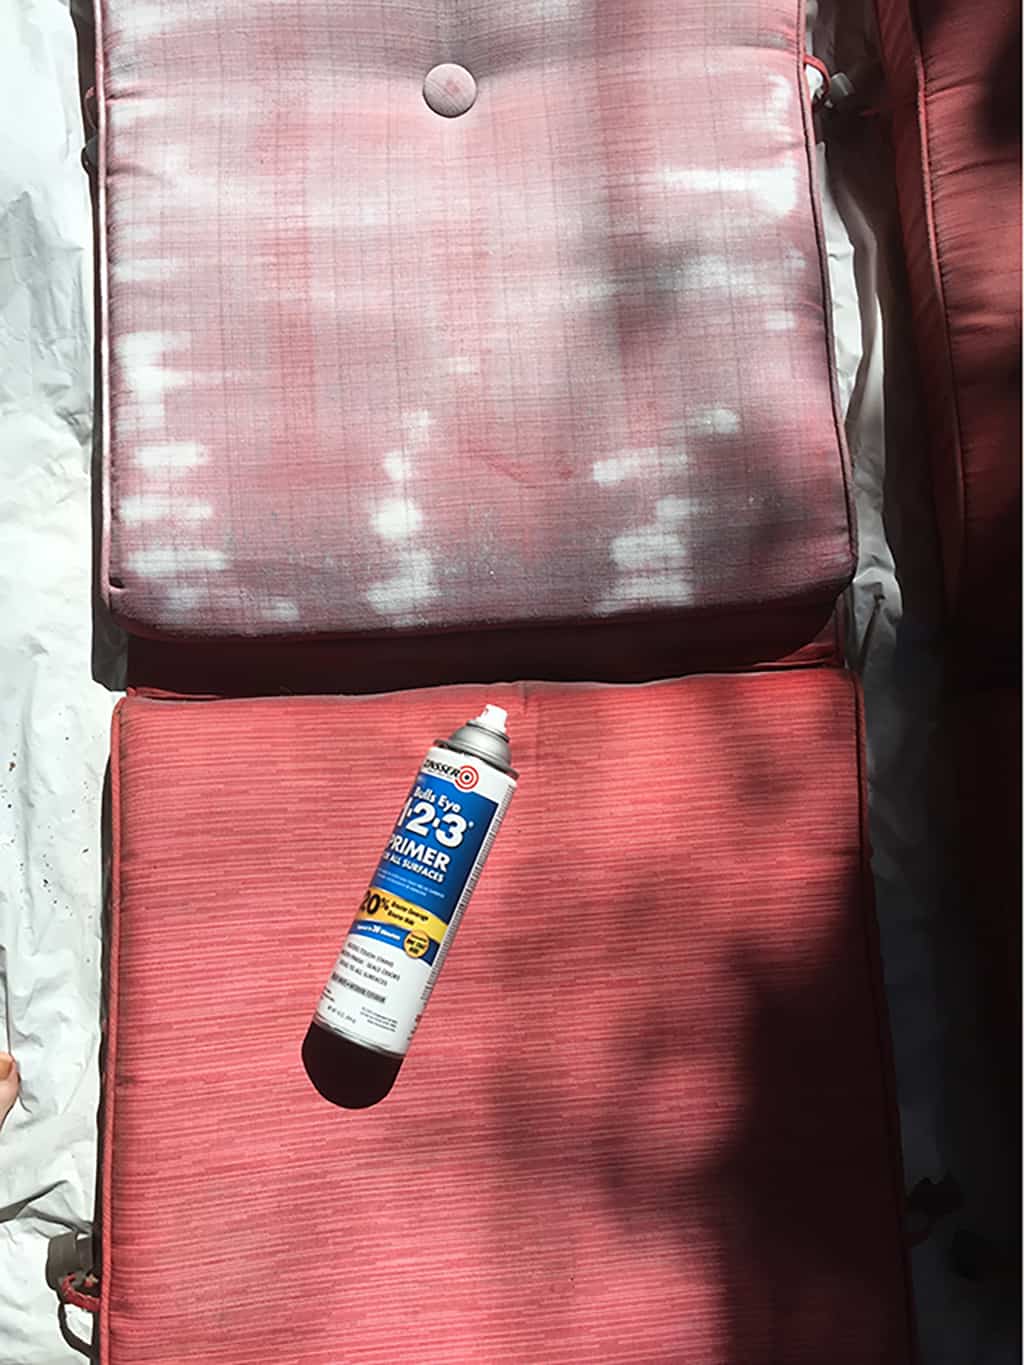
Take your primer spray, and lightly coat all of your cushions. It doesn’t have to be perfect or very even for that matter. The primer helps the paint stick better and makes the cushions more durable.
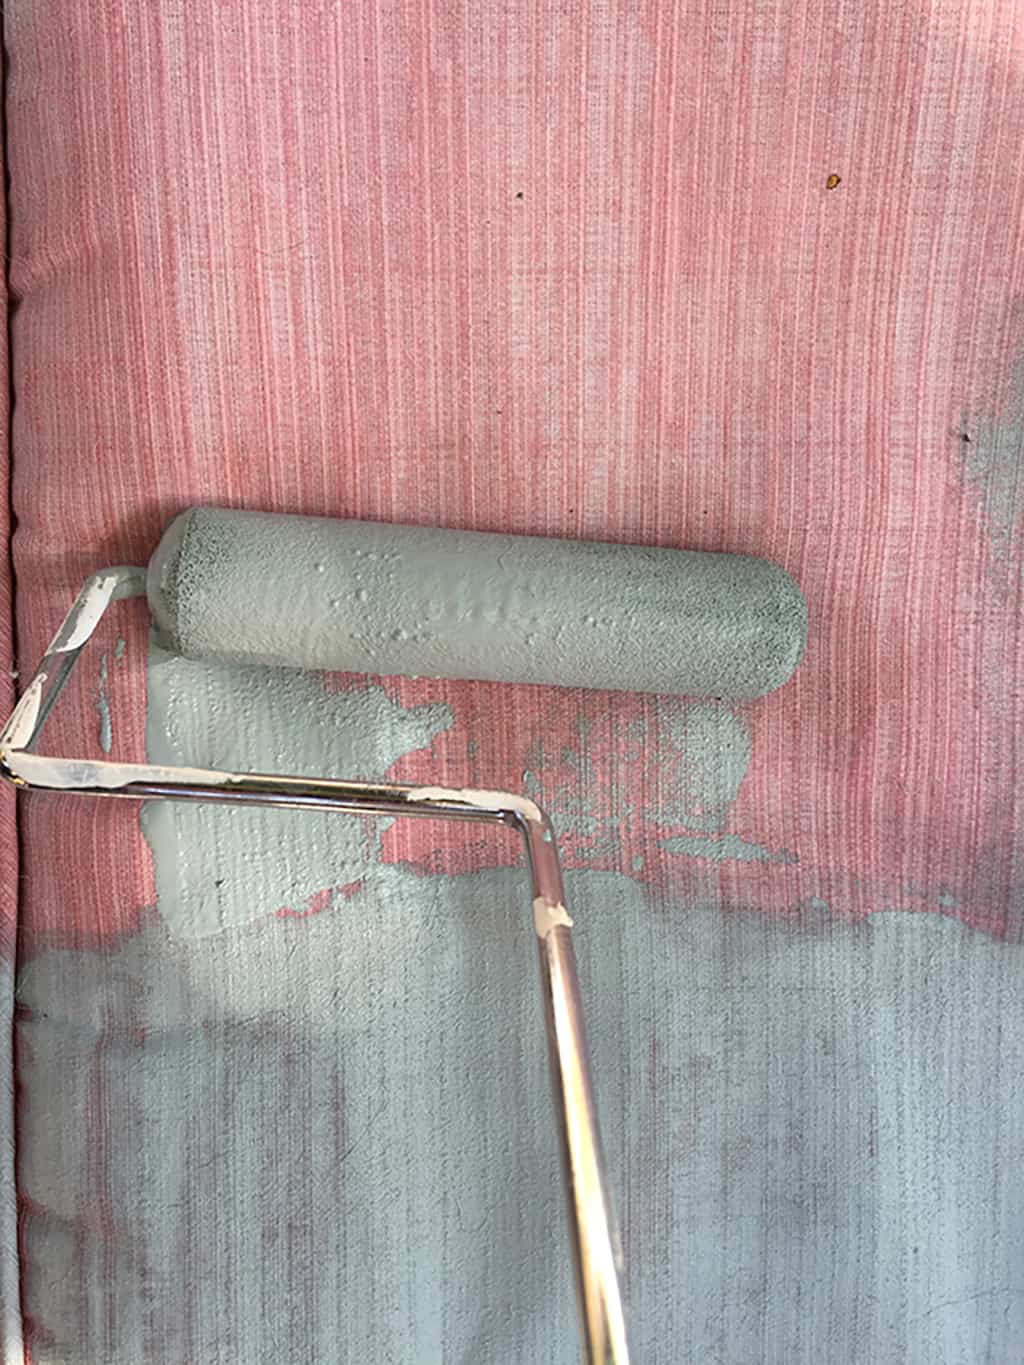
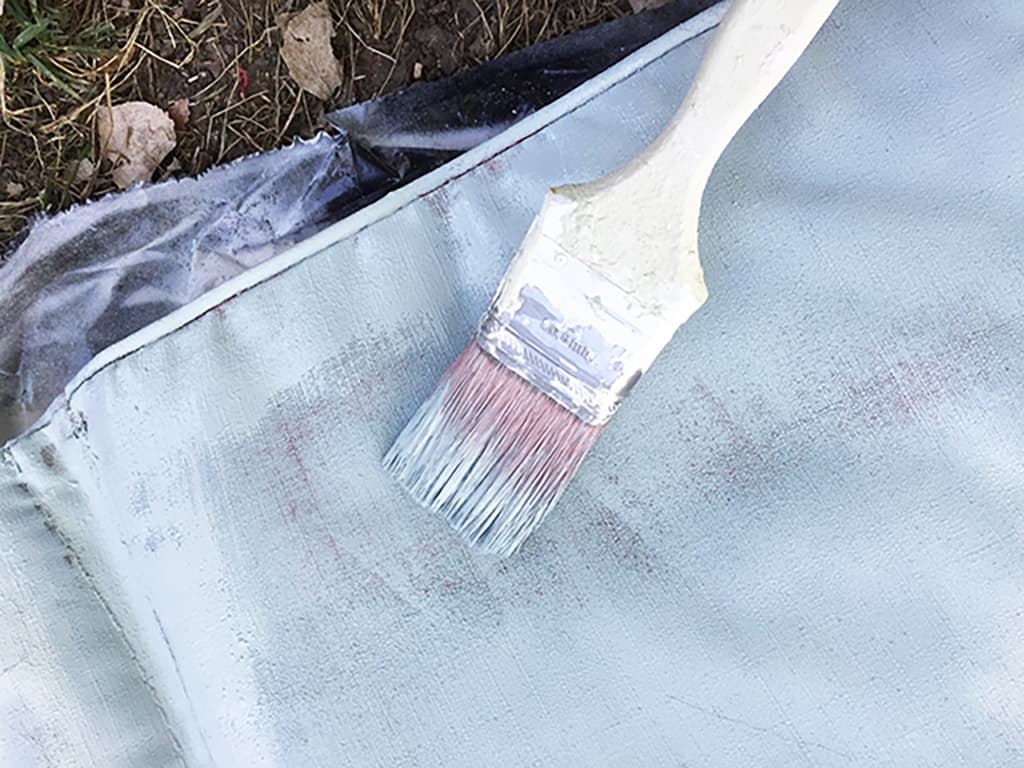
Next pour your paint into your tray and start rolling on the first coat. You can ignore the sides of the cushions and the smaller hard to reach areas. You can use your paint brush to get to these areas later.
Don’t be alarmed when the first coat doesn’t look very even. It has to soak through the fabric on the first coat, but the second coat helps so much, so be patient.
Finish painting the front sides of all of your cushions, and then let dry until it’s dry to the touch (I painted in the sun, which helped speed up the process).
Once dry, flip your cushions and paint the backside.
If you see any areas that didn’t take the rolled on paint very well or were too hard to reach with a roller, simply use your paint brush to fill in those areas.
Use your brush to paint the sides of each cushion. You’ll have to use a little more paint to get into the nooks and crannies, but I was able to do that part in only one coat.
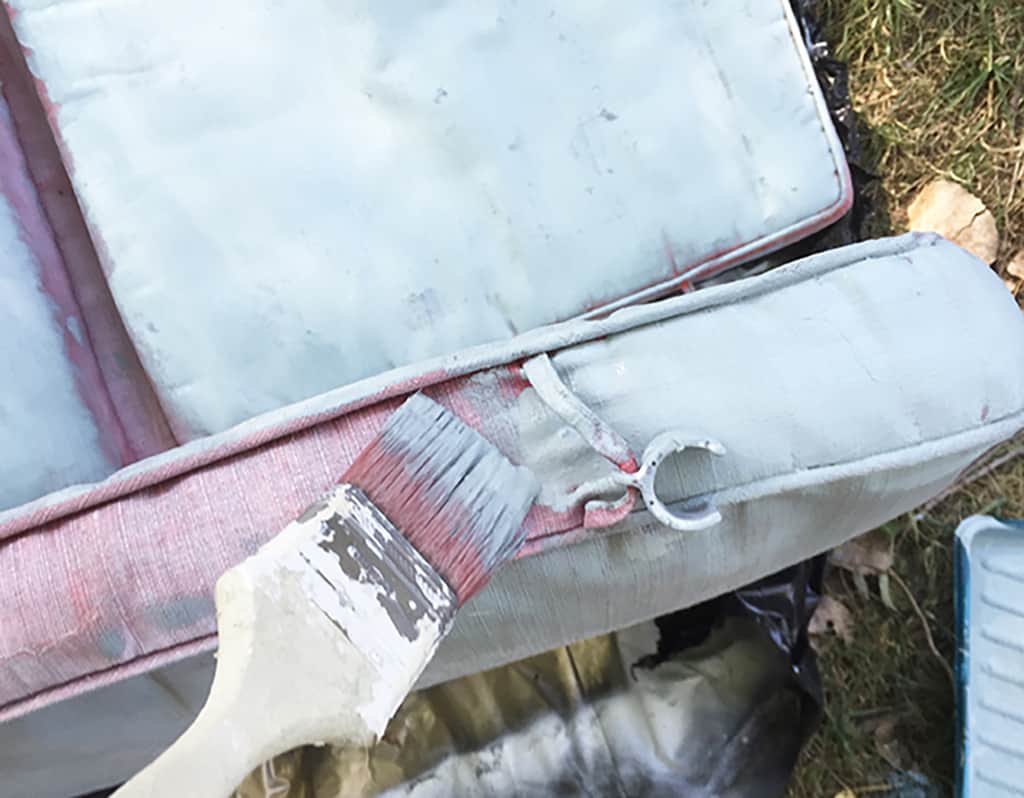
Let dry, and add another coat if needed until you’re happy with the coverage.
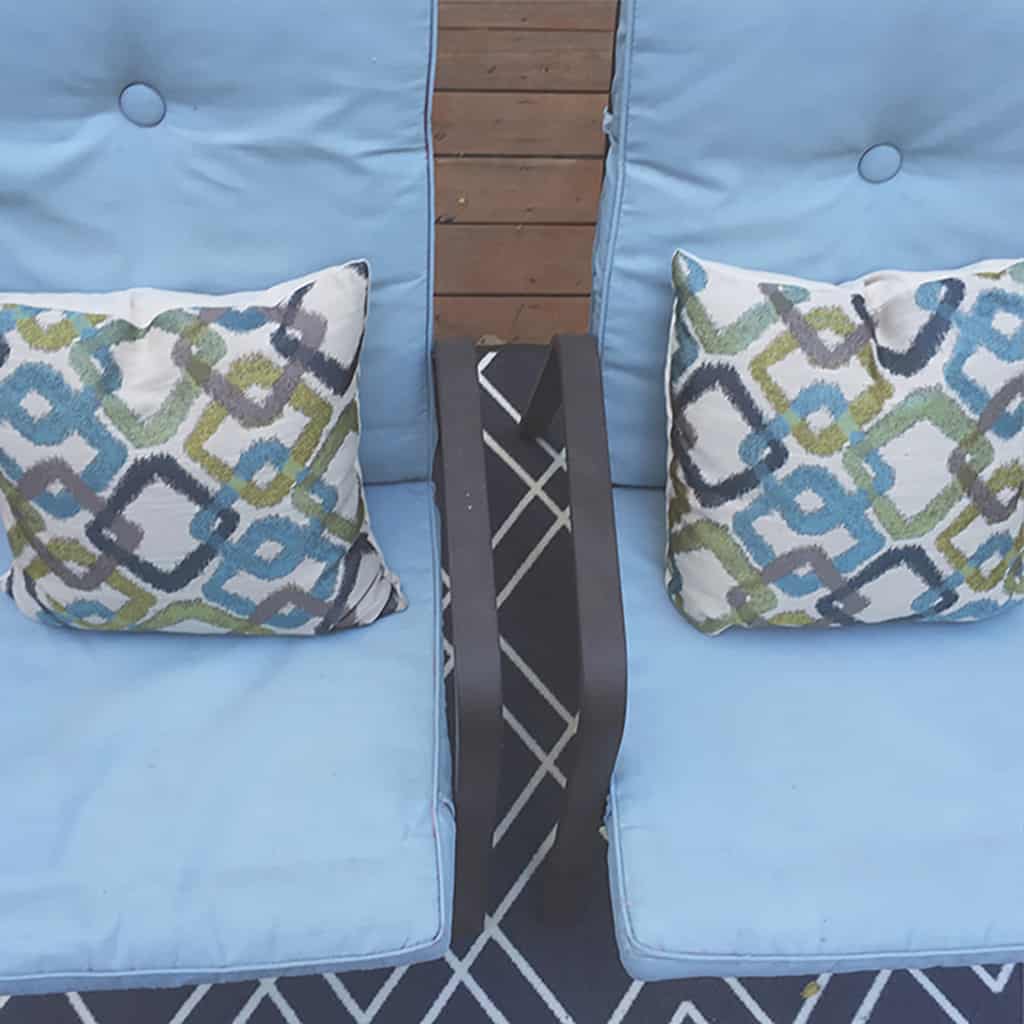
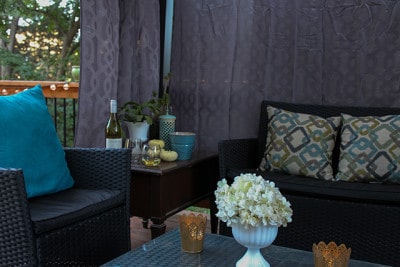
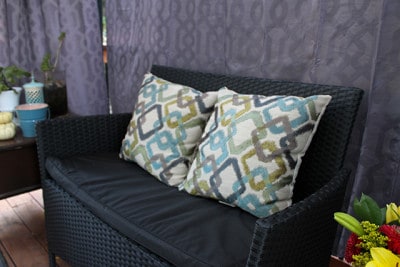
I was happy at this point (click to enlarge).

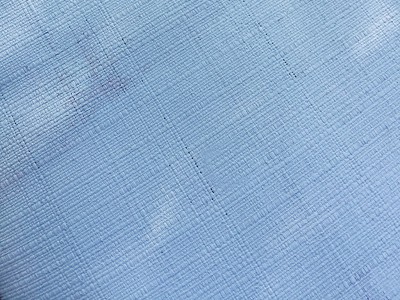

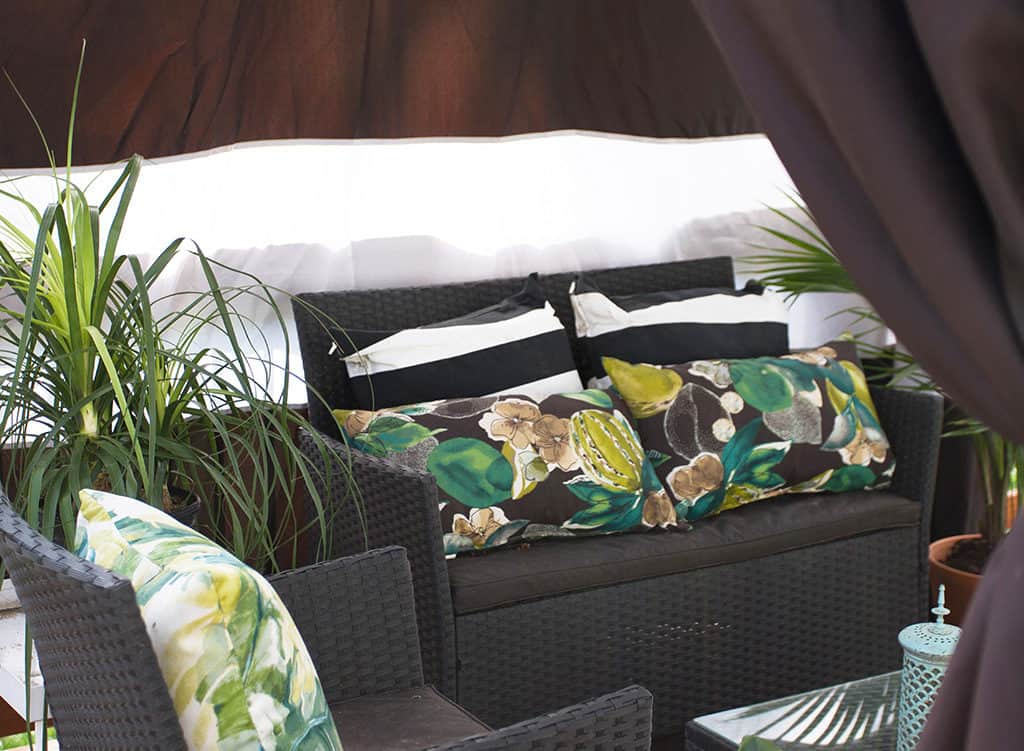
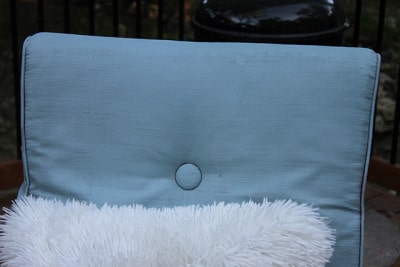
They’re not perfect, but a whole hell a lot better looking than the old, faded cushions! The paint changes the fabric to feel a little more textured plastic-like. They are much more durable now.
What do you think of my DIY painted cushion tutorial? Will you try it?
You will want to store them during the winter to help them last longer.
Update: They have held up great for 3 years and counting!
Pin it!
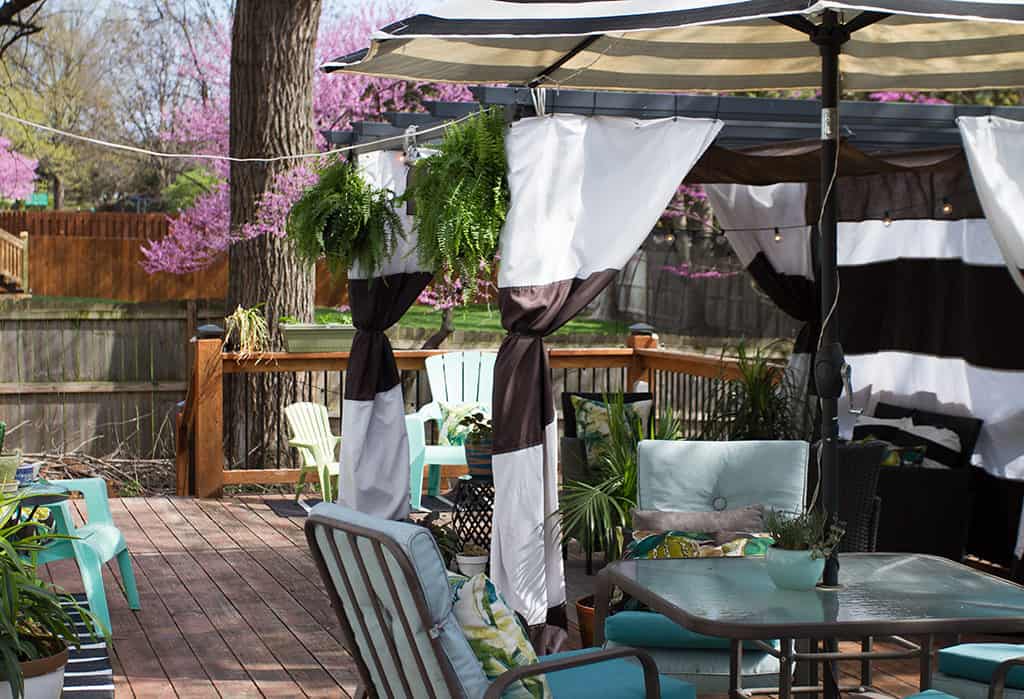
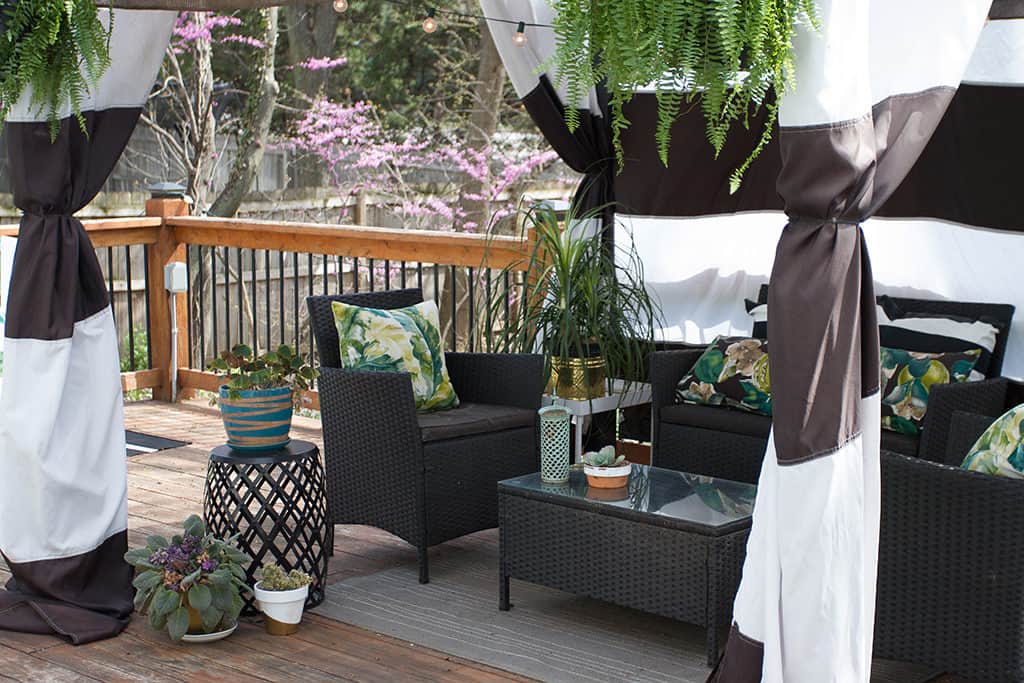
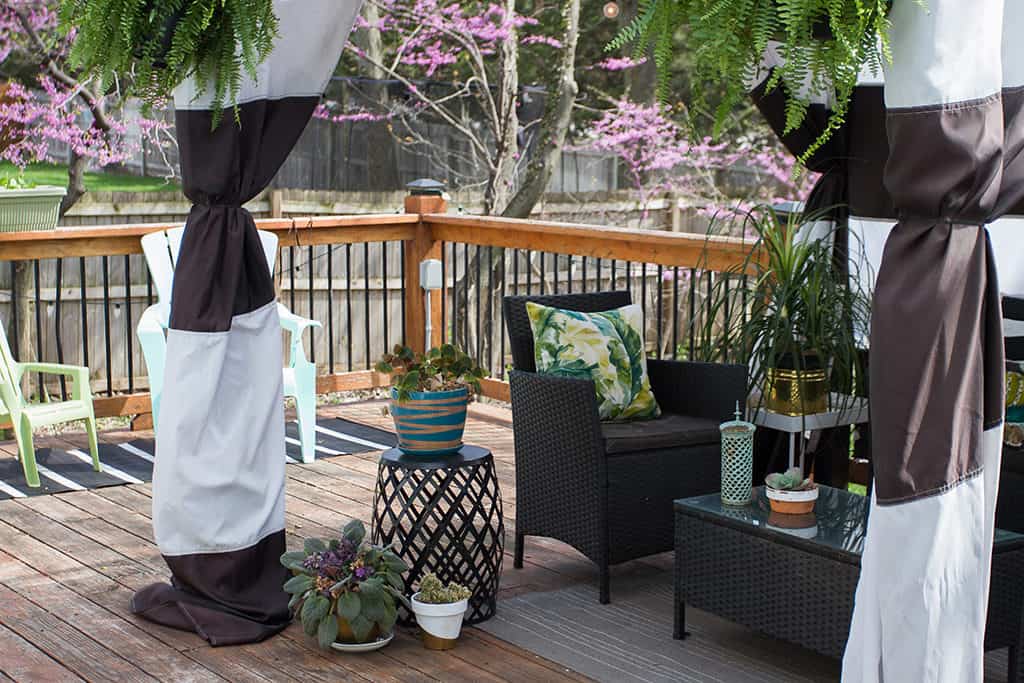
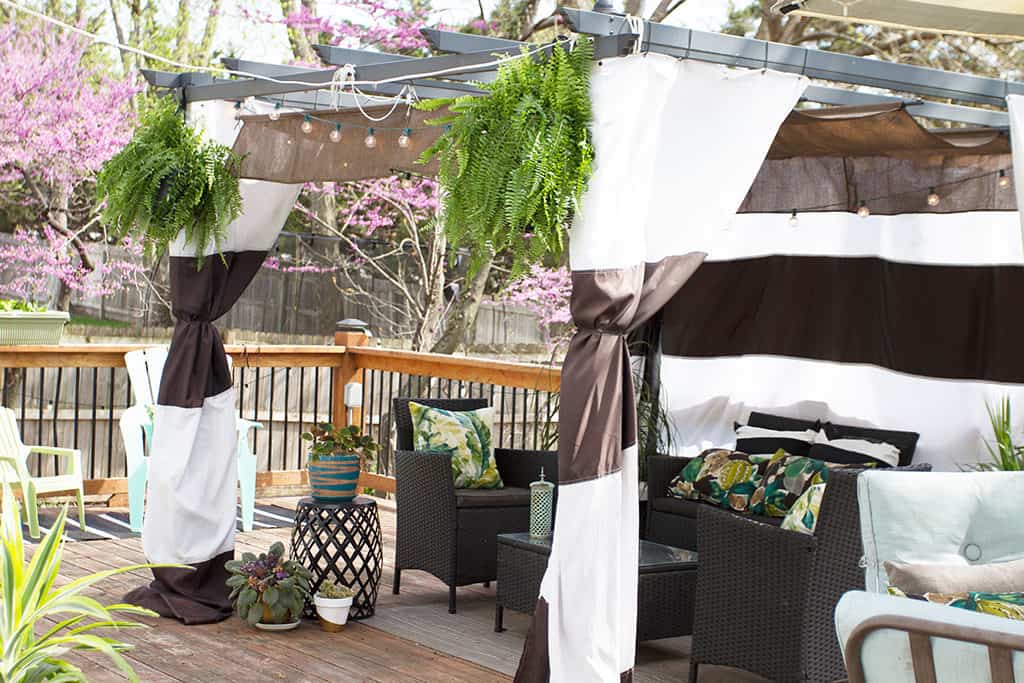
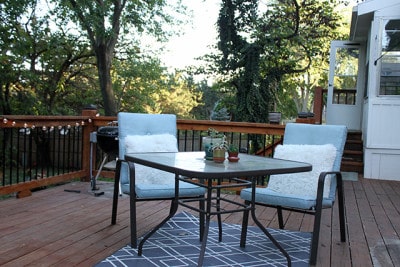
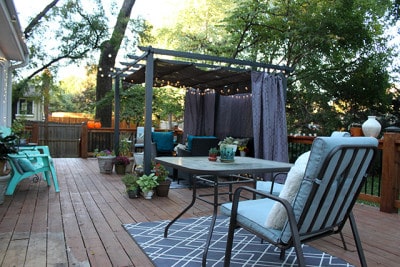
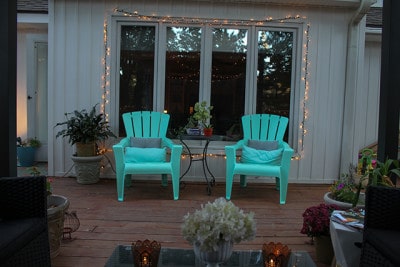
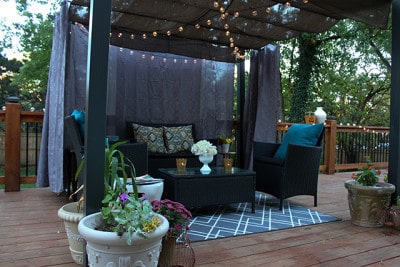
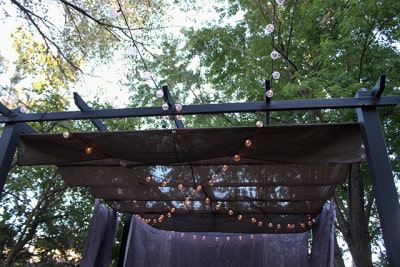
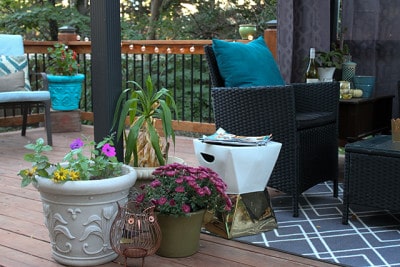
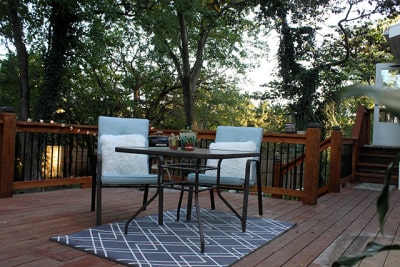
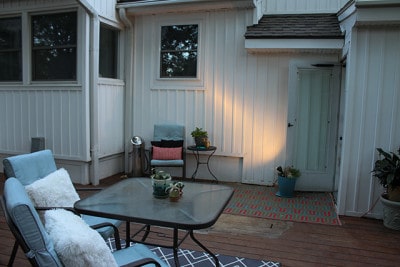
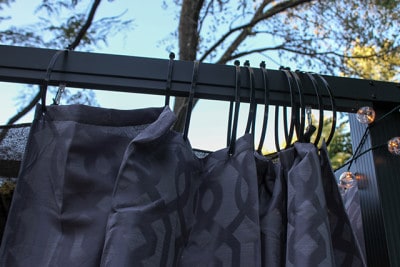
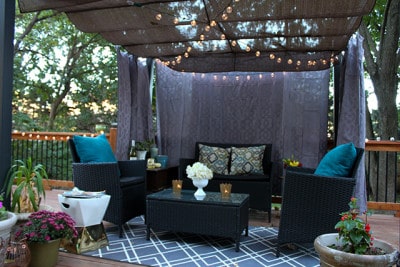
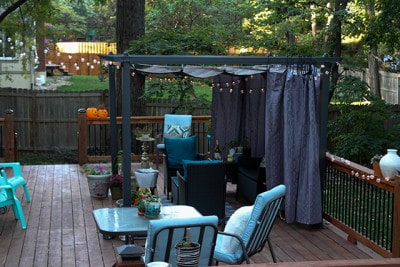
And here’s the finished deck and cabana project in case you missed it!
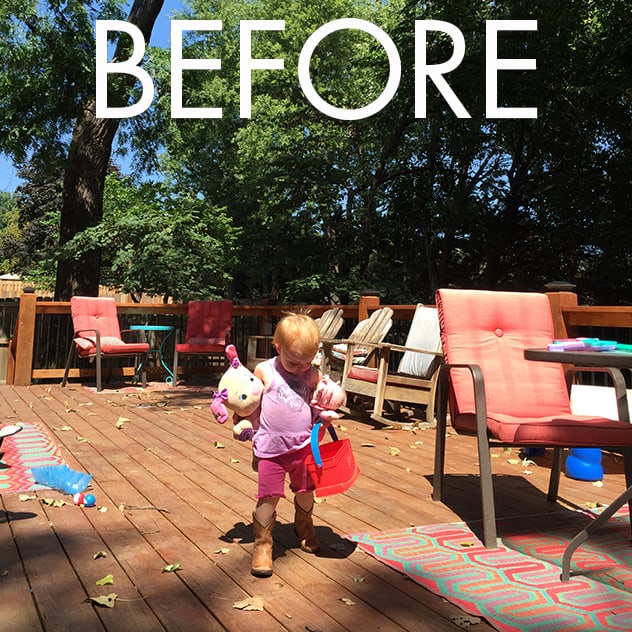
After
I’ve updated the deck and cabana a few times now. Below is the most recent that I’ve photographed, but not the actual latest. I’ll share new photos soon!
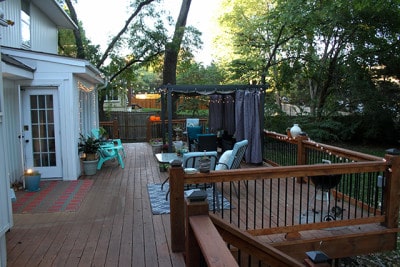
And here’s the original setup.


Happy almost spring!
xoxo
Audrey
If you are interested in topic: earn online cash youtube – you should read about Bucksflooder first
Would adding a textile medium to the paint possibly help to keep them from feeling as much like plastic?
Pam, that could definitely help! Definitely worth a try. 🙂
Possibly Pam. Worth a try for sure!
Thanks for sharing this. Now i know what to do. My friends will be surprise to see this amazing transformation when they come and visit my place.
Wait, what about the neverwet carpets? Dd they work out? Can you link to that blog post? I have some neverwet but haven’t found out what to do with the impulse purchase!
Ha, I just sprayed some rustoleum Never wet on them. I think it helped, but it’s not super obvious. The rugs were outside all winter and def got wet, but they look pretty good. There isn’t a tutorial for that one, sorry!! 🙂
Thanks for sharing this painted seat cushion tutorial. I loved to read this type of post. Please keep up the good work.