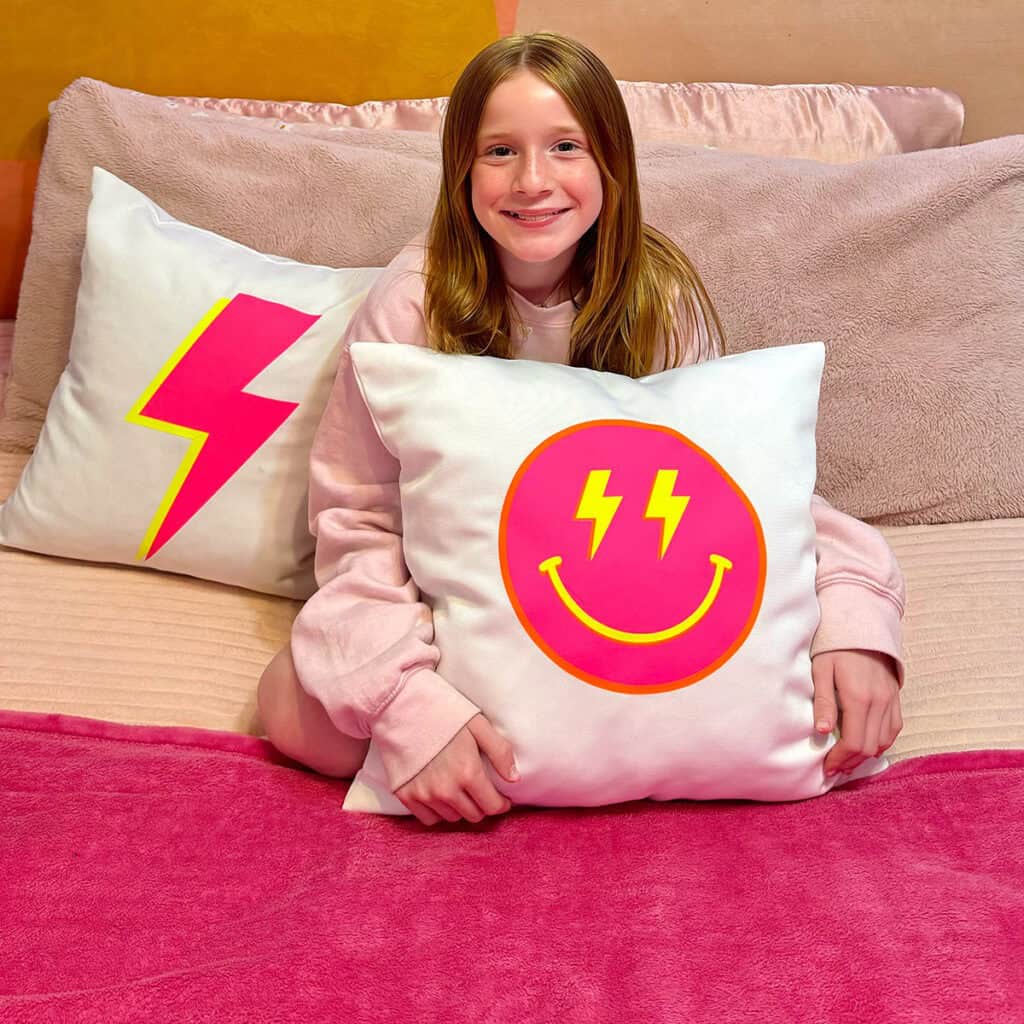
DIY neon pillows are so much easier to make than you might think – thanks to my Cricut joy xtra and smart iron-on.
My tween daughter has been asking for some trendy neon pillows for her “preppy” styled bedroom. I didn’t want to commit to the price tag, so I DIYed them with my Cricut instead!
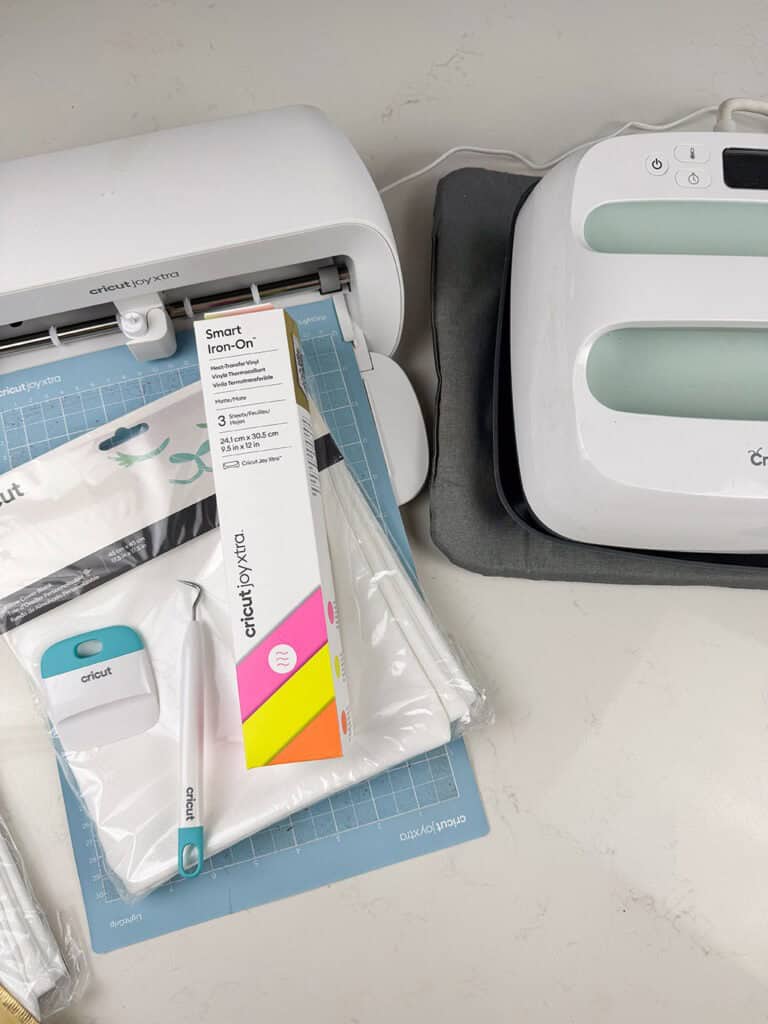
Supplies needed:
Cricut Joy xtra (or any other Cricut machine)
Basic tool set
Easy Press 2
Smart Iron-On
Cricut Design Space
Pillow blanks
Scissors
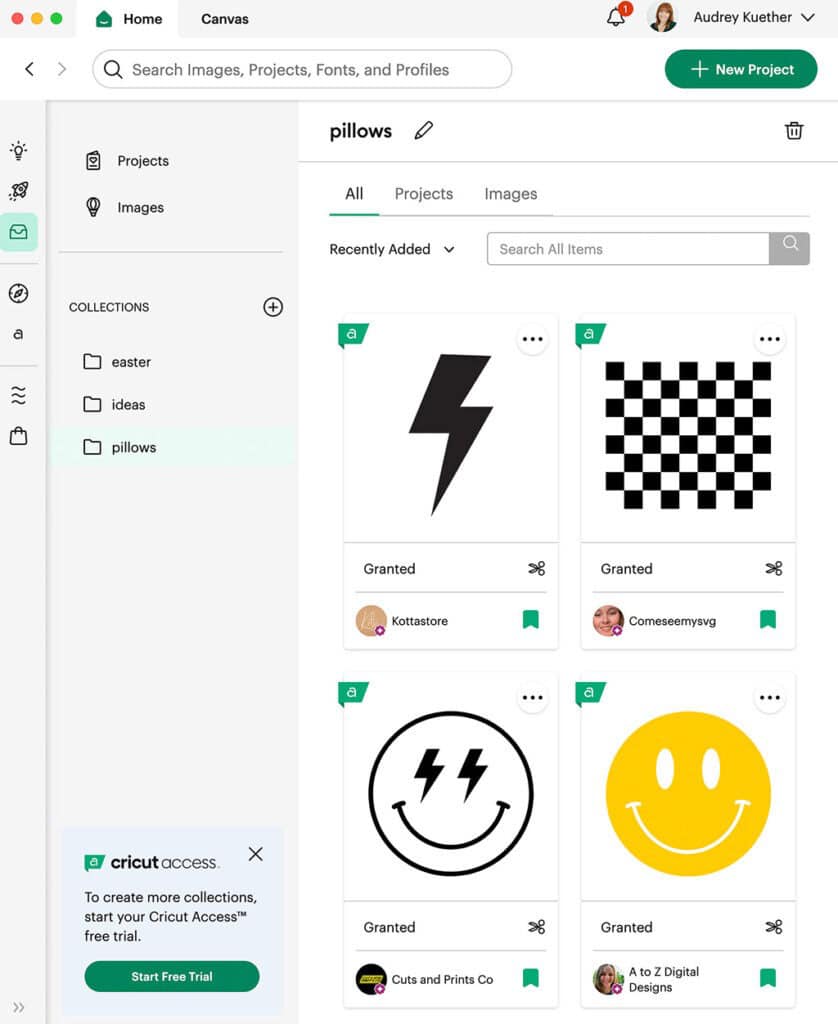
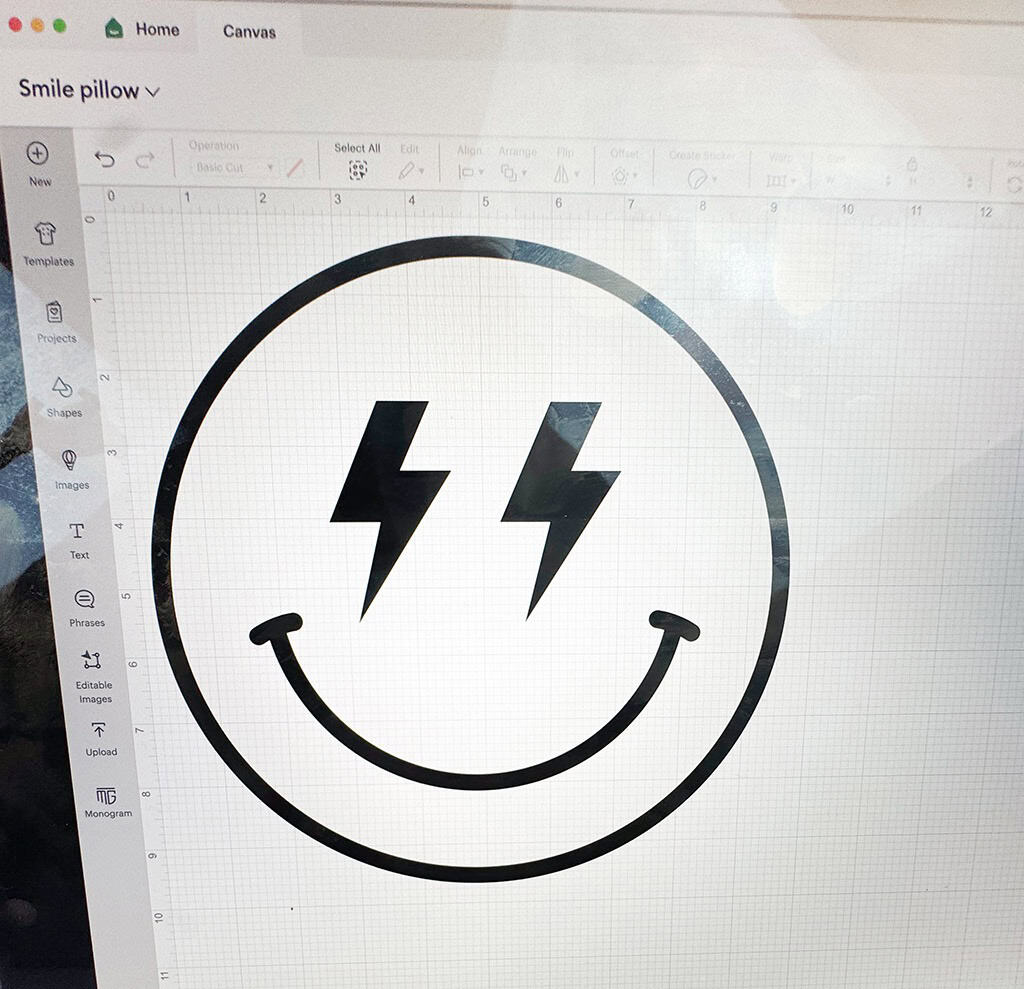
I started by looking through the free designs in Design Space, and quickly found a lightning bolt that I knew my daughter would love.
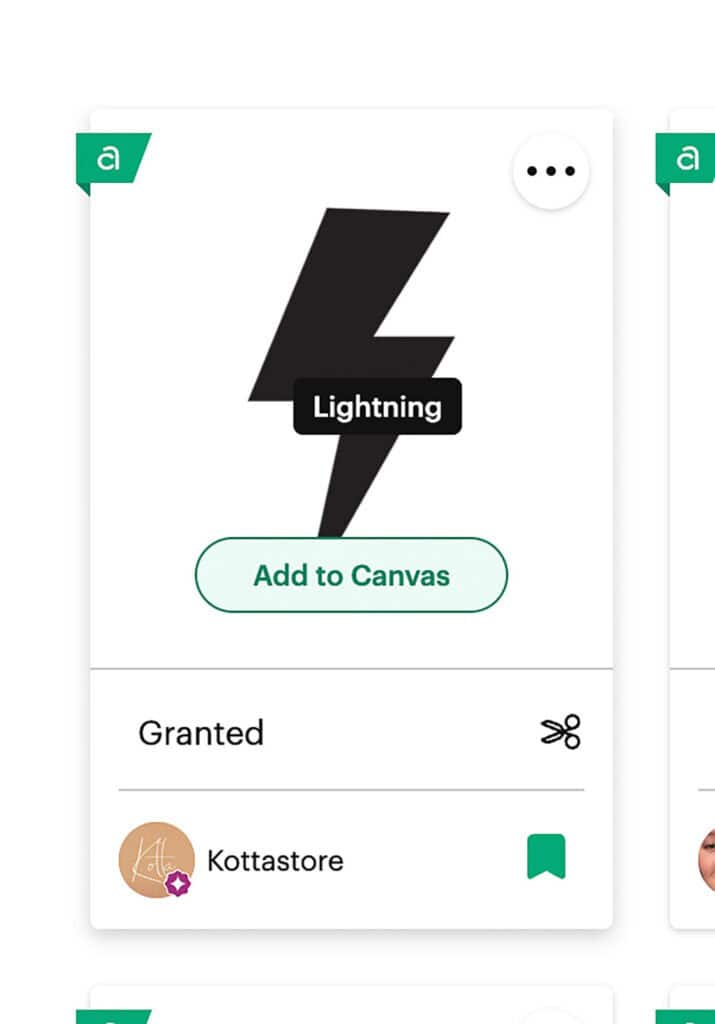
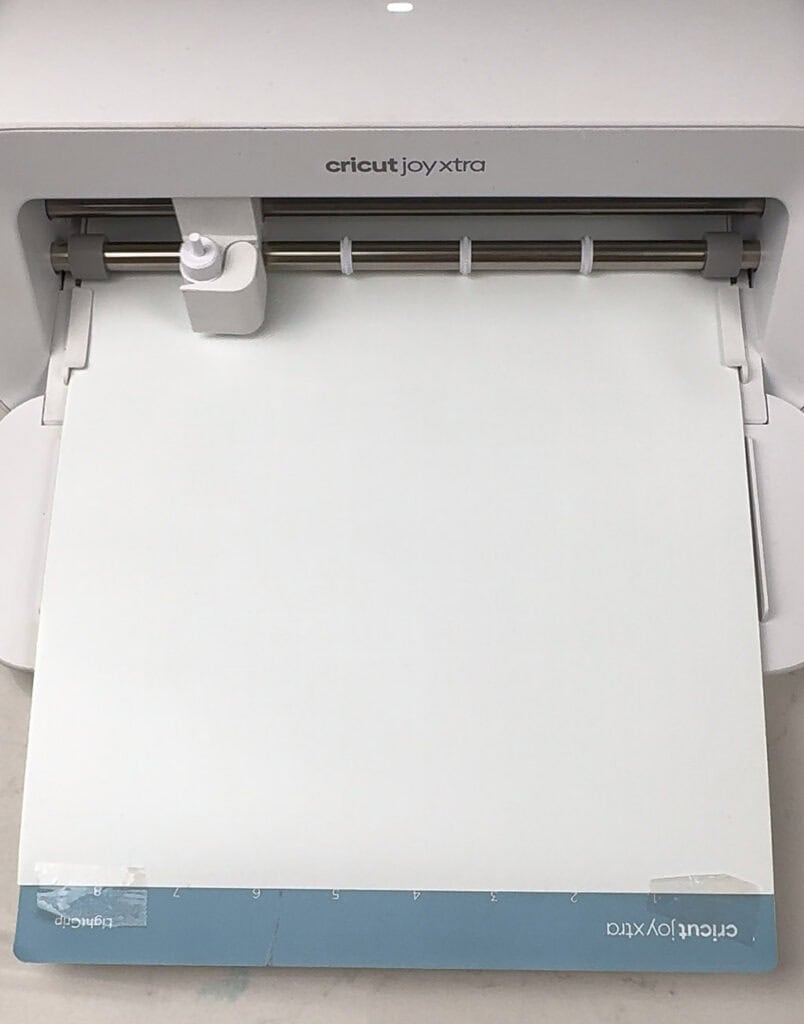
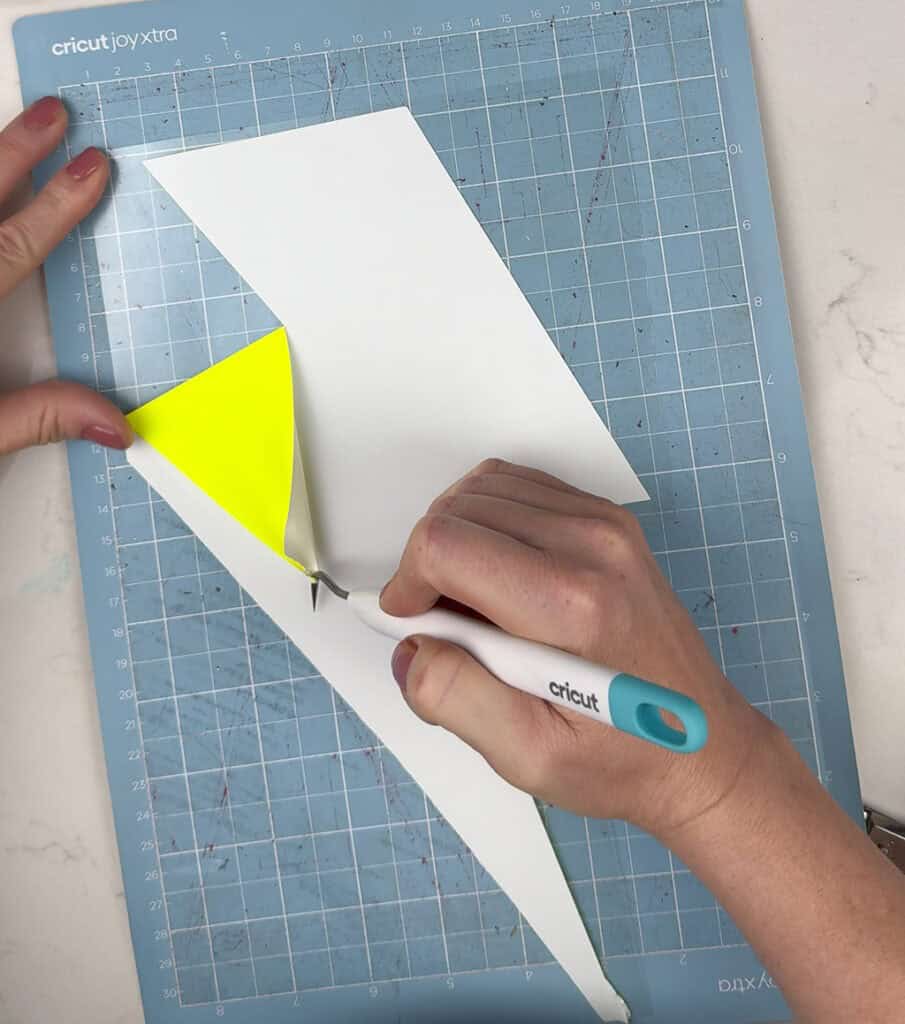
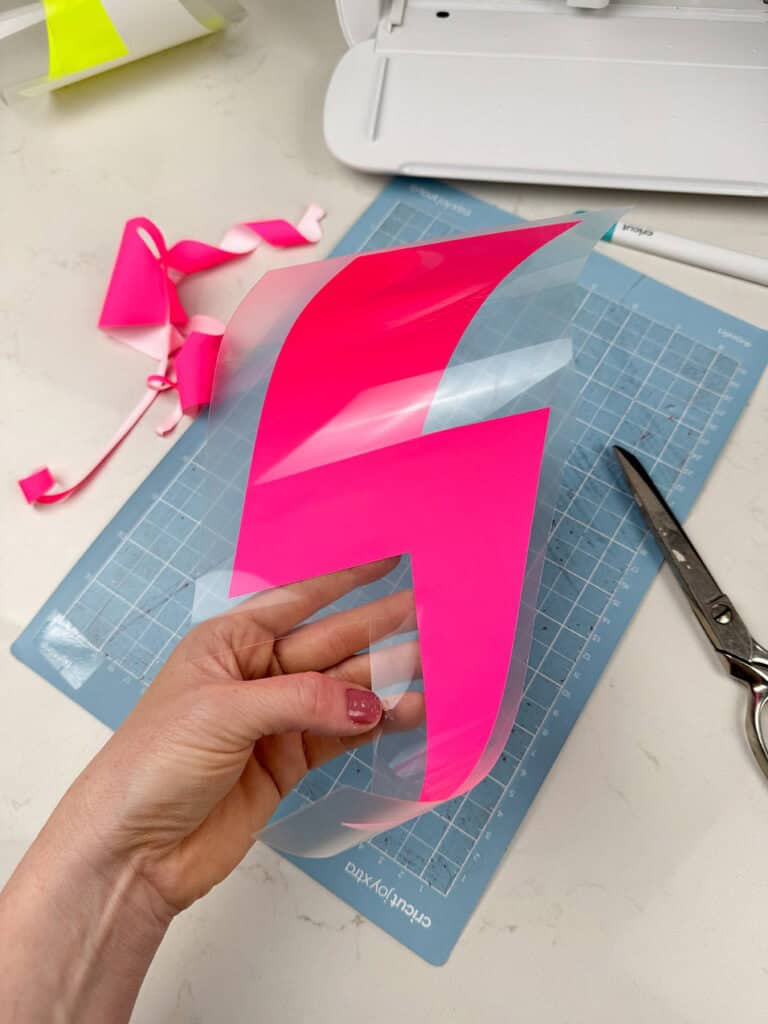
Next I quickly cut the bolt out with my Cricut. You’ll want to put the iron-on shiny side down. and make sure you “mirror” your design before cutting.
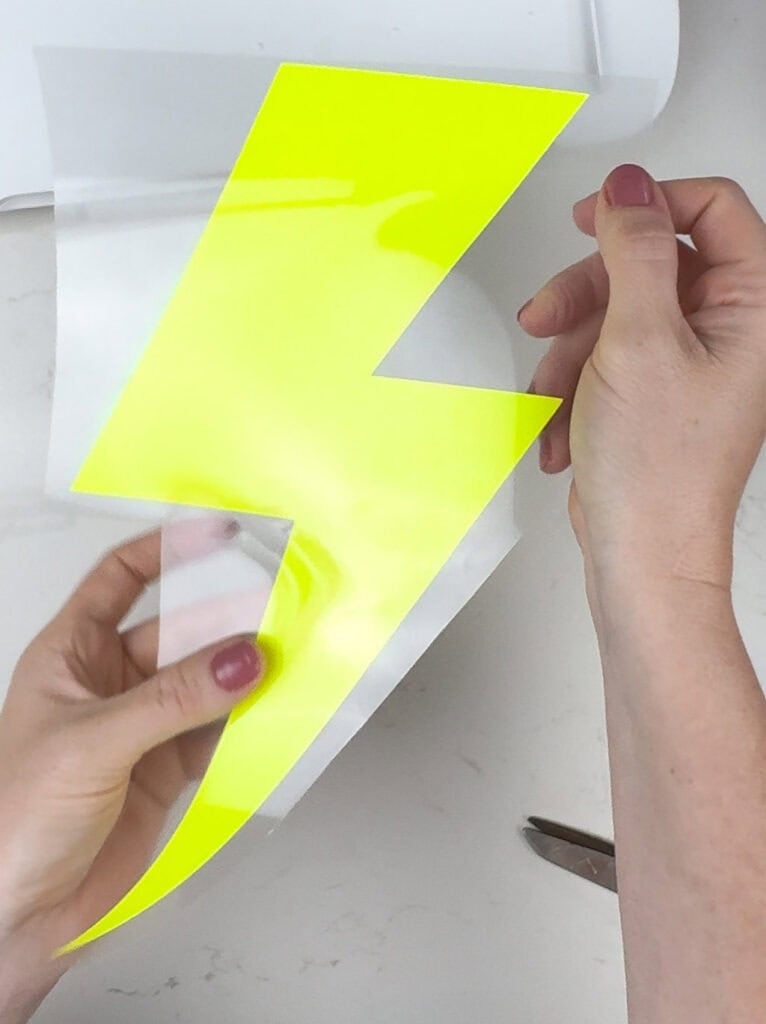
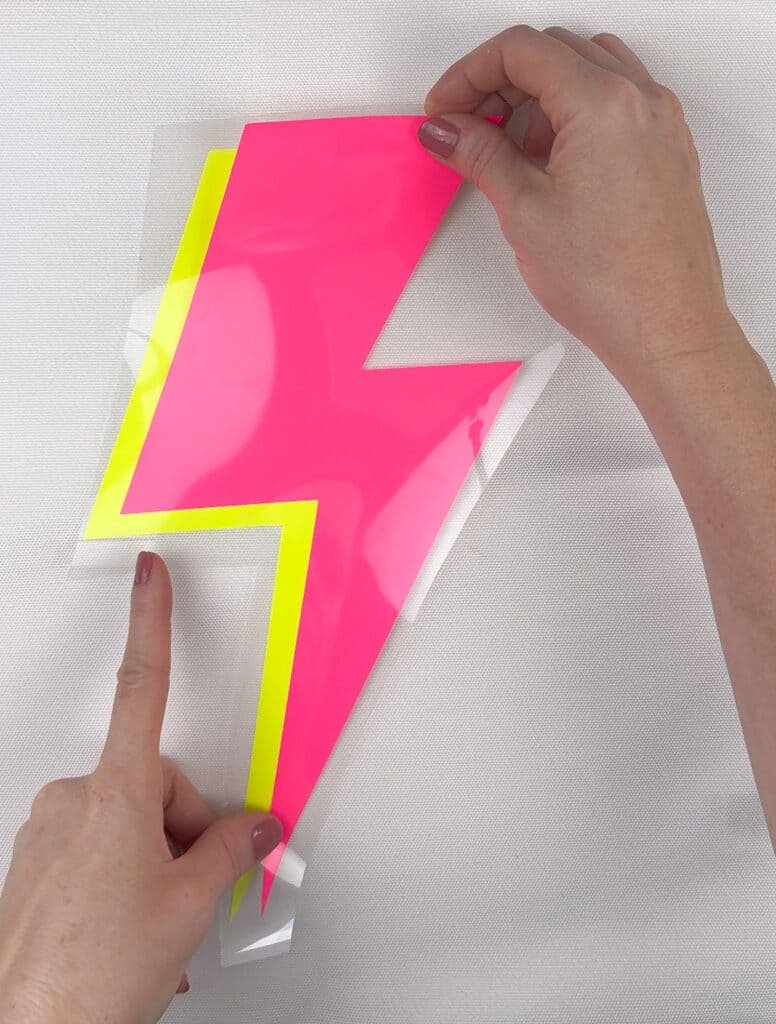
I flipped the iron-on over to see my cute lightning bolt.
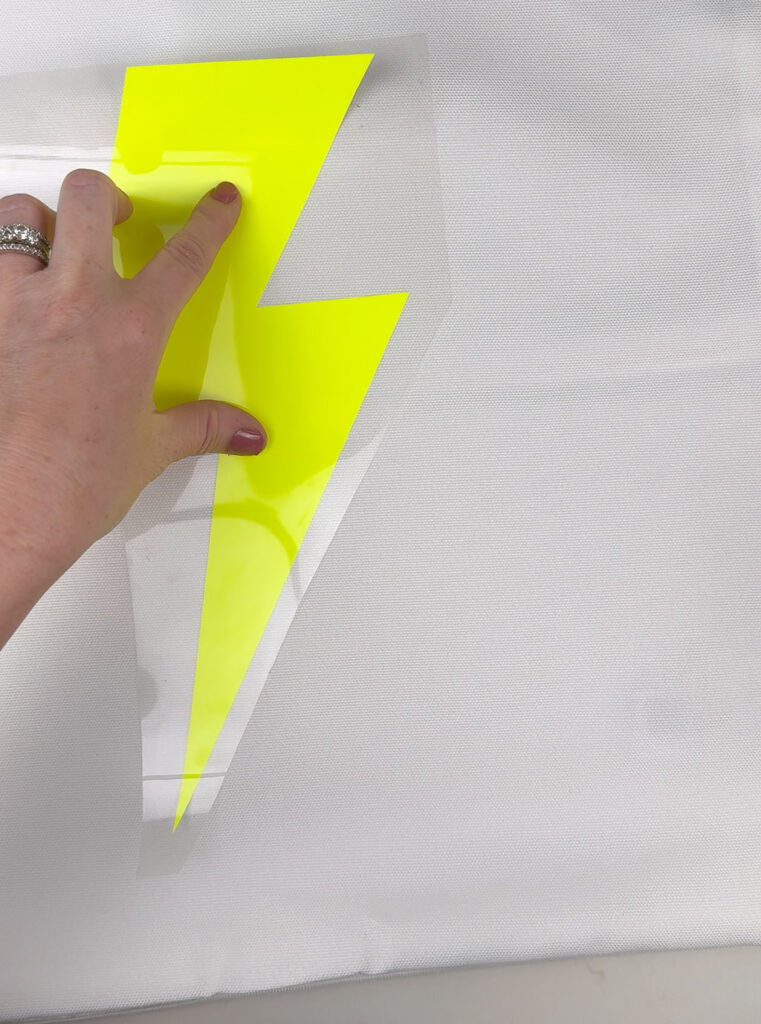
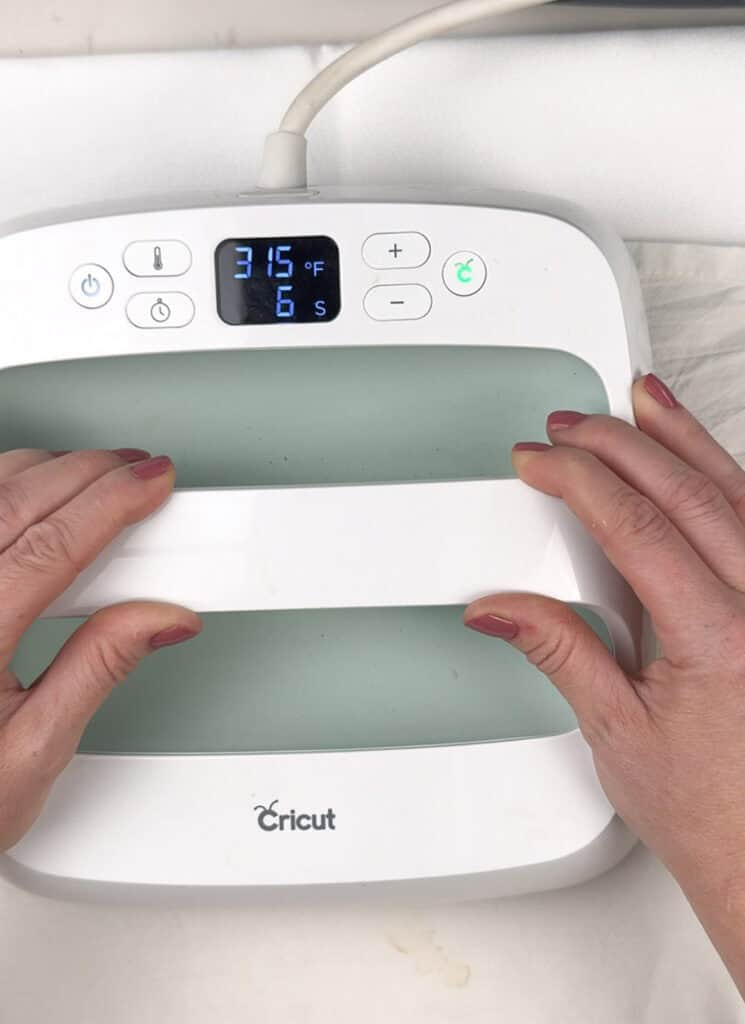
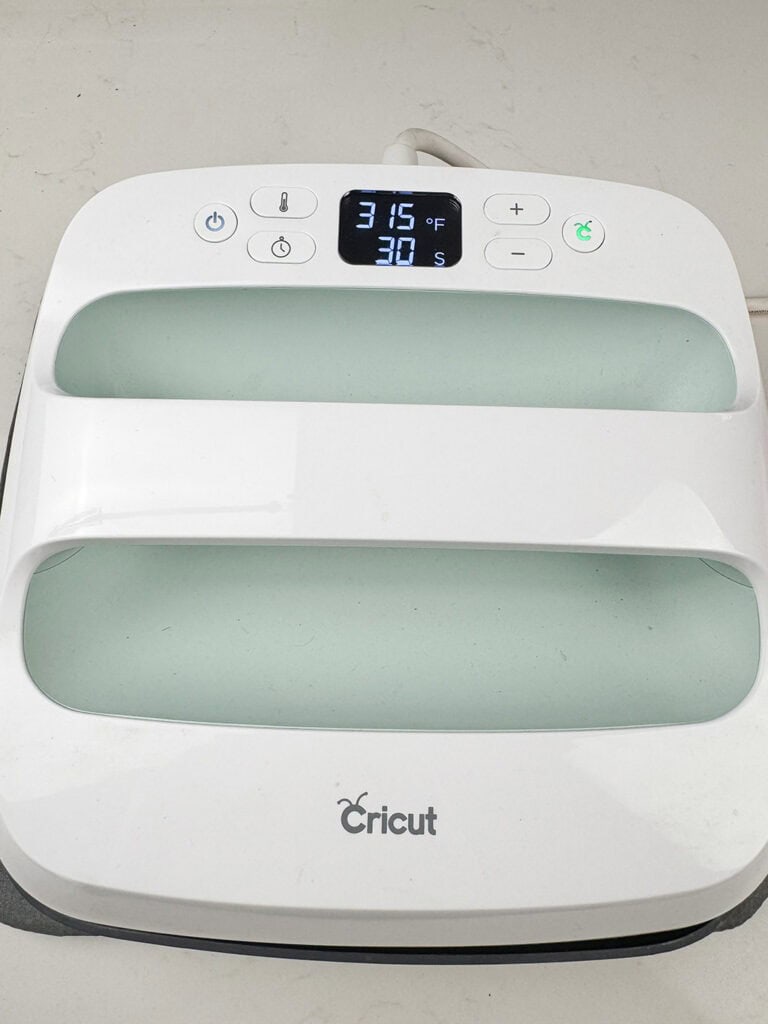
Then I turned on my heat press to warm up and placed the bolton the pillow.
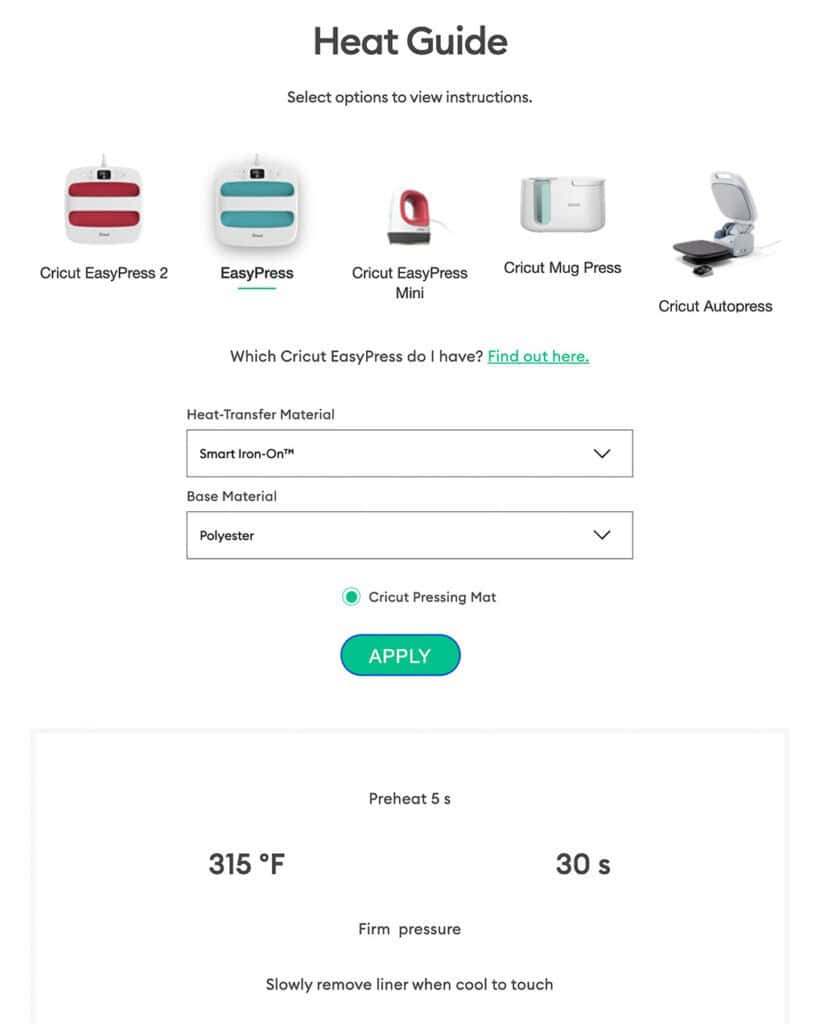
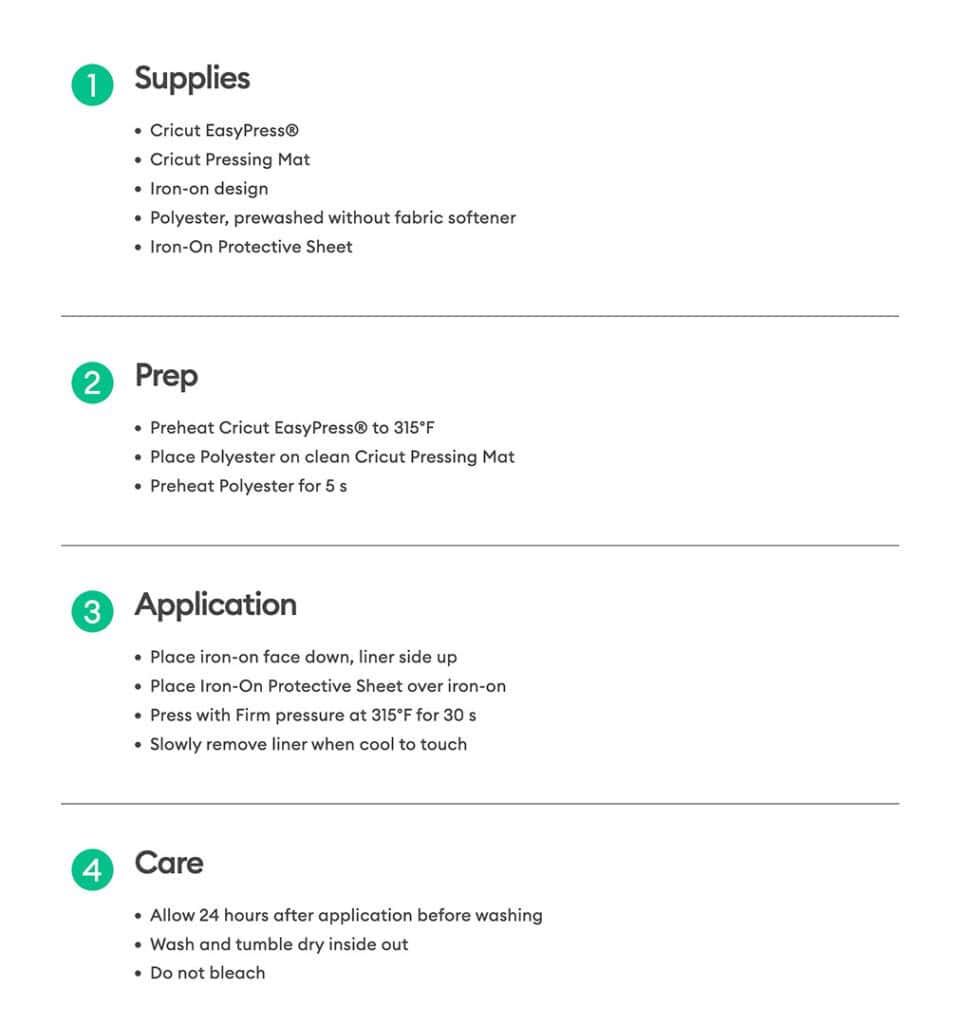
Using Cricut’s heat guide I selected my materials and it told me exactly the settings that needed to be used.
For 30 seconds I firmly pressed the heat press down onto the iron-on design.
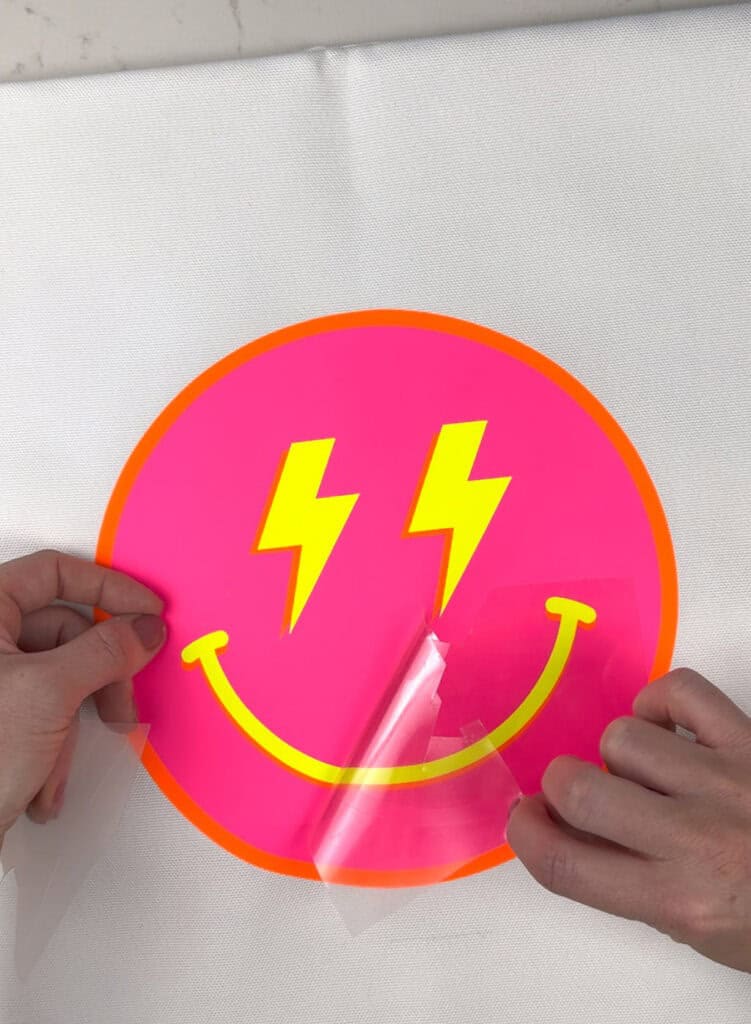
Once the design cooled I peeled the backer away revealing a perfect lightning bolt. I repeated the exact same steps with a pink lightning bolt for a layered look.
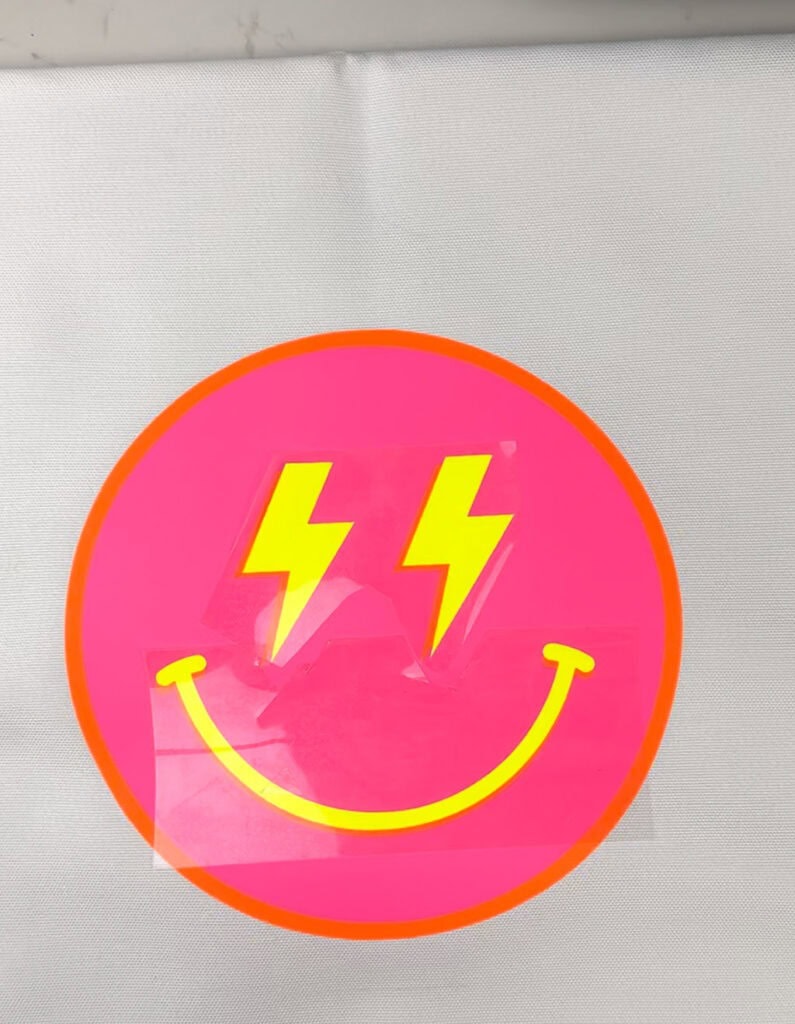
The next DIY neon pillow had to be a smiley face!
Once again I went into Design Space and chose a design.
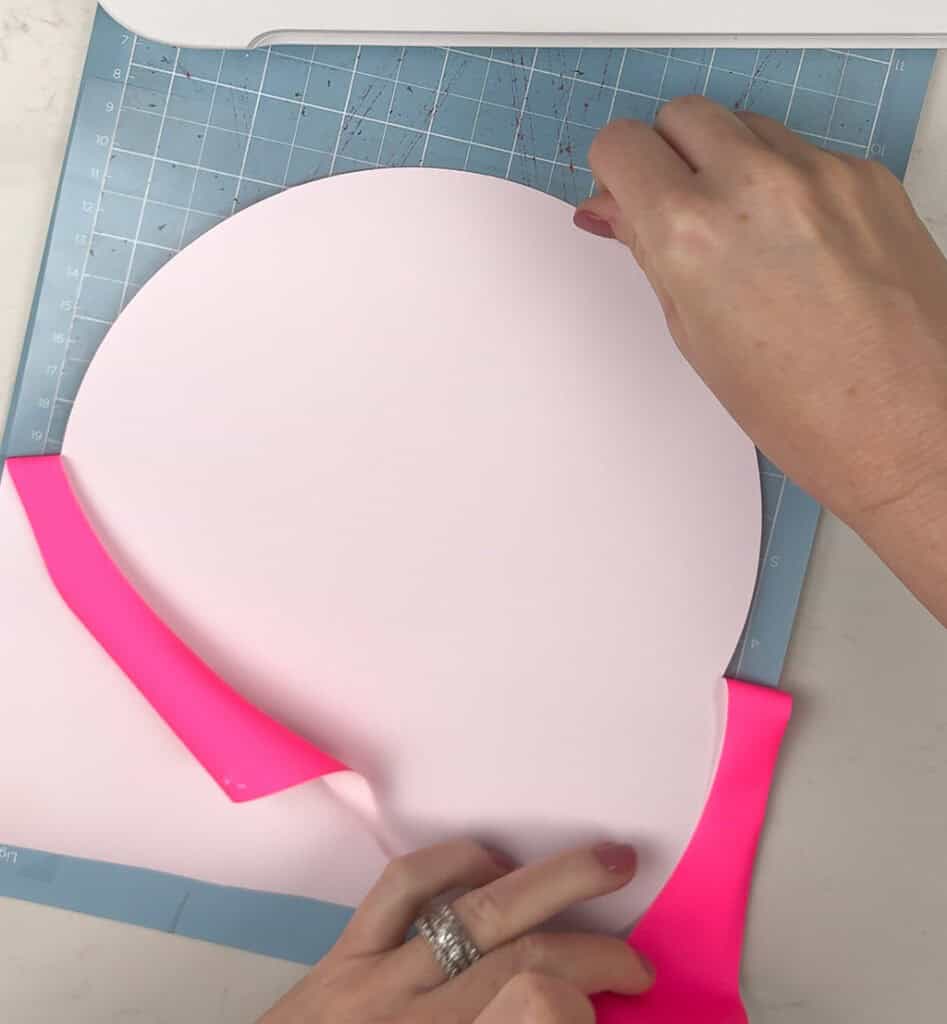
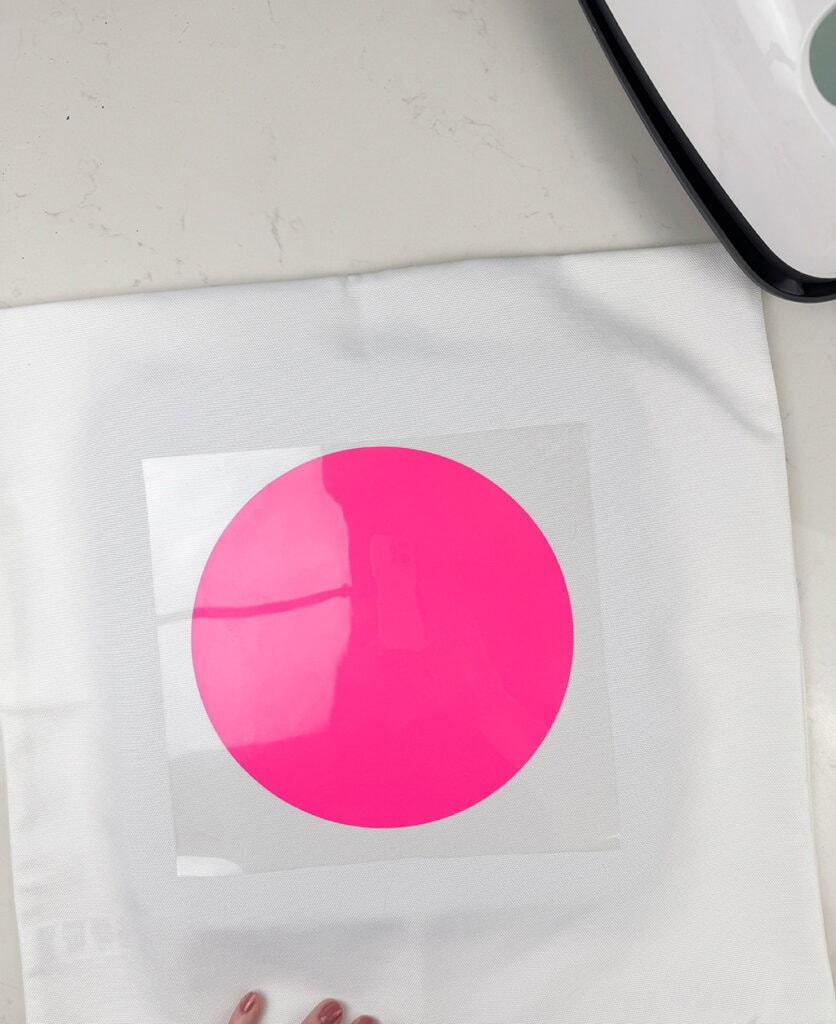
We wanted the smiley background to be a solid color, so I cut a circle and ironed it onto the pillow blank to start.
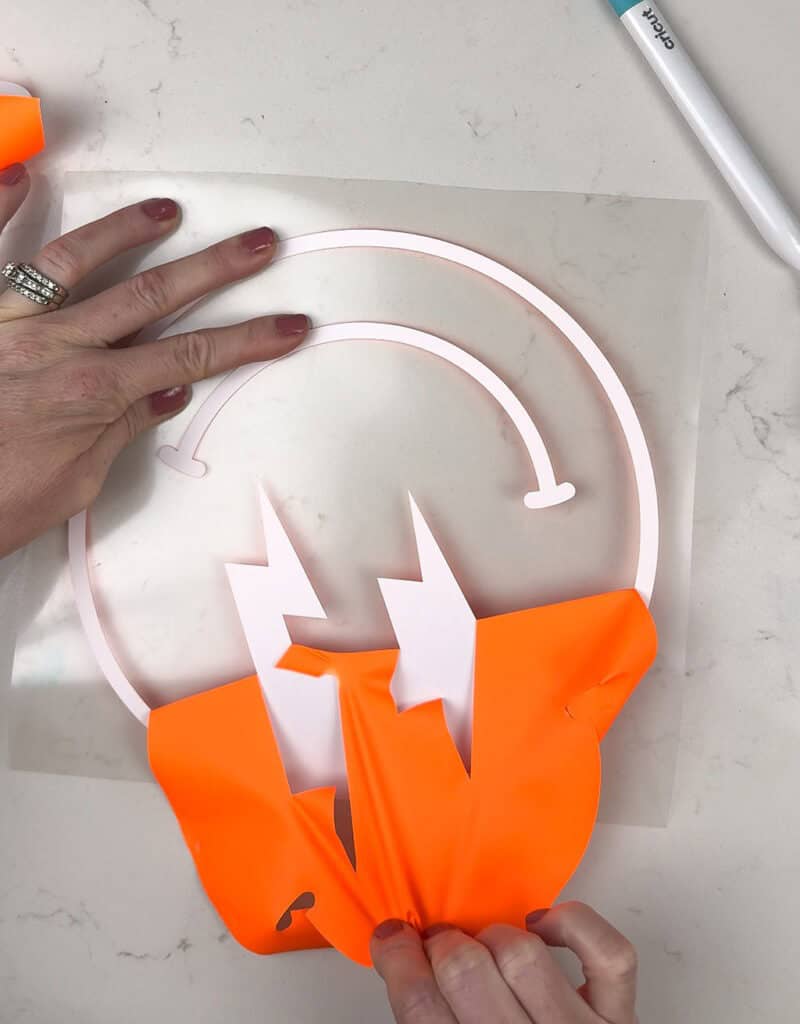
Then I cut out the smiley details in orange to layer over the top of the pink.
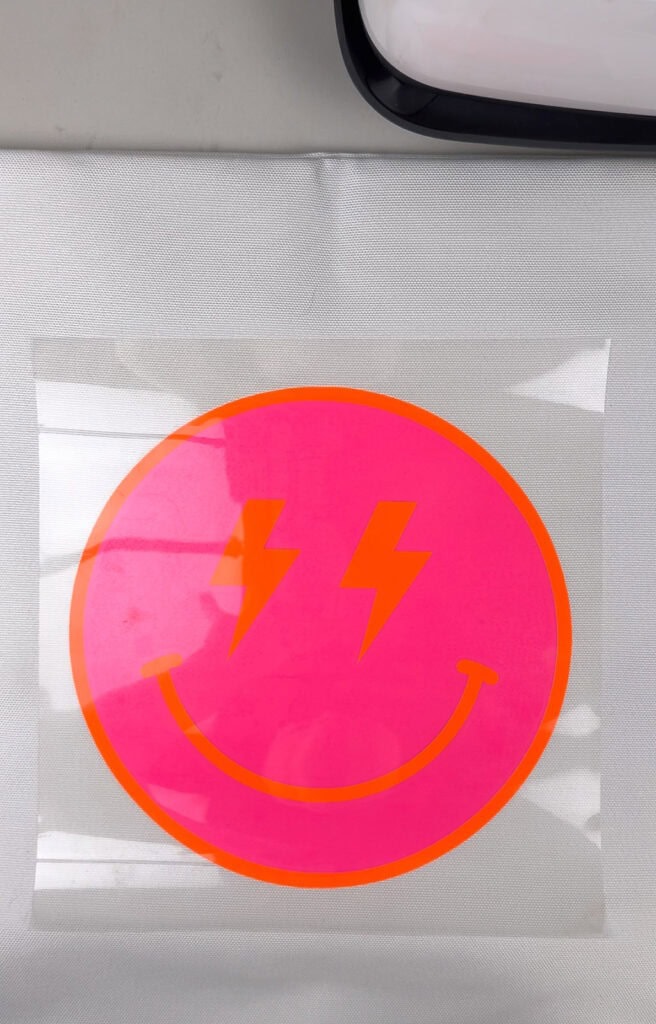
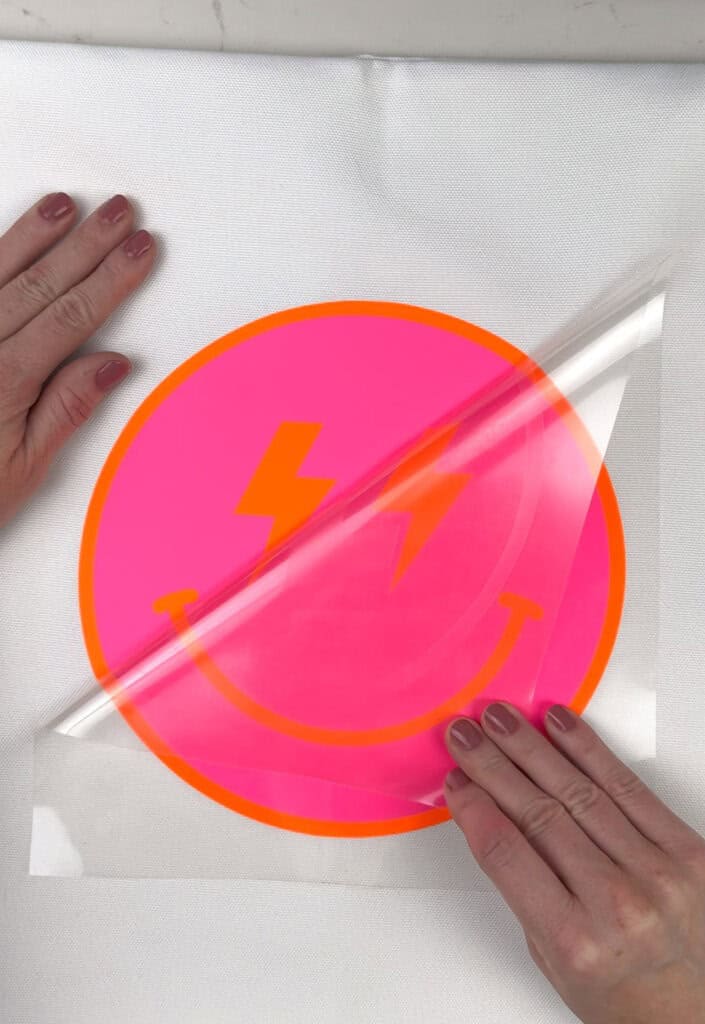
And to finish off the design I added some neon yellow details to really make the design pop!
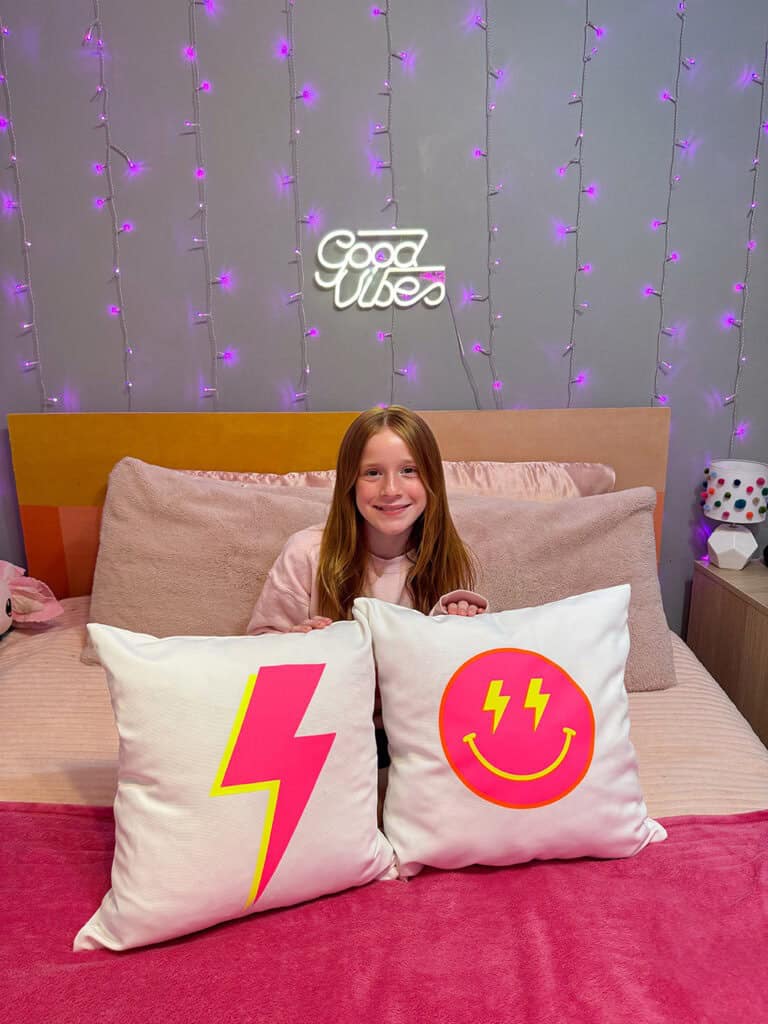
Each pillow took about 10 minutes to make and saved us sooo much money vs. buying pillows at a store.
My daughter absolutely loves how these DIY “preppy” neon pillows turned out, and she has already requested more for friend gifts. 🙂
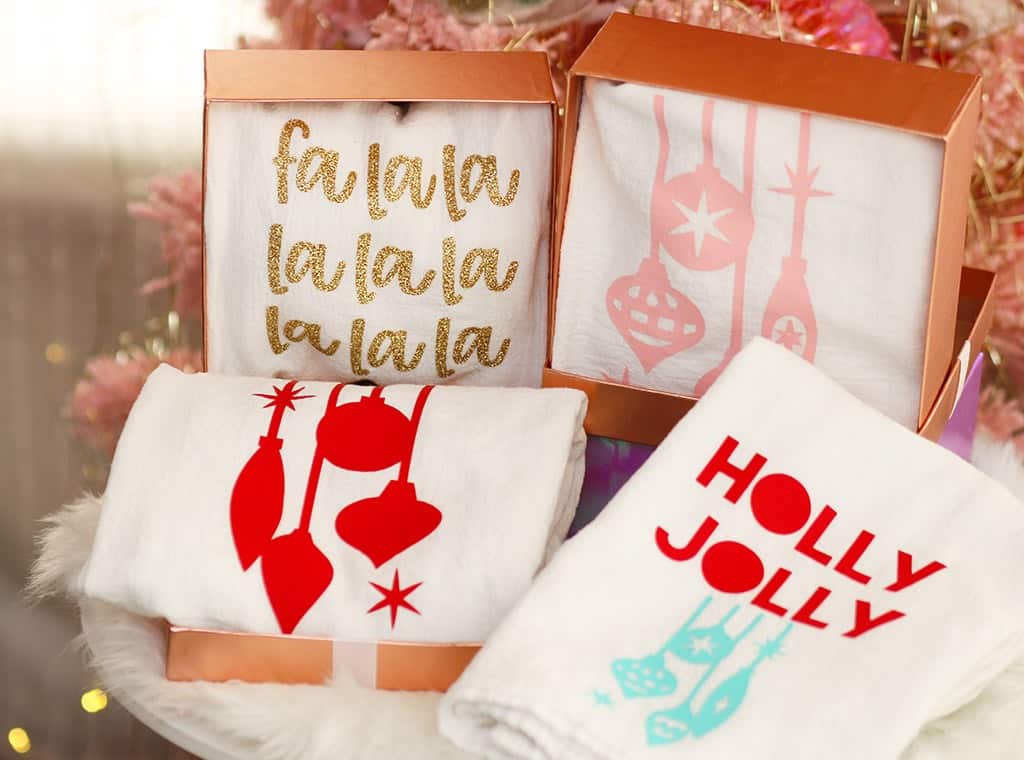
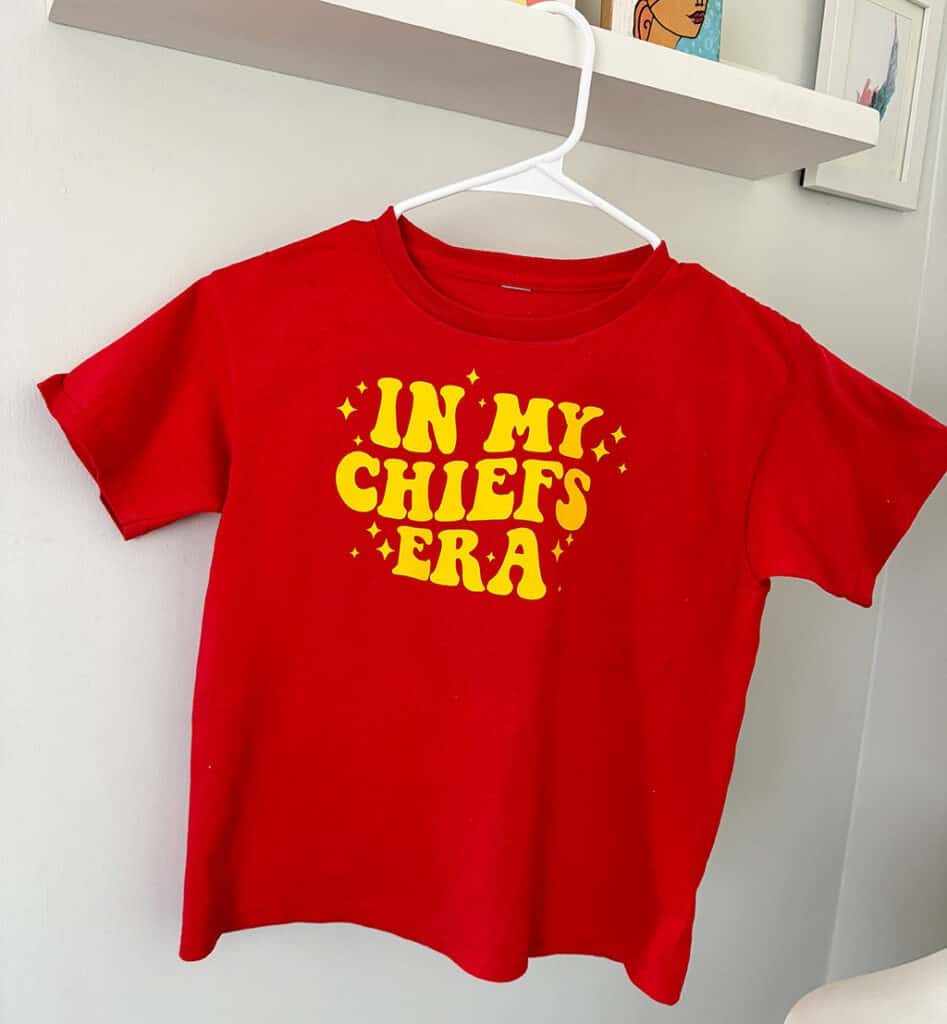
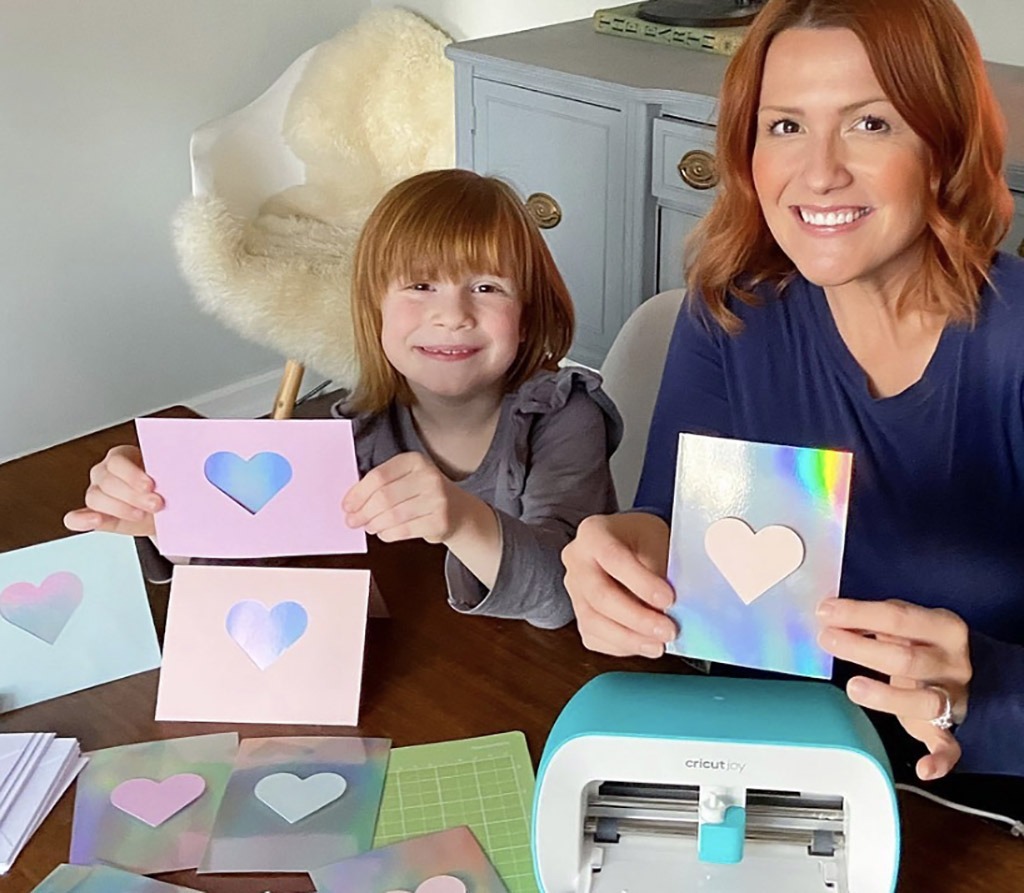
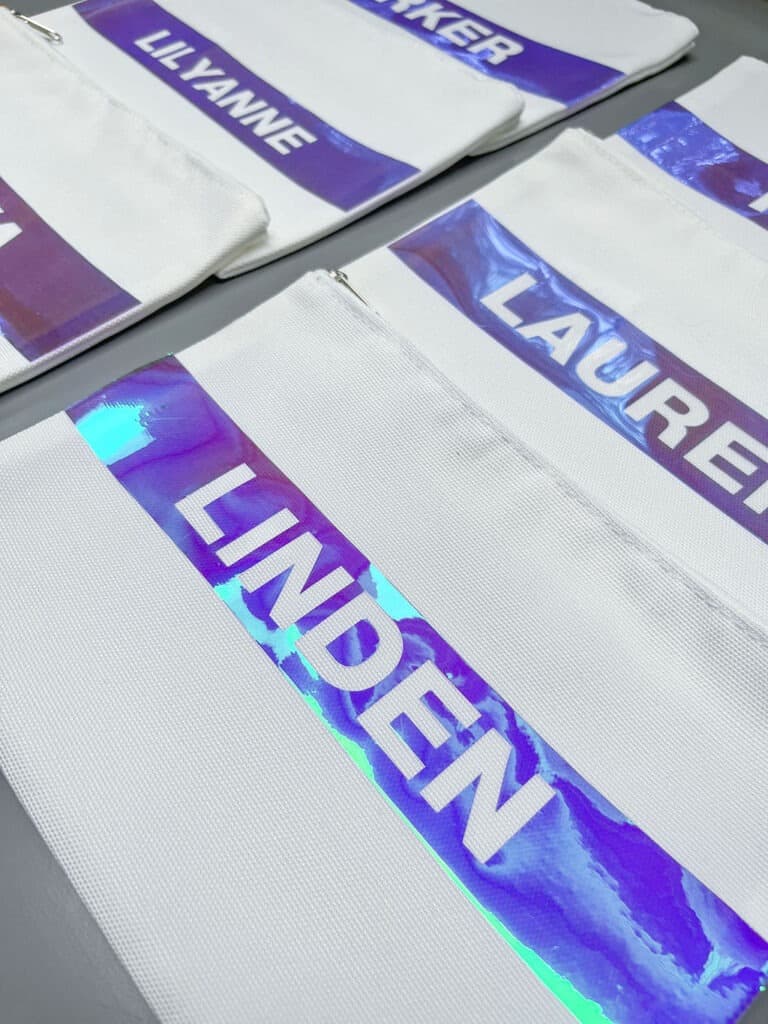
You might also like these other projects I’ve made with my Cricut – click images to get tutorial links: