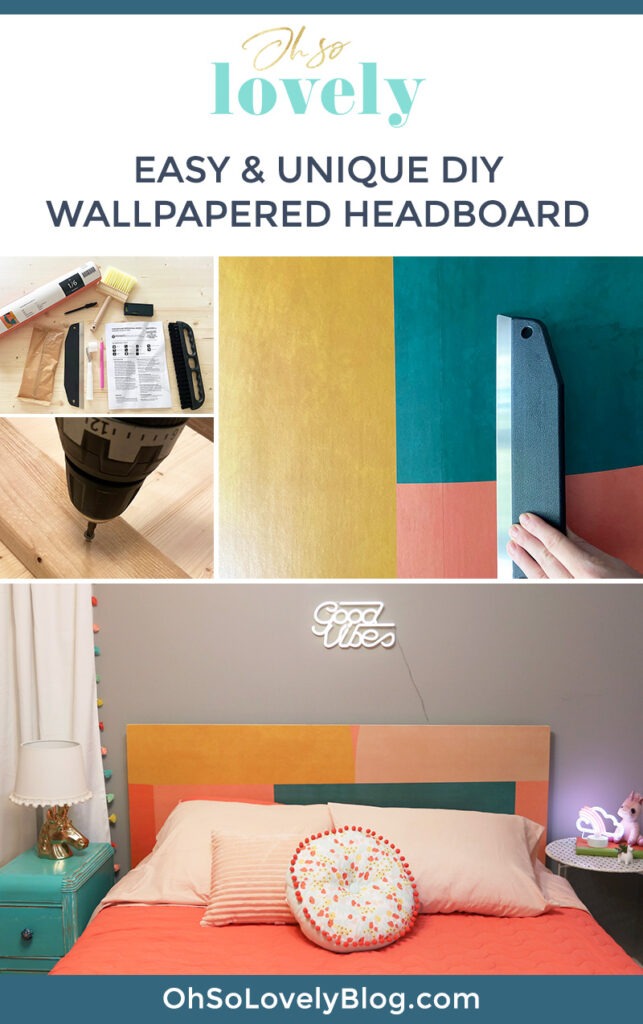
Last weekend I made an easy DIY wallpapered headboard all by myself, and it turned out so cute!
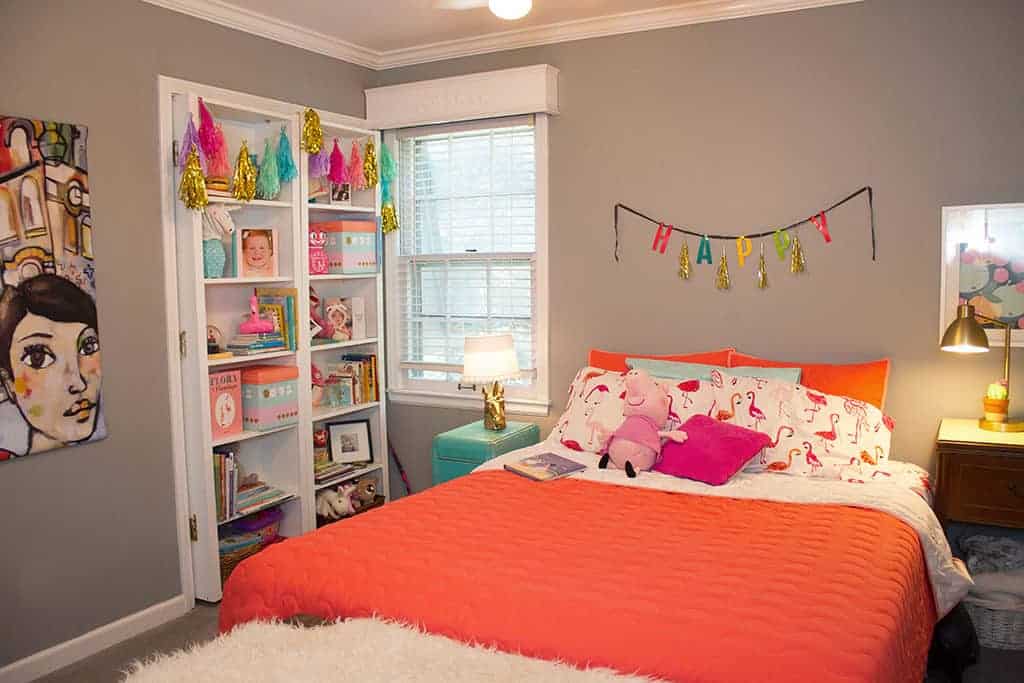
Our seven year old daughter absolutely loves her bright and colorful bedroom, but we decided it was missing a focal point that a headboard can provide.
I started brainstorming ideas to make our own DIY headboard, and then I received an email from an amazing company, Photowall. The timing was perfect!
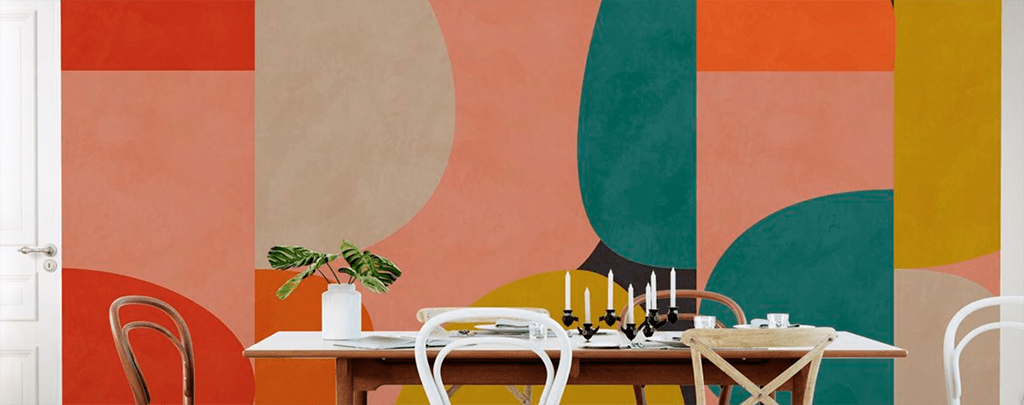
I browsed through the Photowall website and fell in love with so many wallpaper options, but when I saw the “Circles Mid Century VIII” pattern I knew I found the perfect option!
You can use my discount code ohsolovelyblog25 for a 25% discount on any product on the Photowall website. Valid through Sept. 2, 2020.
I went to the garage to see what kind of materials we had on hand from past projects that I could use for this project:
– Project panel board from Metrie
– 2 scrap 2×4 boards
– Drill and screws
You can use my discount code ohsolovelyblog25 for a 25% discount on any product on the Photowall website. Valid through Sept. 2, 2020.
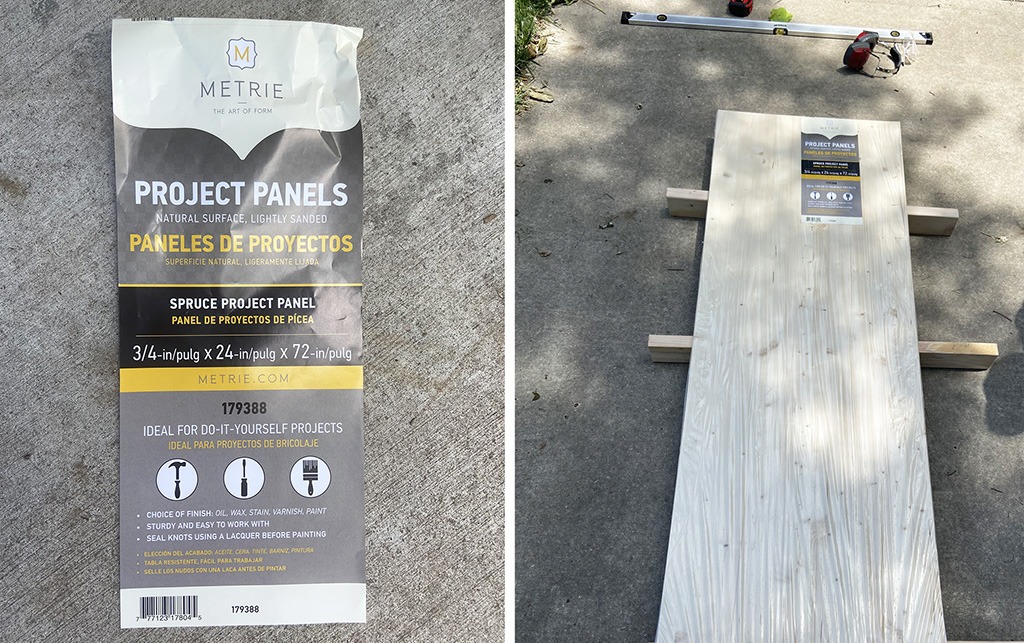
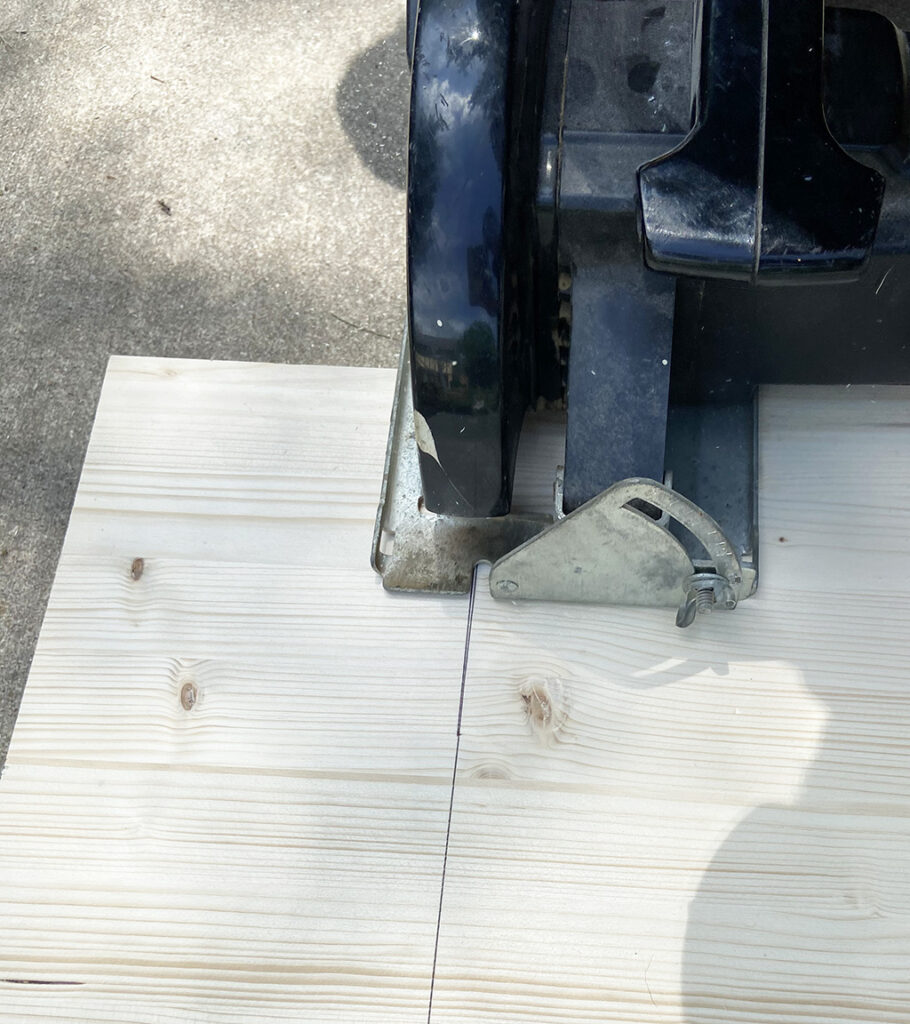
I measured the bed and decided I needed to saw 6″ off of the board width to make it work in the space.
Then I measured the freshly cut board and keyed in the dimensions for the wallpaper on the Photowall website (I ordered extra material to use on future projects).
I placed my order and when it arrived a few days later, I got to work!
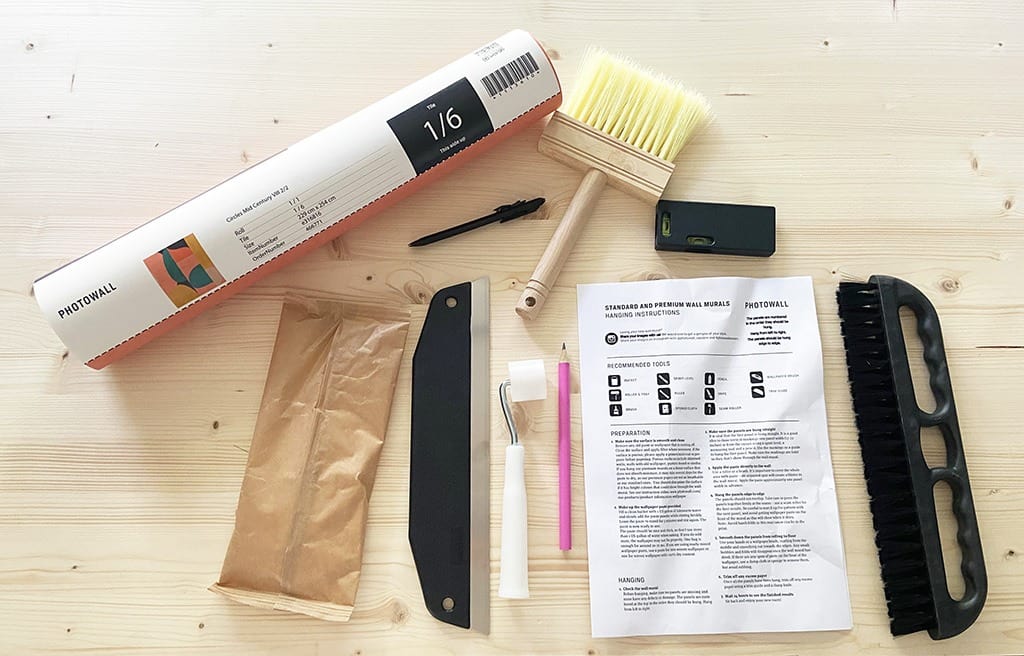
I gathered my wallpapering supplies.
– Wallpaper kit (you have the option to add this to cart in the checkout process)
– Scissors
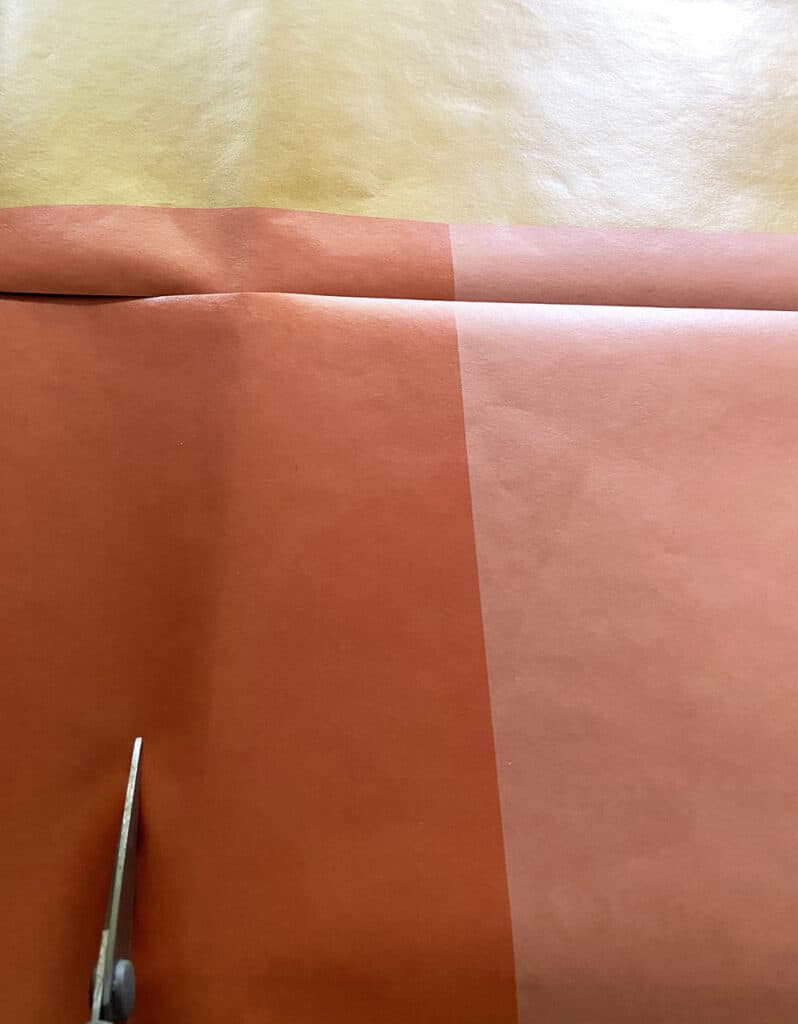
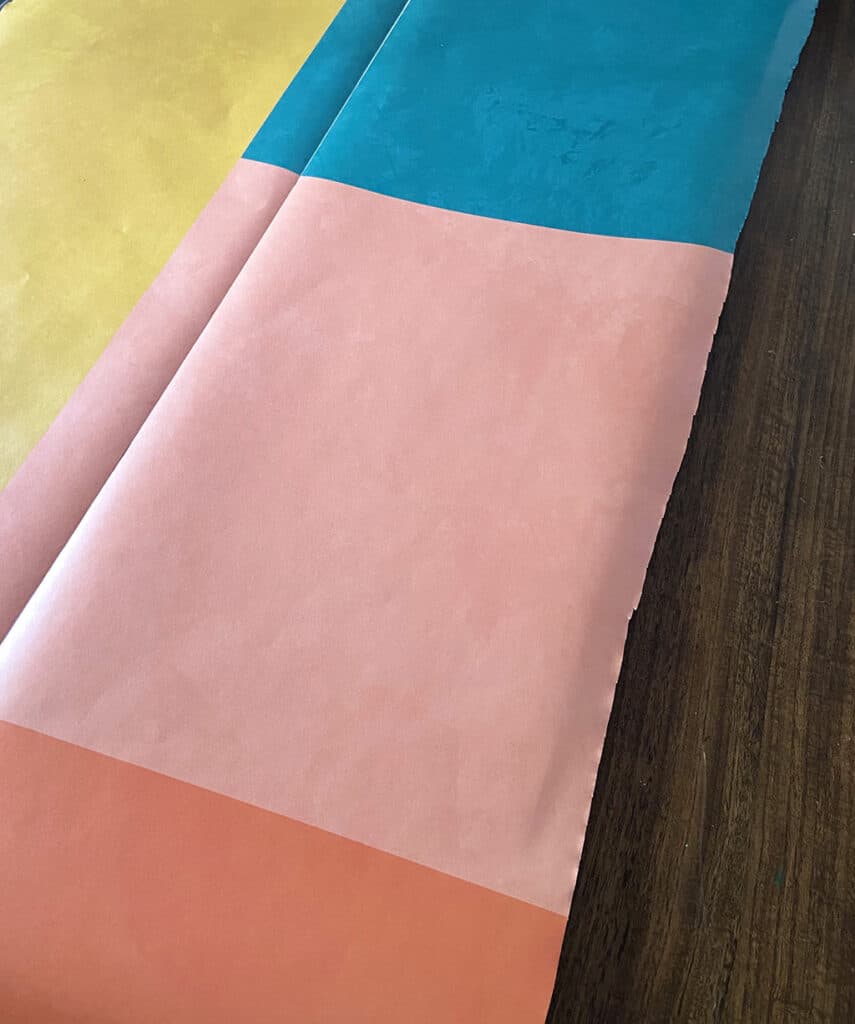
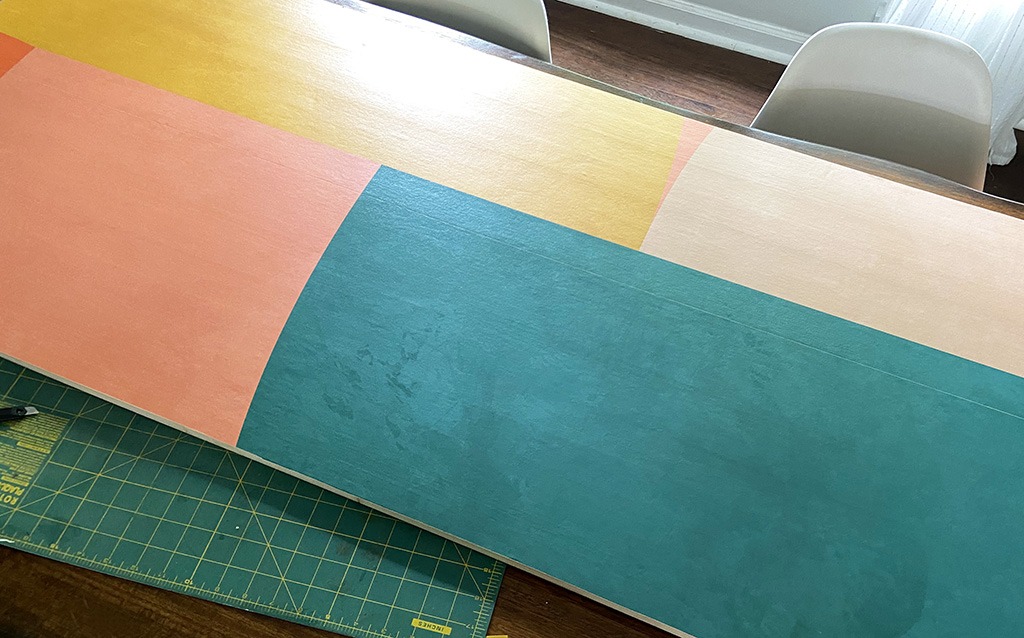
To get started, I unrolled the wallpaper panels and cut them into sections. Then it was time to decide exactly how we wanted the headboard pattern to look.
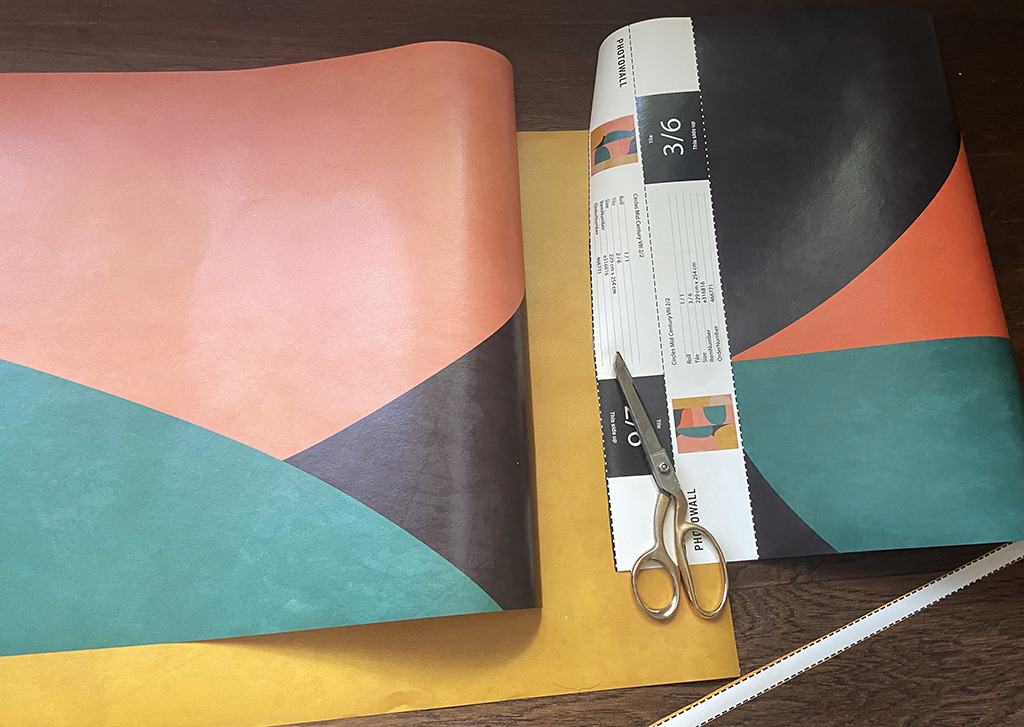
I love that the wallpaper panels have a miniature image of the entire section. Using my scissors, I cut it into small panels and it was super helpful in helping us decide which panels we wanted to use.
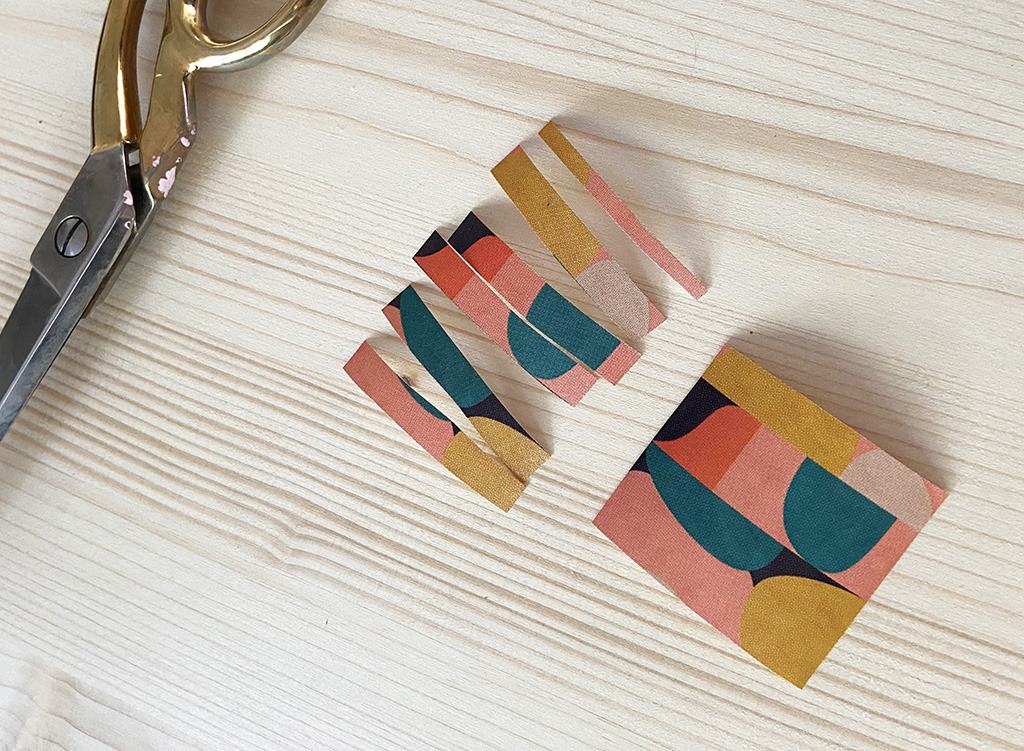
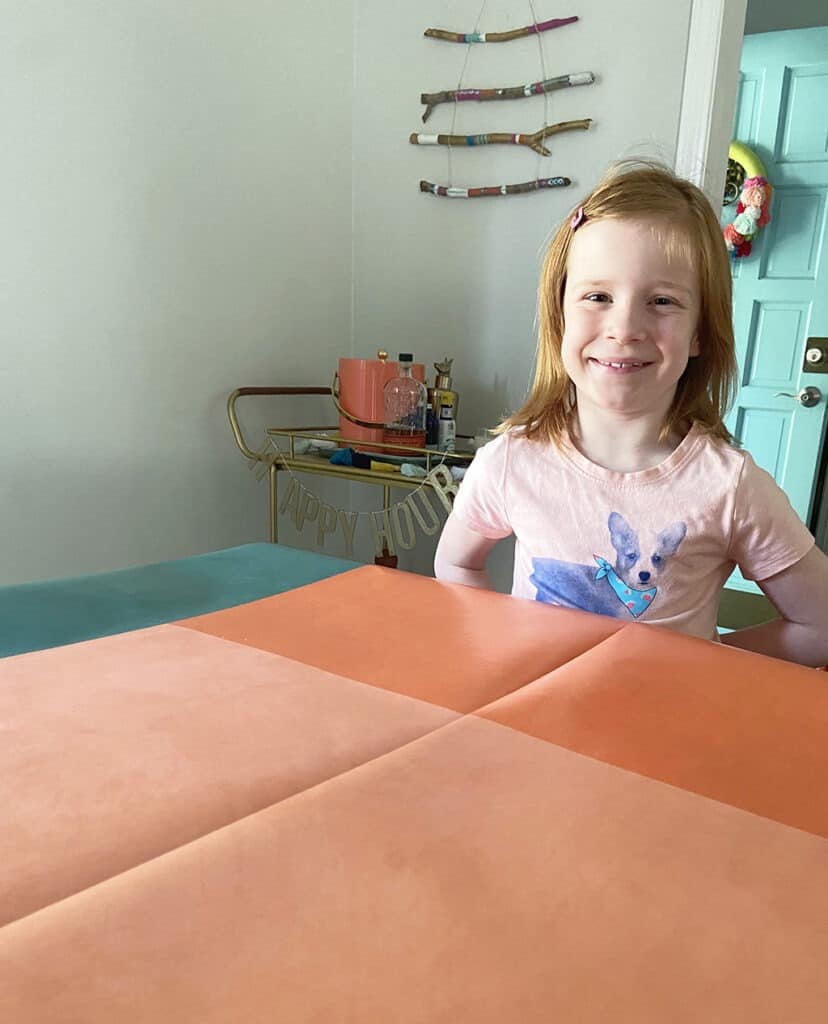
Vivi got in on the decision-making process. We went up to her room to visualize how each section would look in the room.
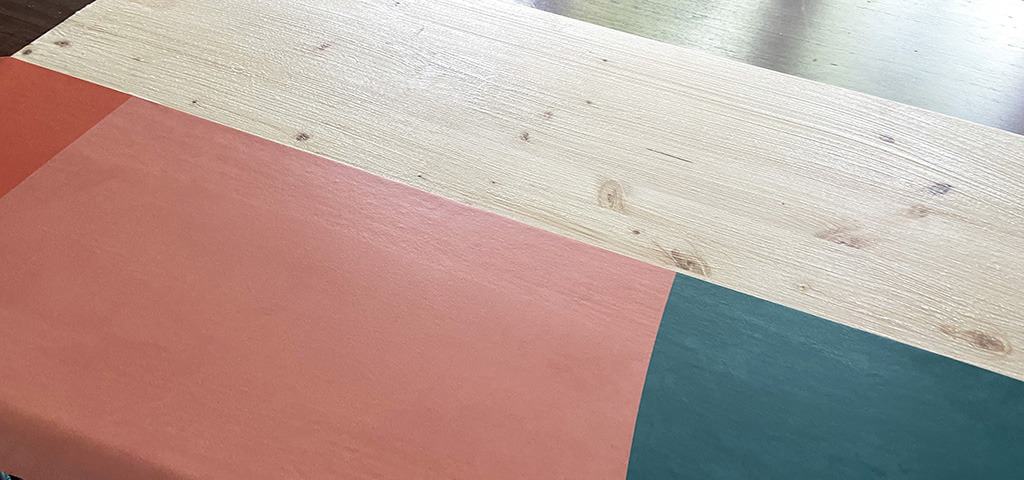
The decision was made, and I started wallpapering.
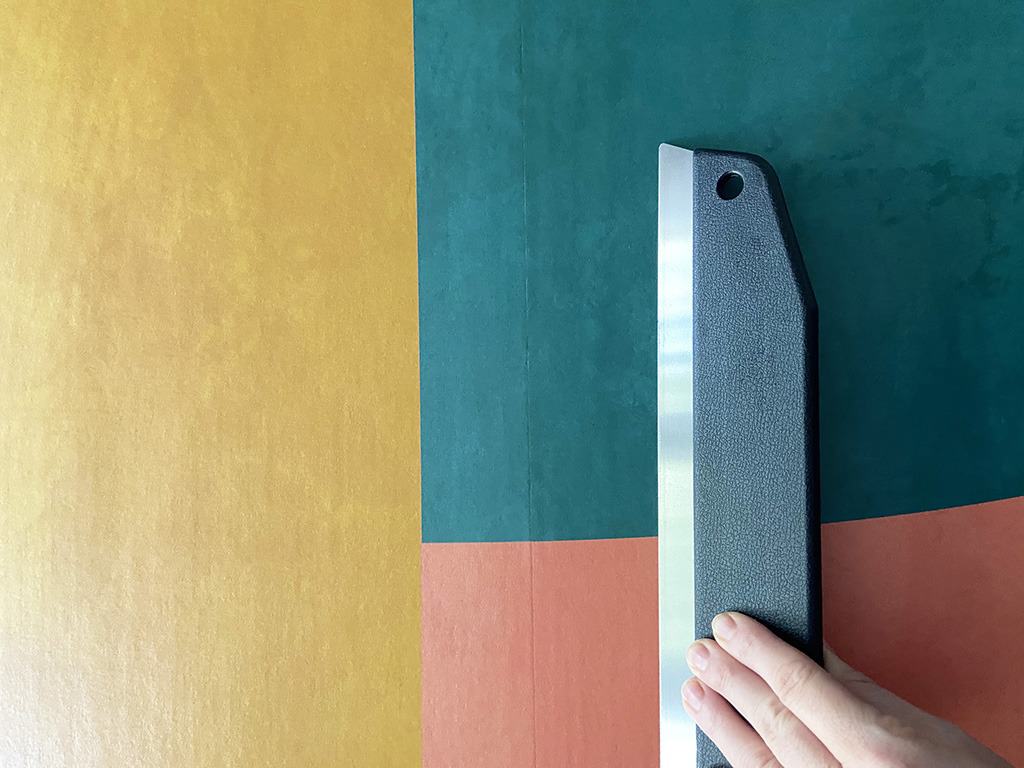
I placed the panels how I wanted them, and trimmed off the excess.
This step doesn’t have to be perfect since you will be using the provided utility knife to trim off the excess at the end.
Next it was time to mix up our wallpaper paste following the provided instructions.
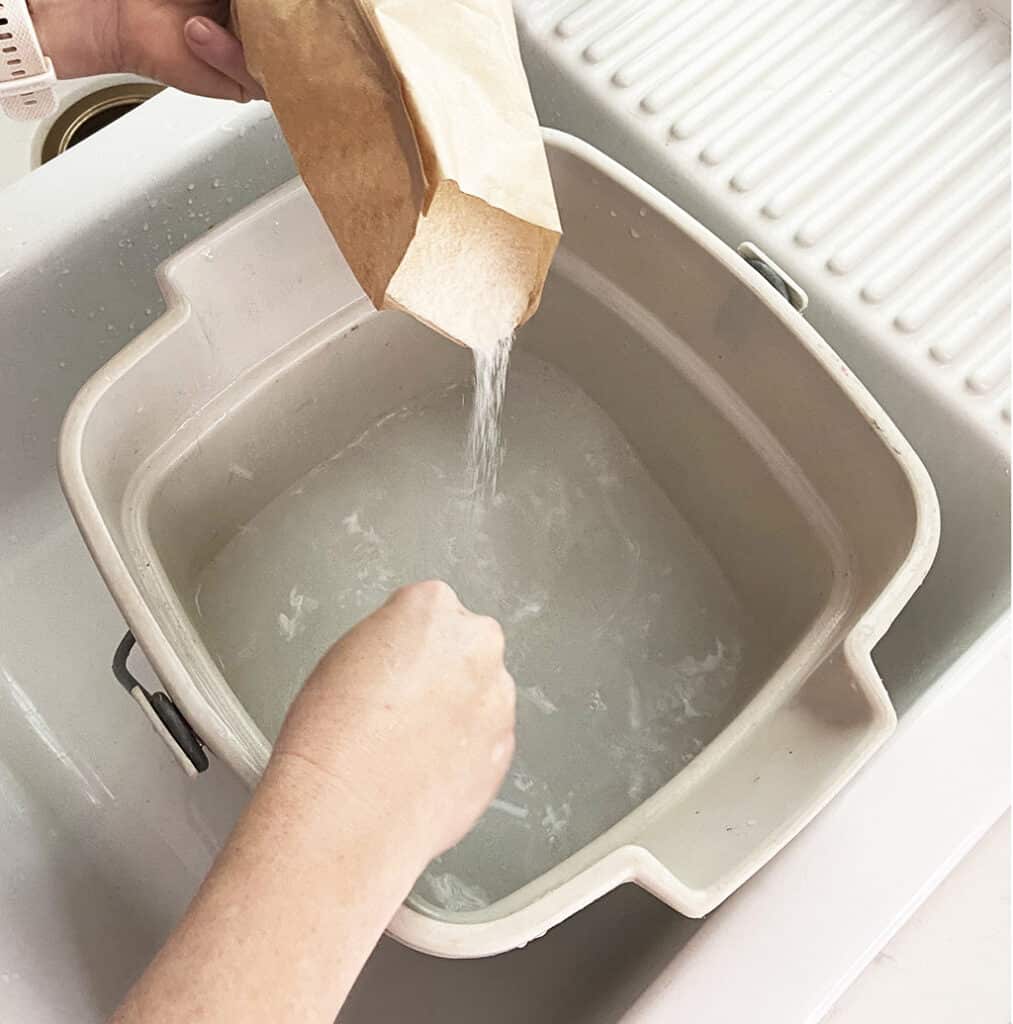
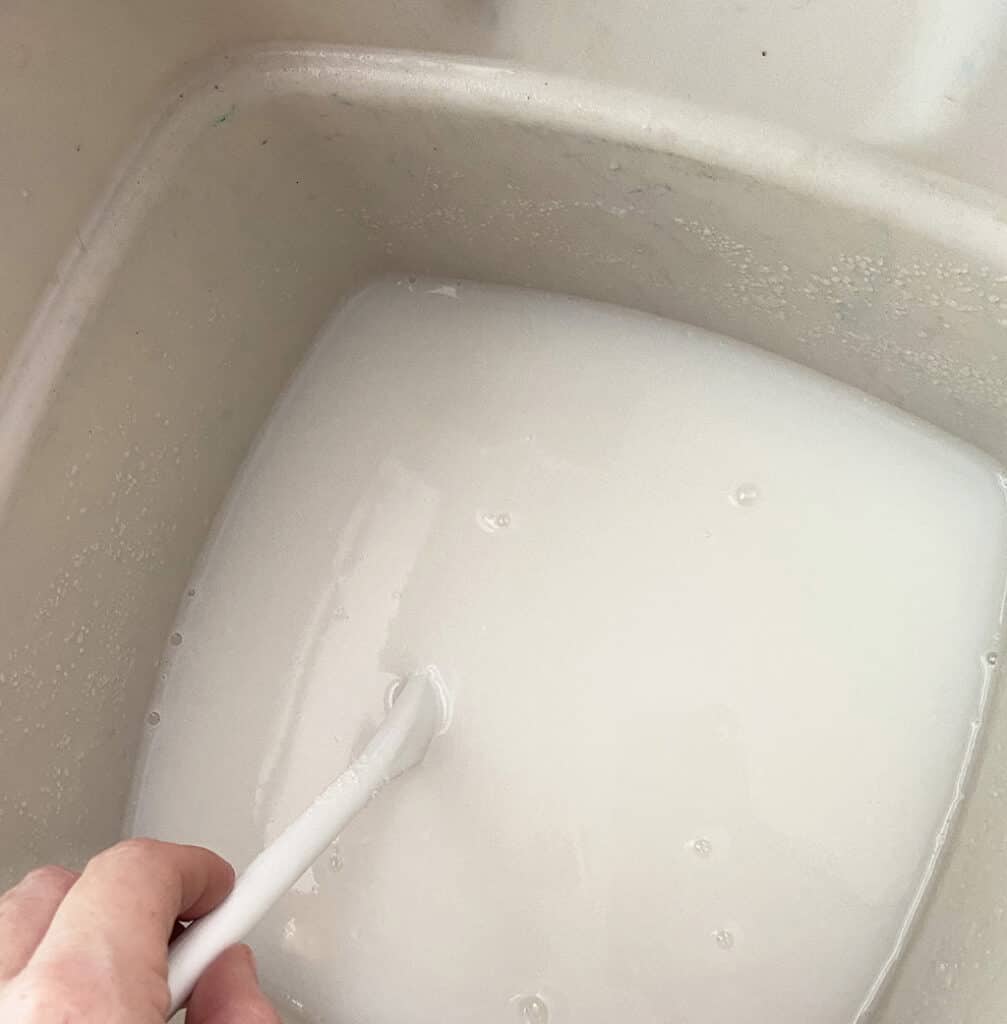
Once the paste sat for 5 minutes, I brushed it onto the board as evenly as I could.
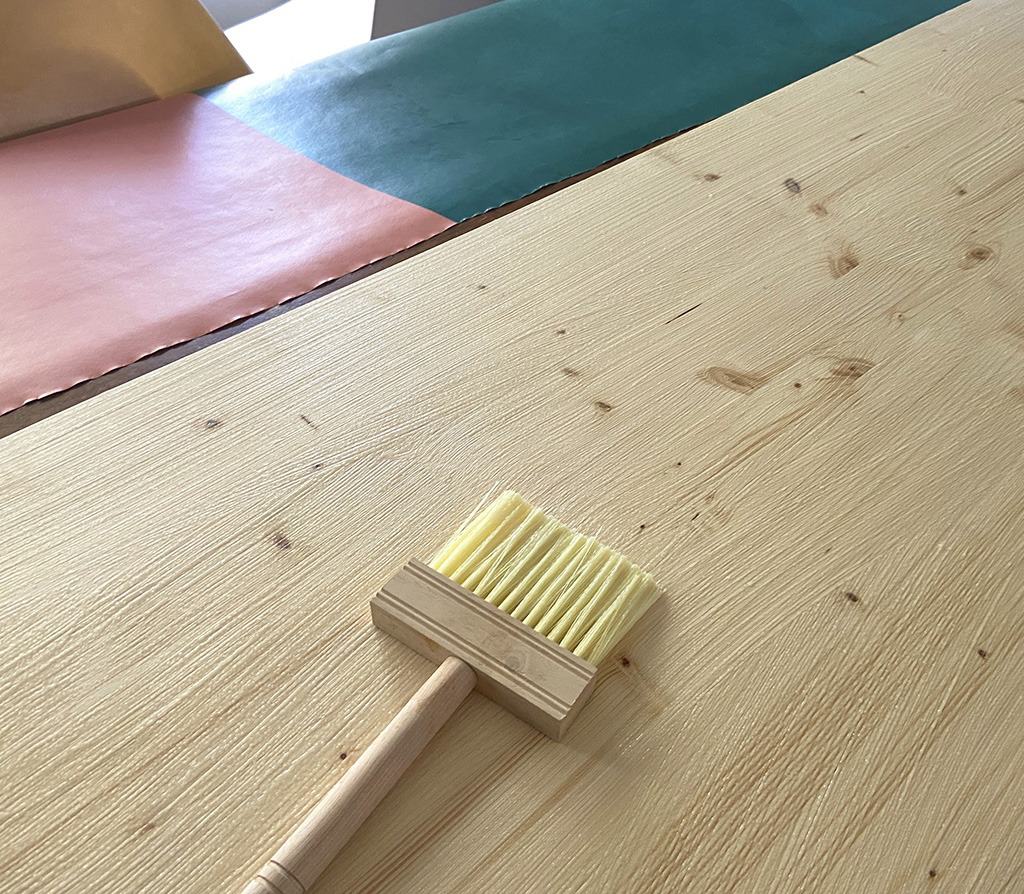
Then I started to carefully place the first panel down from edge to edge ensuring there were no bubbles.
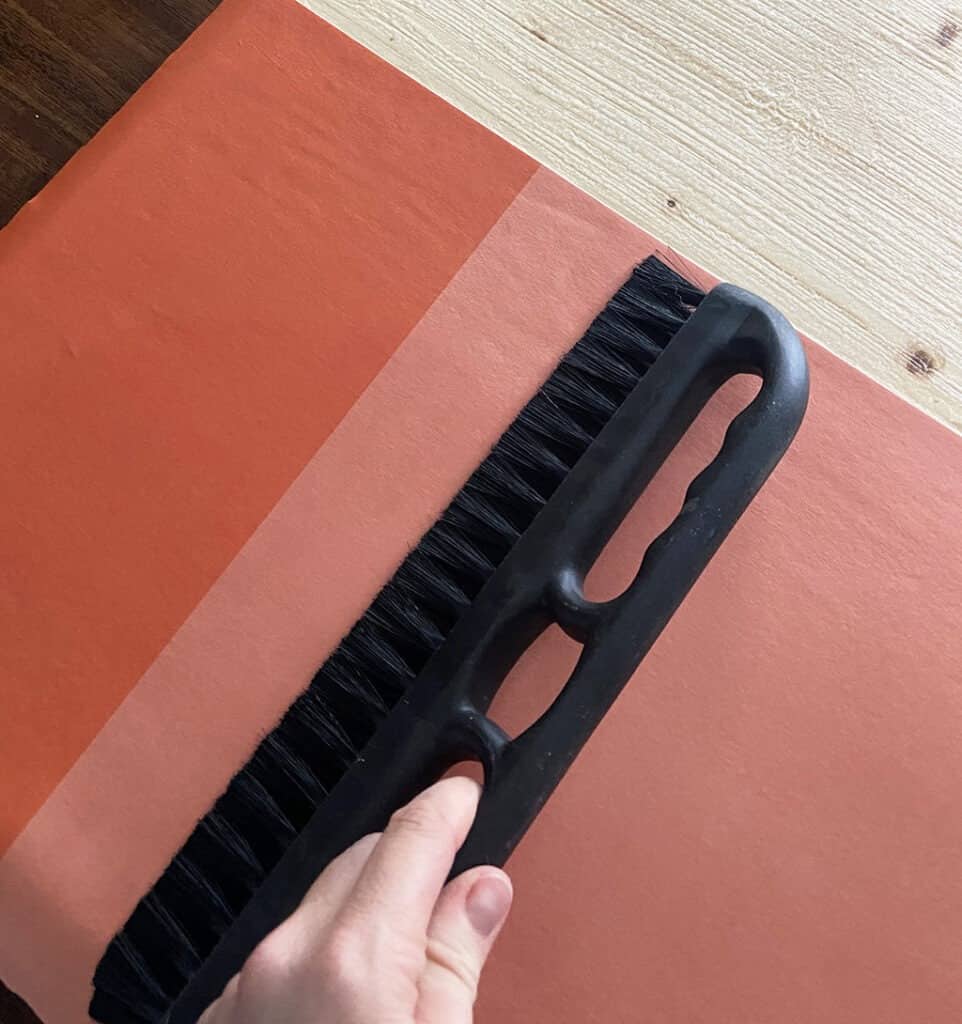
I used a combination of my hands, as well as the provided wallpaper brush and trim guide to ensure a smooth finish.
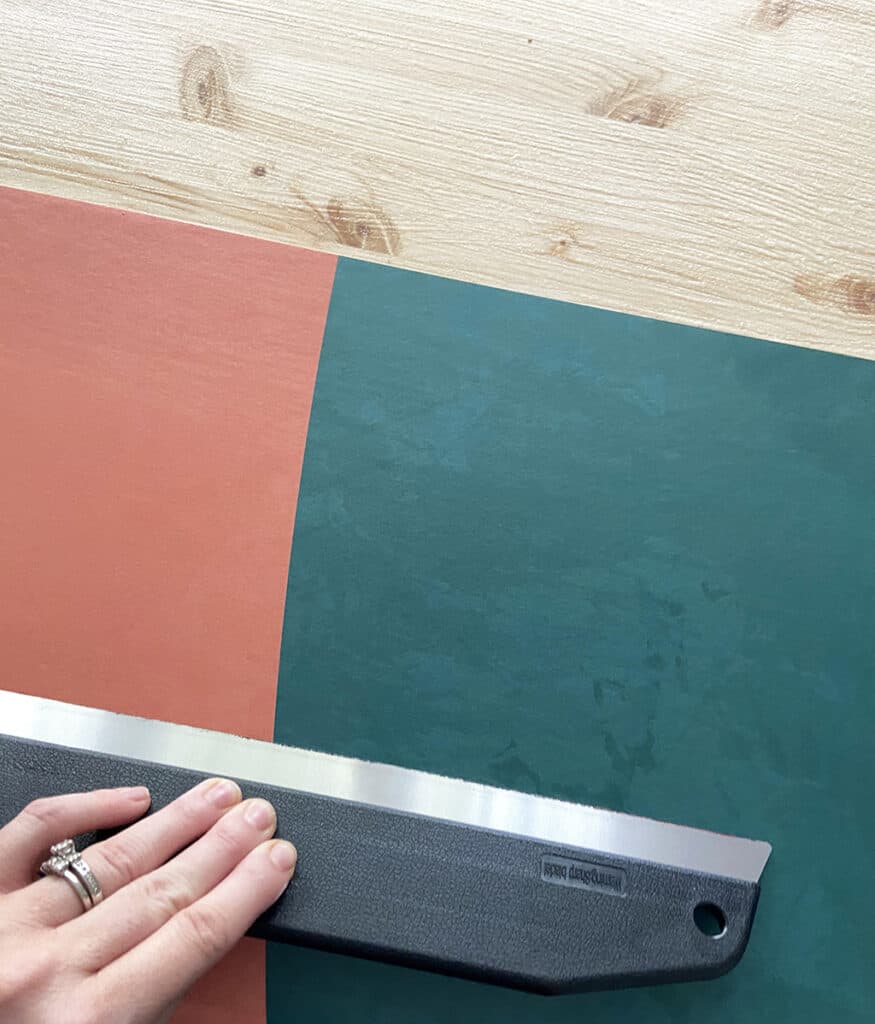
The seam roller helped smooth the seams out even more.
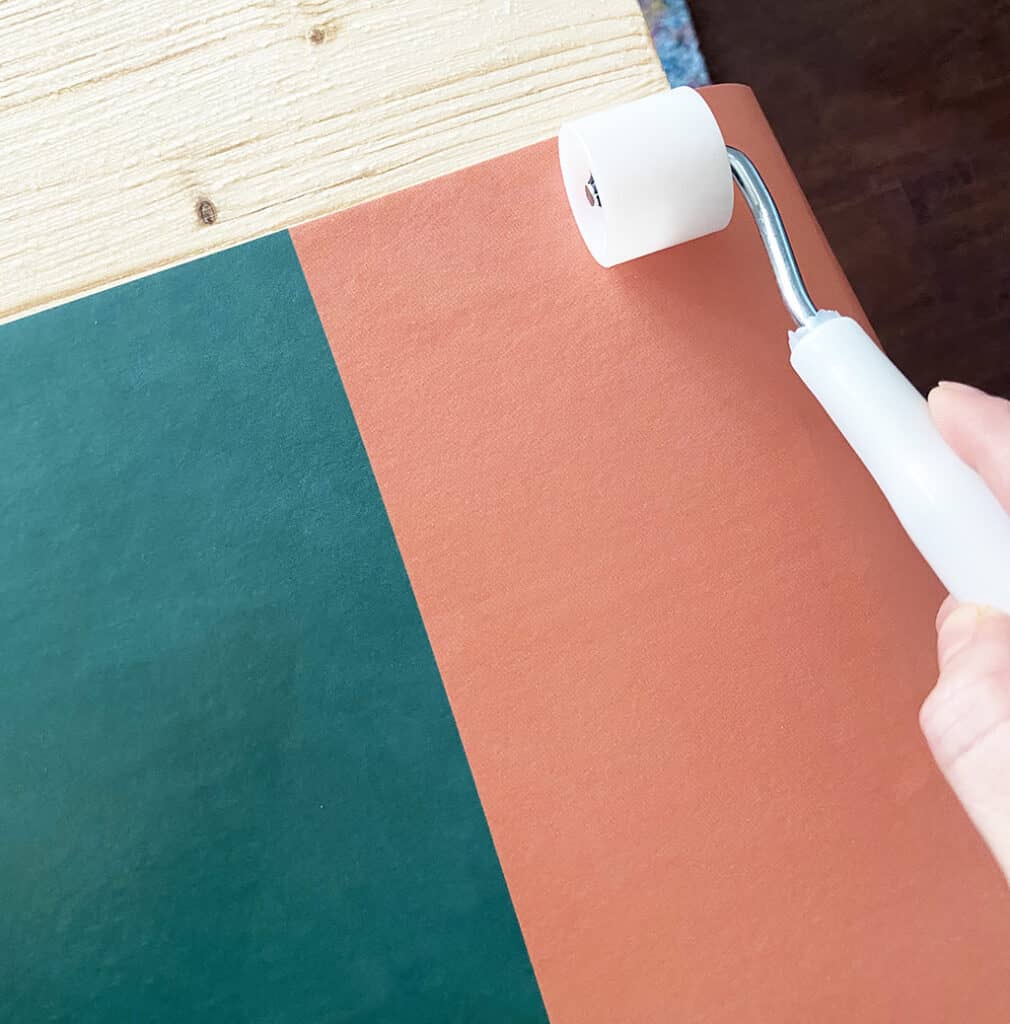
Once the first panel was down, I carefully added the second panel ensuring the seams were as clean as possible.
When I was happy with how it looked, I stepped away and let the wallpaper paste dry for 24 hours.
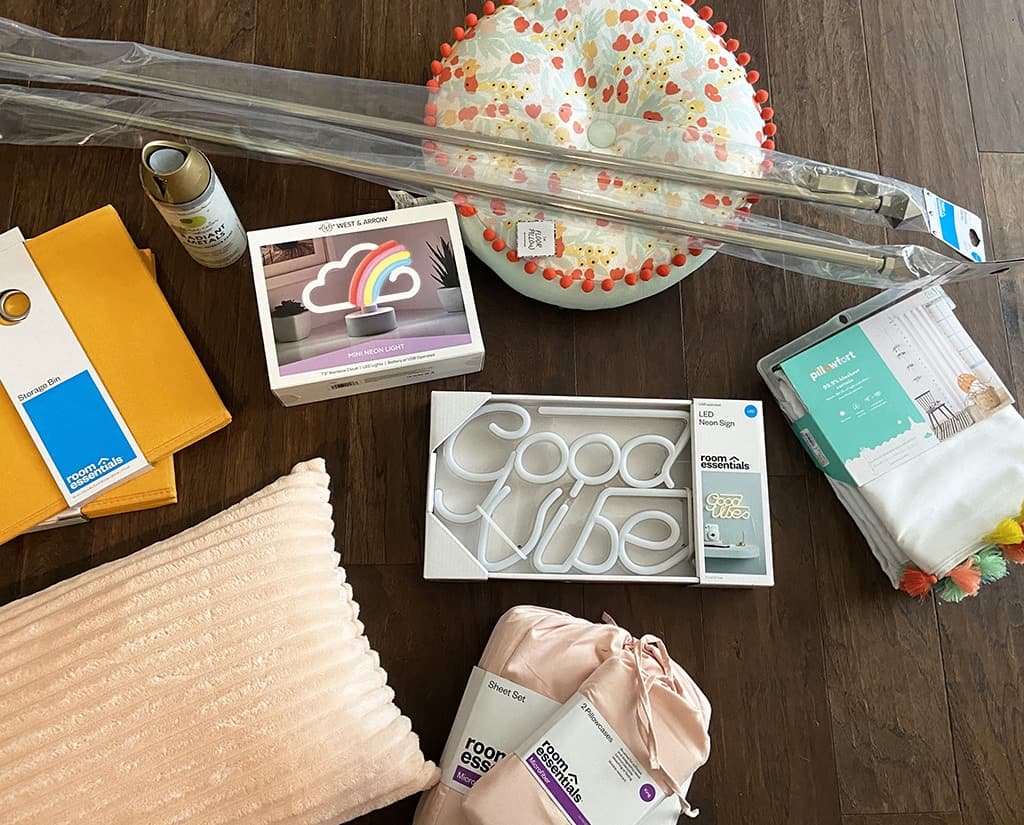
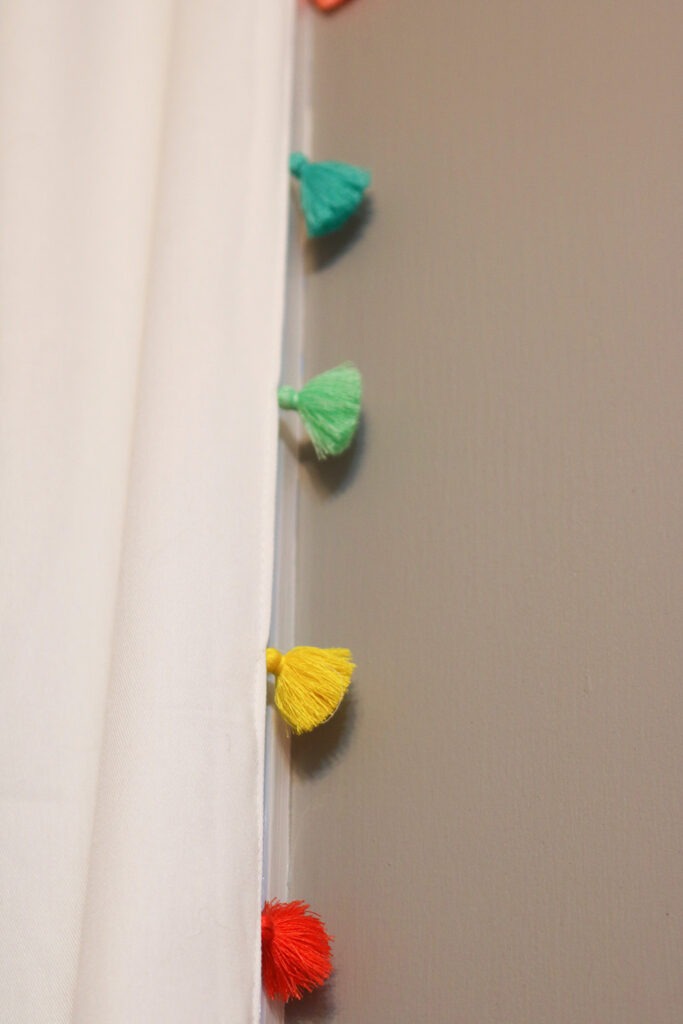
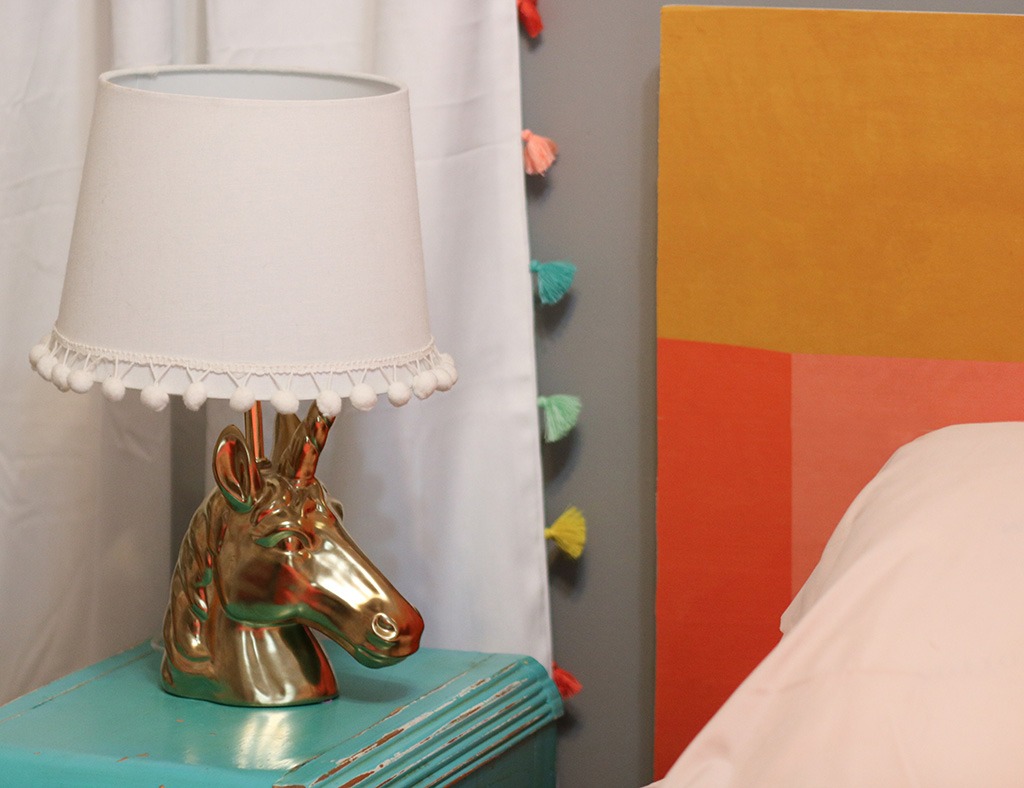
While I waited I added a few affordable accessories from Target to make it feel fresh and fun and to tie it all together.
The next day I flipped the board over and using the provided utility knife and a cutting pad, I trimmed off the excess wallpaper overhang.

Once I cut all the way around the board, I flipped it over to admire my work. I was in love!
You can use my discount code ohsolovelyblog25 for a 25% discount on any product on the Photowall website. Valid through Sept. 2, 2020.
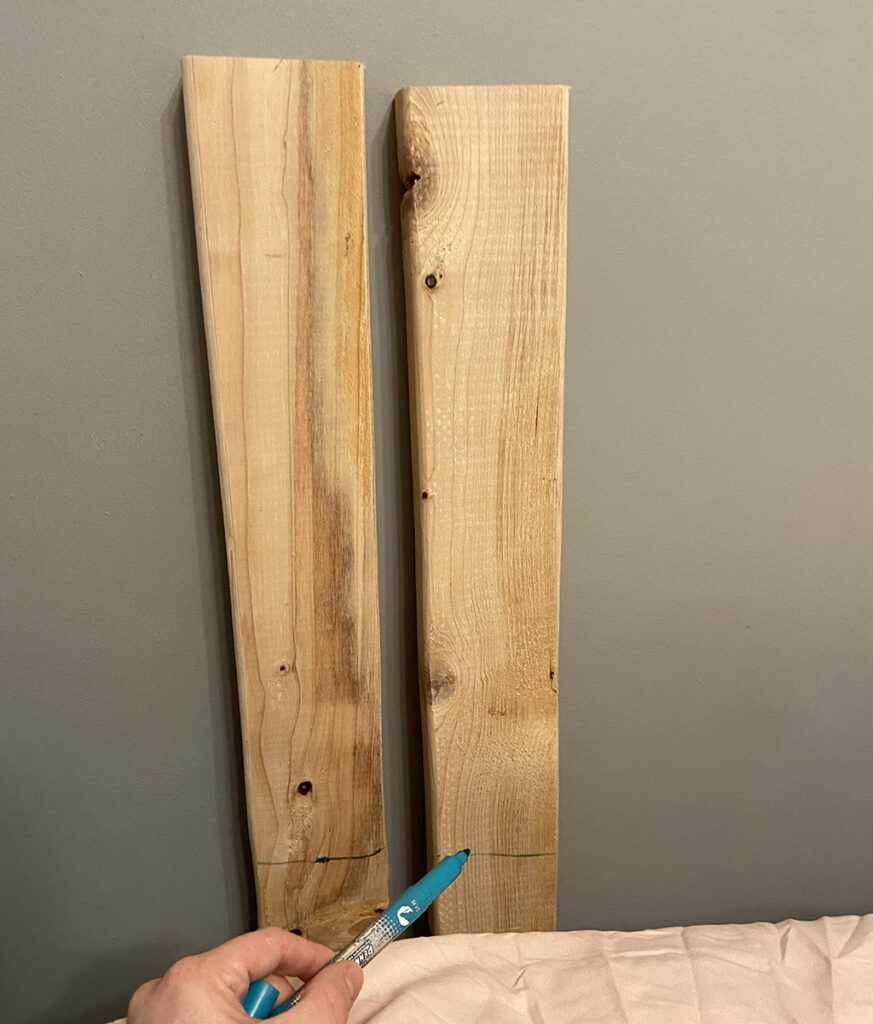
Next, I took my scrap pieces to Vivi’s bedroom so I could visualize how tall I wanted the headboard to be.
I decided I wanted to attach the boards to the headboard to make simple legs for it. They would be hidden behind the bed, so their appearance didnt matter to me.
Using a marker, I marked the board above the mattress top.
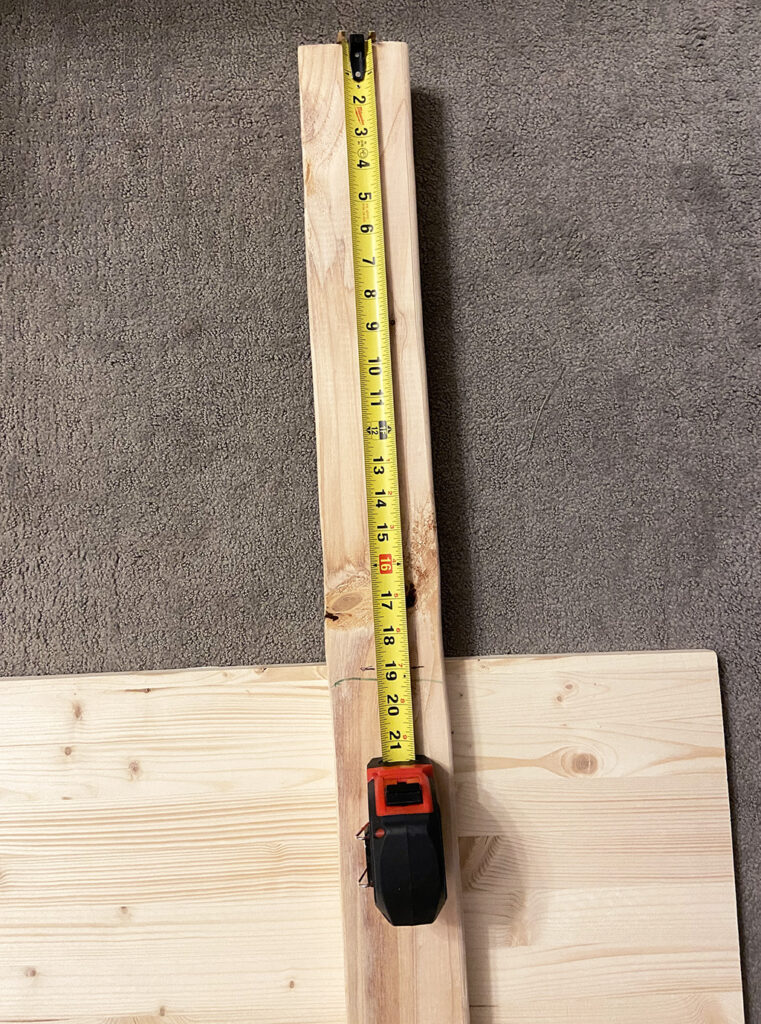
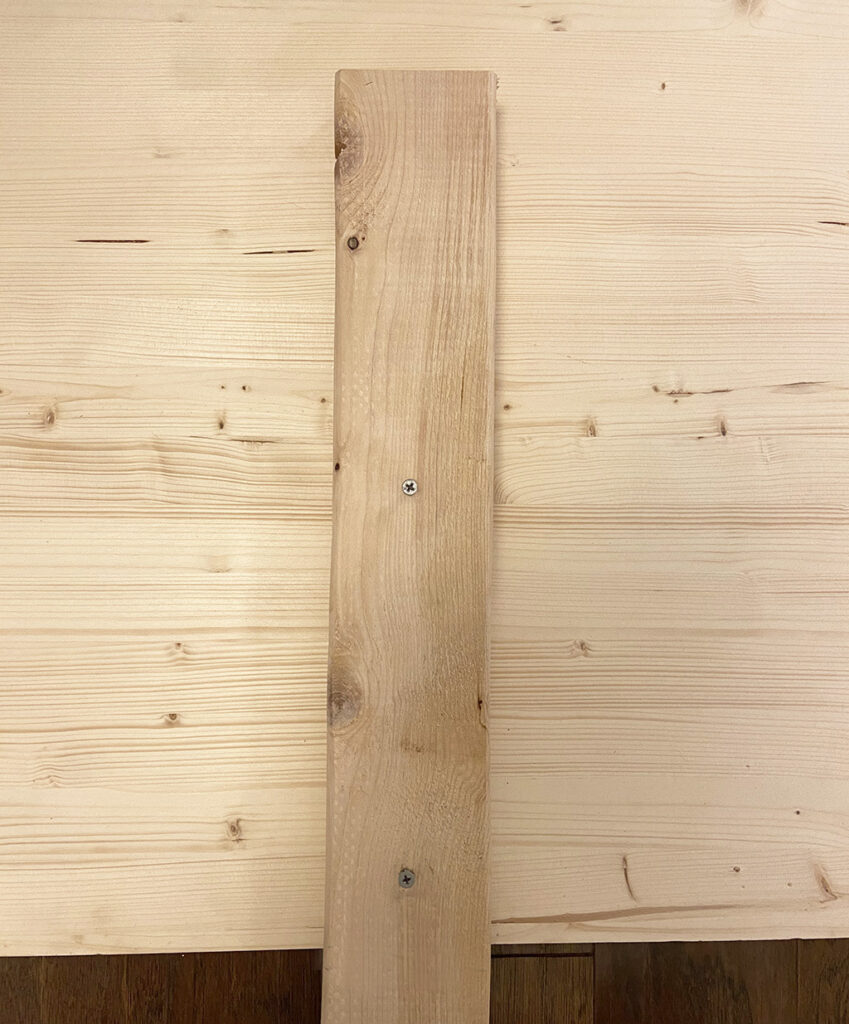
Then I took my tape measure and measured 19″ on both boards and marked more precisely.
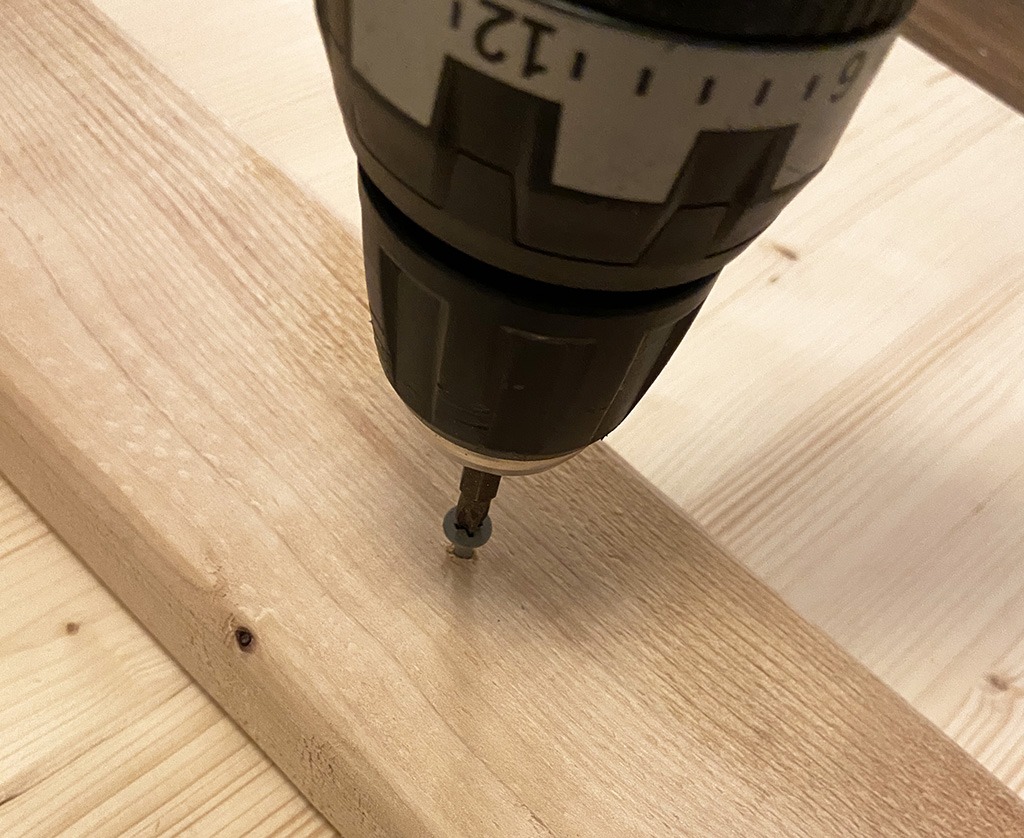
I found some screws that would go through the 2×4, and half of the headboard to safely attach the two.
After I took this photo I found different screws in the same size that I decided to use instead. Full disclose: I couldn’t find the proper drill bit for them. 🙂
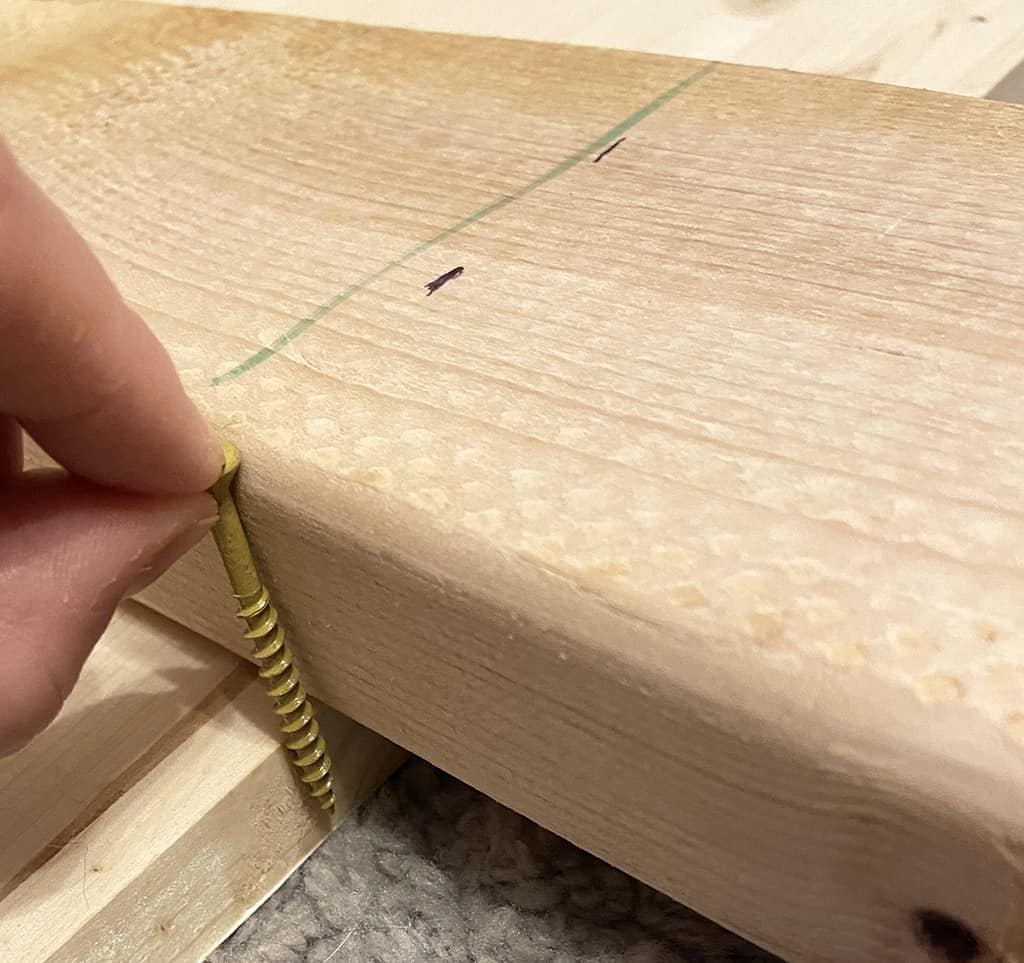
Using my drill, I screwed the screws into the 2×4 board. Then I carefully screwed through the headboard careful not to damage the front wallpapered side.
I repeated this step three more times until both wood legs were secured to the headboard.
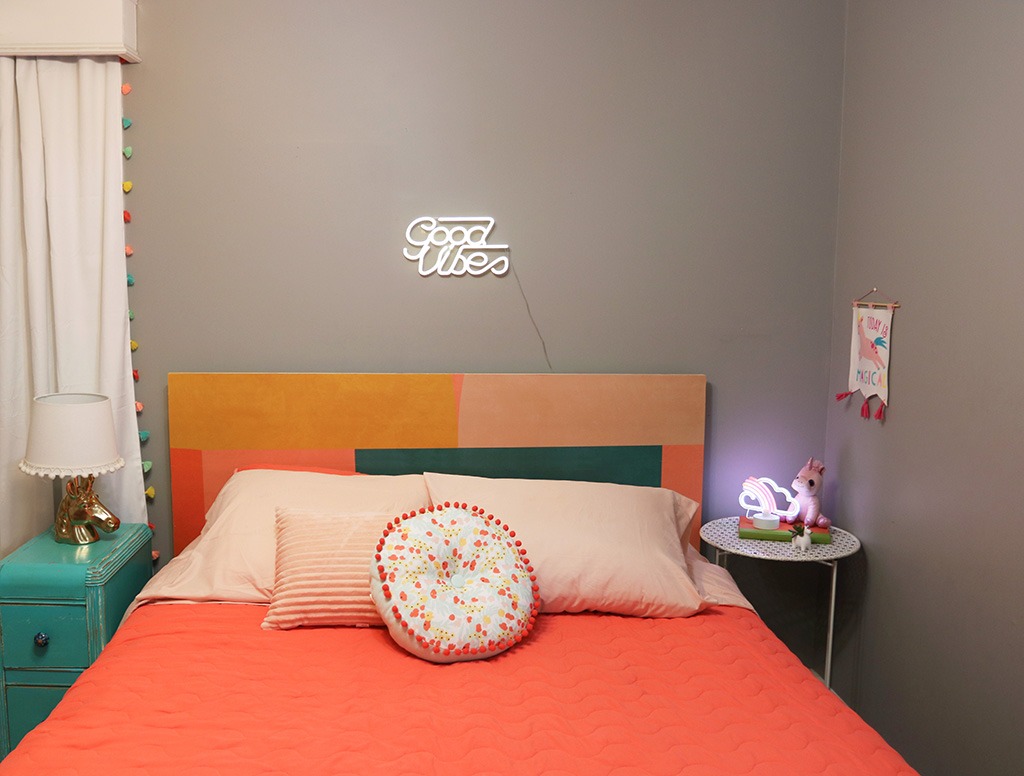
Finally, I flipped the headboard around and placed it behind the mattress along the wall. It was perfect!
Here’s a look at the headboard in place with the mattress pulled away — you can see how hidden the legs are behind the bed.
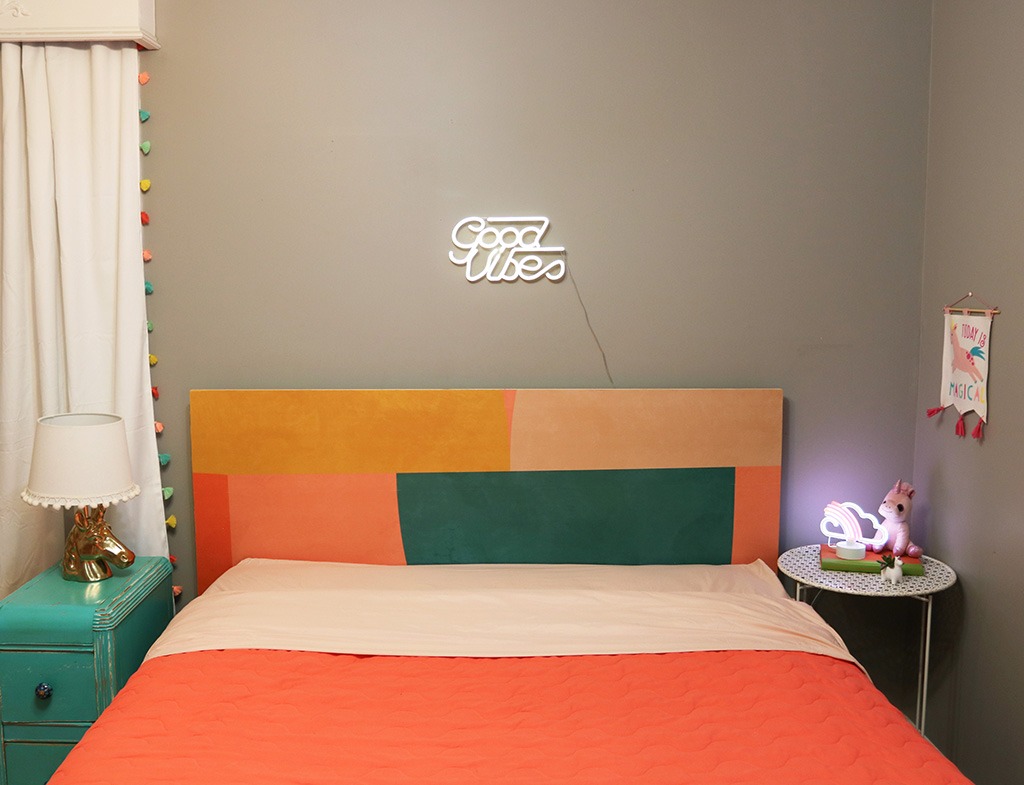
Time to add the pillows! The one up front is from the Target Dollar Spot— I love the details and it was such a steal!
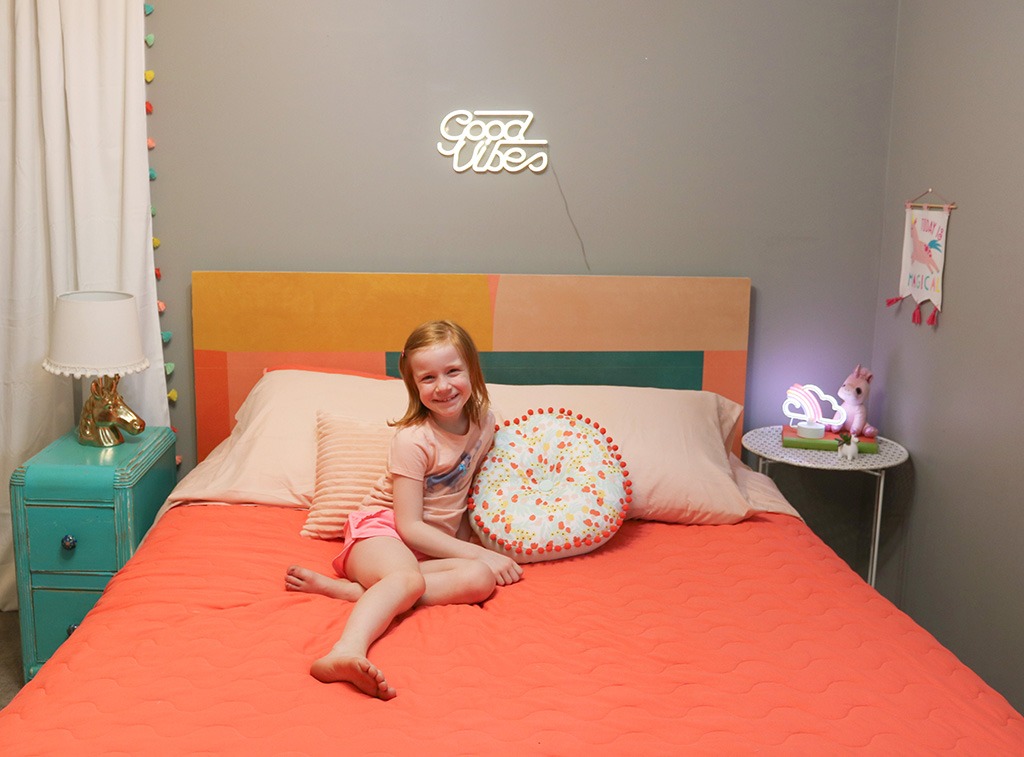
Vivi is a huge fan of our DIY wallpapered headboard! She says the colors make her feel so happy.
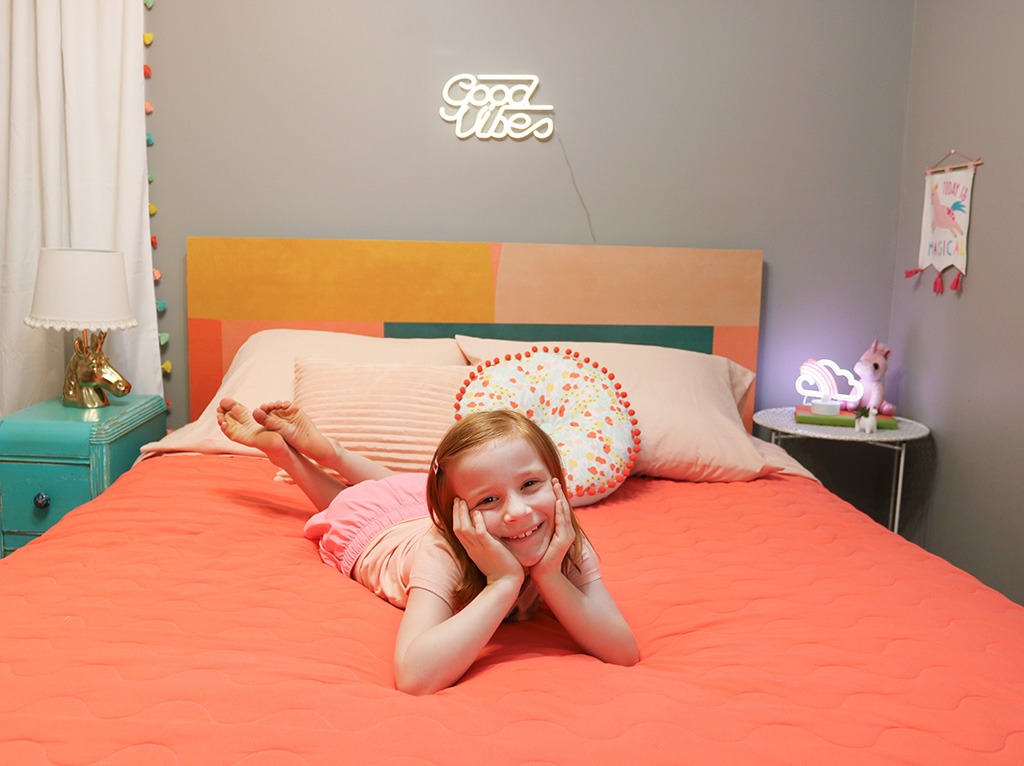
Ever since we put her room together last weekend she has done an amazing job keeping her room clean. That’s a fun result of refreshing a space. 🙂
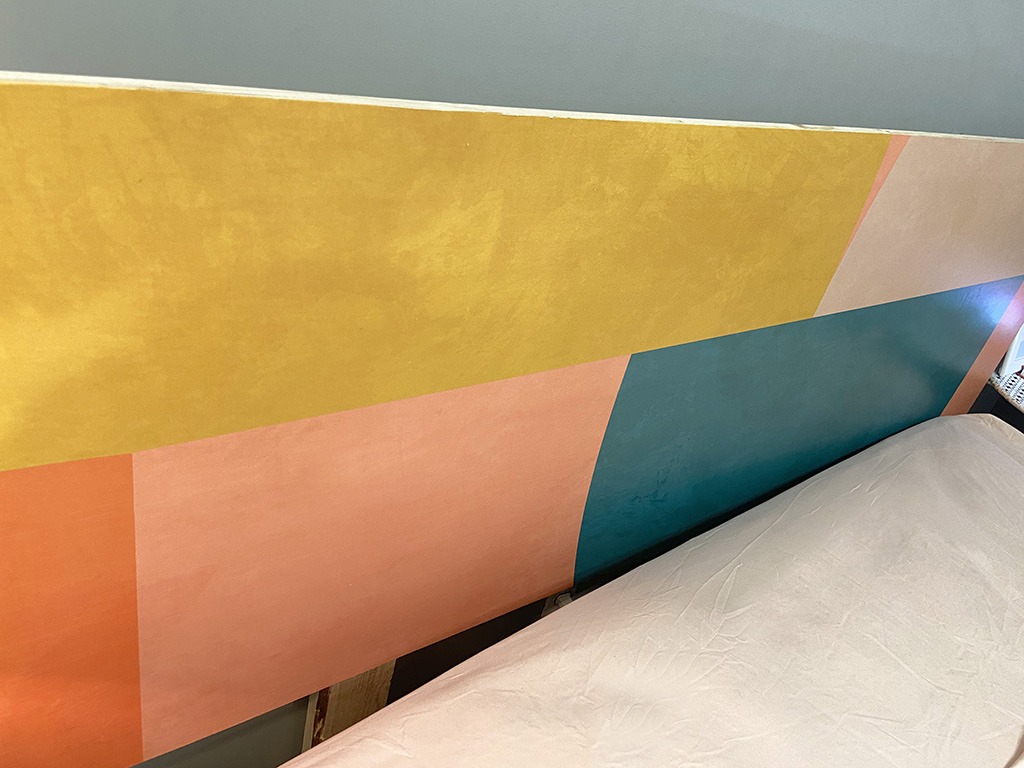
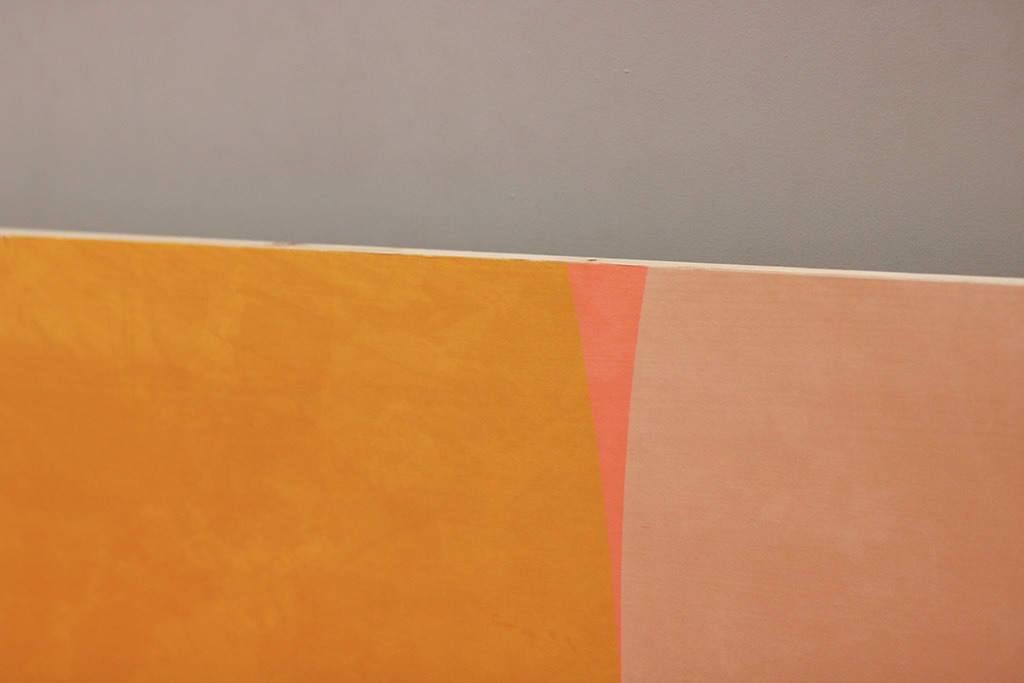
I chose to leave the natural wood edges of the headboard exposed for a simple look, but you could wallpaper the edges if you prefer.
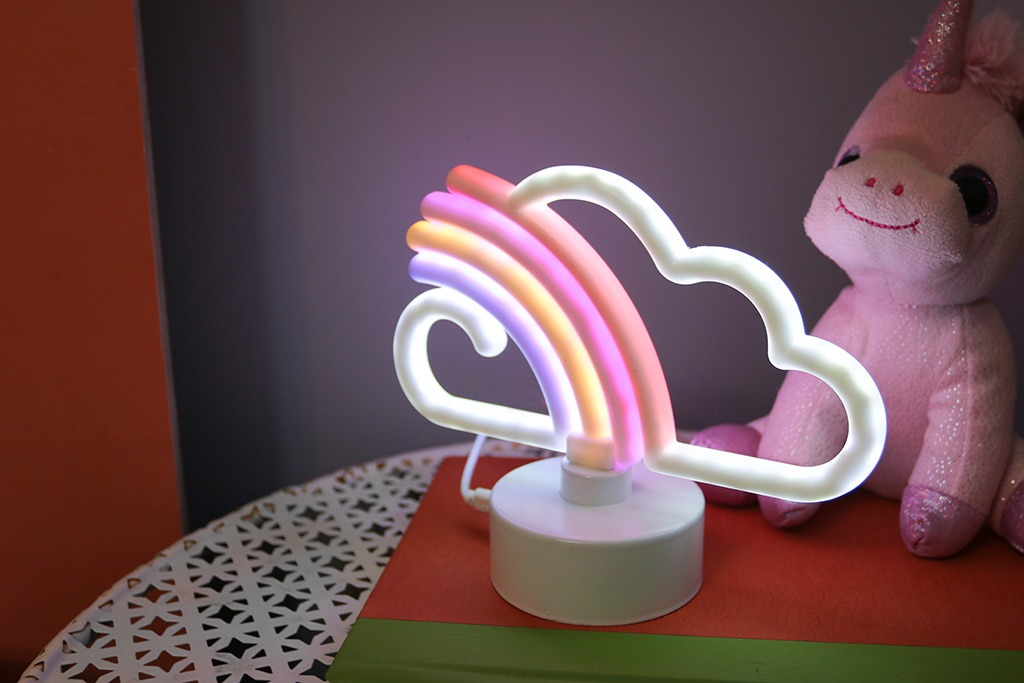
We absolutely love the two affordable neon signs we got, they are such a fun addition to the room.

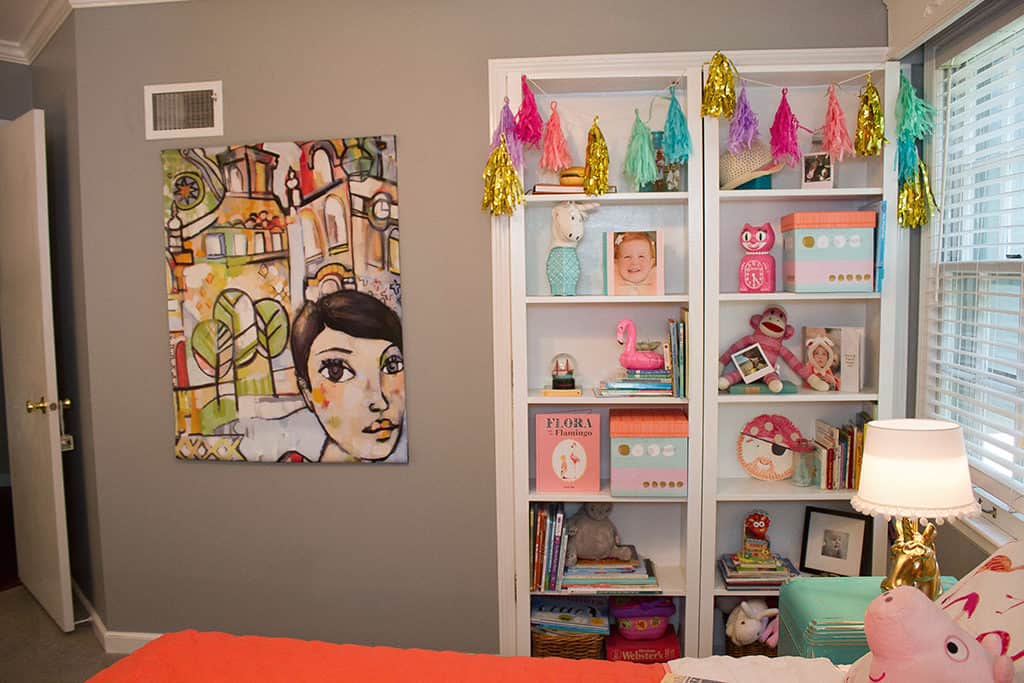
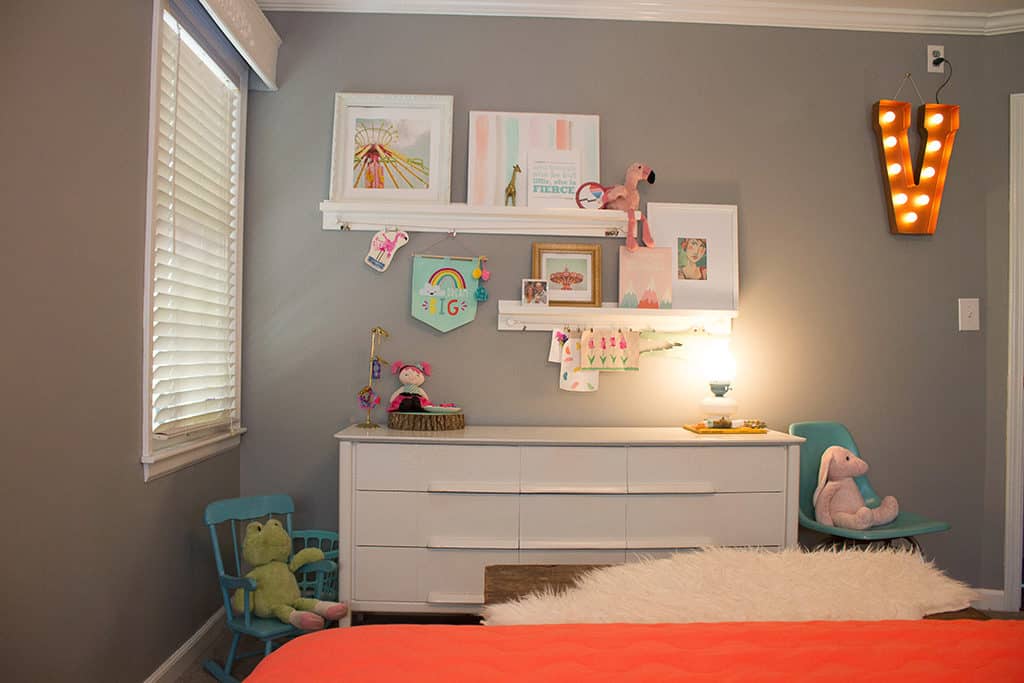
If you’re curious, you can see the rest of the bedroom photos here. This room and a couple play spaces were featured in Houzz a few years ago, which was super fun!
Here’s a look (before the headboard was added).
I’m absolutely in love with this DIY wallpapered headboard and the quality of the Photowall wallpaper.
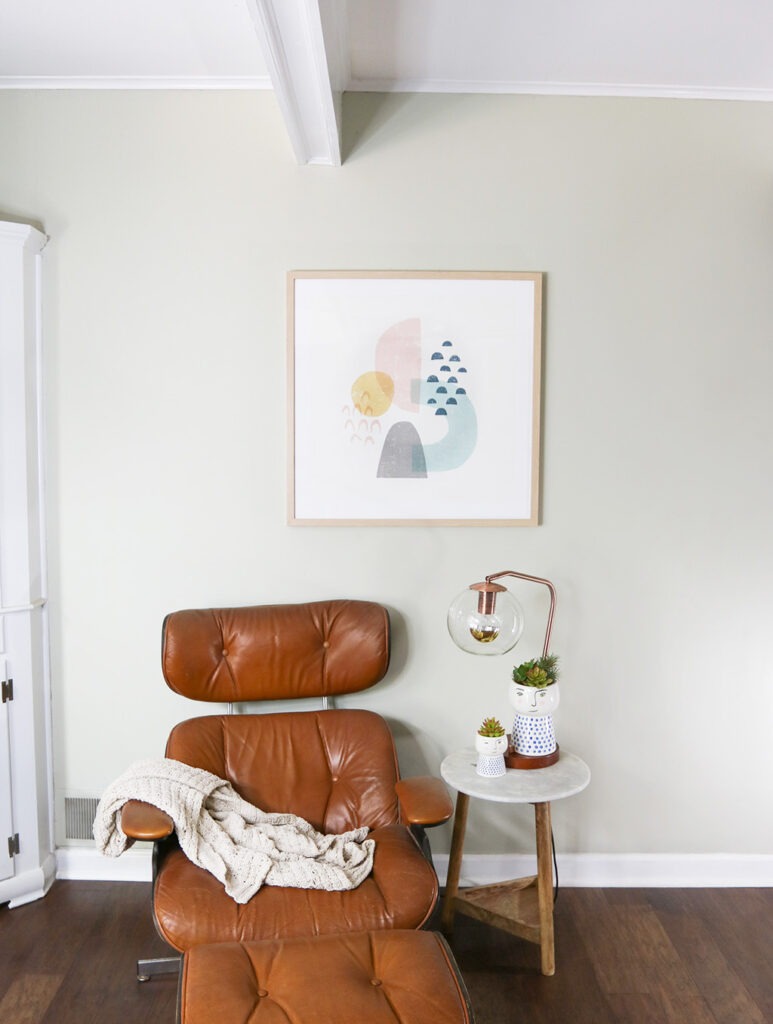
Did you know they sell framed art prints and canvases also?
I also ordered a framed art print (28″) that’s hanging in a nook in our lower living room. There are so many prints to choose from. They even had the wallpaper pattern we used available in poster and canvas options as well!
xoxo
Audrey
Looking for another way to add personalized art to your walls? I highly recommend Winnie’s Picks, premium paint by numbers for adults. They even offer custom paint by numbers art!
You might also like to try premium paint by numbers for adults.
Disclaimer: This post is sponsored in–kind — I was gifted the wallpaper and wall art, but all opinions are 100% my own. I appreciate you supporting my sponsored content!
Pin this DIY wallpapered headboard for later!