DIY modern holiday trees are so easy to make and look so cute on display!

I love cute, colorful holiday decor – it just makes me happy! I was inspired by A Kailo Chic Life’s version enough to make my own. I’ll show you how!
Let’s get started!
Supply list

• Paper mache craft cones
Mine were all the same size and I cut a few down, but this set has mixed sizes
• Acrylic paint in your fave colors
• Larger craft paint brushes
• Metallic paint pen (gold or silver)
• Cotton discs (optional)
Painting the cones
Gather your desired cones (I usually like 3-4 per tree). Note: The set of craft cones that I chose only came in one size, so I cut a couple cones done into smaller cones using a hand saw and sander.
Next you’ll want to paint the cones. I chose colors that I liked together in sets of 3 and started to paint the cones. Using a larger brush makes the project go much more quickly.


Most cones required two coats of paint, but a couple of them required three. This is the most time consuming part of the project.

Once all your cones are completely dry, take your metallic paint pen and slowly draw a line around the base of each cone.


The metallic paint dries super quickly, so no need to wait!
Once all of your cones are lined in the paint, it’s time to start stacking them to your liking!
On a couple of my tres I wanted the cones to have more separation, so I used 1-2 cotton discs on top of the base cone to get this look.


Then I simply placed the cone beneath the top cone until I was happy with the look.

I repeated these steps for all three trees and that was it!
I LOVE how these DIY modern holiday trees turned out – sooo cute and easy!
I recommend making them if you like modern holiday decor. You could choose more neutral or classic colors too!

They’ll look cute mixed in with our colorful bathroom holiday decor or maybe on our kitchen shelving. Lots of display options to choose from!
I do a more traditional holiday look in our main living rom but I like to have fun with color elsewhere. 🙂


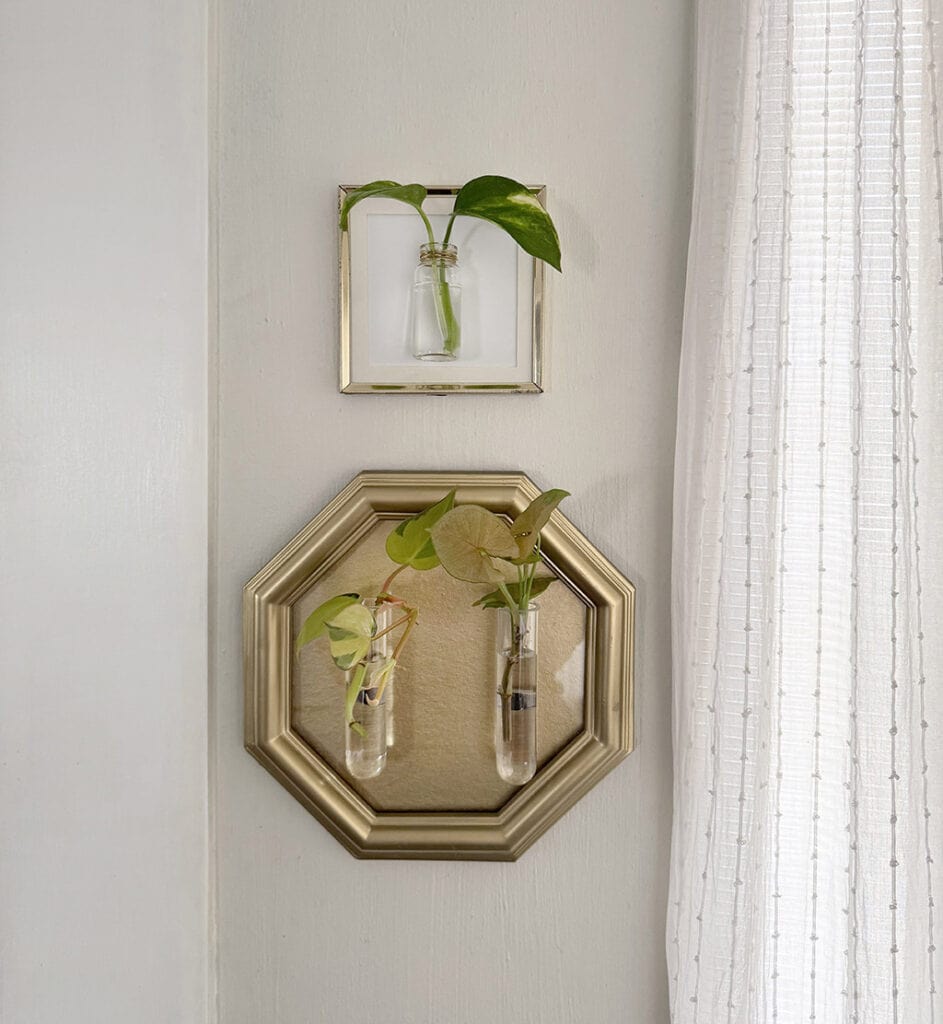
You might also like my DIY plant propagation wall art project!
xoxo
Audrey
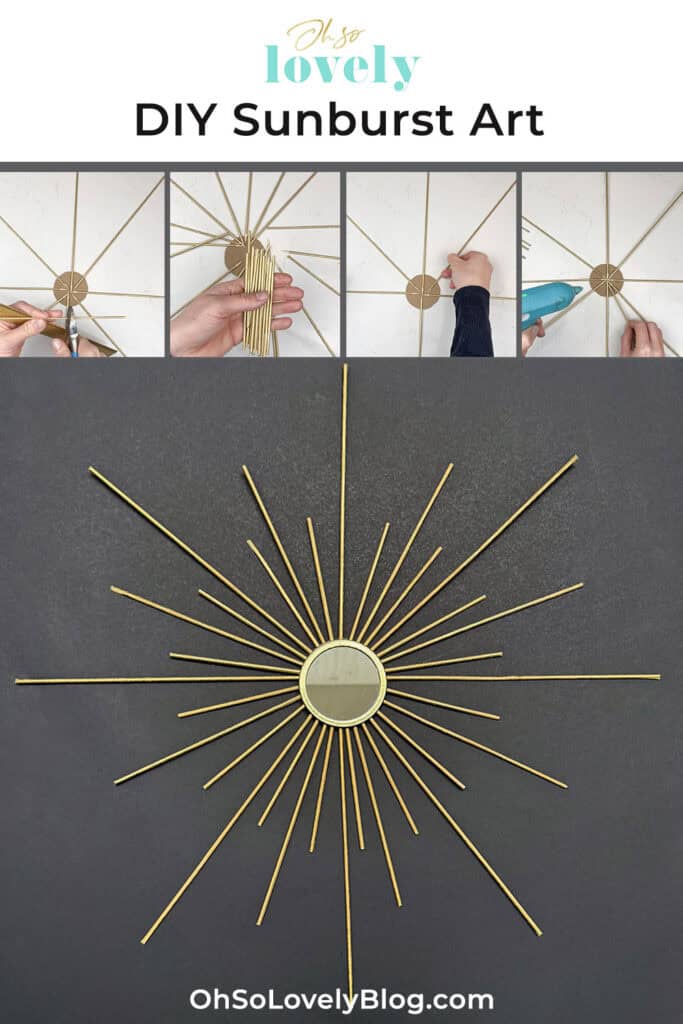
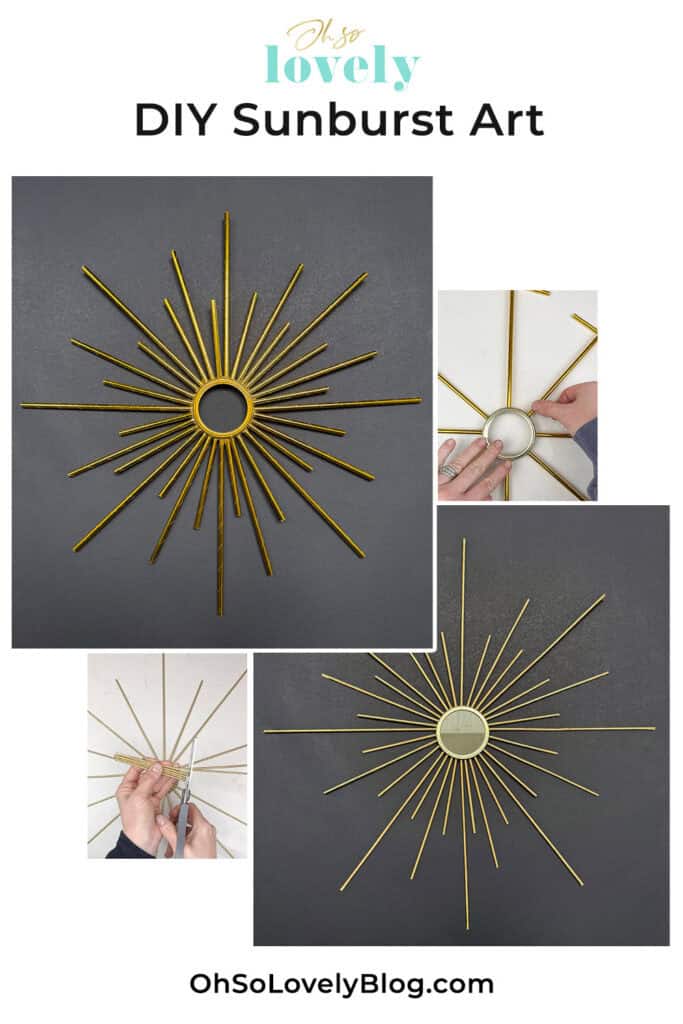
You might also like my DIY sunburst art
Pin for later!