DIY plant propagation art — the cutest way to display your rooting plants!
I’m a huge plant propagator and have soooo many plants rooting in water all over the house. I’m running out of shelf/counter/table space.
I decided to shop my home and get creative with supplies I could find on hand. And I didn’t spend a dime on my three displays – yay!
Let’s get started!
Supply list
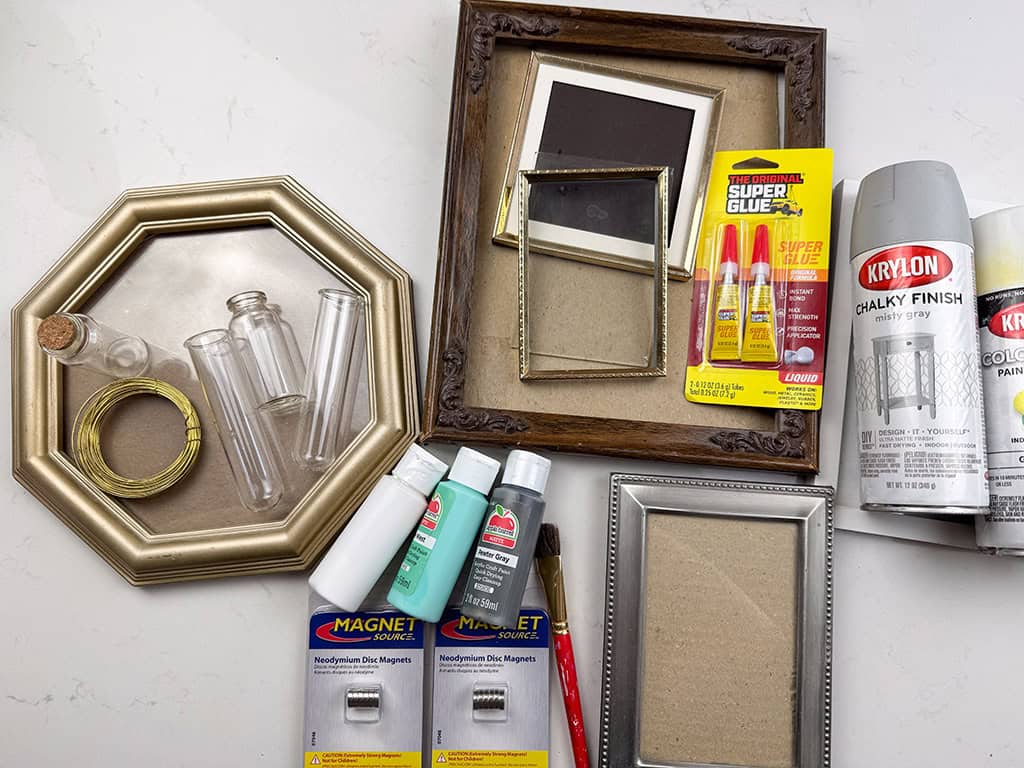
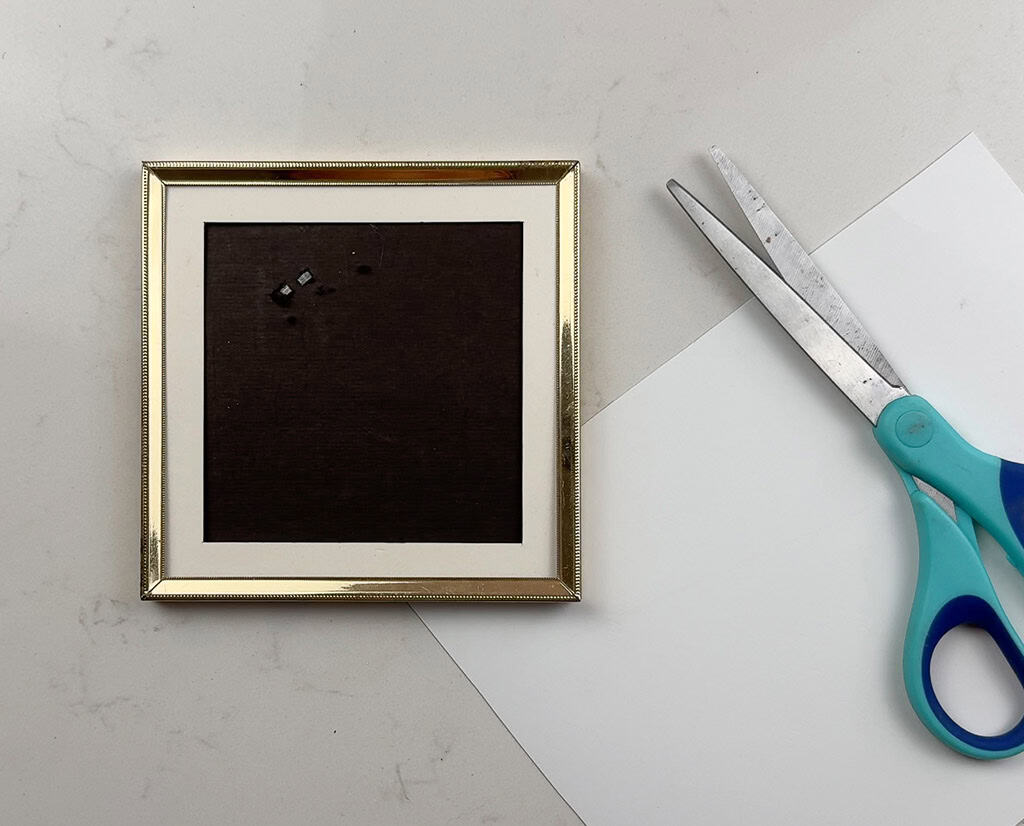
• Old photo frames (detailed | modern | octagonal)
• Small magnet discs
• Spray paint and/or acrylic paint + brush
• Wire in your desired color
• Small glass jars (mine used to store glitter)
• Propagation tubes (I got these a few years ago and never used them)
• Drill and 1/16″ bit (or pointy metal object like a protractor tip)
• Super glue
• Cardboard, poster board, etc
• Scissors
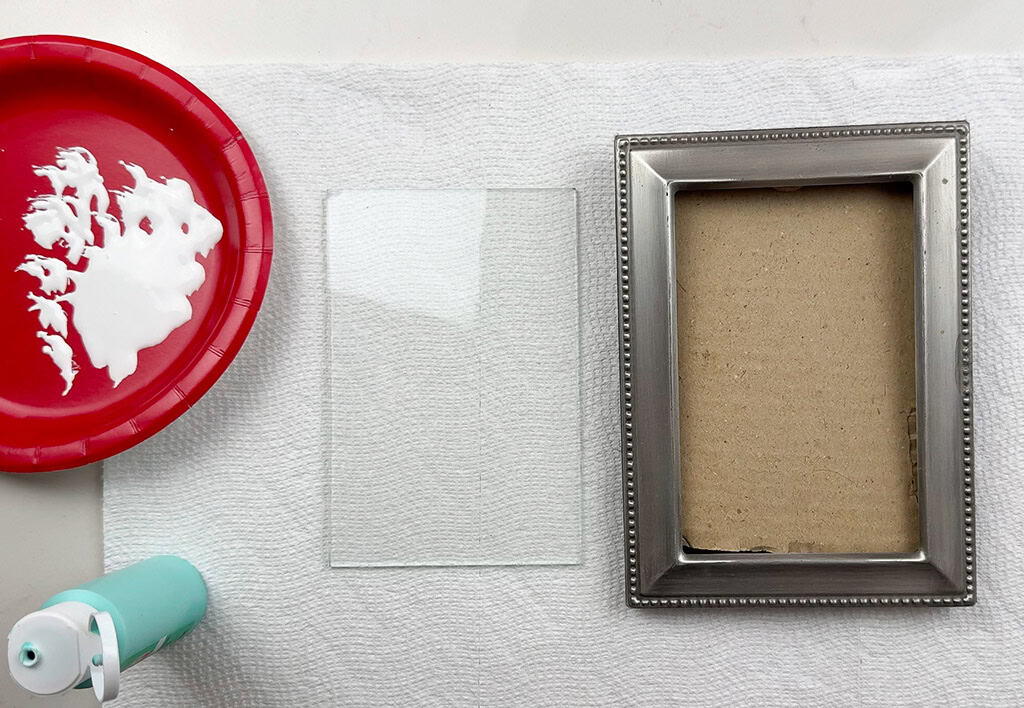
Plant propagation frame style 1
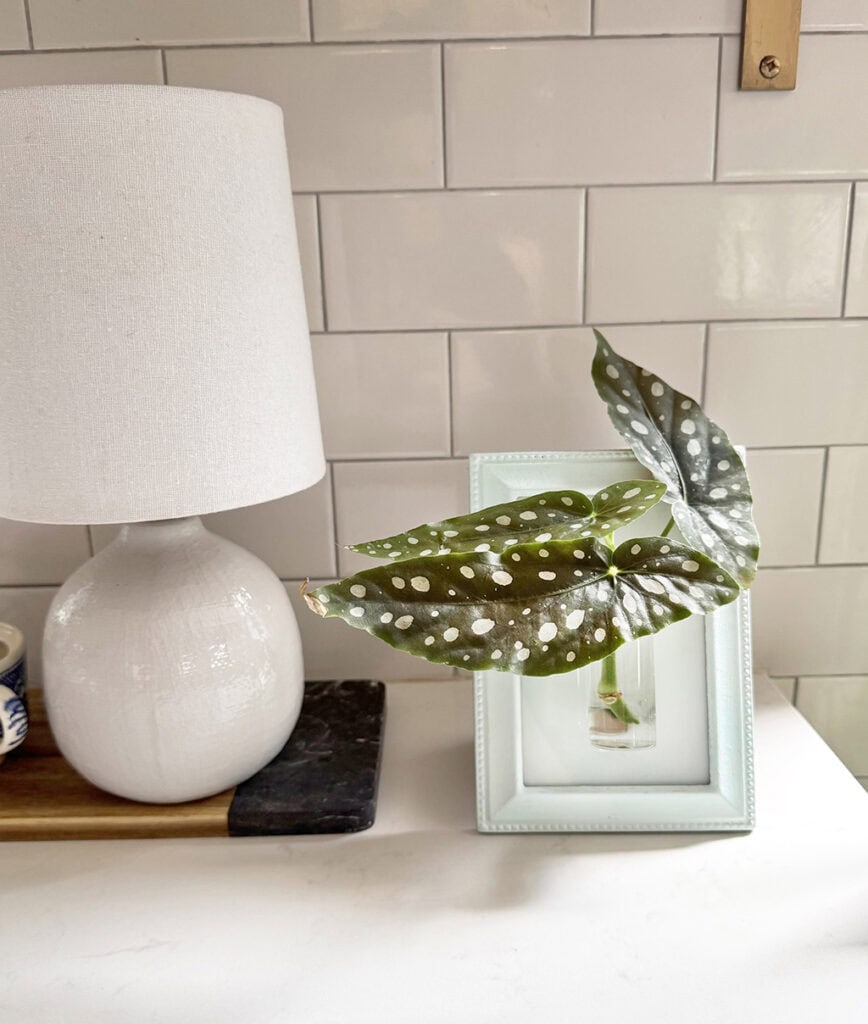
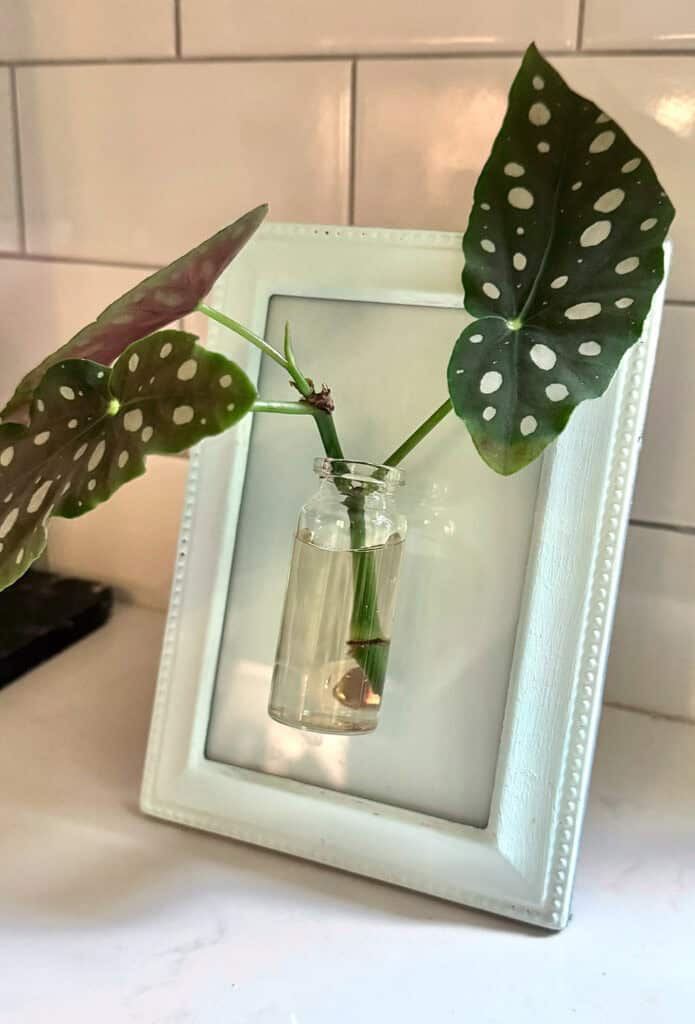
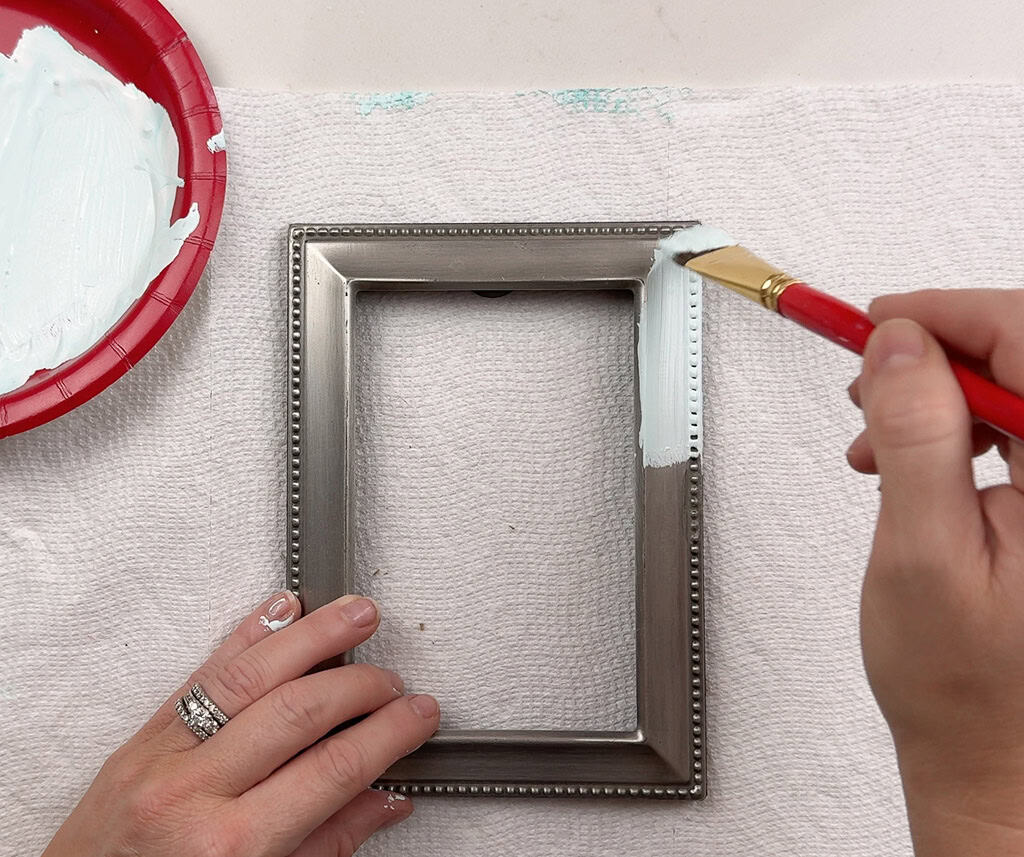
I grabbed an old metal frame that was the perfect size for a smaller plant prop jar. And I decided to paint it with some acrylic paint.
I love painting the underside of glass with acrylic paint (or spray paint). When you flip it over to the reverse side it is protected and shiny.
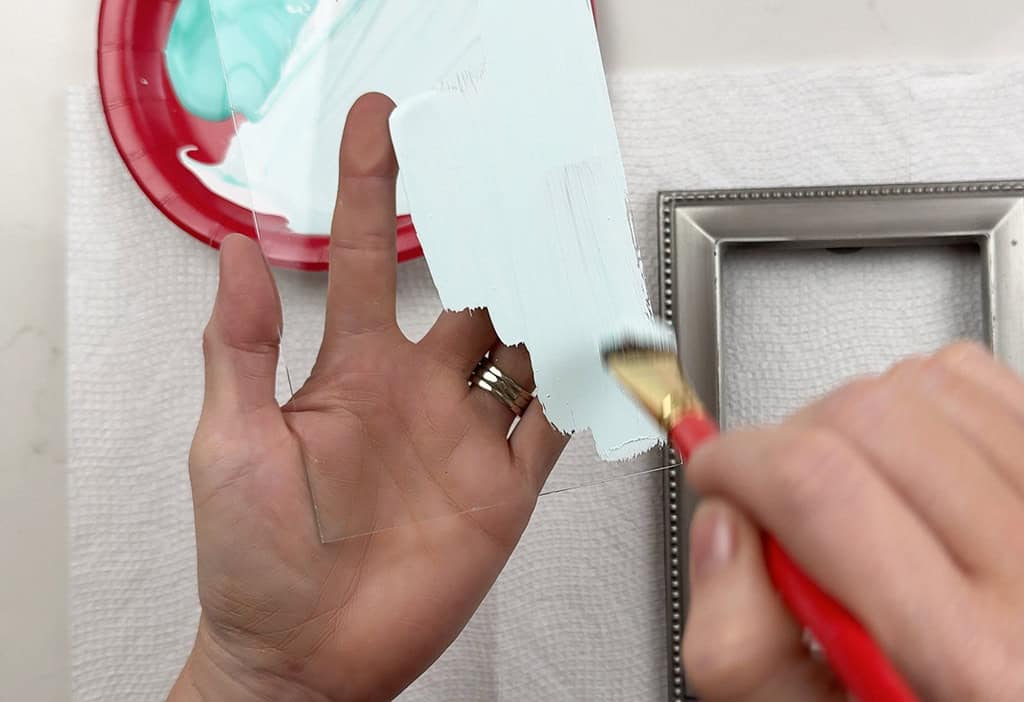

Next, I painted two coats on the frame and set it aside to let it dry.
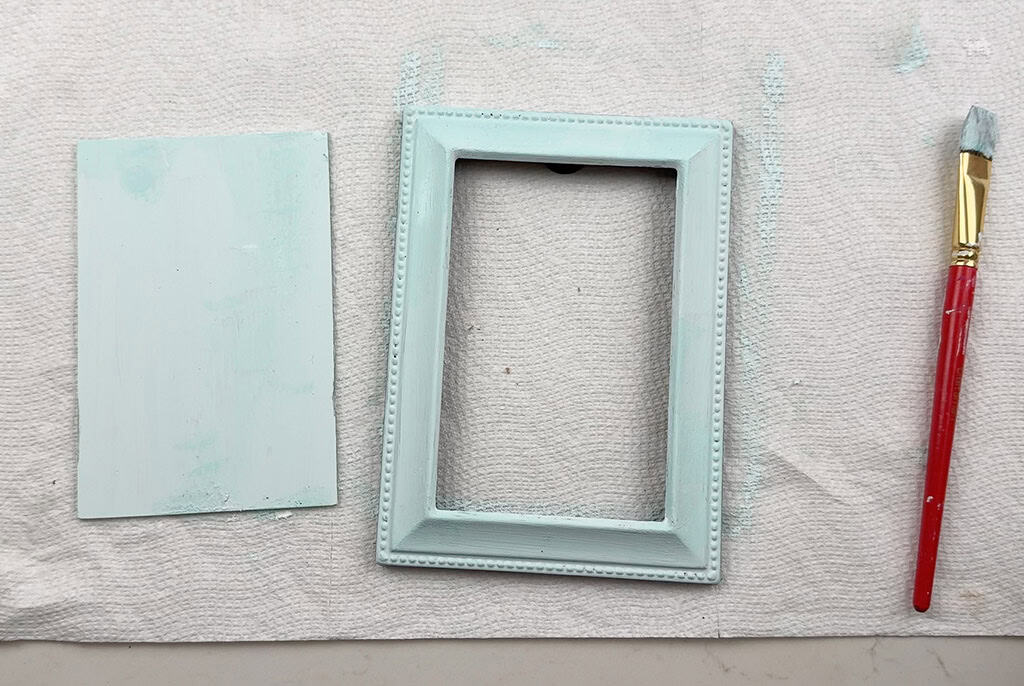
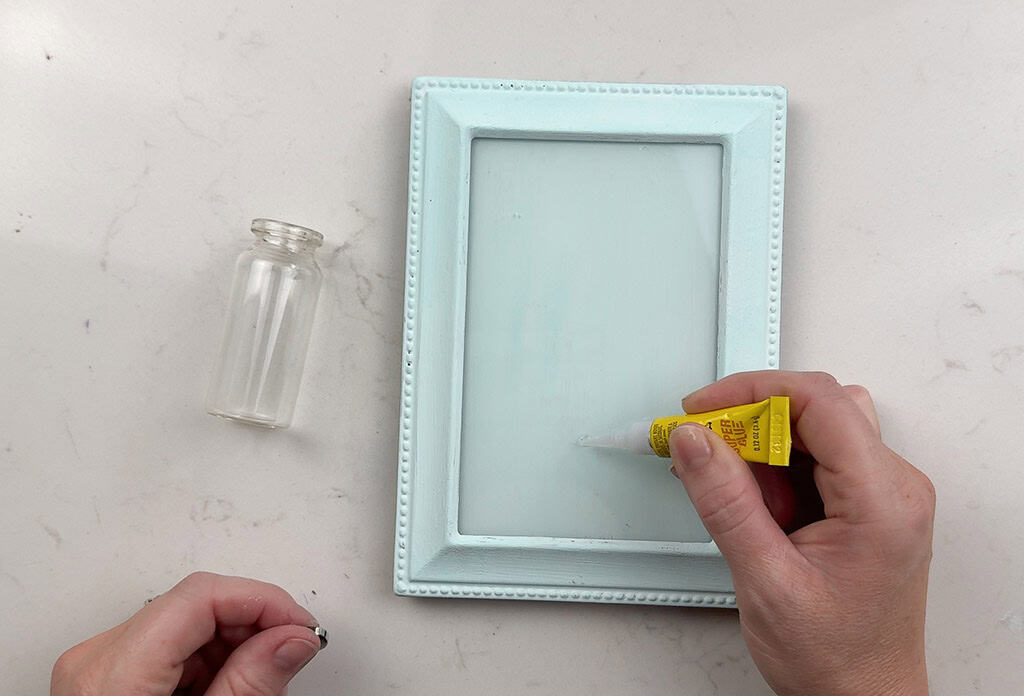
After the paint dried I grabbed my super glue, magnets, and a small glass jar.
I decided the best placement for the glass jar and then dabbed on some super glue. Next I placed the magnet on top and secured it for about 30 seconds.
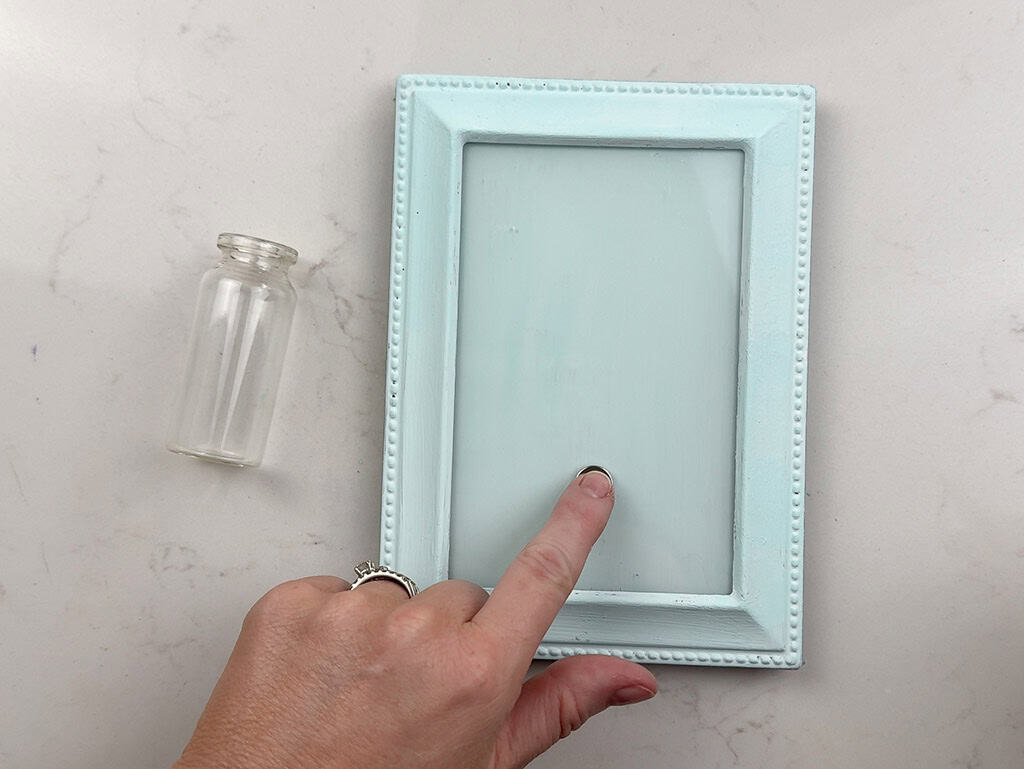
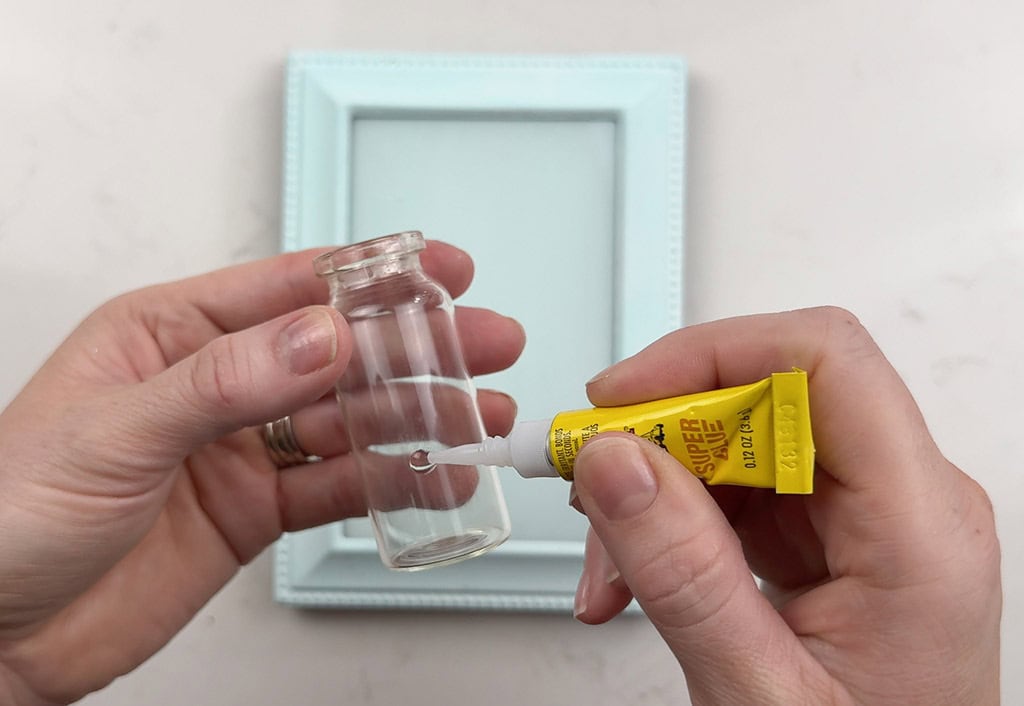
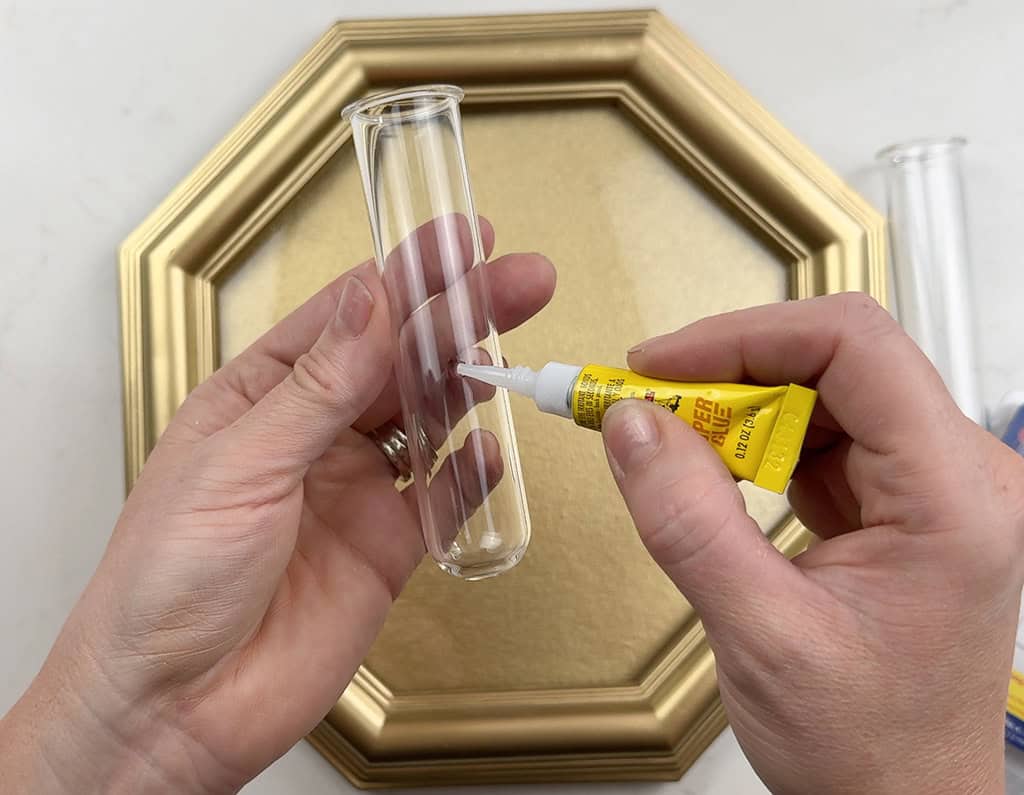
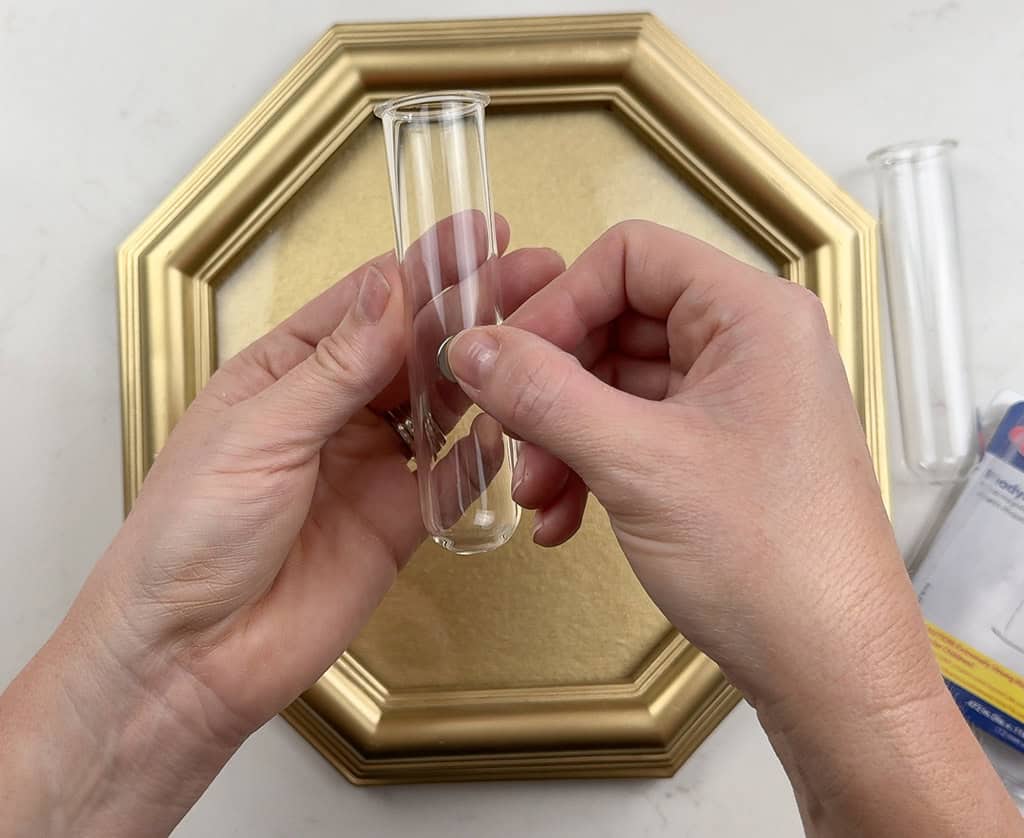
Then I super glued the other magnet to the glass jar. Make sure you hold it firmly in place until fully adhered.
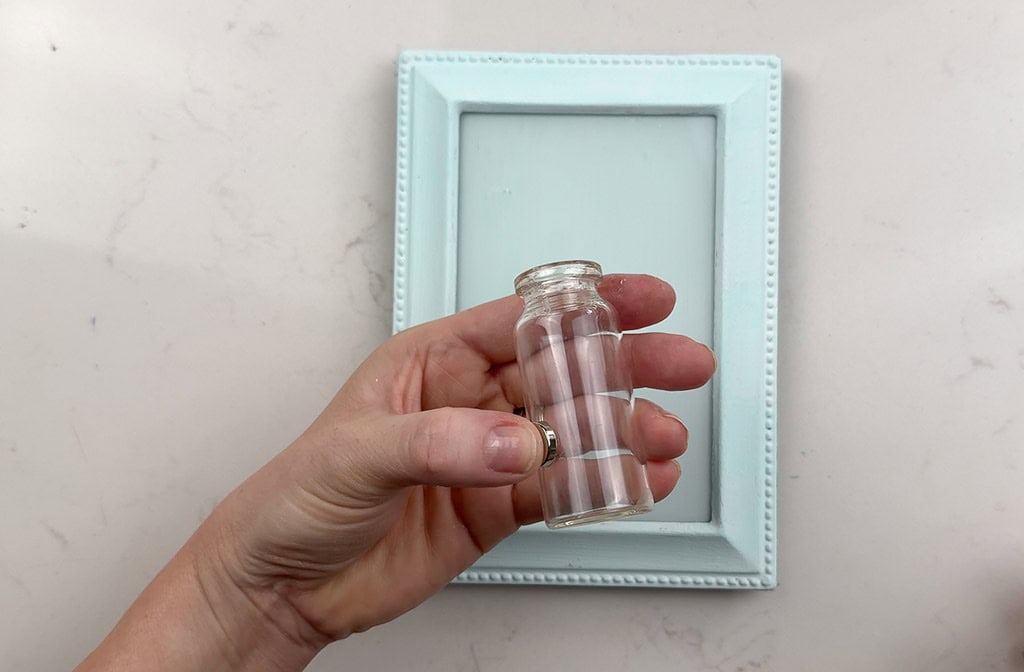
I filled my tube with water and connected it to the frame with the magnets. It worked like a charm.
Then I trimmed some of my beloved polka dot begonia plant and placed it in the water. My one polka dot begonia has produced at least 15 other plants from propagation. I like to gift these to friends either potted or in a clear jar!
Tip: To propagate plants from cuttings, first select a healthy stem from your desired plant. Then cut just below a node (where the leaves attach) removing any lower leaves before placing into water.
From there, ensure the water level stays full, and the roots will start to grow from the node over time.
DIY plant propagation art style 2
This style doesn’t use magnets, but a pliable metal craft wire instead. I really like using both styles!
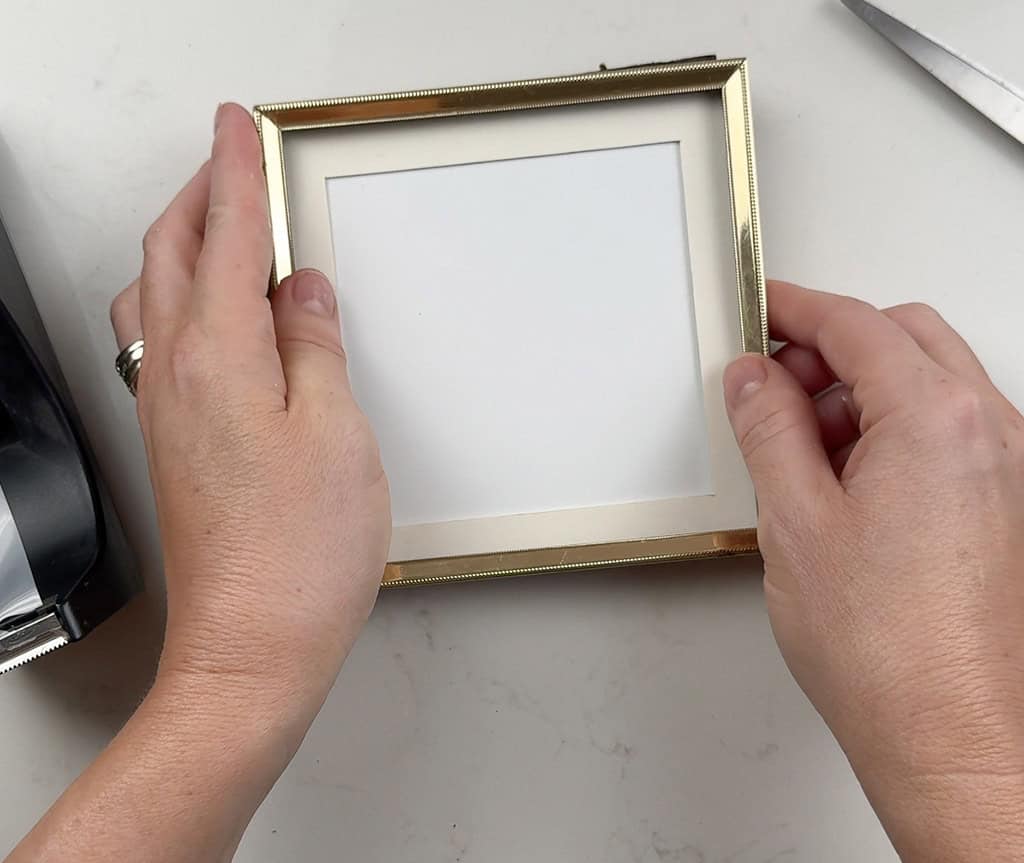
For this one I grabbed my smaller gold frame, scissors, and some white poster board and got to work.
I cut a square-ish shape from the cardboard in a size that would fit inside this frame.
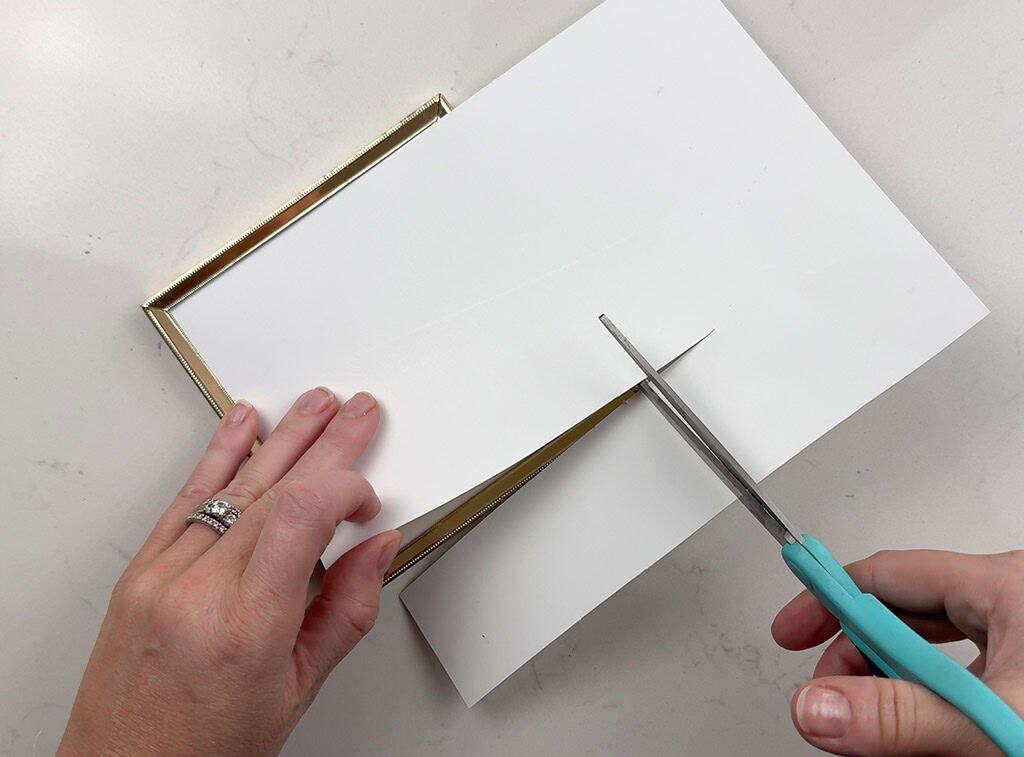
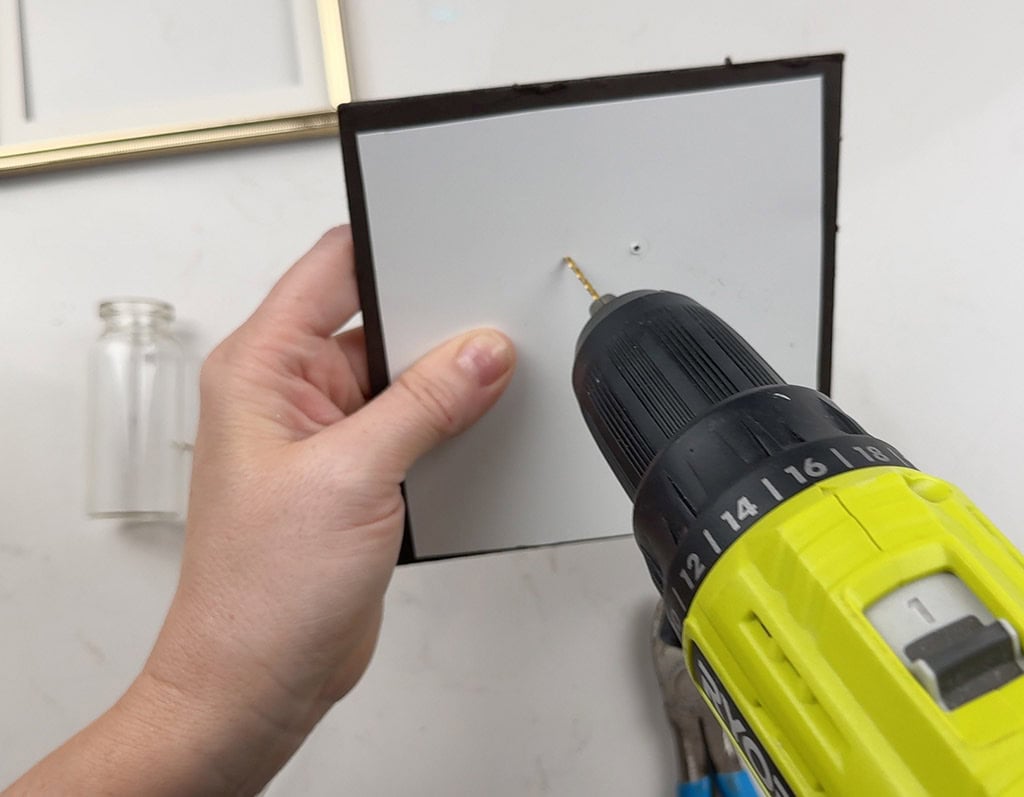
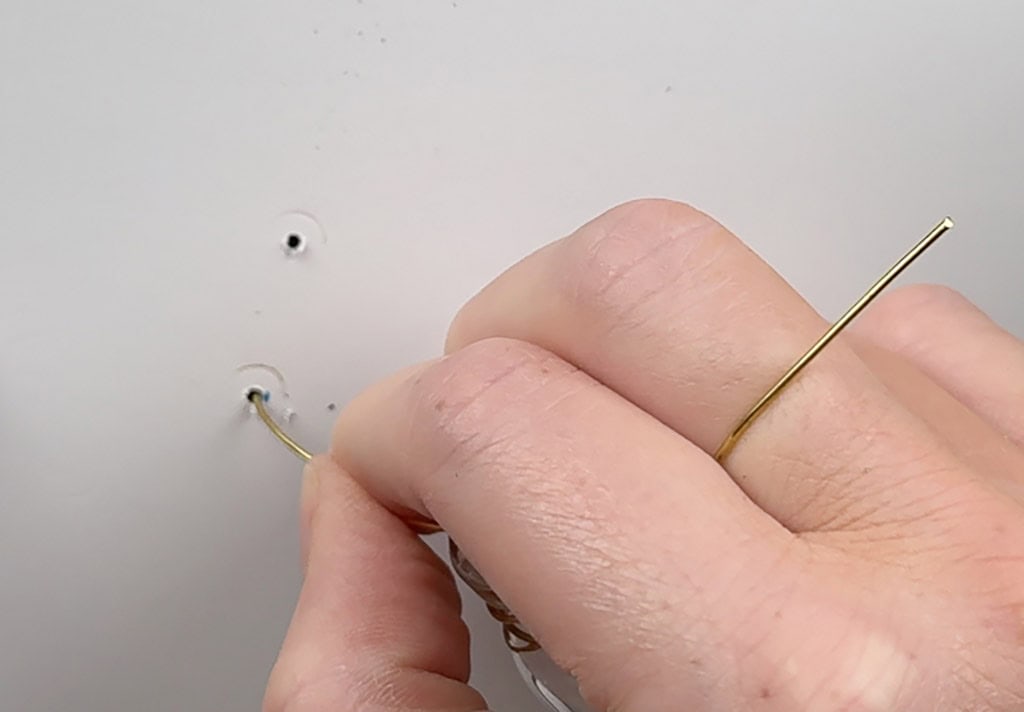
Then I marked the spot where I planned to drill through for the wire placement.

Using my drill and 1/16″ bit I carefully drilled to small holes (big enough for the wire to fit through). No drill? No problem. You could also use a pointy object like a protractor tip to create these holes.
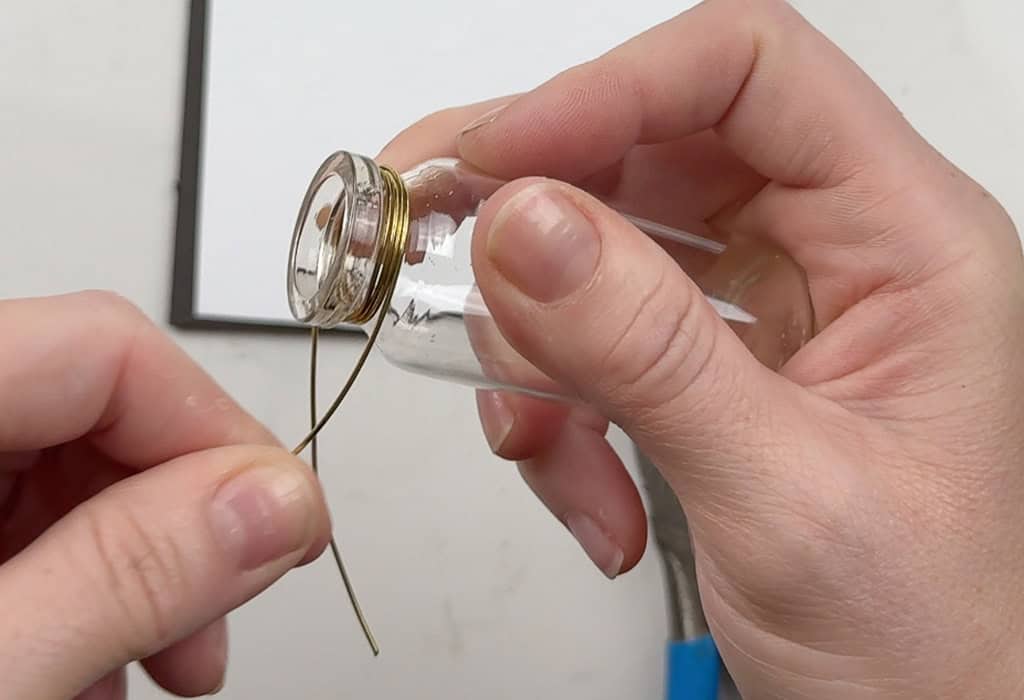
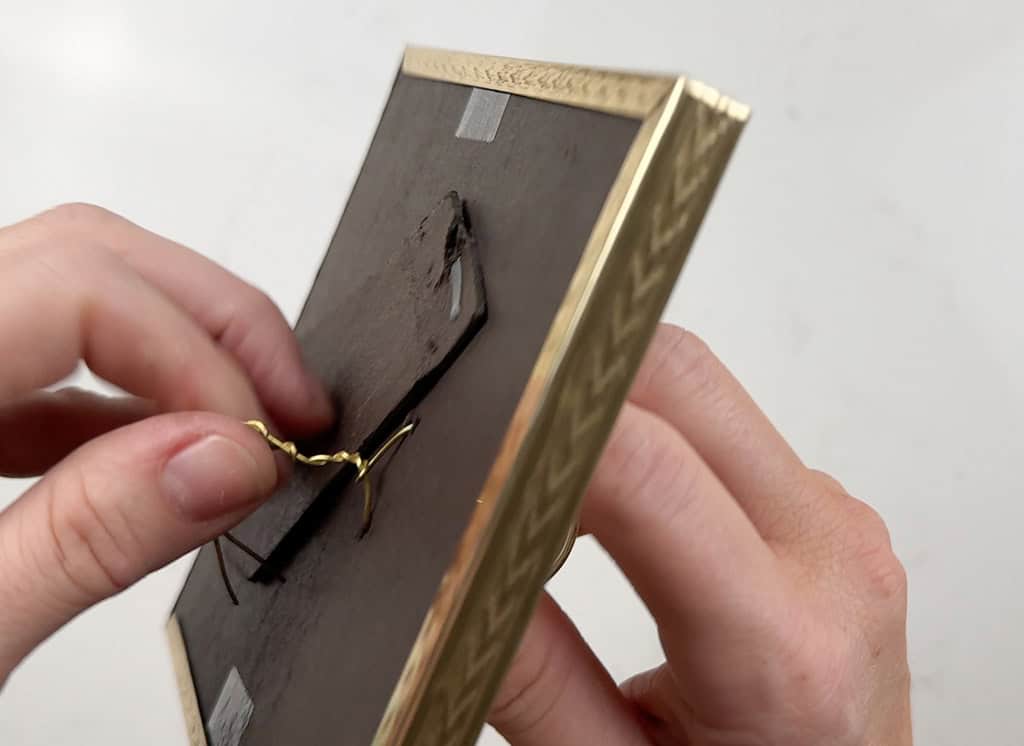
I wrapped the craft wire around the top of the small jar a few times. Remember to make sure there is enough extra wire on each end to attach through to the backside.
Then I put the frame together before running the wire and glass jar through.
Once the wire was through to the backside of the frame, I twisted it, firmly flattening it against the frame.
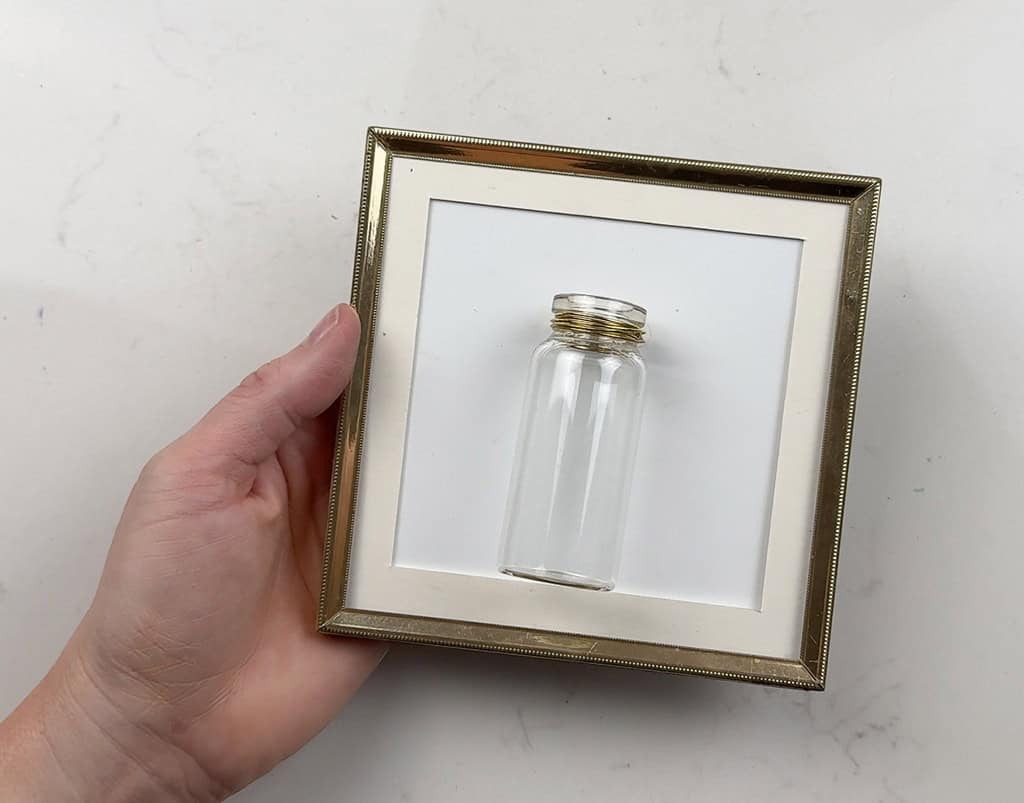
That’s it – super easy, huh? This one was the quickest option to make too.
Plant propagation display style 3
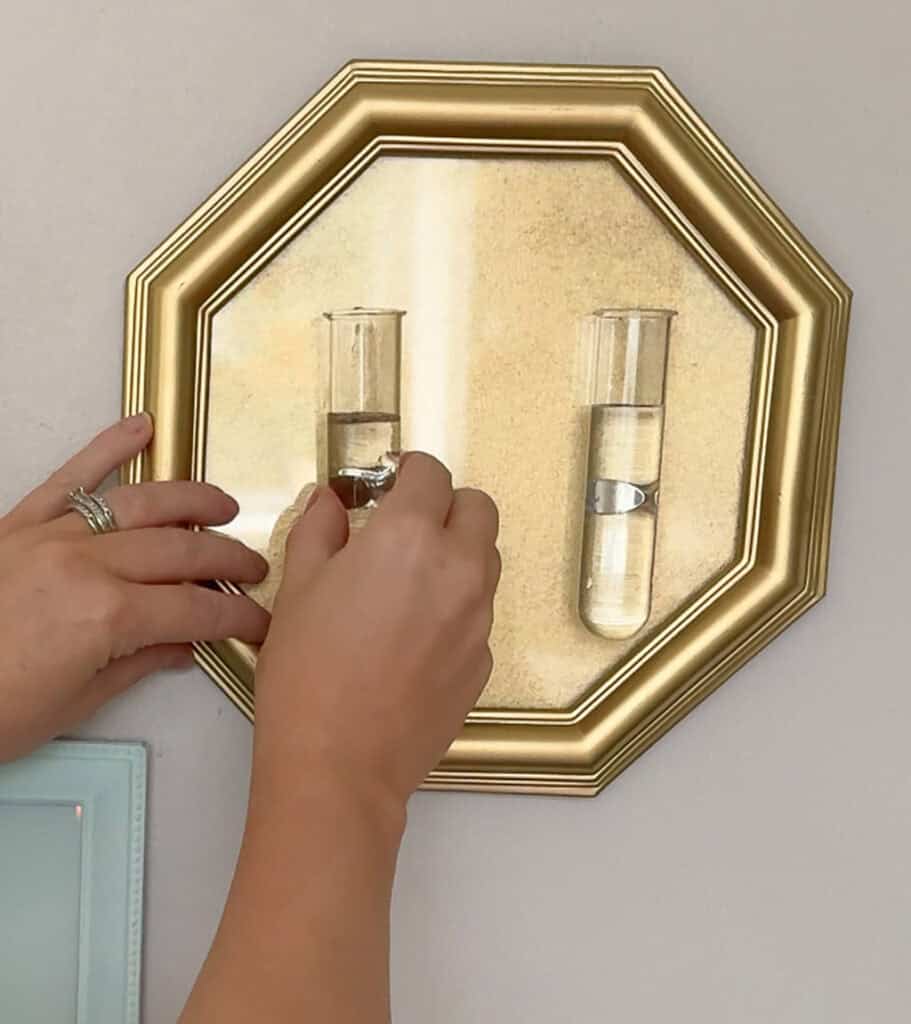
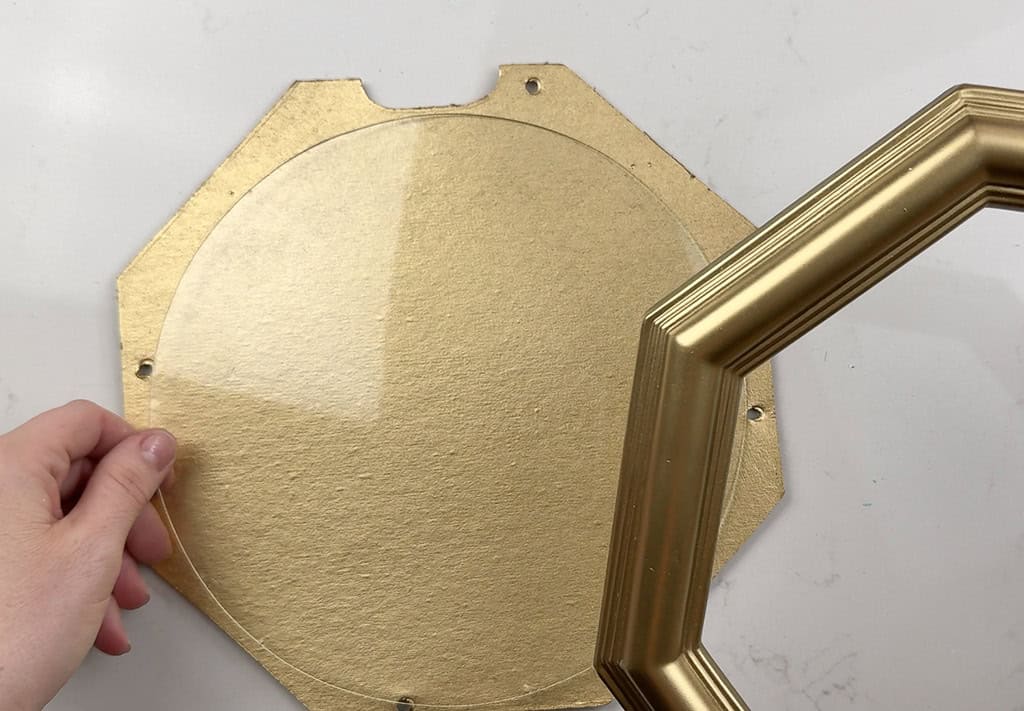
I LOVE the shape of this vintage frame that I found at a thrift store more than a decade ago.
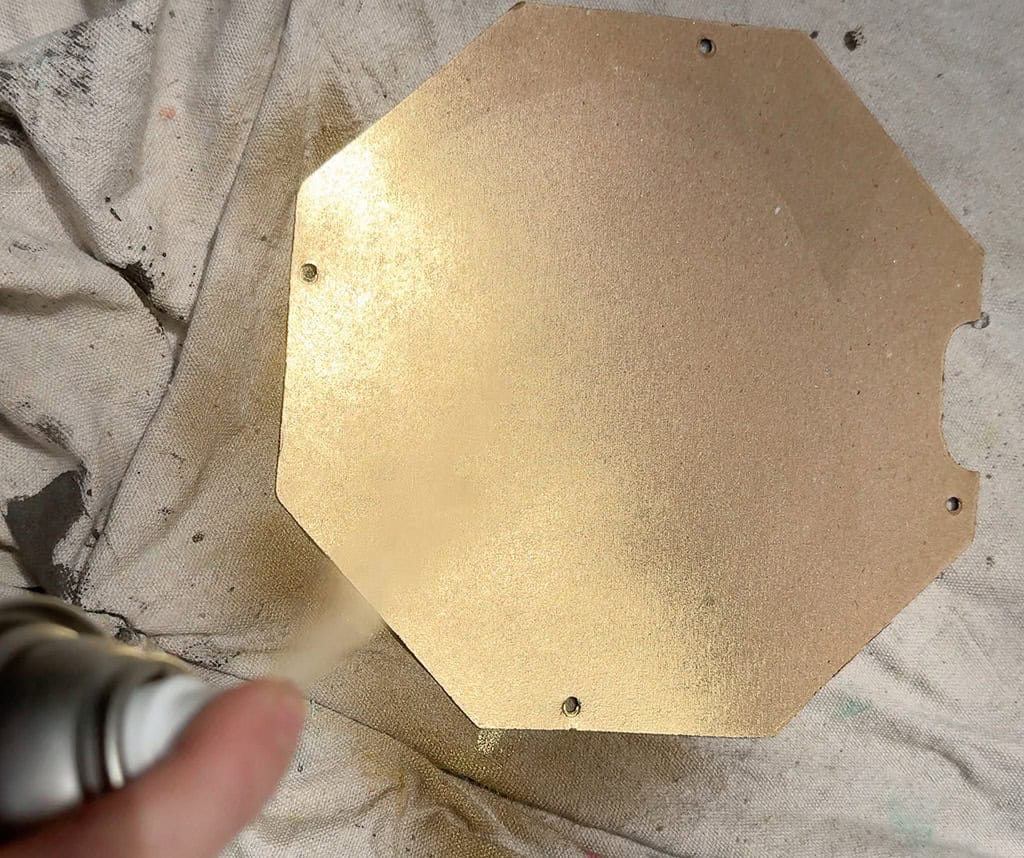
After disassembling the frame and cleaning the surfaces to prepare for spray painting I got to work.
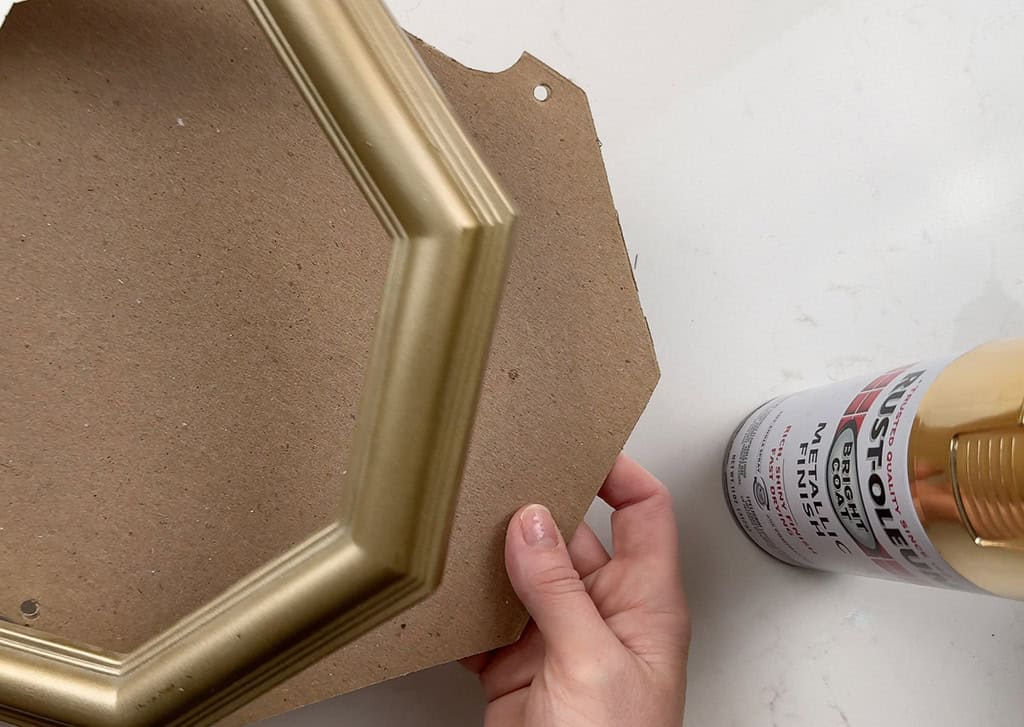
I put the glass aside and only spray painted the cardboard backer and frame – one coat each.
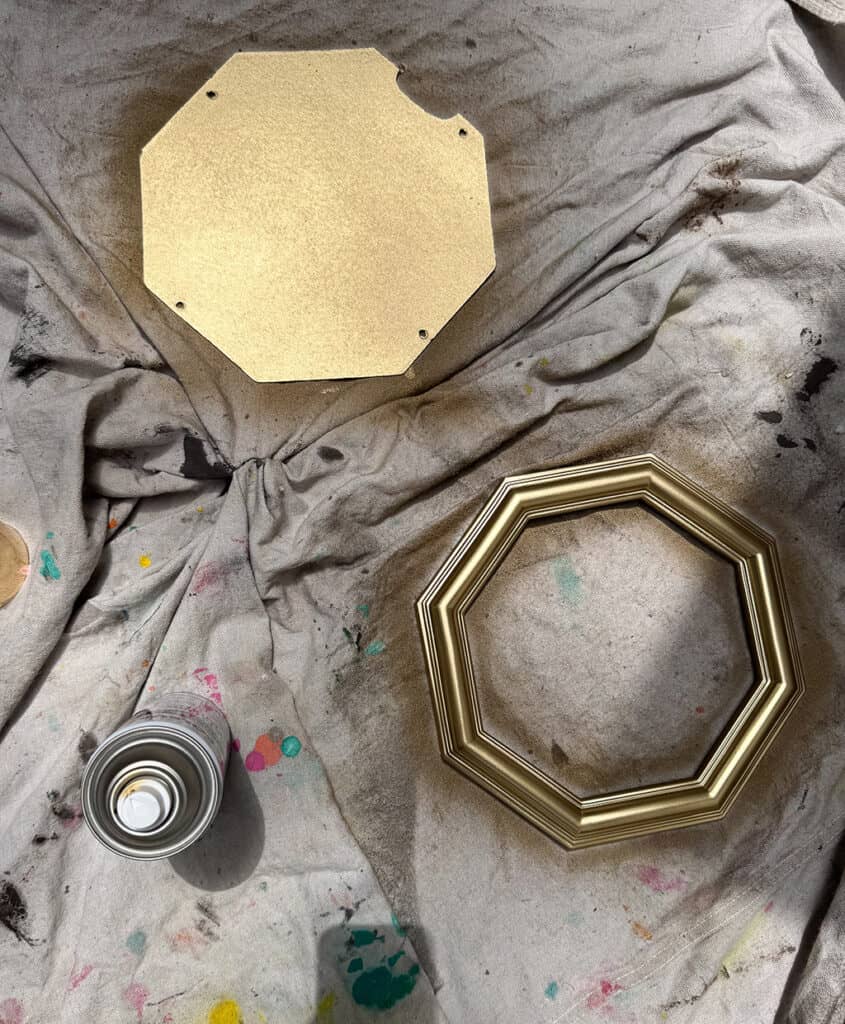
Once the paint was dry I put the frame back together. Then, I grabbed my trusty super glue, magnets, and a 2 propagation tubes.
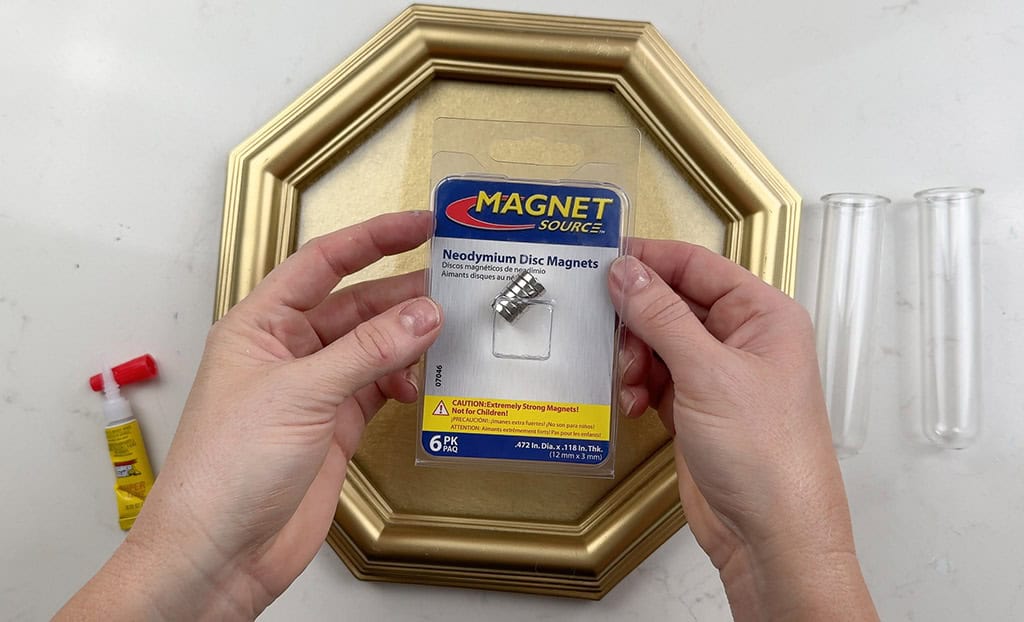
I placed the tubes on the frame where I wanted them to attach. Then I got to work gluing the magnets to the glass.
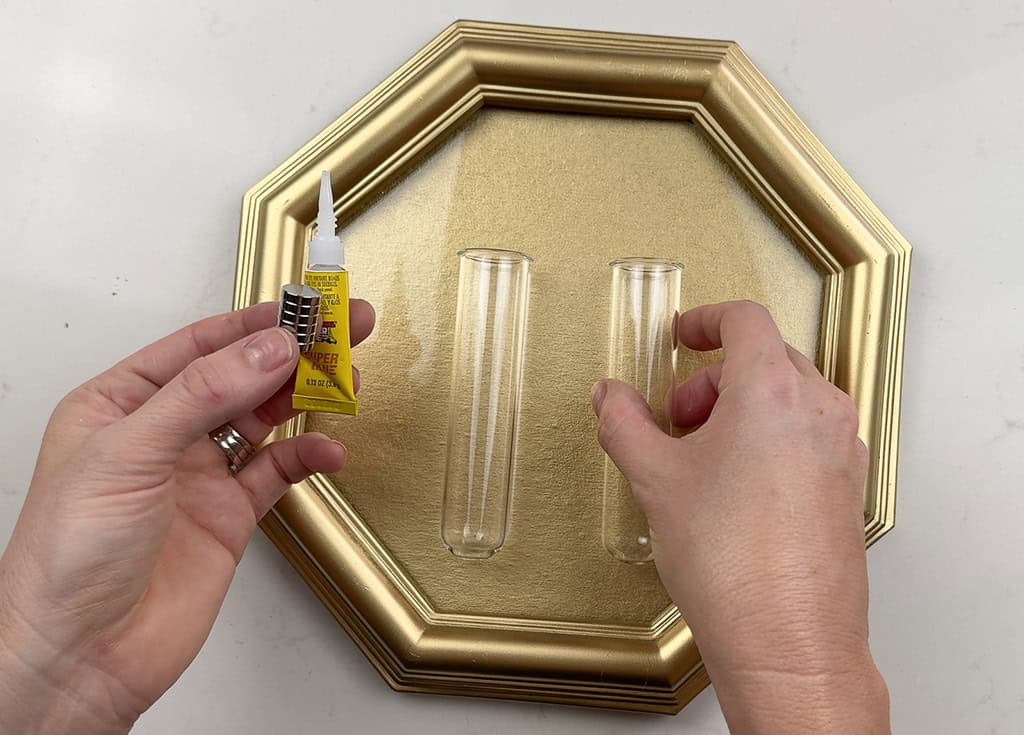
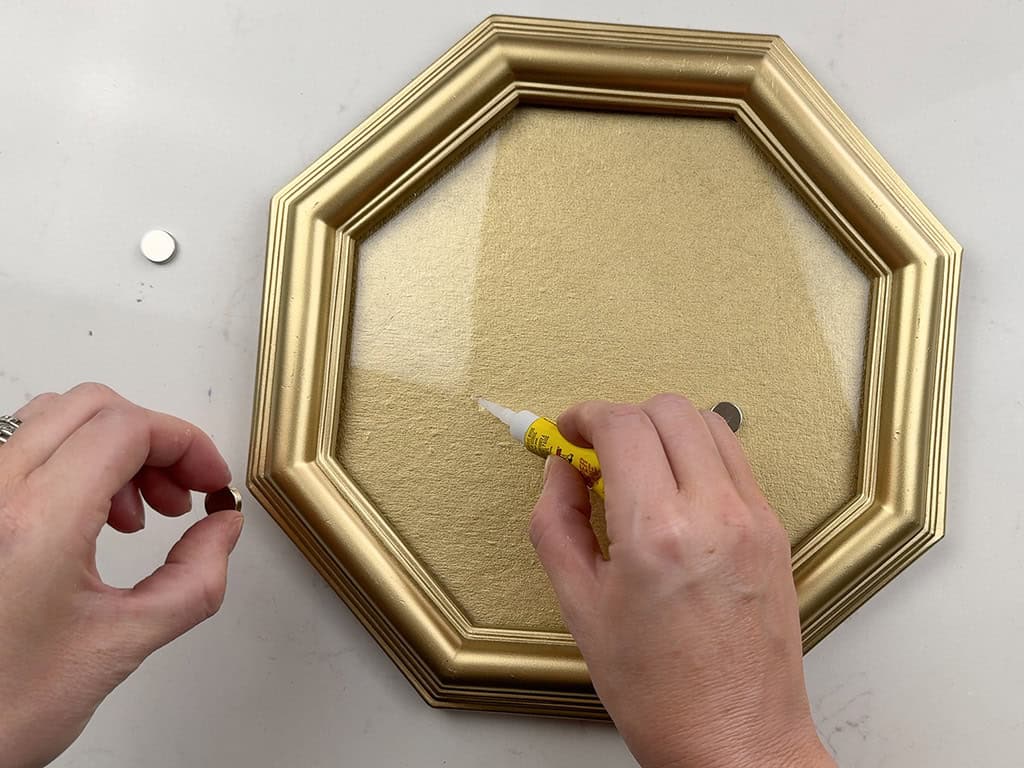
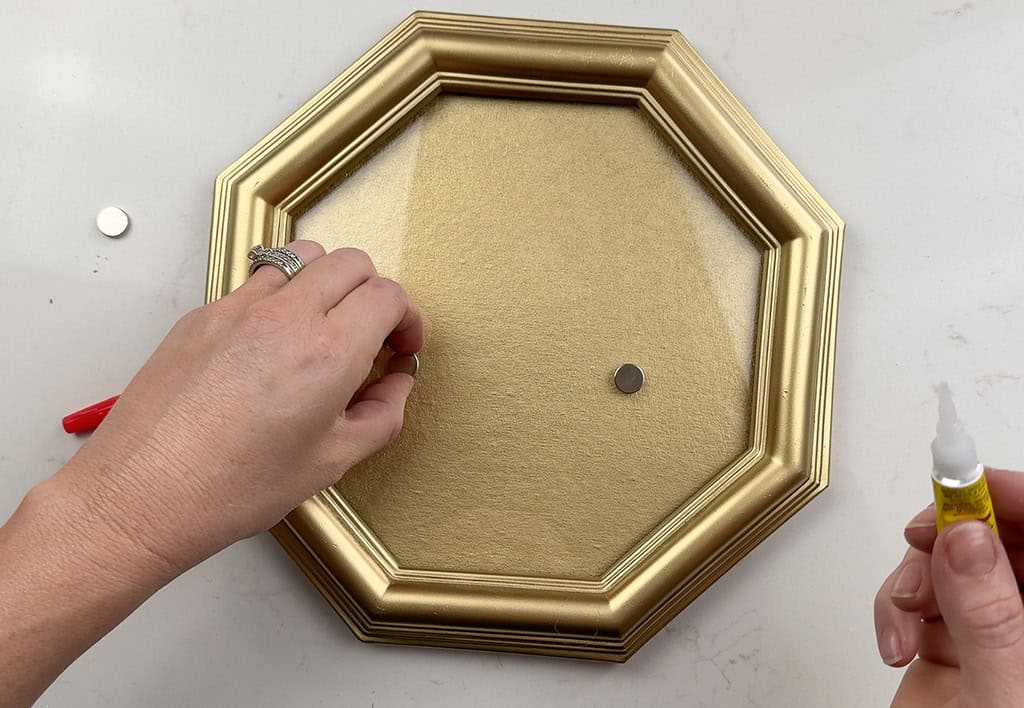
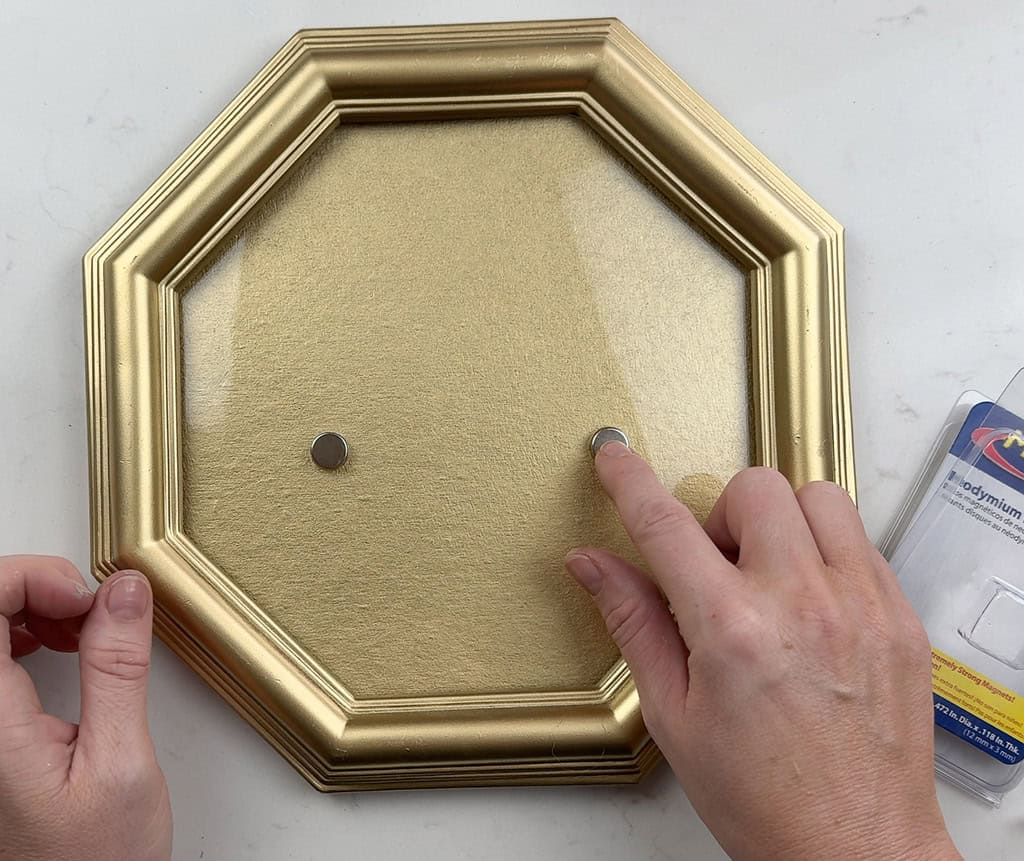
While the magnets adhered to the glass, I moved onto super gluing the magnets to the tubes.
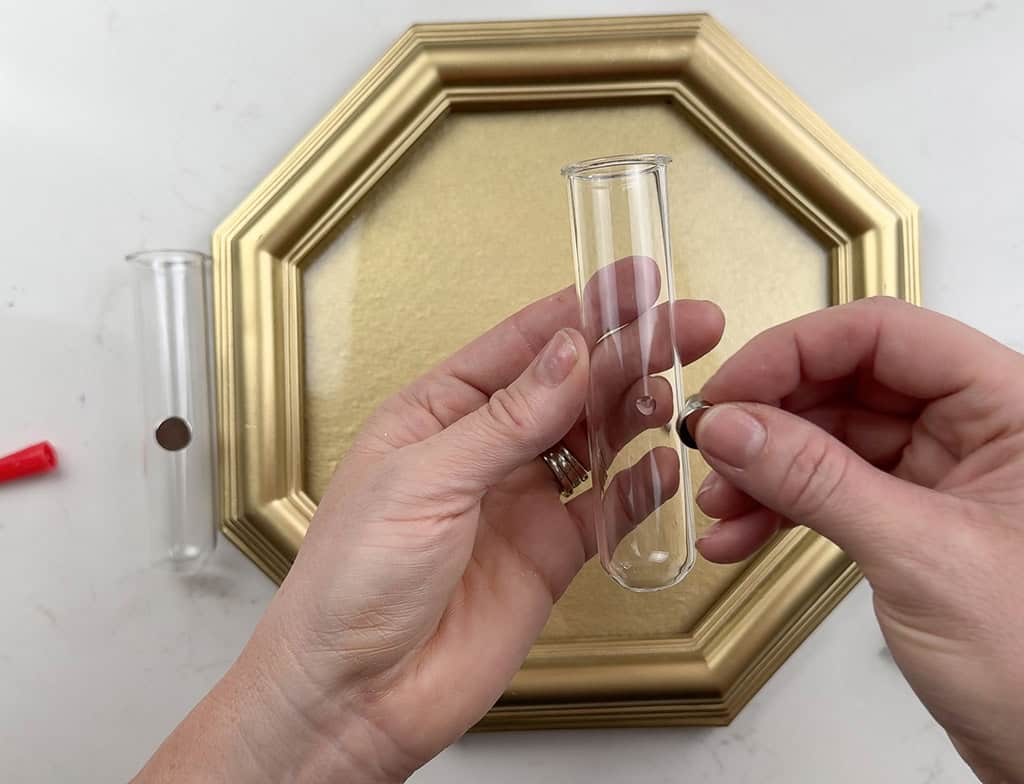
Once the magnets were secure, I filled the tubes and stuck them to the frame. Easy peasy!
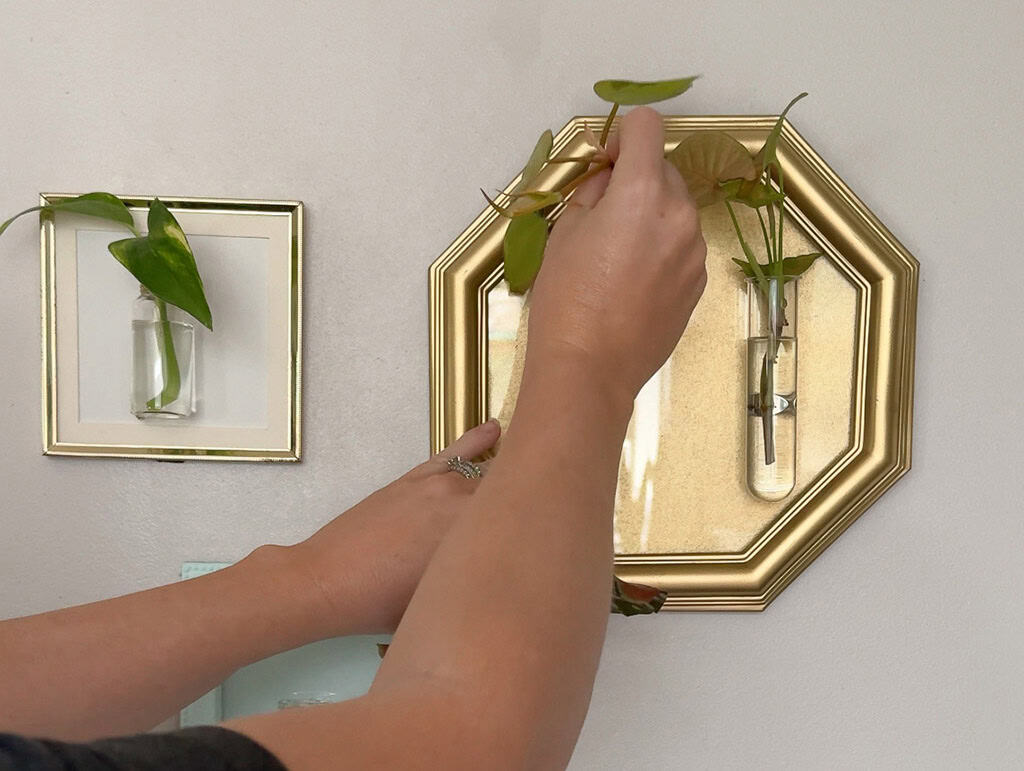
Then for the final step I added my plant cuttings to the tubes.
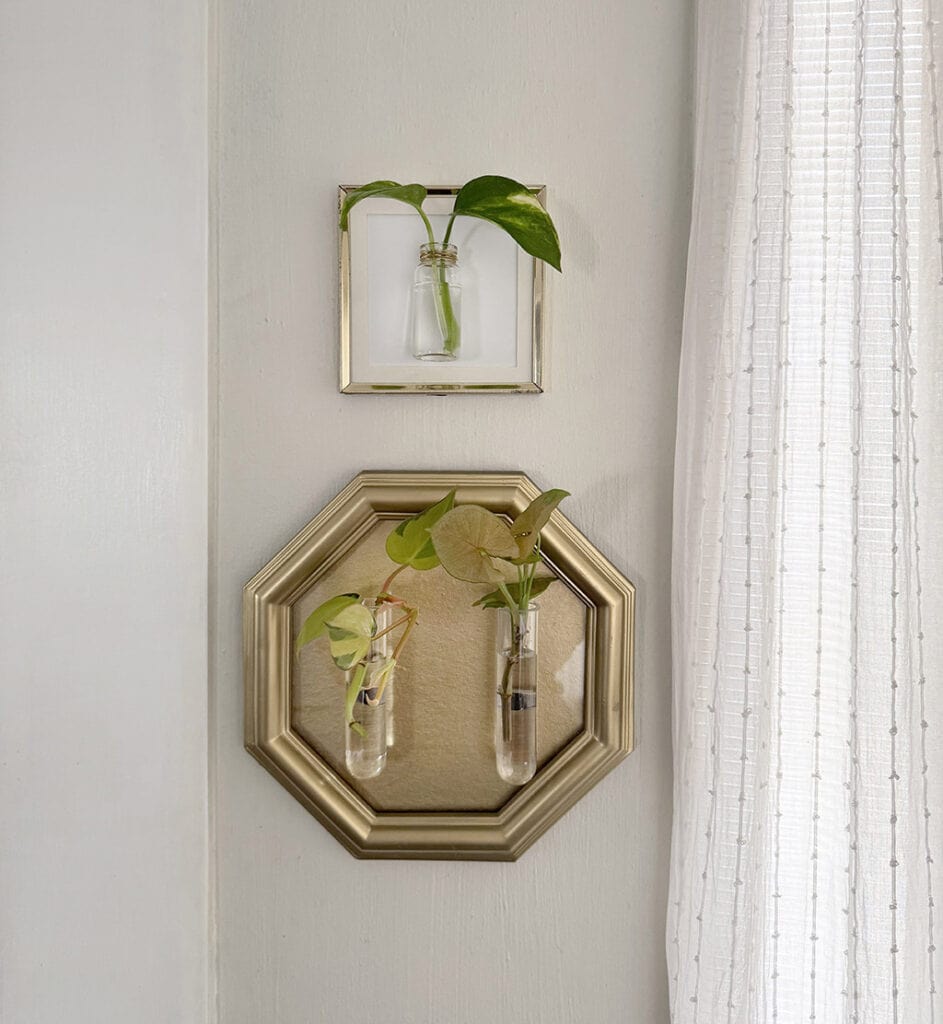
At first I created a gallery wall style display for my 3 frames. But then decided they would look better in a small nook underneath a skylight window. Propagating plants always do better with indirect sunlight.
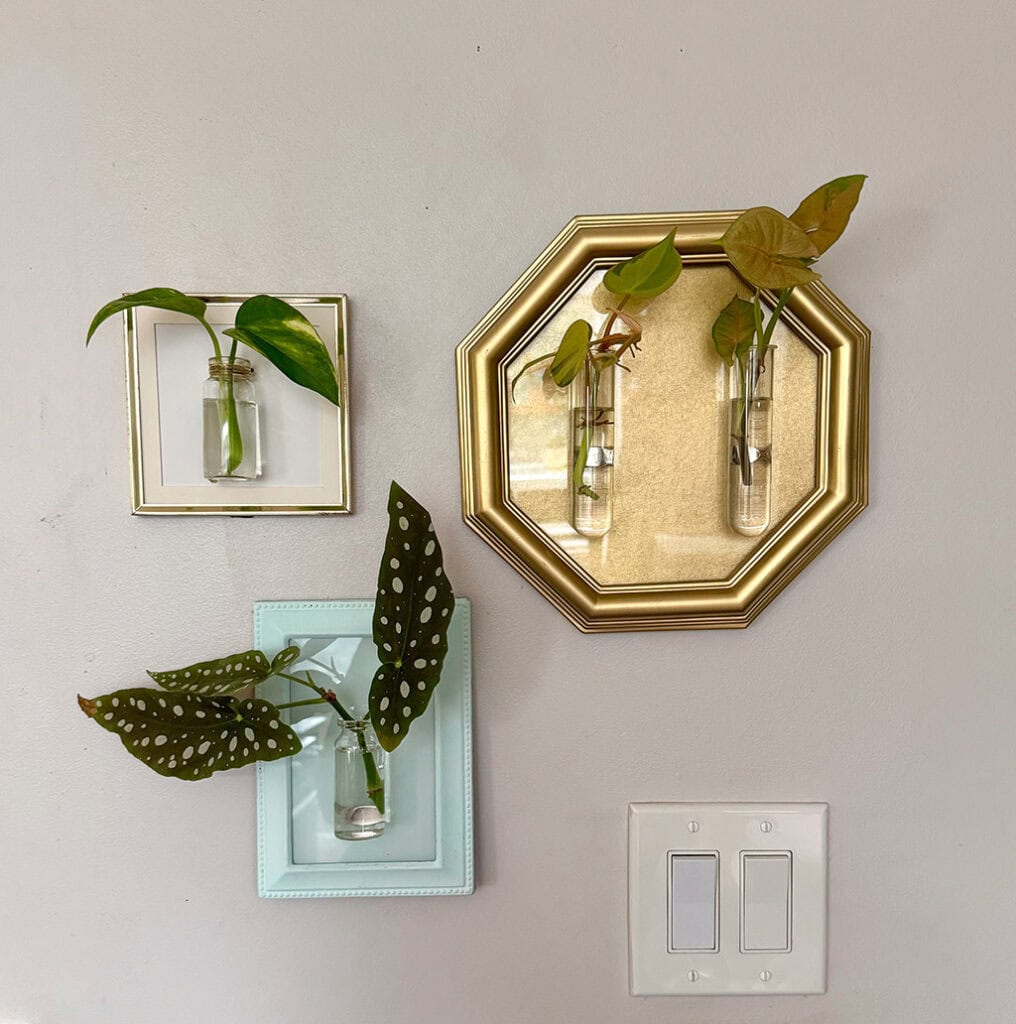
I just love how my DIY plant propagation art pieces turned out! So pretty and fresh.
I highly recommend making these!
And they would make a great gift for Mother’s Day, a housewarming party, birthday, etc.
Psst…If you make these for yourself wanna see. Be sure to tag me in your Insta, or Facebook photos.
P.S. I’m very grateful when you Pin my work as well.
xoxo
Audrey
You might also like my DIY sunburst art
Pin for later!