Hey-o!
So, I’ve been wanting to make some DIY marquee lights for over a year now, and just last week I finally made it happen! Can I get a whoo hoo? 🙂
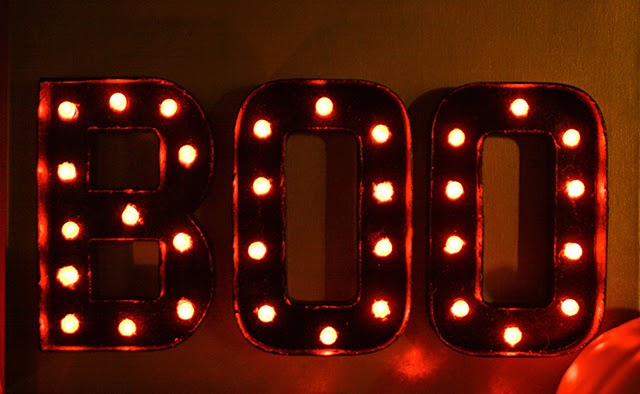
Since Halloween is coming up, it made perfect sense to start with some “BOO” lights.
Here are the supplies you will need:
+ Paper mache letters from your fave craft store
+ Spray paint (or acrylic paint and a brush)
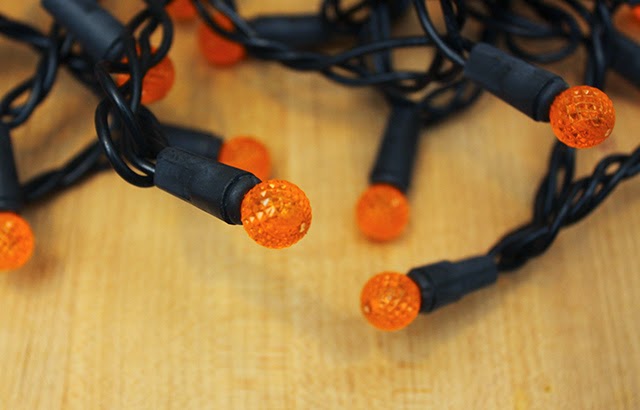
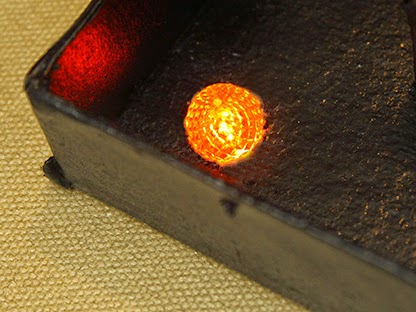
+ Strand of orange lights (round bulbs work best)
+ A drill (with a bit thick enough to fit the light bases through)
+ Exacto knife
+ Canvas (optional)
Bonus: This project only cost me $13 – not too shabby.

PS. After this photo was taken I decided to use different lights. The bulbs were bigger and just looked better in my opinion. I got them in the Halloween aisle at Wal-Mart for $6.
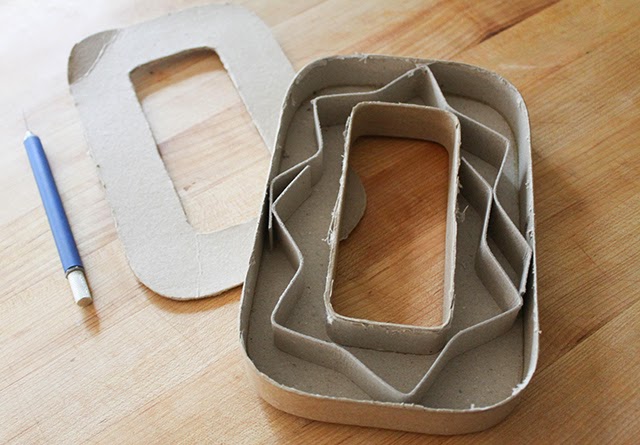
Start off by removing the face of your letters with your exact knife. Make your way all around the edges, remove and discard the face.

Remove the inside filler and discard. It does’t have to be perfect, but you can trim any loose paper from the edges as needed.
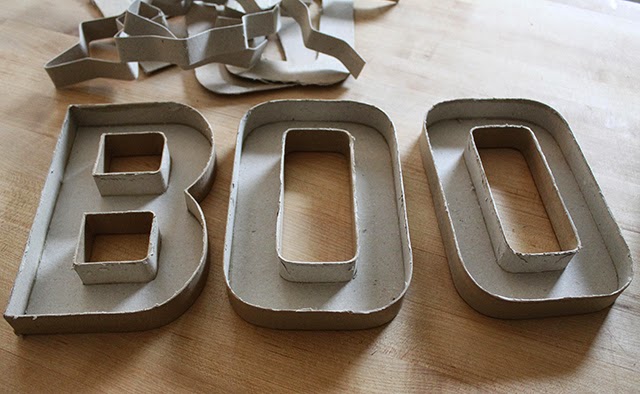
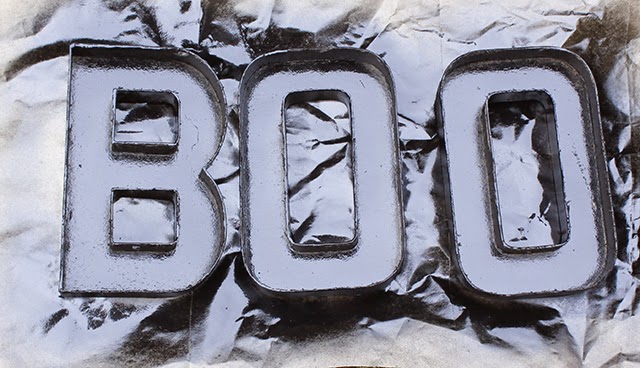
Spray paint your letters in your desired paint color. I went with black, and used two coats.
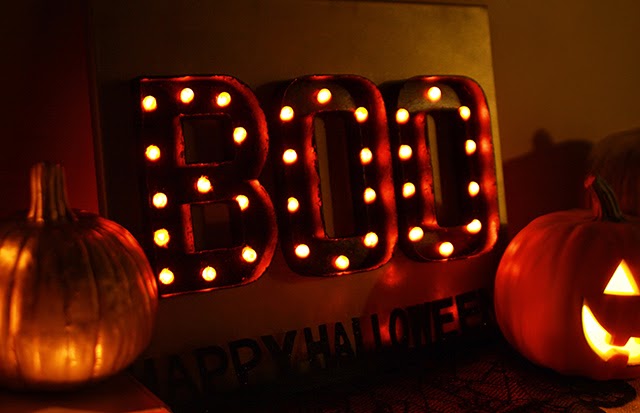
While waiting for the letters to dry, I scoured my basement full of random things. I found a 16×20 canvas that was already spray painted gold, and decided to use that instead of leaving the letters freestanding on their own.
The letters aren’t super sturdy/heavy and can tip over pretty easily if left free standing. The canvas does a great job making them one unit, and hides the excess lights behind it very well. It also allows you lean or hang your letters much easier.
If you want to go the canvas route, simply attach the letters to your canvas with a peel and stick mounting adhesive (similar to this).
Once your letters are attached to the canvas, mark dots where you want your holes to be drilled (I used nail polish because it was right there, and I was tired of locating things, but you can use anything that shows up on your paint color).
Drill all of your hole markers all the way through your canvas using a drill bit that’s wide enough to snugly fit your light bases.
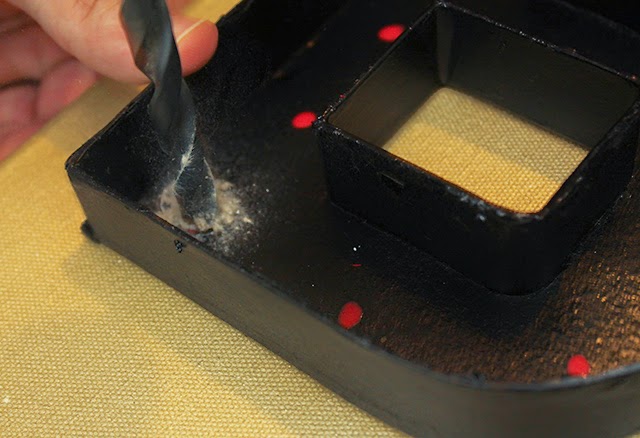
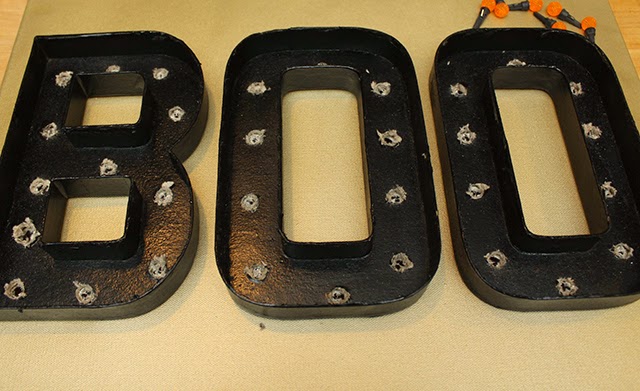
Dust off the paper mache remains and remove any excess paper from the drilled holes.
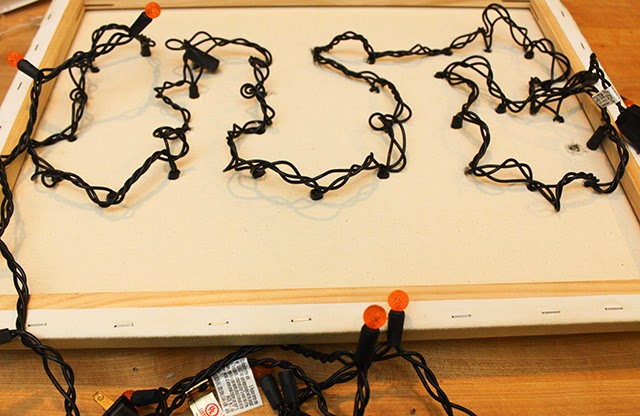
We removed the bulbs from the light bases so that the bases could fit in the drilled holes, and then replaced the bulbs once the bases were through the drilled holes.
TIP: We found that removing a bulb, placing the bulb base through the drill holes, and then replacing the bulb one at a time works best, and helps ensure that the light strand keeps working properly. Yes, we killed our other strand by pulling all bulbs at once. 🙂
Simply pop your bulb back into the base and repeat this step until all bulbs are replaced.
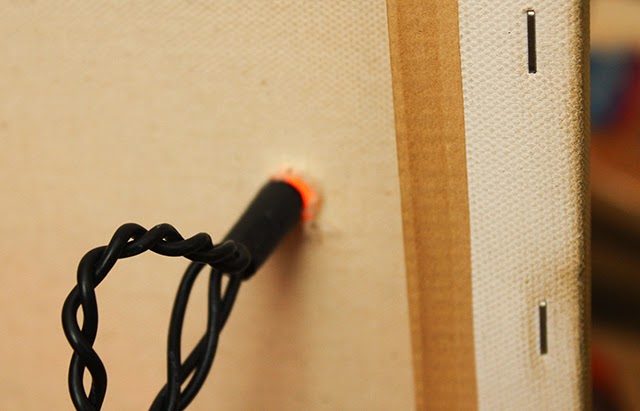
Here’s a view of the light strand from the back-side of the canvas.
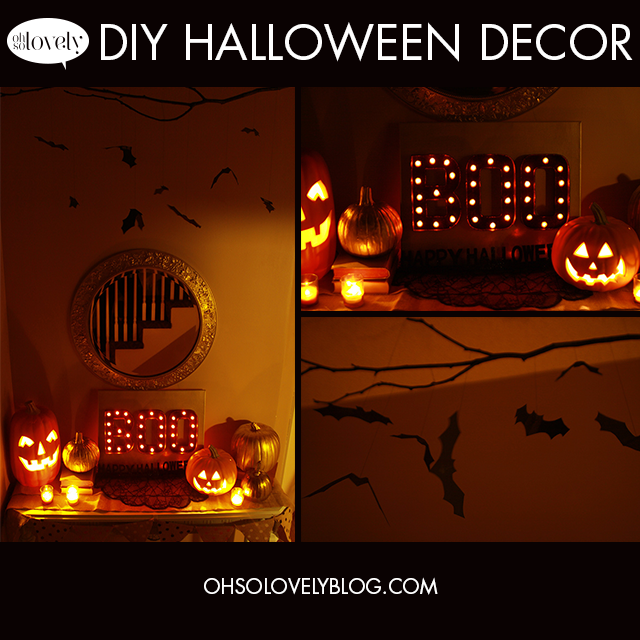
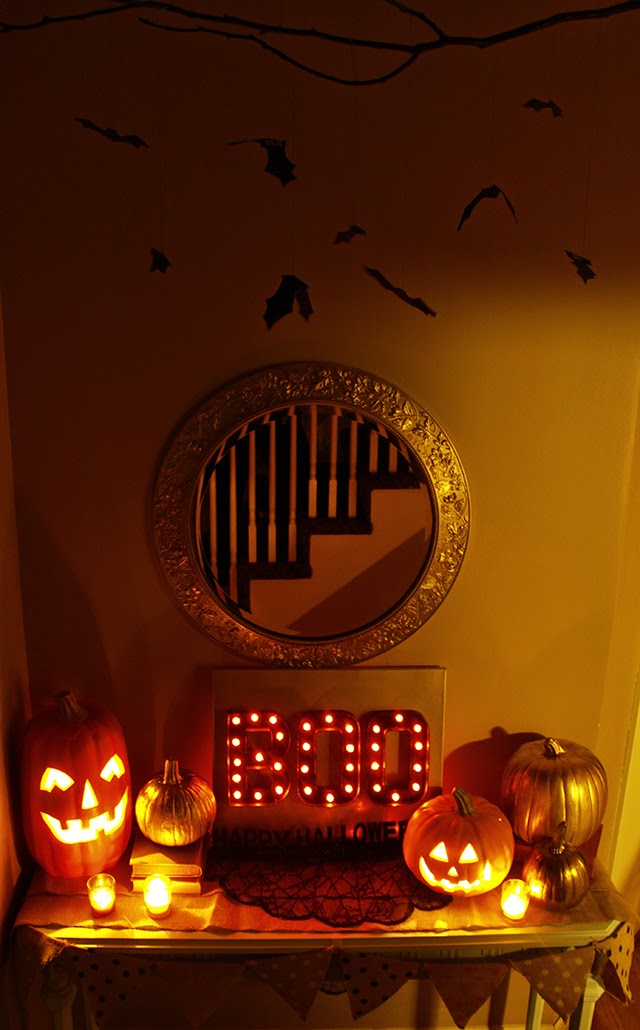
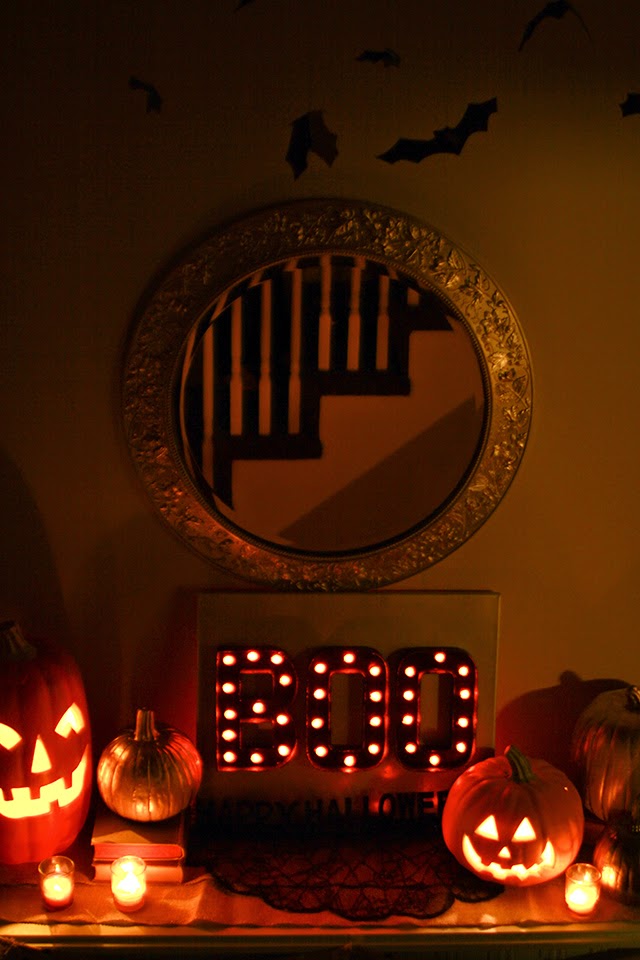
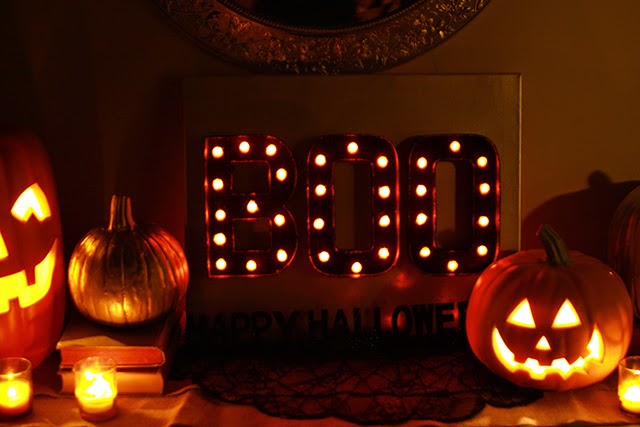
Take your finished product and lean (or hang) it wherever you want to add some Halloween cheer.
Mine found a spooky little home on our entryway table under the DIY bat mobile I created last week.

|
| To see the complete DIY bat mobile tutorial click here. |
I have many more plans for other marquee light projects, so stay tuned for that. 🙂
That is just so lovely, I need to that in the near future…
Thanks very much, Staehaeff! 🙂
Wow! That looks amazing! 😀
Thanks so much, Lynsey! I appreciate you stopping by and taking the time to comment. 🙂
LOVE this! …and would never have thought of it! Thanks!
Thank you, Katie!! Pinterest inspired me. 🙂
Love this project! It looks great!
Thank you, Emmie!! I have never done this much decorating for Halloween before. It's been fun. 🙂 xoxo