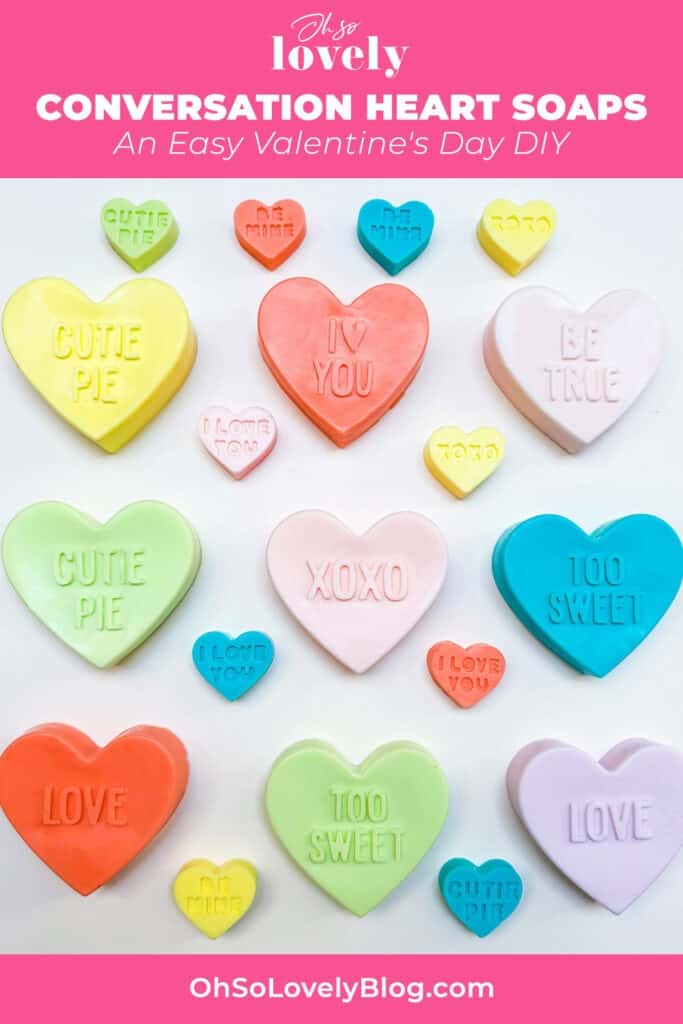
Conversation heart soaps – A quick, easy and fun Valentine’s Day DIY project – perfect gift for friends and family!
Are you looking for an affordable and easy DIY gift idea for your galentines or valentines? Or maybe a cute way to decorate your bathroom for the holiday?
I’ve got you covered with a fun and easy project!
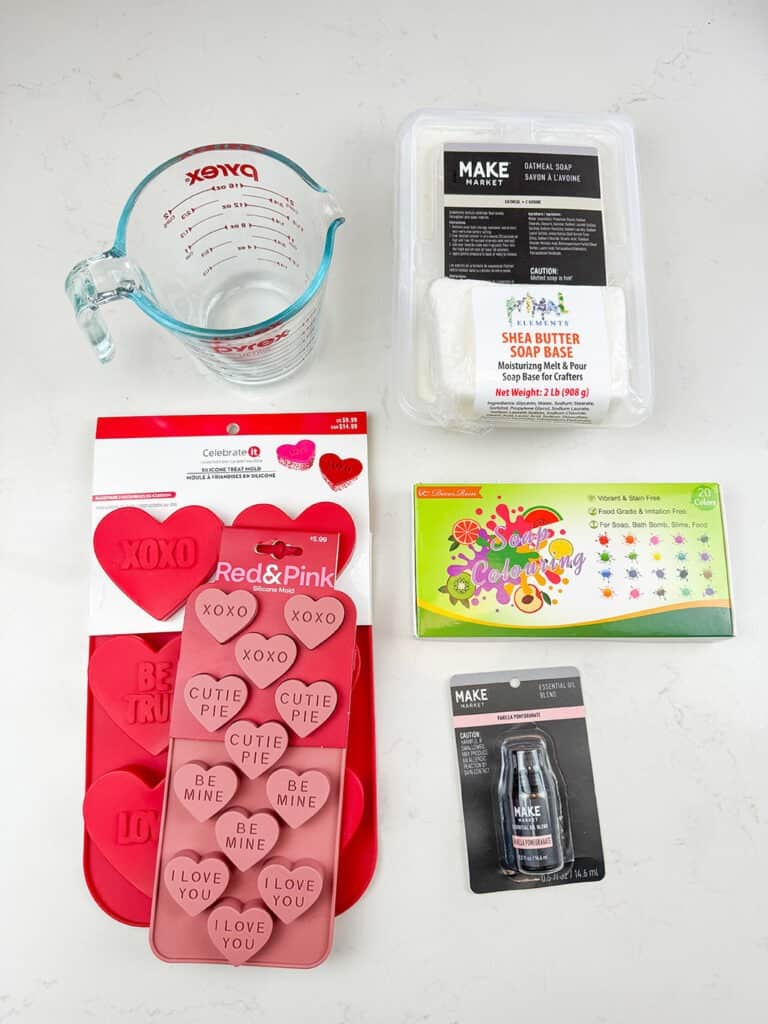
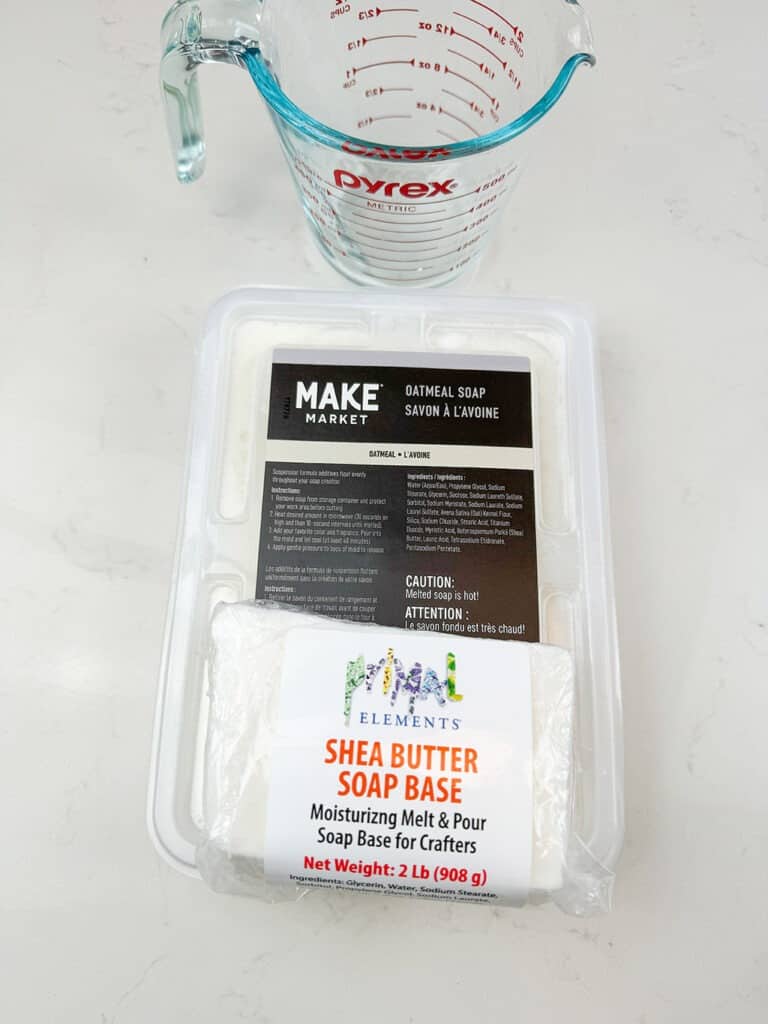
Grab your supplies:
Soap base (I used both oatmeal and shea butter)
Mixing cup/bowl
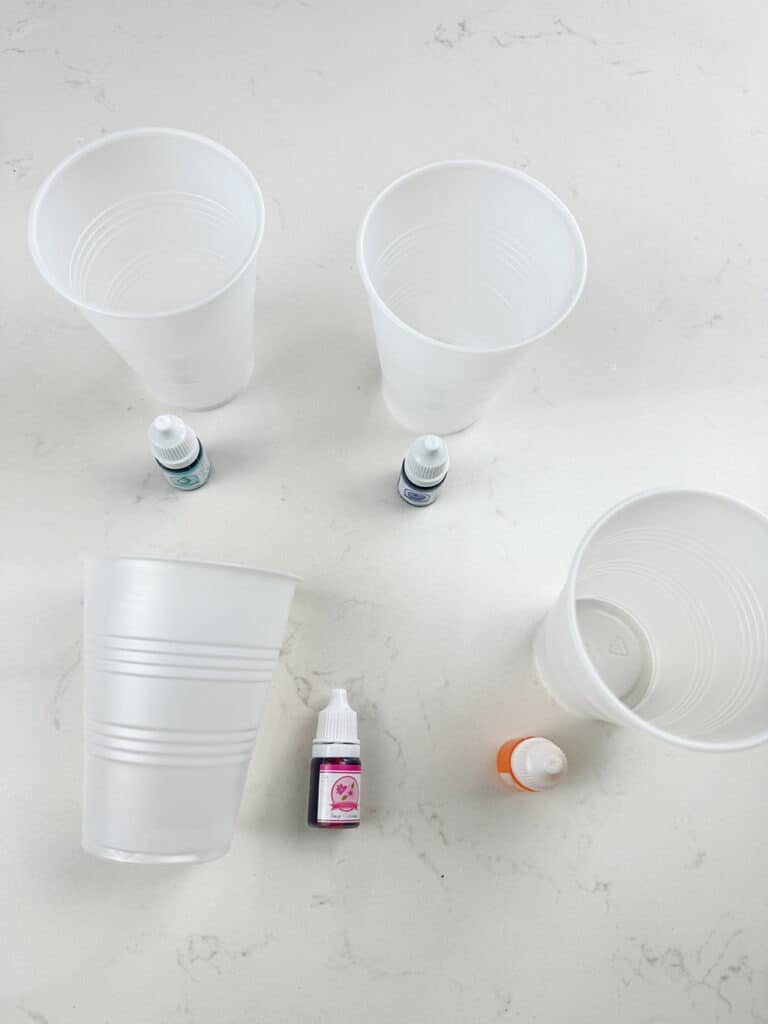
Cups/bowls (for mixing coloring/scent)
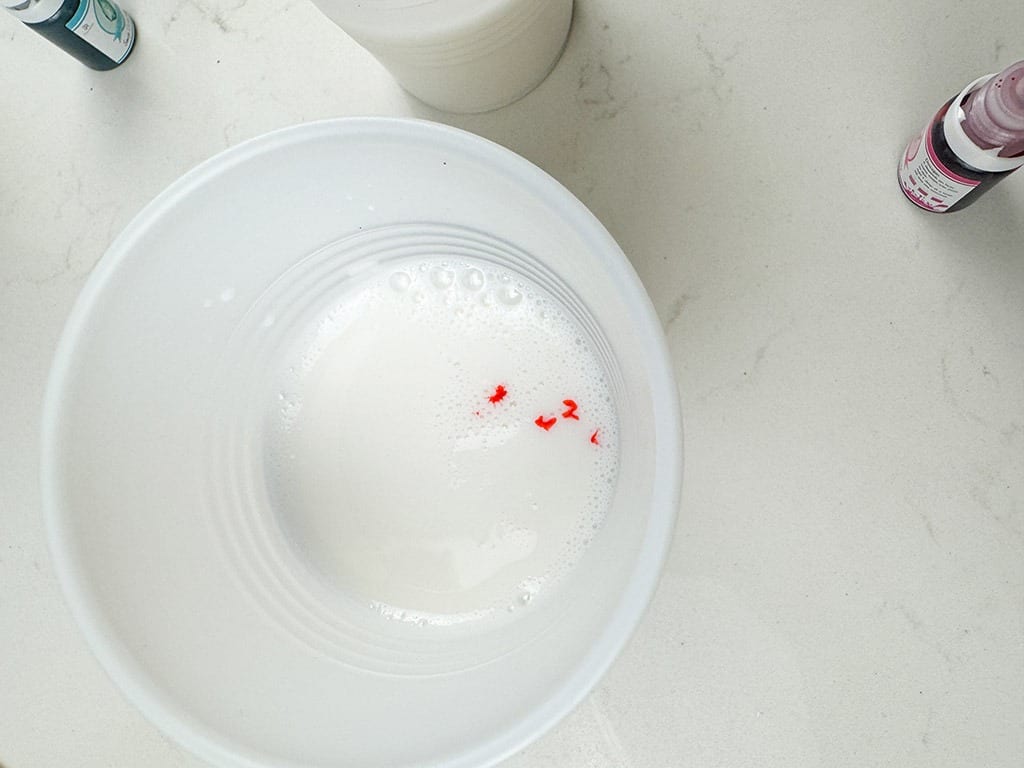
Food grade coloring
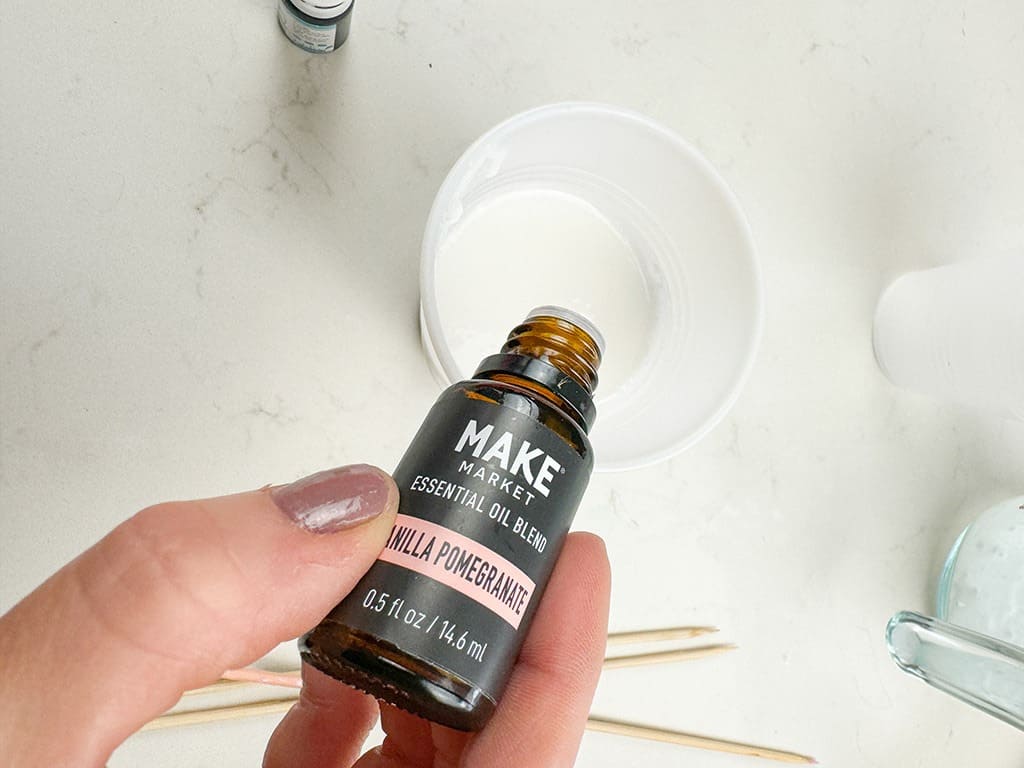
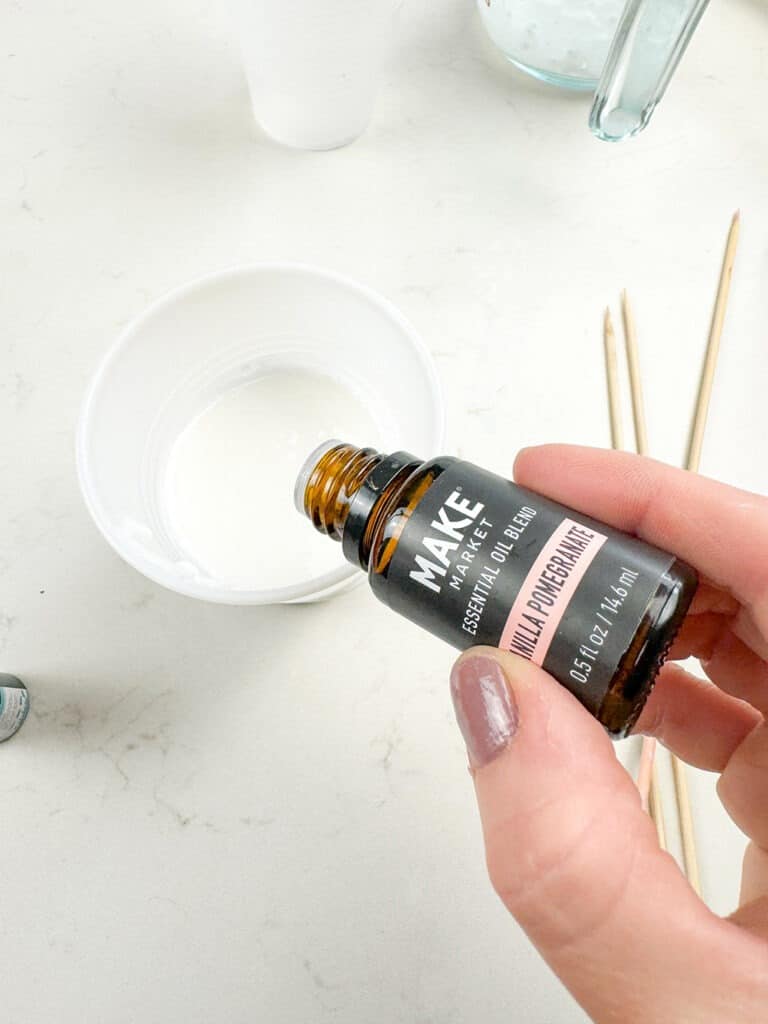
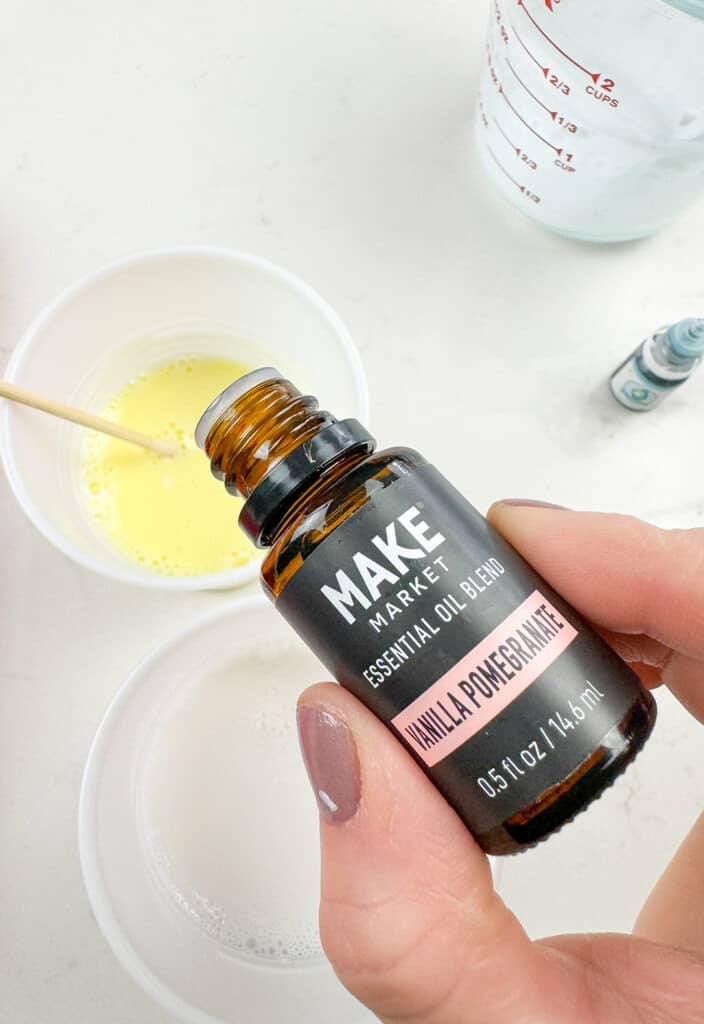
Essential oil scent
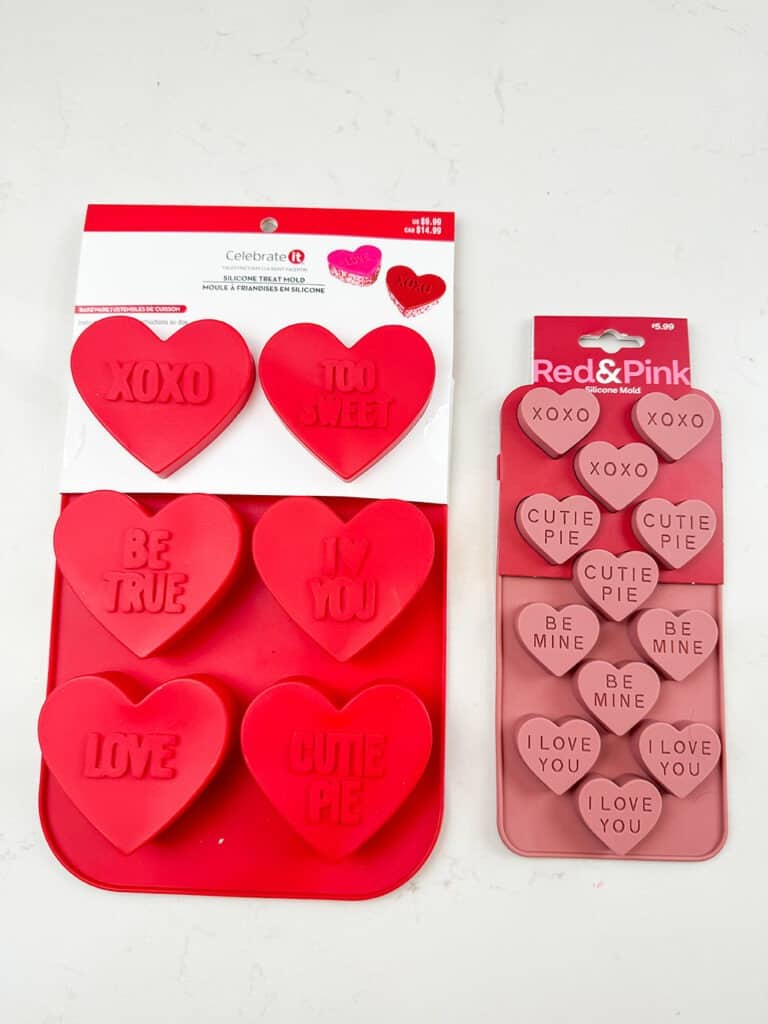
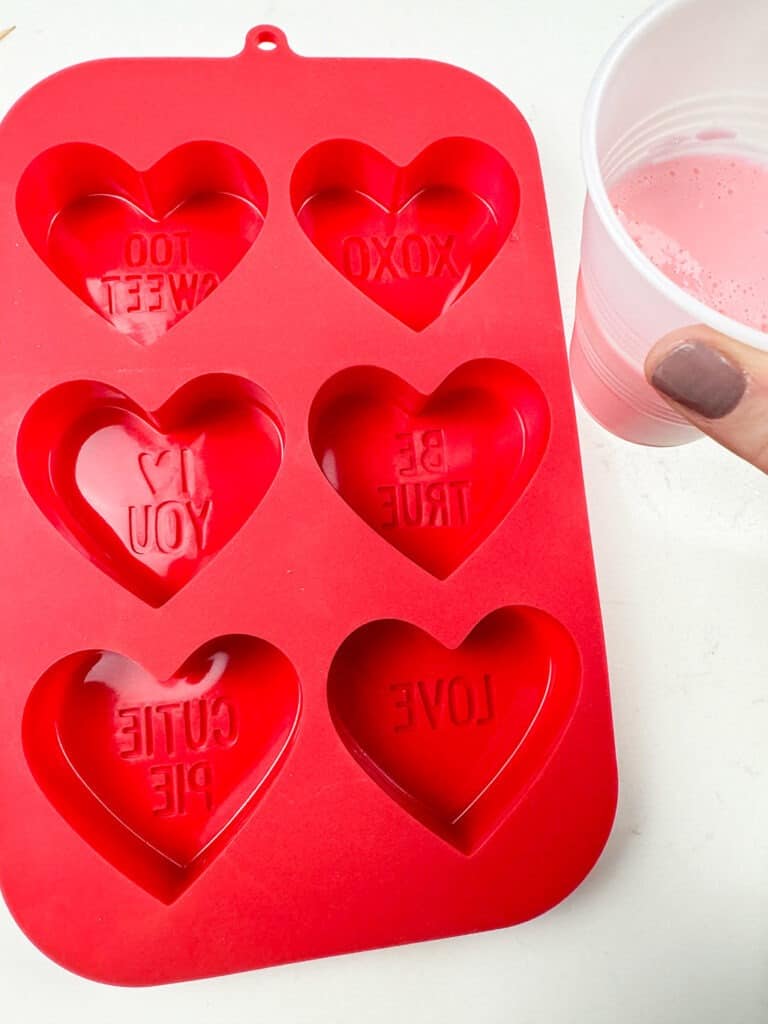
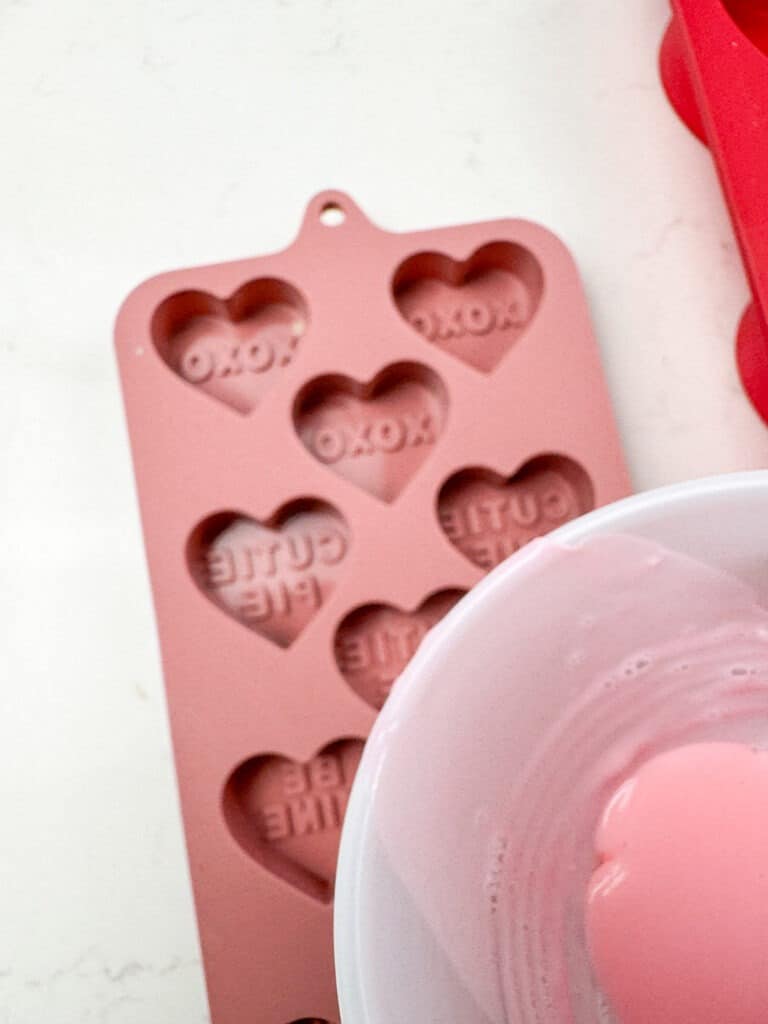
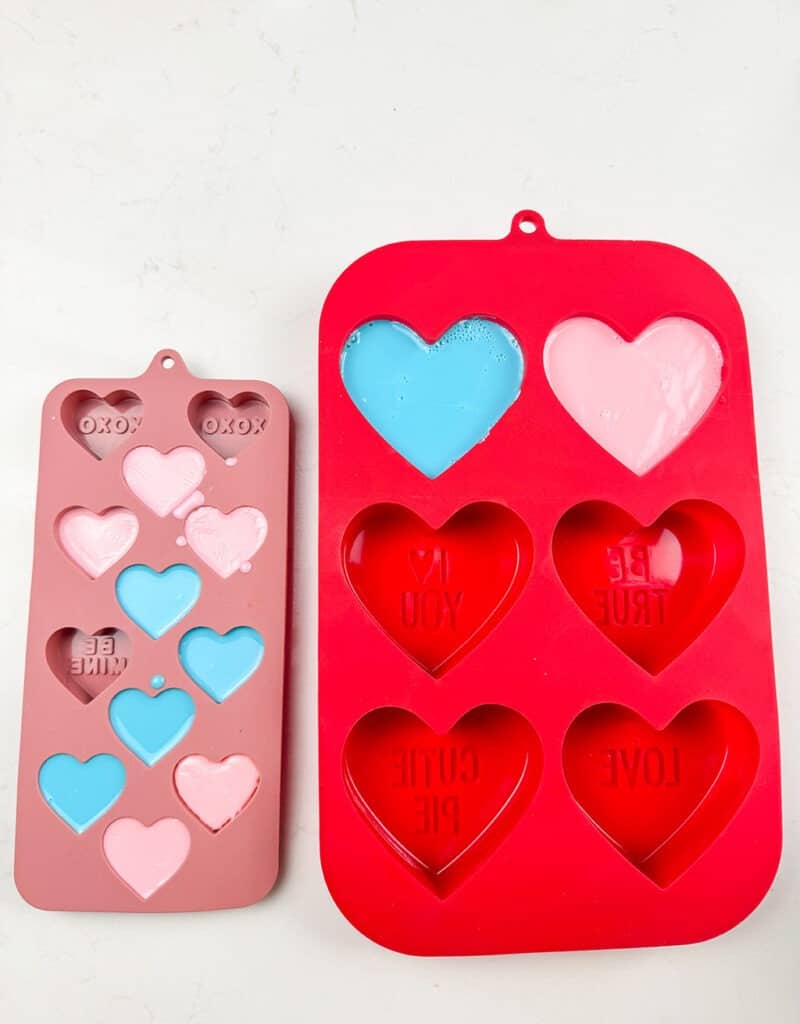
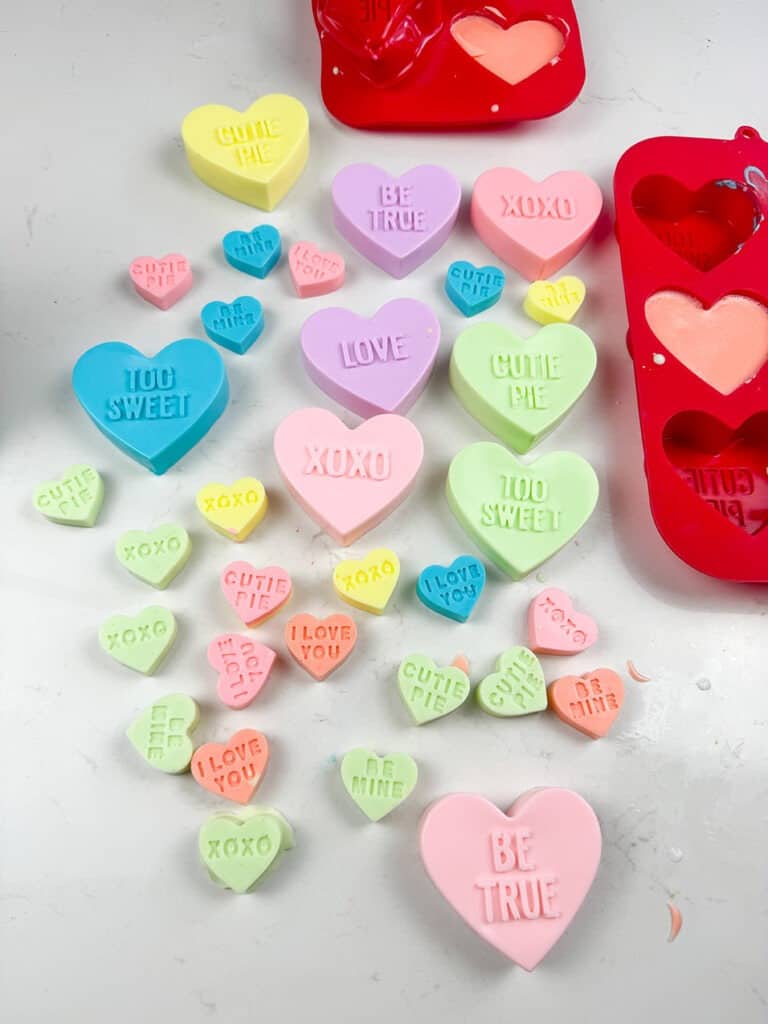
Heart molds (large and small) I found mine for $5 at Michaels and CVS
Stirrer sticks/skewers
Cutting board and knife
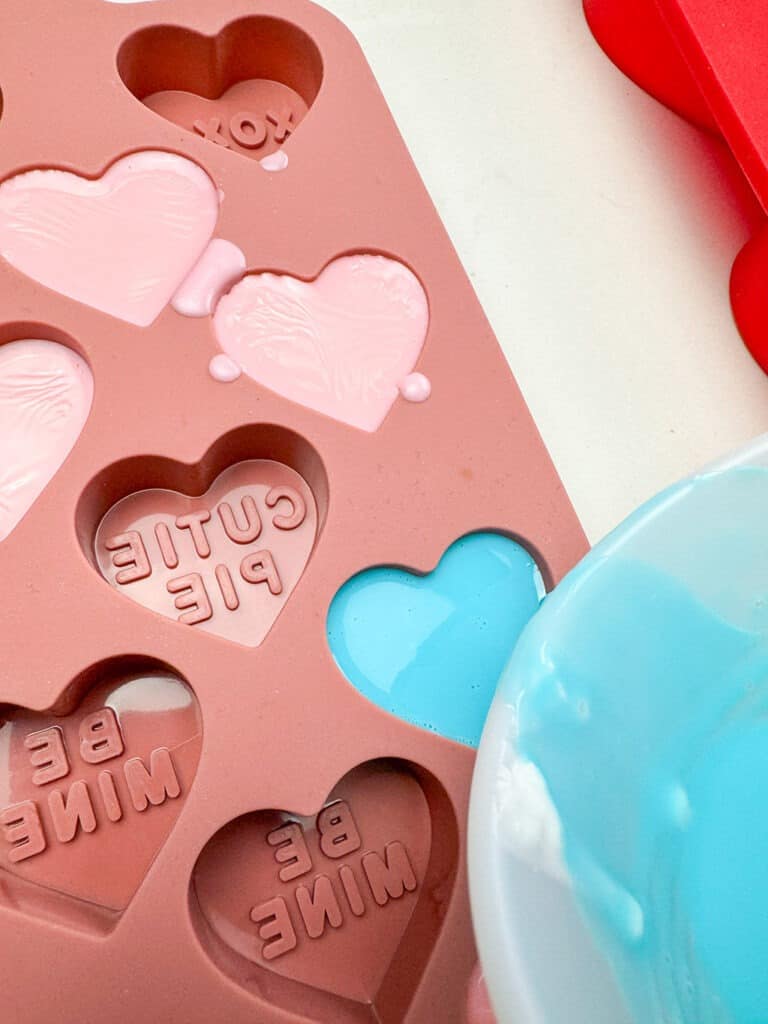
These heart molds were perfect (large and small). I found mine for $5 at Michaels and CVS, but I provided Amazon links in case you can’t find them in person.
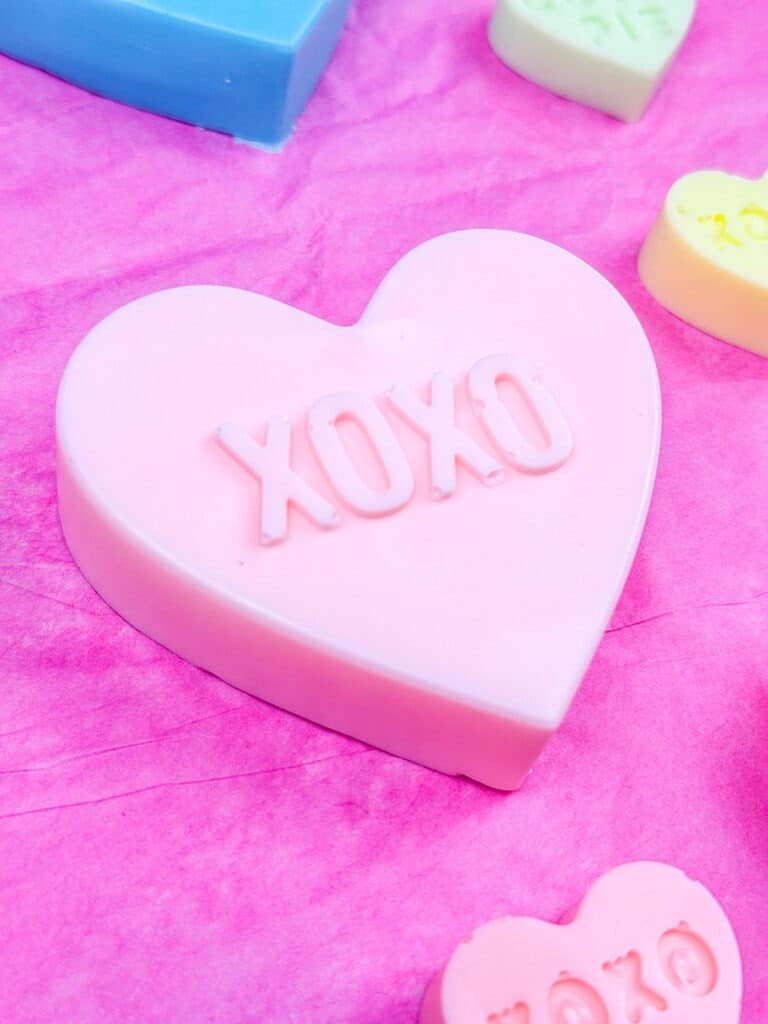
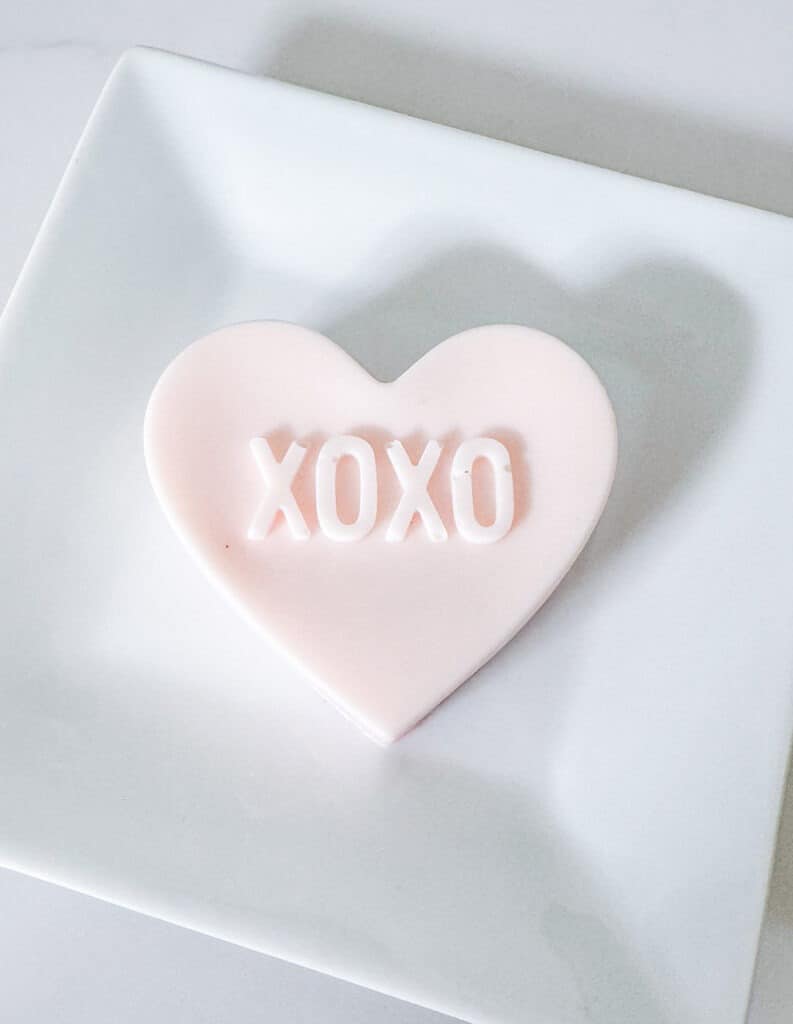
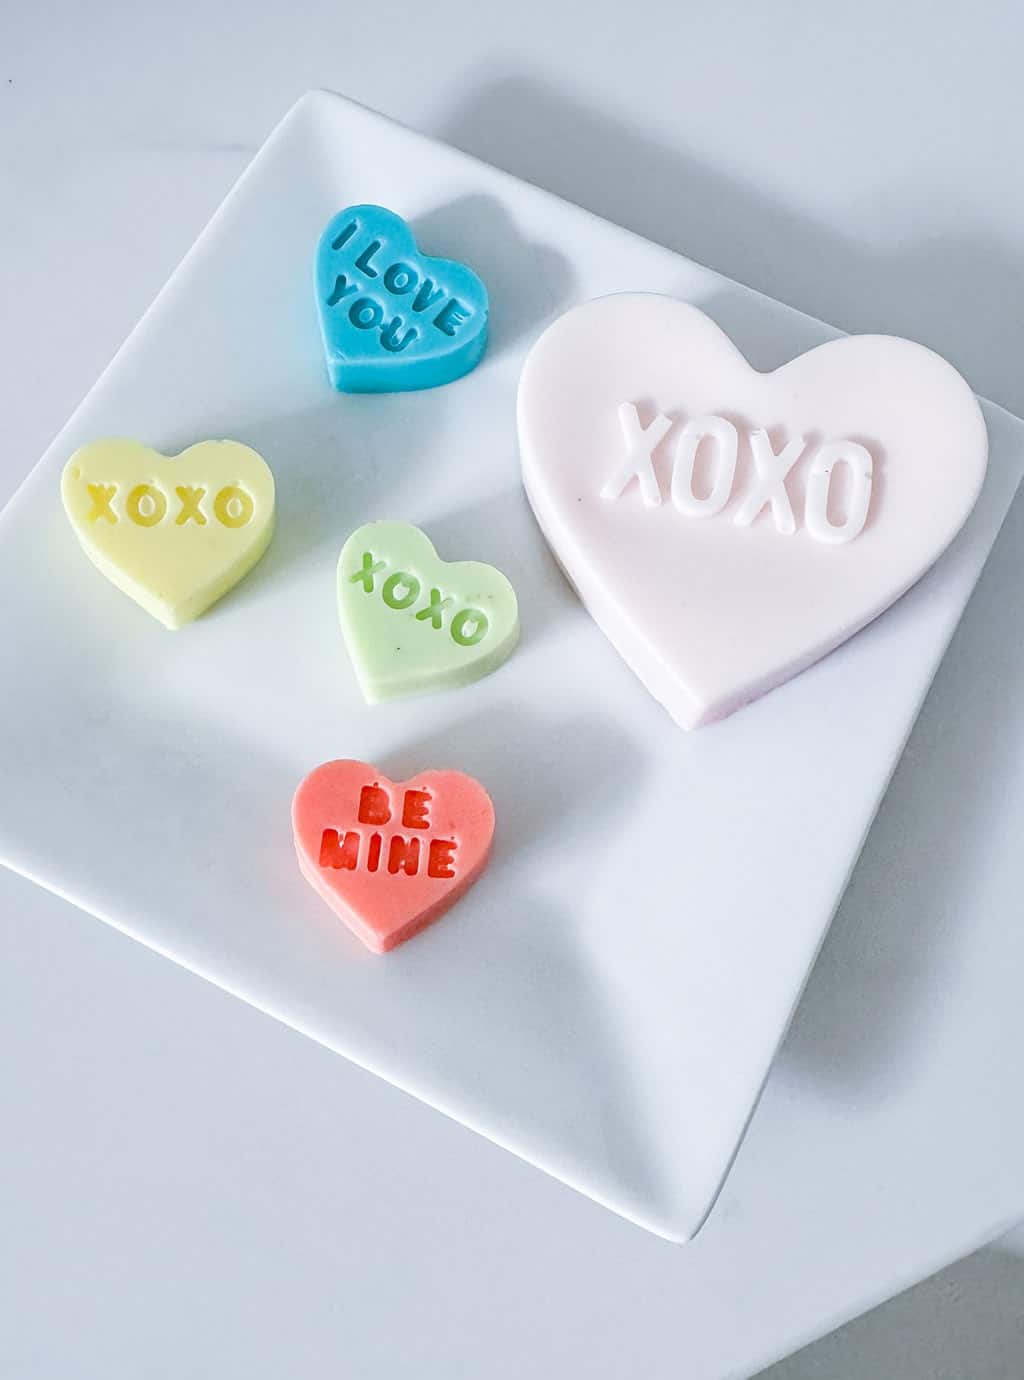
Conversation heart soap base
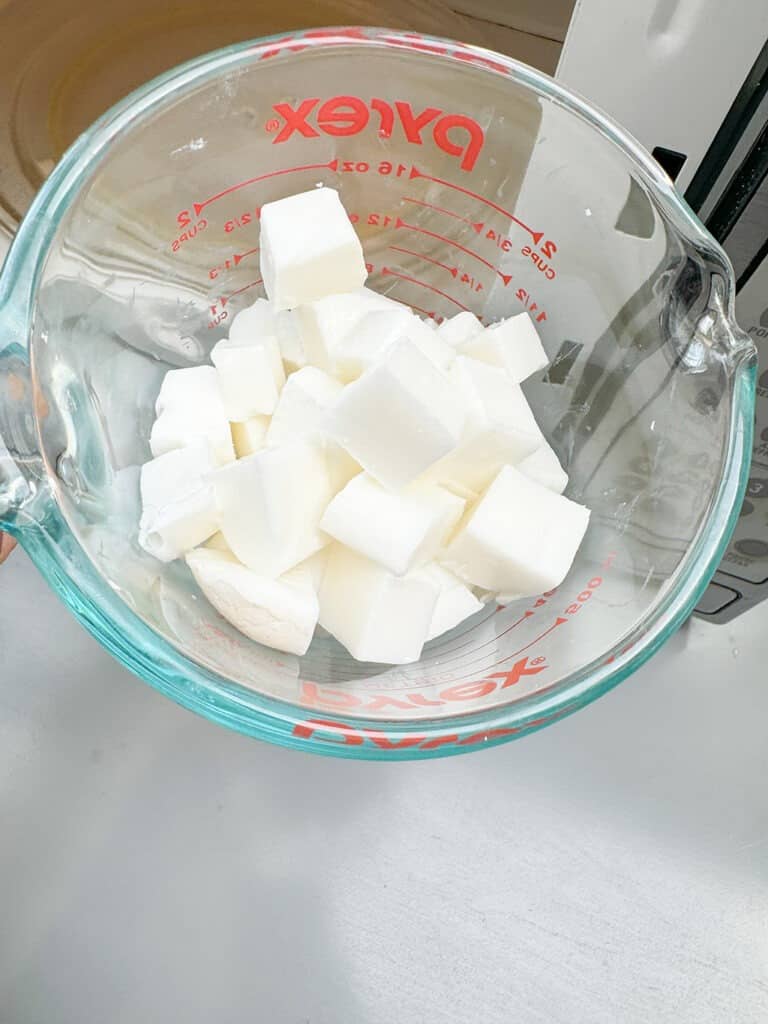
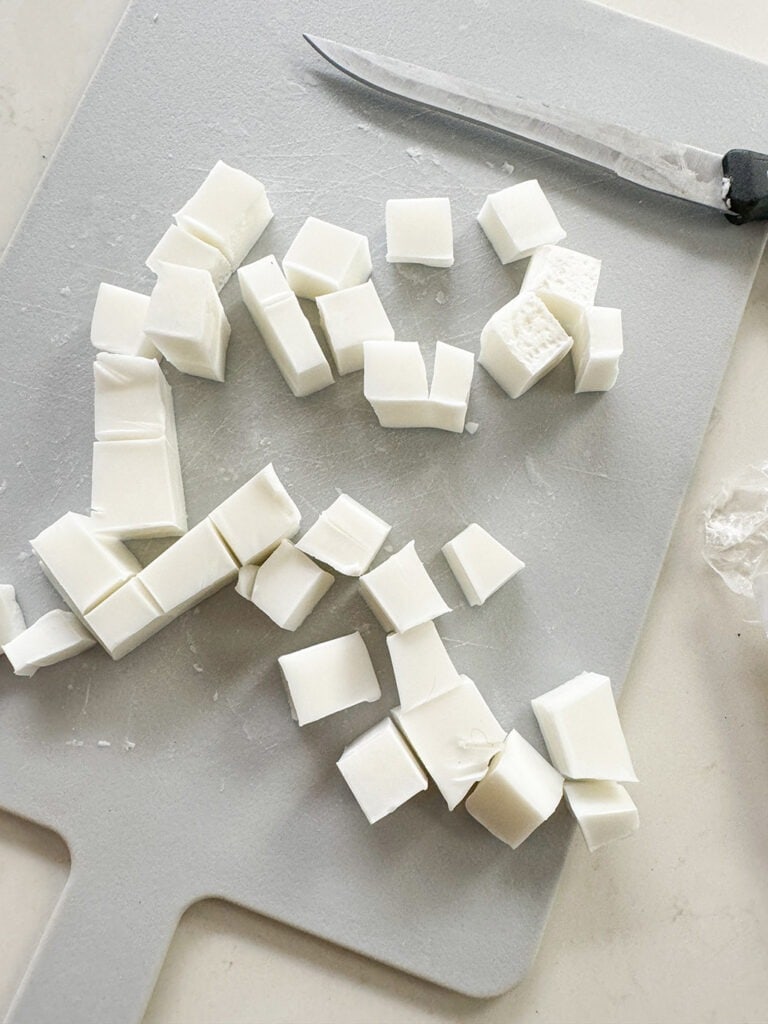
I started by cutting my soap base (I used both oatmeal and shea butter) into smaller pieces. It was very easy to cut thankfully.
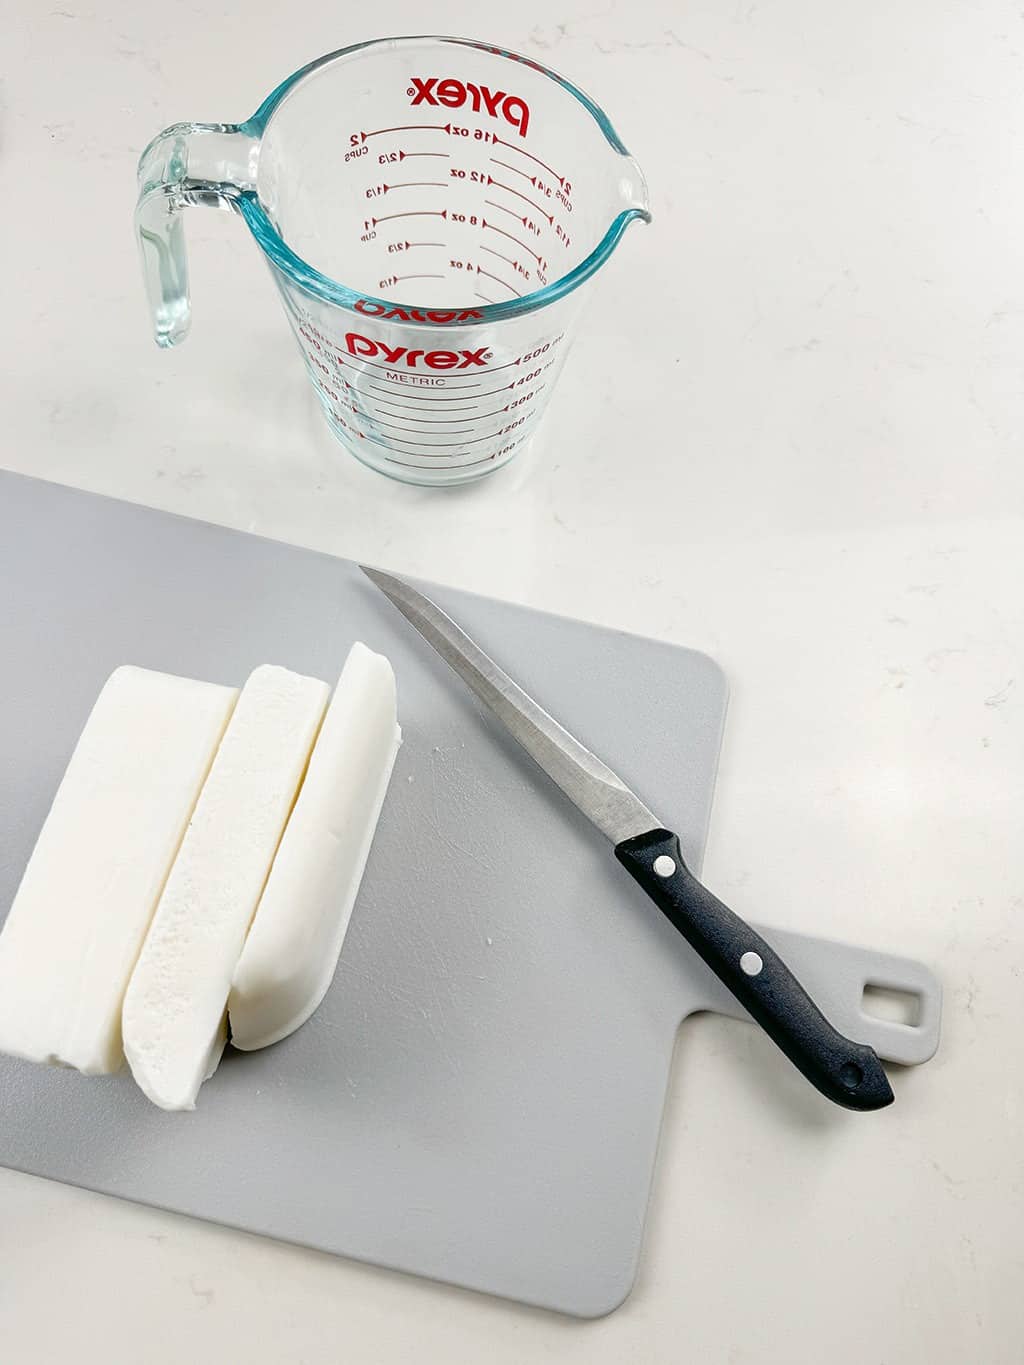
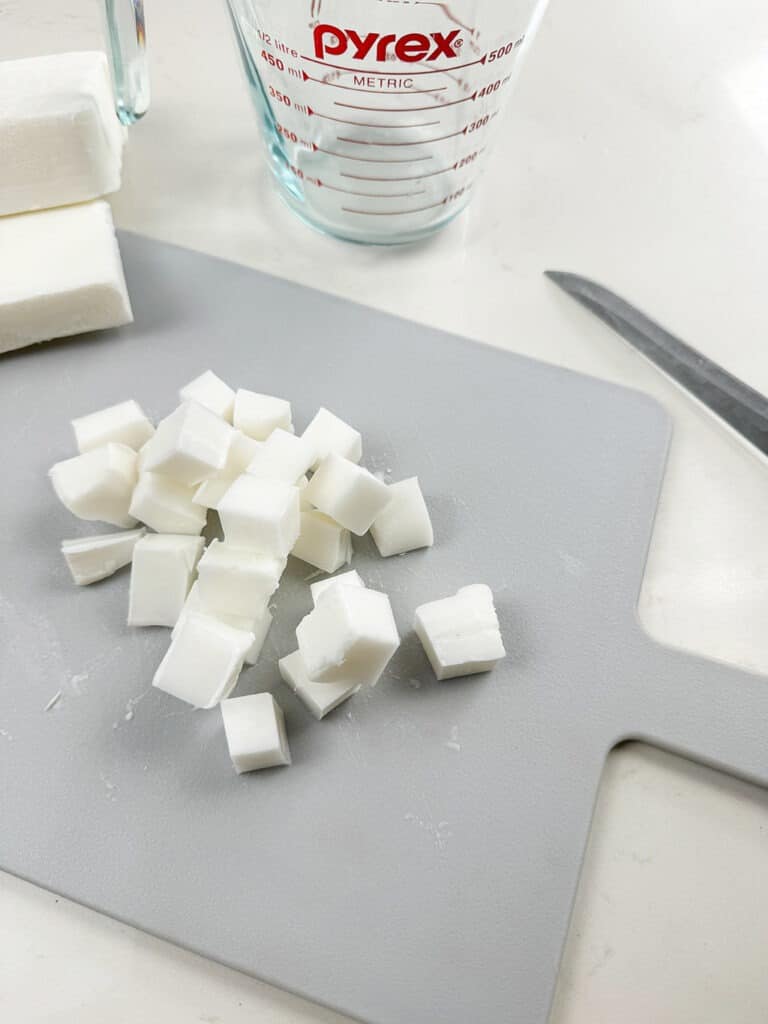
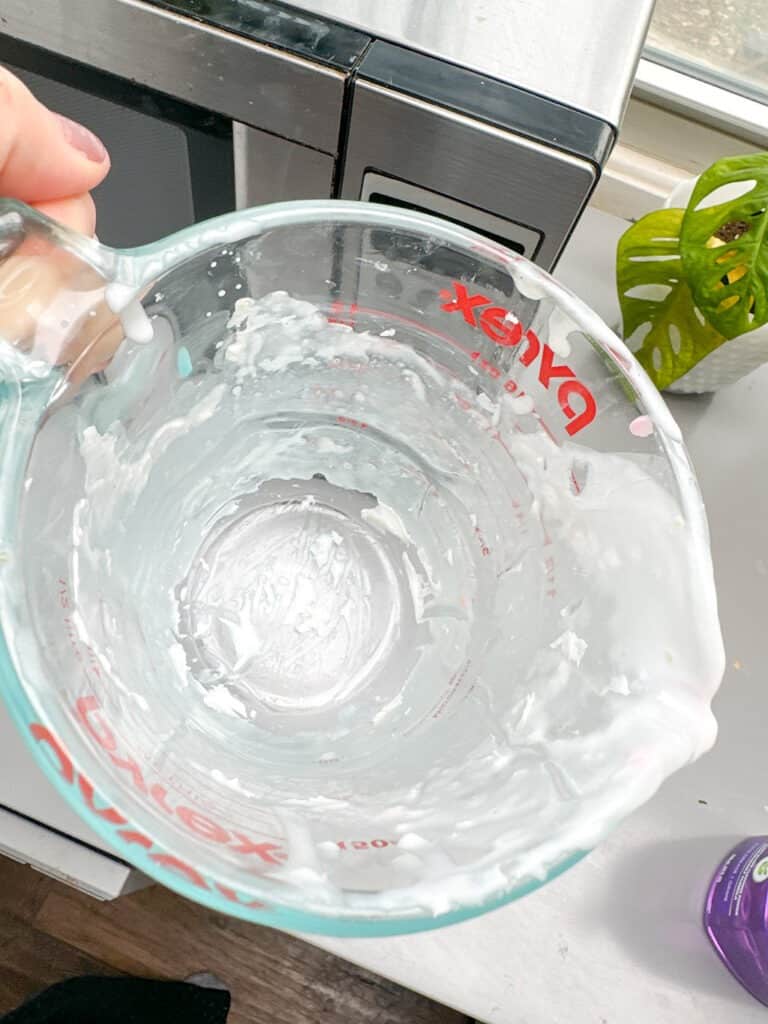
Once my smaller pieces were cut, I added them to my Pyrex mixing cup and microwaved it following the directions on my base soap label.
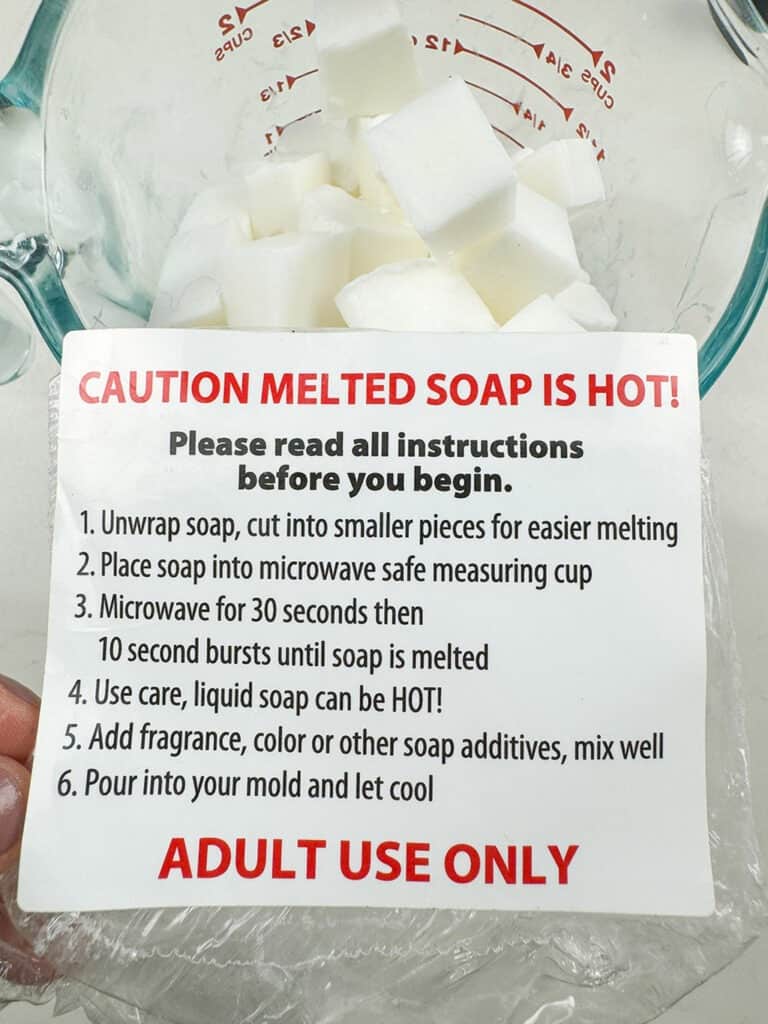
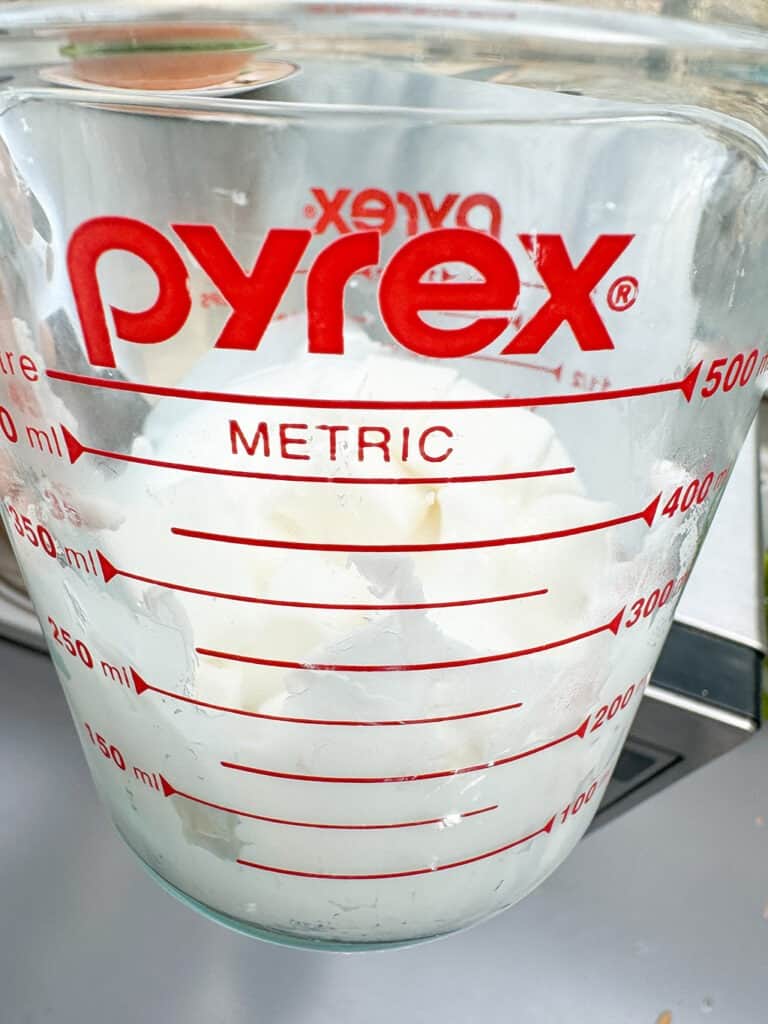
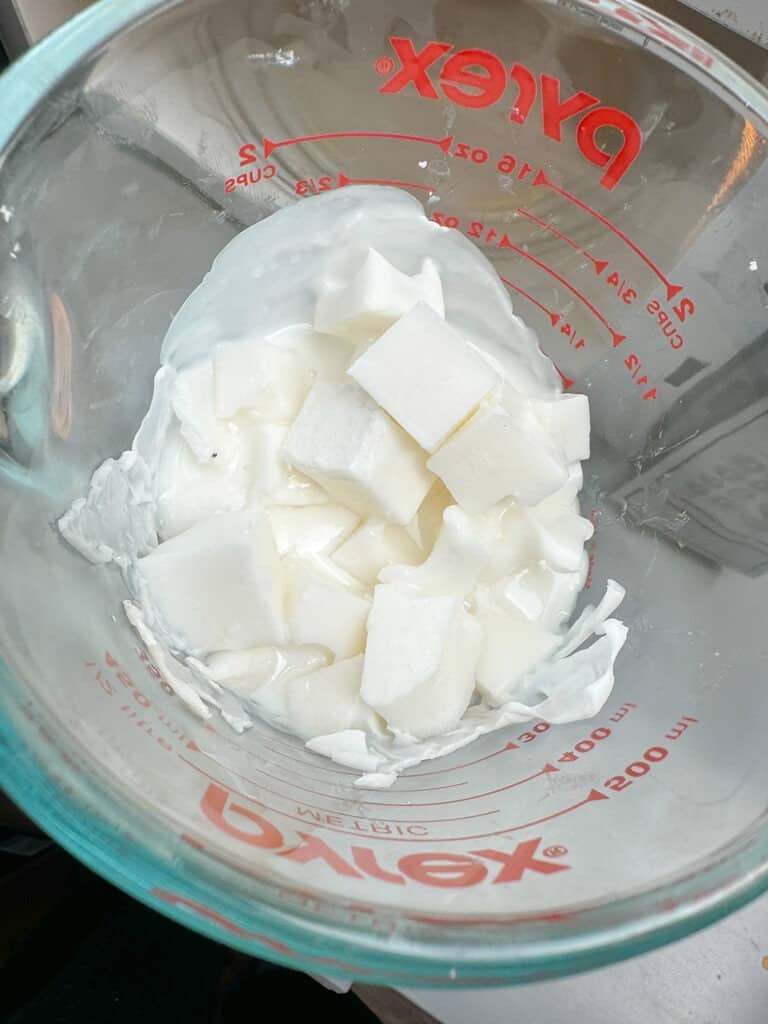
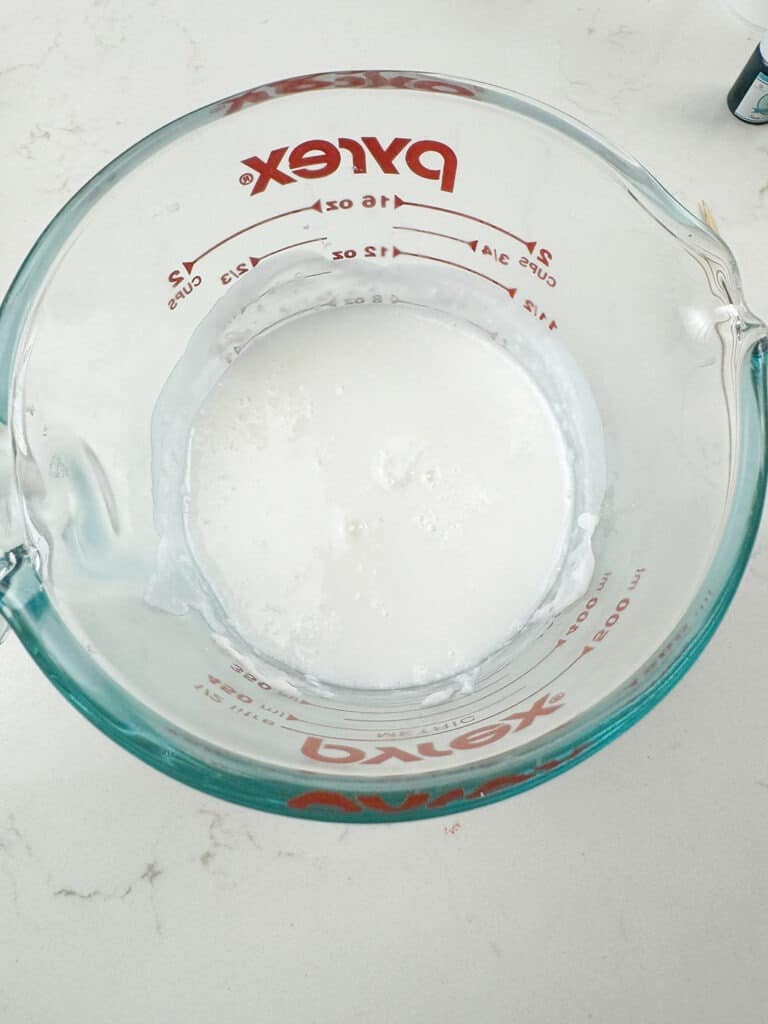
In about one minute my soap base was perfectly melted.
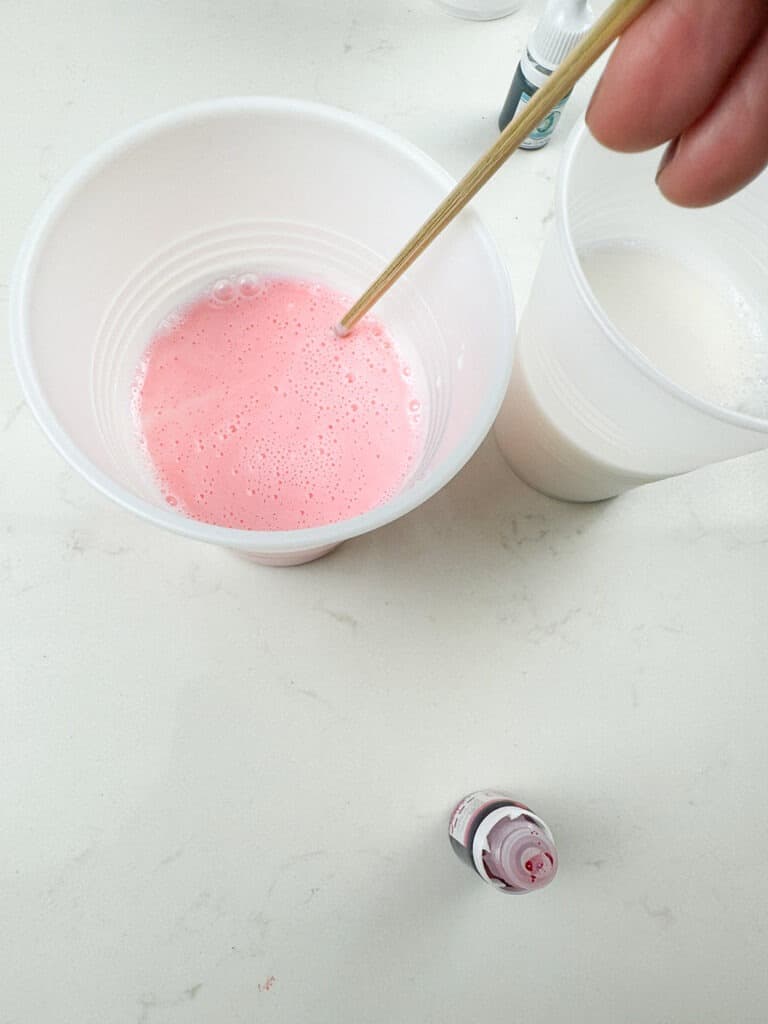
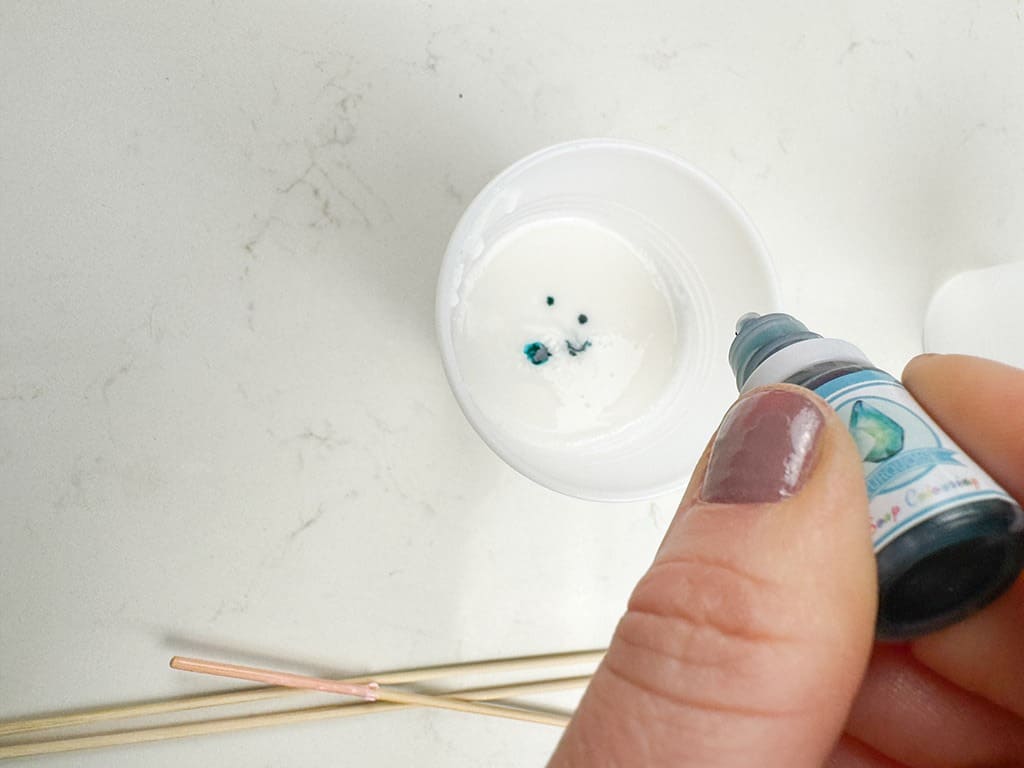
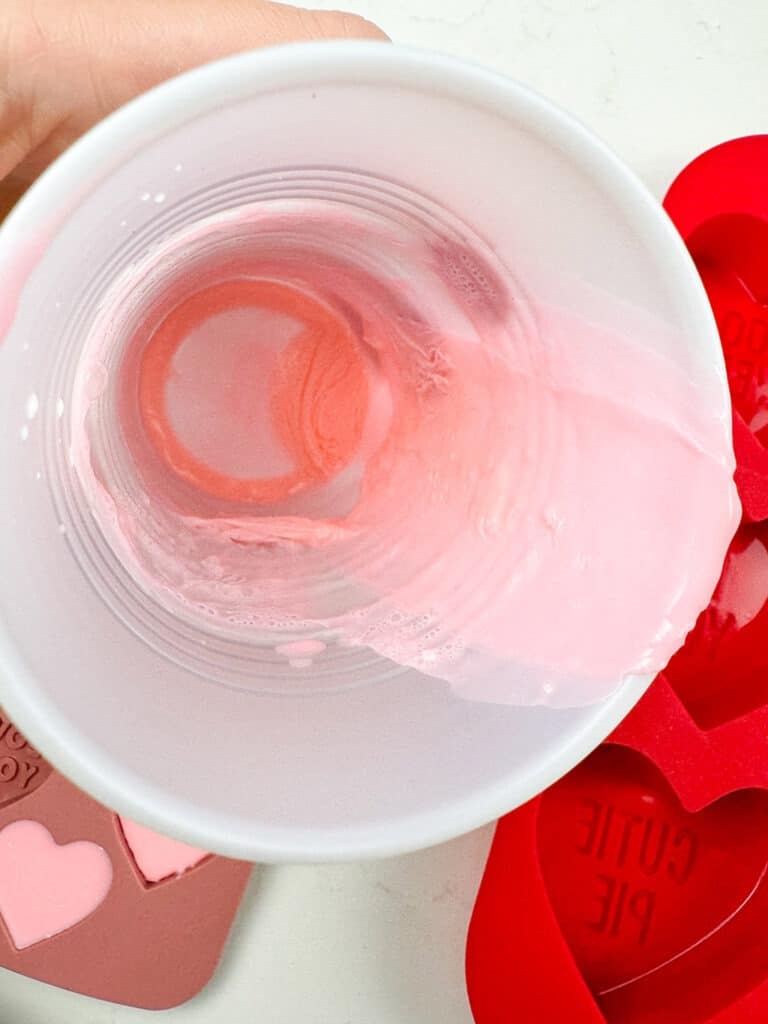
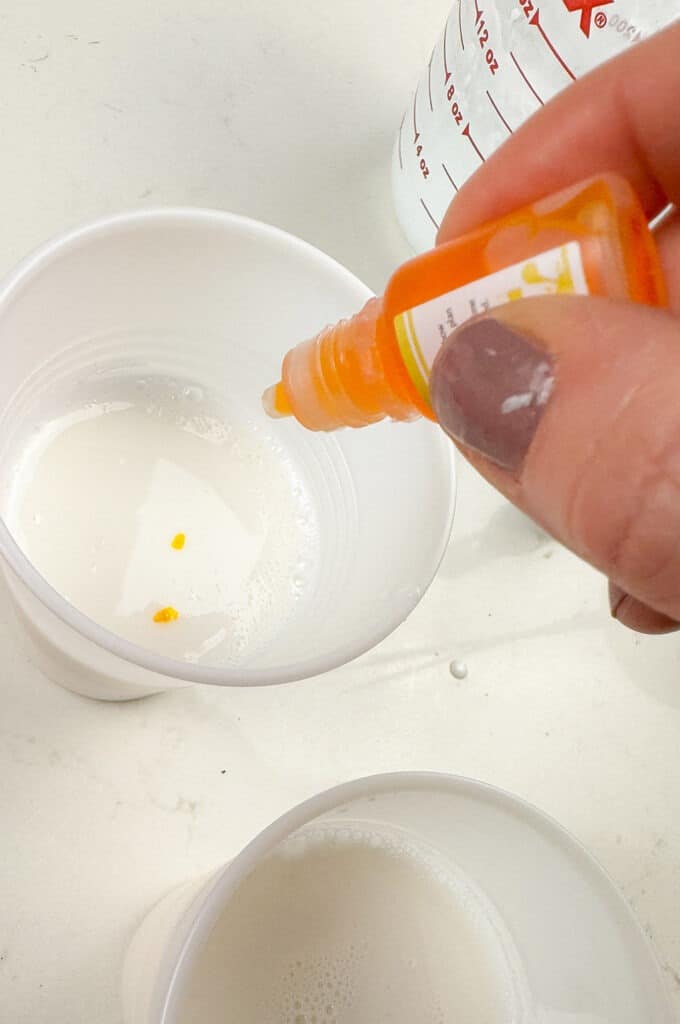
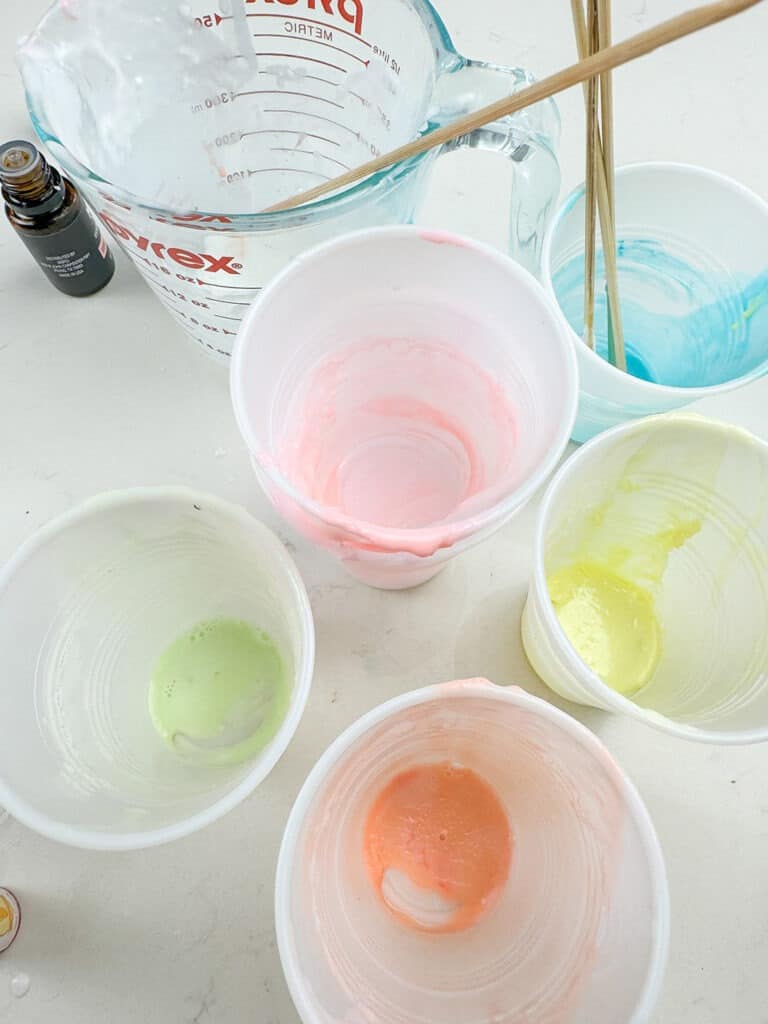
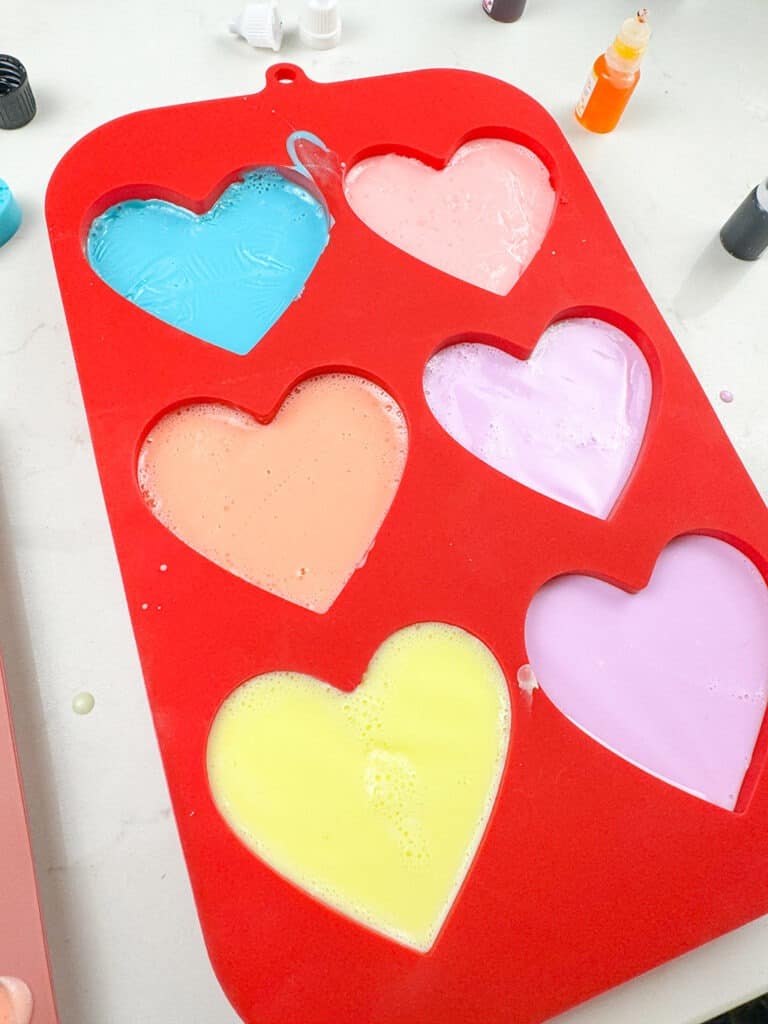
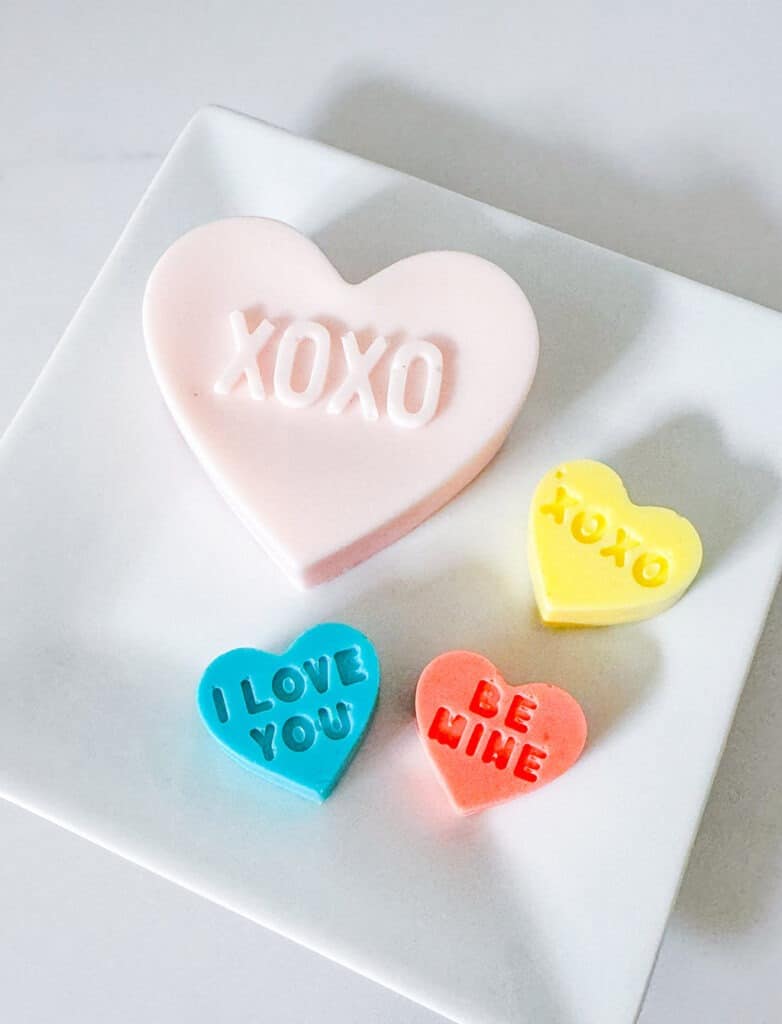
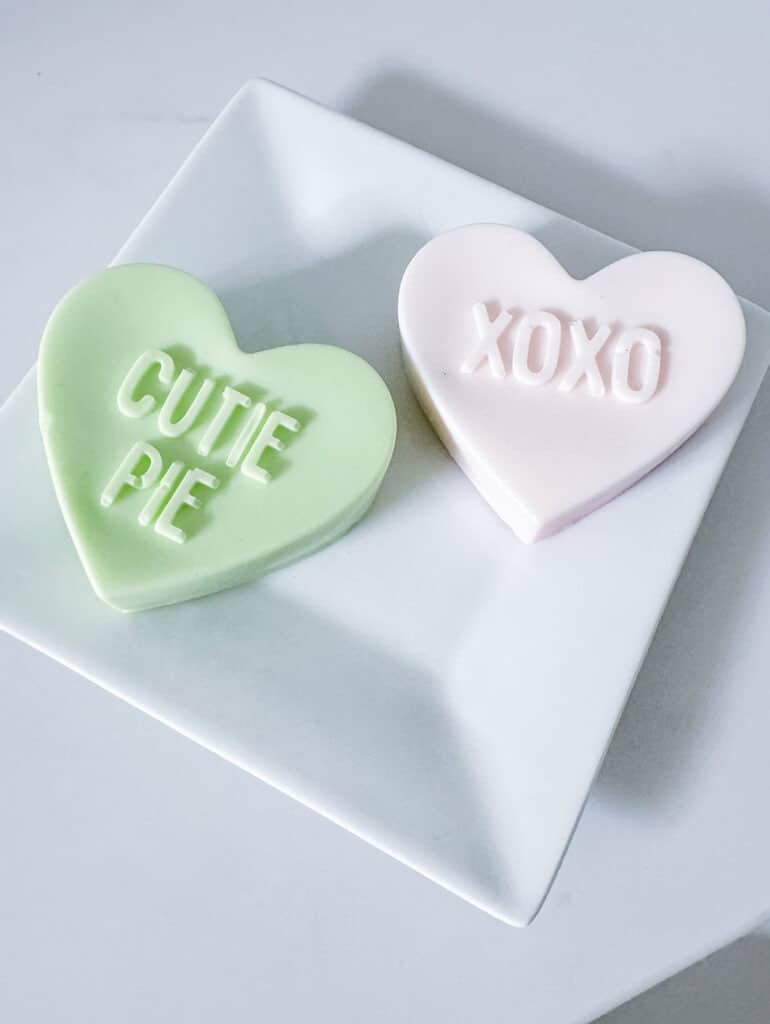
My mixing cups (one cup per each color) were ready to go with the coordinating color.
I poured half of the base into one cup and the other half into another cup for mixing up my color and scent.
My first batch wasn’t enough to fill all the cups, which worked out perfectly because the soap base does start to cure pretty quickly. I found doing two colors at once is pretty easy.
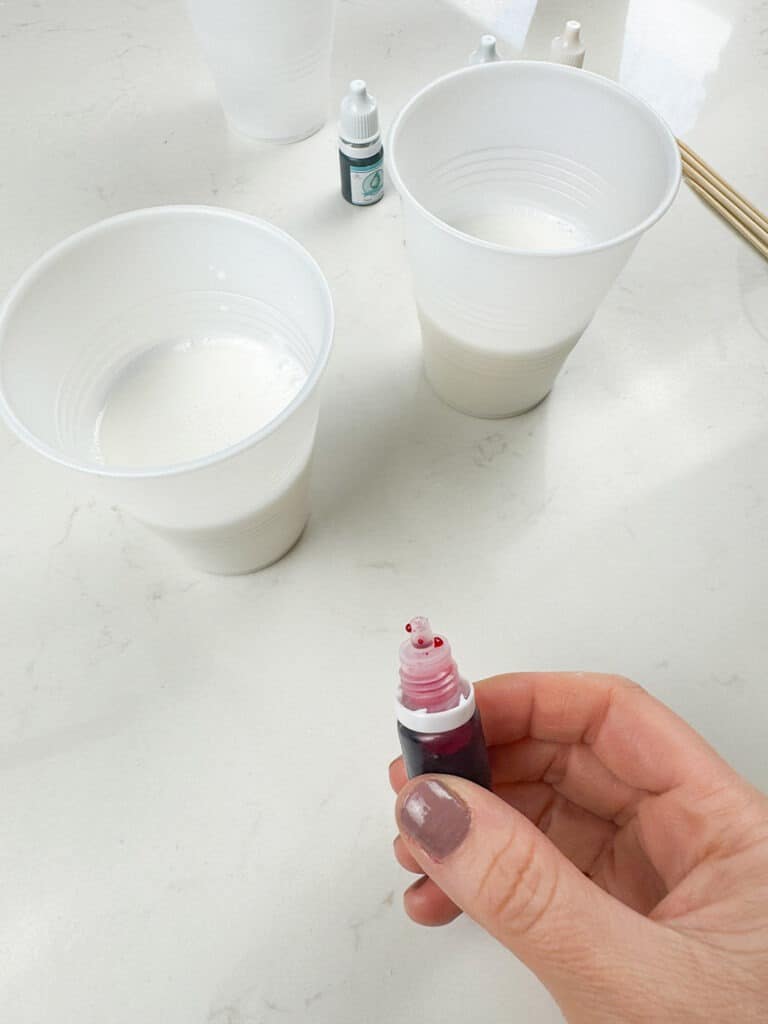
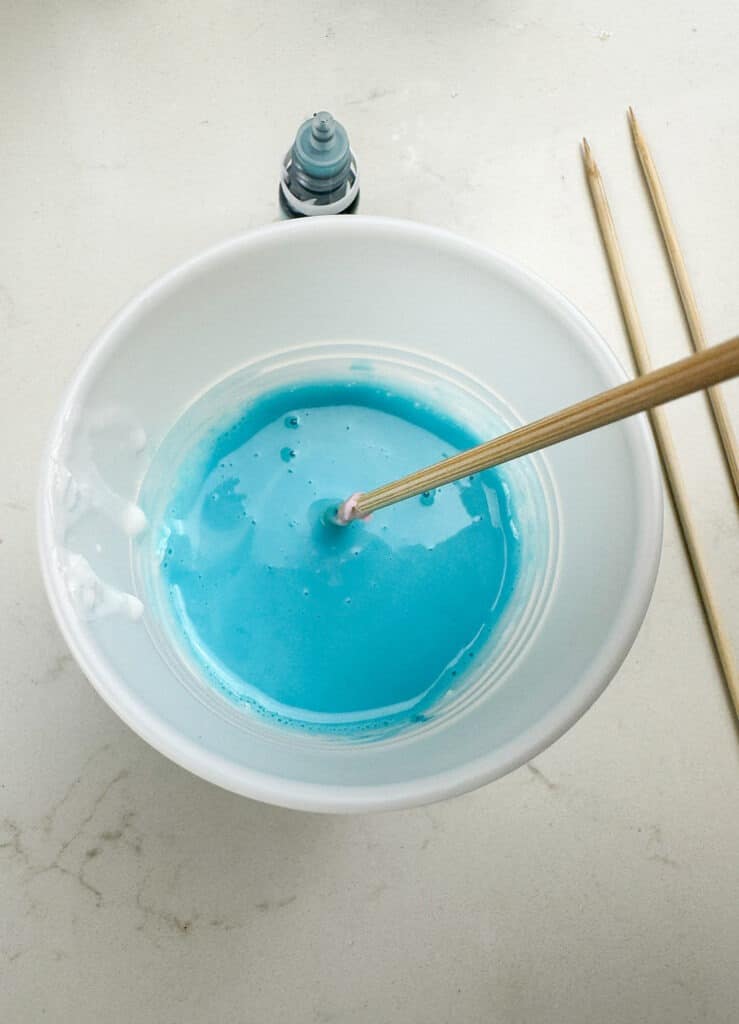
After dropping a few coloring drops into each cup and also pouring in my essential oils, I quickly mixed each cup. Everything mixes super quickly, so that works well with how quickly the soap starts to cure,
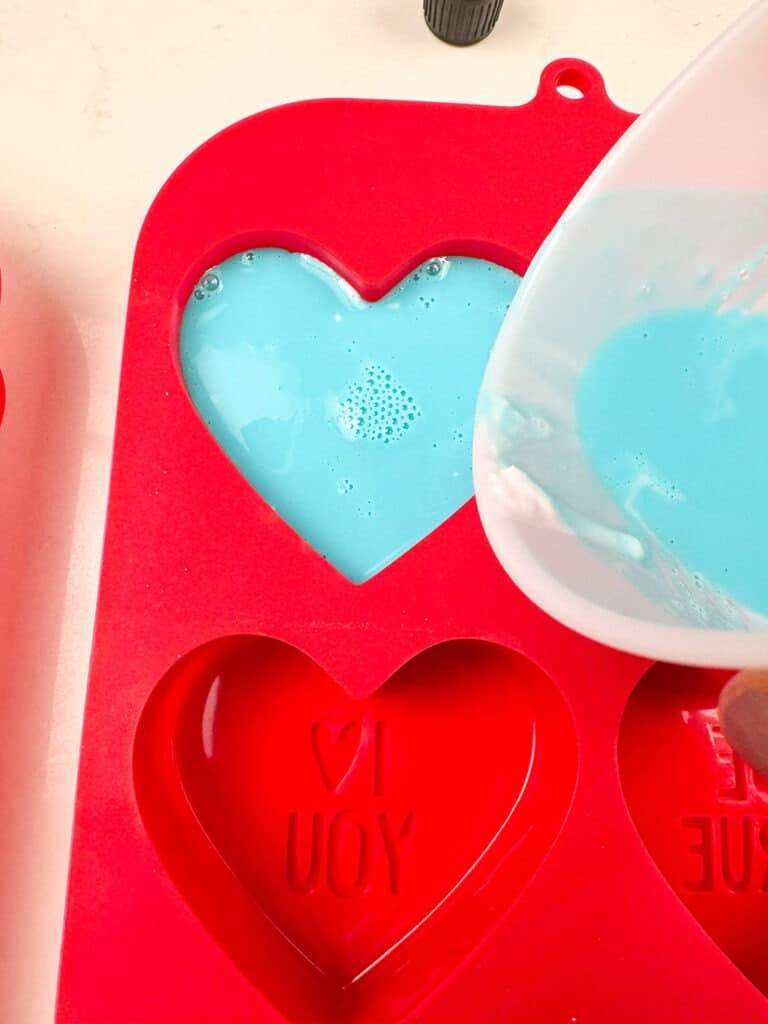
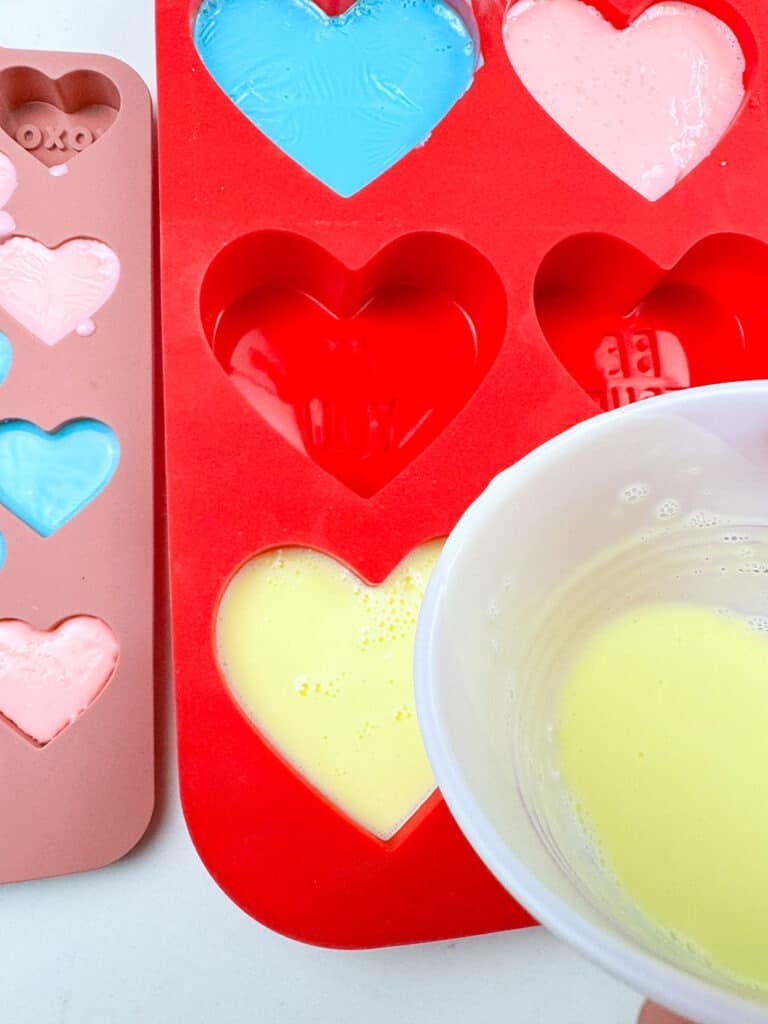
I went ahead and quickly mixed my second color before pouring the soap base into the heart molds.
Then I gently poured the first soap base color using up all of my mixture.
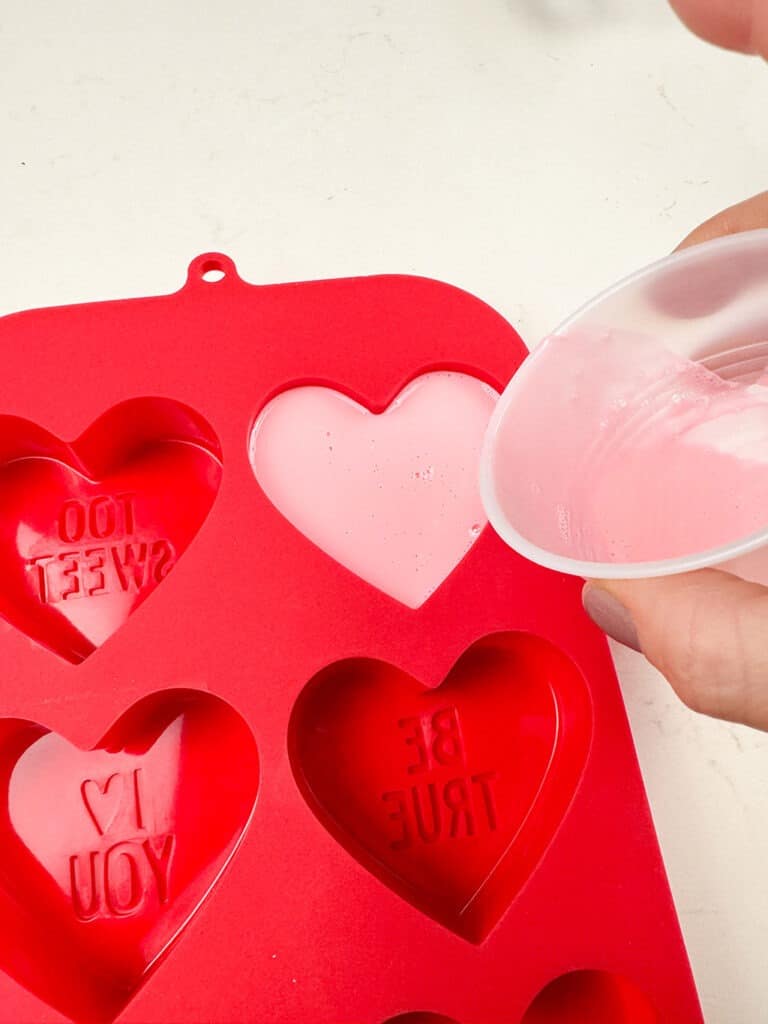
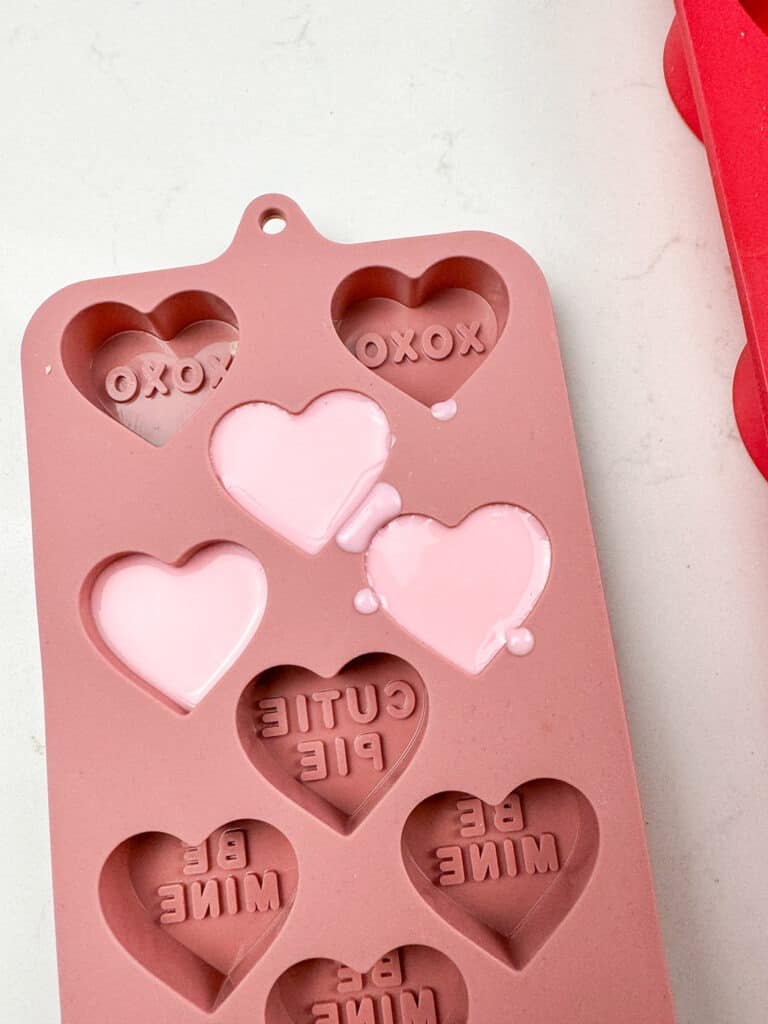

Followed by the second color.
I cut up and melted another batch of soap base and repeated the exact same steps with different colors.
These soaps will be gifted to my daughters friends for Valentine’s Day, and won’t be sold, etc.
TIP: If I were selling these (and were a bit more patient, ha) I would have sprayed a quick spray of isopropyl alcohol on my pours, which would eliminate all of the bubbles like I have in my pours.
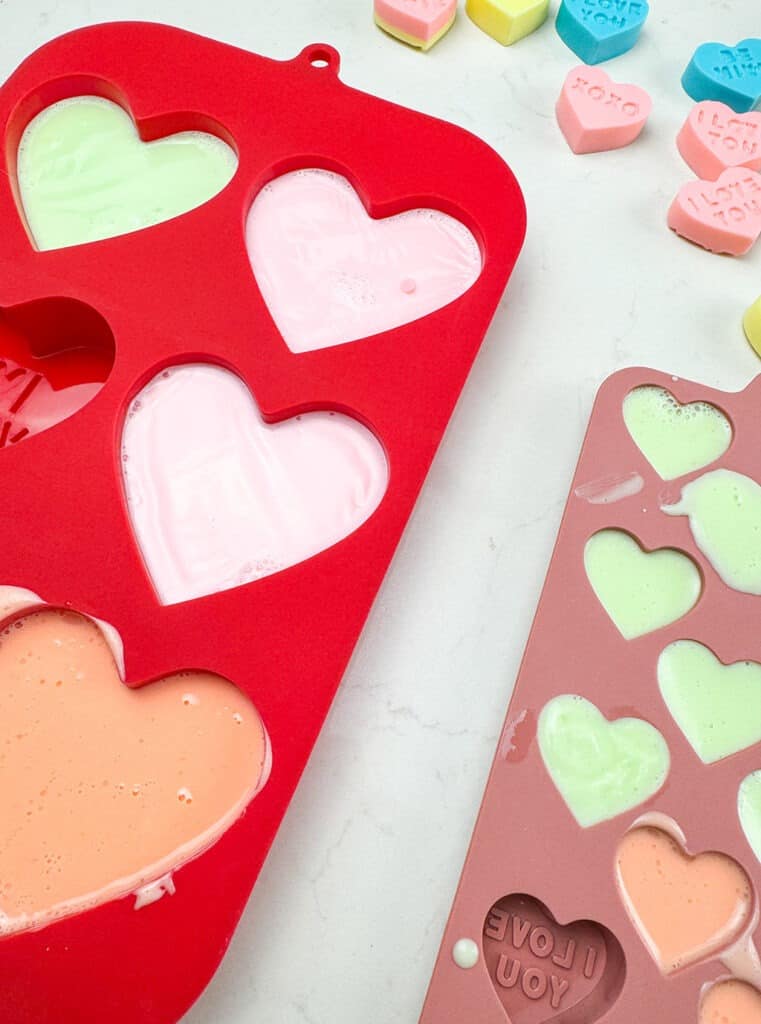
I waited about an hour for all of the conversation heart soaps to harden before easily popping them out of the molds.
This part is so quick and satisfying!
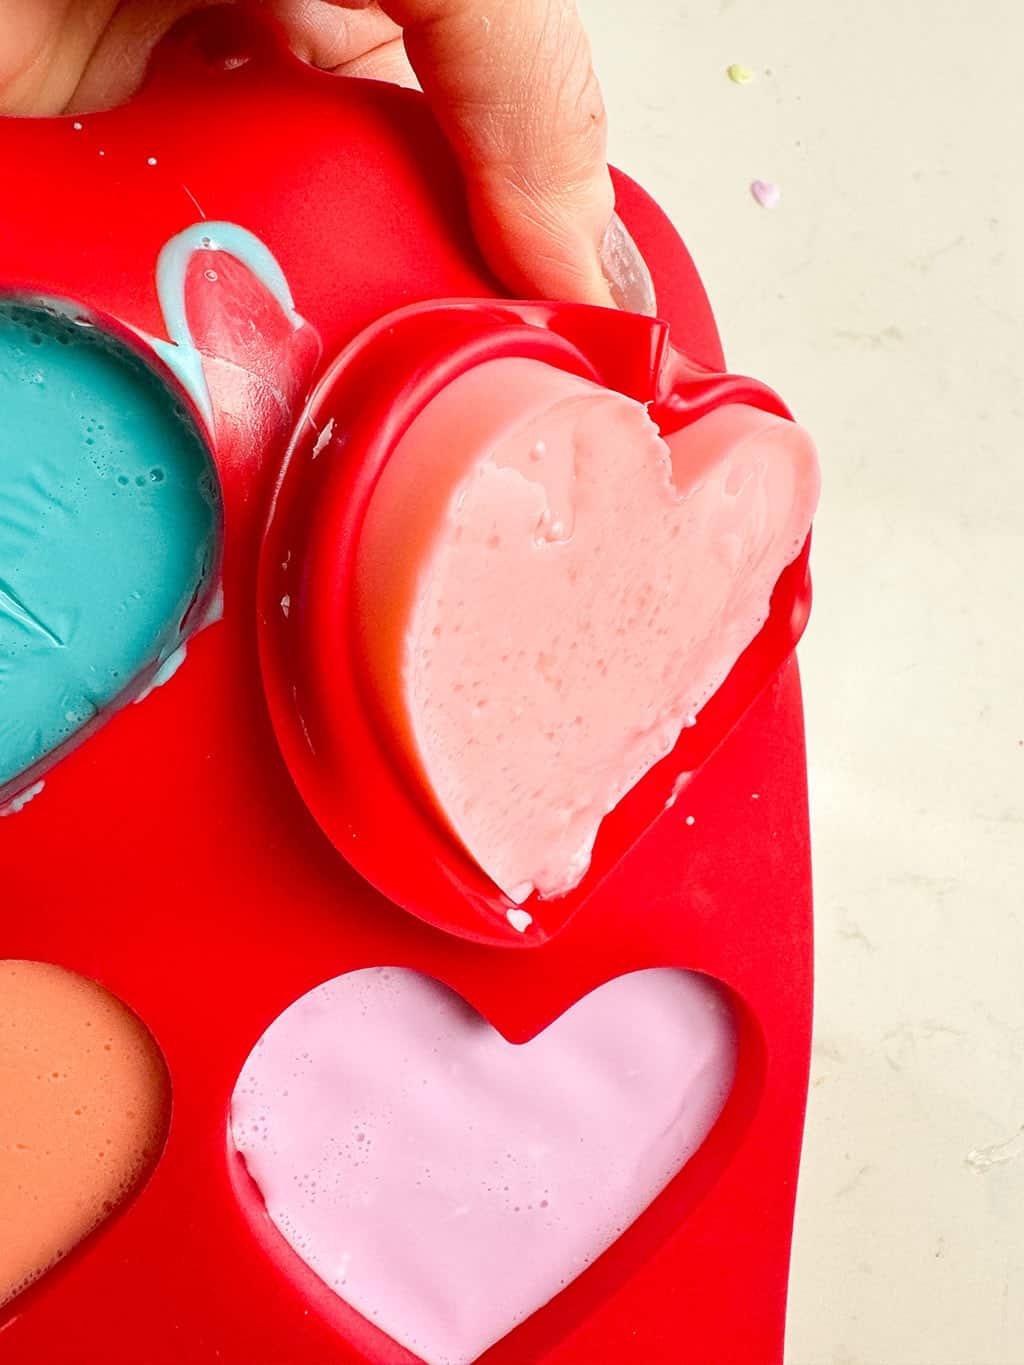
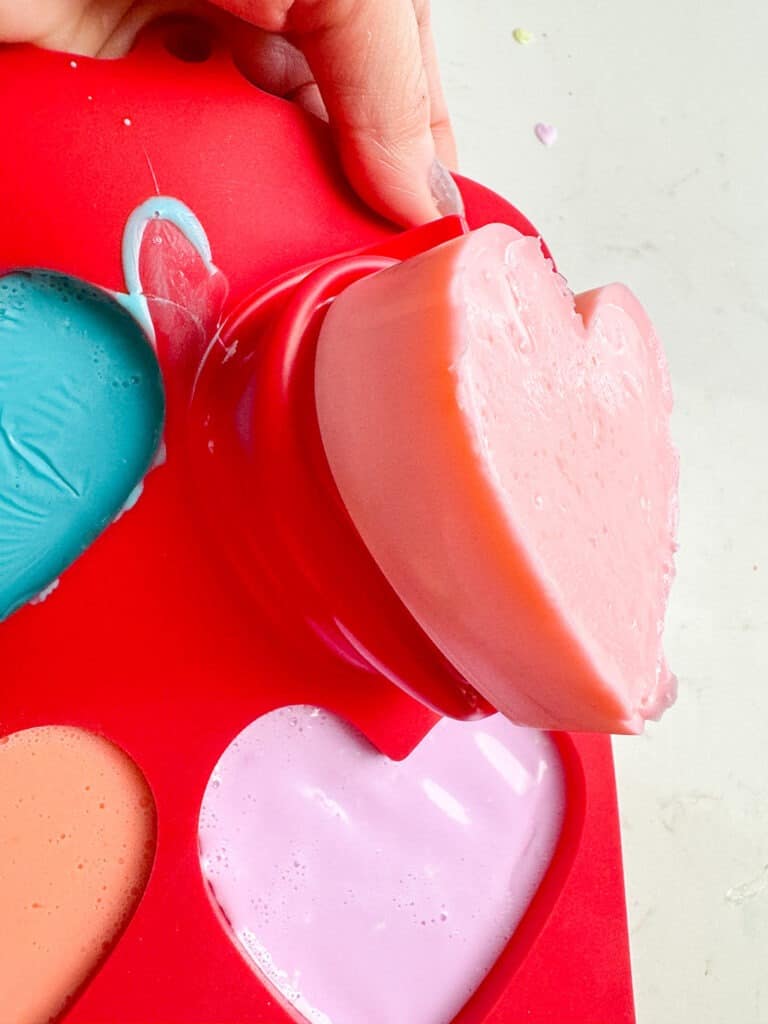
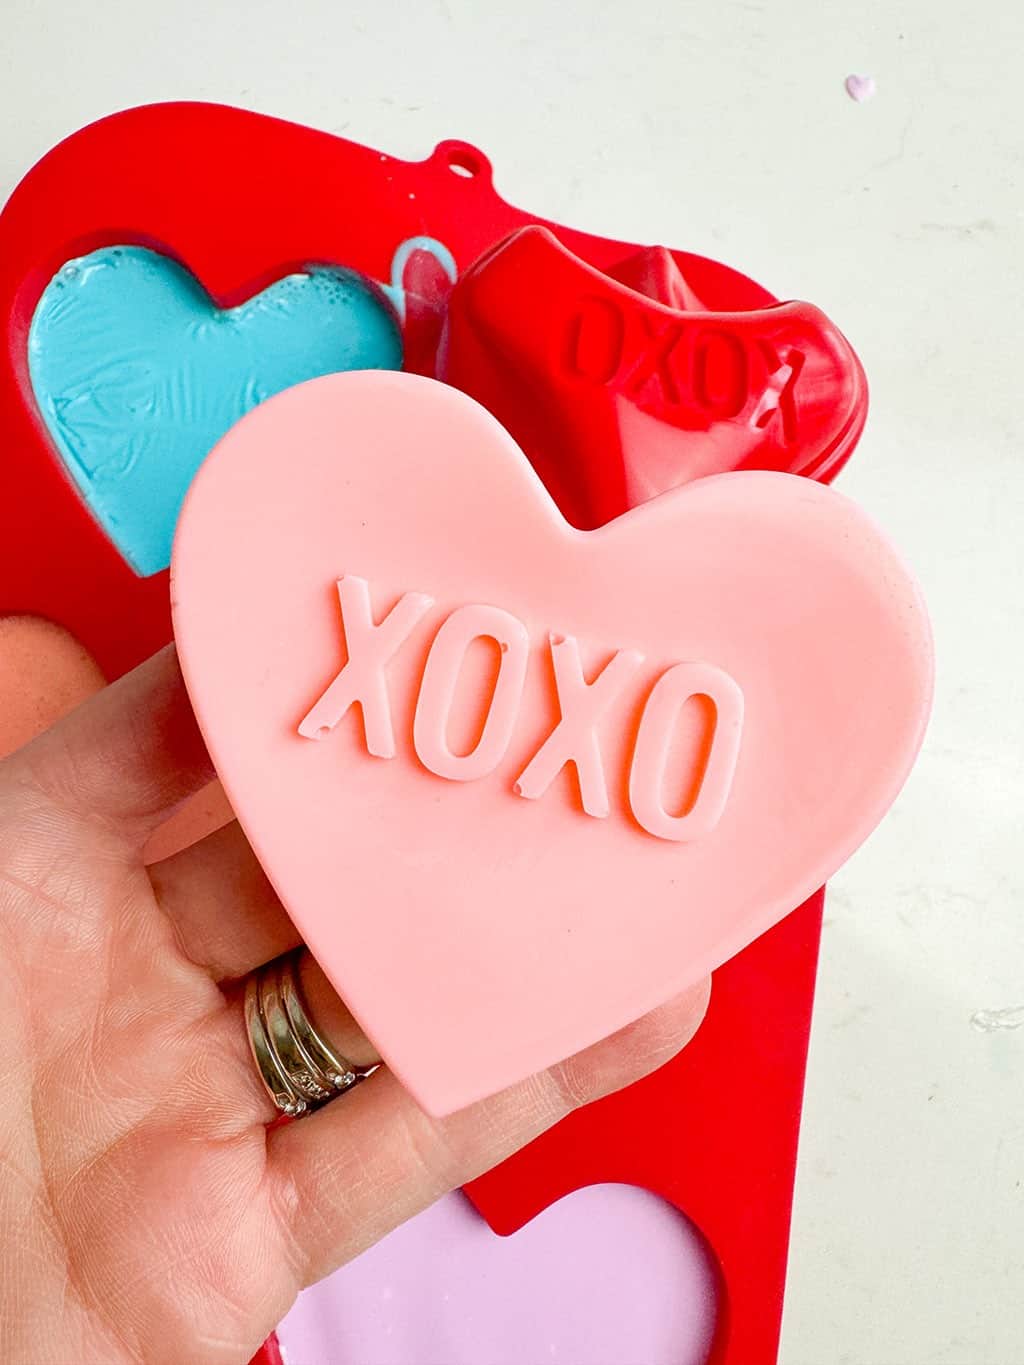
It only took about a minute to pop all of my soaps out of the molds.
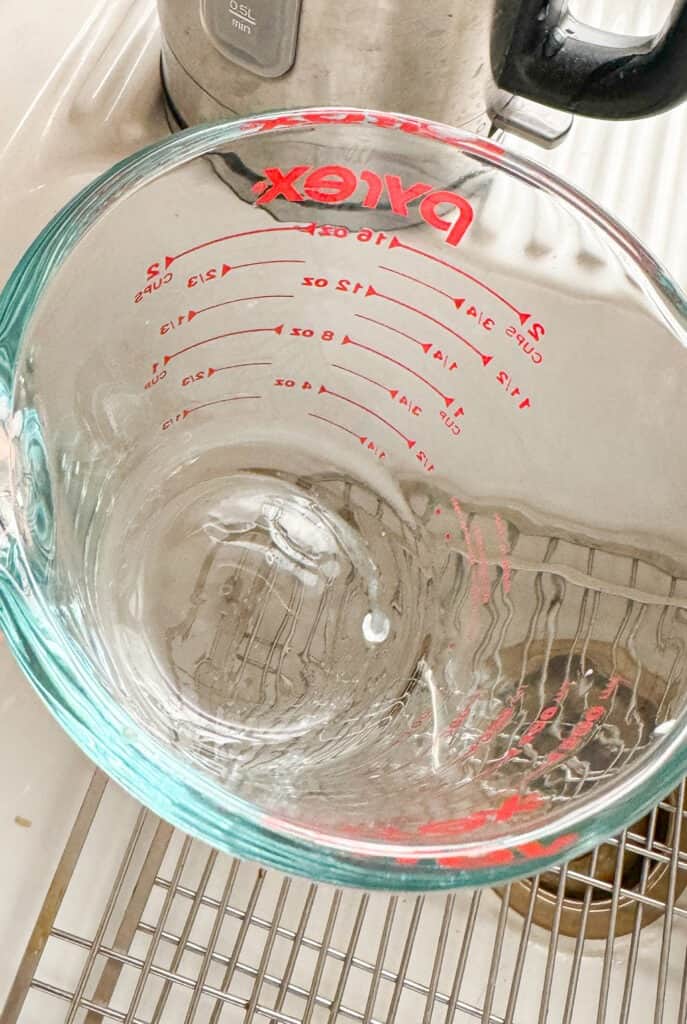
Cleaning up after making my conversation heart soaps was super easy too.
I heated up my electric tea kettle and poured hot water in the mixing cup then used a sponge to scrub the excess soap base out.
I then set all of my conversation heart soaps aside to cure for 4-6 weeks.
It takes weeks for cold-processed soap to cure due to a slight bit of pH finalizing, but mostly for evaporation, during which the bar becomes harder as it loses water.
I’ve read that soaps can be used within 24 hours after cutting, but a 4 to 6 week cure time is still best for lathering, etc.
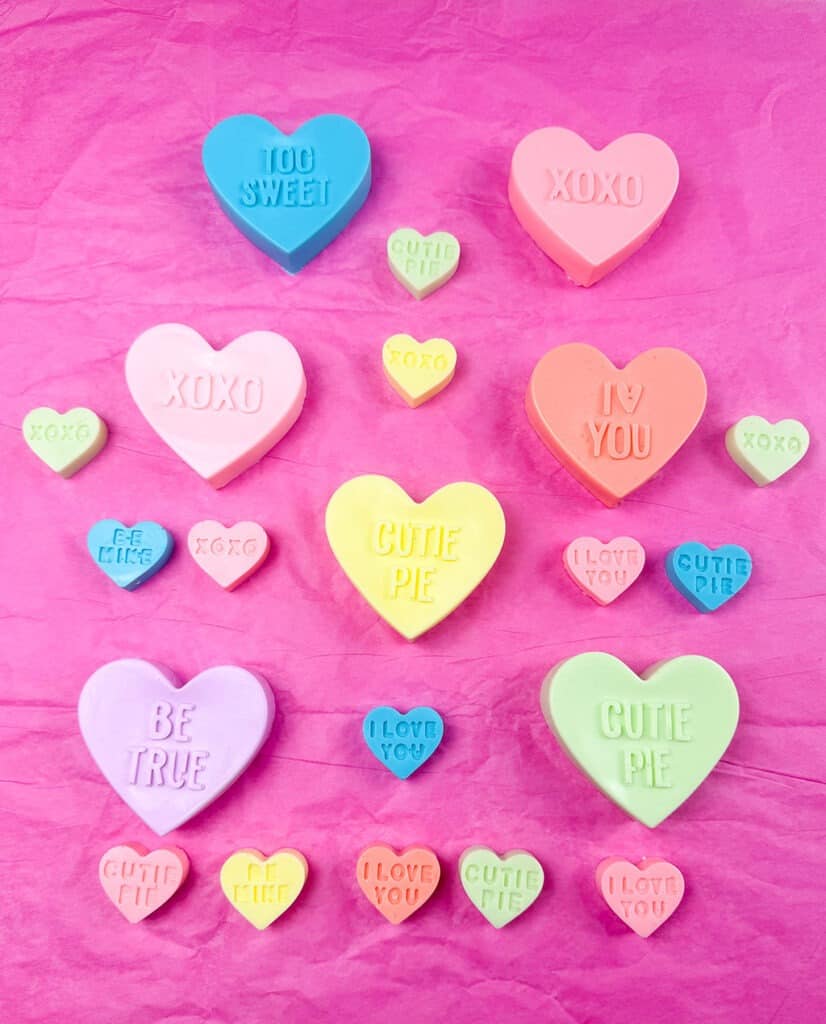


After curing, I divided my soaps up to gift and to use for ourselves.
These cute soaps look lovely on a simple soap white dish in our bathrooms.
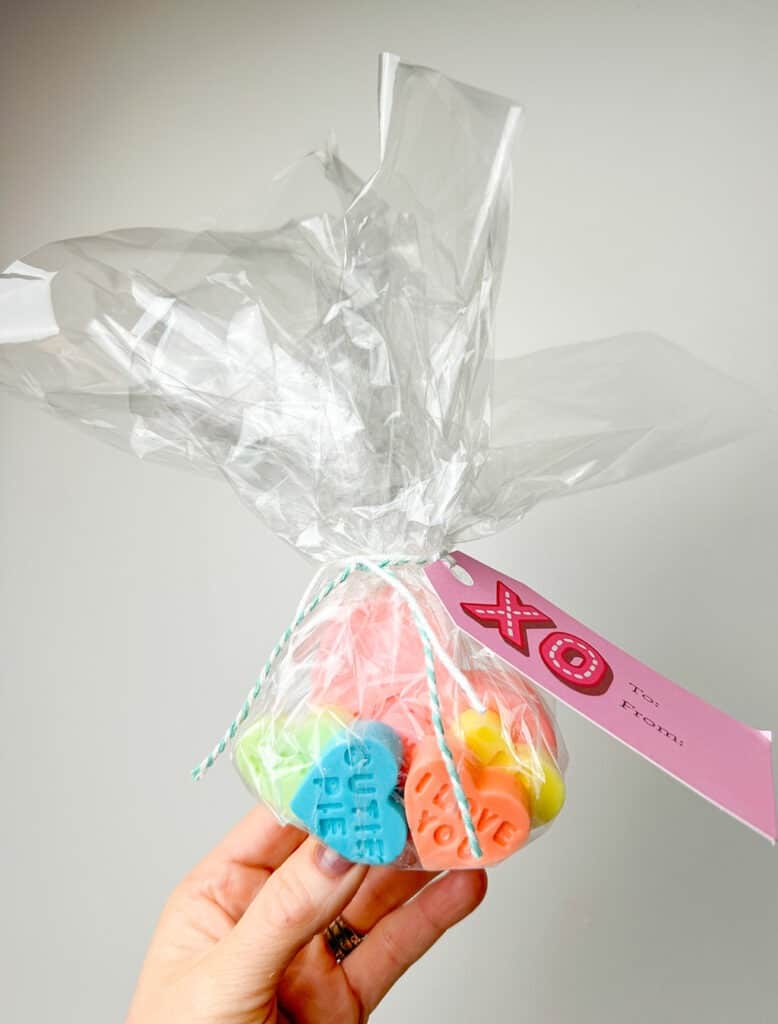
Gifting conversation heart soaps
I grabbed some cellophane I had on hand along with a clear rubber band, ribbon, scissors, and a gift tag to package up the soaps for gifting. Petty cute, huh?
Do you think you will make these cute soaps for yourself?
If you make your own, I’d love it if you’d tag me in your Insta, Twitter, or Facebook photos, and I’m always so very thankful when you Pin my work as well.
xoxo
Audrey
Pin my DIY Conversation Heart Soaps for later!
You might also like this DIY neon heart artwork!
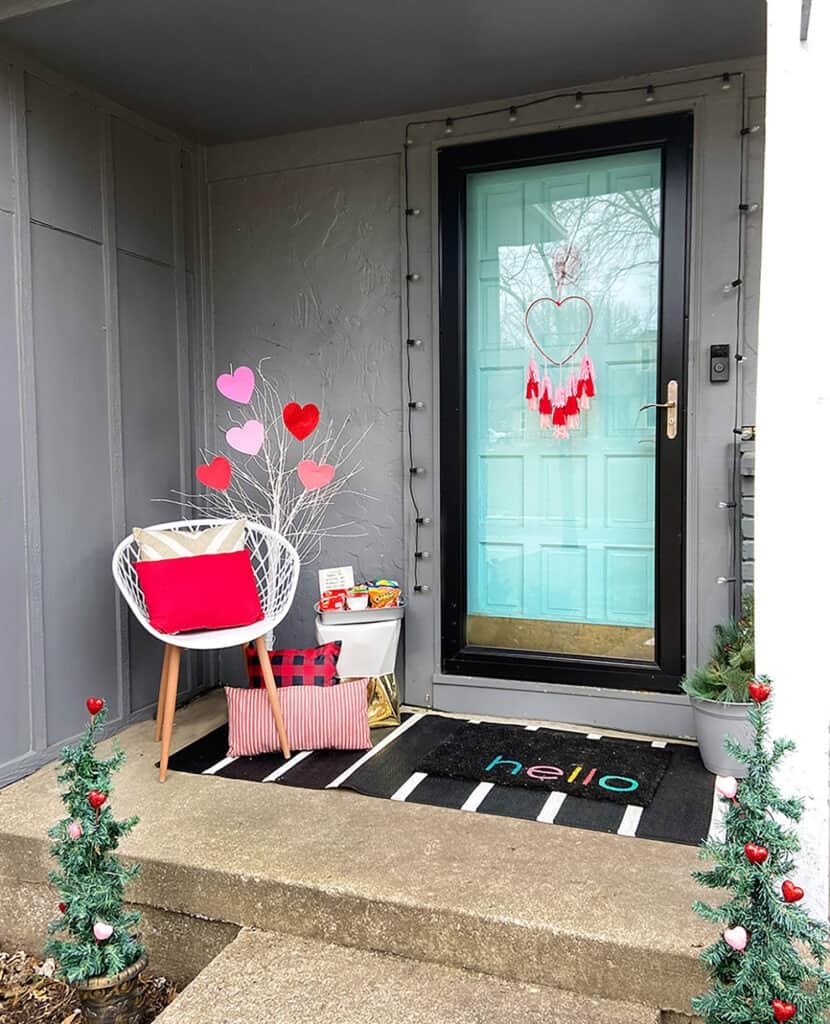
You might also like my outdoor Valentine’s Day decor ideas.
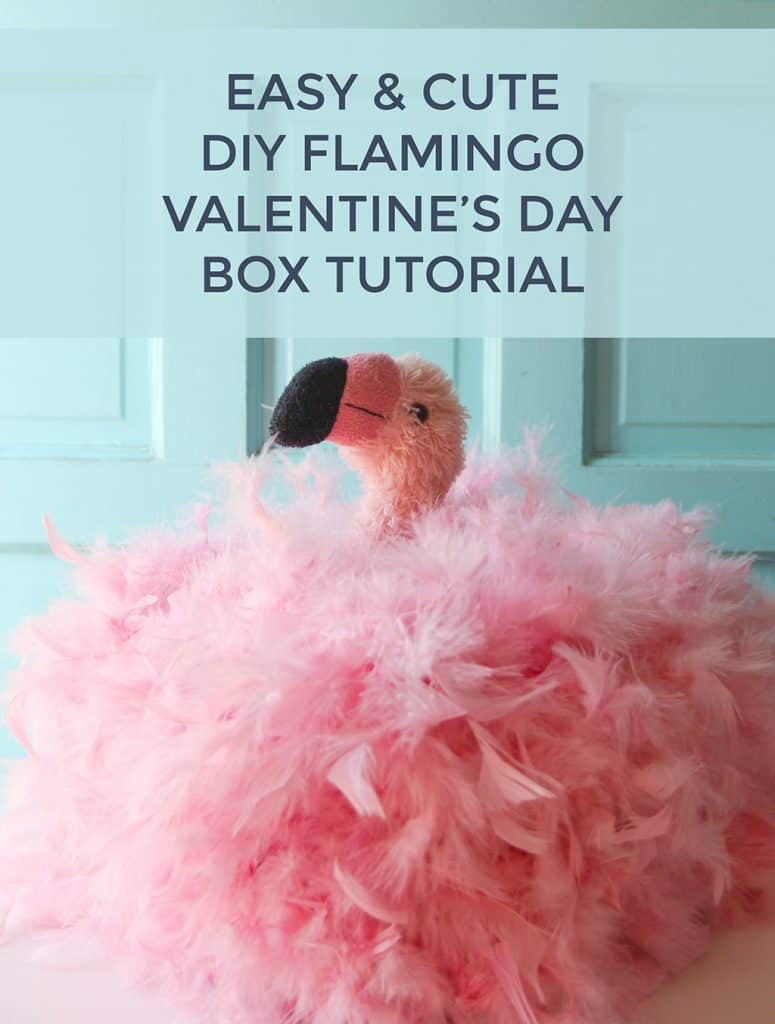
Or my cute DIY flamingo valentine box
Check out all my other Valentine’s Day ideas and freebies here!