DIY neon sign? YES!!
It’s so fun, easy, & affordable to make your own neon. Perfect for kids rooms, parties, and more! See the full tutorial below.
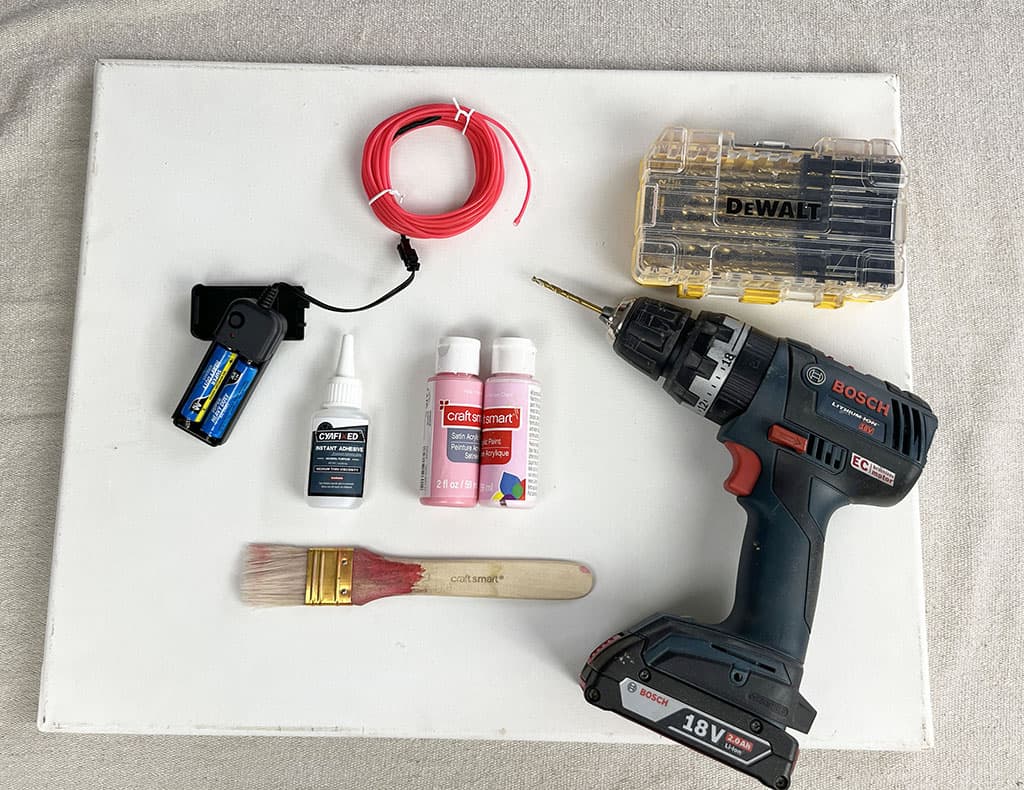
Grab the supplies:
EL wire (affordable and comes in various colors)
AA Batteries
Stretched canvas (or any type of solid material)
Acrylic paint and brush
Fast drying super glue (or hot glue and gun)
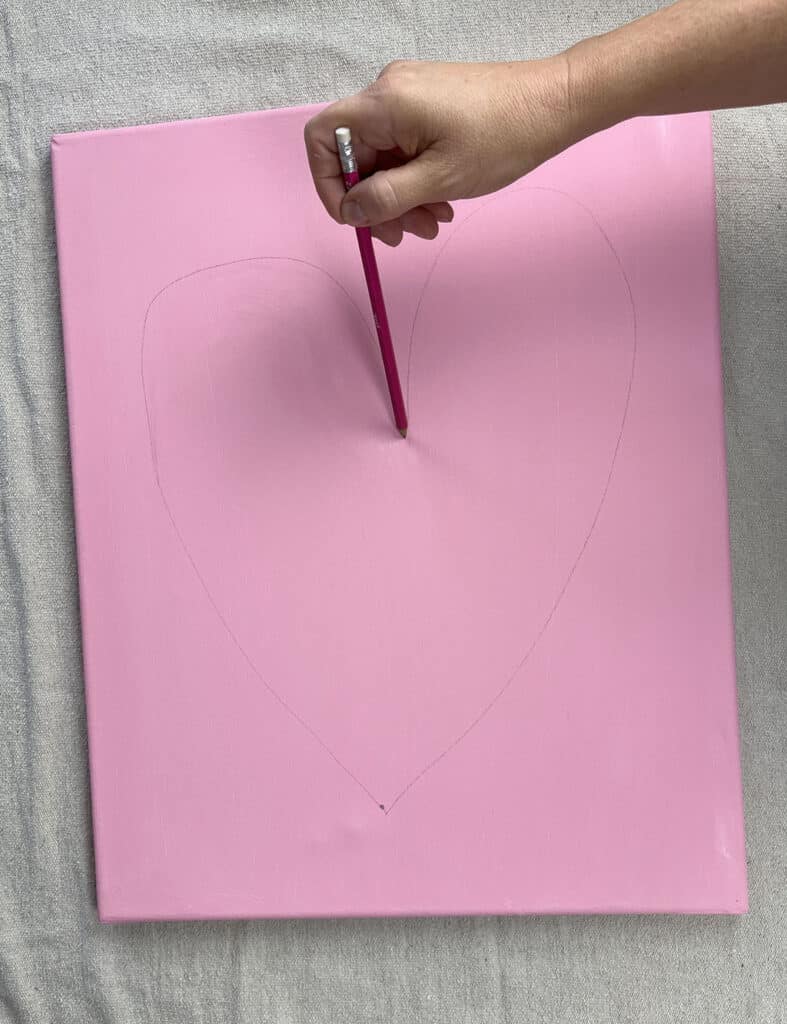
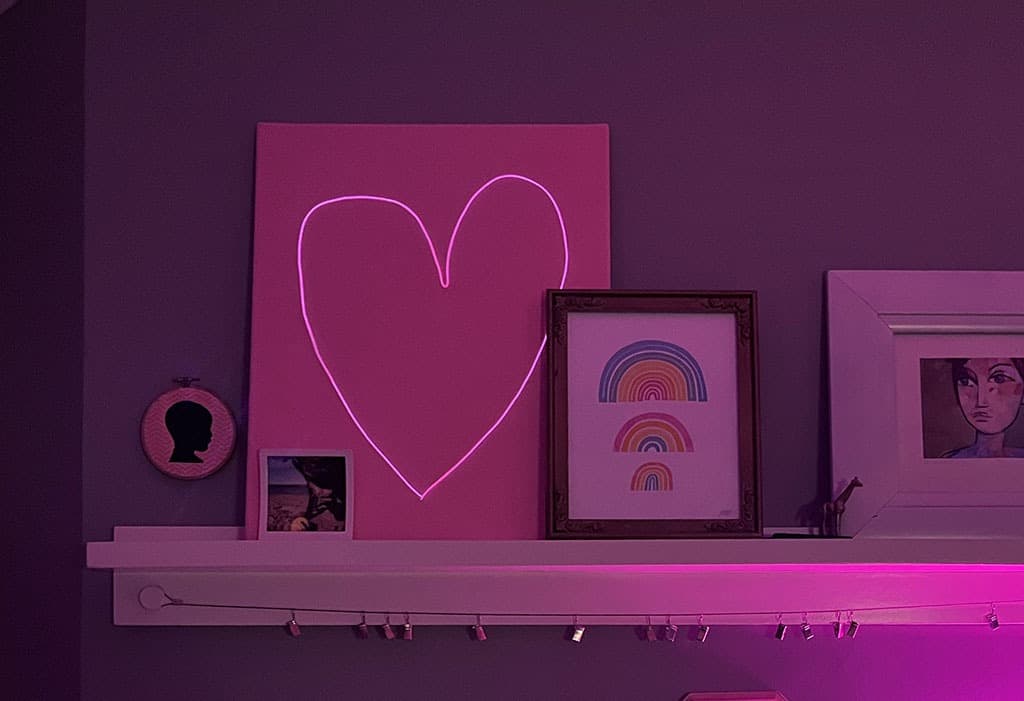
To start, I used my acrylic paint and brush to cover the canvas. My daughter chose the color pink since this would be going in her room.

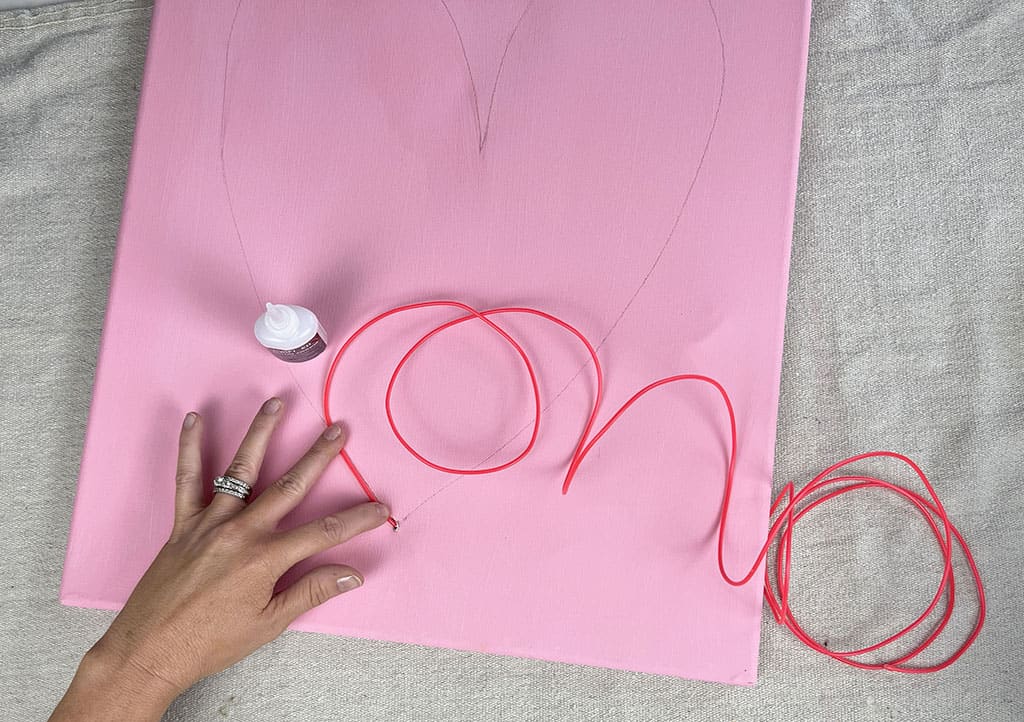
Once the paint was dry, I hand drew a loose heart outline that would be used as the EL wire guide.
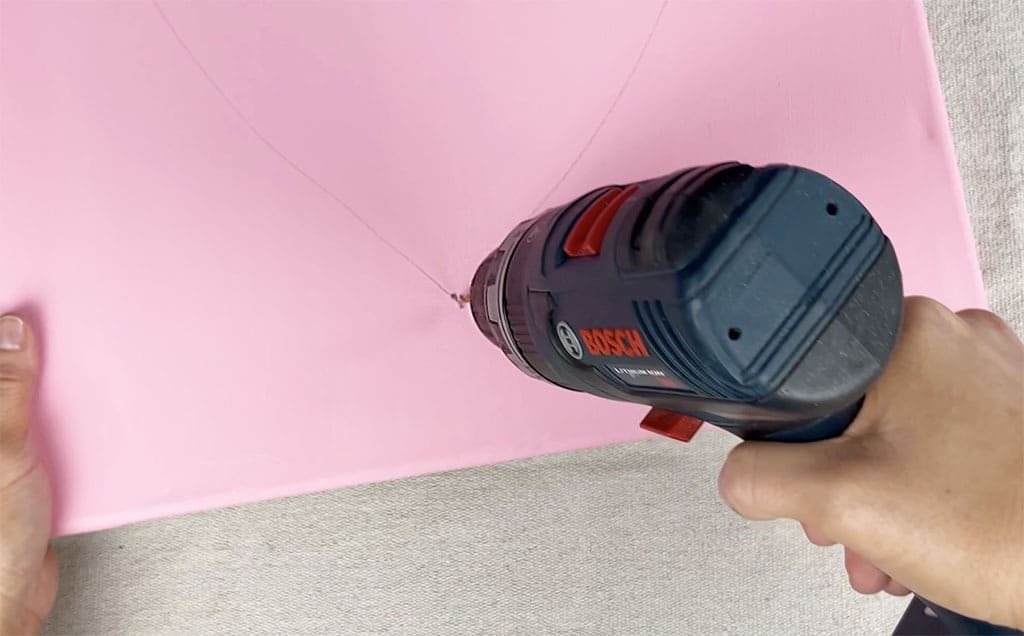
Using my drill and bit, I drilled one hold at the tip of the heart where the EL wire would go through.
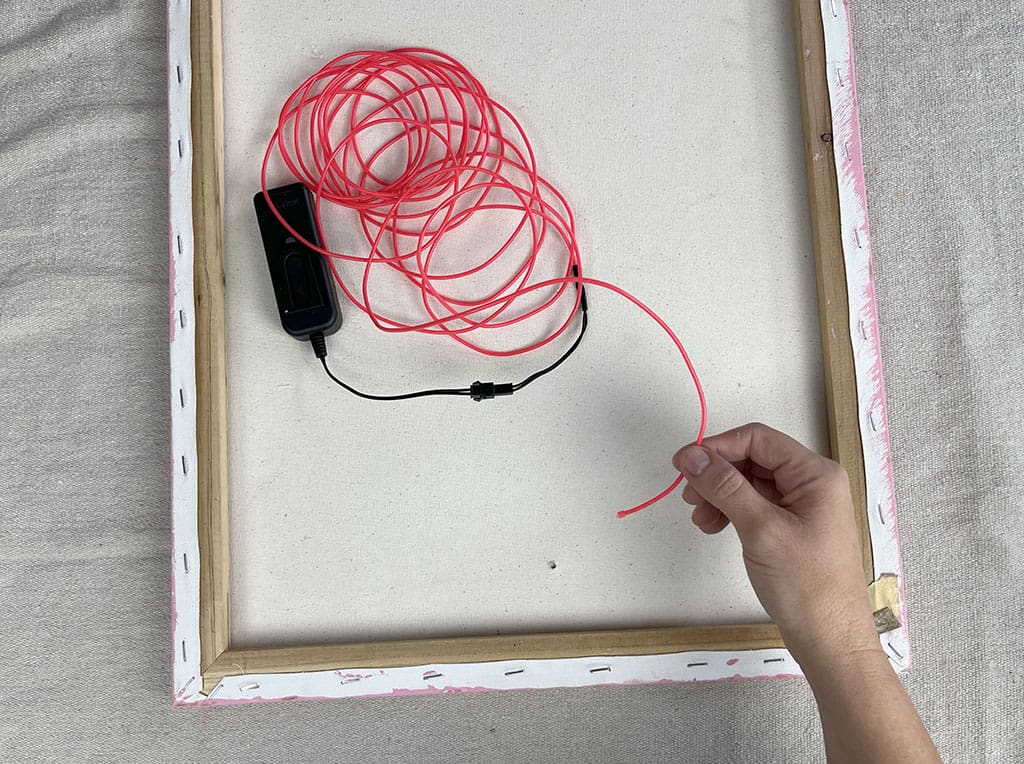
From the backside of the canvas I pushed the EL wire through the hole for my DIY neon sign.
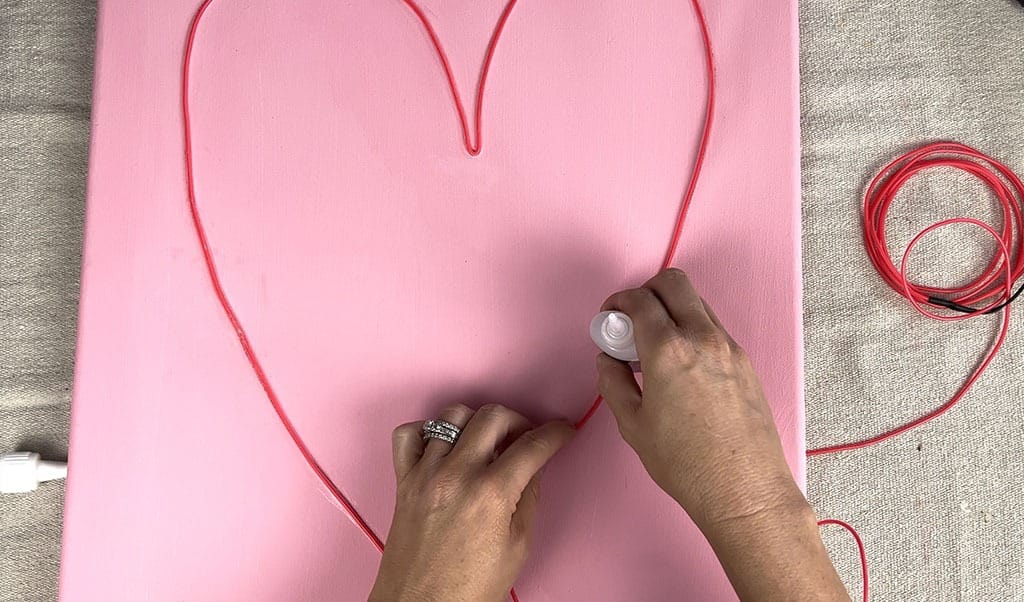
I pulled the EL wire all the way through, and used the fast drying super glue to slowly adhere the wire to the canvas in small sections.
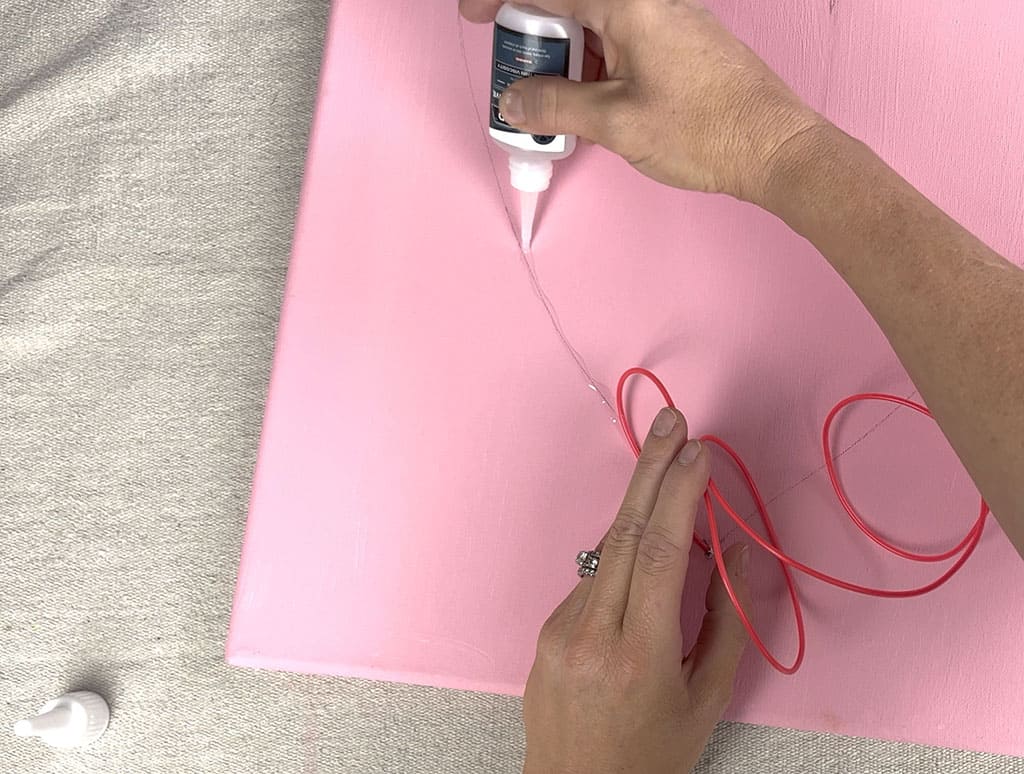
This part can get messy, so you’ll want to watch your fingers. It helped me to use the base of my glue to push the wire down on the canvas.
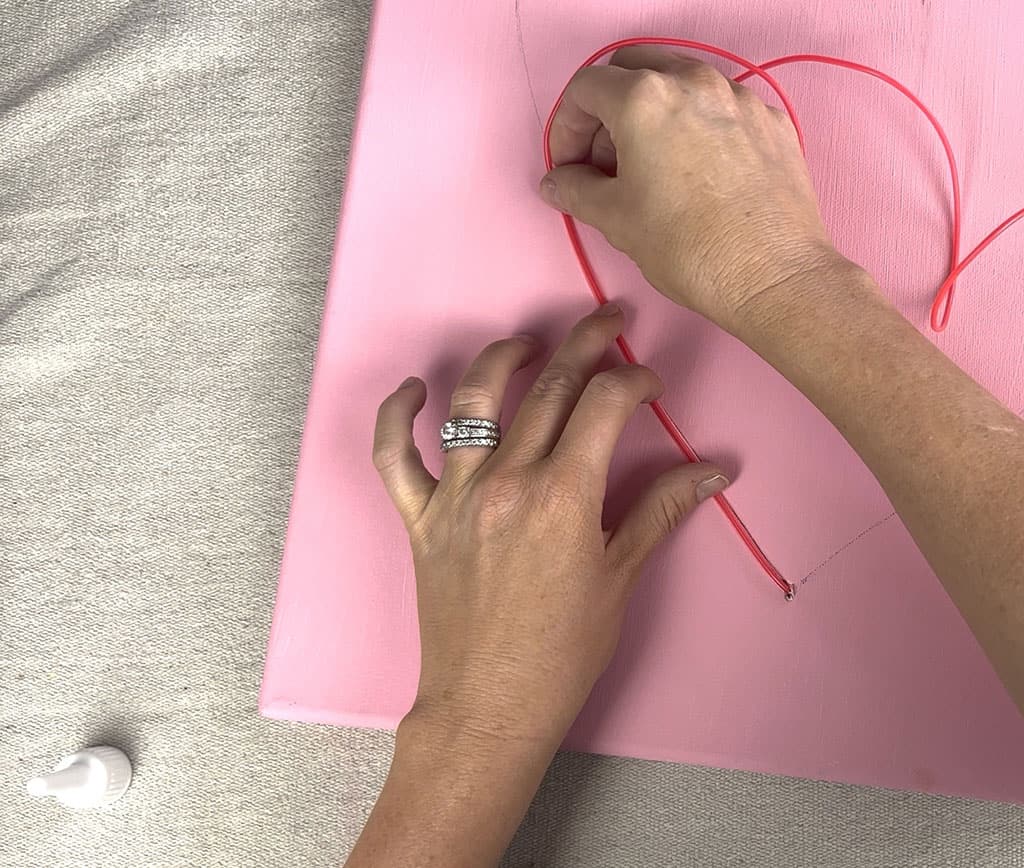
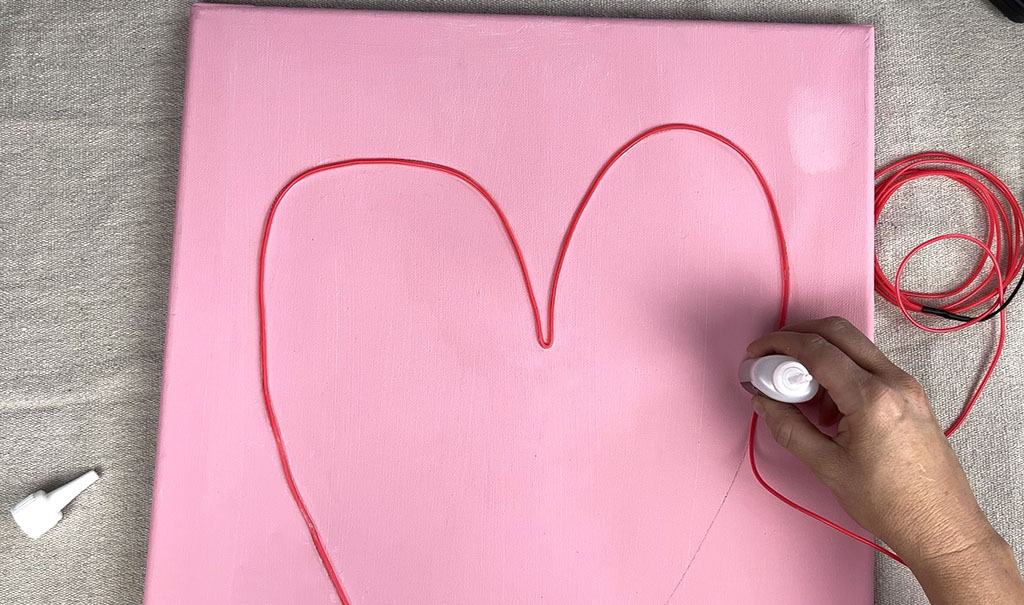
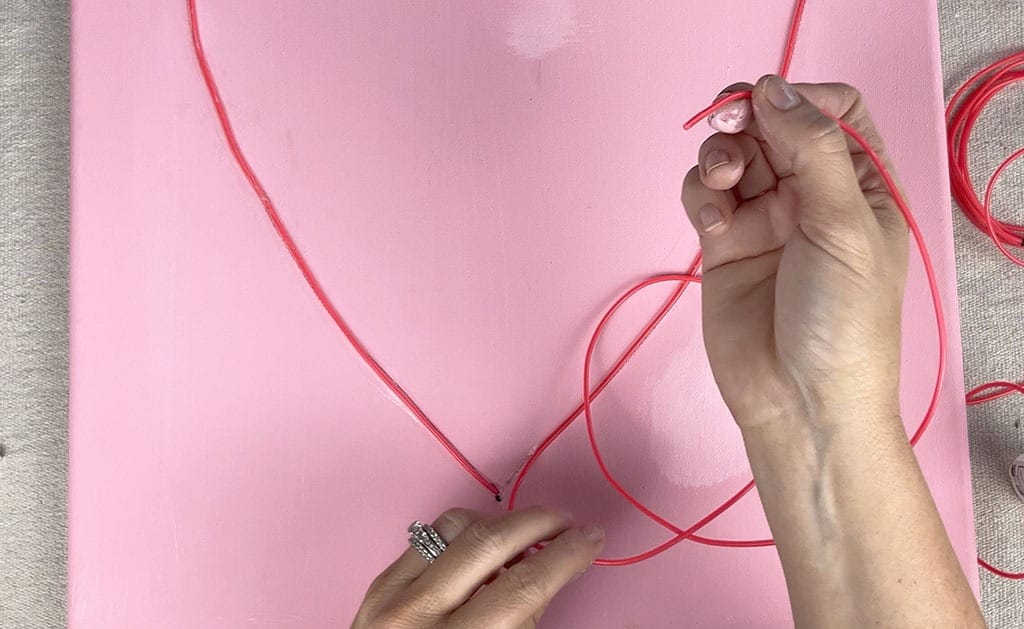
Once the EL wire was adhered, I pushed the excess wire back through the hole on the backside of th canvas.

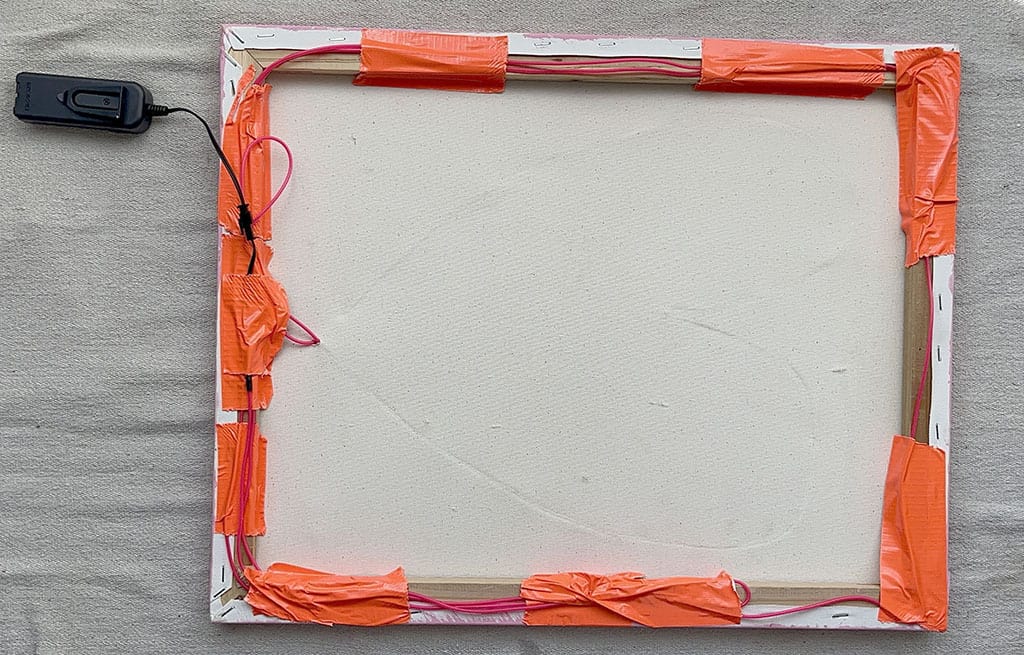
To finish the project, I used duct tape to adhere the excess EL wire around the canvas edges. If you tape the wire to the canvas back, it will show through to the front.
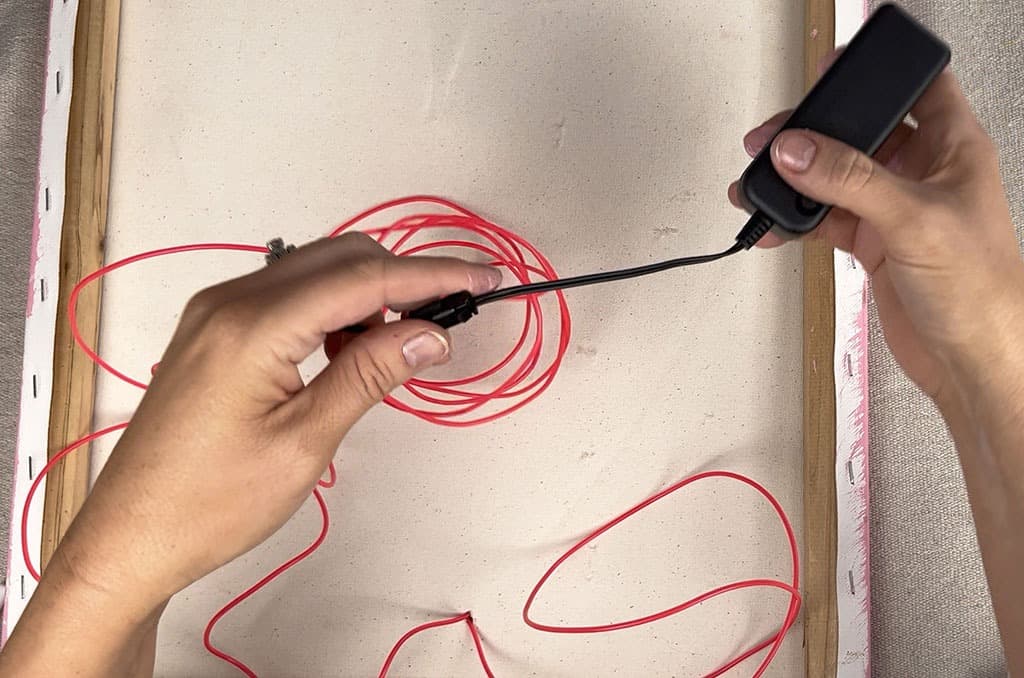
Just make sure the battery pack is accessible to quickly turn on and off.
I placed the completed DIY neon sign on my daughter’s art shelf and admired it from afar.
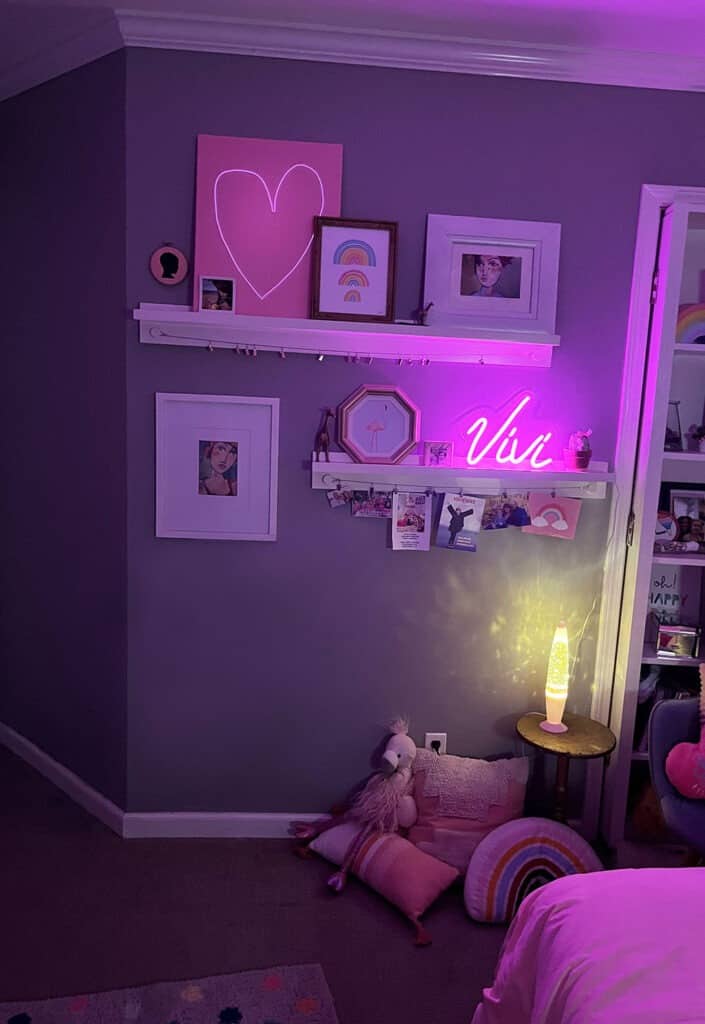
My daughter absolutely loves this piece on her shelf!
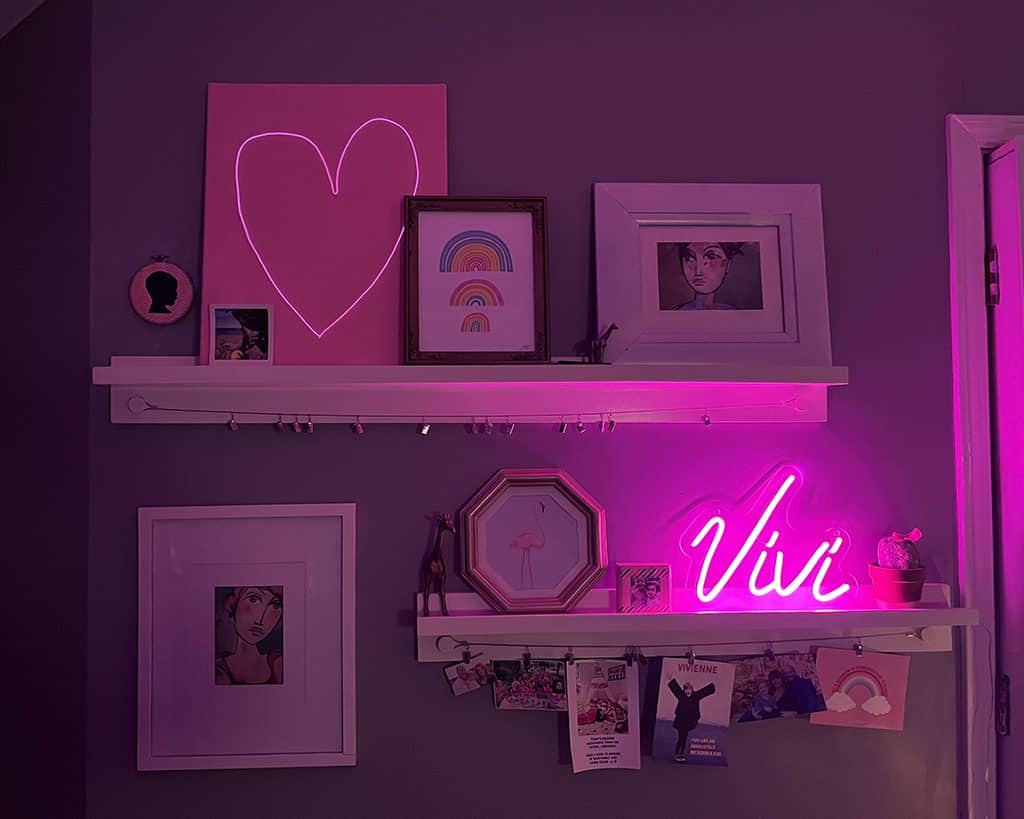
This DIY project is great for a kid’s room, Valentine’s Day party decor, an office, etc. You can create anything you want using your own creativity.
P.S. We just recently upcycled a floor length mirror with foam flowers, check it out!
