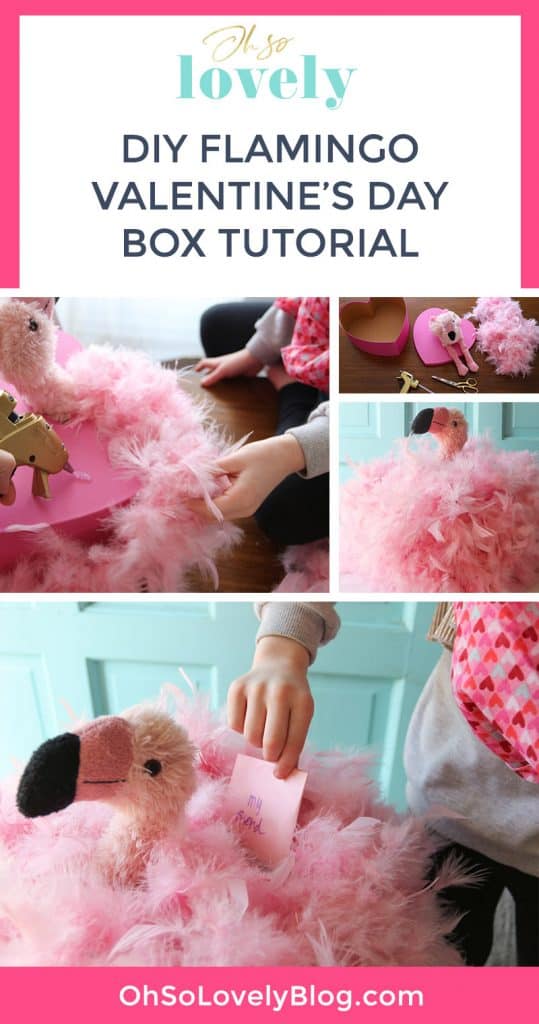
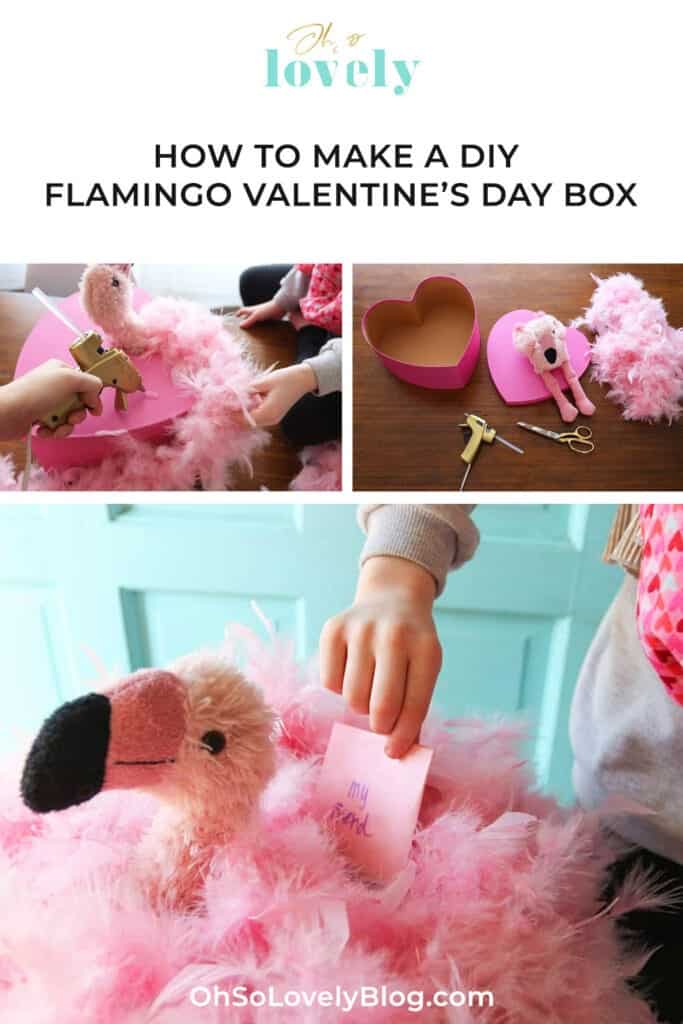
My six year old daughter has an upcoming party at school and asked to make a DIY flamingo Valentine’s Day box with me. Of course I jumped right on it! We love flamingos in this house. 🙂
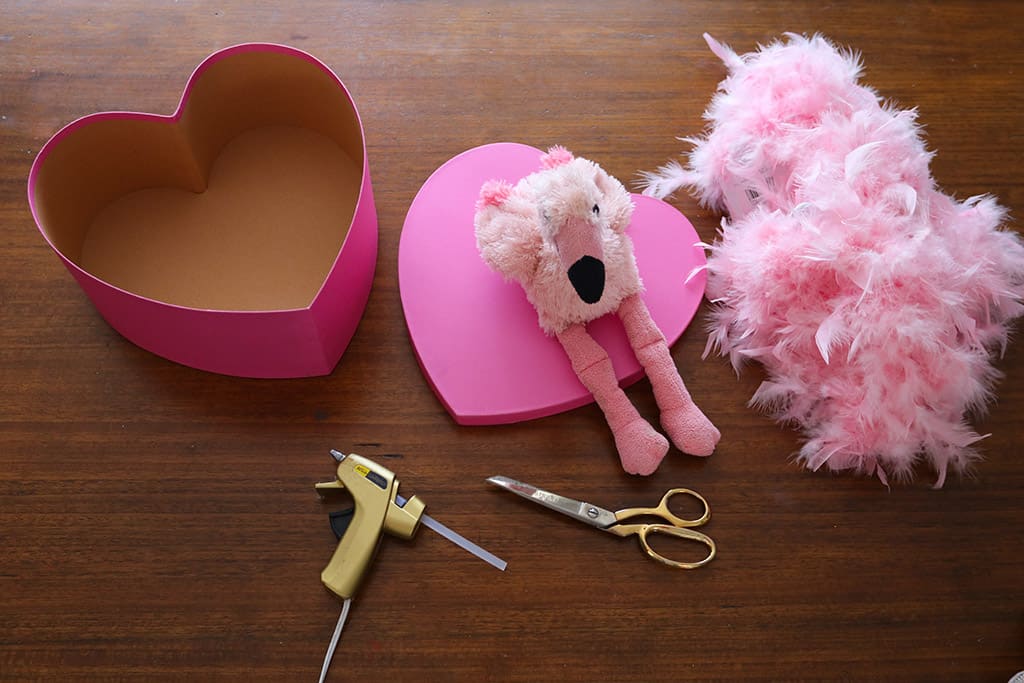
I walked the house to see what we could reuse from Vivi’s playroom, and found a cute stuffed flamingo and a $5 heart shaped cardboard box I bought at Target last year. I knew I already had most of what I needed except for two craft pink feather boas, which I scored from Michael’s.
You can definitely use any old cardboard box you have on hand. I would have done that if we didn’t already have the heart shaped box from last year.
I grabbed my hot glue gun, some scissors, and a knife and we got to work!
Incorporating the flamingo
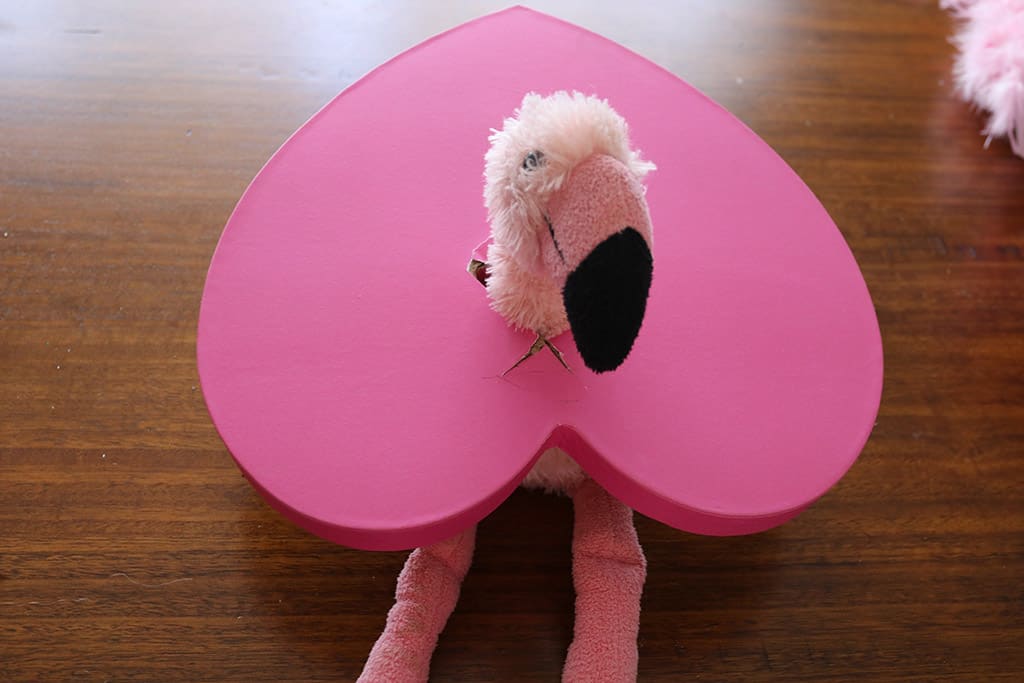
While our glue gun heated up, I cut a triangular hole in the top of the box large enough for the flamingo head and neck to fit through snugly.
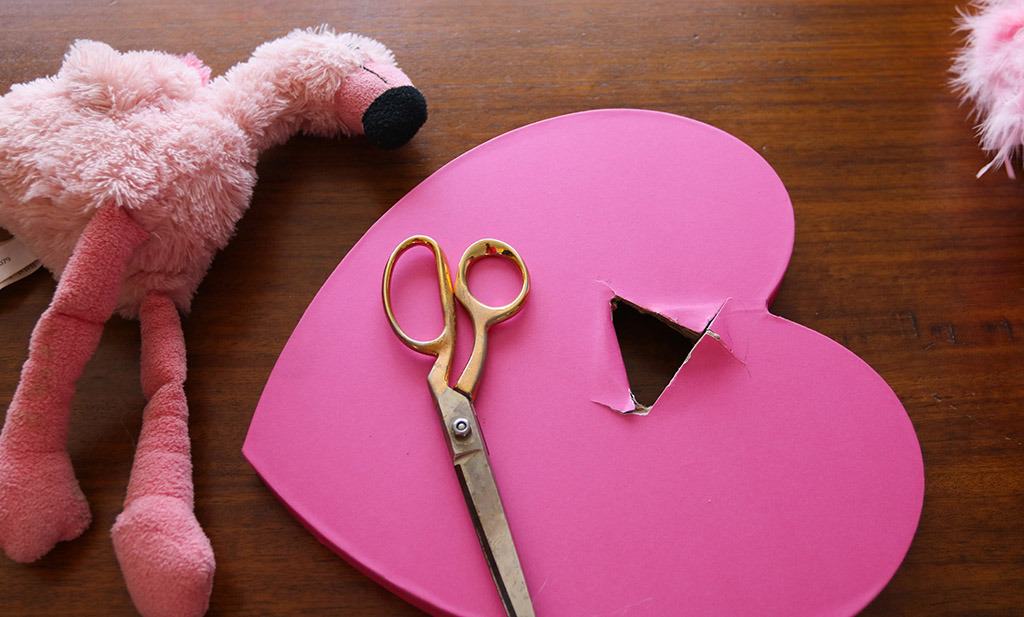
I could have done a better job on this part, but no need for the hole to be perfectly cut — it won’t show once you pull the flamingo through! Ha.
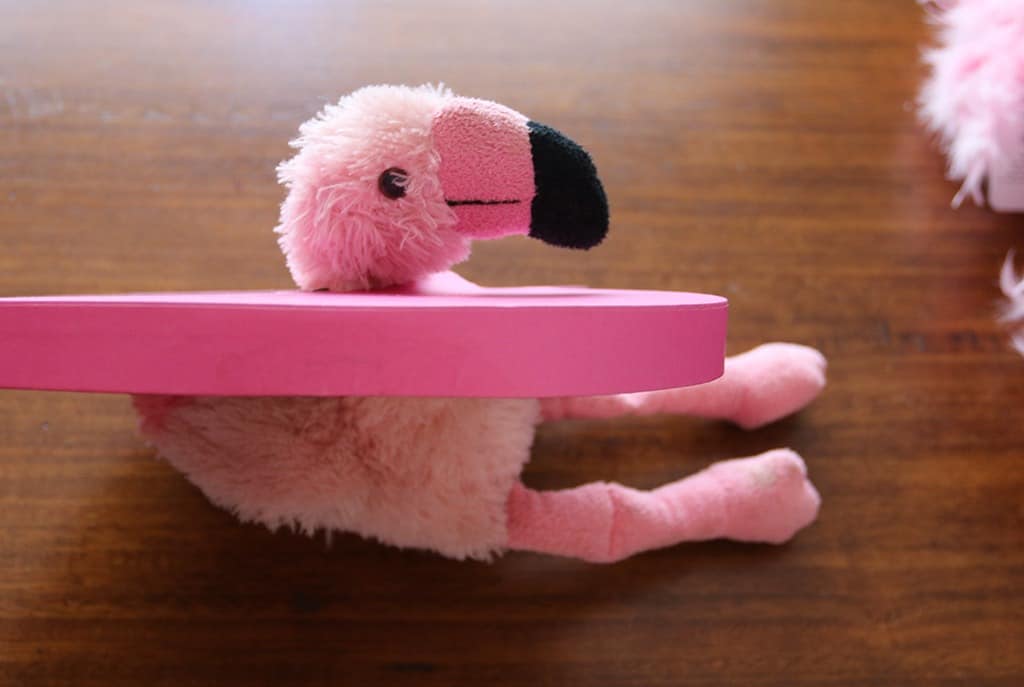
You’ll want to ensure that the flamingo will easily fit into the inside of the box and still leave room for the valentines to fit. A larger box is definitely recommended!
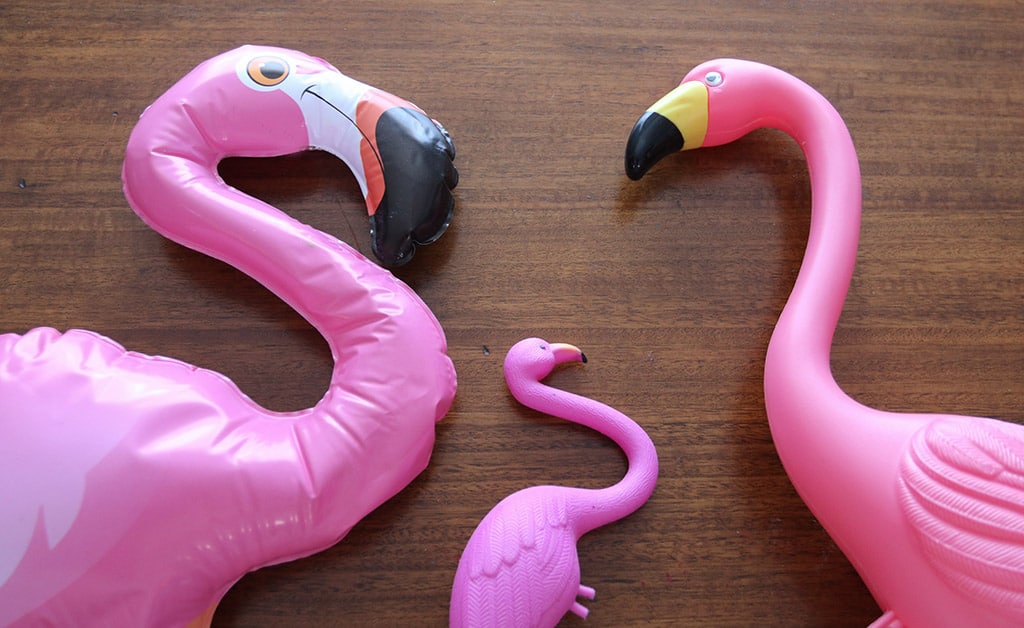
If you don’t have a stuffed flamingo toy you can definitely use another style of flamingo. We have quite a few around our house. I told you we love flamingos. 🙂
Adding the feathers
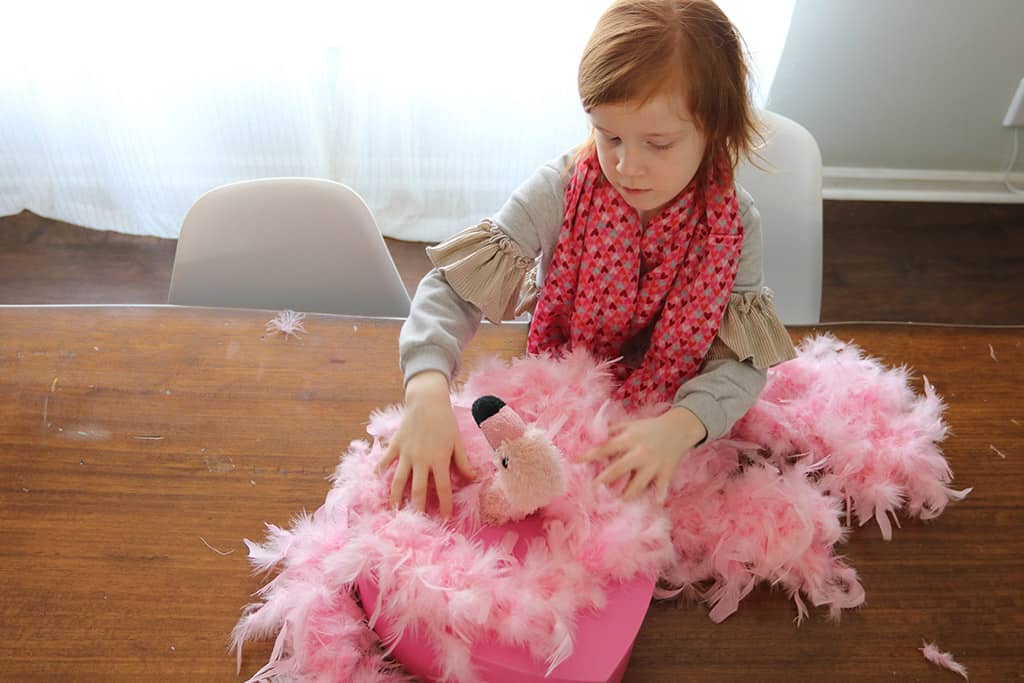
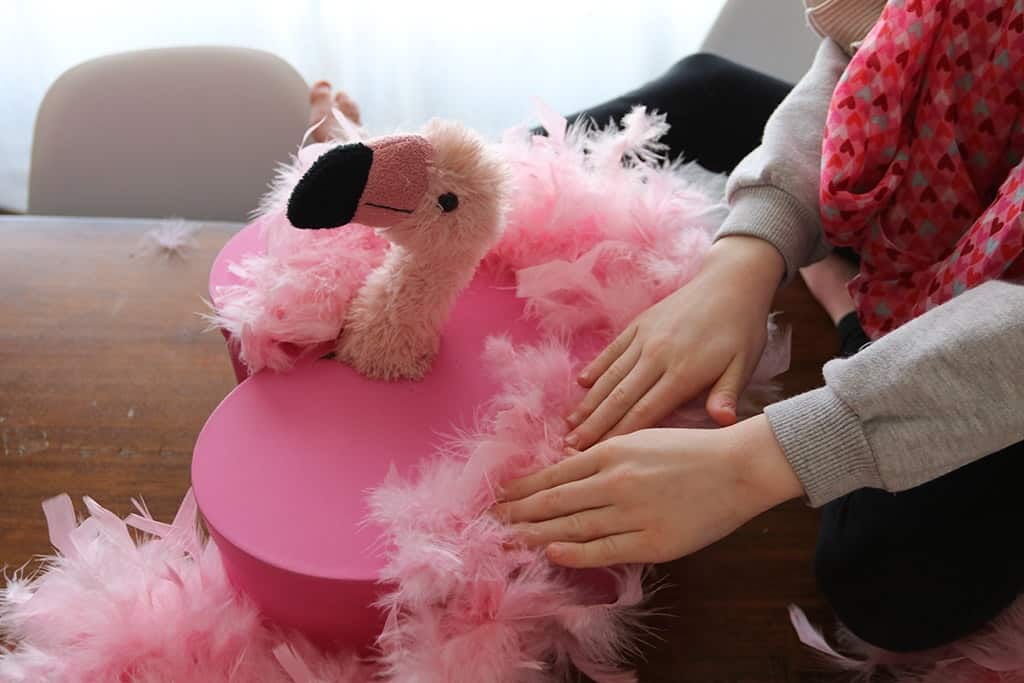
Vivienne and I placed our first feather boa around the top to plan our layout.
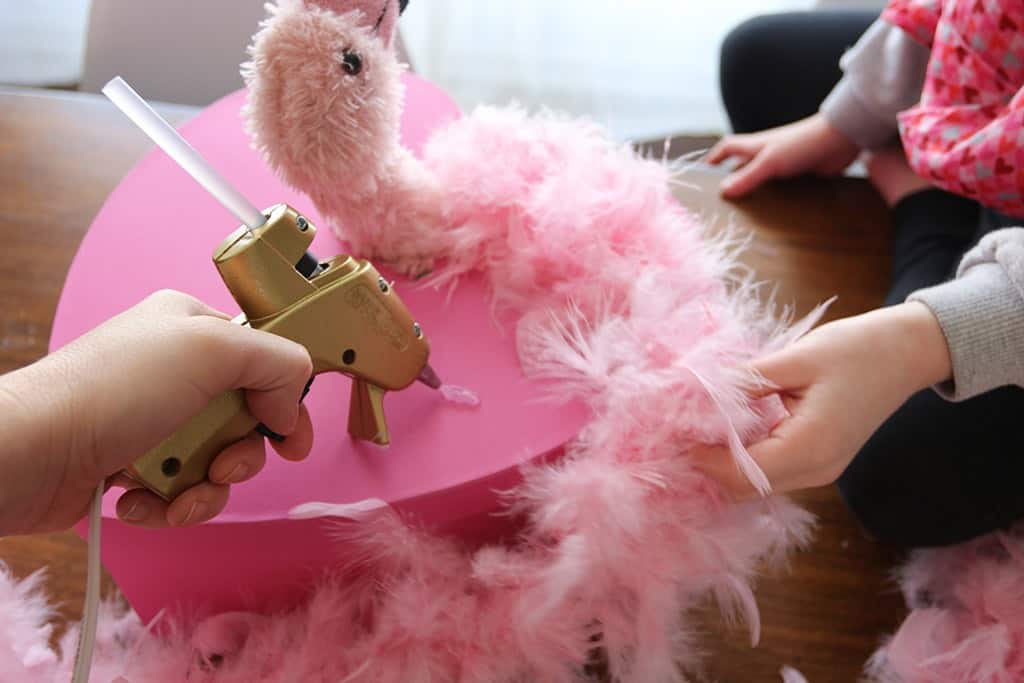
Then we added some hot glue to the top…
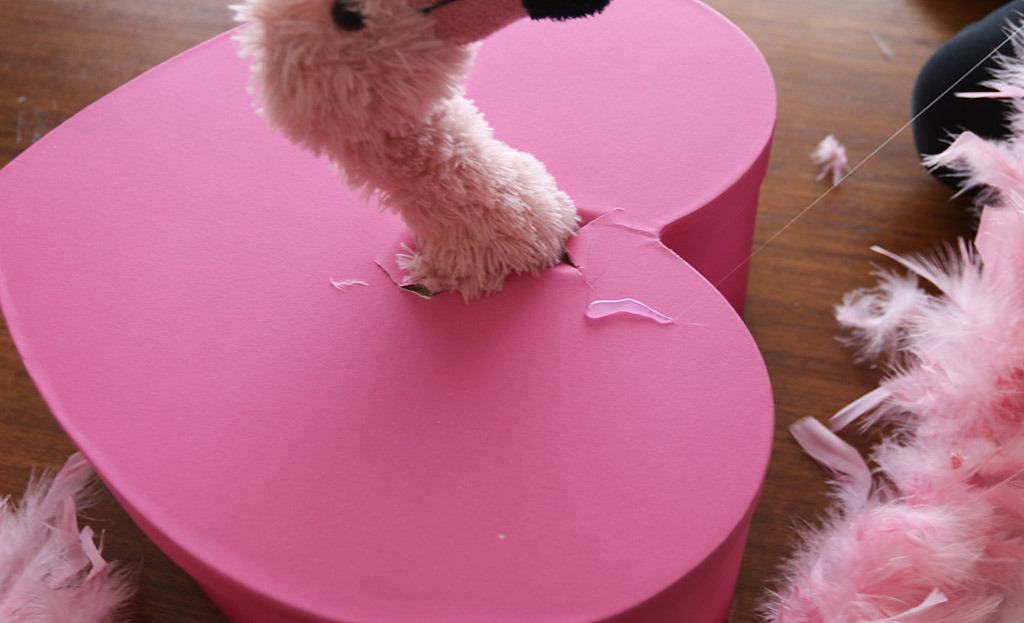
…and placed a section of the feather boa down gently.
This is a great activity for your older child to join in on as long as they’re careful not to touch the hot glue with their fingers.
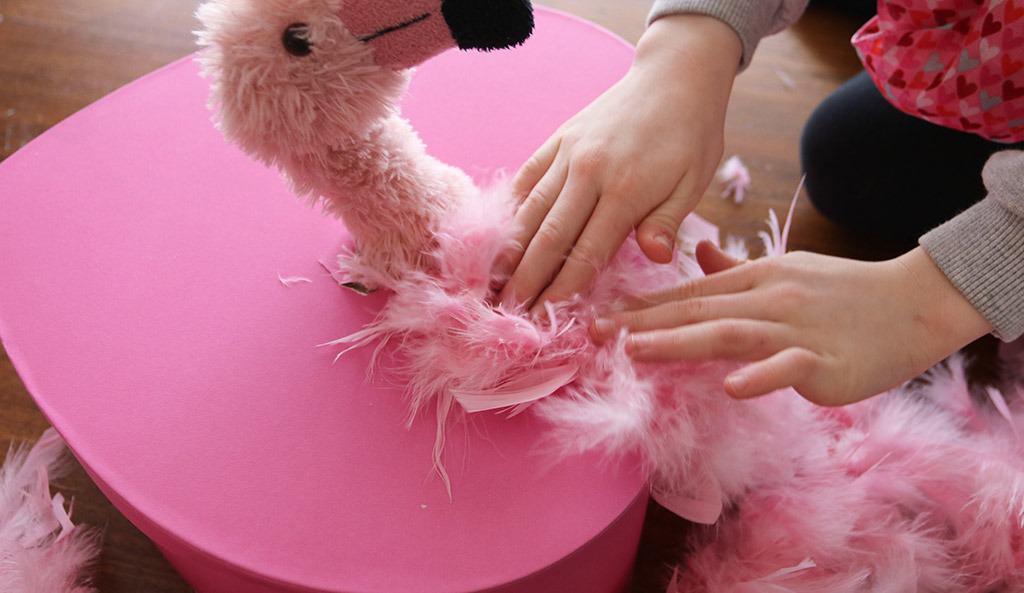
We repeated these steps until the feather boa covered the edges of the lid.
Cutting the card slot
Before we went any further I took my sharp knife and cut a long rectangle shape out of the top of the box for the card opening.
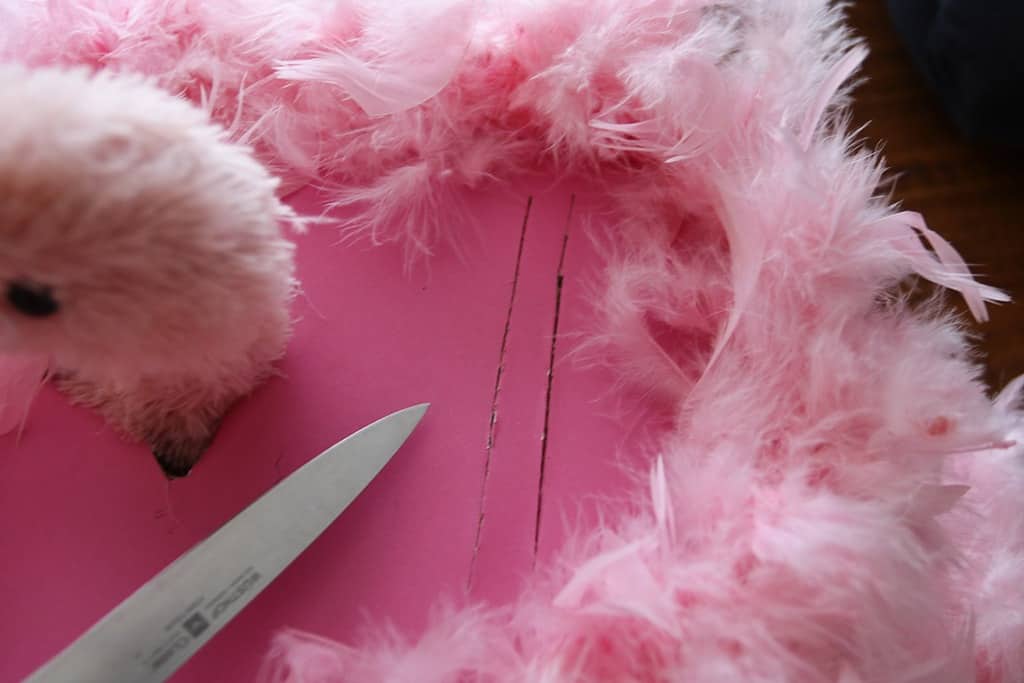
I went a little thicker to allow any candy or large valentines to fit through.
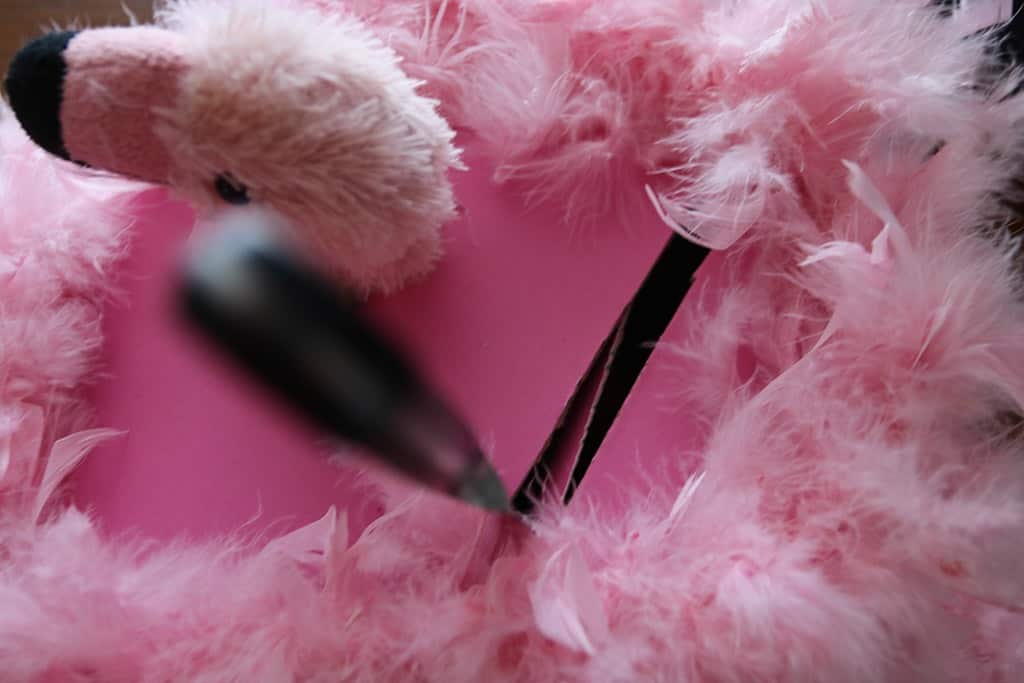
Once again, I didn’t care about making it look perfect since the feathers would cover some of the opening.
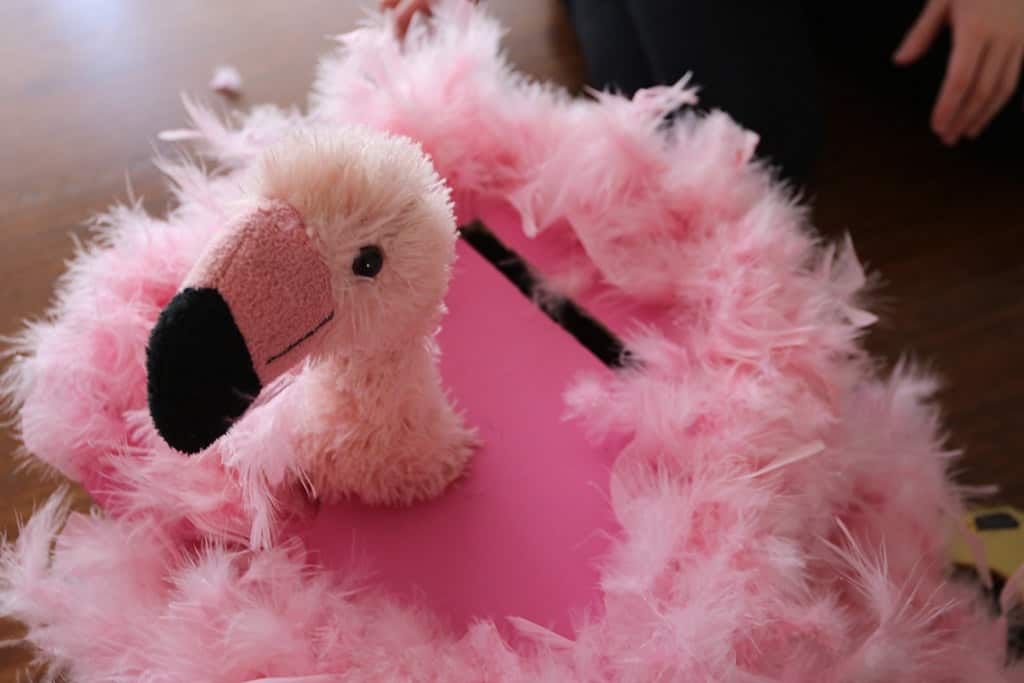
Back to the feathers
We continued gluing more feathers until the top of the box was mostly covered.
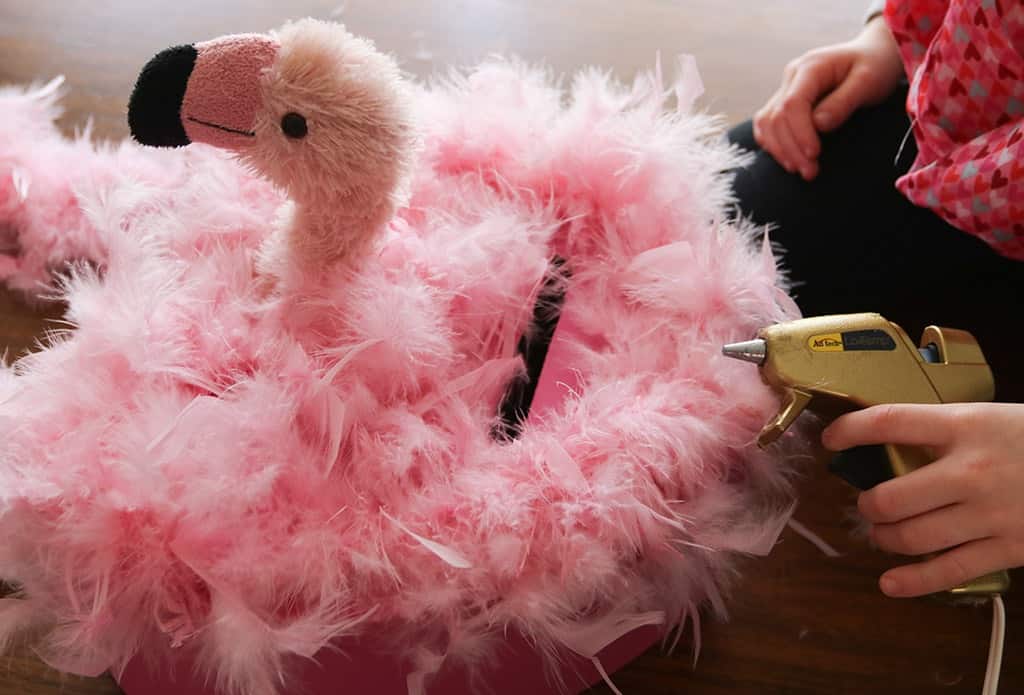
Then we turned the box on its side and glued down more feather boa sections around the side.
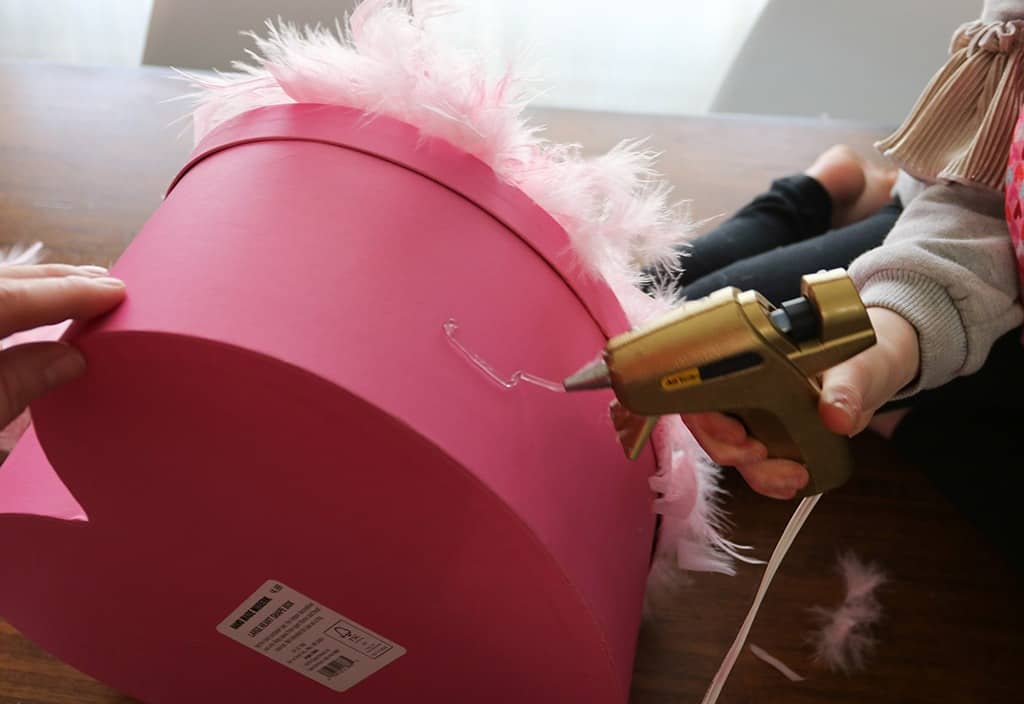
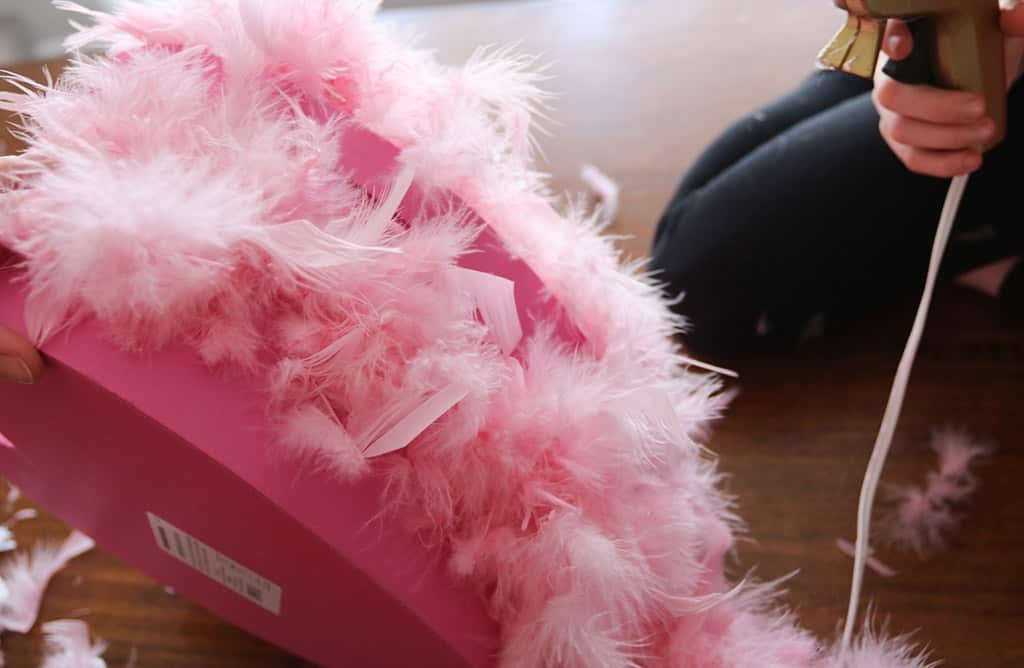
We glued the feather boa all the way across the sides of the box.
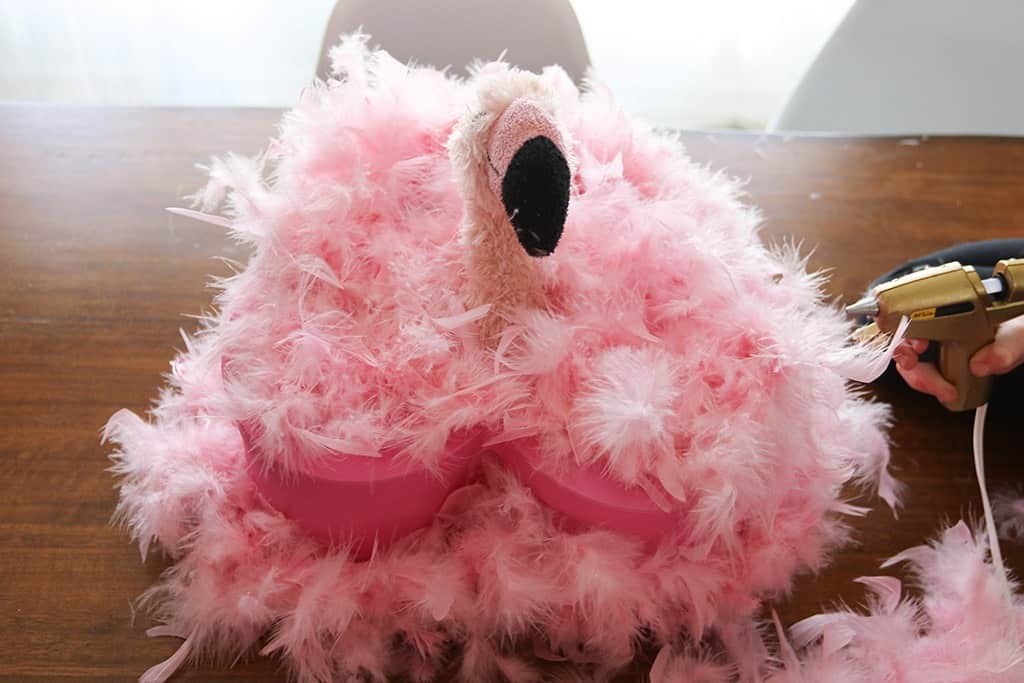
And we then decided that we wanted to add more feathers to fill in the gaps around the lid of the box.
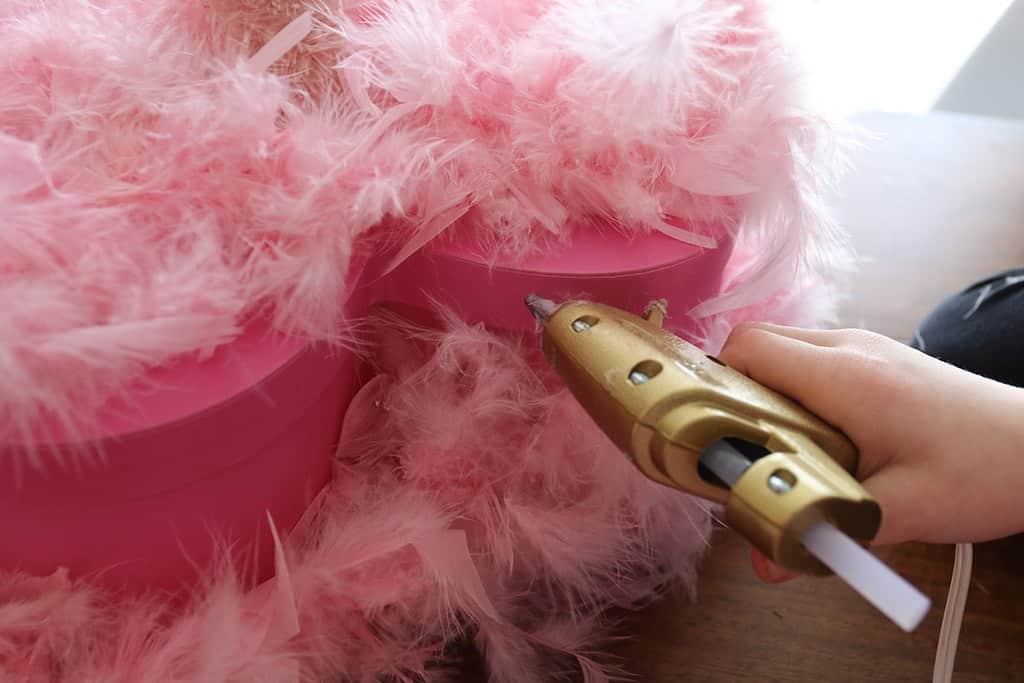
We repeated the same steps listed above on the box lid until the top rim was completely covered in feathers.
Gluing down the two feather boas went by quickly and old took us a few minutes.
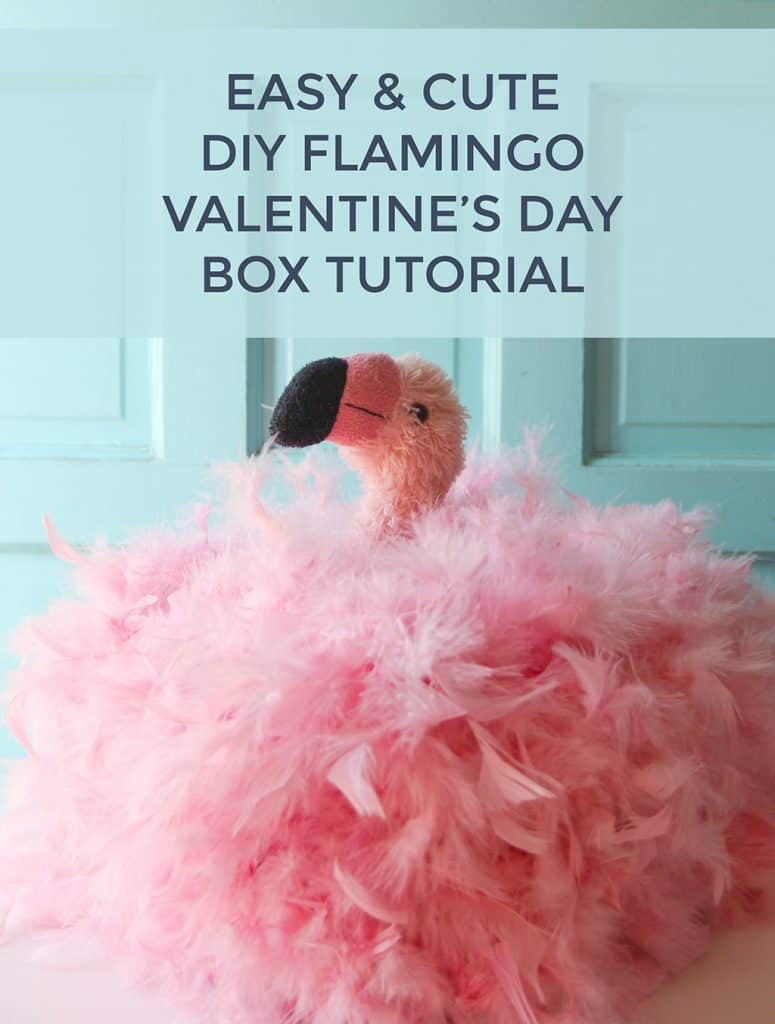
We both love how this DIY flamingo Valentine’s Day box turned out!
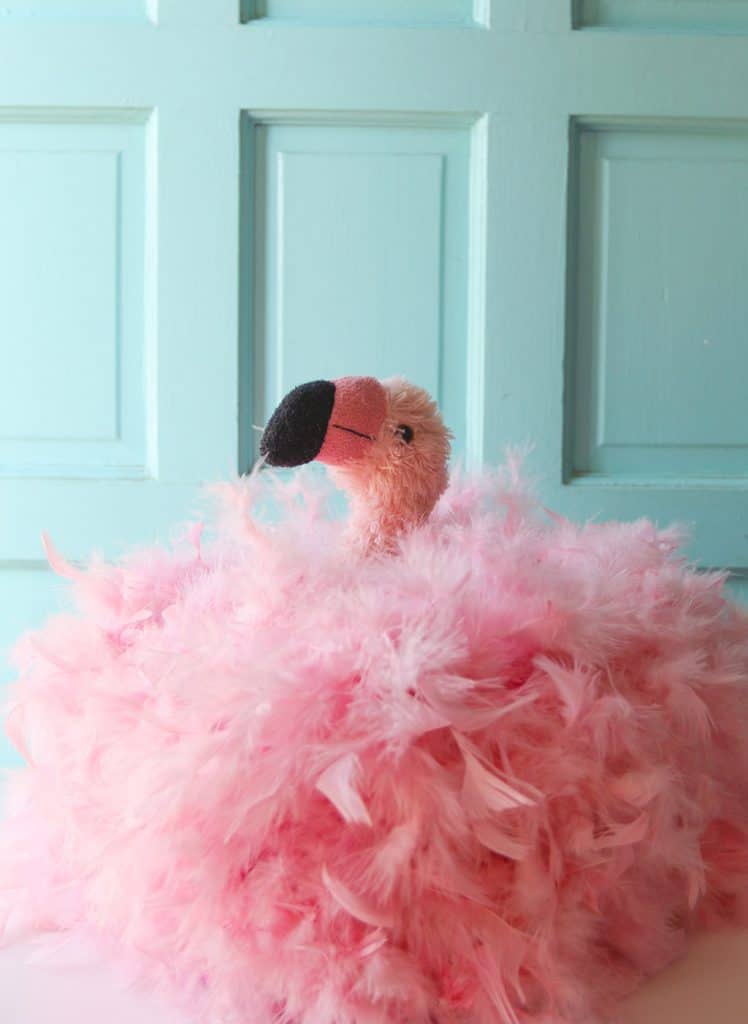
Especially since it was sooo easy to make.
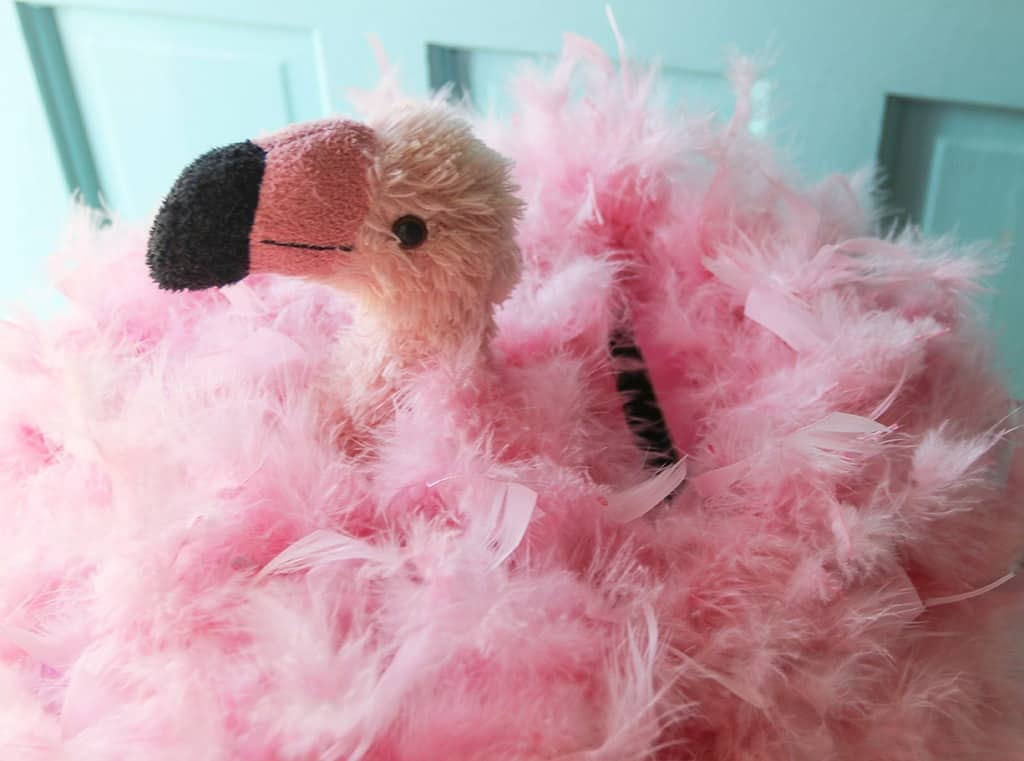
Vivienne definitely had to try it out!
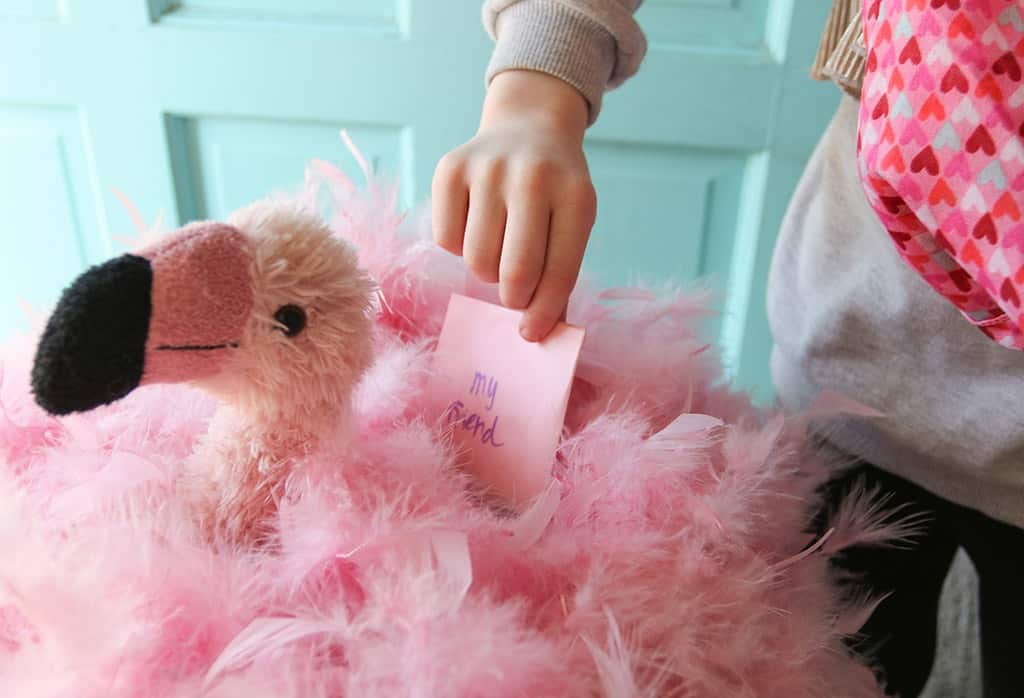
I have a feeling this flamingo Valentine’s Day box will be living in her room for years to come.
It might even get used again next year. We like to get our money’s worth out of things we make over here. Haha!
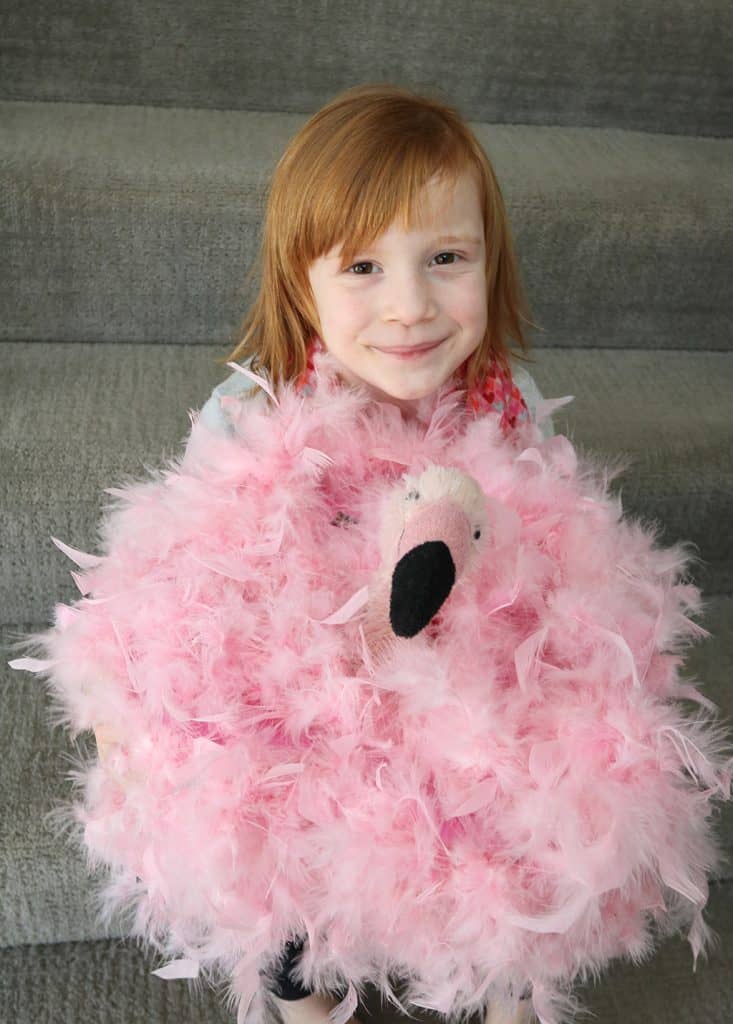
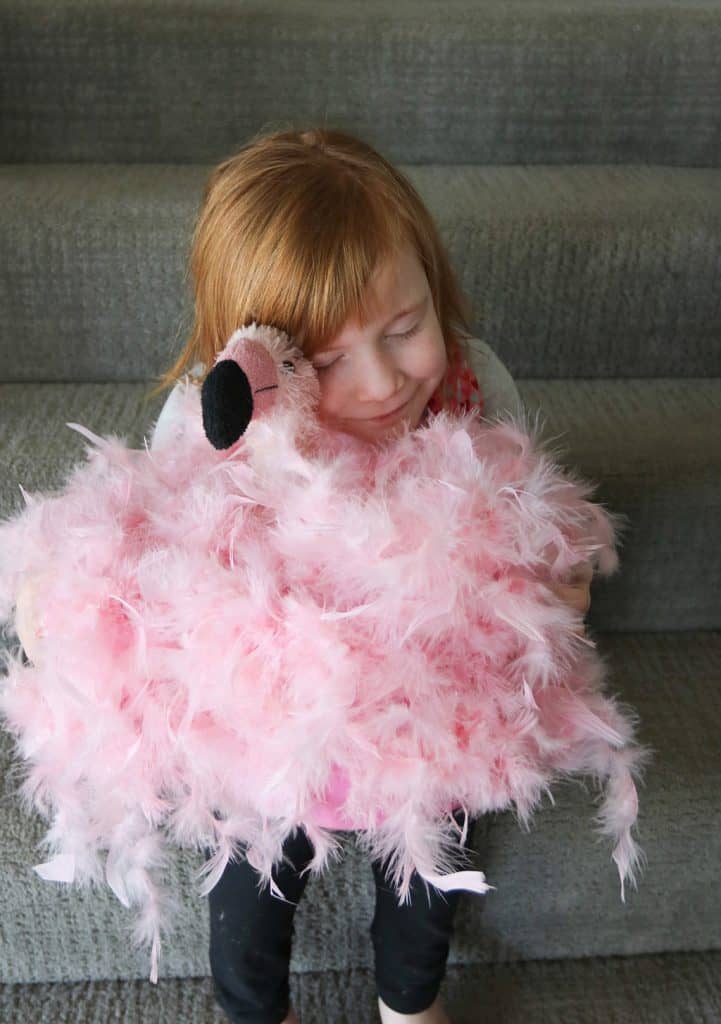
What do you think? Do you have a flamingo lover who’d like a DIY flamingo Valentine’s Day box? I highly recommend this one!
If you make your own I’d love it if you’d tag me in your Insta, Twitter, or Facebook photos, and I’m always so very thankful when you Pin my work as well.
xoxo
Audrey
You might also like my FREE printable valentines post!

Pin this flamingo Valentine’s Day box for later!
