DIY ghost lights are the easiest DIY craft ever and I made mine using only items I had on hand at my house.
I’m a big fan of Halloween decor and using items already on hand to make holiday DIYs, and these ghost lights checked both boxes.
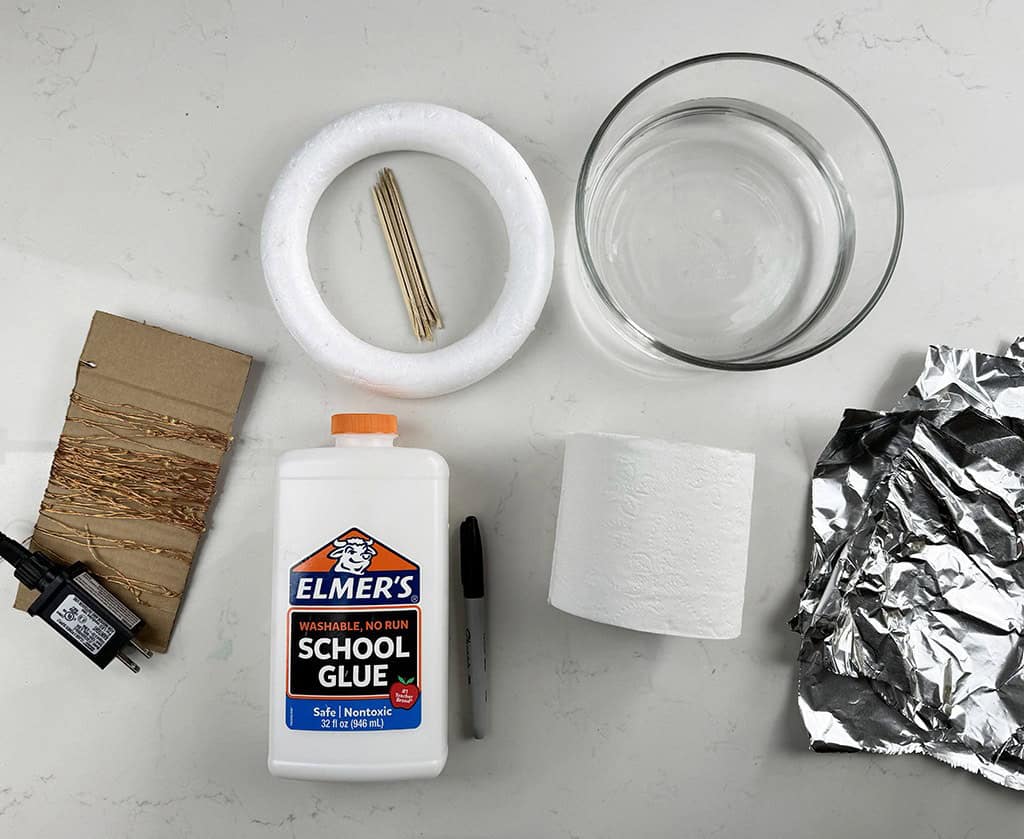
Supplies needed:
School glue (or fabric stiffener)
Bowl of water
Toothpicks (or skewer sticks)
Foam (or something similar you can stick a toothpick into)
Toilet paper
Aluminum foil
Black Sharpie or marker
Fairy lights
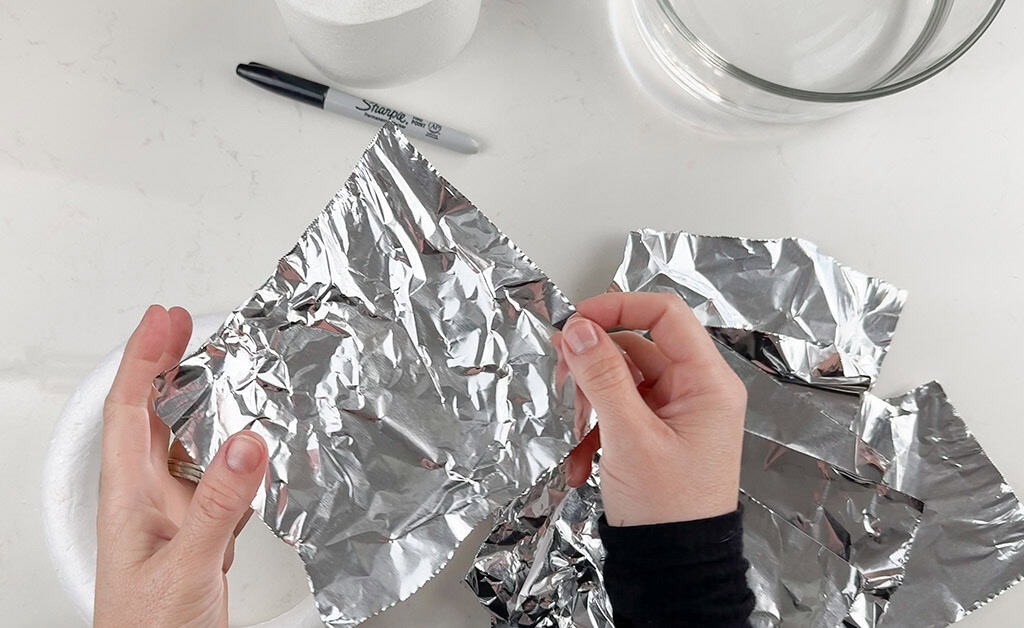
To start, I tore off sections of foil and rolled into balls – 1 ball per ghost to be made.
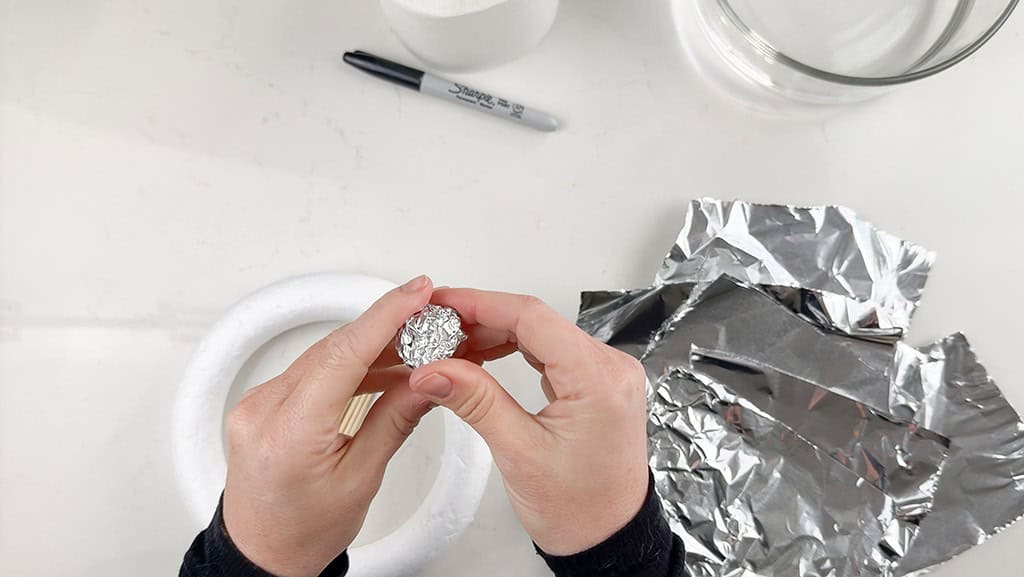
Once all balls were rolled, I stuck a skewer stick into each.

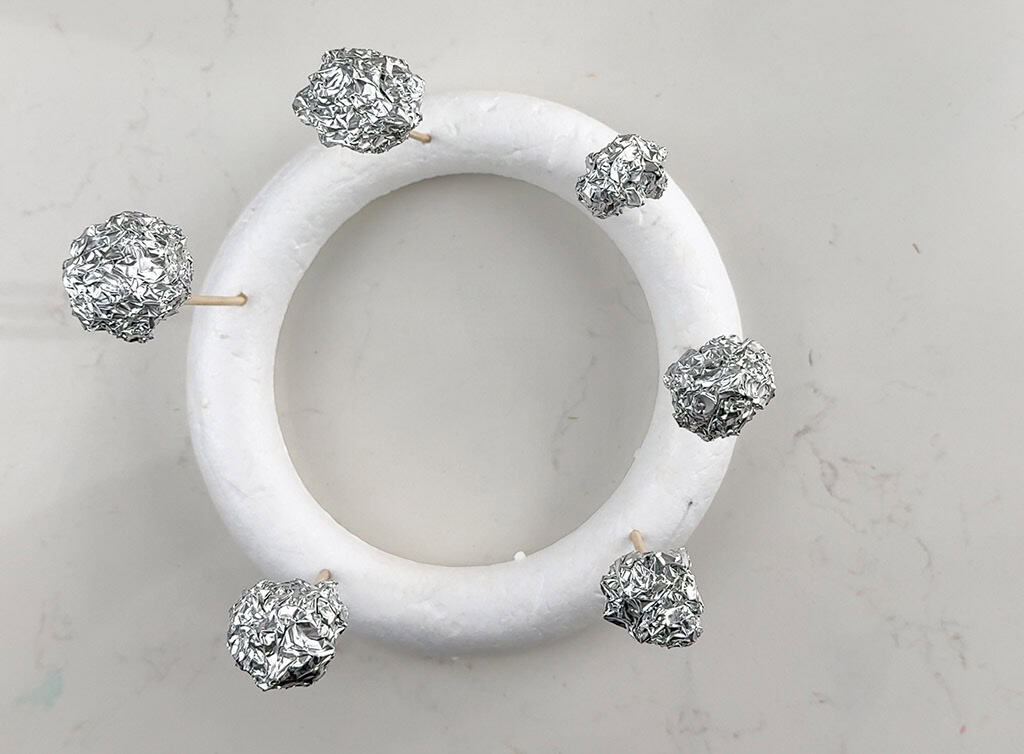
Then I stuck all skewer balls into a foam wreath that I had on hand. You can use anything that a toothpick can poke through and be supported (cardboard, etc)
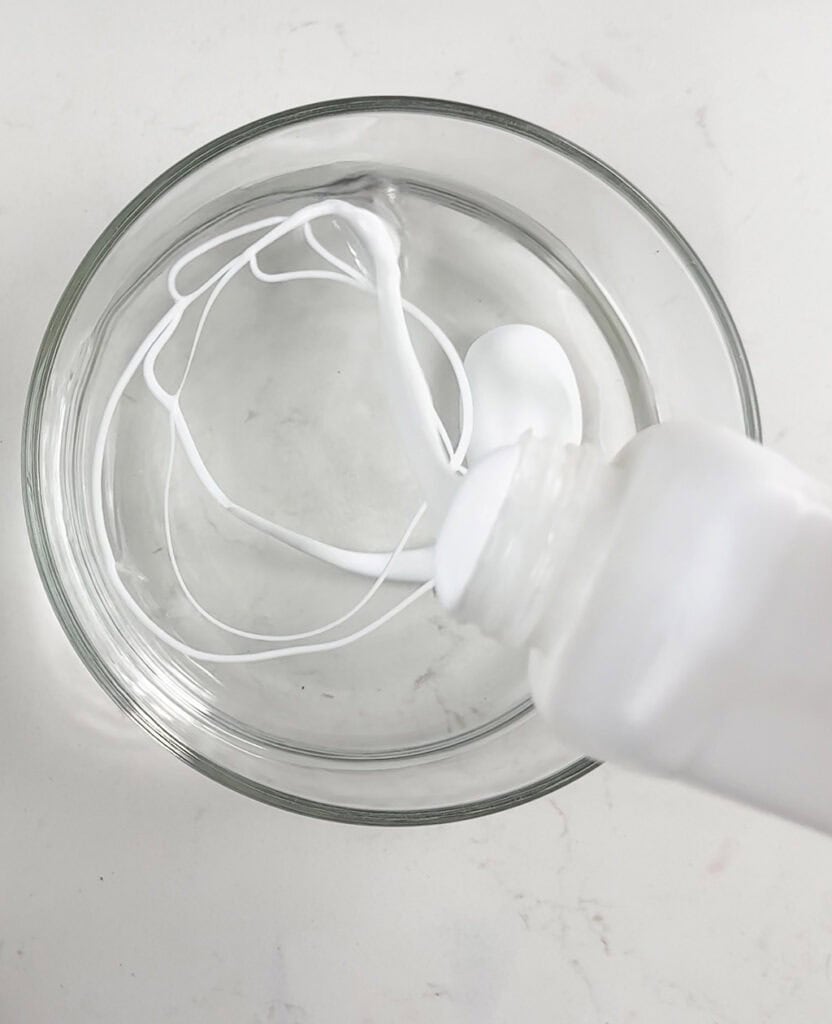
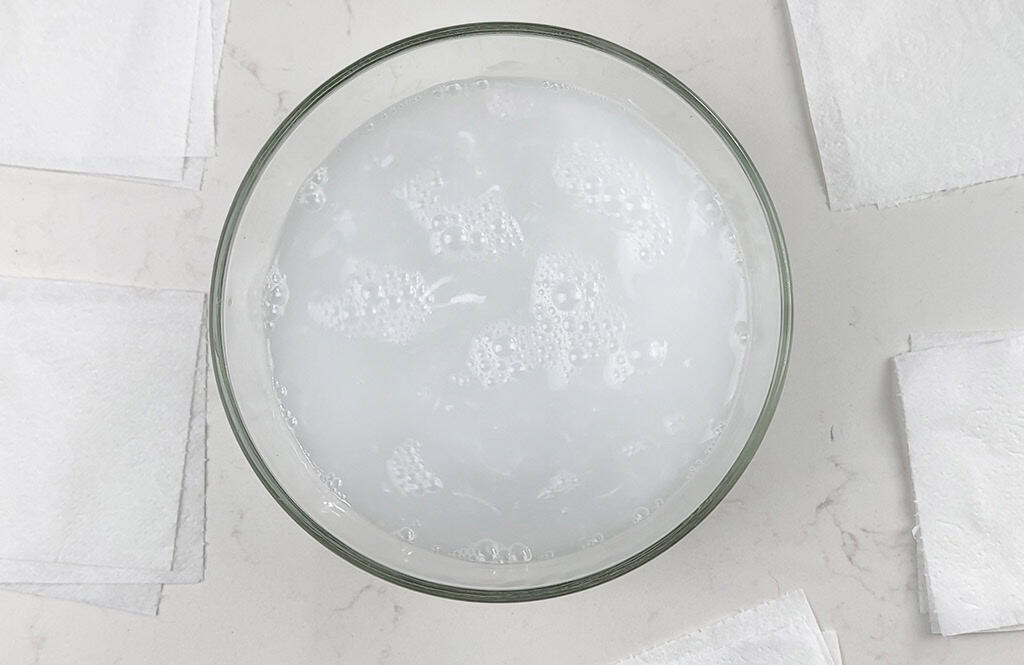
Next, pour some school glue into a bowl of water – this is a crucial ingredient for your DIY ghost lights.
You can also use a product like a fabric stiffener to get the same results.
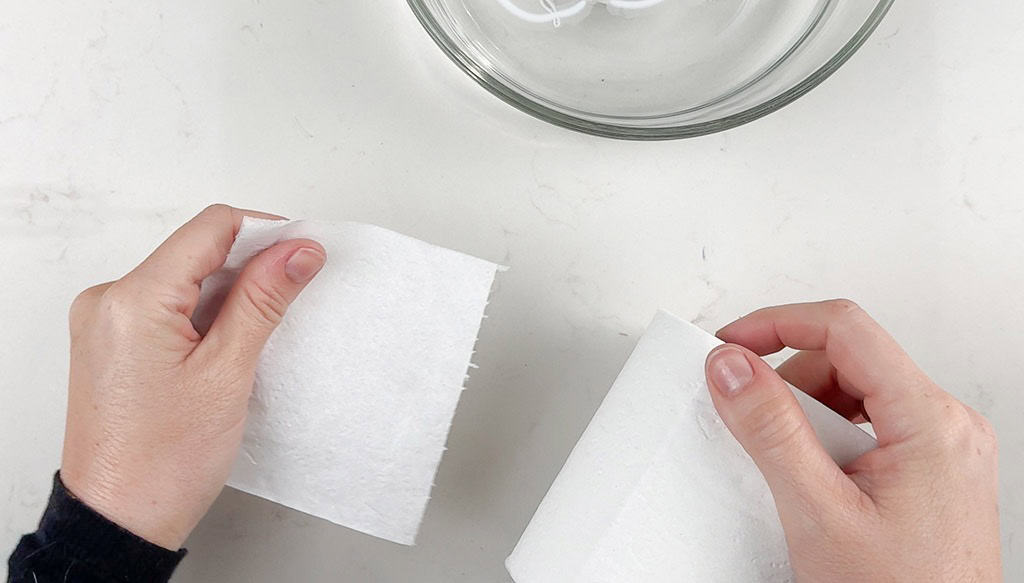
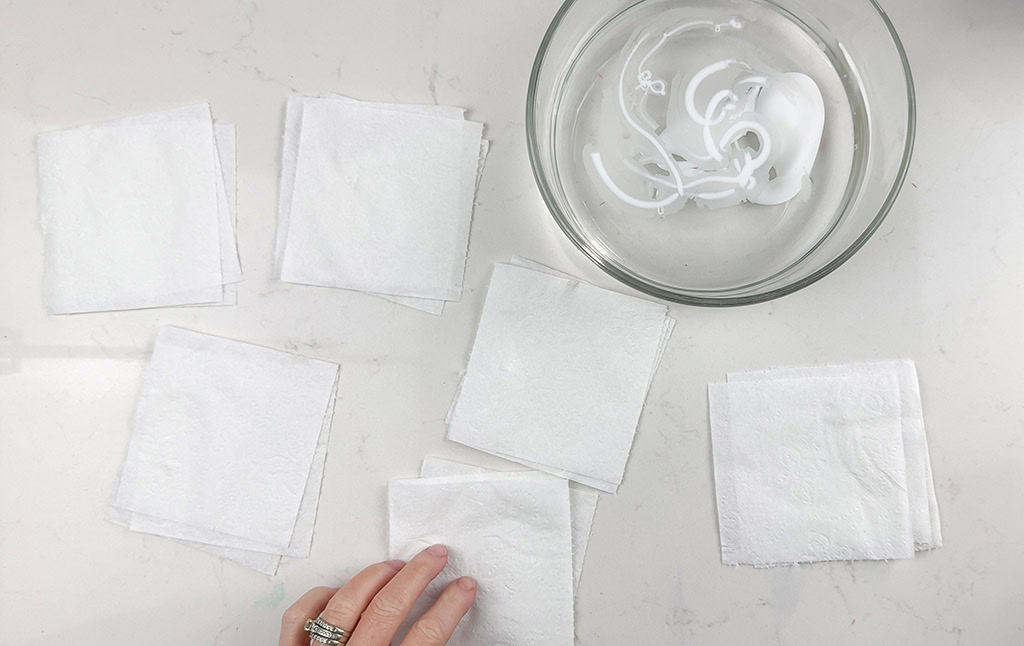
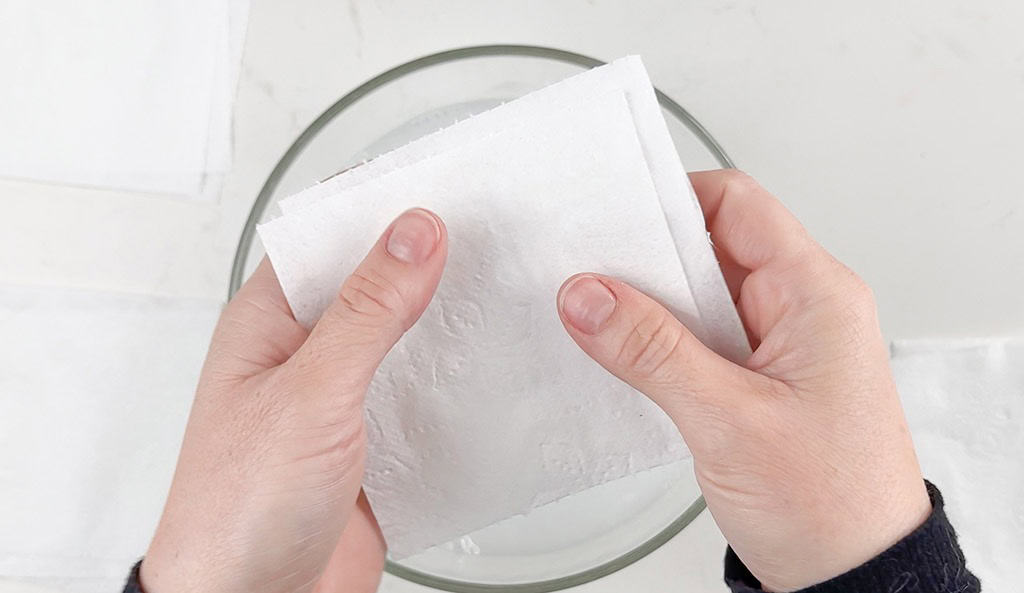
Pull 3 squares of toilet paper per each ghost to be made.
Three stacked toilet paper sheets per ghost ensures the perfect thickness and movement in my opinion, but you can experiment with different amounts if needed.
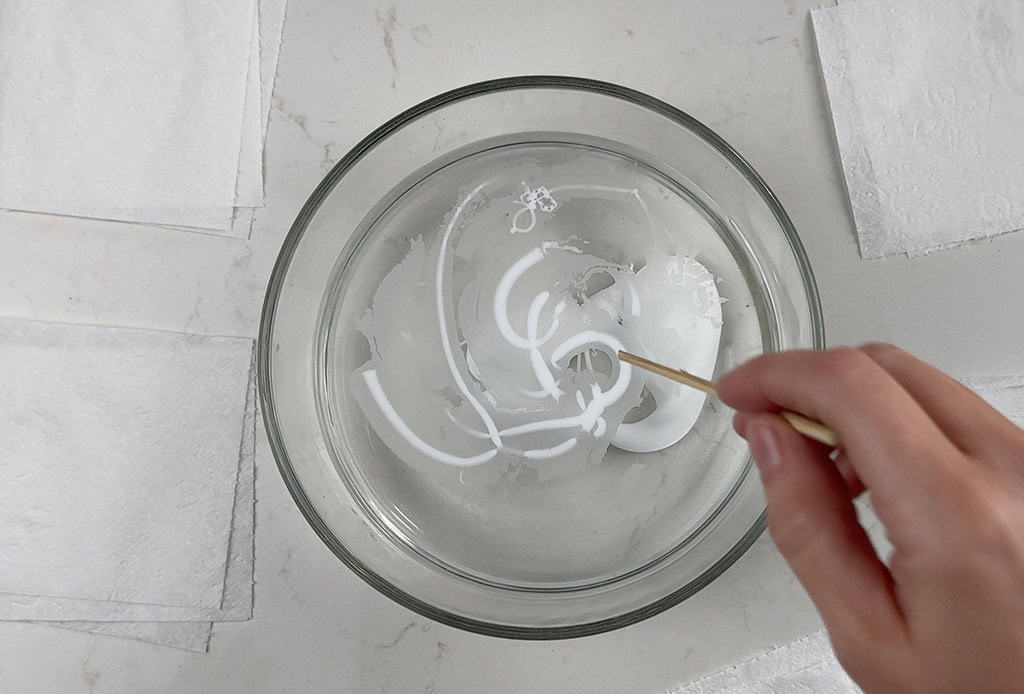
Using an extra skewer, I stirred up the glue an water mixture until it blended together – you’ll want a slightly milky look.
Gently dip 3 stacked sheets into the glue/water mixture until they’re coated.
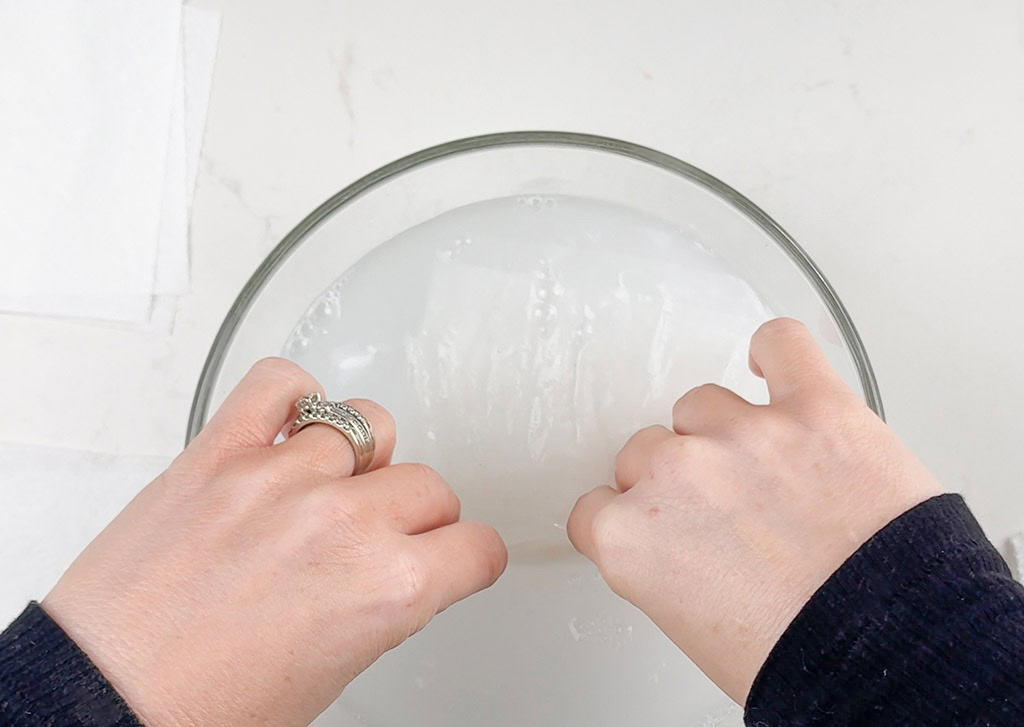
Carefully pull your TP stack out of the water and allow for some of the mixture to drip off, then gently set it over a foil ball.
This foil ball allows the toilet paper to form your DIY ghost head shape.
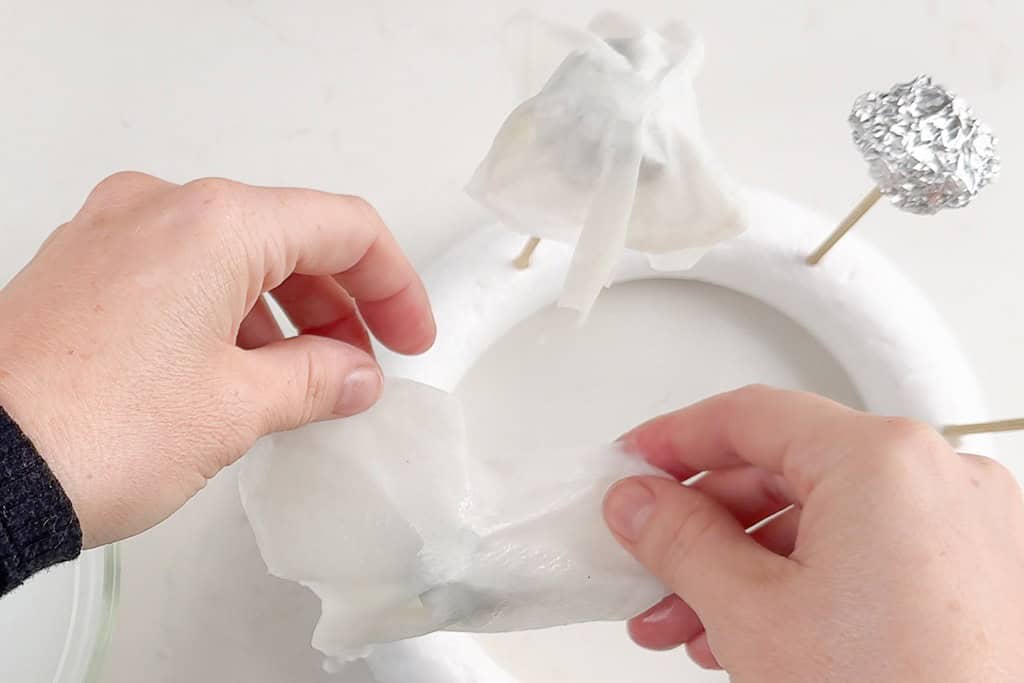
Repeat these steps for each ghost until you’re happy with the amount for your strand of fairy lights.
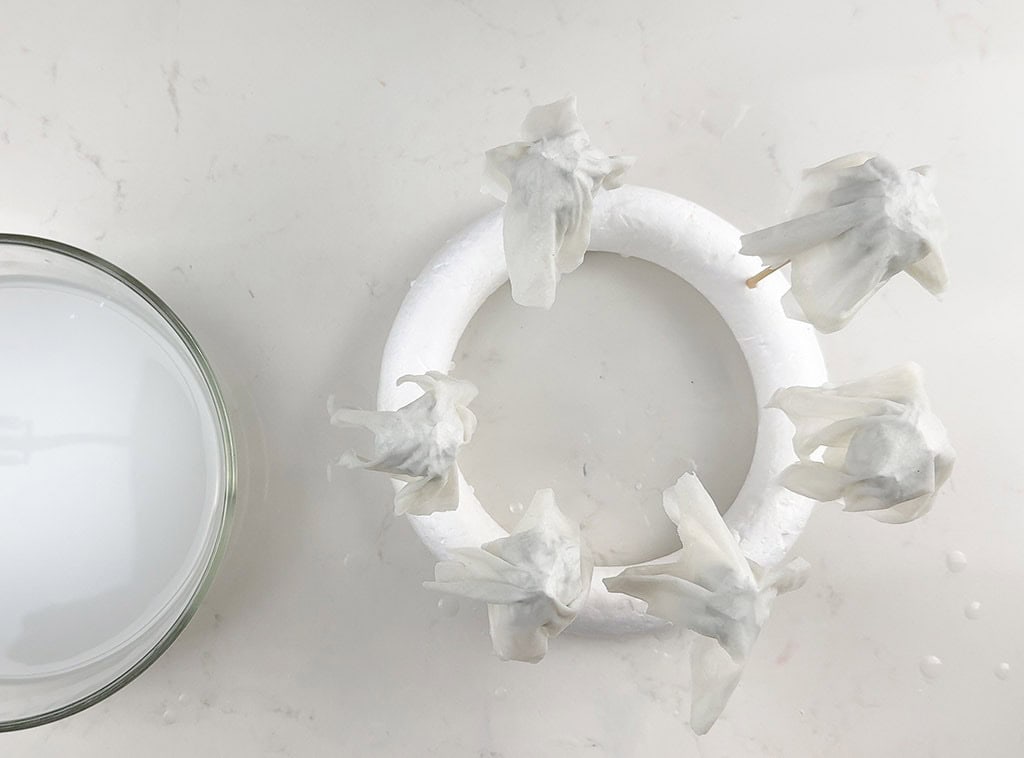
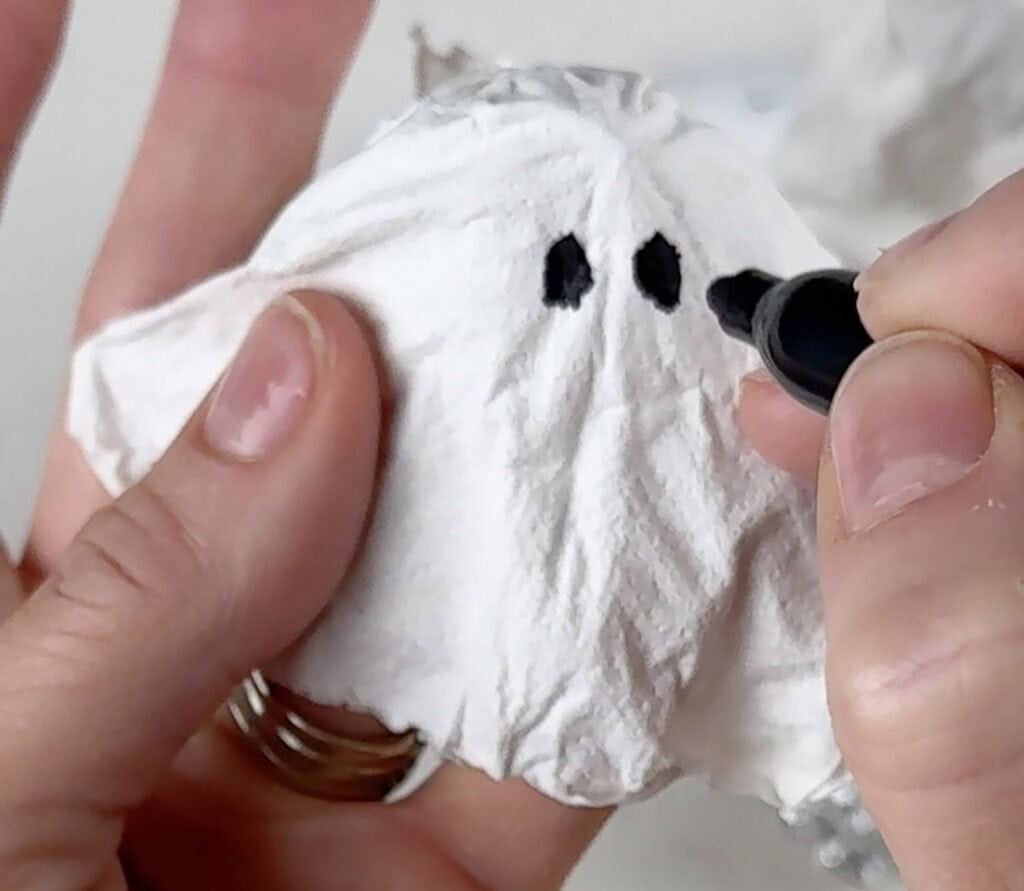
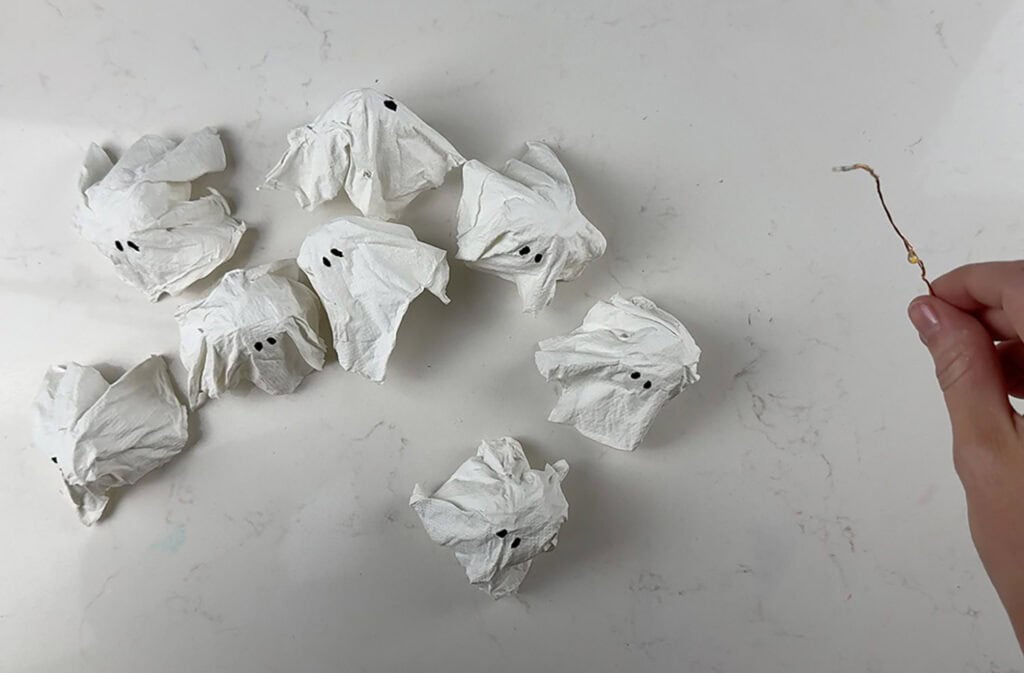
About 12 hours later, the ghosts had dried in ghost shapes, so I pulled them off of the foil balls and grabbed my sharpie marker for the next step.

Draw some eyes (and a mouth if you wish) onto your ghosts. I always chose to draw my eyes on the most smooth surface.
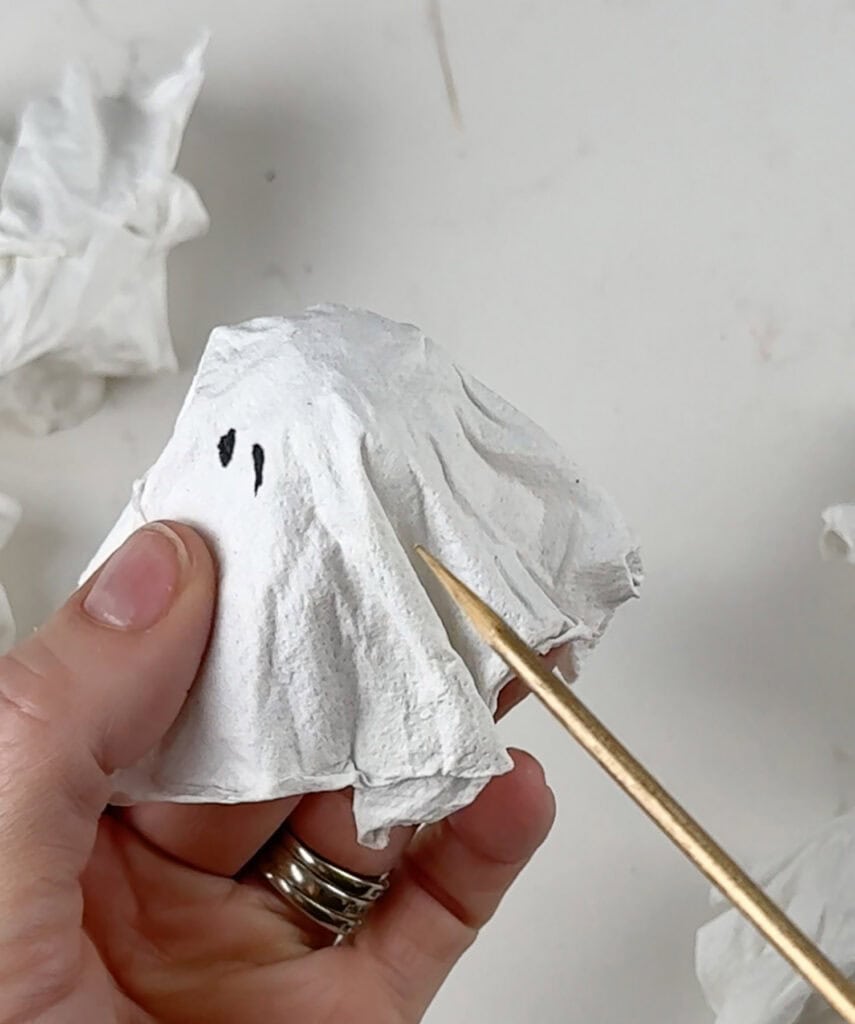
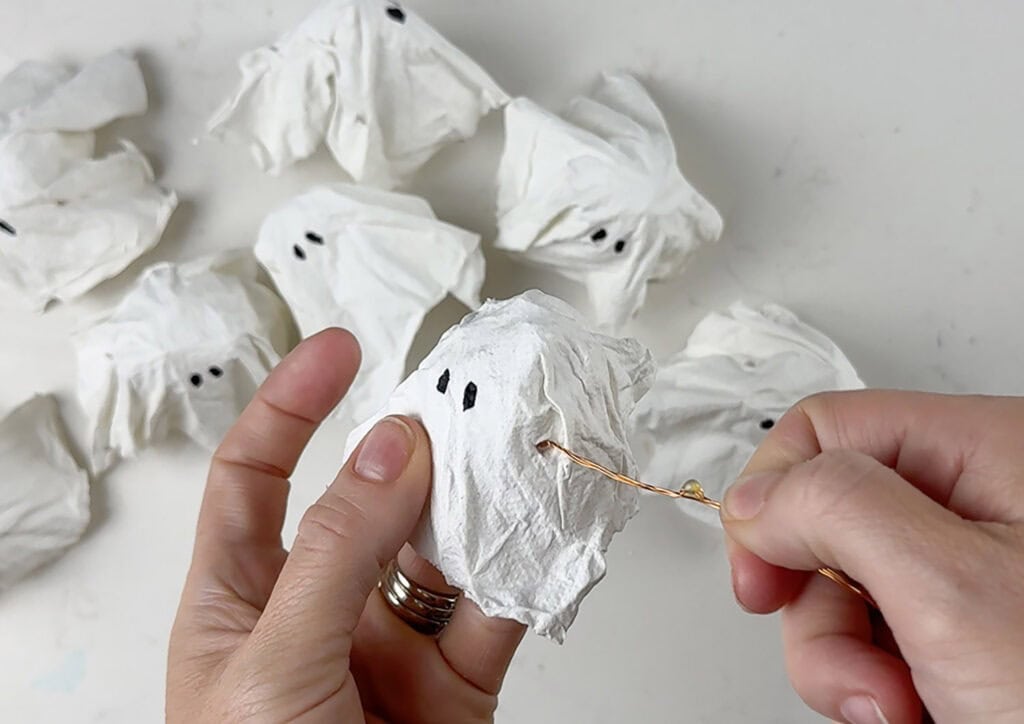
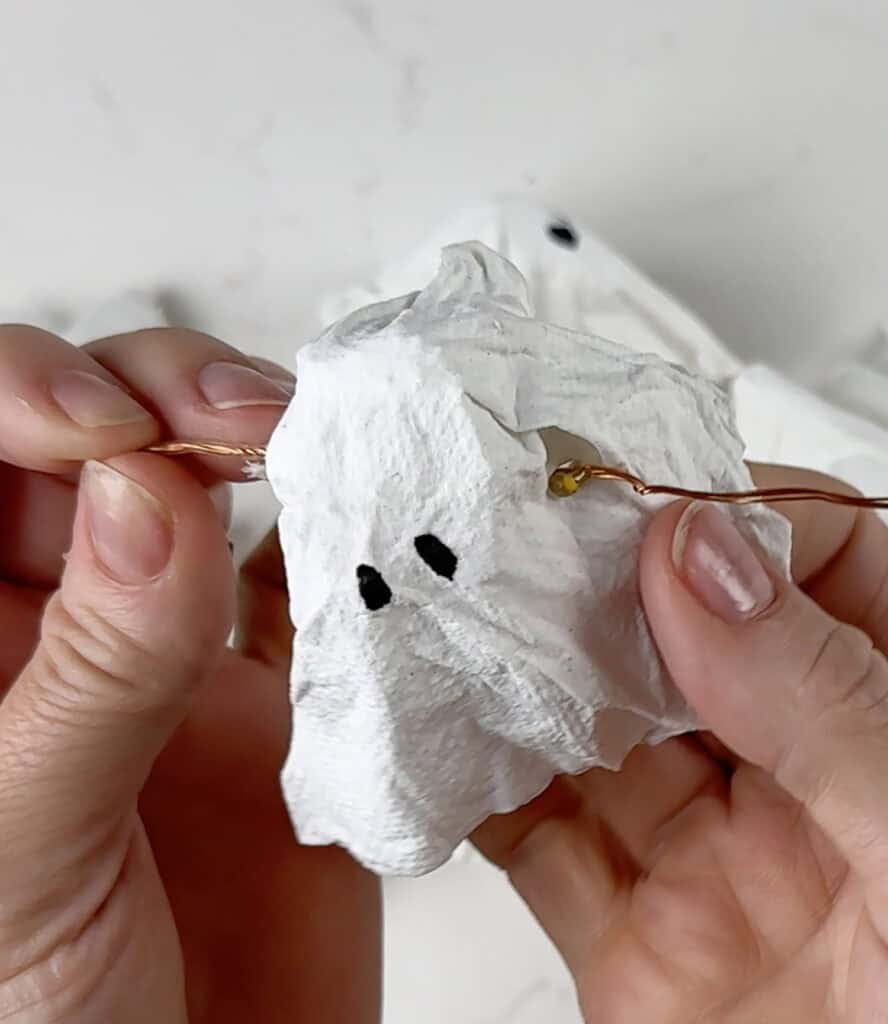
Take a skewer or pointy object and push it through both sides of your ghost forms creating a pathway for the fairy lights to go through.
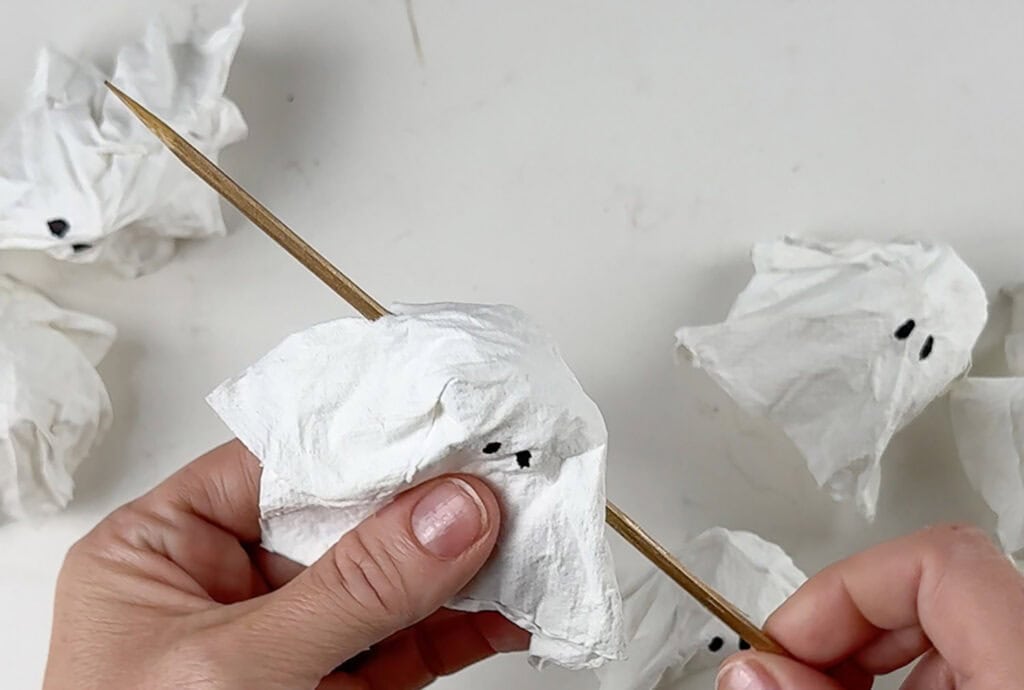
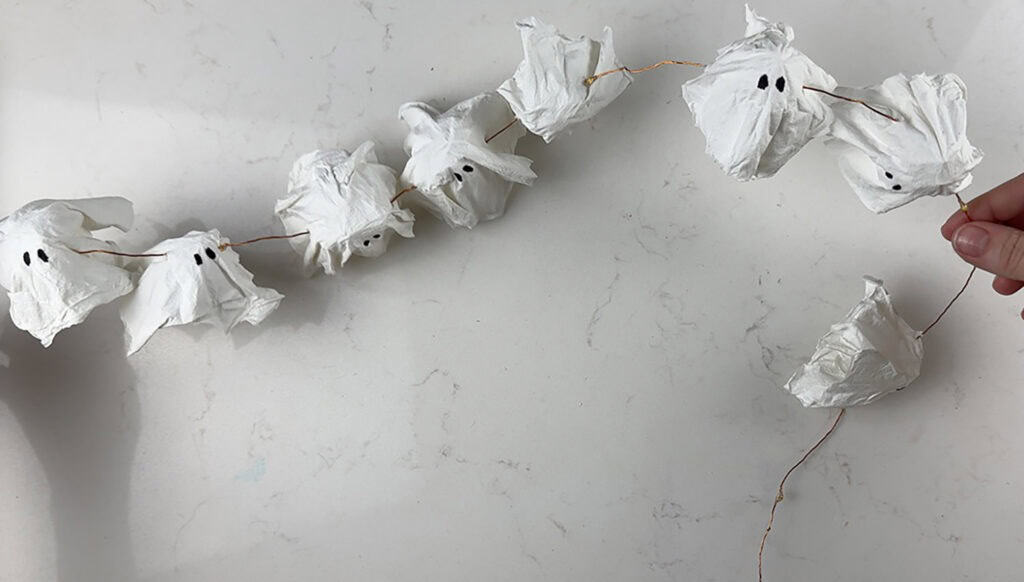
Grab your light strand and gently pull all ghosts through until you have them all placed.
If you don’t have fairy lights on hand you could even use a strand of low heat (LED) holiday lights.
I like the fair lights because of their size and that they always stay cool, which means there is no worry of a fire starting.
These fairy lights are my fave and I own multiple sets. I even use them in my swag garland on our outside house during the holidays. They’ve held up for 6+ years.
EEEEK I absolutely LOVE how these ghost lights turned out and best part – they cost me nothing since I had all items already on hand.
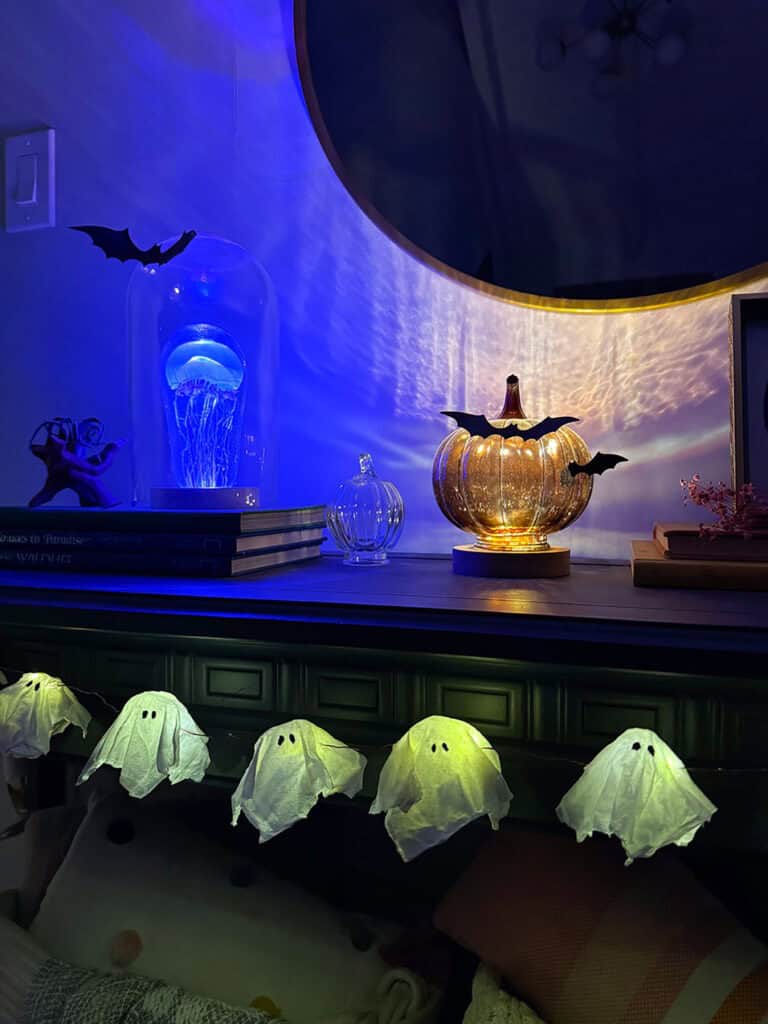
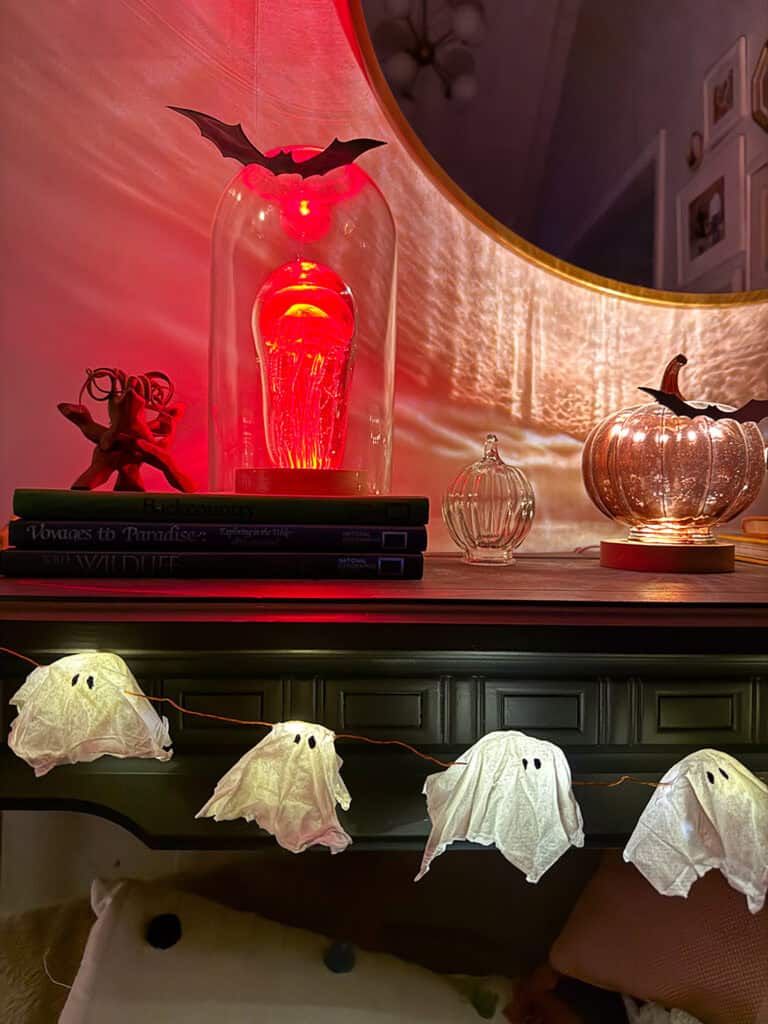
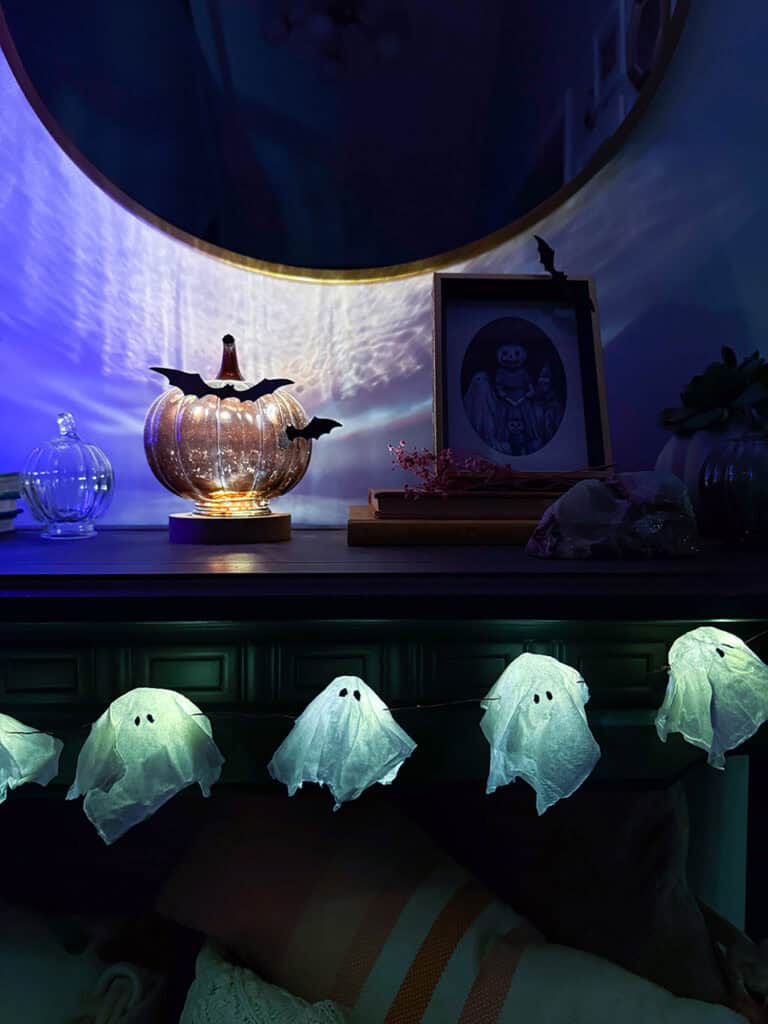
I took them into a dark room to preview how they look in the dark – so cool! Love the shadows they cast as well.

I decided to hang my ghosts on our entry table that displays some other halloween decor. Here is the daytime view:
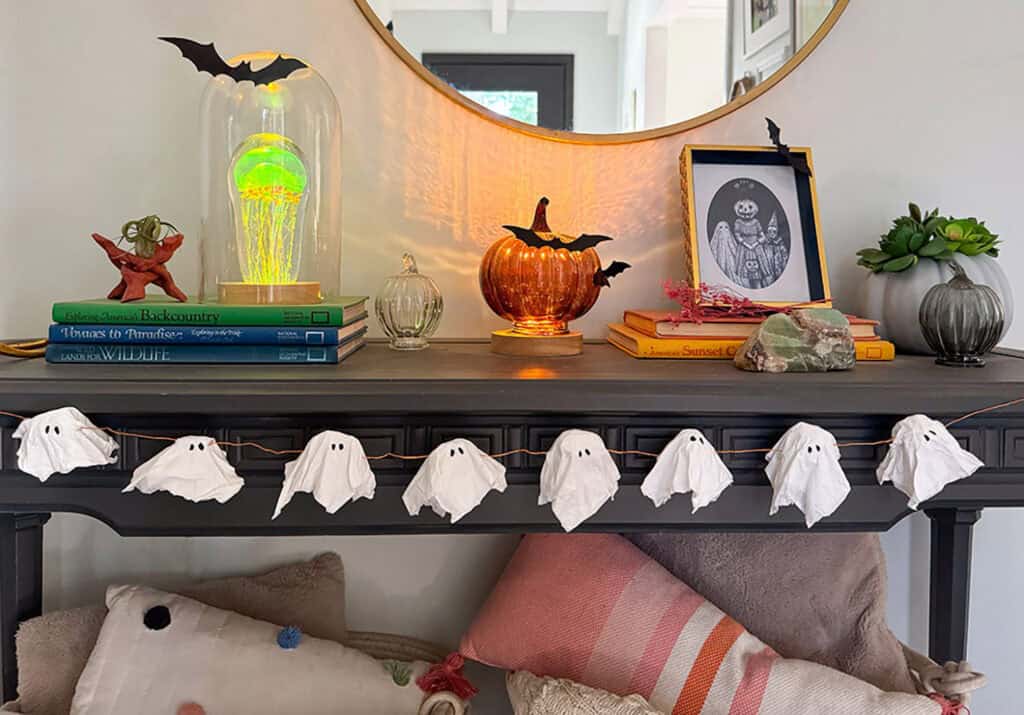
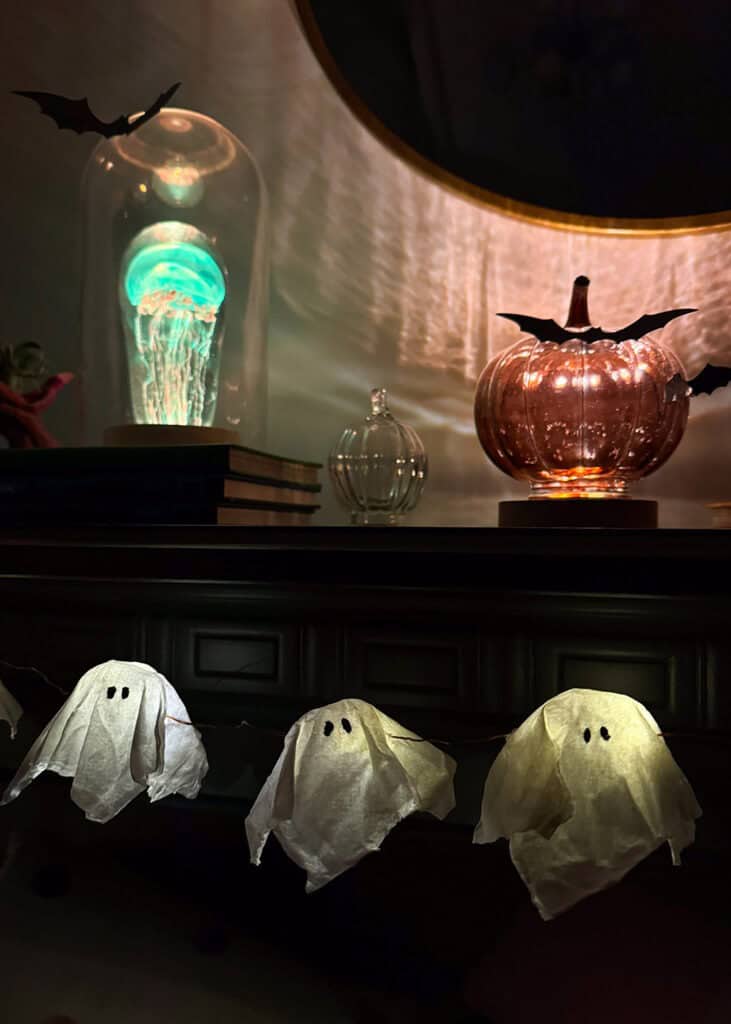
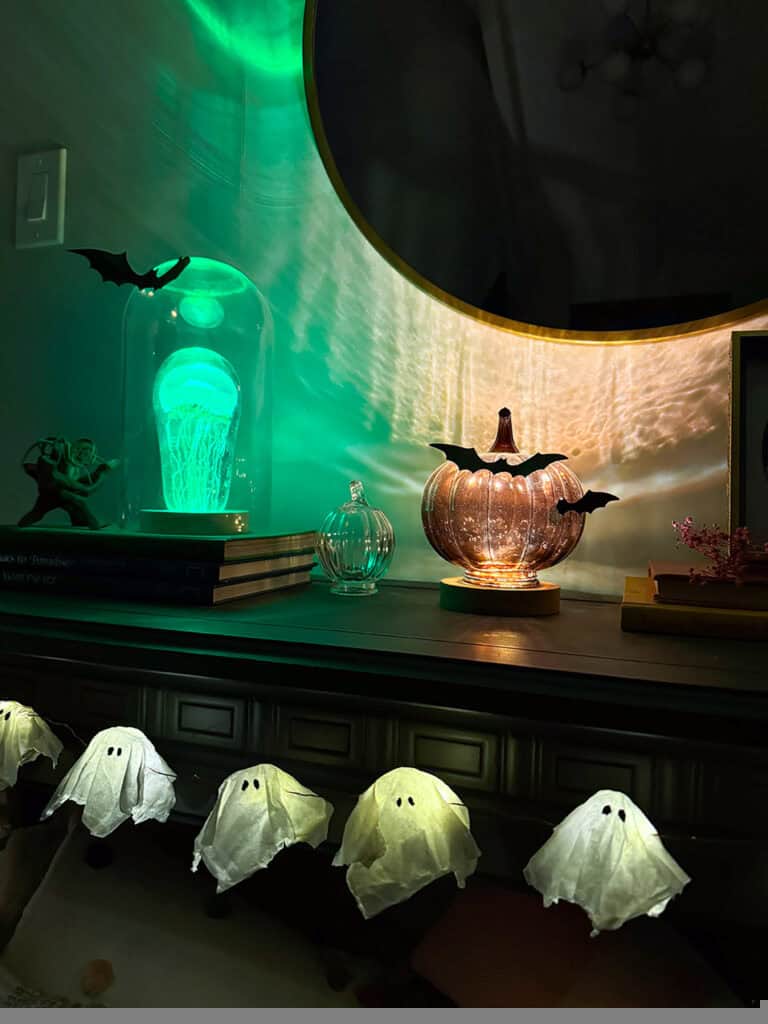
And here is how my DIY ghost lights look at night – so funnnn!
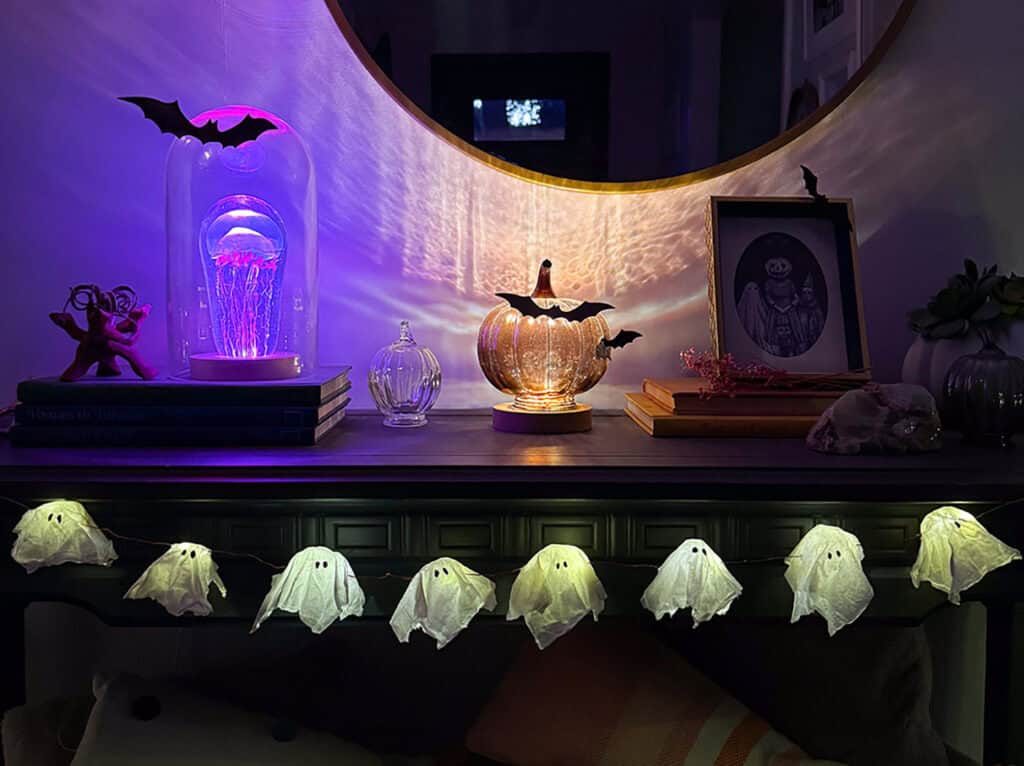
To light the decor pieces on the table, I used a couple affordable display lights – one warm set under the glass pumpkin and a color changing set under the glass jellyfish. Both color options come together in one set.
These display lights are the BEST, and they make our entryway feel so magical at night.
I also have these warm white display lights for a couple other items in our house. They come is a set of two warm lights and work well too.
The different color options automatically rotate making it so easy.

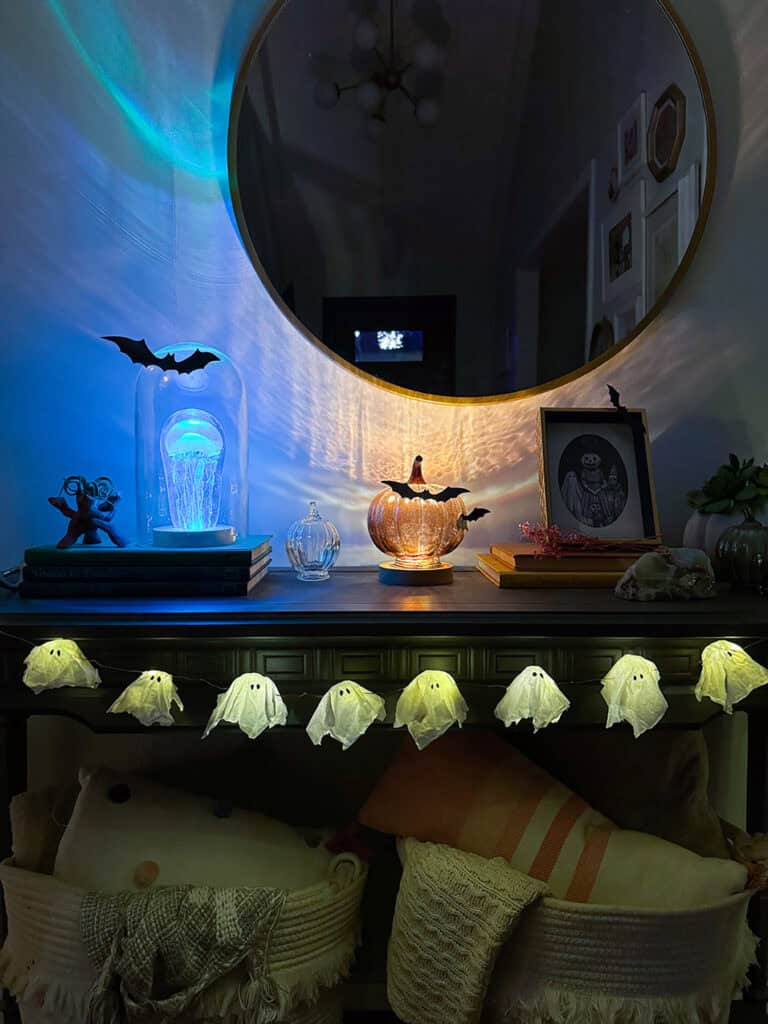
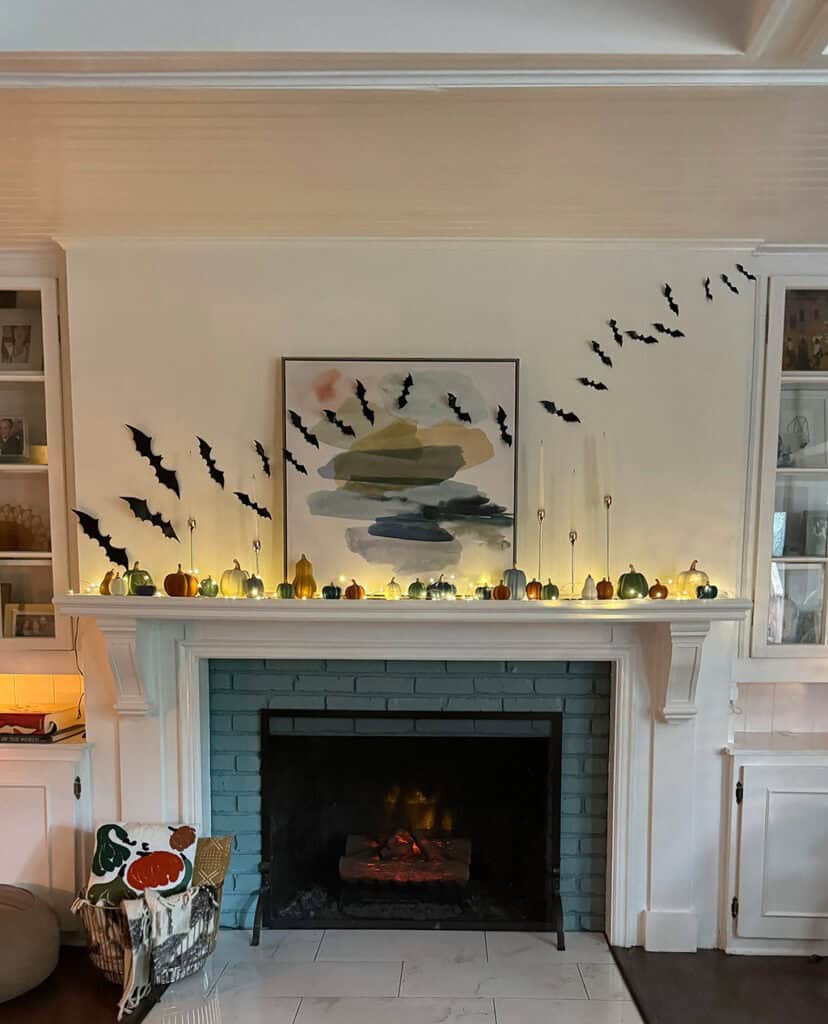
My ghost lights are the perfect addition to this decor table, but they would also look good on our fireplace mantle, but it is already a bit busy as-is, ha.
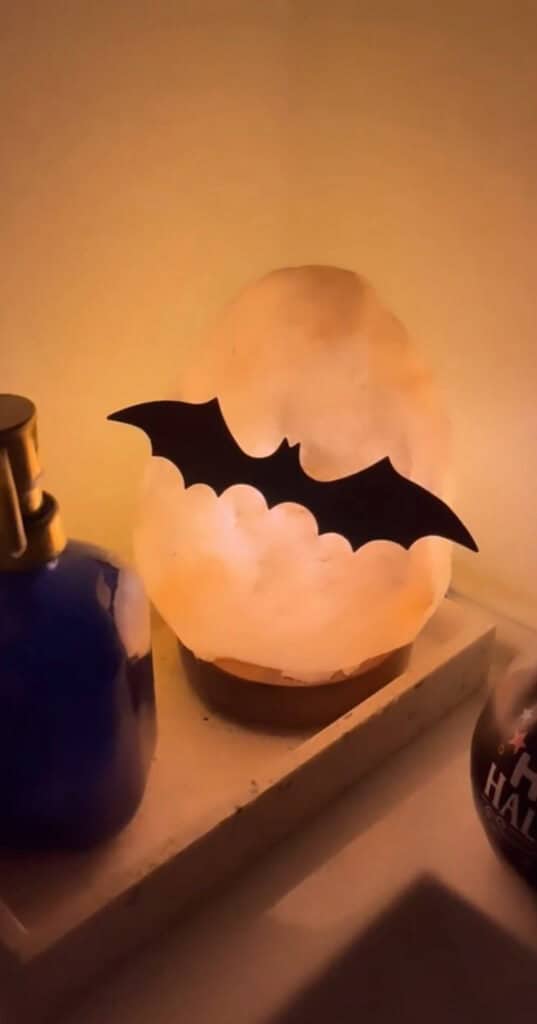
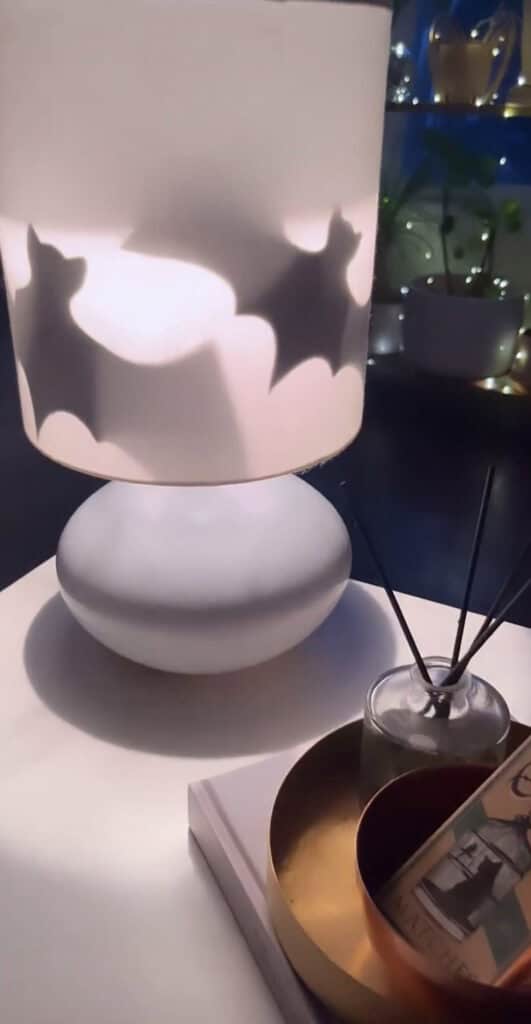
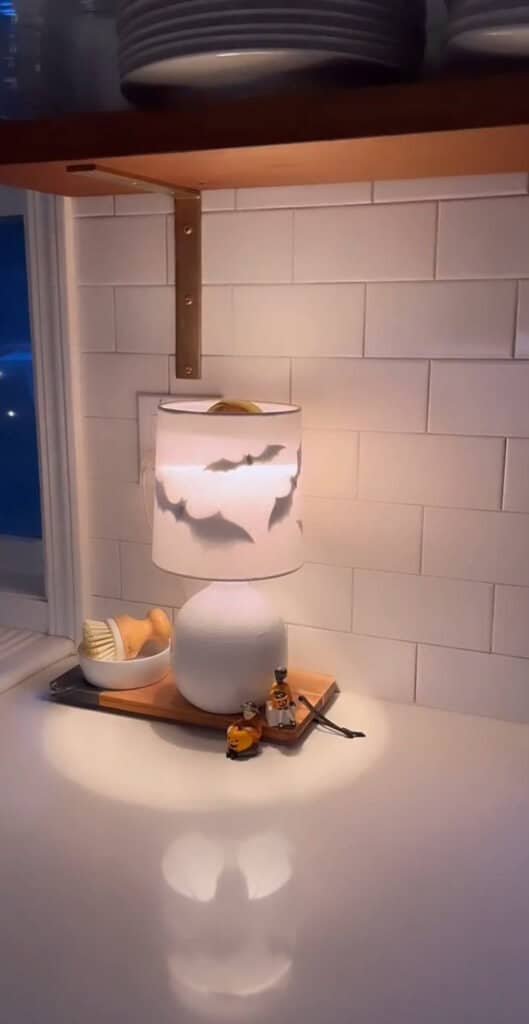
If you’re looking for a non-damaging adhesive to hand your bats I swear by this.
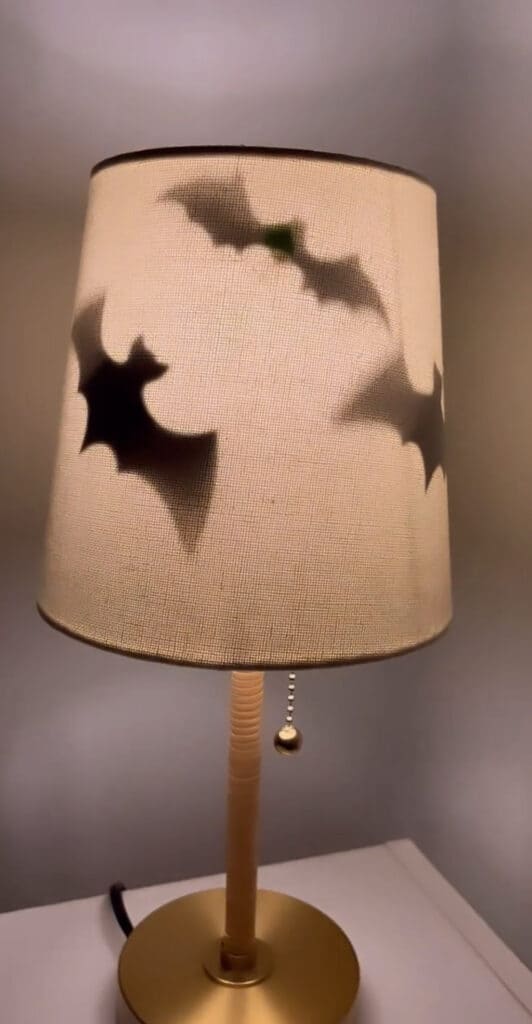
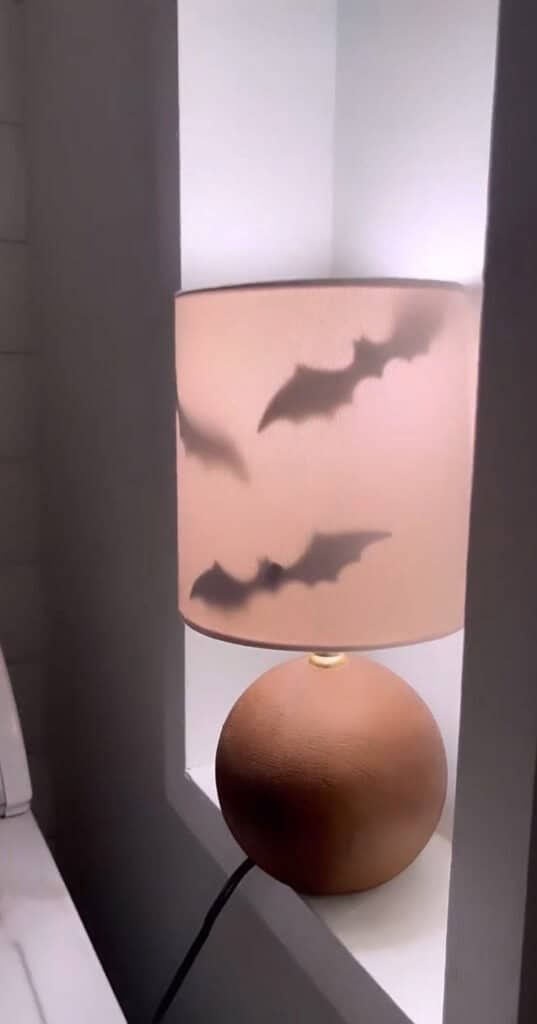
I use the same adhesive to stick bats inside my lamps for a fun effect.
Check out some of my other DIY Halloween ideas and freebies here!
And take a look at how I decorate the the outside of our house for Halloween.
