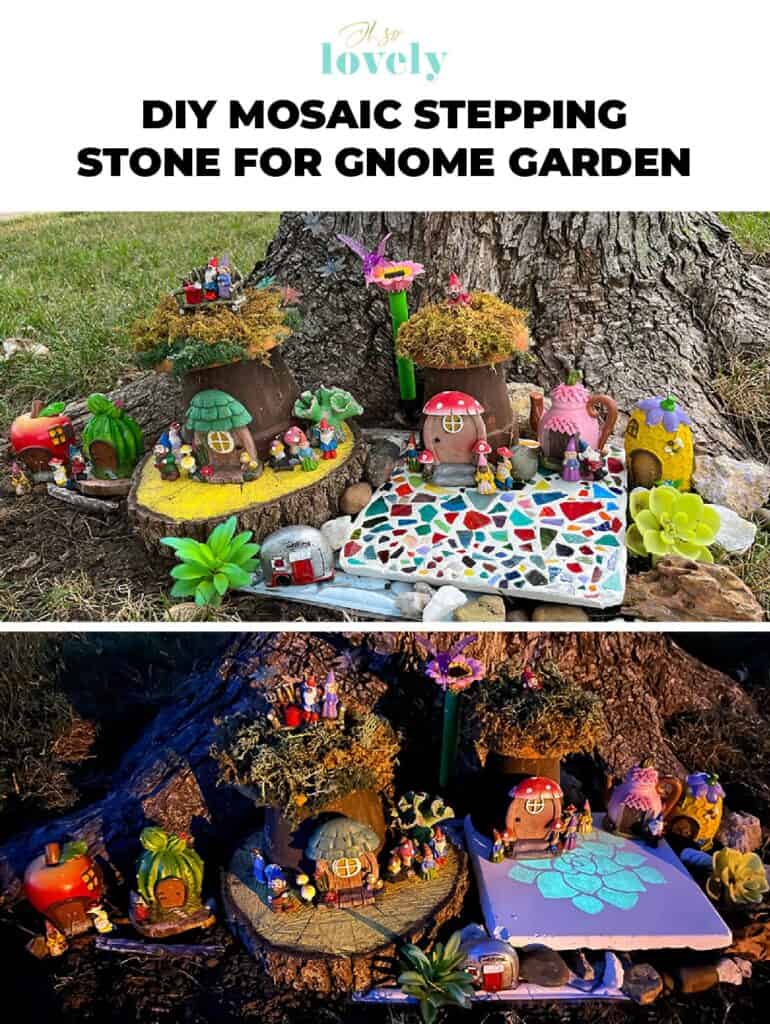
DIY mosaic stepping stone – How to easily make a colorful and cute base for a gnome garden!
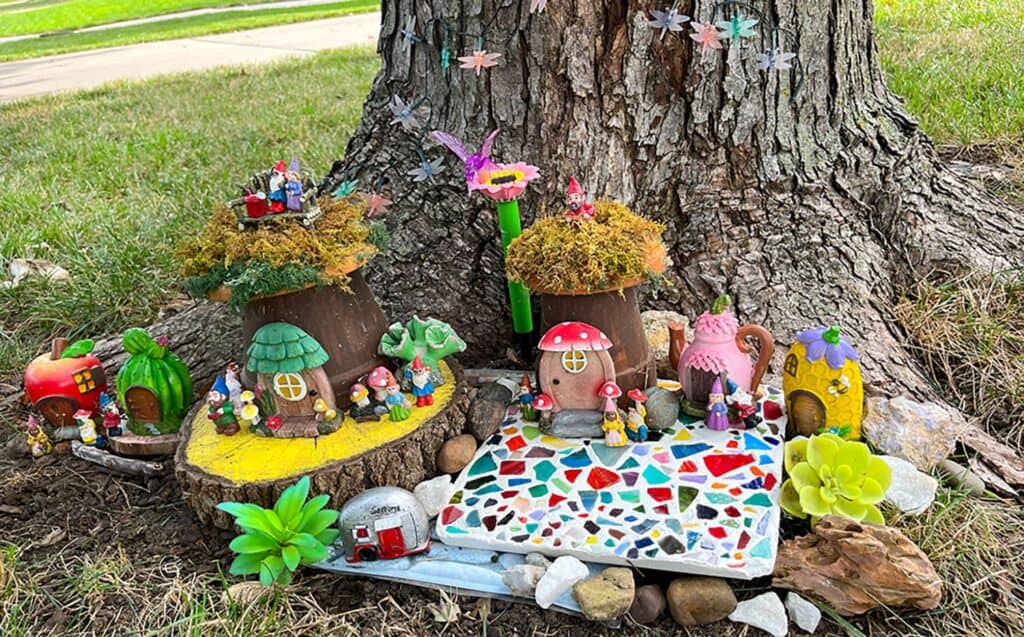
Last summer Vivi and I made a fun little gnome village out of terra cotta pots, paint, and moss, then we filled it with mini figurines from the Dollar Tree. It turned out pretty cute, and has been a big neighborhood hit.

We decided to make a fun DIY mosaic stepping stone to upgrade it a bit this summer.
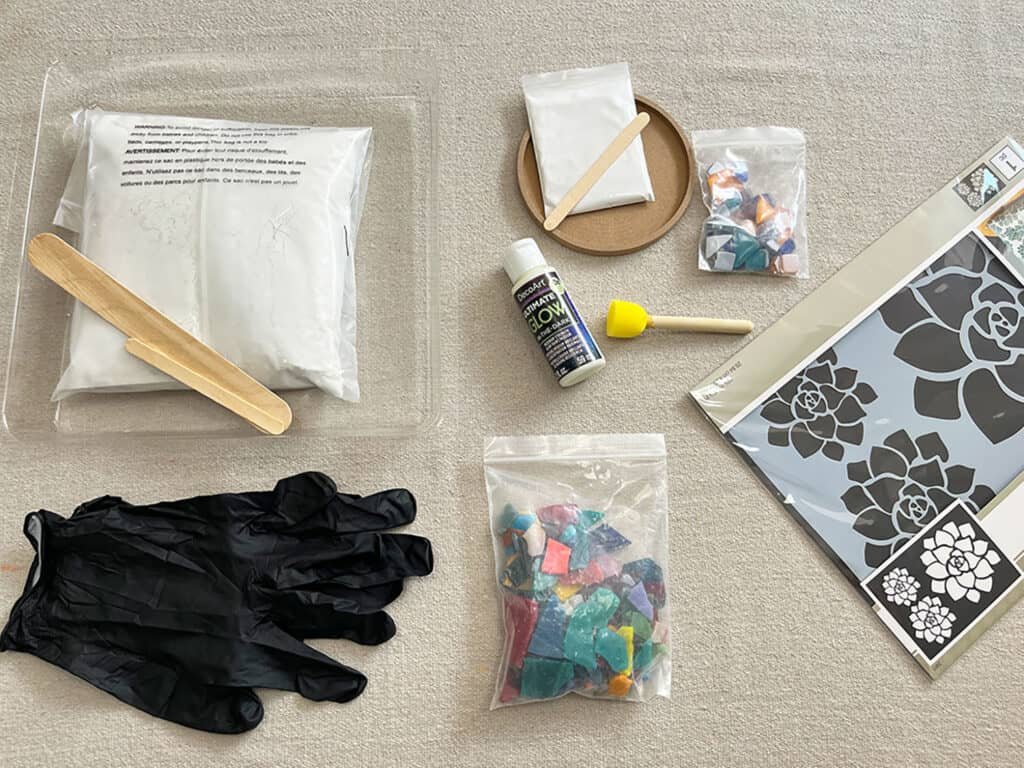
I gathered all the supplies:
Mosaic kit ($2 from Michaels clearance)
Nitrile gloves
Glow in the dark paint
Stencil
Sponge brush
Disposable bowl
Measuring cup
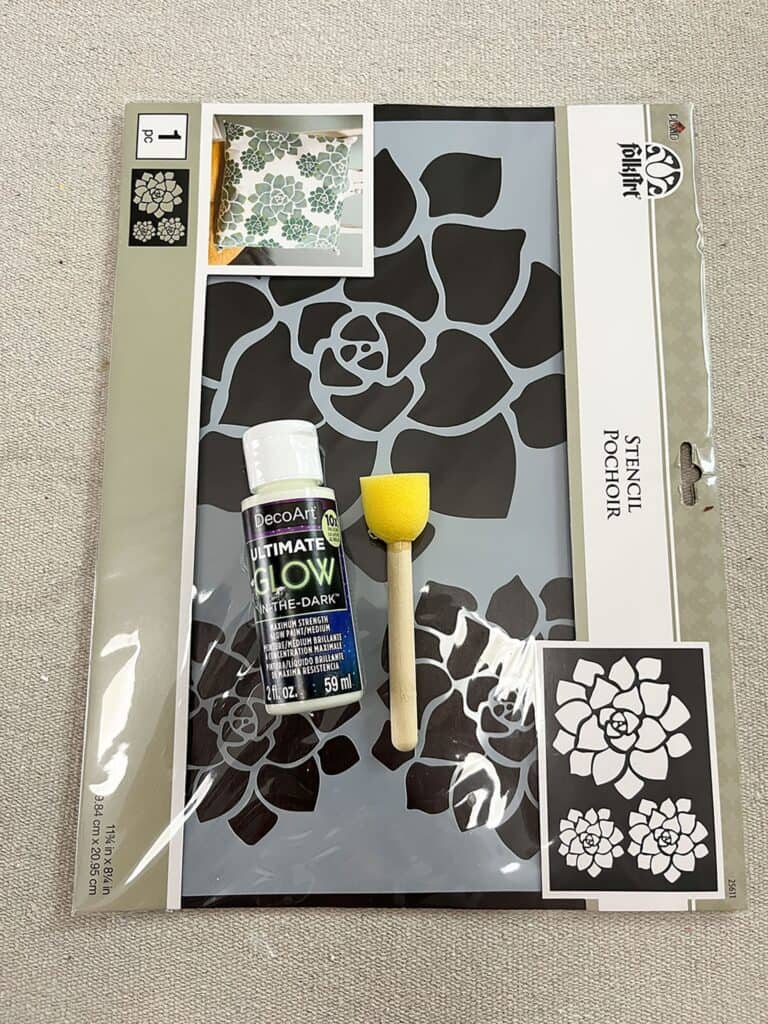
Here’s a closer look at the stencil I used.
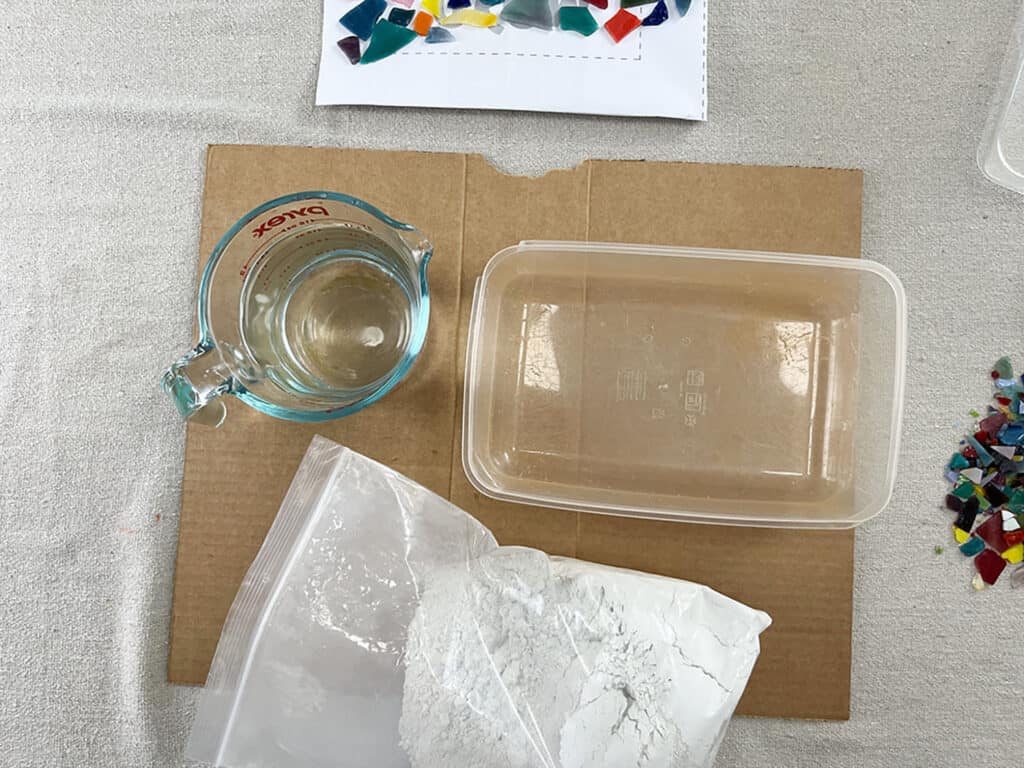
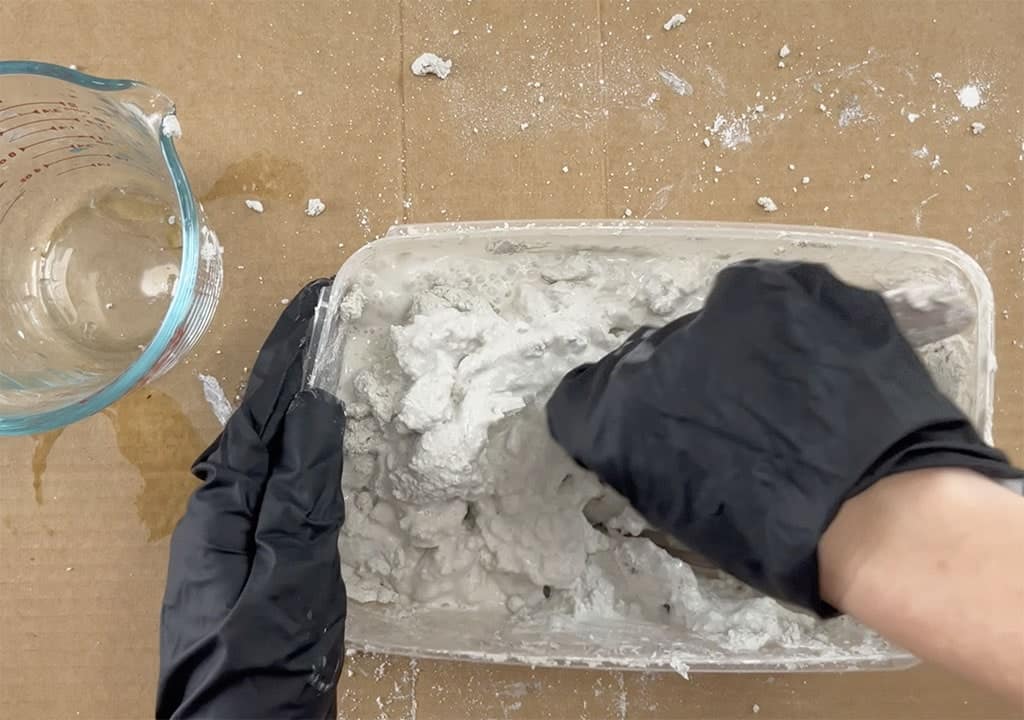
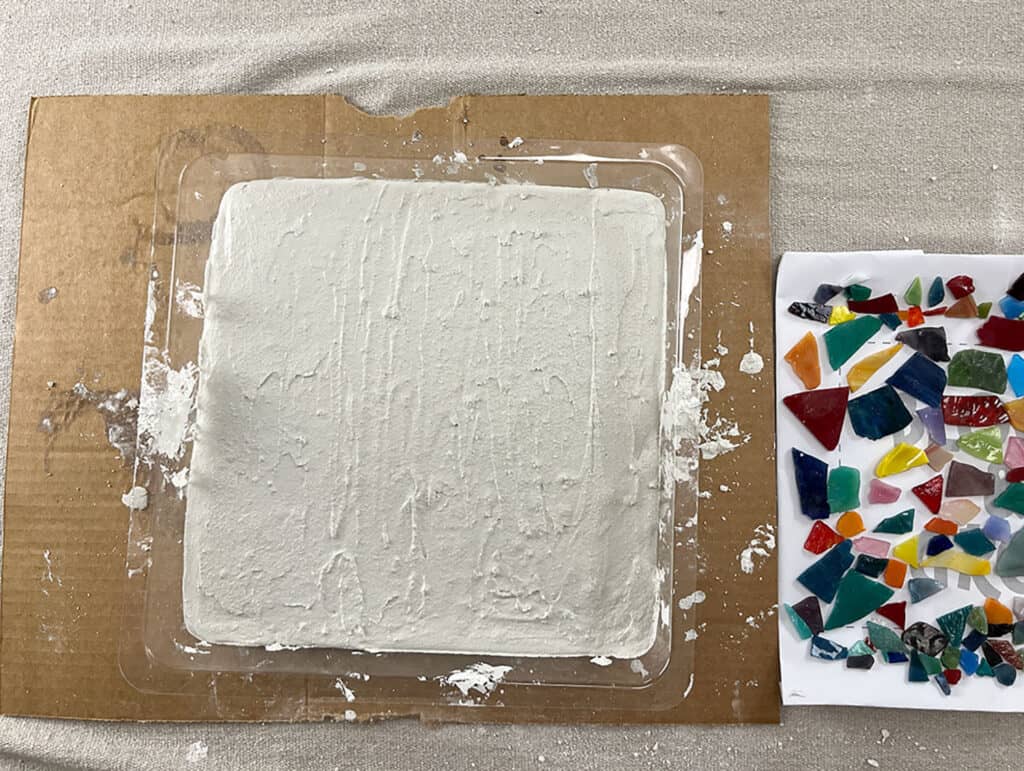
To start creating the stepping stone, I followed the directions and added the powder and 450 ml of water to my disposable bowl.
Then I started to stir the mixture until was a smooth like pancake batter consistency.
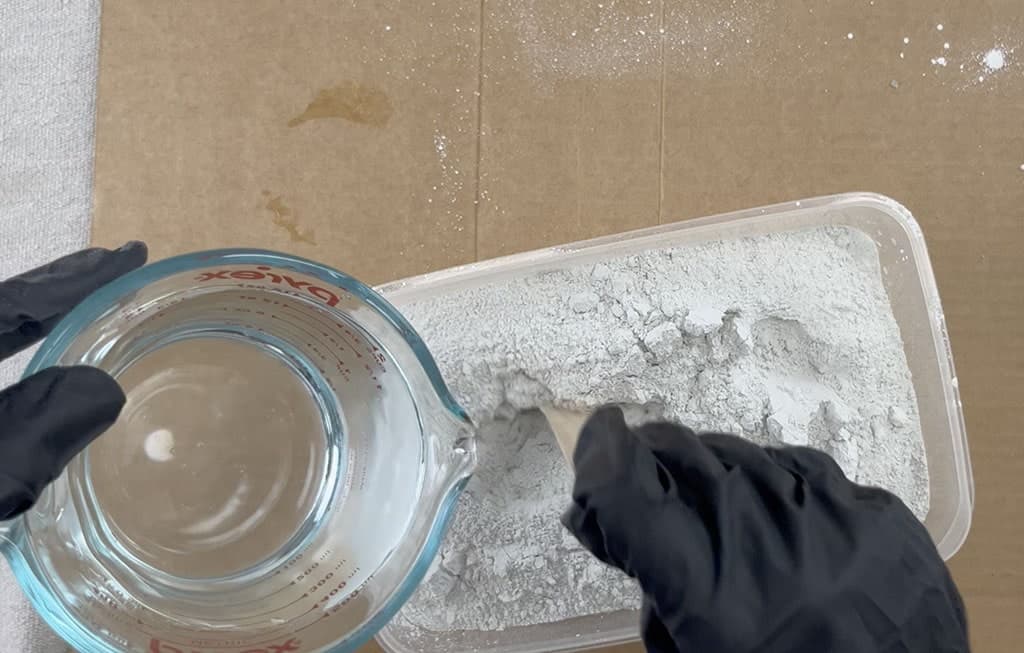
This step took about 5 minutes, so be patient.
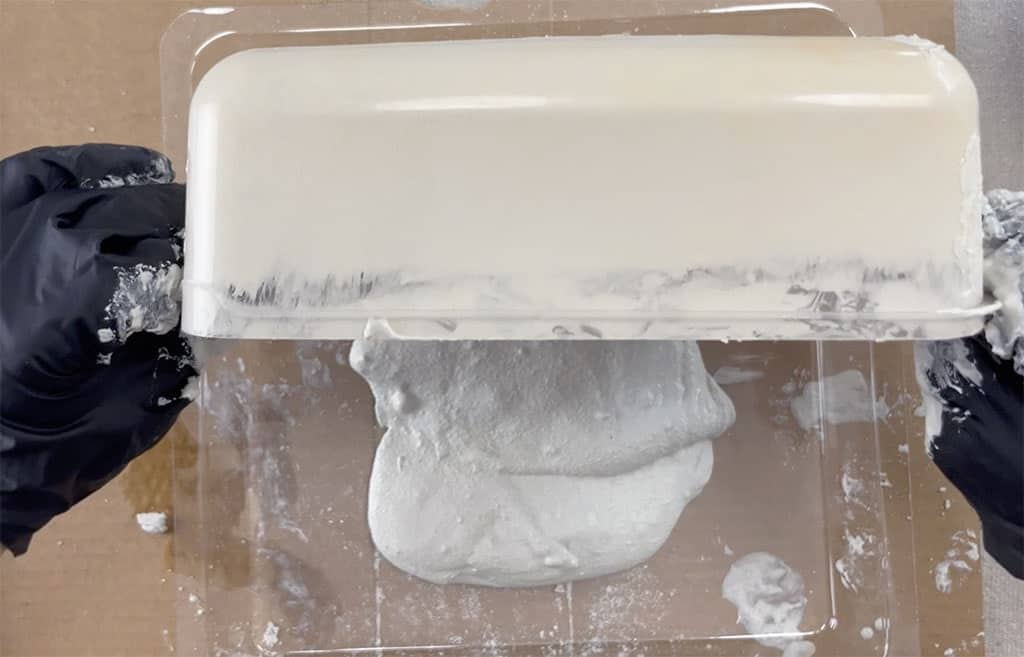
Once the mixture was smooth, I poured it evenly into the plastic form that came with my kit. After all the mixture was poured in, I tilted it until all corners were evenly filled.
While I was waiting I played with placement of the stones and sat it aside until the stone set up a little better.
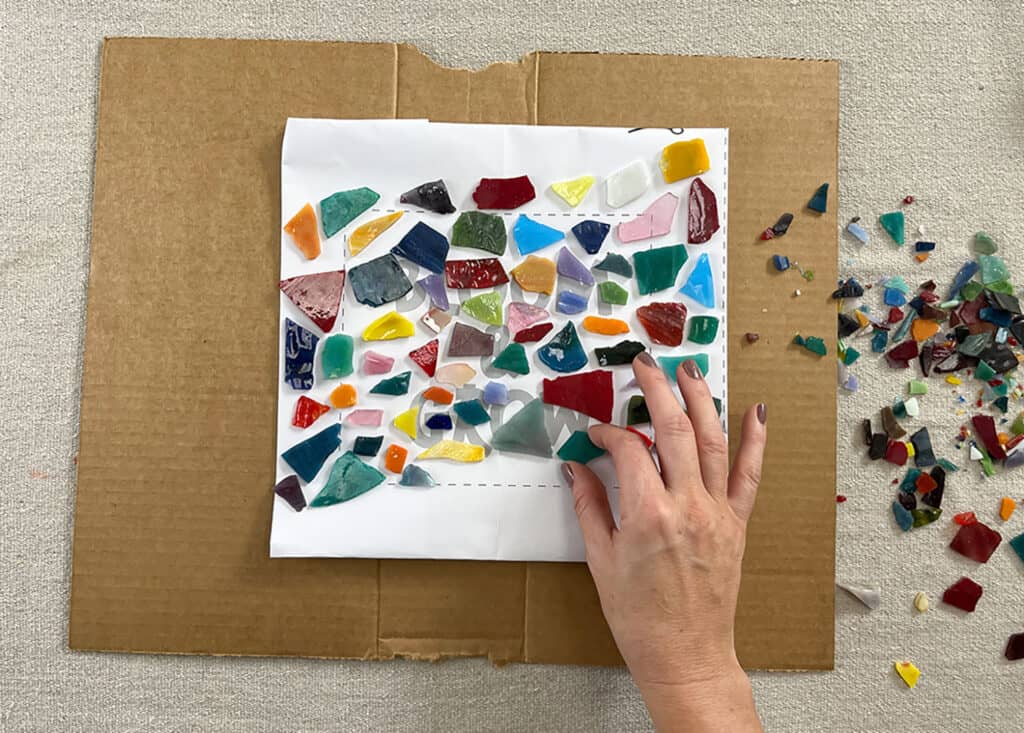
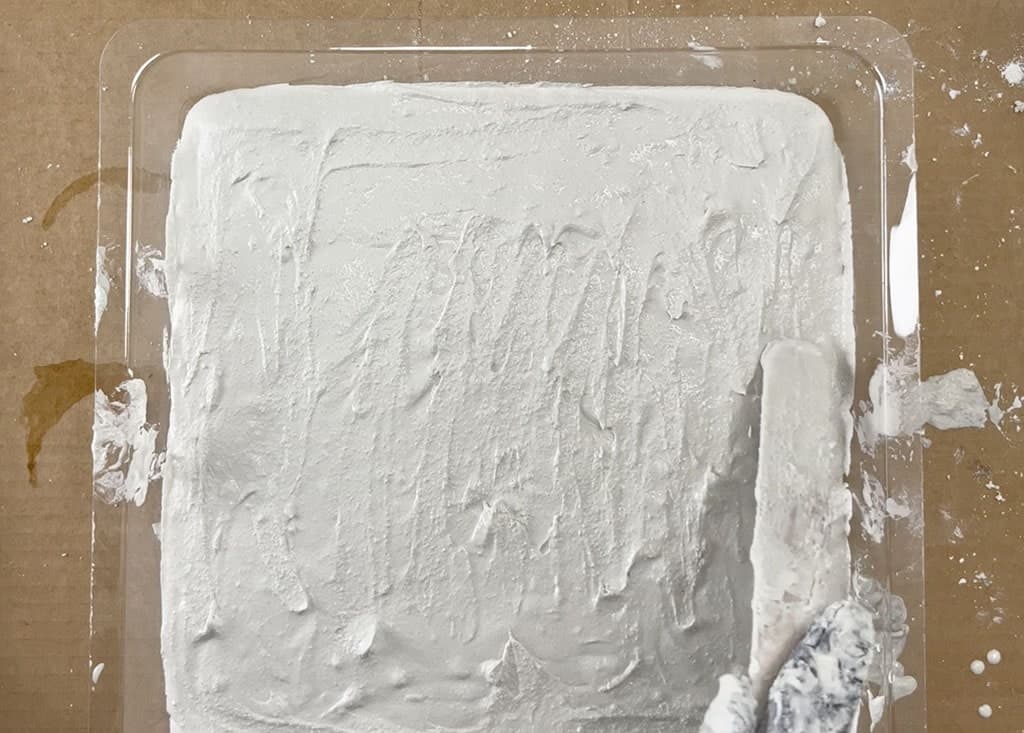
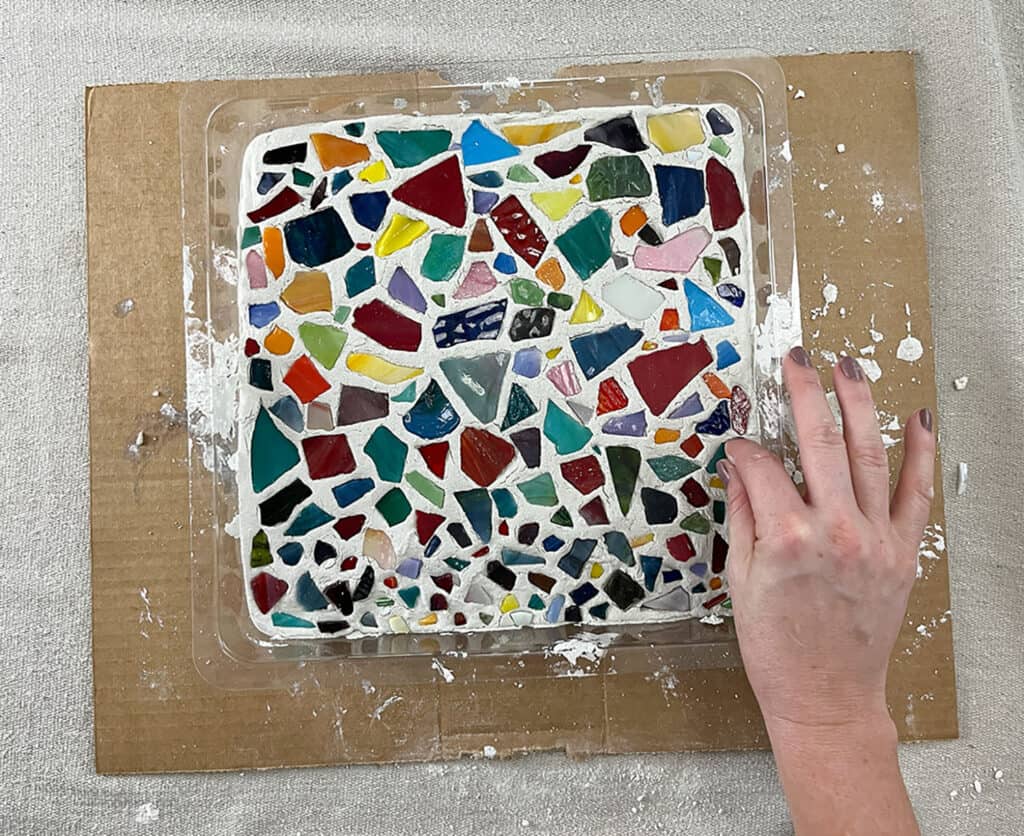
After the stepping stone hardened for one hour, it was time to add the stones.
I pieced the stones in like a puzzle until the whole stone was filled. In hindsight, I do wish I would have saved some of the larger tiles for the bottom part of the stone.
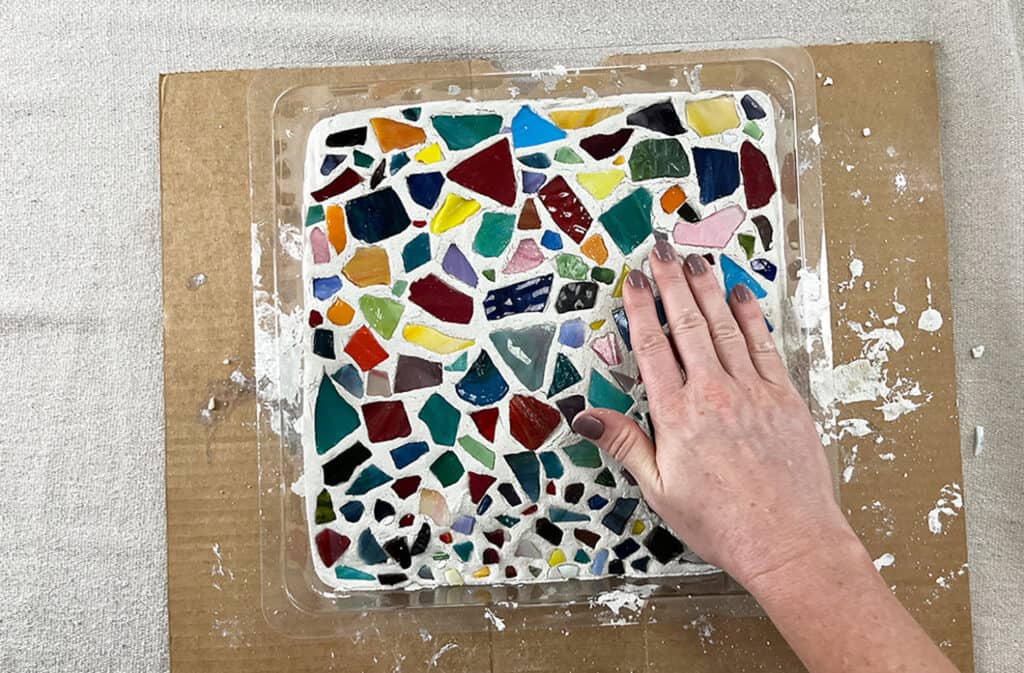
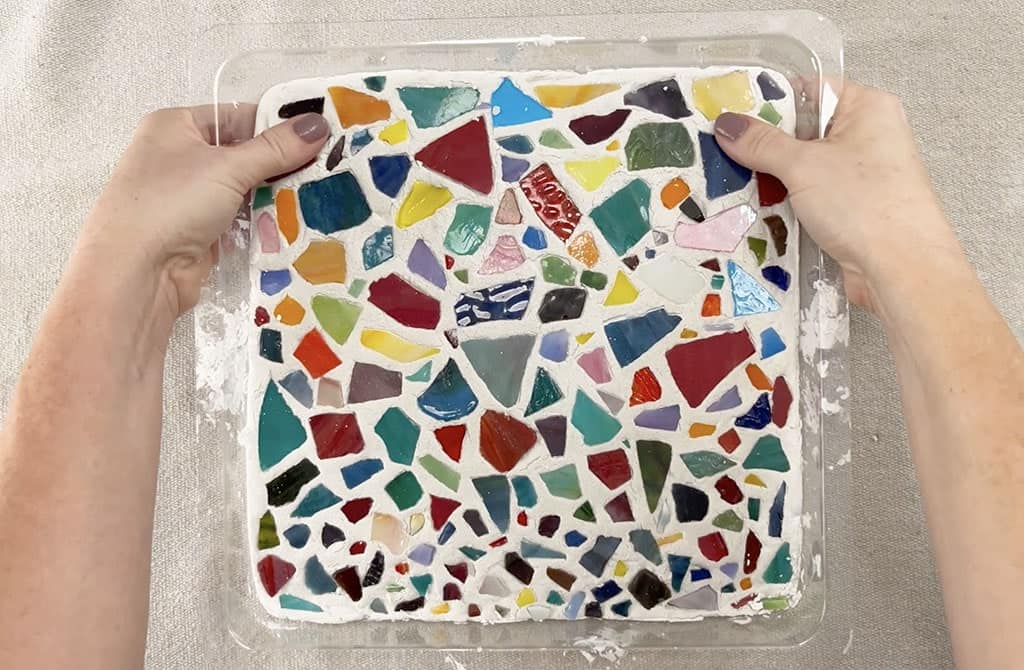
36 hours later, my DIY mosaic stepping stone was completely set and ready to remove from the form.
I gently flipped the stone and it came out very smoothly and easily.
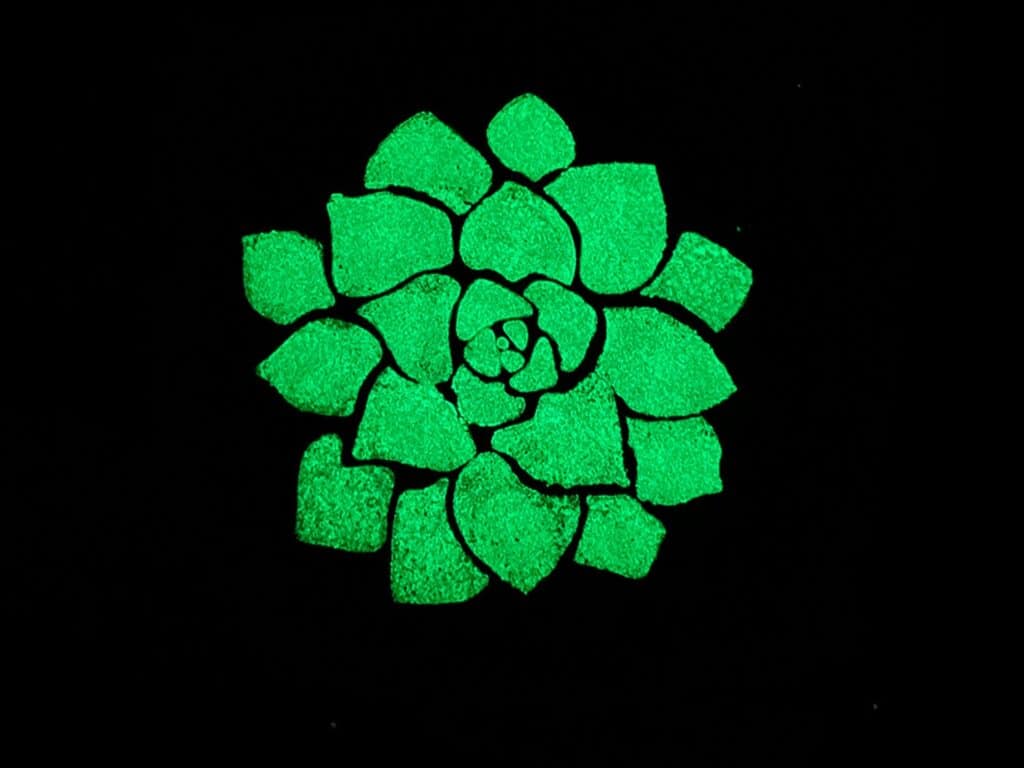
Then I decided to paint the back side, which was very smooth, with my glow in the dark paint and stencil.
I painted on two quick coats for optimum coverage.

I couldn’t wait to see how it looked, so I took it into a dark room and was so impressed with the results! This paint worked so much better than I ever expected.
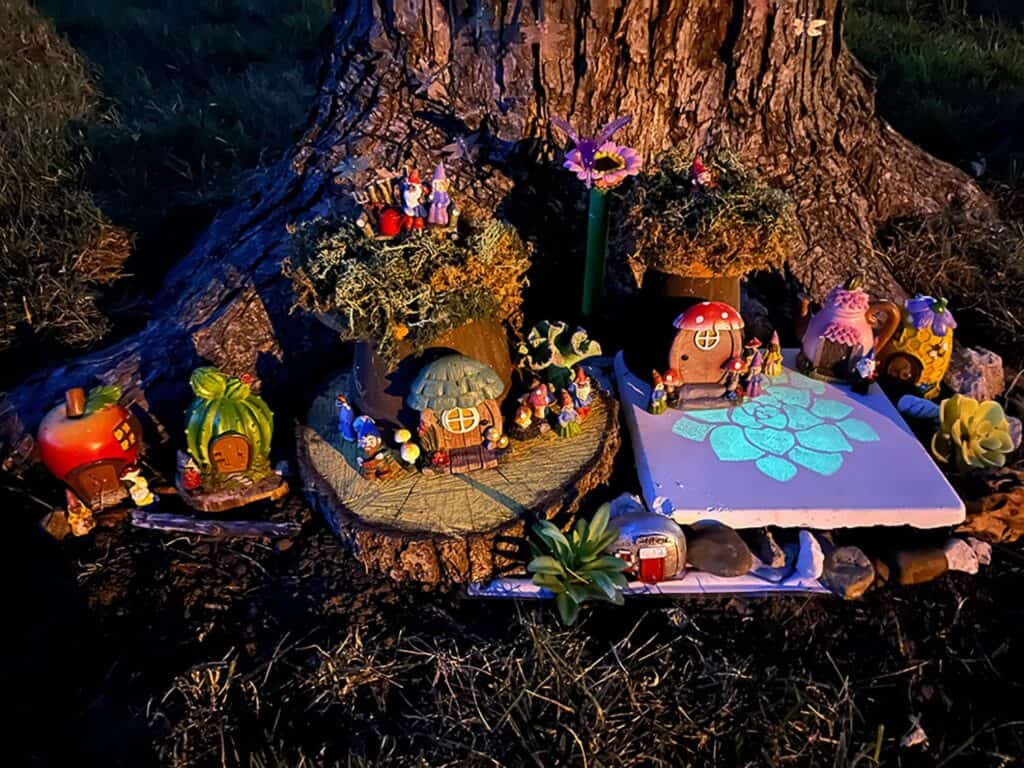
It was time for Vivi and I to add the stone to our gnome garden.
We absolutely love how it turned out!
And here’s a look at the glow at the dark stenciled side at night. How cool is that? Which side do you like best?
Pin my DIY mosaic stepping stone for later!
You might also like this post!