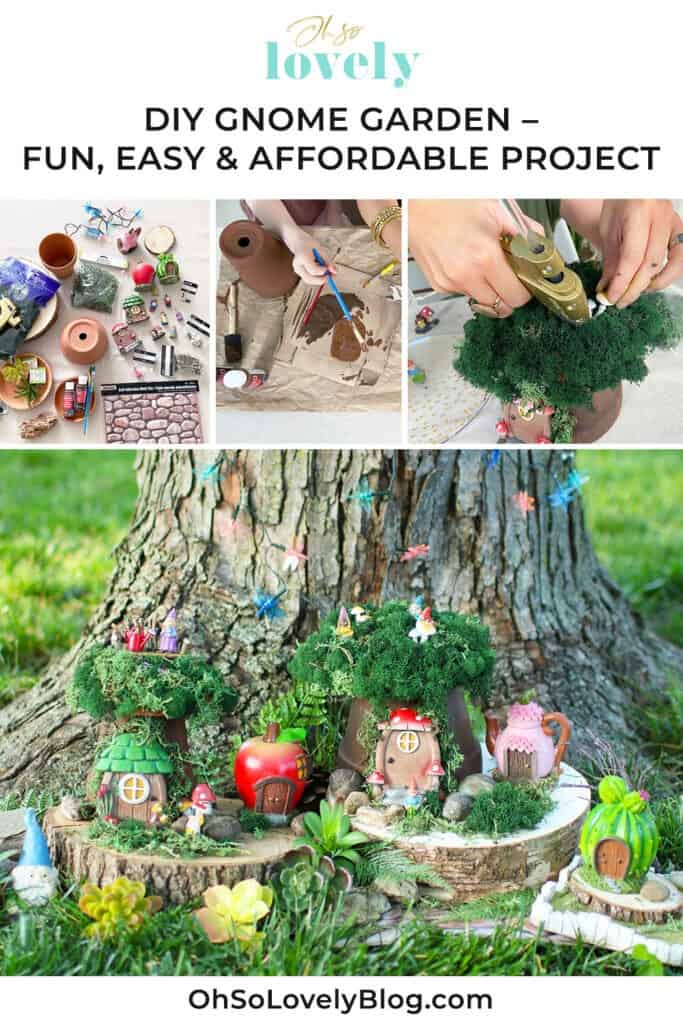
Vivienne and I made a DIY gnome village last week in a Hometalk TV segment. It was so fun and easy, I wanted to share it on the blog too.
You can watch the full segment here if you’re interested.
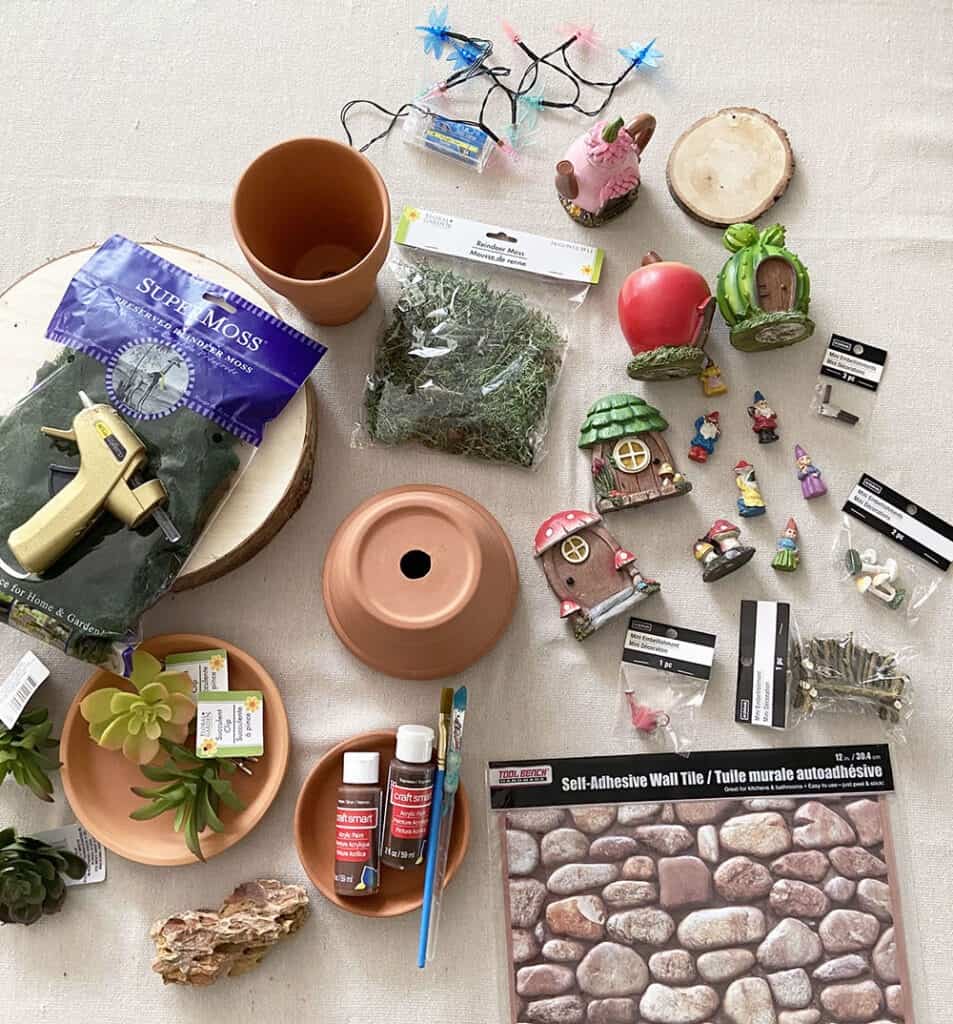
We started off with all our supplies, which were mostly from Dollar Tree (a few came from Michaels).
Gnome garden supplies
Preserved moss – option 1
Preserved moss – option 2
Terra cotta pot(s)
A larger saucer dish (1 per pot)
Brown paint (lighter and darker options)
Paintbrush
Hot glue and hot glue gun
Gnome figurines – option 1
Gnome figurines – option 2
Gnome doors, windows and accessories pack – option 1
Gnome doors, windows and accessories pack – option 2
Rocks
Extras (if desired)
Wood slice(s)
Faux succulents
Faux pebble sheet
Dragonfly lights (or similar)
I love Dollar Tree because you get so much bang for only a buck, but it’s always hard to share links to the products after. I always recommend going into a store if you have one close to you – so many treasures, ha! I went back and checked for these supplies recently, and they are no longer in stores.
I’ve linked all the items listed below from Amazon for those of you interested in making a gnome village for yourself.
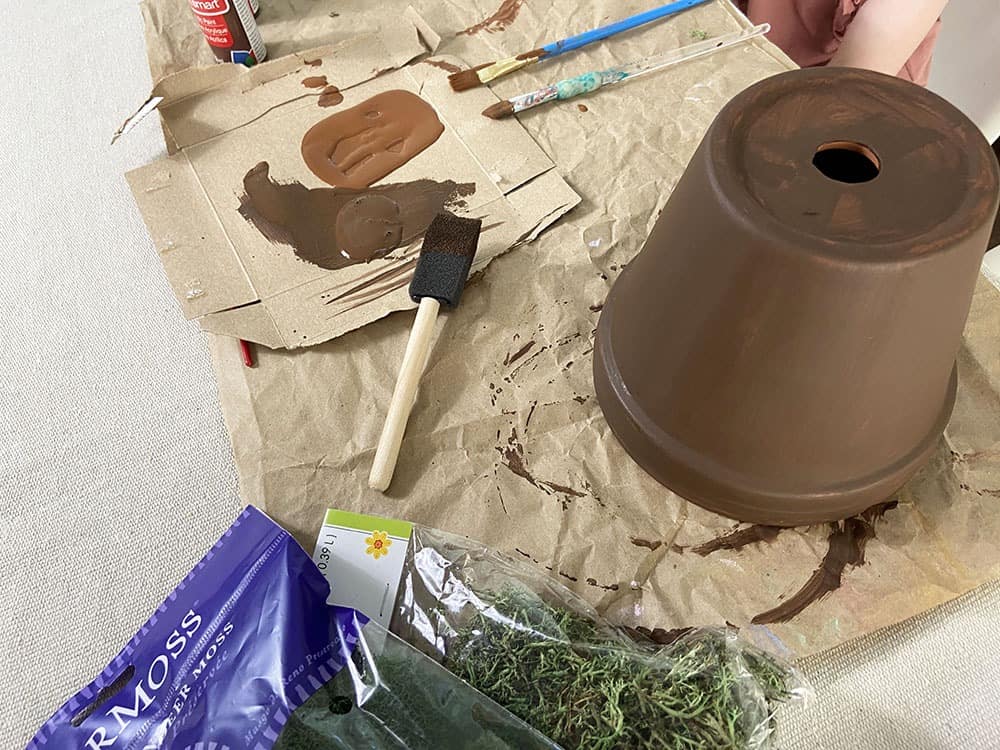
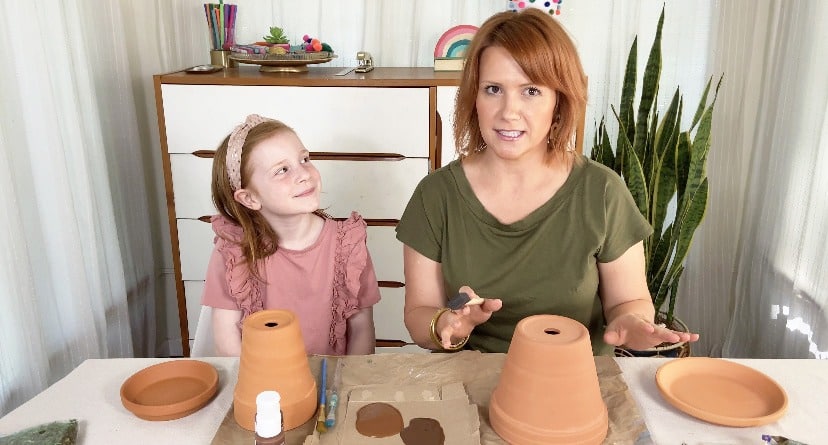
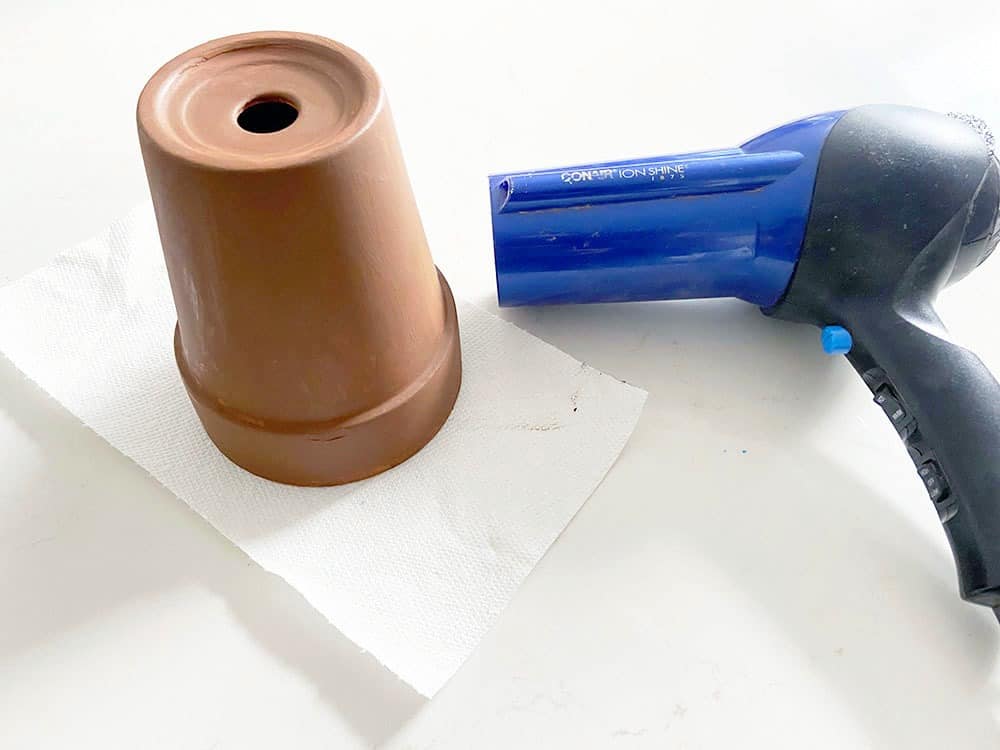
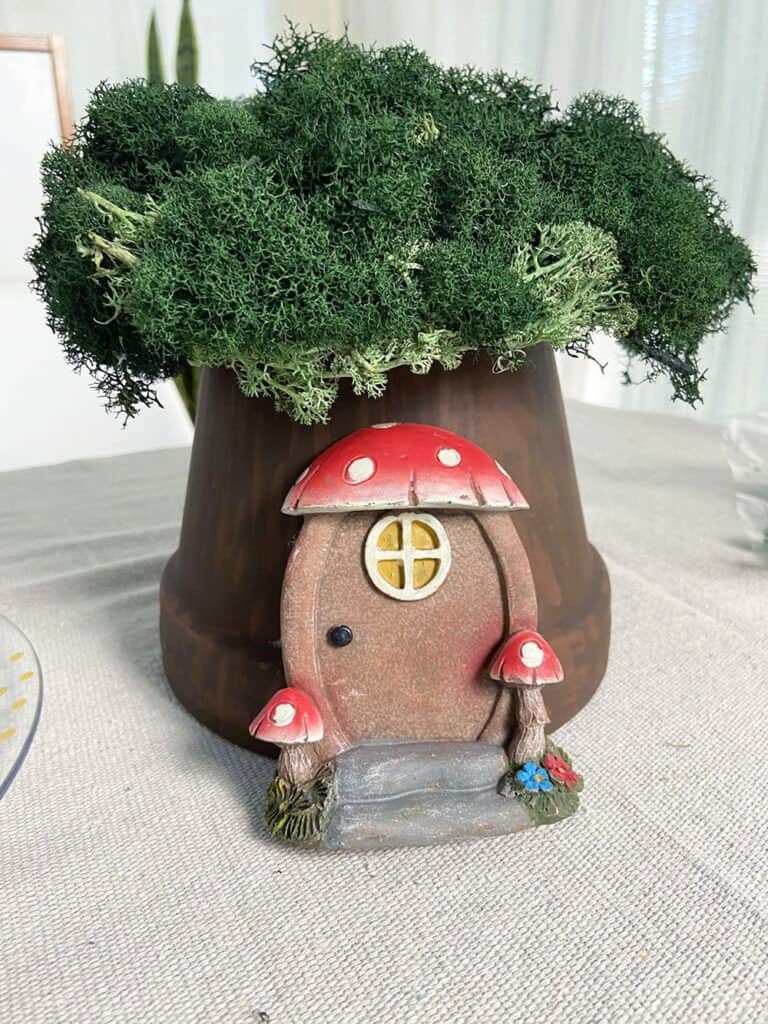
The first step in your DIY gnome village is to paint your terra cotta pots brown like a tree (or you can choose any paint color you like).
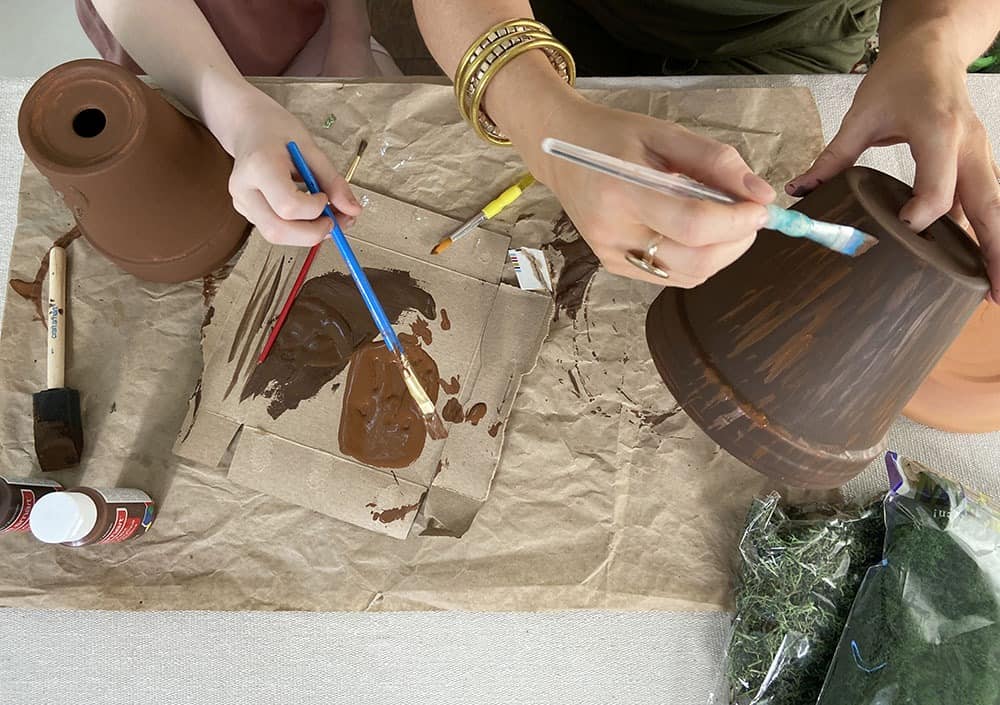
Vivi painted the base of her pot a lighter brown, and I painted mine a darker brown. Then I dried both of them with a hair dryer because I’m impatient (and was also filming a TV segment).
We then switched paint colors and added some bark detail to each pot.

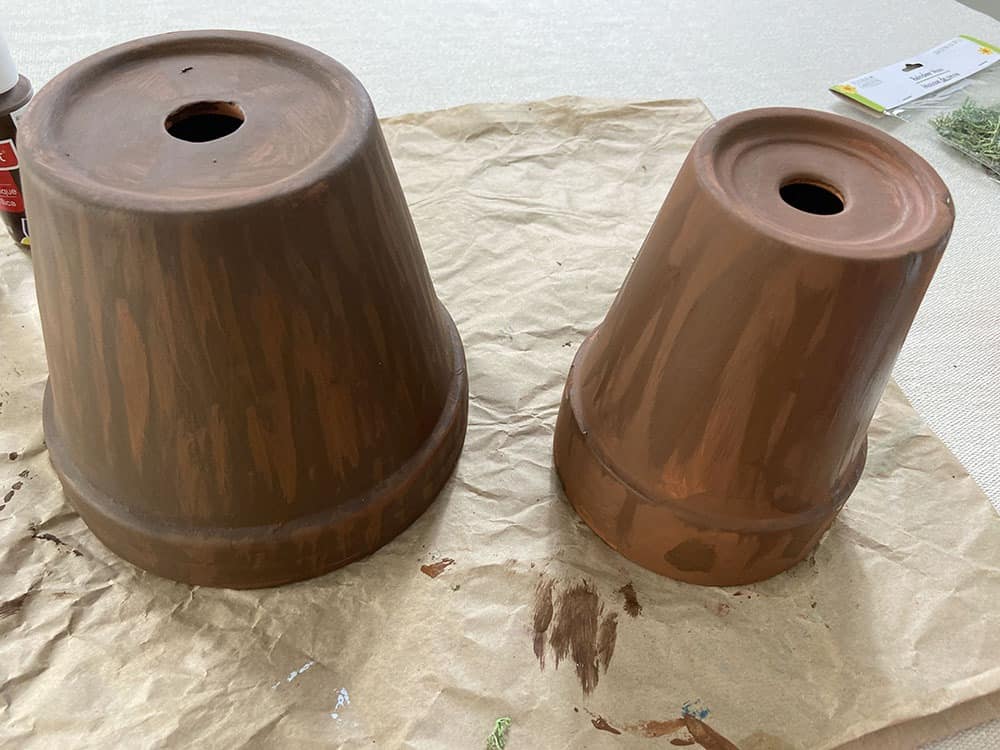
Once our pots were dry we got to work on the gnome village tree tops!
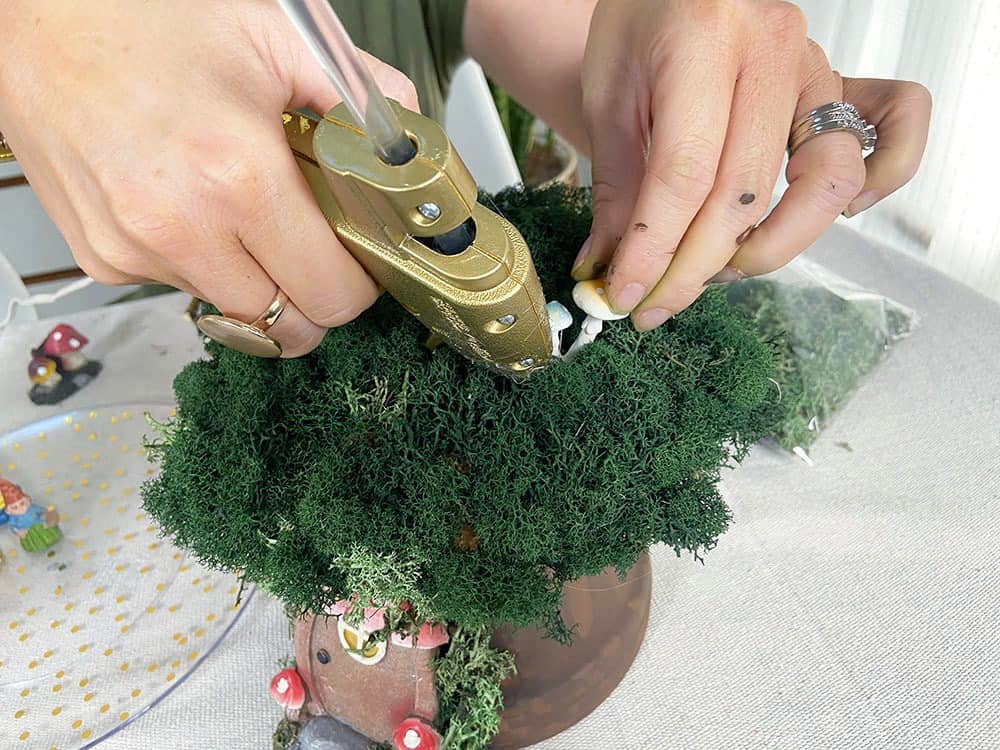
To achieve this look, we flipped or sauces upside down and simply hot glued our preserved moss to the tops until all the terra cotta was covered.
You will go through quote a bit of glue on this part.
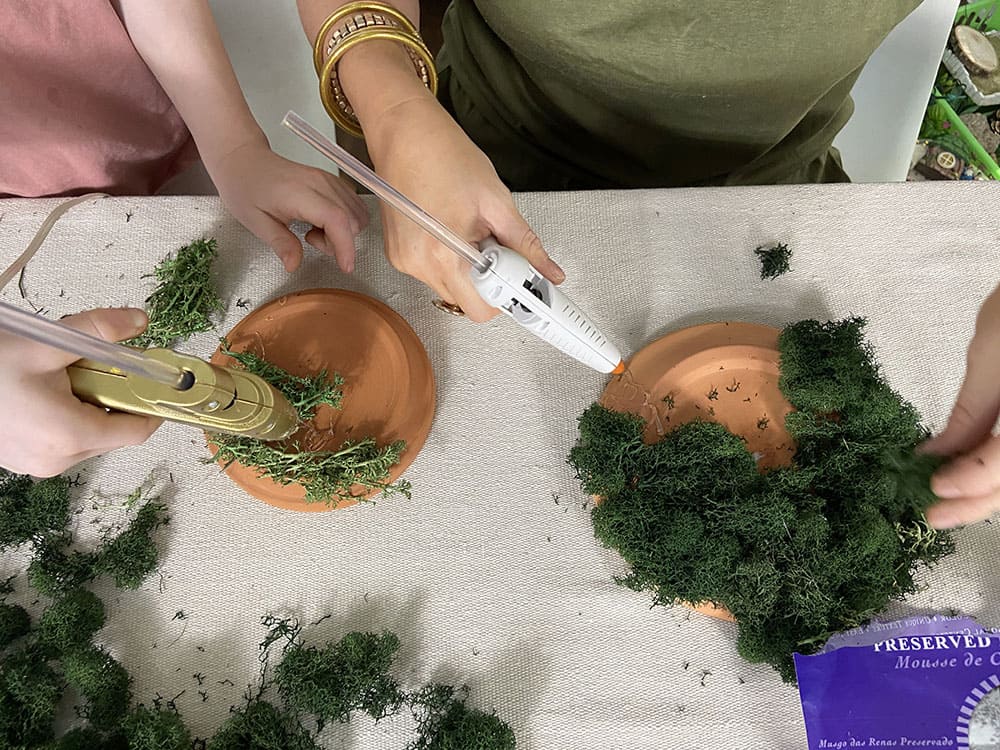
Vivi mixed in different mosses to her liking.
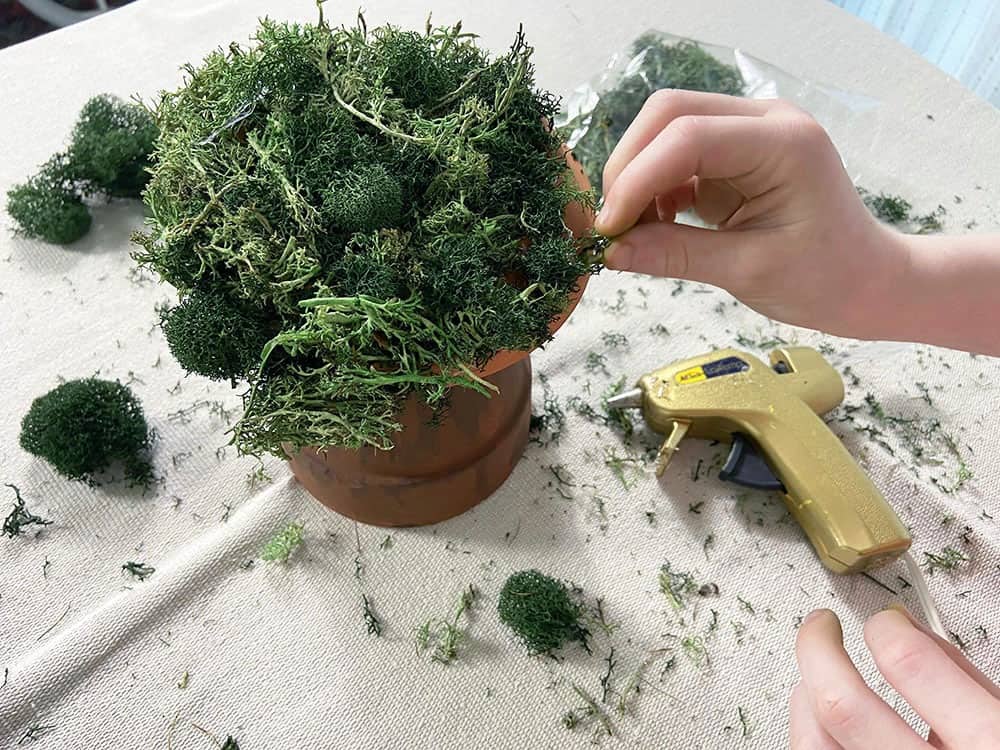
And I kept mine pretty simple with mostly one kind of moss.
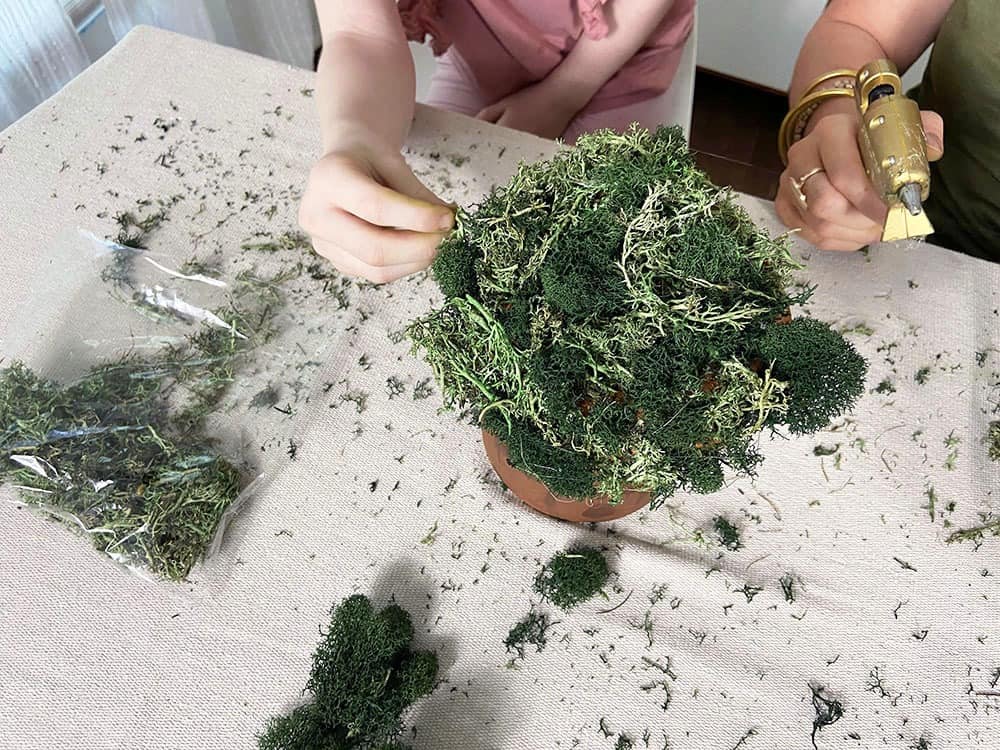
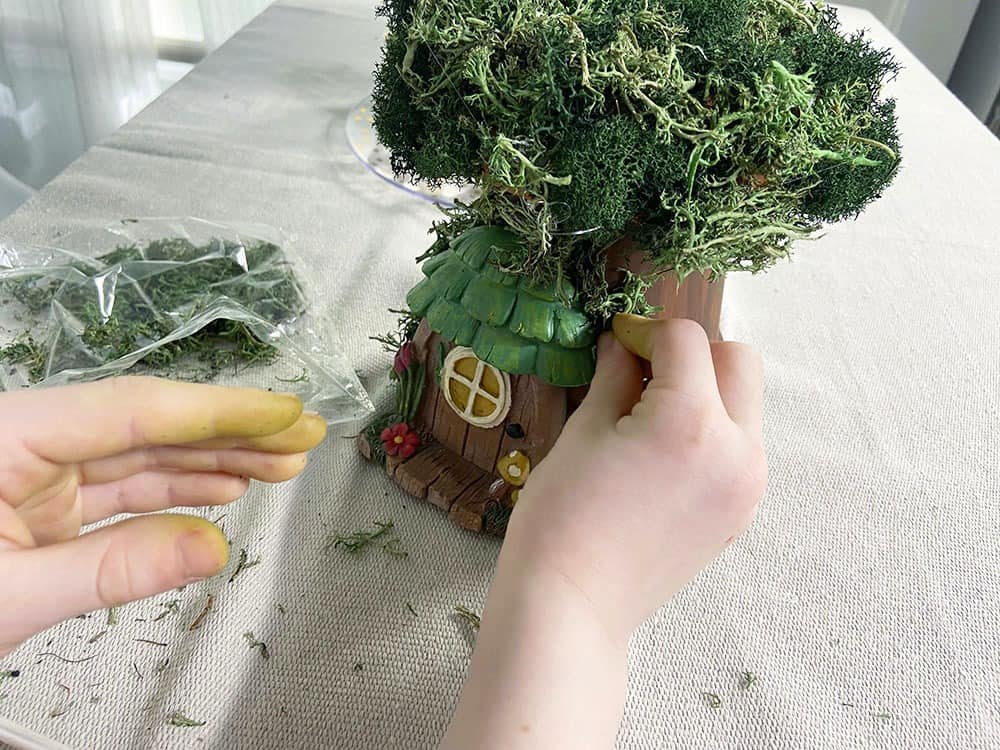
Once the moss was glued, we took our gnome doors and hot glued them to the pot. We filled in the gaps around the door with more moss.
I repeated the same steps on my pot.
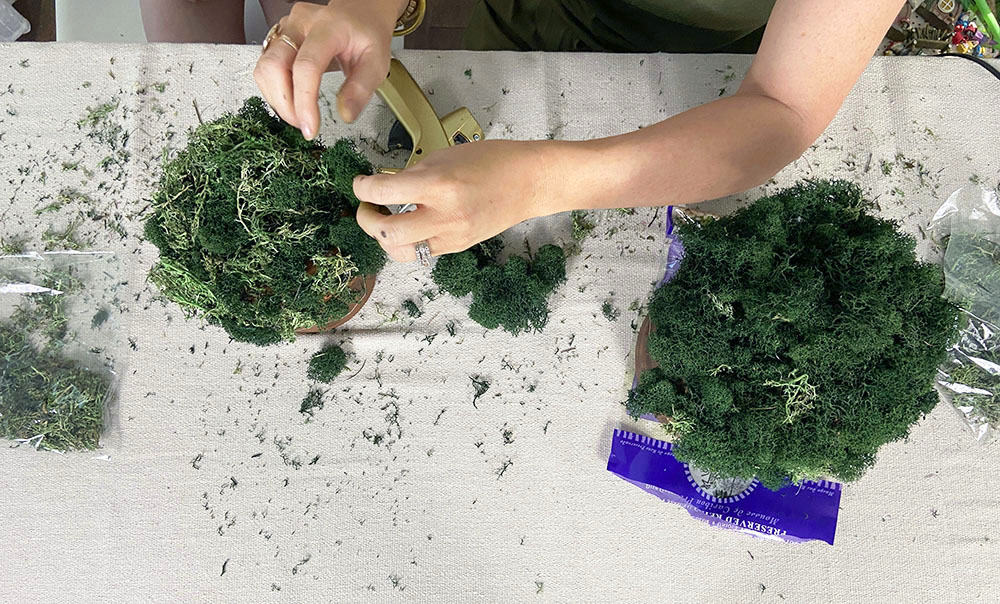
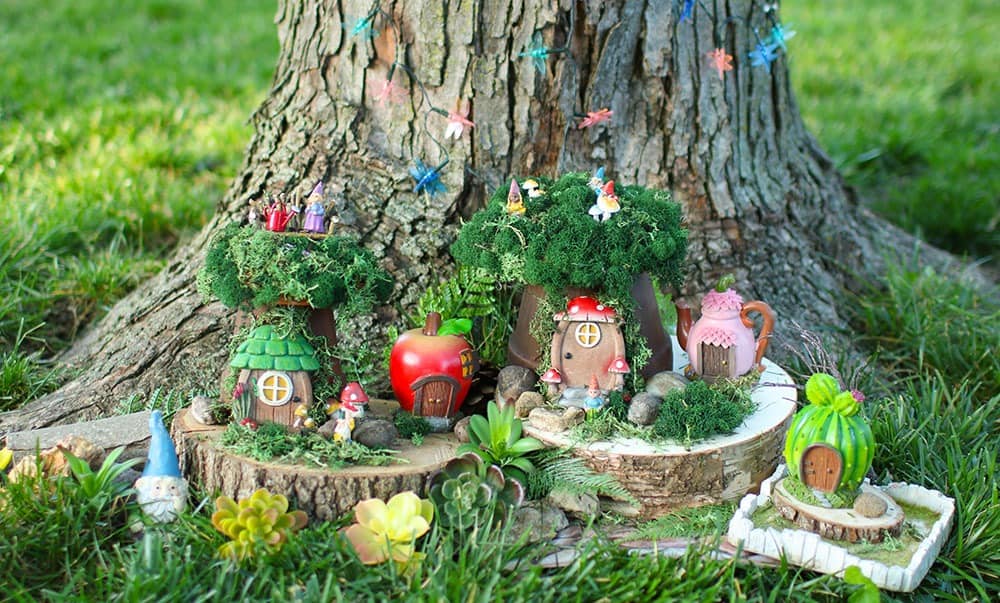
Our gnome homes were assembled! We gathered our miniature gnomes, accessories, and glue gun for the next step.
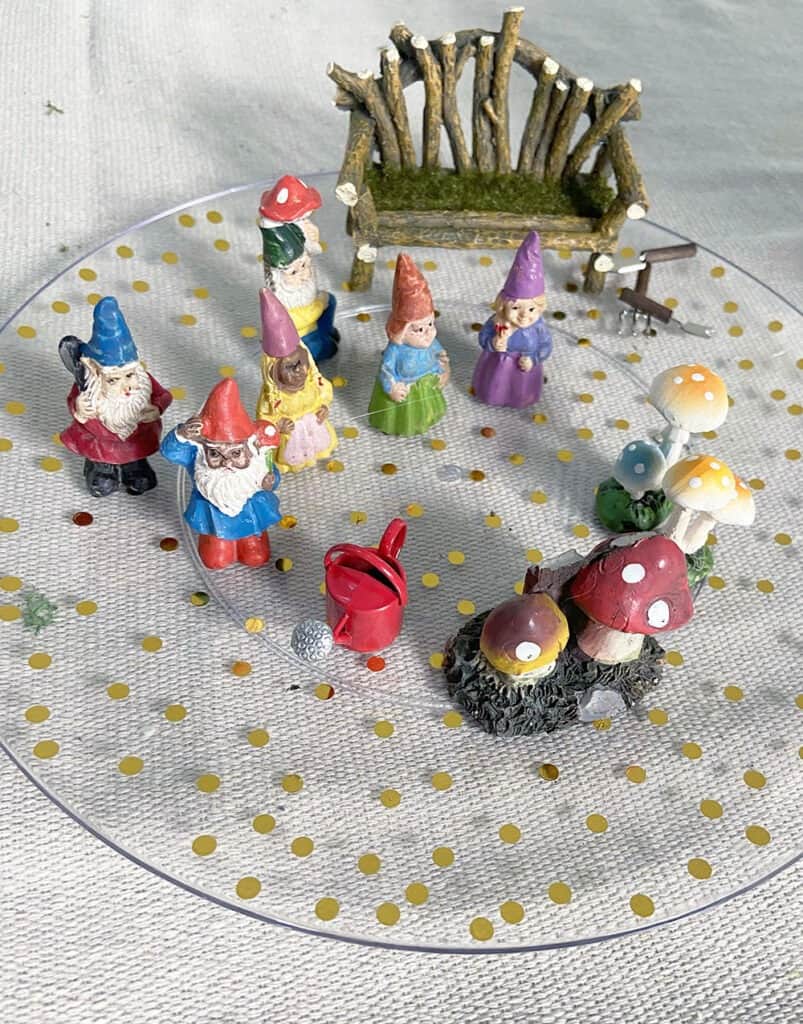
I chose to hot glue a few mini mushrooms on top of my tree, followed by a gnome. Vivi chose to add a bench, and a few other accessories on hers.
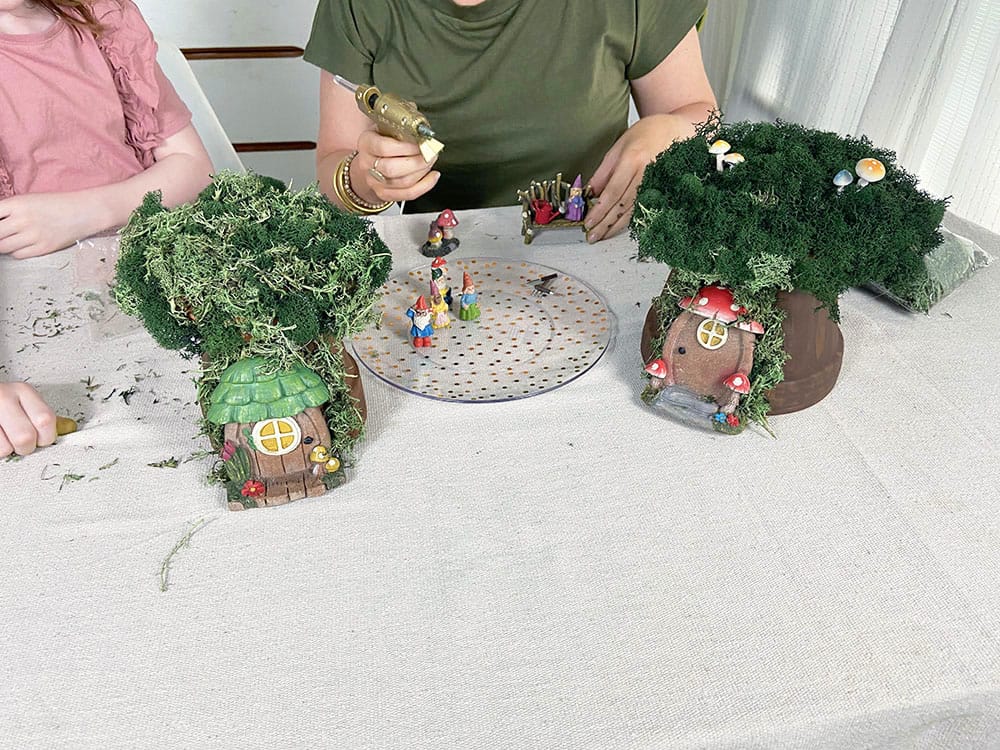
About 20 minutes later our gnome villages were complete and ready to go outdoors to be set up.
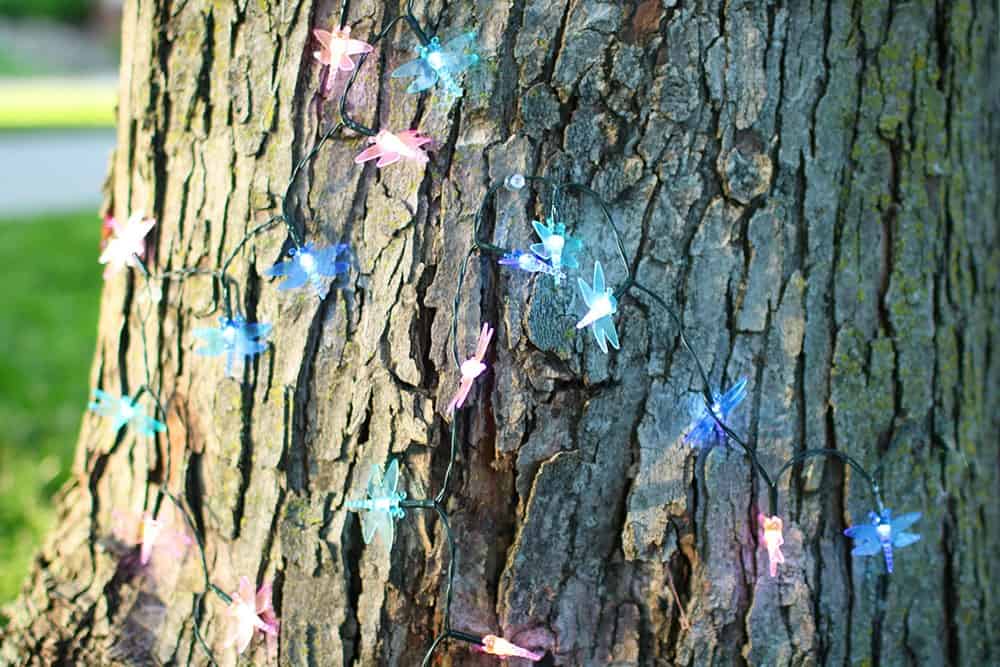
I hung two short strands of dragonfly lights (Dollar Tree) from the tree, and we got to building.
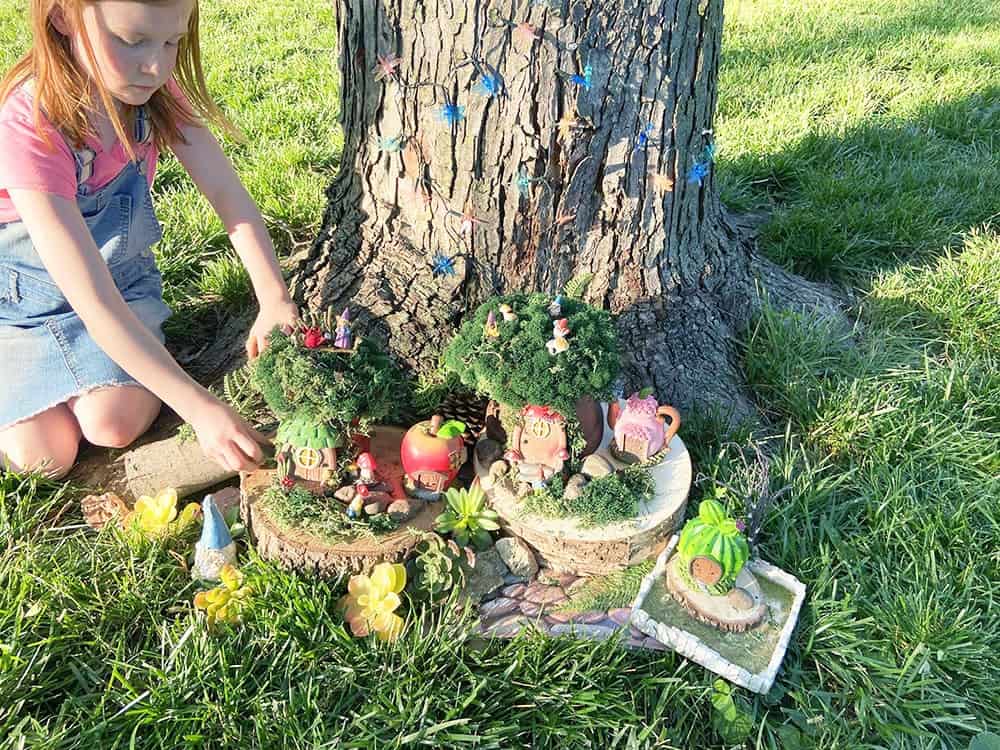
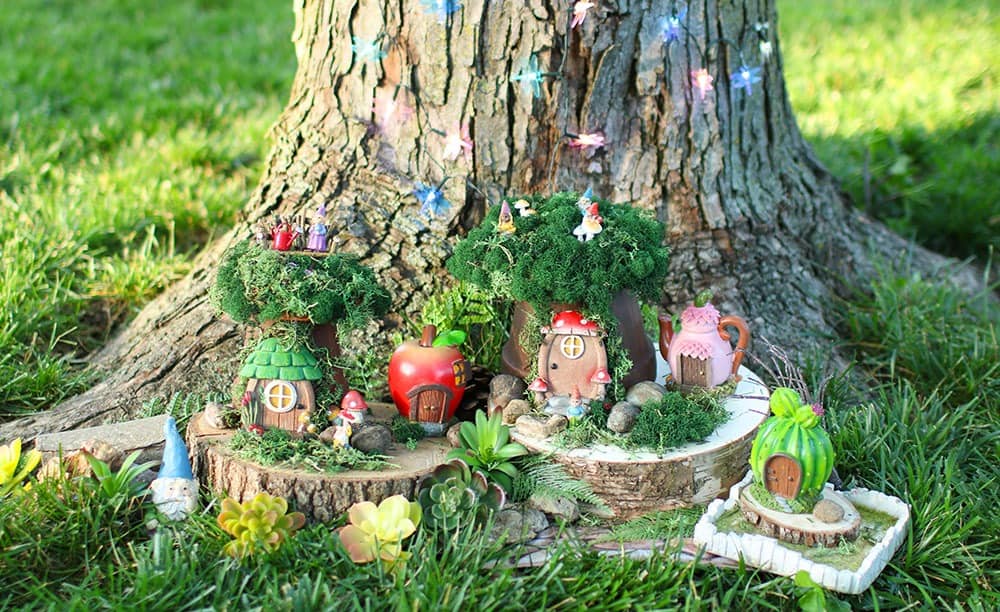
We started by placing the wood slab bases, then our new DIY gnome trees, and then added all our accessories in!
We went a little overboard for our TV segment – you definitely don’t have to add in as much as we did to achieve a gnome village look.
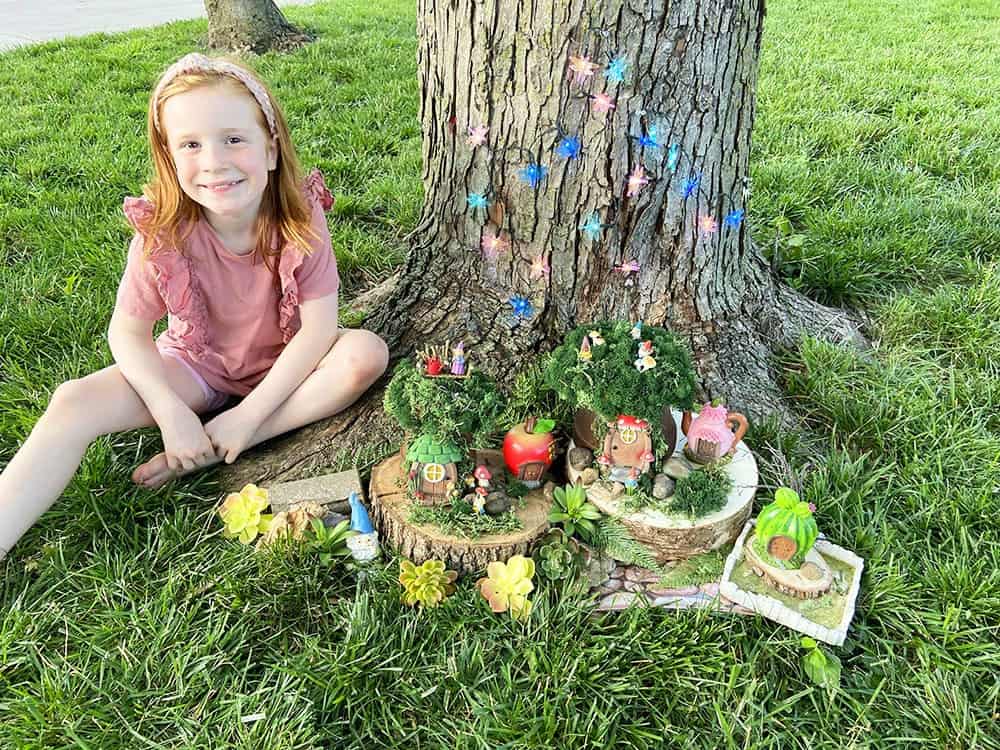
I adore our gnome village! It’s been outside for three weeks and is still doing great!
After quite a few rain storms, the moss dye has stained the wood slices, but other than that it still looks the same.
Vivi is so proud of our creation and it’s been a bit hit with the neighborhood kids and walkers too.
I highly recommend making one, and if you have a kiddo in your life, it is even more fun. 🙂
Check out all our other DIY projects if you’re looking for craft and home improvement inspiration.
xoxo
Audrey
Pin for later!