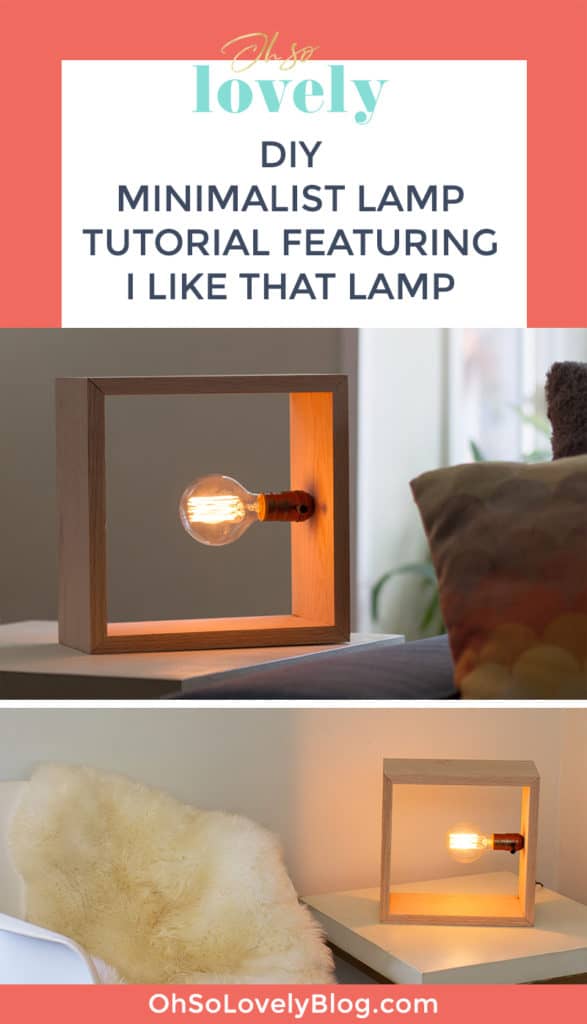
Today I’m going to show you how easy it is to make a DIY minimalist lamp with an I Like That Lamp lamp-making kit !
!
We’ve been searching for the perfect minimalist wood lamp for a side table in our downstairs living room for a while, but couldn’t find anything we liked in our price range, so we decided to make our own. It was easier than I expected and we love how it turned out!
Follow along to see just how easy it is when you use an I Like That Lamp lamp-making kit
.
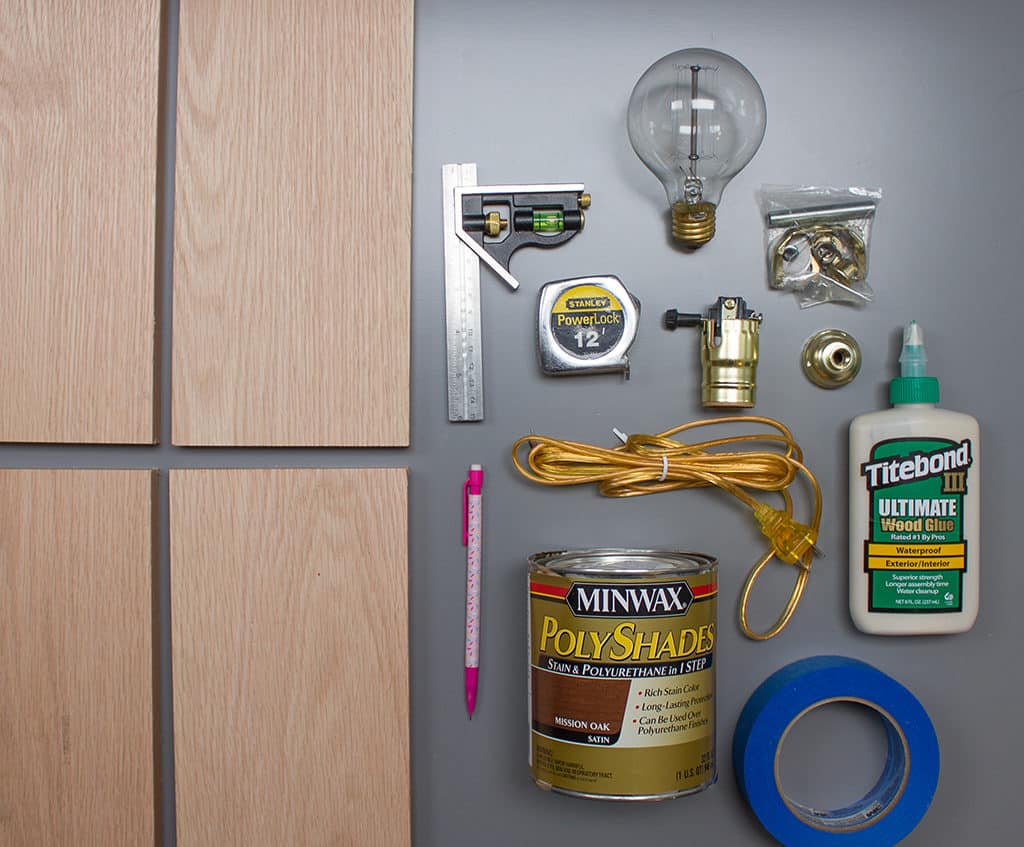
Gather your tools and supplies:
- I Like That Lamp lamp-making kit
(Amazon)
- 4 pieces of wood (cut to length 8″ or longer”)
- Painter’s Tape
- Pencil
- Wood glue
- Ruler or tape measure
- Level
- Drill (and bits)
- Light bulb
- Stain (optional)
- Wrench
- Screwdriver
- Orbital sander or sanding strips (optional)
I want to start by saying that if you are not comfortable with power tools, you can have an associate at your favorite hardware store cut down your wood to size for you. They might even miter the edges if you ask nicely and go at a less busy time of day. 🙂
Ted enjoys wood working, so we opted to do all steps ourselves.
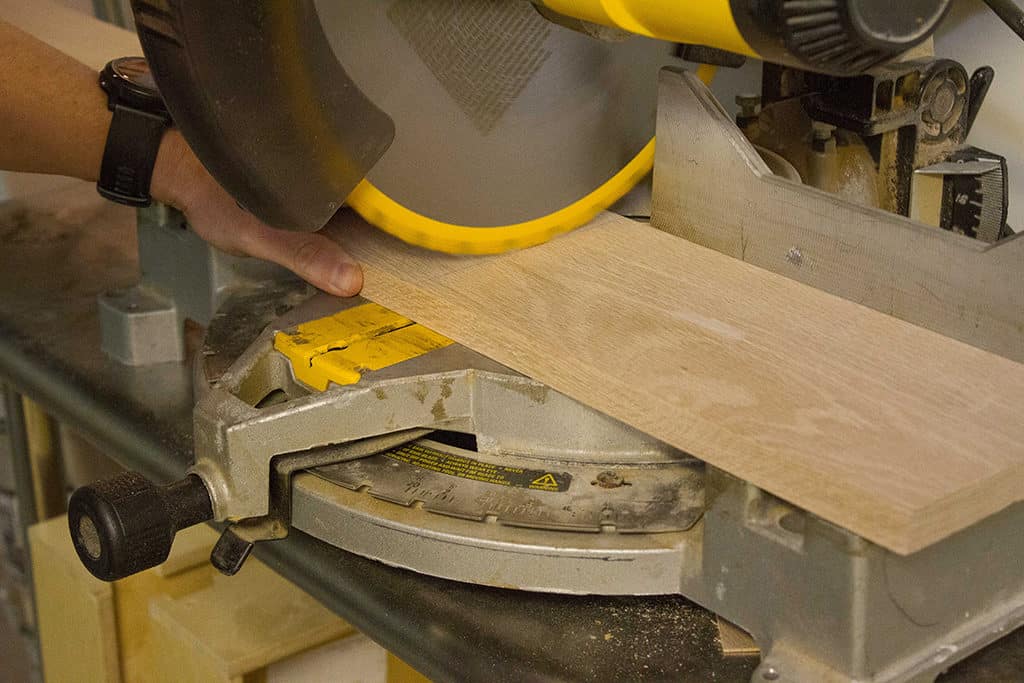
Ted measured and cut all 4 pieces to 11″ in length.
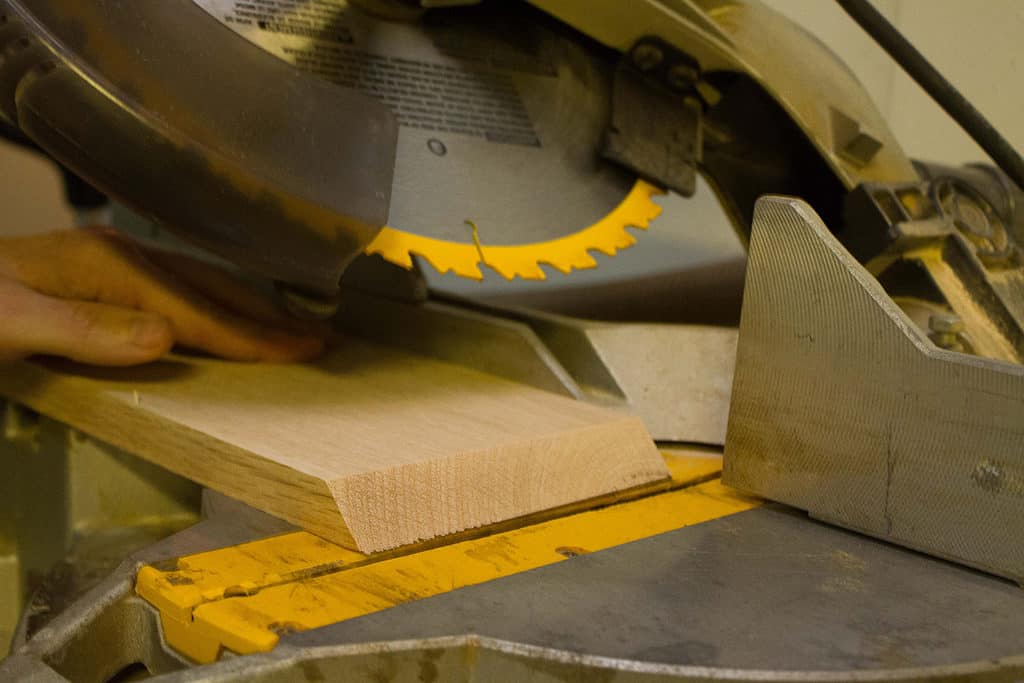
After the pieces were cut down he mitered the edges at a 45 degree angle.
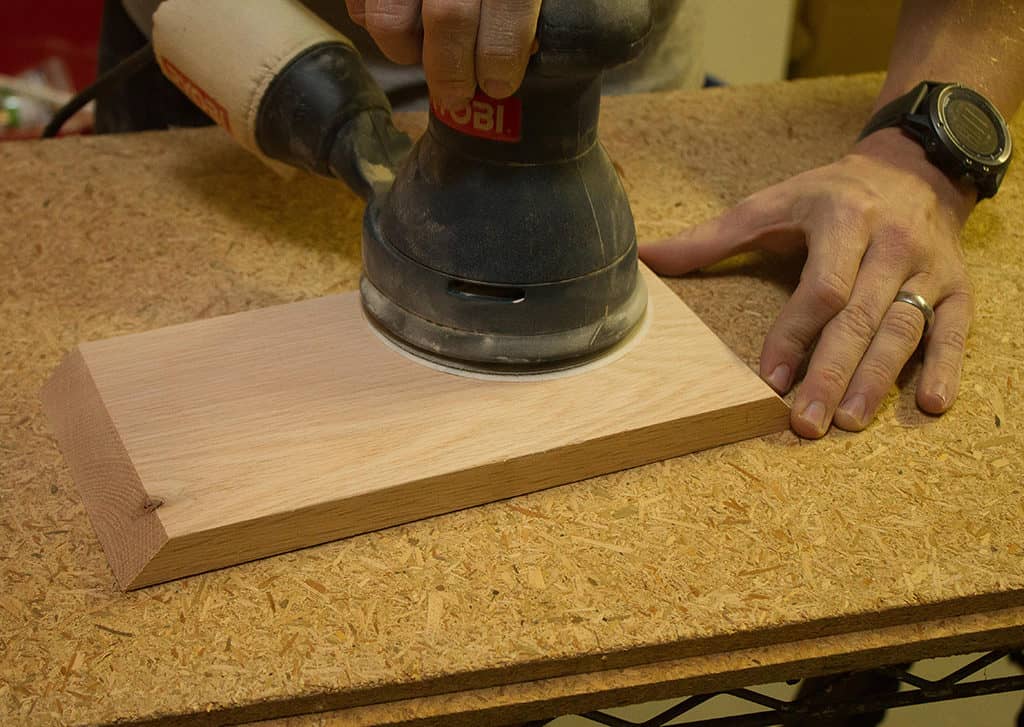
Next, he sanded down all sections of wood. This makes the wood super smooth and if you are going to stain, it makes that process much easier as well. If you don’t have an orbital sander you can use sanding strips or skip this step.
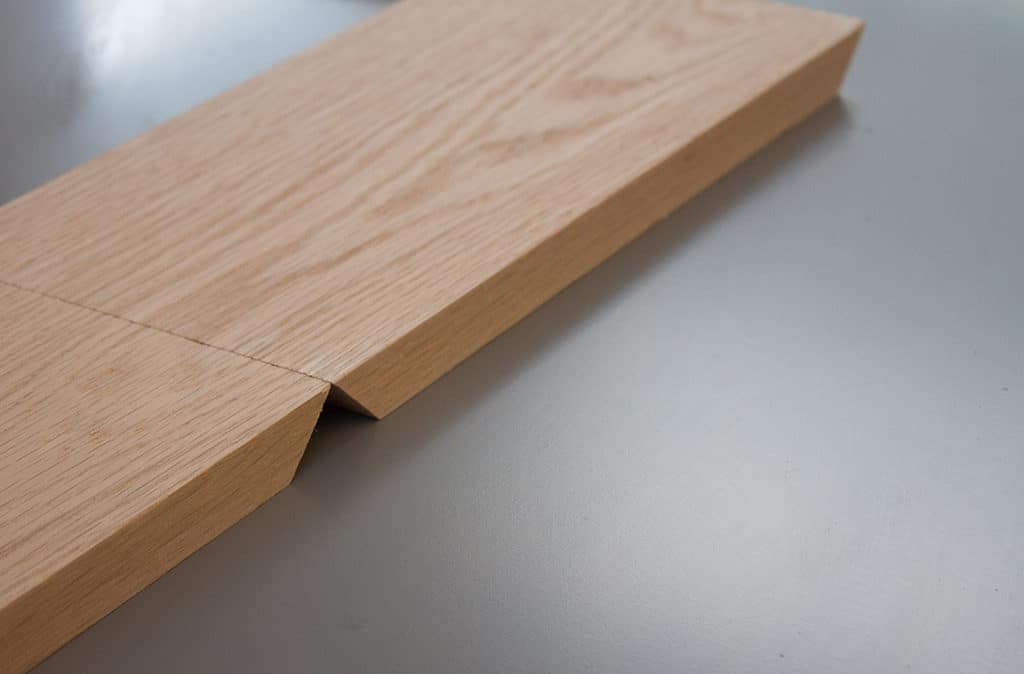
Take two pieces of wood and lay them down so that the angled ends look like the photo above.
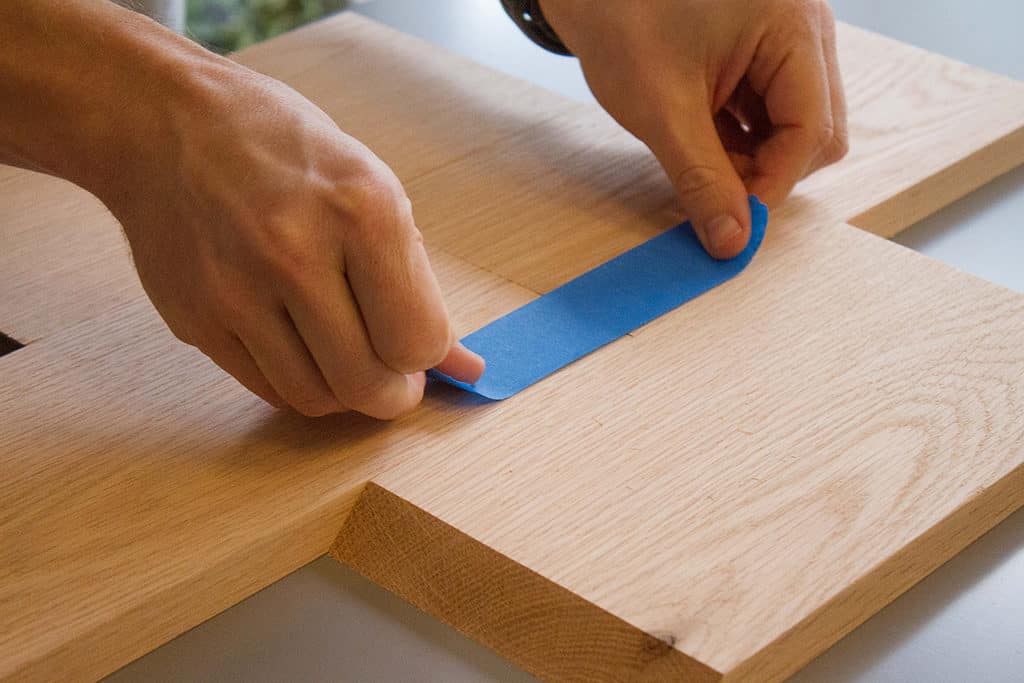
Use your painter’s tape to tape the two boards together. Ted butted the extra two boards at top and bottom to keep the boards straight (also optional).
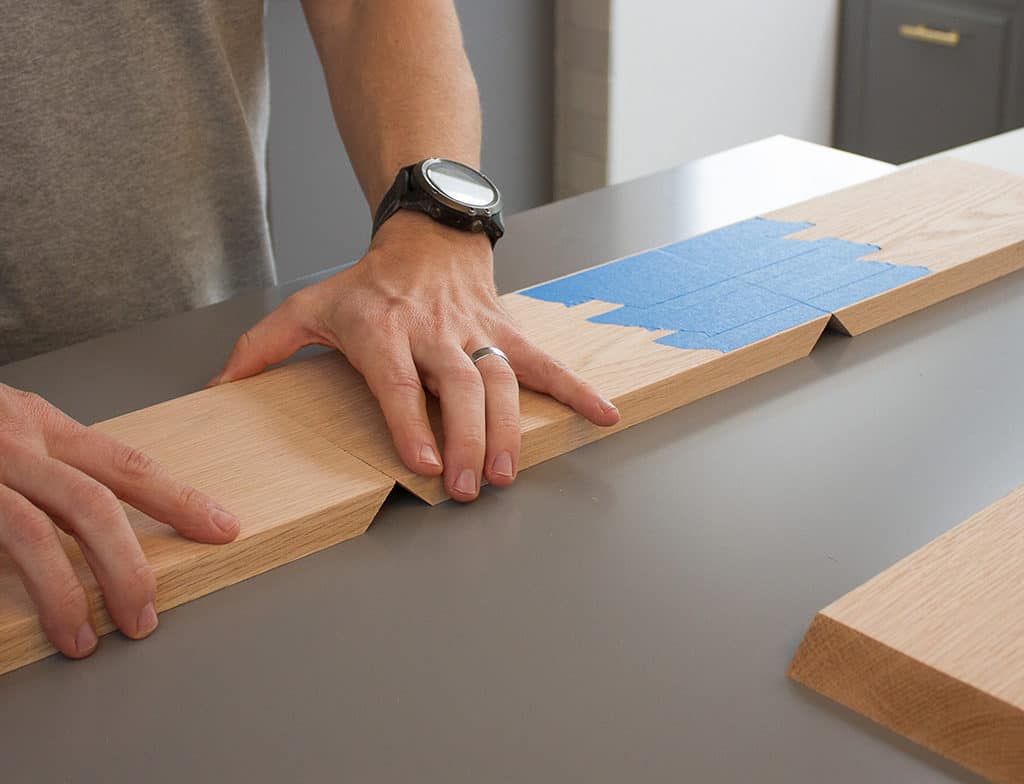
Once you completely connect and cover the first two boards with painter’s tape, do the same thing with one more board. Once all four boards are taped together at the joints, flip all boards over to the opposite side and lay flat.
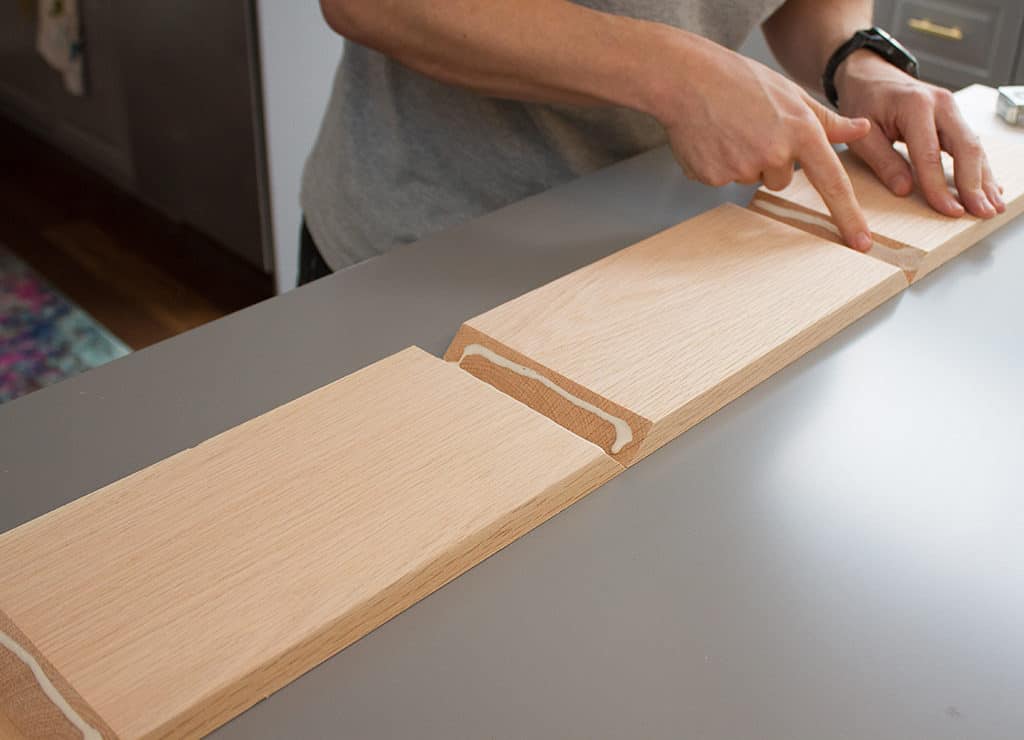
Add wood glue to each wood “valley” and smooth with your finger.
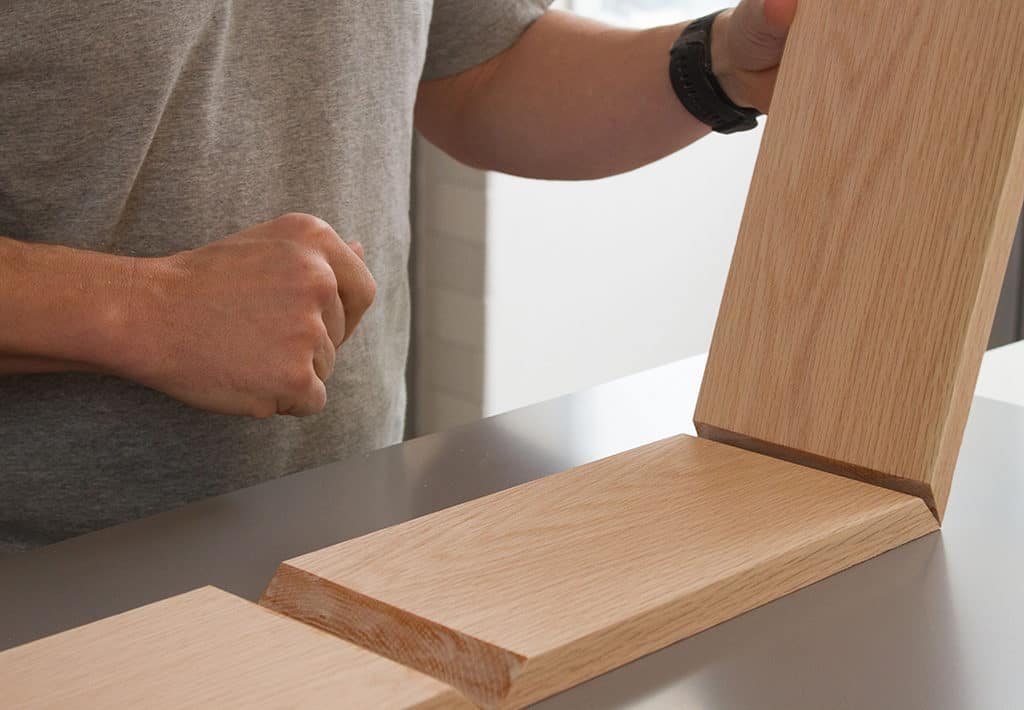
Fold up the first board so it makes a 90 degree angle (or an “L”).
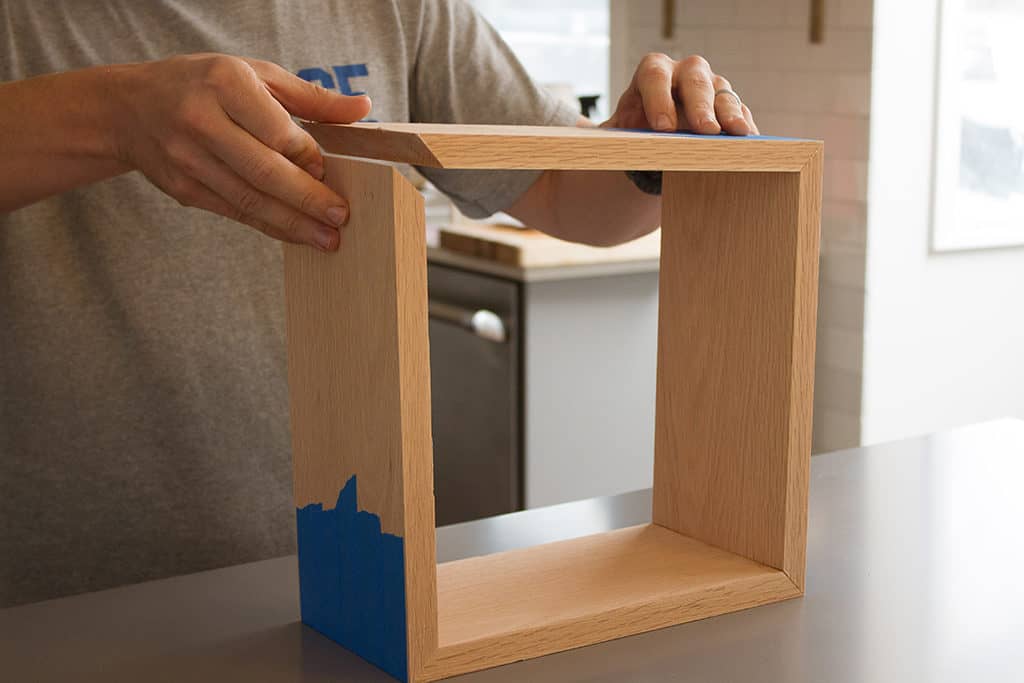
Repeat this step until all corners are folded into a square.
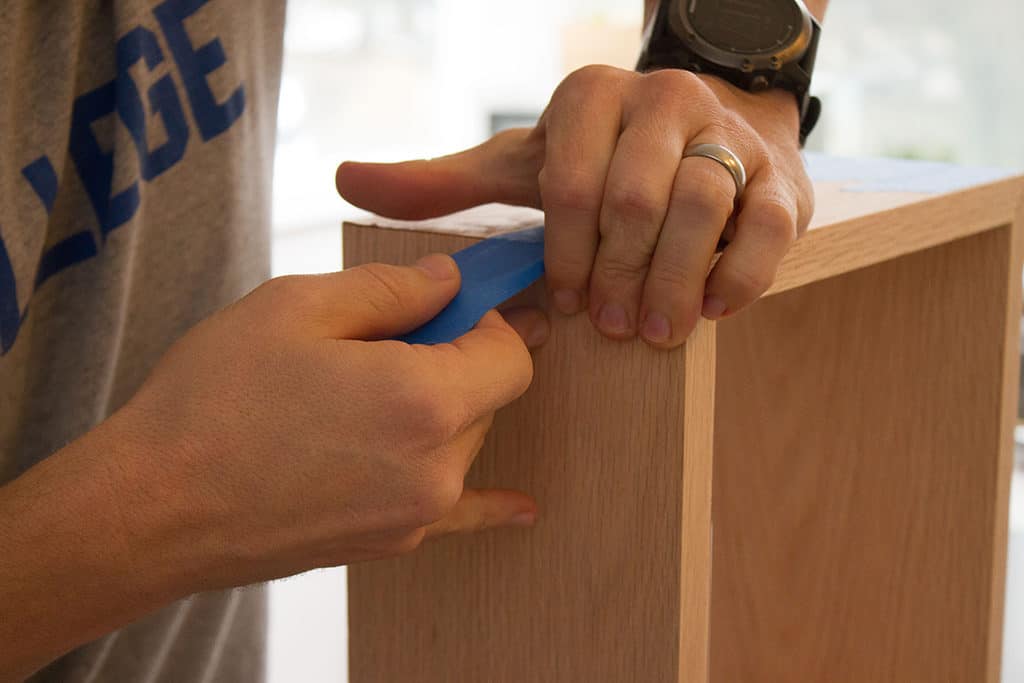
Get your painter’s tape and seal the last connector joint tightly.
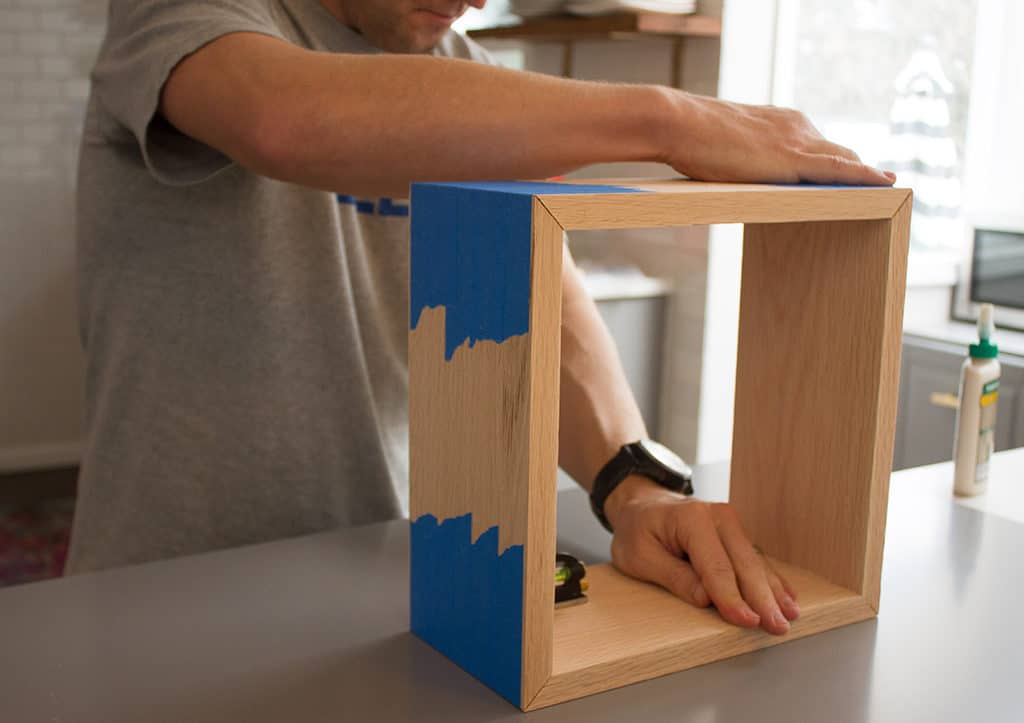
Let your wood box dry for at least 8-10 hours.
If you want to stain your wood I suggest doing it at this point. We opted to keep ours natural.
Now it’s time to install your I Like That Lamp lamp-making kit .
.
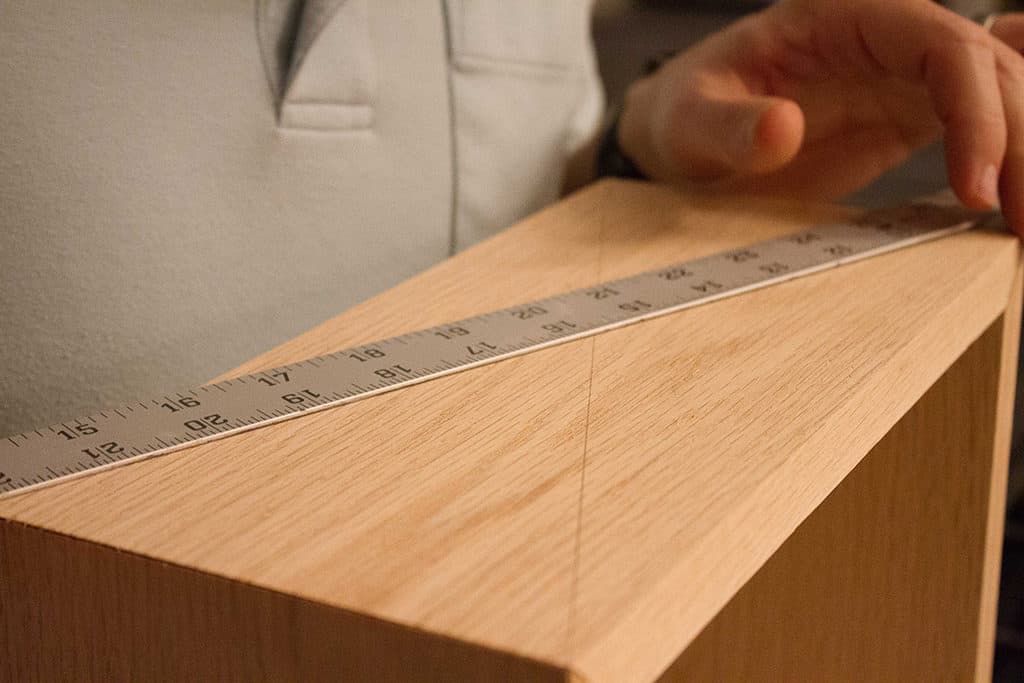
Using a ruler draw a diagonal line from corner to corner until you have an “X.” This is the dead center of your board.
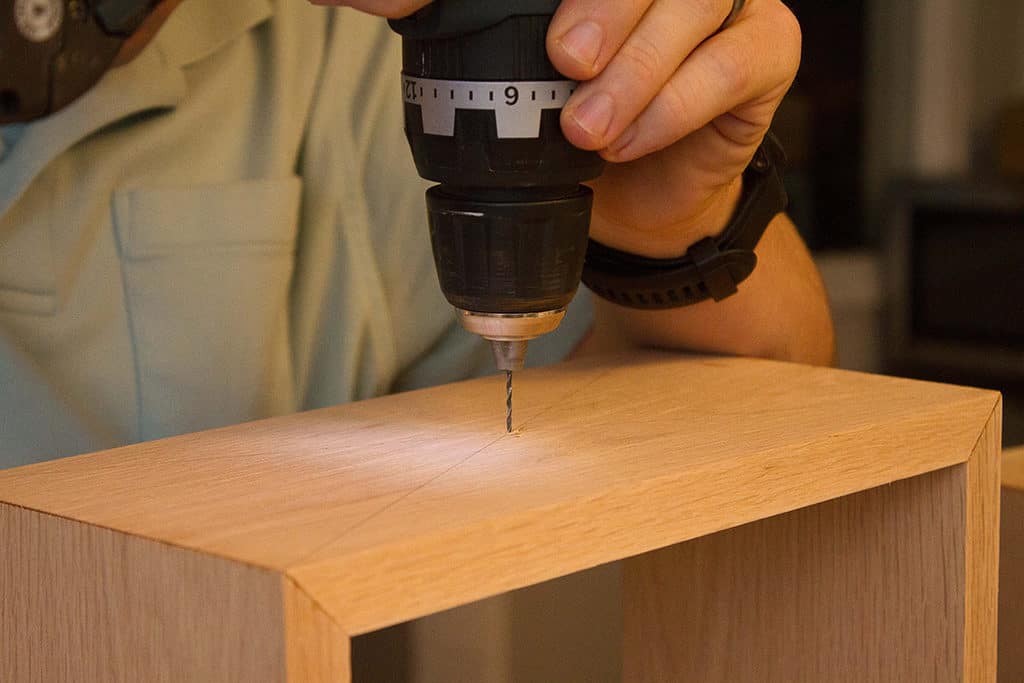
Drill a small pilot hole using a small bit.
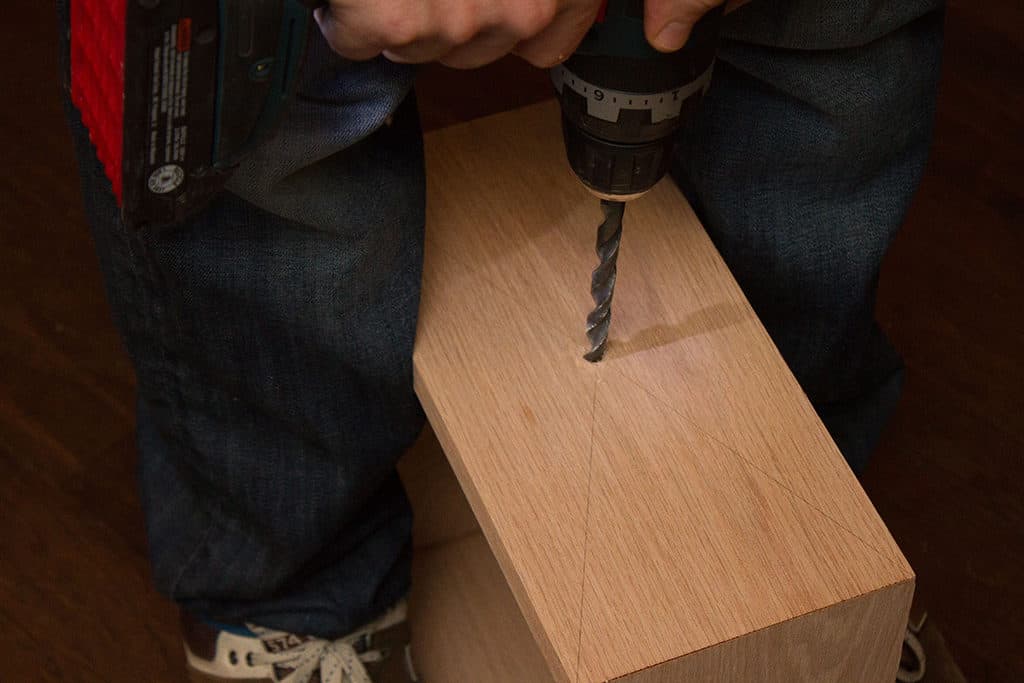
After the small pilot hole is drilled, use a bit the width of the “nipple” that is included in your kit.
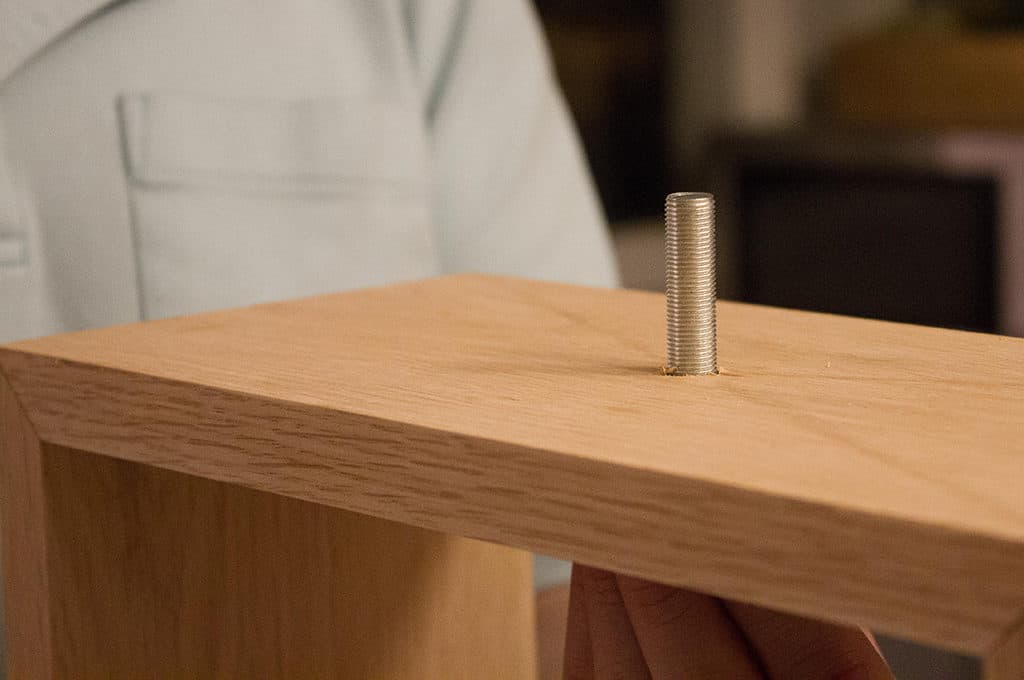
Slide the piece through to test a good fit, and set aside.
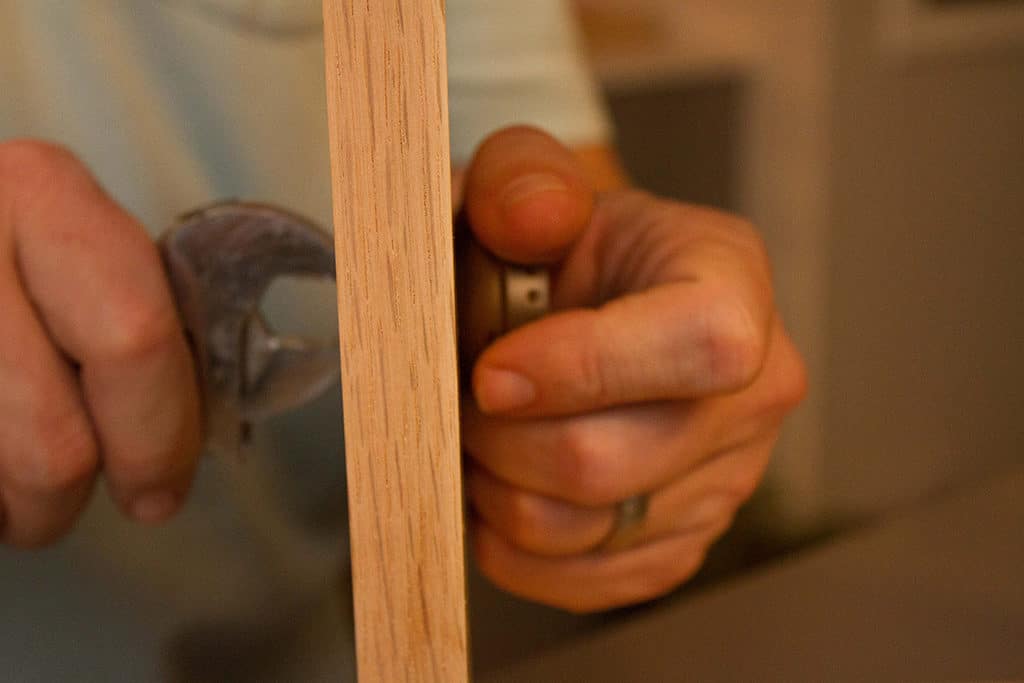
Using a wrench, screw on the washer and hex nut until tight.
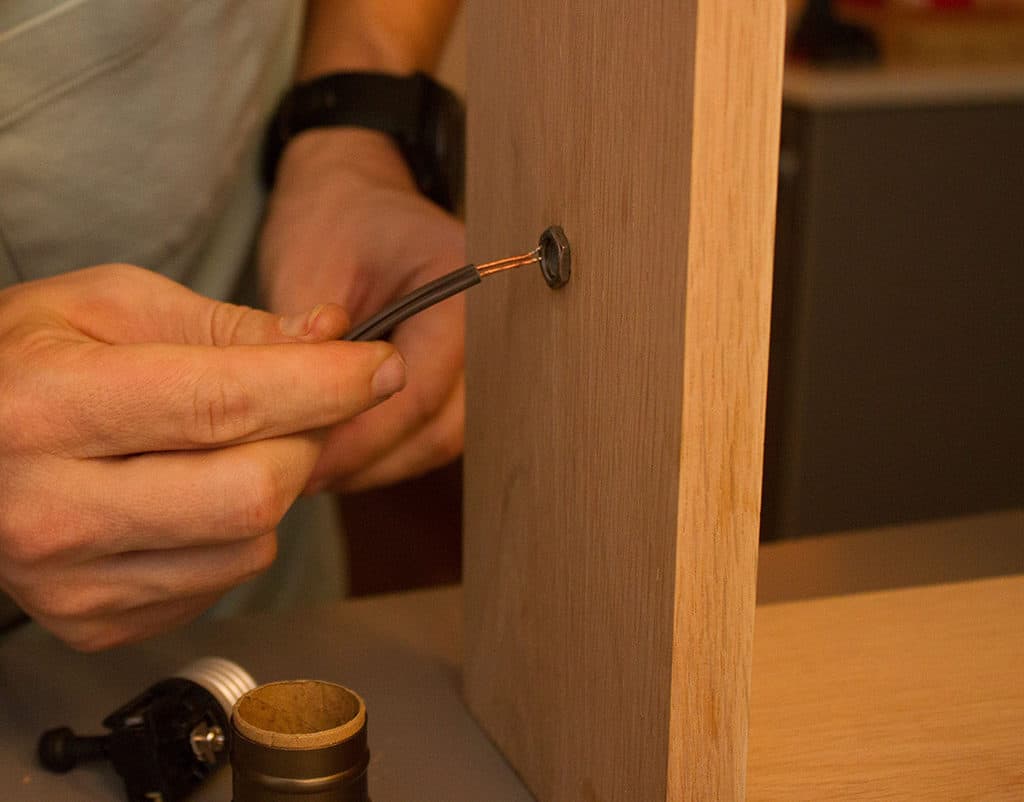
Push your corn through the hole.
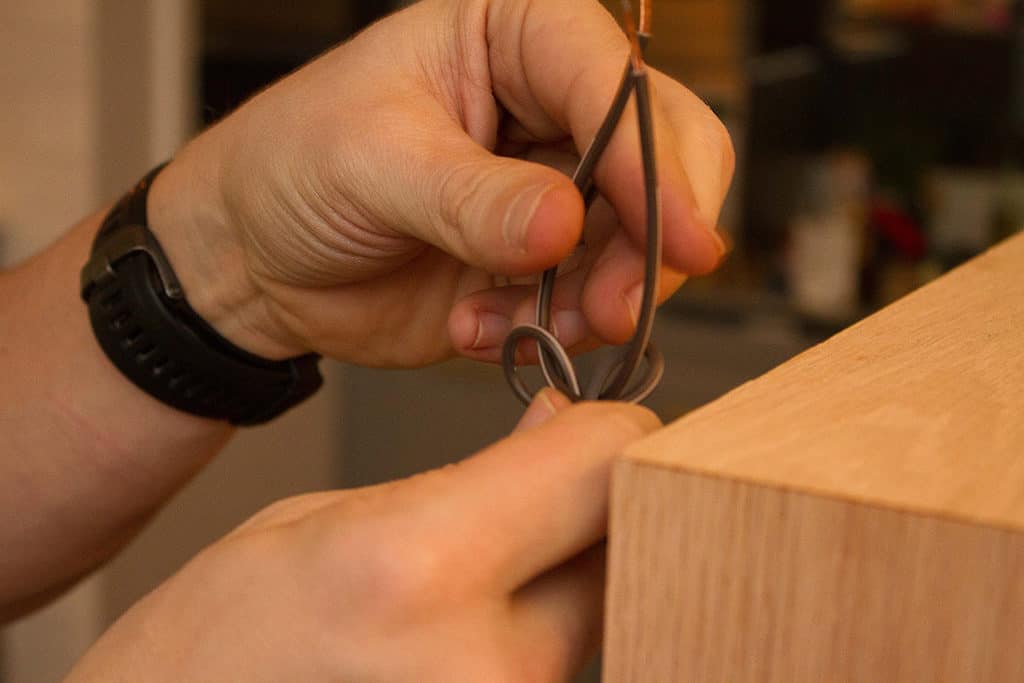
Once the cord is through, follow the provided instructions to tie the wire in an underwriter’s knot on the reverse side of the wood.
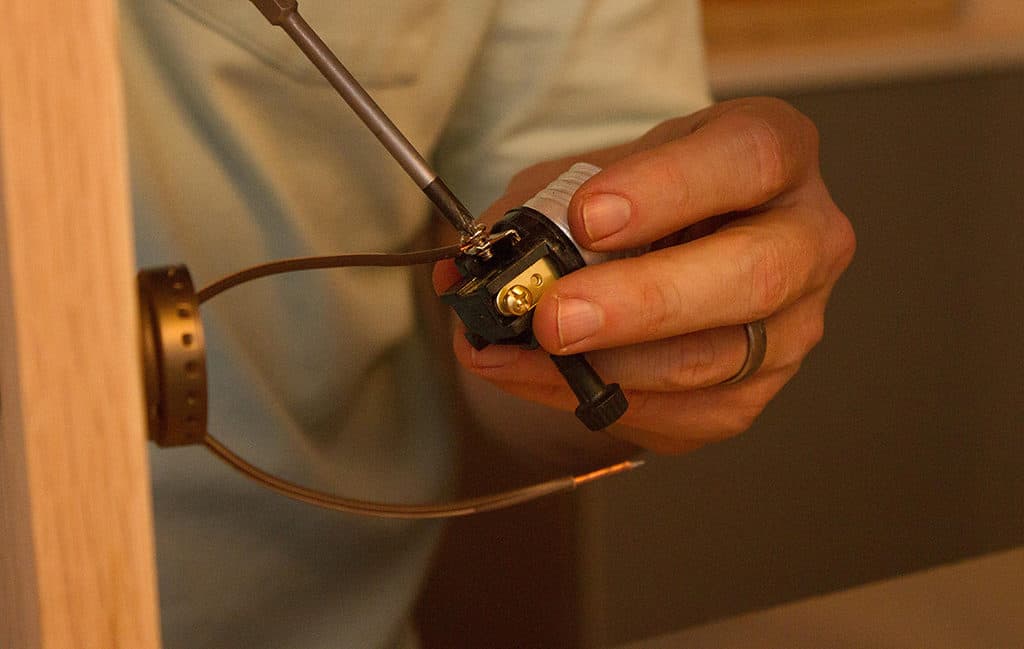
Screw the provided Phillips screw to connect the socket base to the exposed wire at the end of the cord.
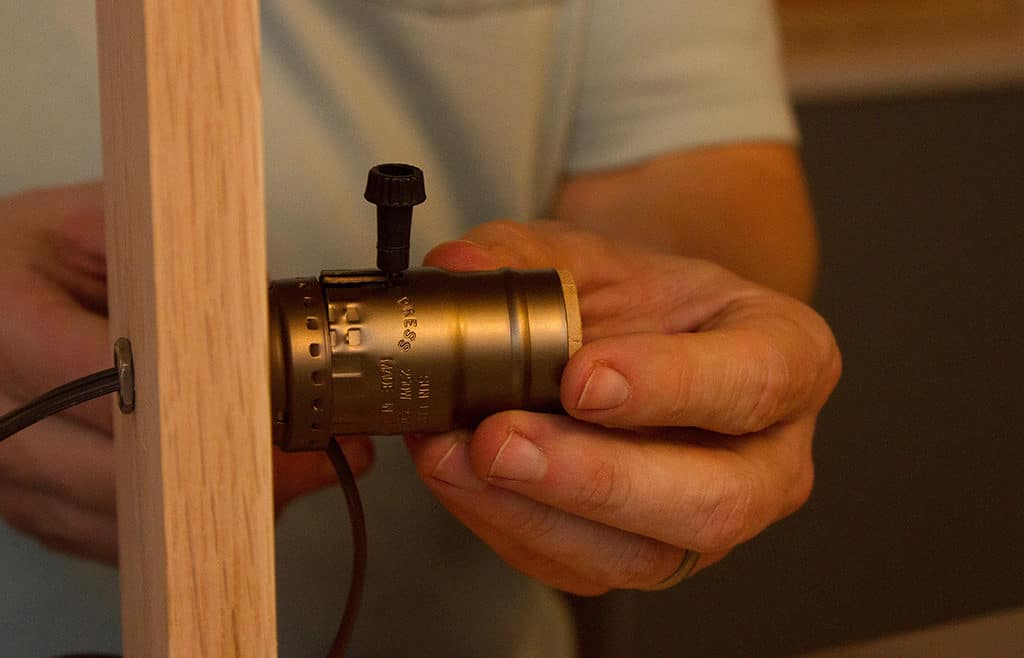
Connect the socket exterior case into place.
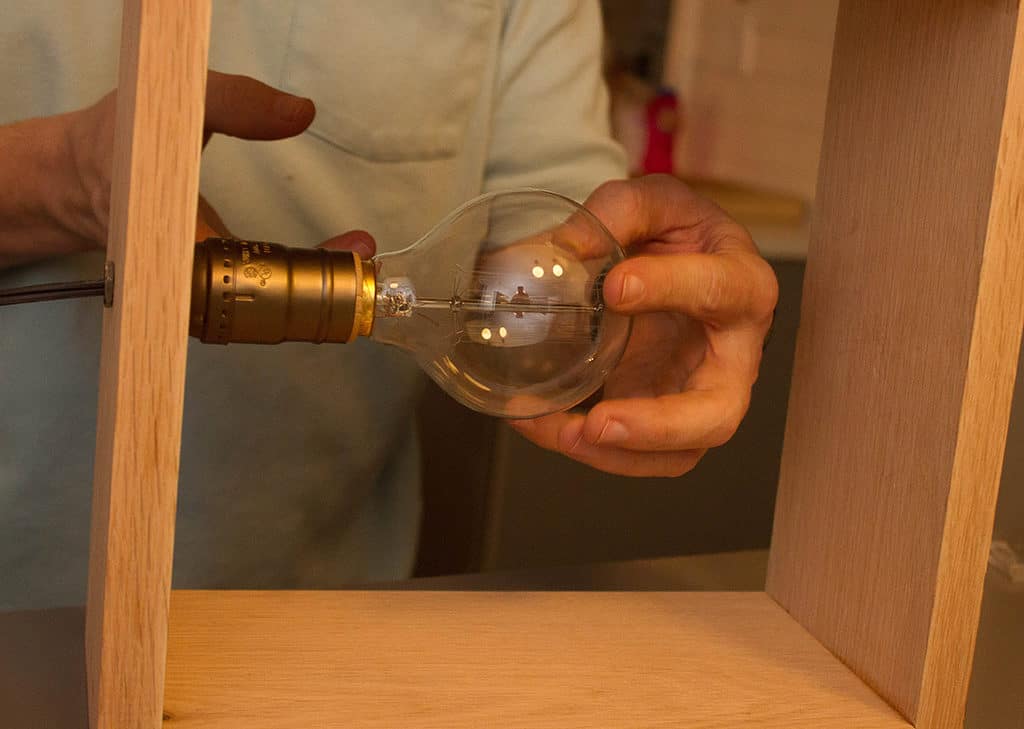
Add your preferred light bulb. We opted for a cool Edison style bulb.
That’s it—you have yourself a beautiful new DIY minimalist lamp made with an I Like That Lamp lamp-making kit .
.
And here she is in all of her minimalist glory:
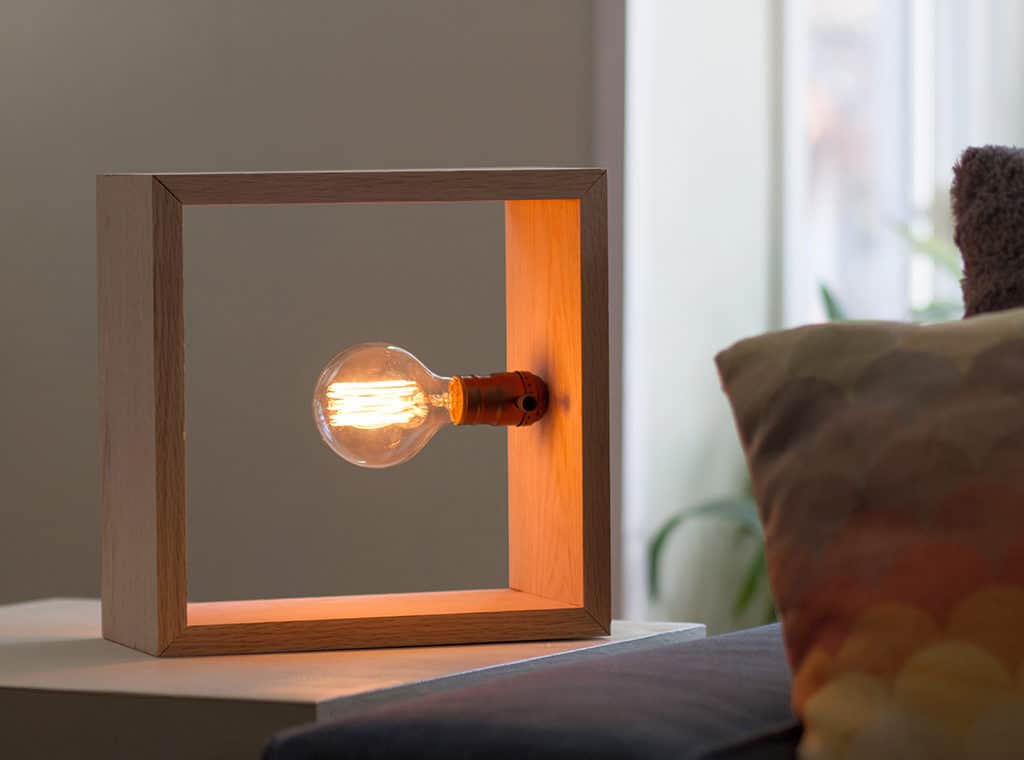
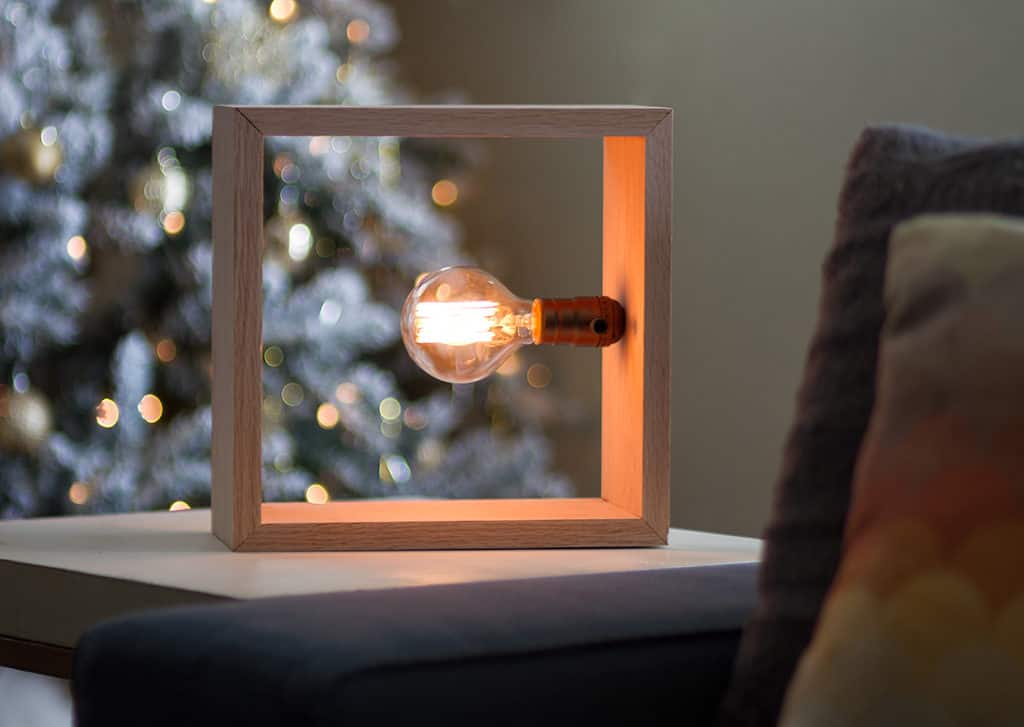
Ted is almost finished making a second lamp in a smaller size (8″). Once it’s done I can’t wait to find a home for it. I placed the finished lamp in a corner of the dining room to see how it might look there.
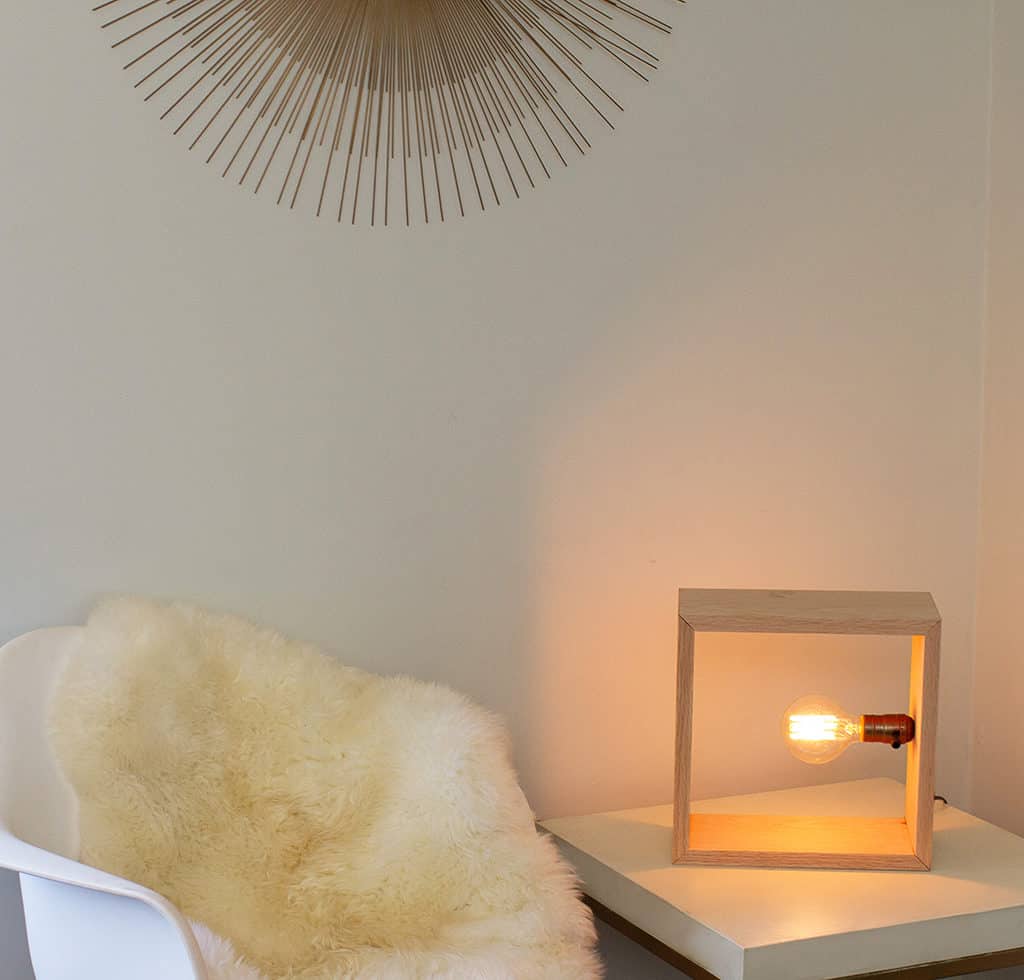
What do you think? Are you inspired to make your own DIY minimalist lamp with an I Like That Lamp lamp-making kit !
!
xoxo
Audrey
This is a sponsored post, but all opinions are 100% truthful and my own. This post may also contain Amazon affiliate links, which I can earn a small commission on when items are purchased.

