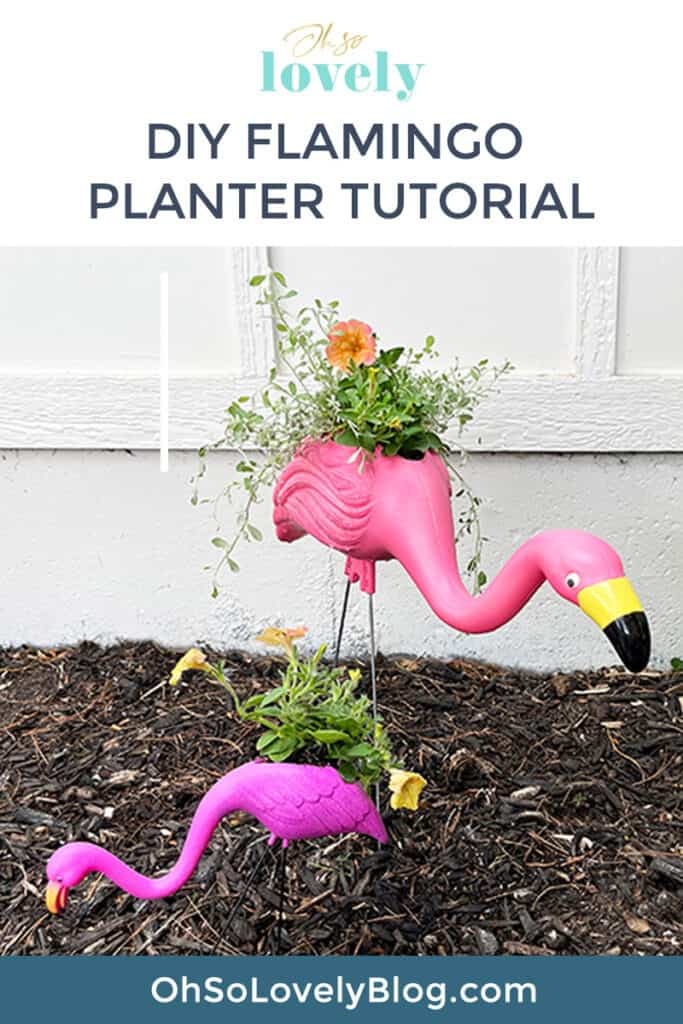
DIY flamingo planters? Oh yes!
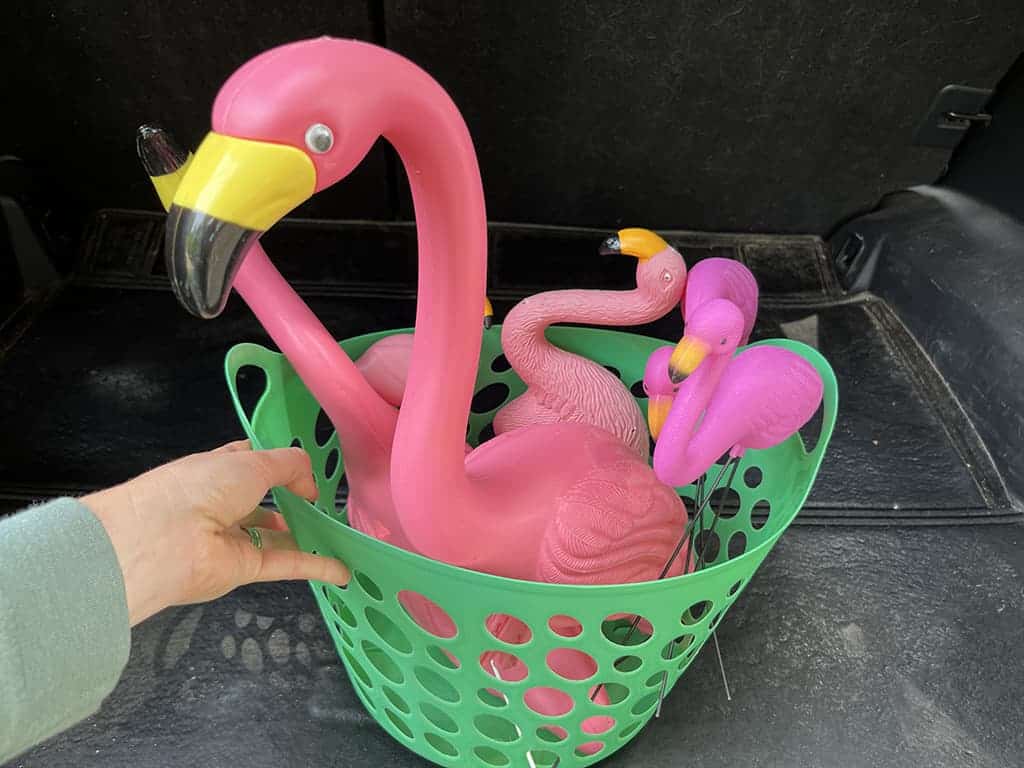
Looking for something fun to make with all those plastic flamingos you might have laying around? I’ll show you how to quickly and easily turn them into fun, affordable, and kitschy summer decor
Grab those flamingos and let’s add some personality to your flower garden!
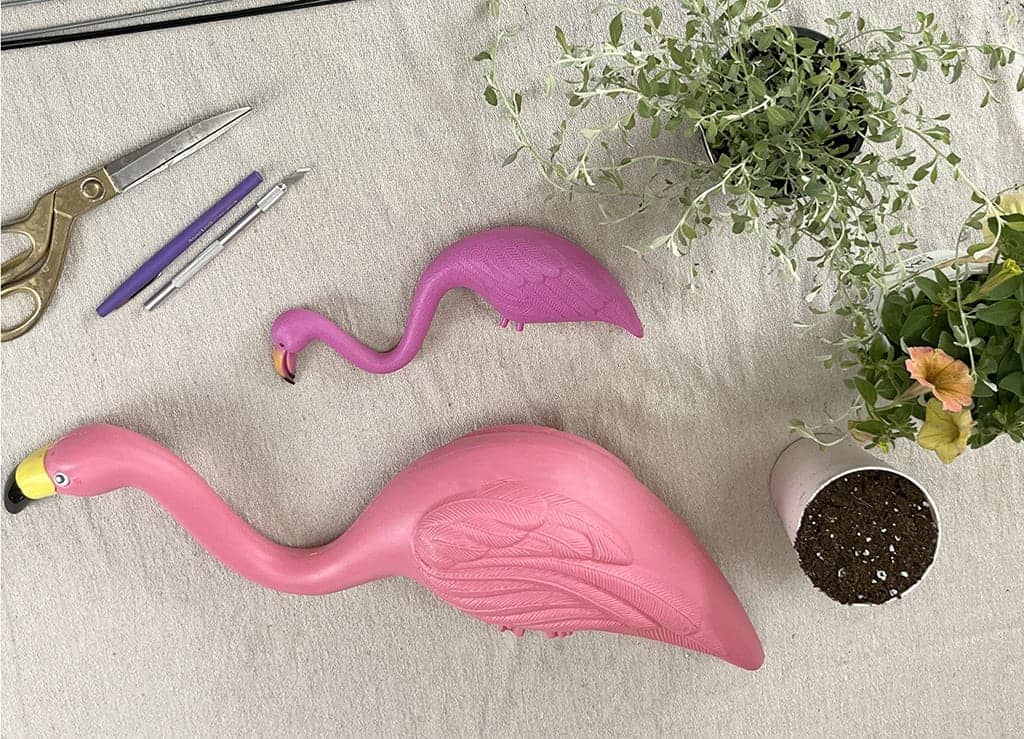
All the supplies you need are:
Flamingos (in various sizes)
Utility knife (I used an exact-o knife and it didn’t work as well)
Scissors
Flowers/plants (you can also use faux)
Soil
Marker/pen
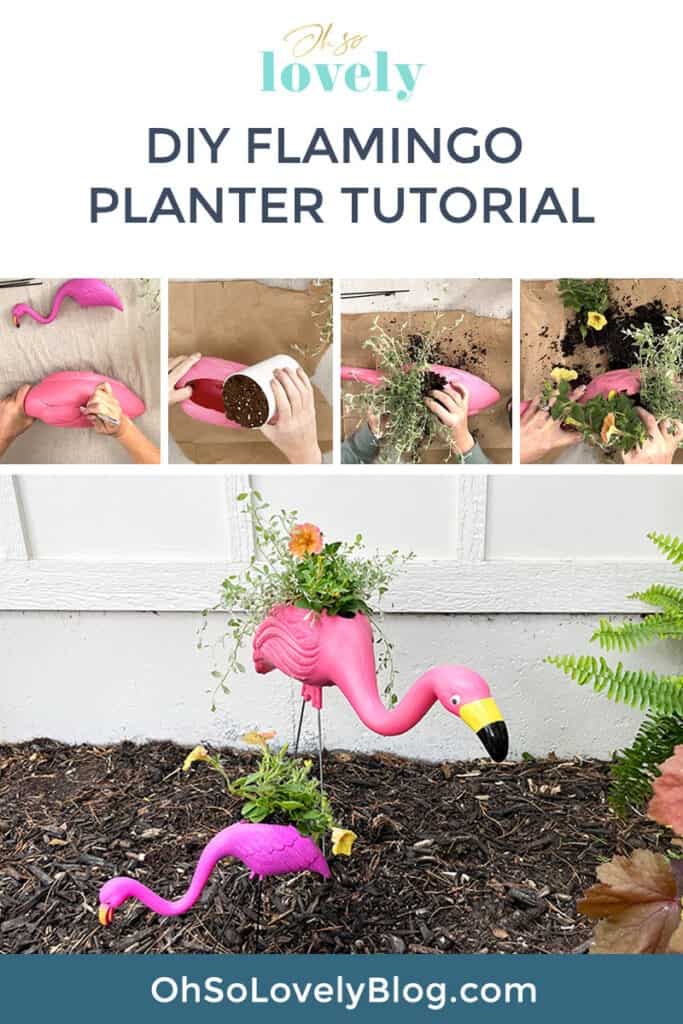
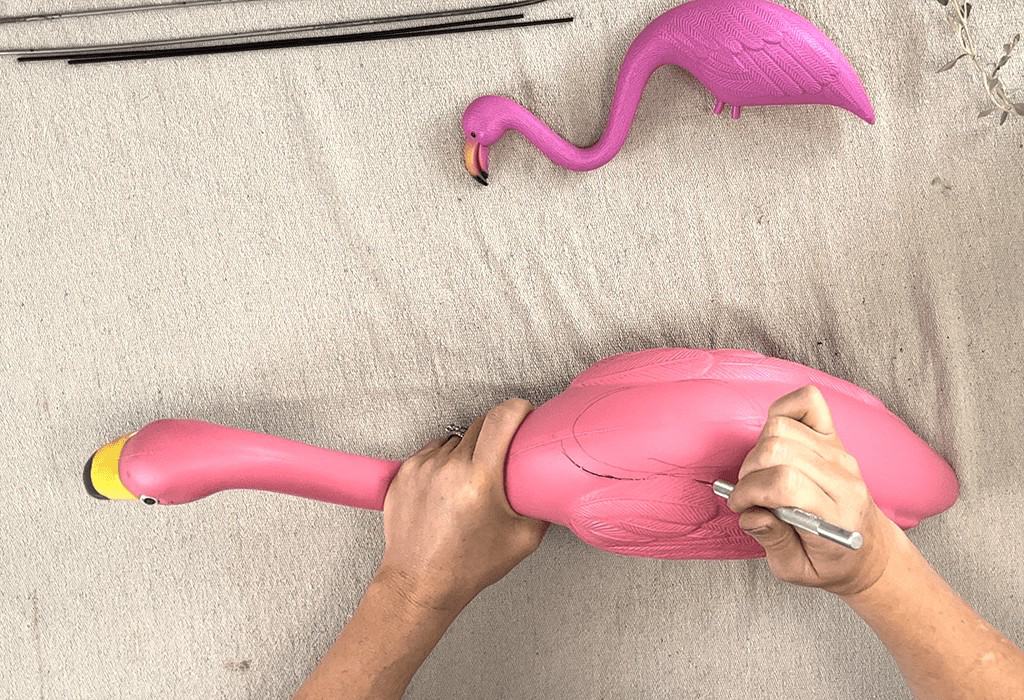
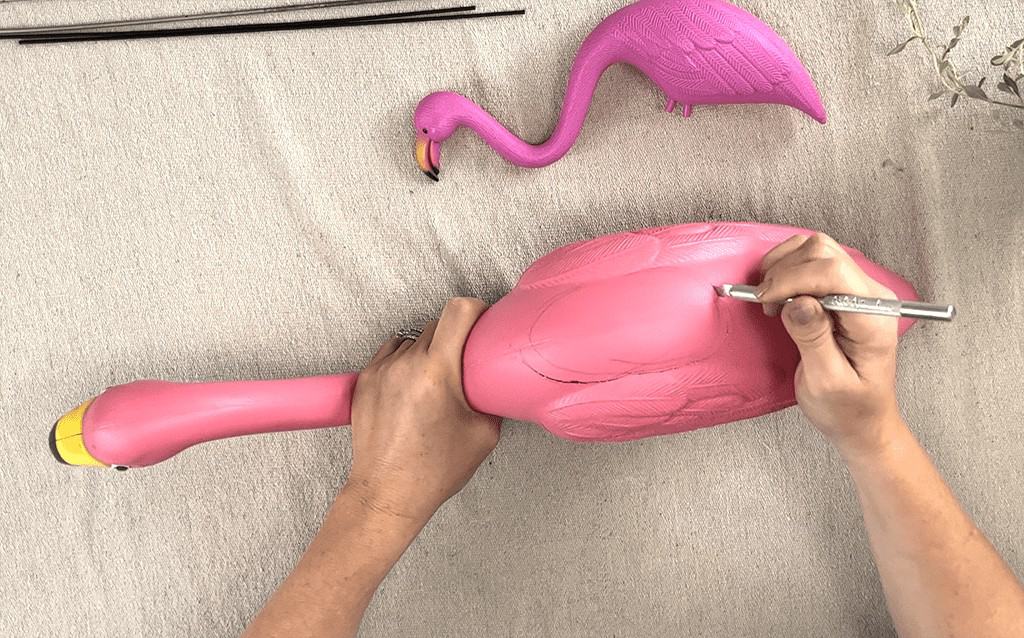
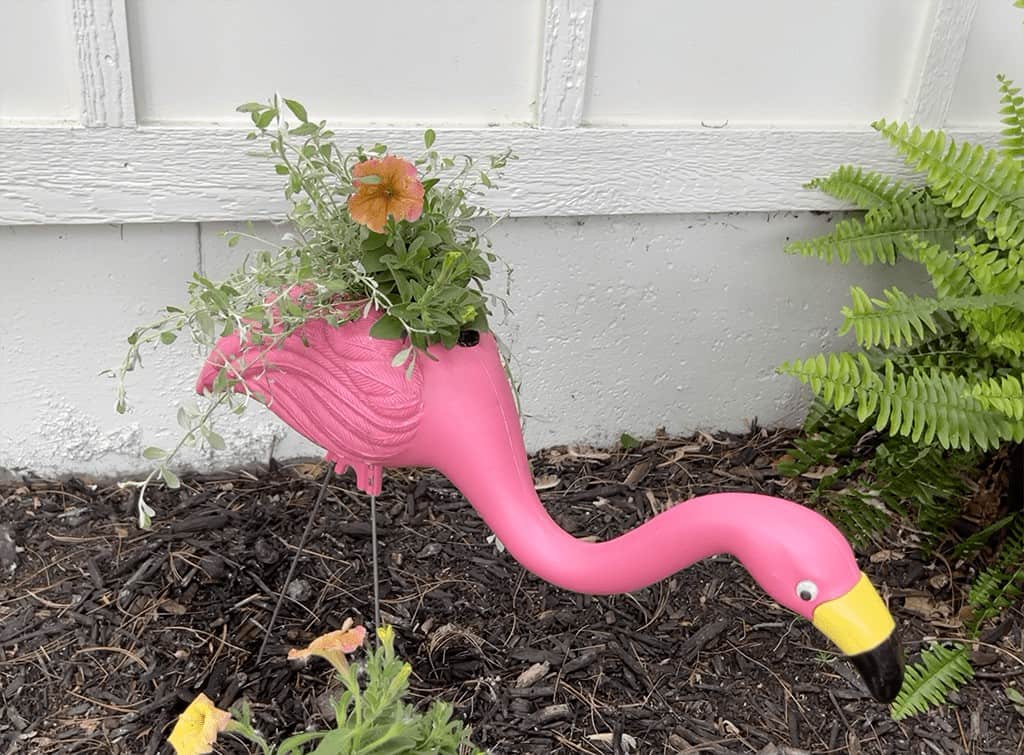
Take your marker/pen and draw an oval on the flamingo back where you plan to cut your hole. You’ll want to make sure the hole is wide enough to fit the plant.
Next, take your utility knife and cut all around the oval. I used an exact-o knife, but it took longer and I don’t recommend.
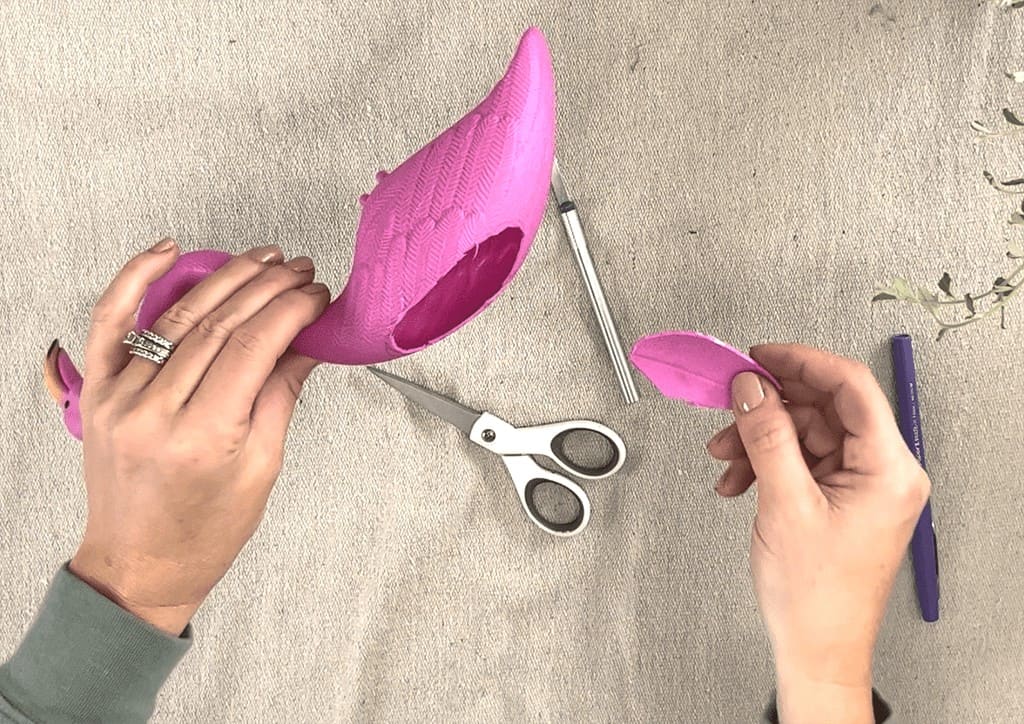
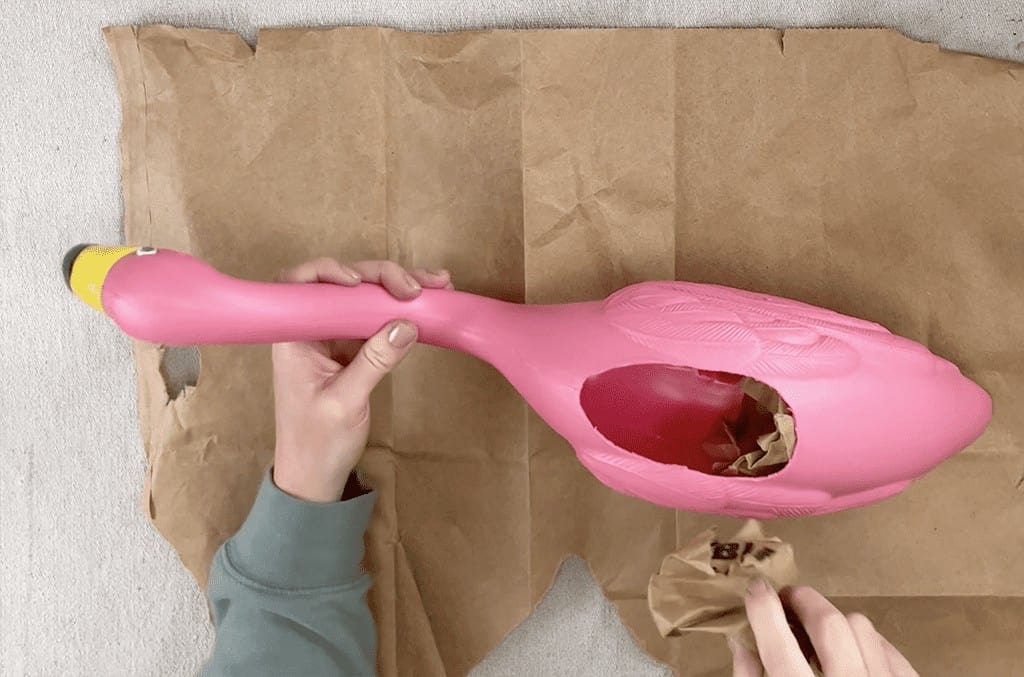
Once the hole was mostly cut, I took my scissors to cut the oval completely off the flamingo. Then I tossed the excess plastic.

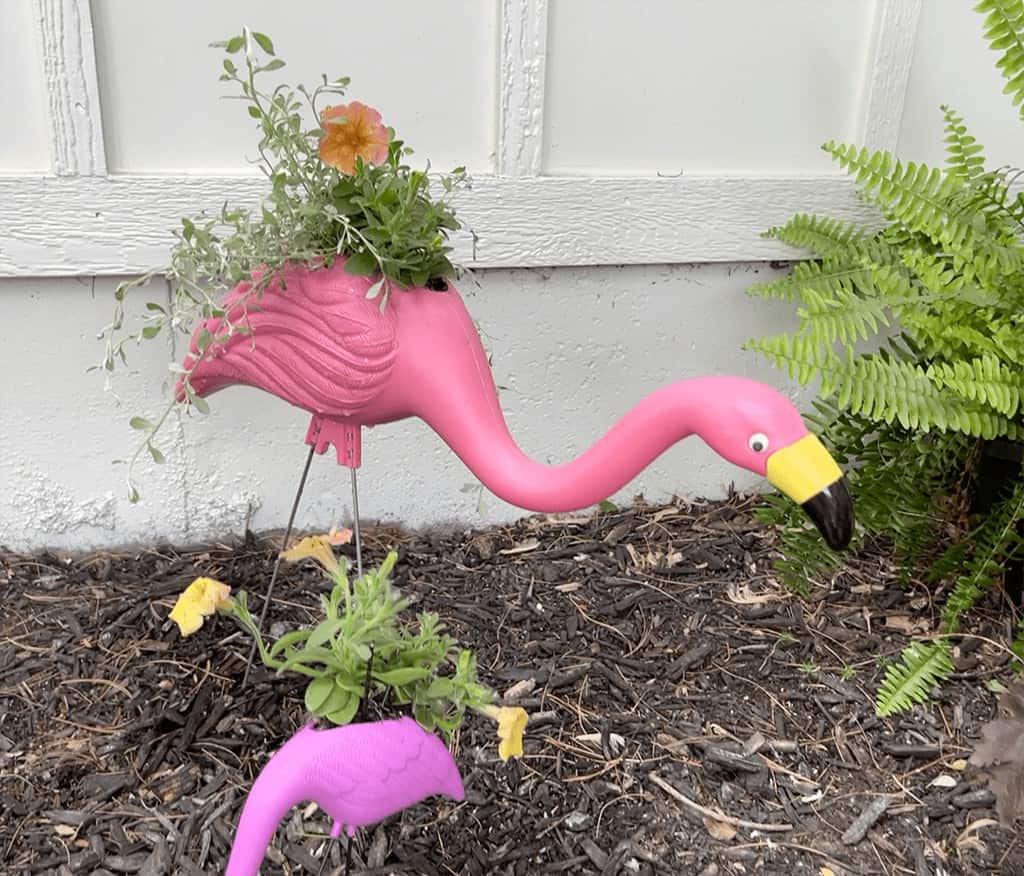
I followed the same step for the smaller flamingo, which went even faster.
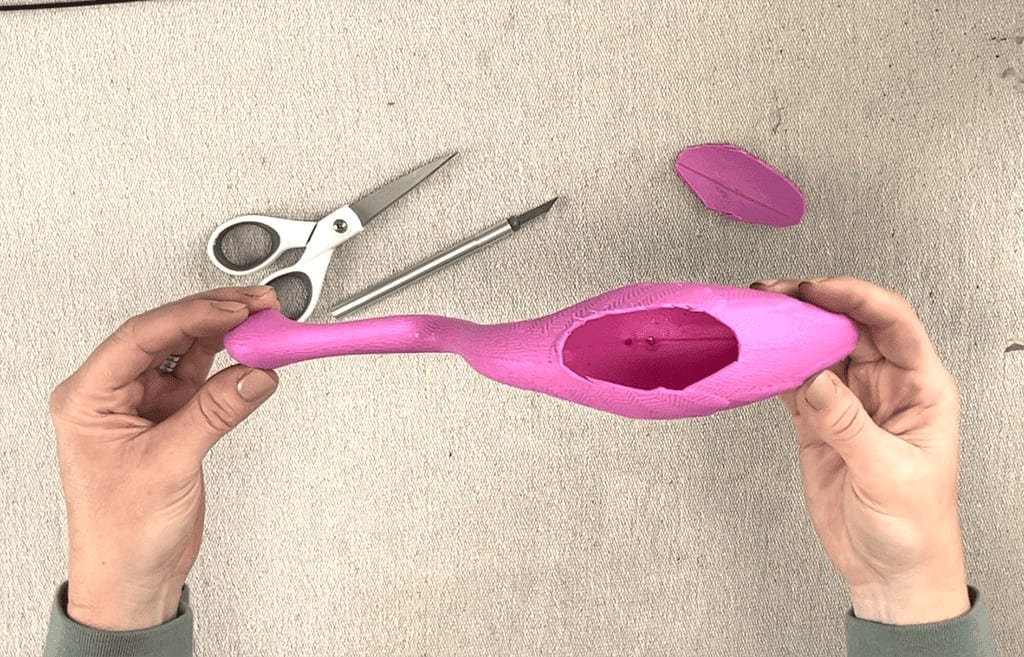
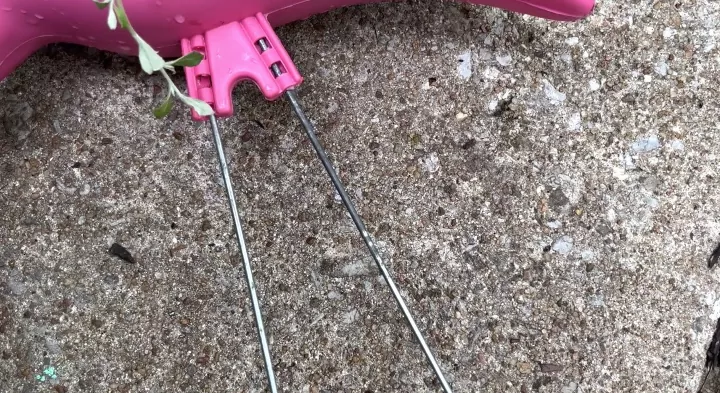
As you can see, there are holes in the bottom of the flamingos for the leg inserts, so it works perfectly for drainage holes.
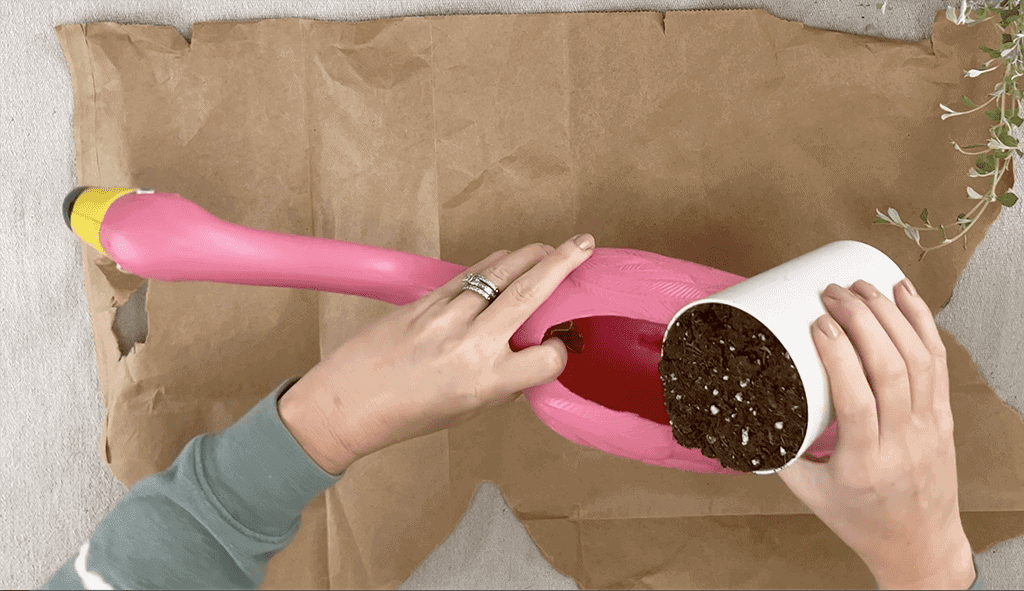
For the larger flamingo, I decided to fill the neck and end with some brown paper bags, which kept it lightweight and helped me avoid using more soil than was needed. You can definitely choose to fill the whole thing with soil if you’d like.
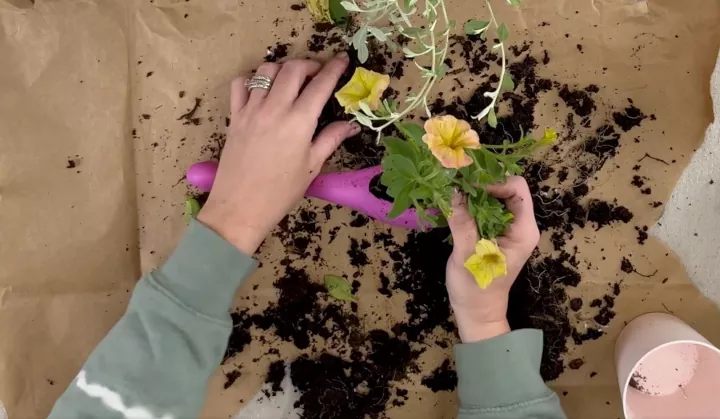
Then I filled the center part with soil.
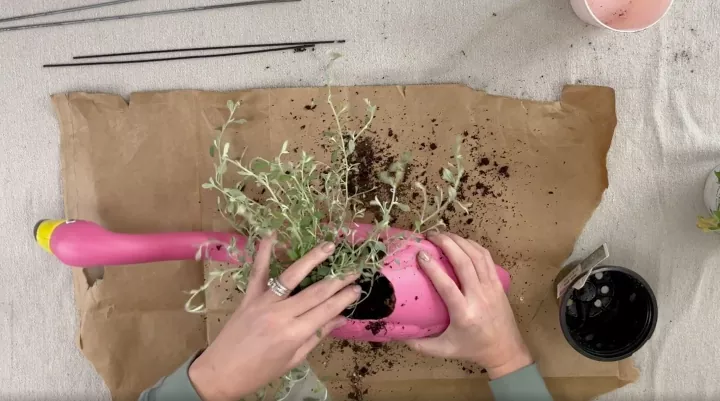
Finally, I added some greenery and a flower to finish the large planter.
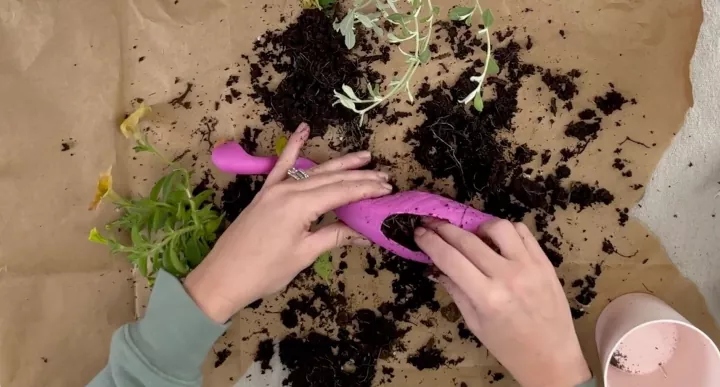
And did the same for the smaller planter, which only required a small amount of soil.
The metal legs went in the bottom slots, and they were ready to be added to the garden!
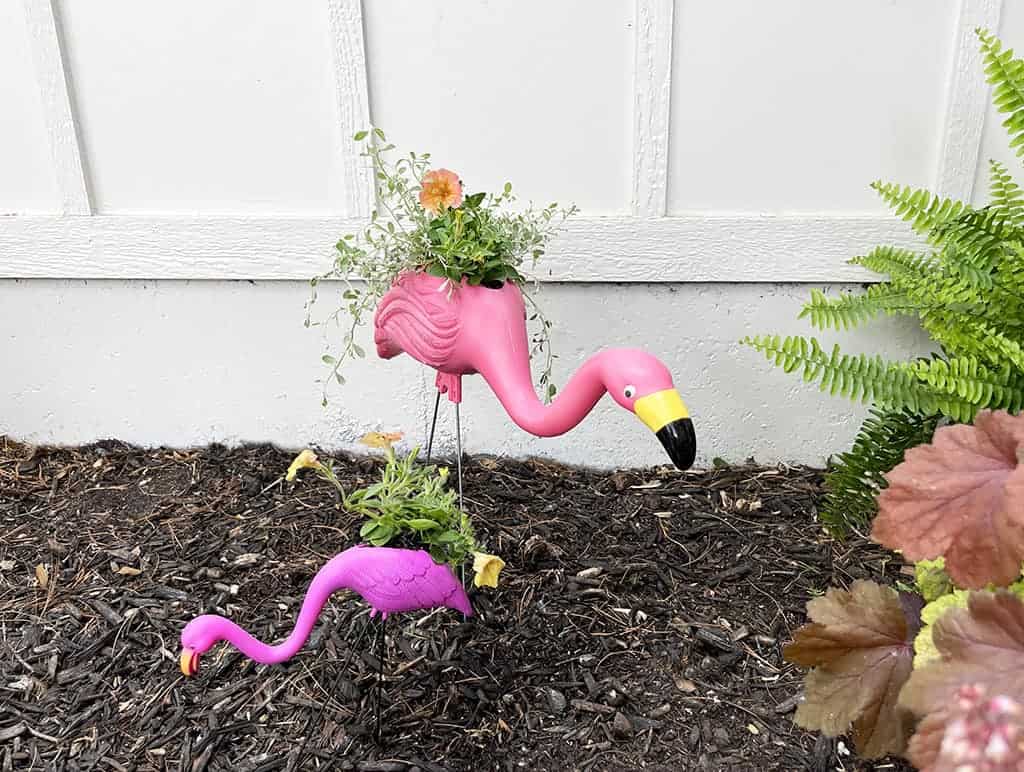
I absolutely love how these DIY flamingo planters turned out.
They’re so kitschy, fun, and best of all, only took me about 5 minutes max!
Each time we have guests, they comment on how fun these flamingos are, and I love how unique they are! 🙂
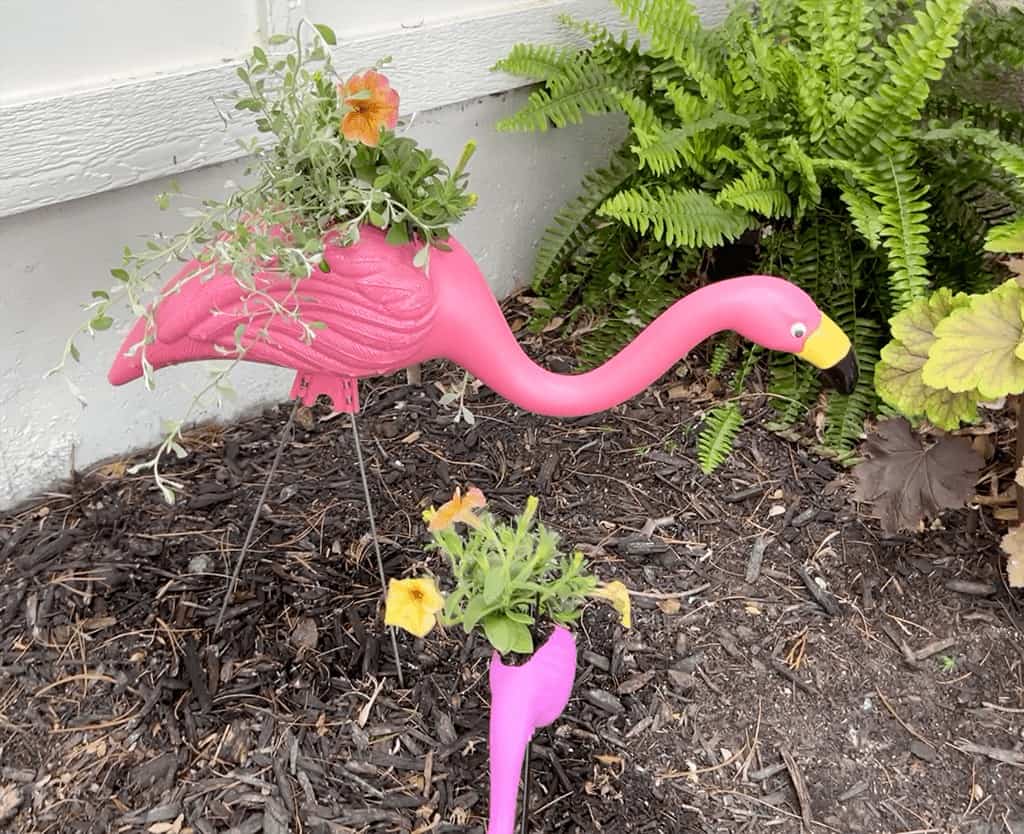
The combo of the droopy greenery and the flower on the larger flamingo work really well together I think.
What do you think? Will you try this project yourself? I highly recommend!
These would also be super fun for a flamingo themed birthday party, which I did about 7 years ago.
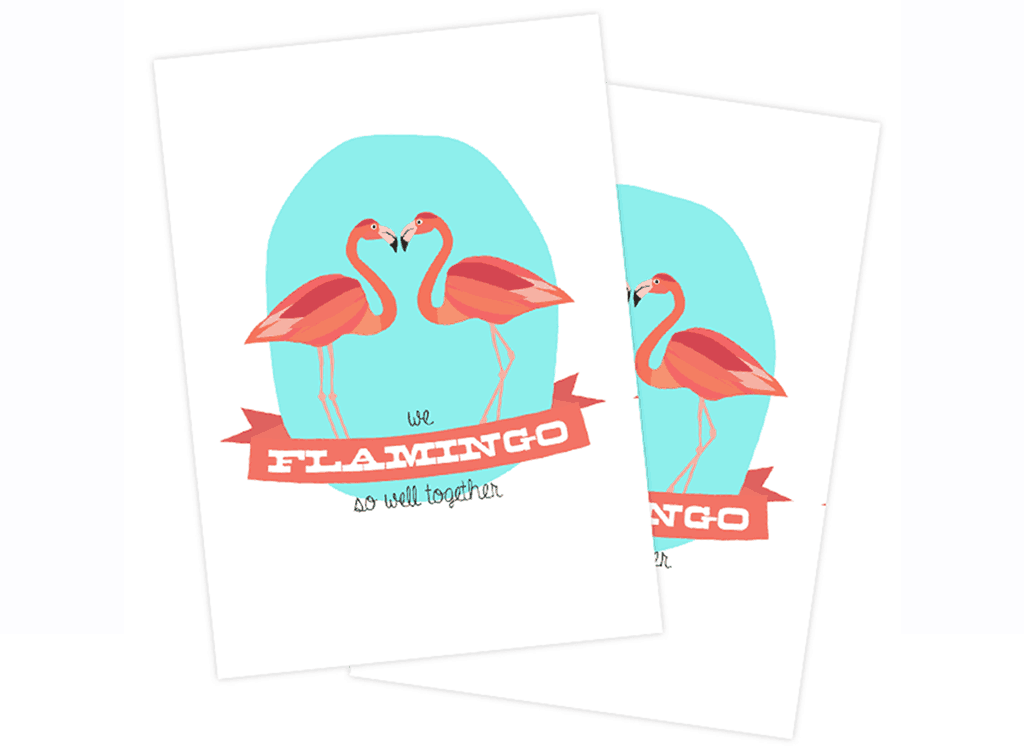
P.S. I’m super into all things flamingo and have lots of DIY projects on the blog, so feel free to peruse my other flamingo content.
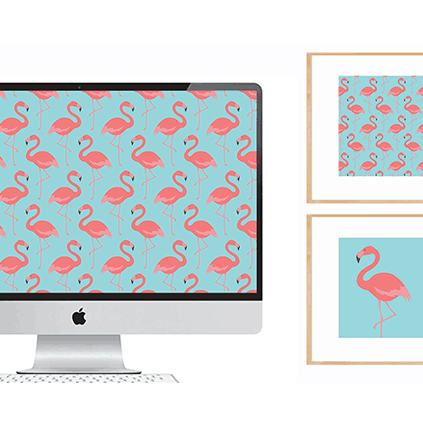
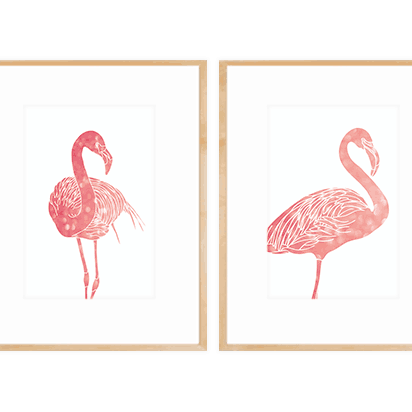
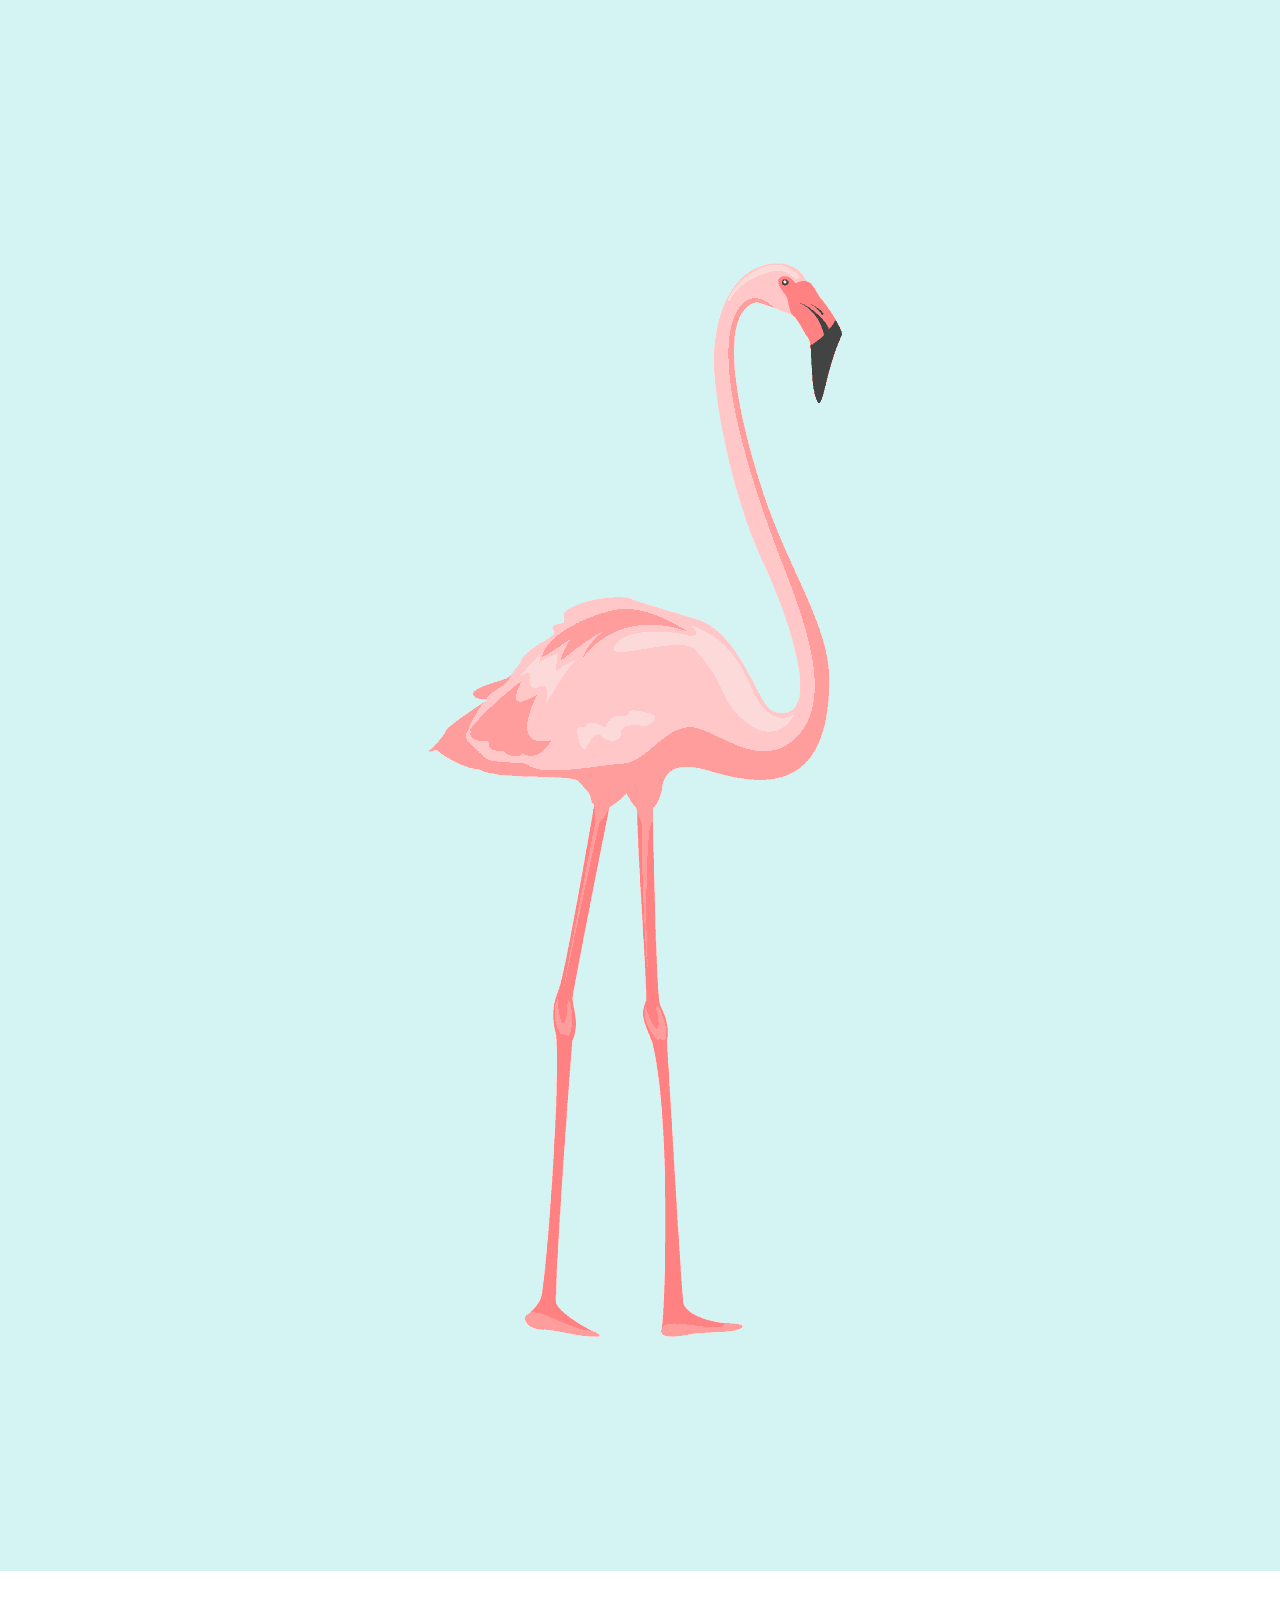
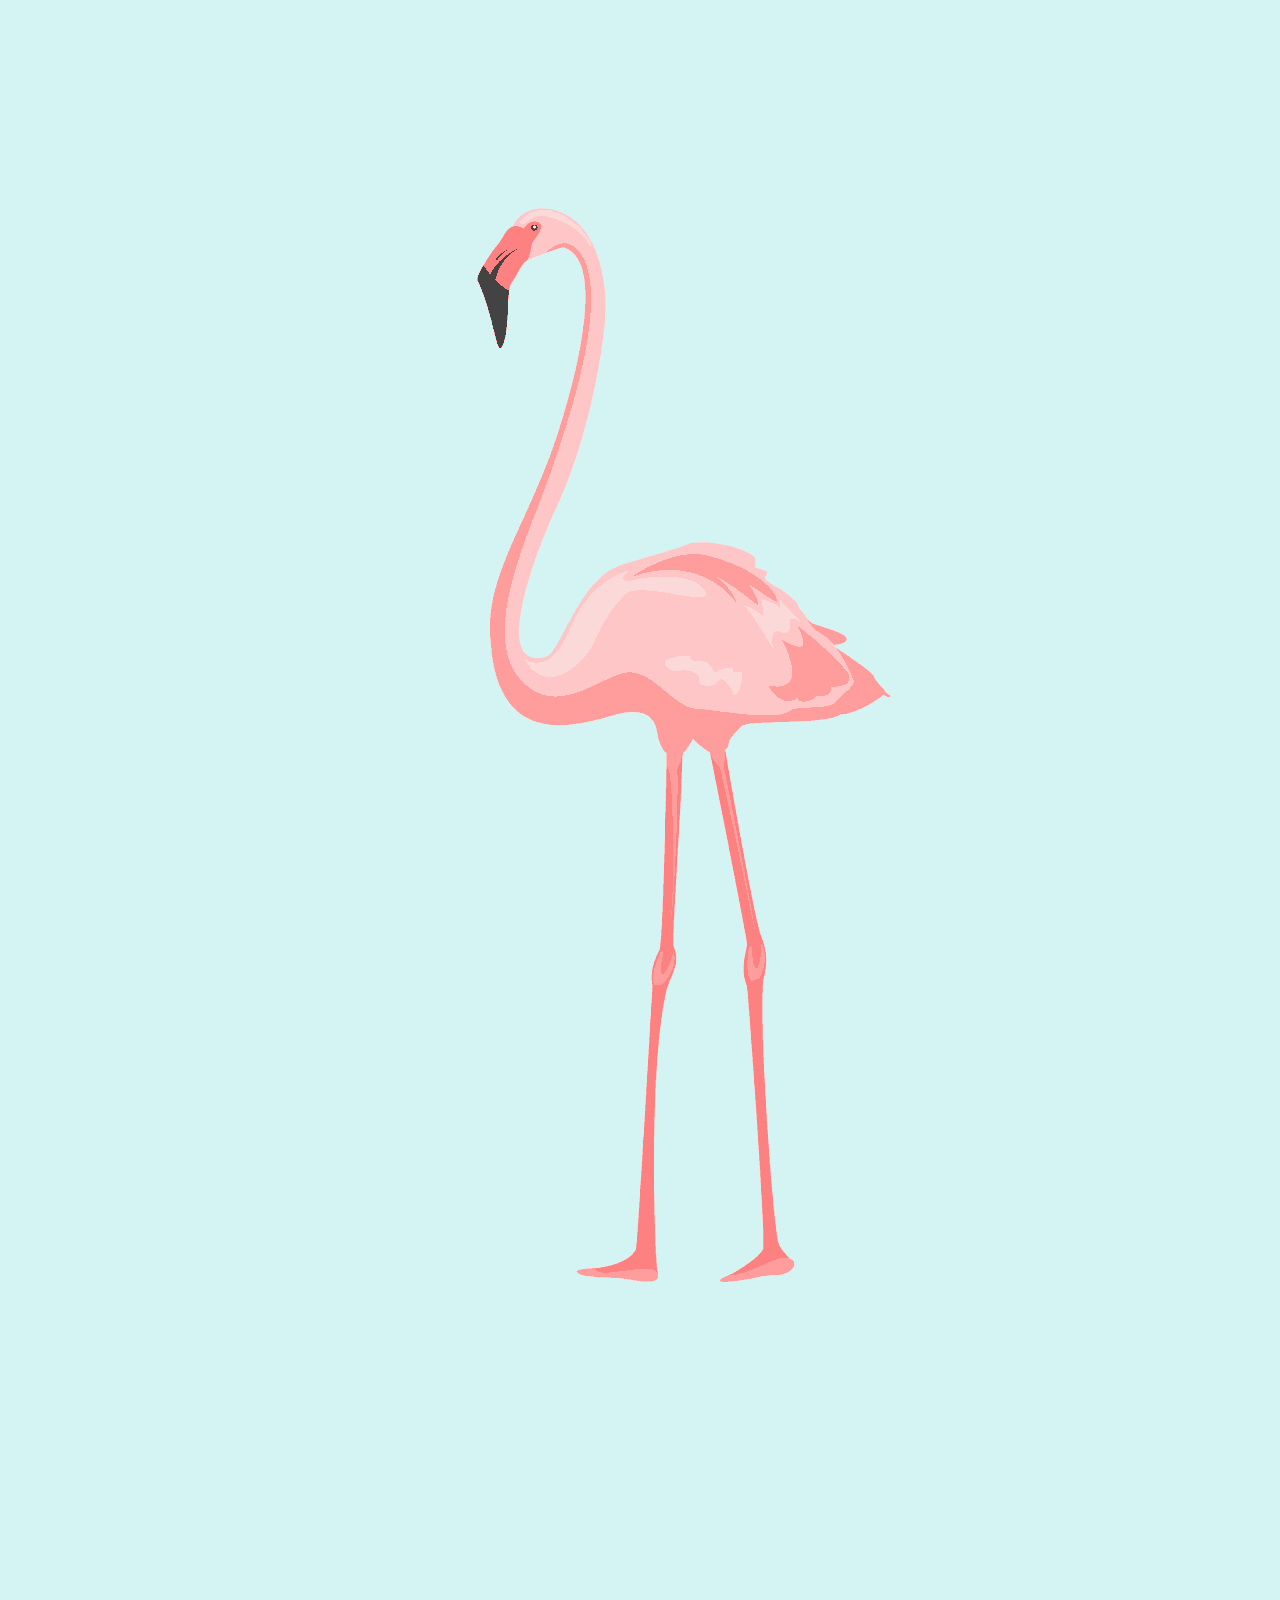
P.S.S. You might also like my flamingo freebies…so much to choose from! Below is just a small sampling.


Pin these DIY flamingo planters for later!