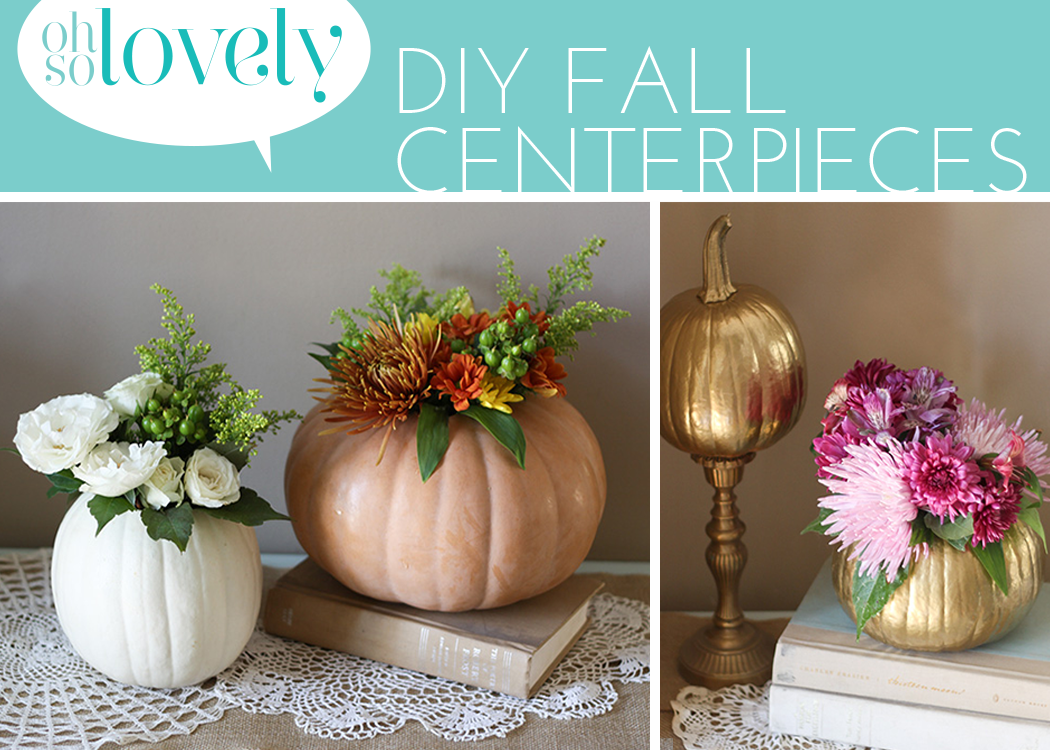
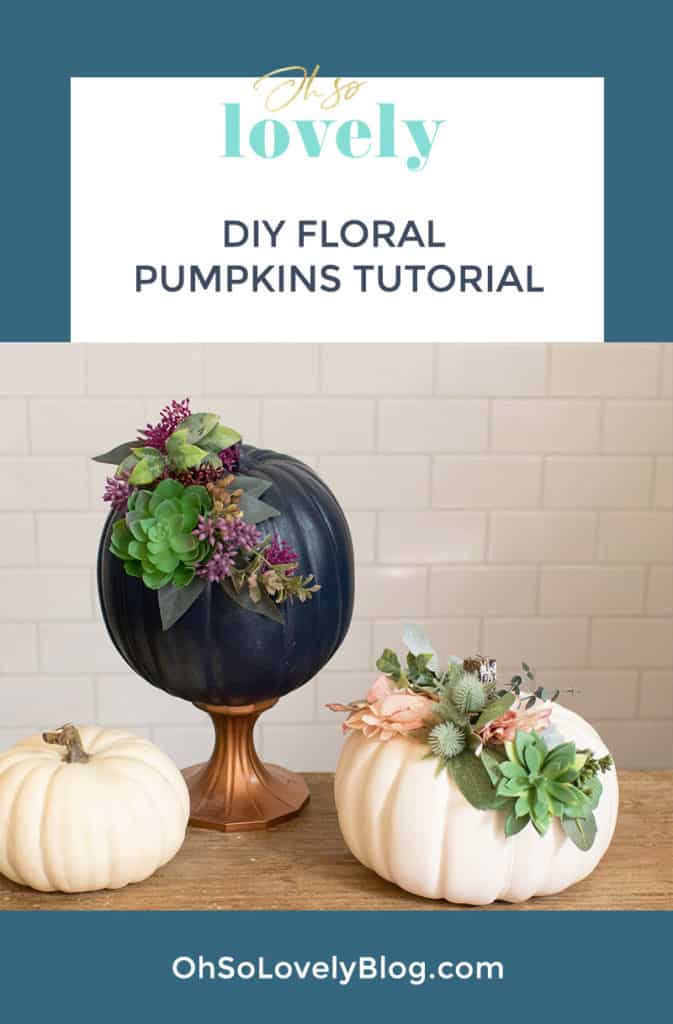
Let’s make some DIY fall floral pumpkin centerpieces!
I don’t know about you, but I LOVE fall, and have been so excited to start decorating.
I’ve been hitting the sales and picking up fall and Halloween decor and DIY materials left and right. I think I’m more excited to decorate than ever before because this year Vivi will be able to actually enjoy it a little bit. That makes it so much more fun! 🙂
A couple of weeks ago I did the spray paint drip pumpkins, and this week I bring you these pretty DIY pumpkin centerpieces.
They make such an inexpensive, yet fun fall centerpiece, and work for your fall table, fall wedding centerpieces, dinner party decor, hostess gifts, you name it.
Best part…they are actually pretty easy, and once you finish one, they get so much easier.
- Pumpkin(s) (any size, any color)
- Flowers
- Empty jar or drinking glass
- Scissors
- Carving knife
- Spoon
- Spray paint (optional)

If you wish to spray paint your DIY fall floral pumpkin centerpieces, I recommend doing it before you ever start carving.
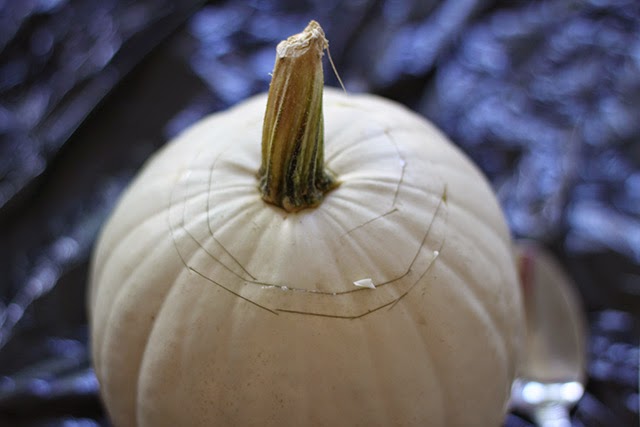
Start by carving out the top stem area of your pumpkin with you carving knife just as you would carving a regular pumpkin. You can see I started with a too small area, so I just kept cutting outward until I was happy with the size and shape of the cut out.

Pull out the top part and scoop out the guts with your hands and discard.

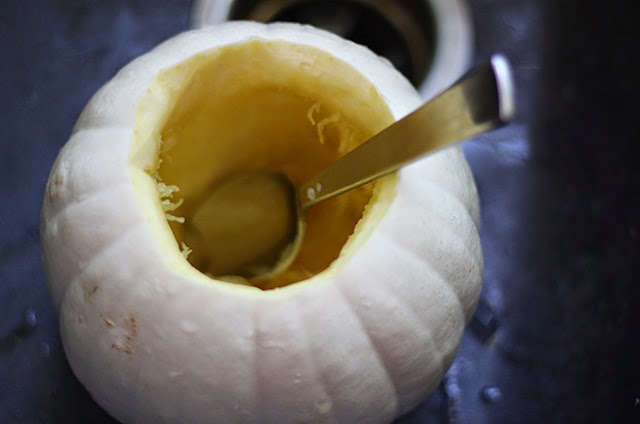
Take your pumpkin to a sink and continue to scoop out the seeds and guts until all seeds have been removed.

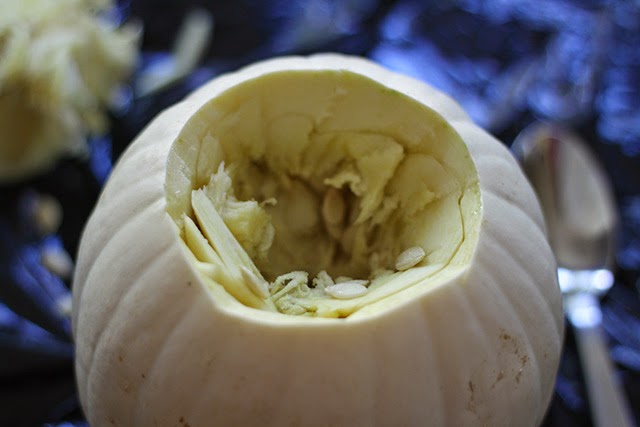
Take your large spoon and scoop along the sides until all remaining guts have been removed. This part can take about 10 minutes, so be patient. This was honestly the hardest part in my opinion.
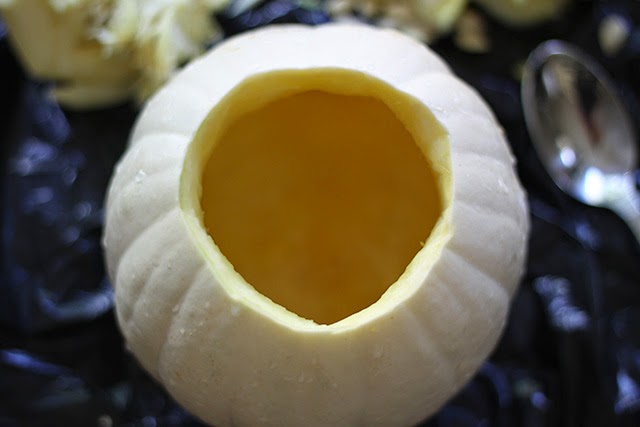
Your pumpkin should look something like this.

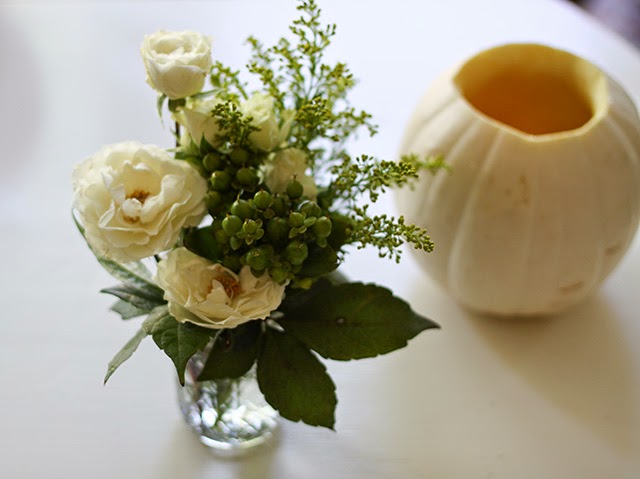
Take an unused jar or drinking glass and make sure it fits inside the pumpkin. You will not want the glass to be taller than the pumpkin. Fill the jar with water.
Trim and arrange your flowers to your liking, and once you are happy with them place the jar into the pumpkin. Add more greenery or flowers if needed to fill the pumpkin to your liking.

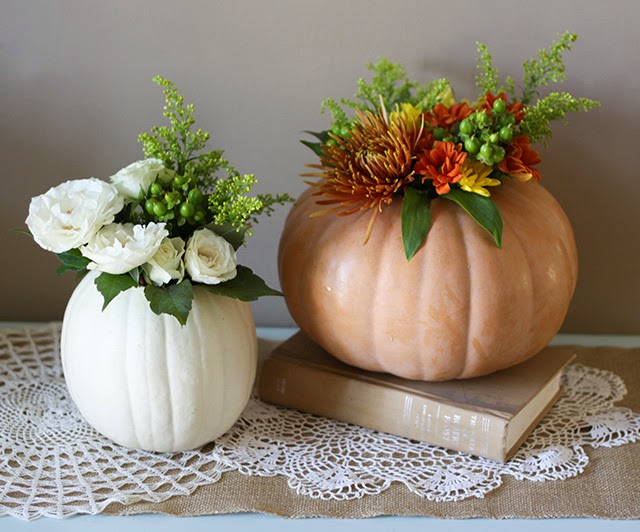
That’s it! You have some DIY fall floral pumpkin centerpieces!
Pretty, huh?

This has to be my favorite fall DIY I have done to date. If you decide to create a pumpkin centerpiece yourself please share it with me on Instagram. 🙂

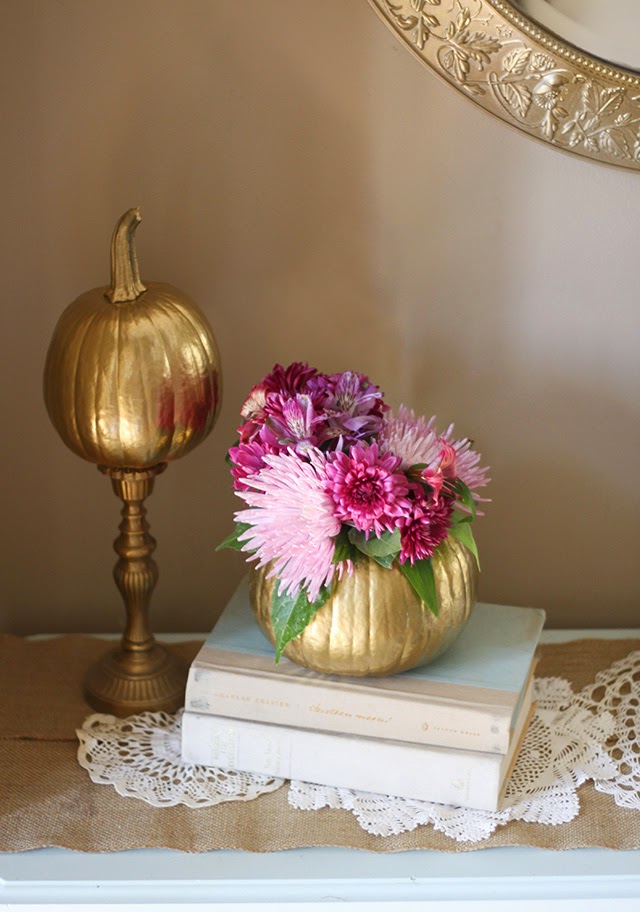
You might also like this faux floral and pumpkin version:
Adorable—going to have to give that a try this weekend! Thanks for the inspiration
http://KatrinaCrouch.blogspot.com
Thank you! Definitely a project worth doing. Good luck and thanks for stopping by! 🙂