Last month (along with some other Kansas City bloggers and creatives) I was asked to test out five different chalk type paints for Vintage KC Magazine.
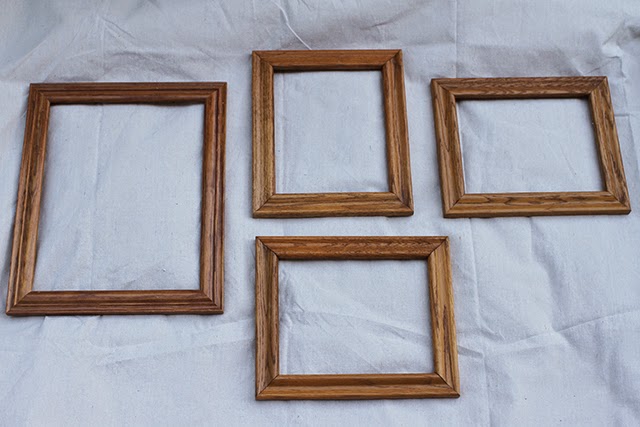
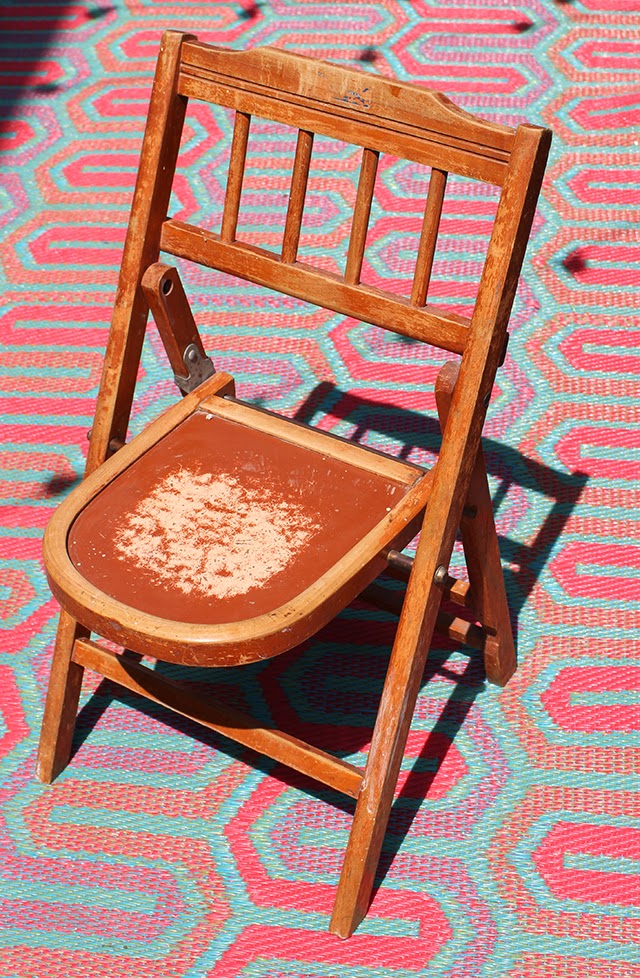
We were allowed to paint anything we wanted, so of course I went on a treasure hunt in our basement, where I found four dated oak photo frames and a cool, but beat up kiddie chair. I decided that these were the five items I would up cycle with some fresh paint.
Before photo…ewww:
Originally I was only planning on painting the wood of the photo frames and calling it a day, but it dawned on me that I could easily turn them into DIY dry erase boards. It was such an easy project that I didn’t even take the usual step-by-step photos. 🙂
All you do is paint the wood frames with your favorite paint color (following the directions). I recommend a chalk type paint because it goes on thick without requiring sanding first. Some chalk paints are so thick that they only require one coat (they are also super easy to roughen up with fine sandpaper to get that cool antiquey look, which is what I did to my frames).
Next take the glass that you set aside from your frame and spray paint ONLY ONE SIDE of the glass with a coordinating spray paint. I always spray two coats.
Then once dry place it back into the frame with the spray painted side down (towards the frame insides). The clean/non painted side will give the painted glass a slightly frosted effect, which looks really cool. You will want to write on the non painted side with your favorite dry erase marker. It works just like any dry erase board.
Not too shabby, right? 🙂
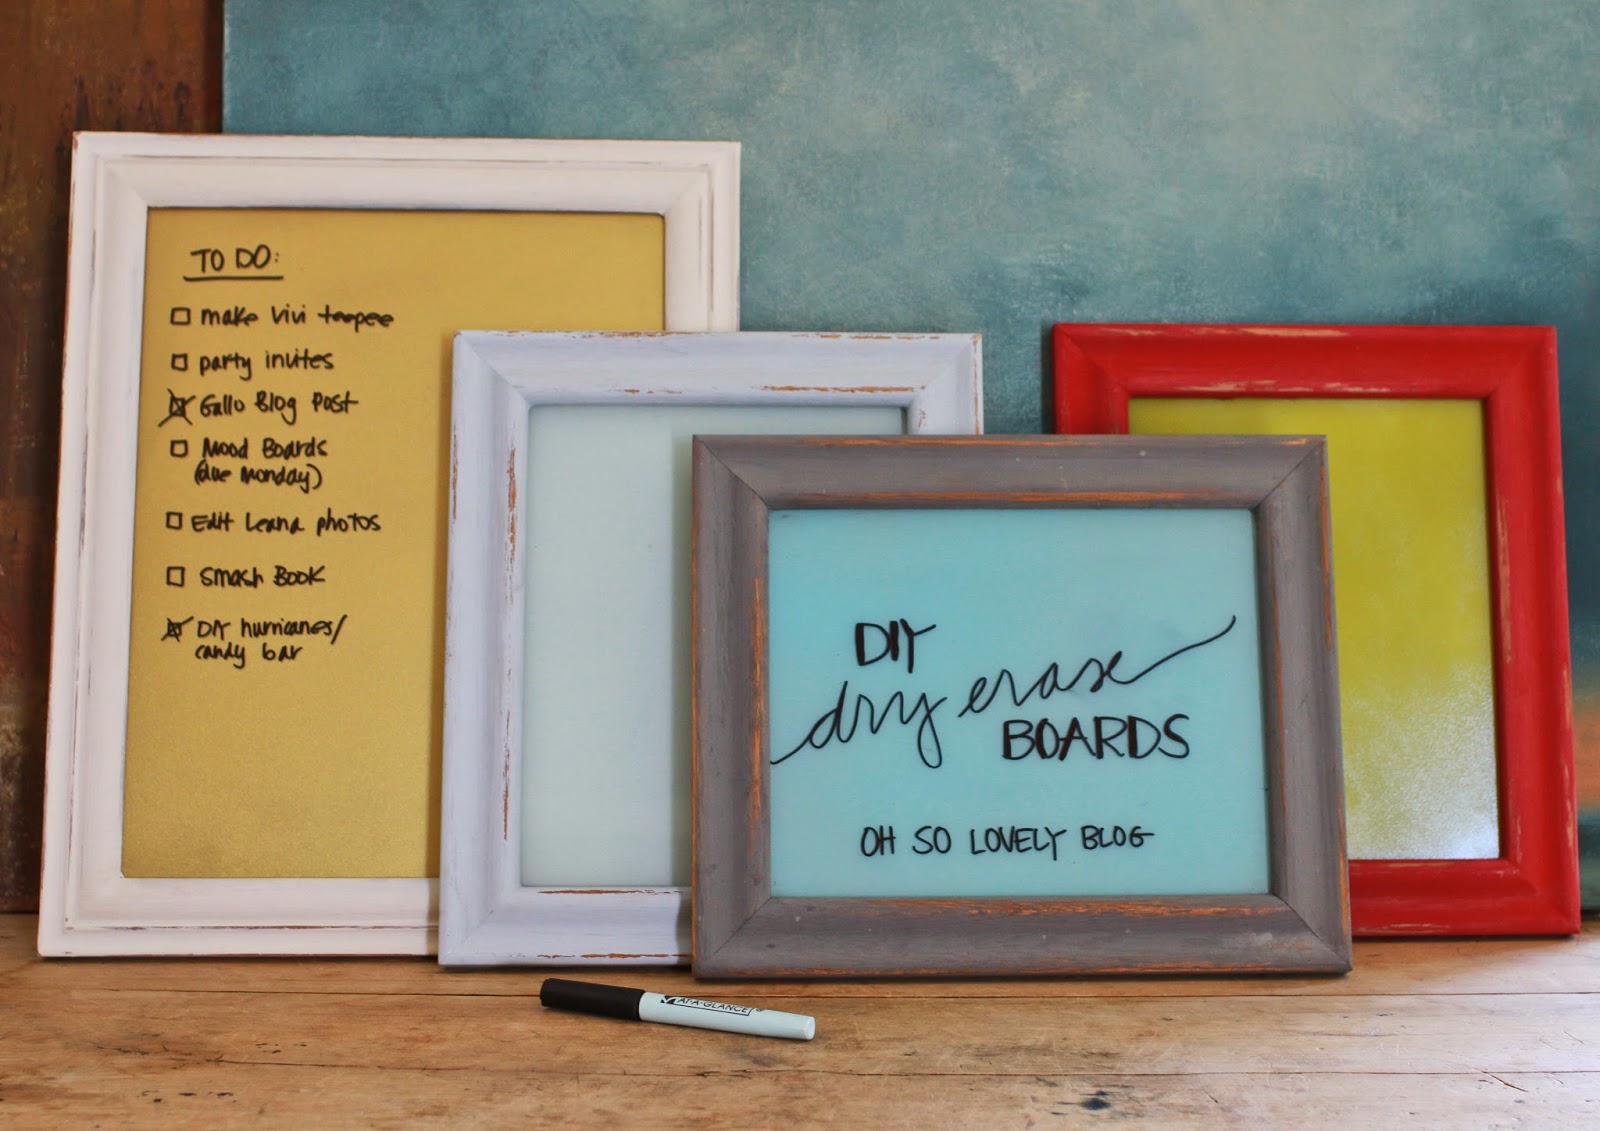
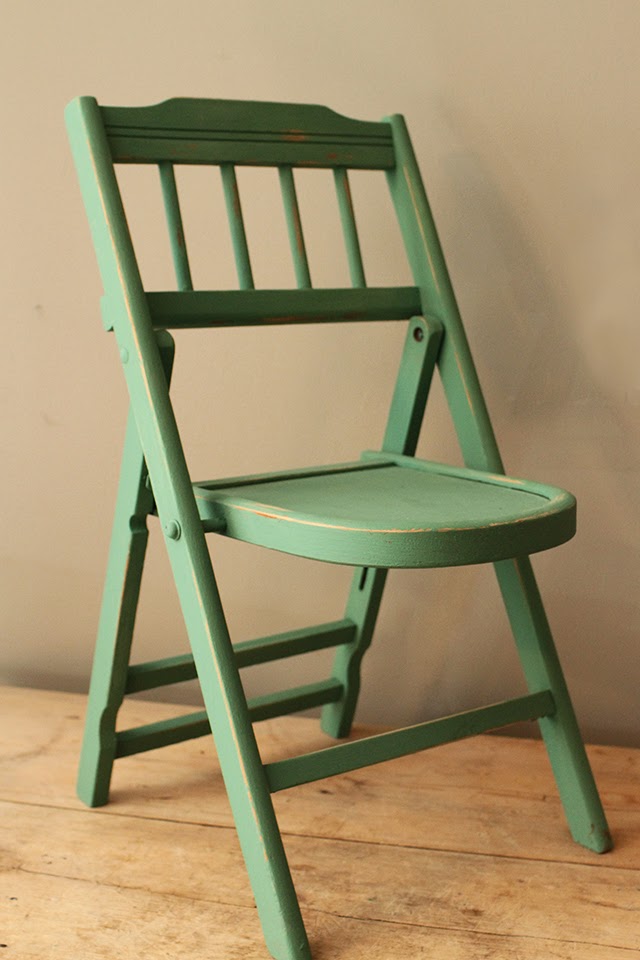
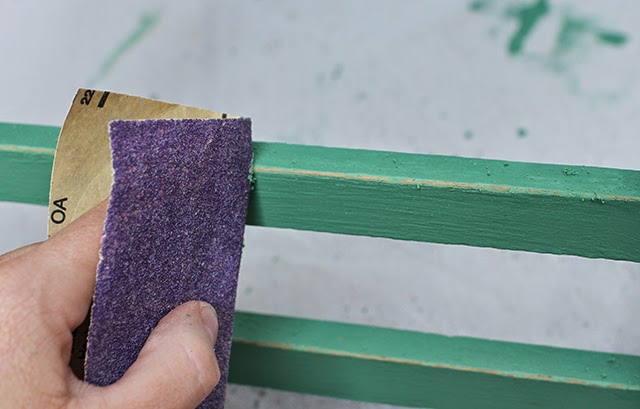
Once dry, take a sheet of fine grit sand paper and rub it on the edges, which exposes some of the original finish. Sand more or less depending on how shabby you want it to look. Brush off the paint powder left behind. Easy as that.
Pick up the upcoming print issue of Vintage KC Magazine (out June 1, 2014), and read about the many different brands of chalk type paint available as well as all of the helpful user reviews.
And of course I’ll share the digital version when it becomes available.
Happy painting peeps!
xoxo
All the contents you mentioned in post is too good and can be very useful.
Dry erase board