DIY pumpkin wreath and garland
Are you ready for fall? I’m so excited it’s time for my first fall DIY projects this year!
I was craving some fun and colorful decor, so I gathered some supplies and got to work to make a wreath and banner using affordable plastic pumpkins from Michael’s.
I’ll show you how!
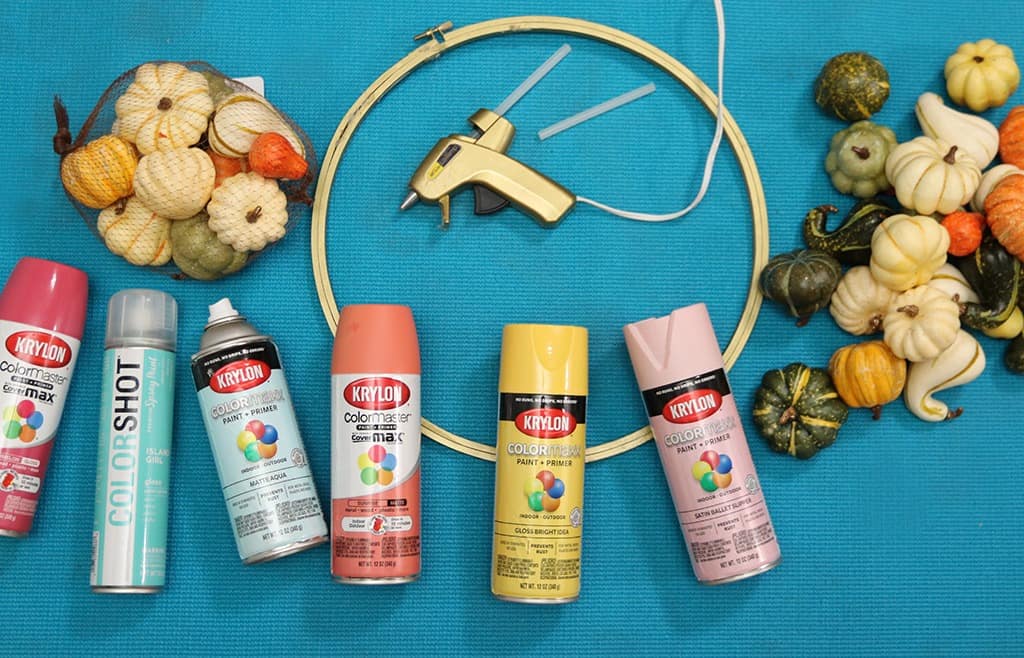
Gather your supplies
- 2-3 bags of pumpkins from Michael’s (they’re buy one get one free right now!)
- Hot glue gun and glue
- Embroidery hoop
- Yarn
- 4-5 colorful spray paints
I used the Krylon brand in the colors Watermelon, Matte Aqua, Sunrise, Gloss Bright Idea, and Satin Ballet Slipper as well as Color Shot Island Girl
Let’s start with the wreath.
Decide how many pumpkins you’ll need to cover the wreath. You can do half like I did or take the pumpkins all around. I needed about 28 pumpkins for mine.
I decided on five colors of spray paints for both projects and divided up the pumpkins to even groups and spray painted them.
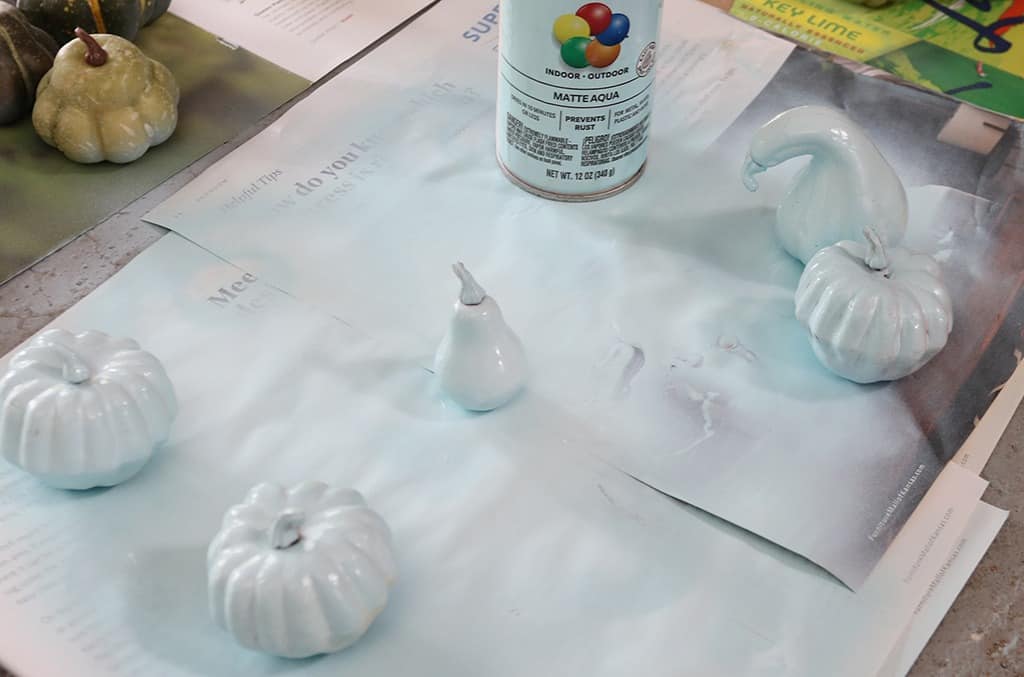
This required two to three coats, and some spray paints covered better than others.
The light pink Ballet Slipper spray paint actually kind of ate away at the pumpkins, so I don’t recommend using this paint. Lesson learned. More on that later.
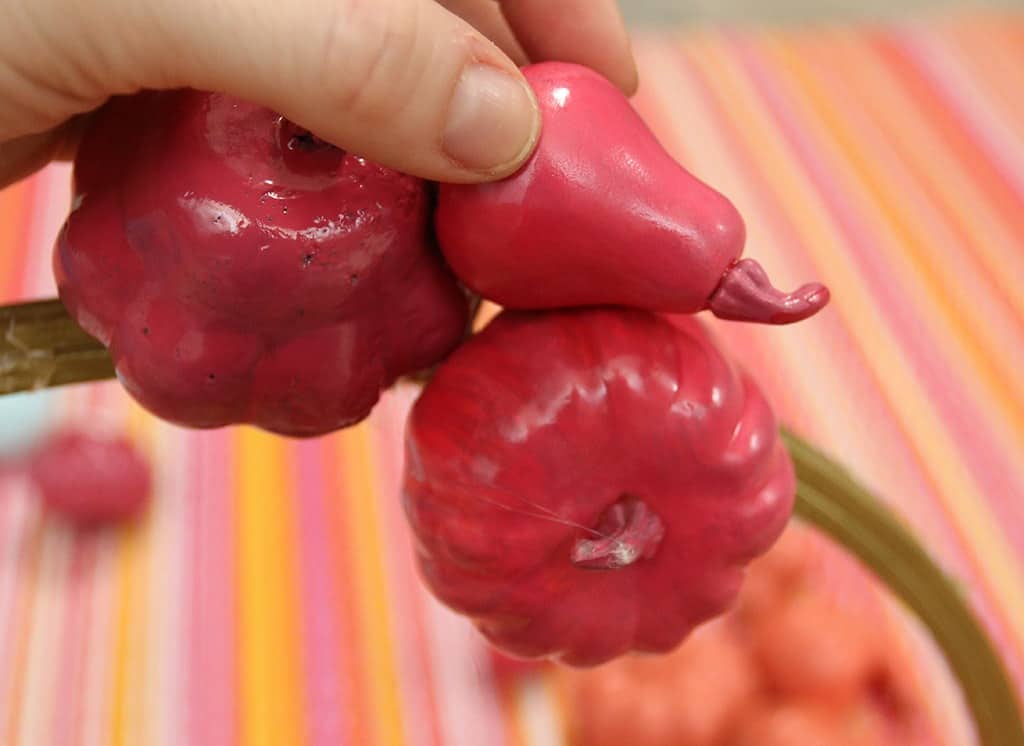
Once the paint was dry, I plugged in my hot glue gun and got to work. I started by gluing one pumpkin onto the hoop.
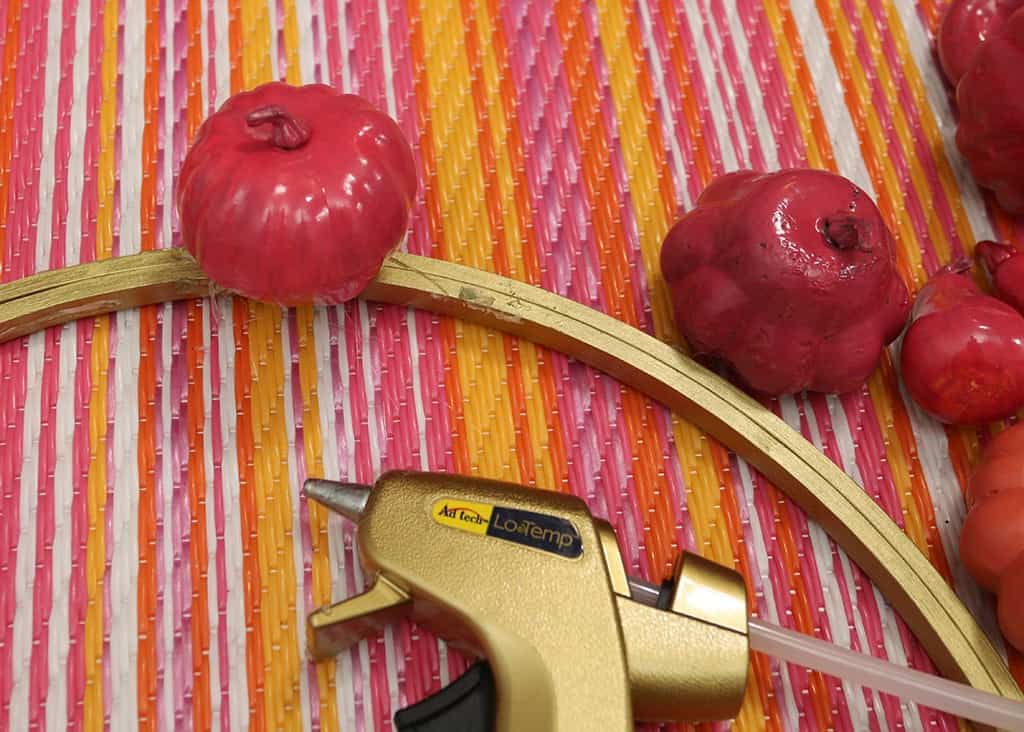
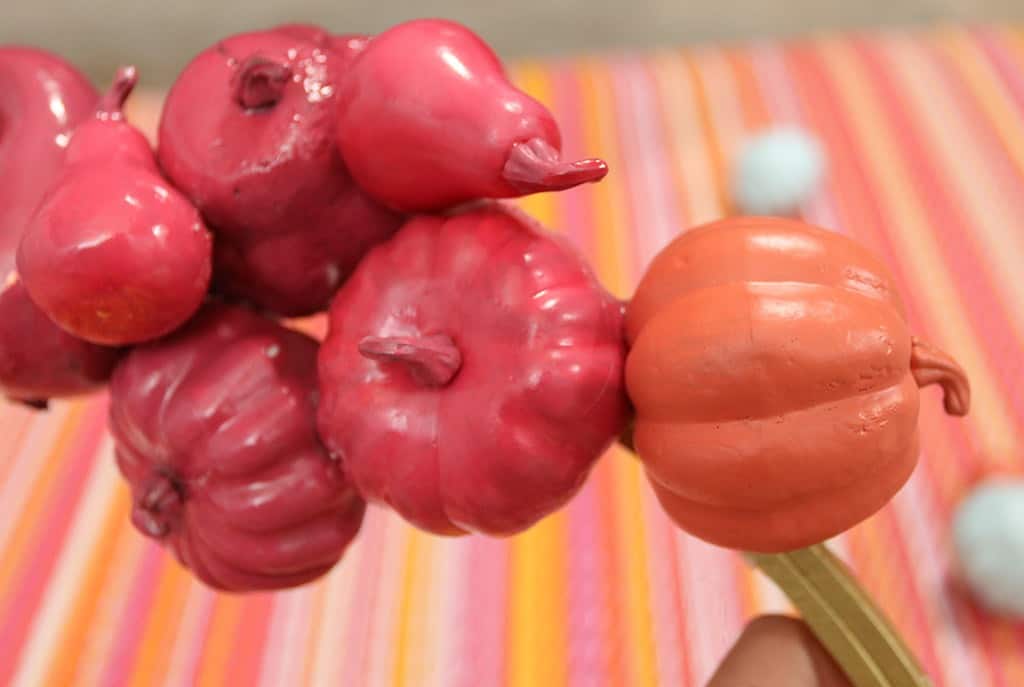
From there, I simply glued the same colored pumpkins together in groups.
I did each section by color, and decided to use four colors, but you can definitely only use only one color.
Here’s the backside. It doesn’t have to look good, ha!
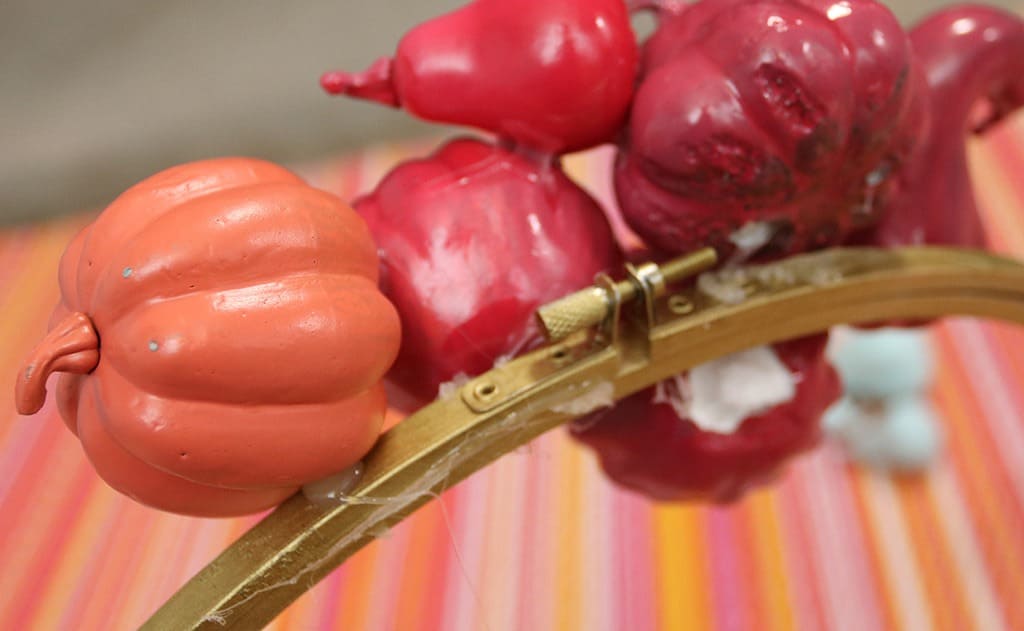
I repeated these steps all around the bottom half of the hoop until I was happy with the look. Then I pulled the dry strings of hot glue off the pumpkins.
As I mentioned, I wasn’t the biggest fan of the light pink spray paint, so I decided to grab a pink acrylic paint and paint brush from my paint stash and brush a deeper shade of paint over the pumpkins. I’m much happier with this color!
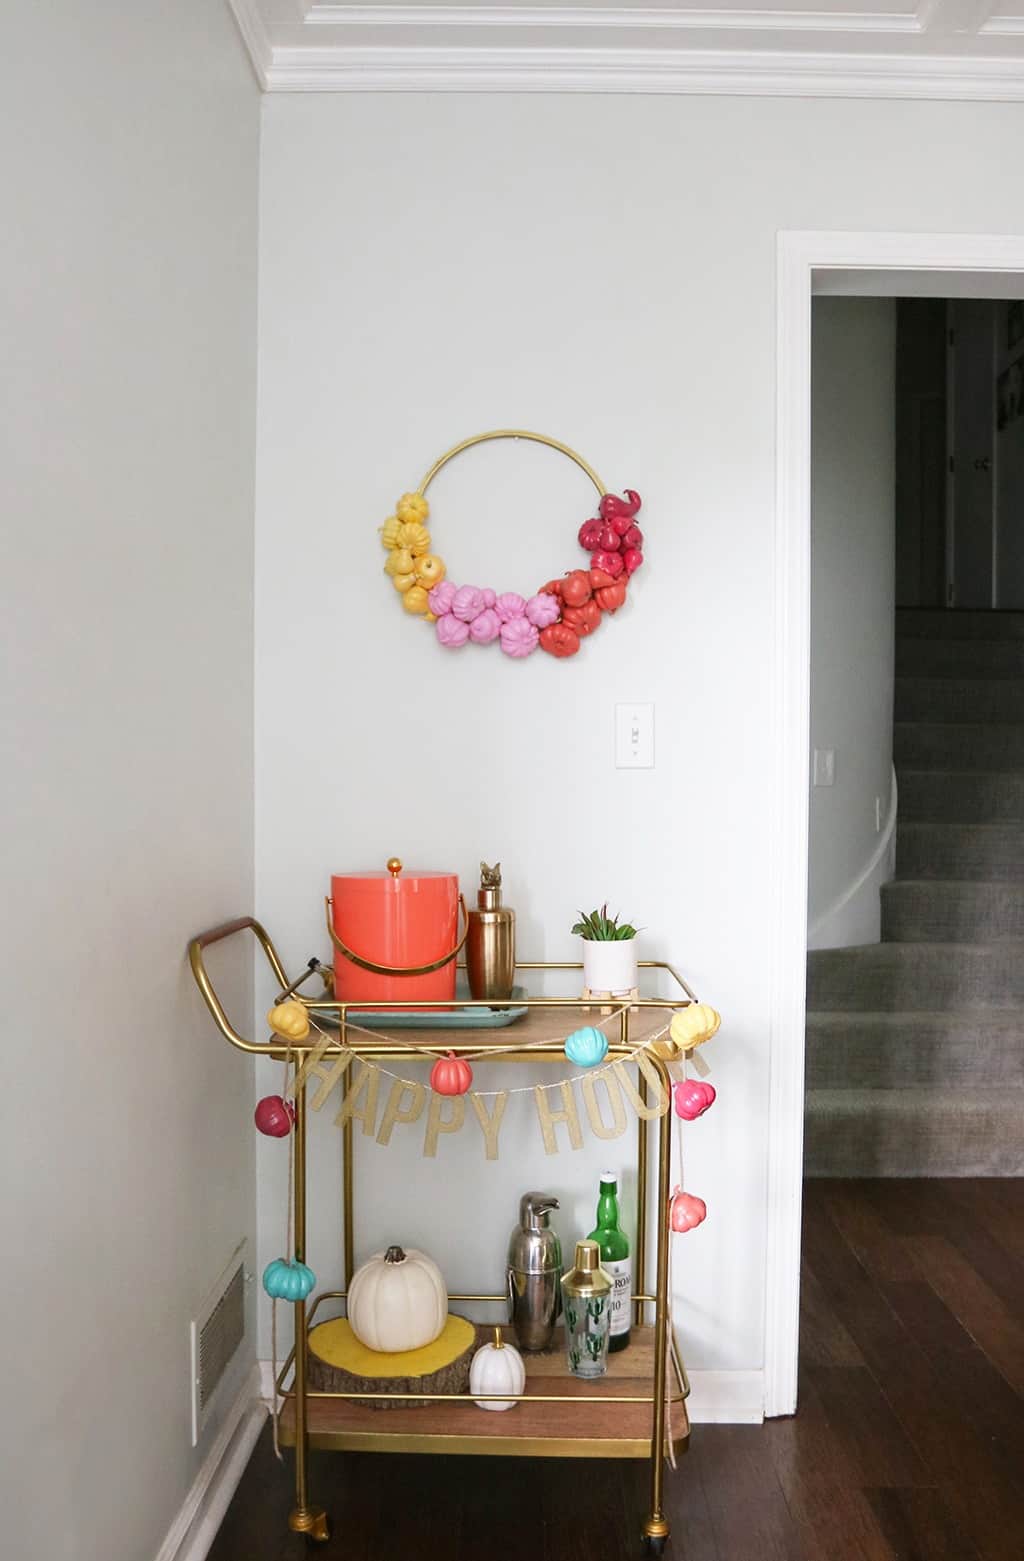
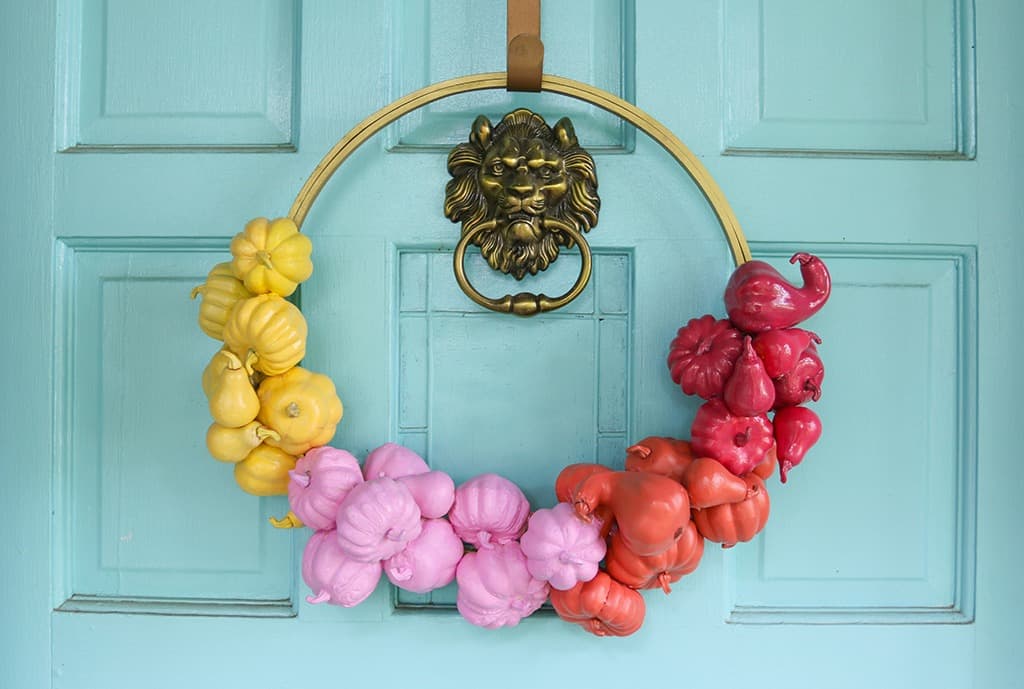
And here she is—my colorful and unique hoop pumpkin wreath!
I love the way it looks on our turquoise front door! I chose the spray paints based on what would look good on this color.
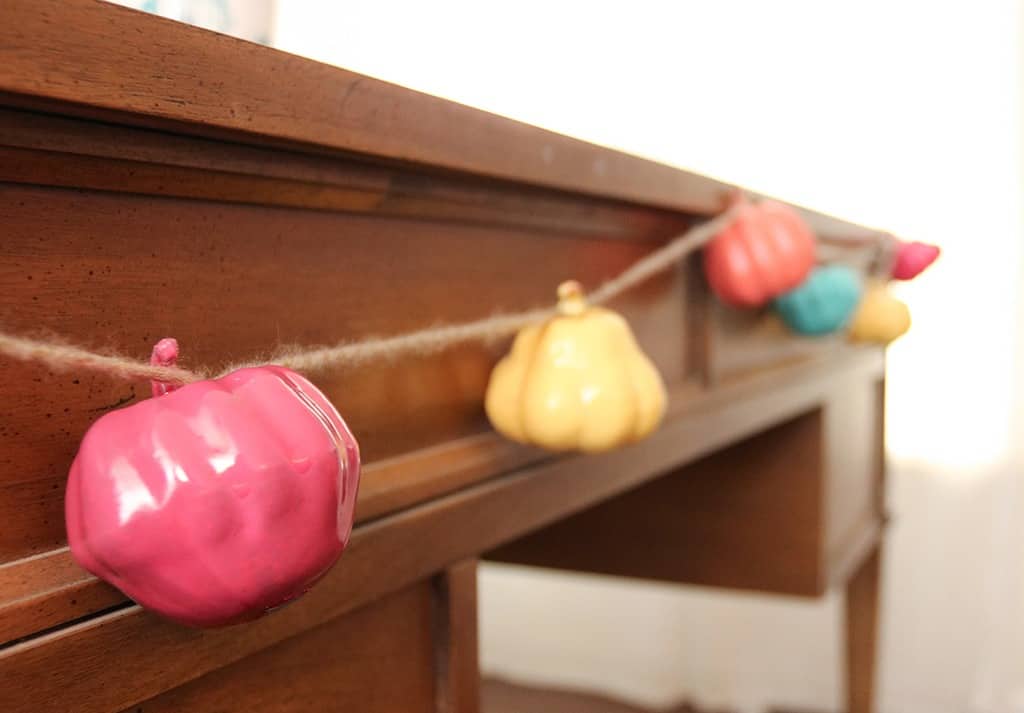
Ok now it’s time for an even easier project—my DIY coordinating pumpkin garland banner.
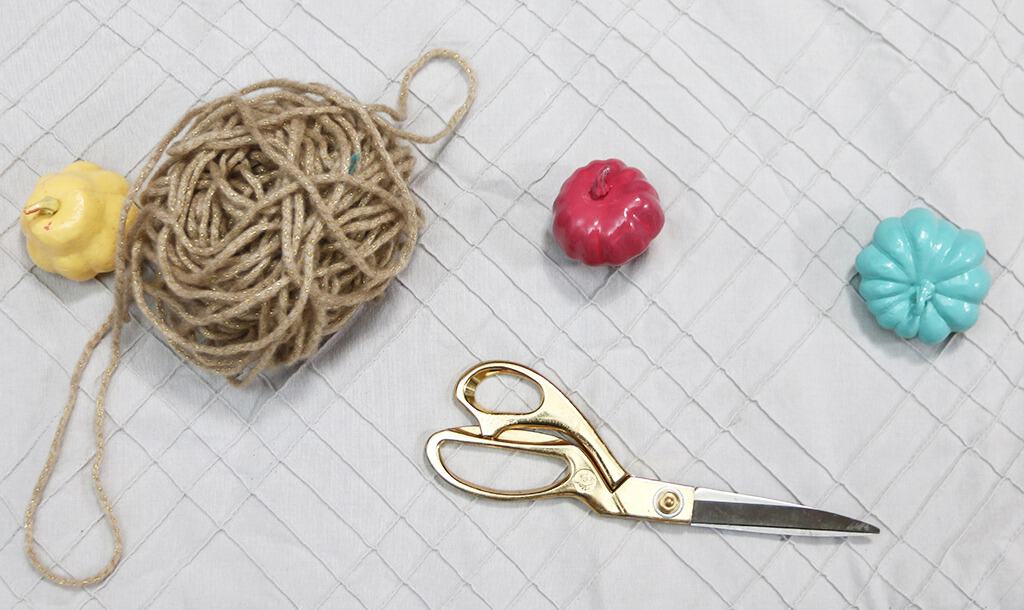
Take your colorful pumpkins (I used eight), yarn (I used a sparkly gold), and a pair of scissors and let’s get to work.
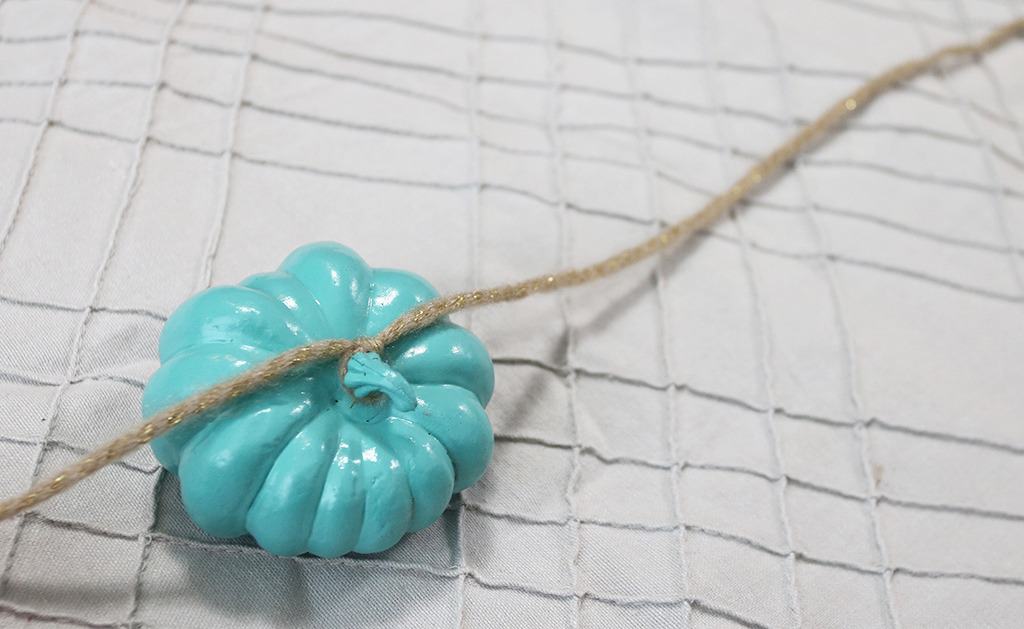
All you do for this project is cut your yarn to the length you want for your banner, remembering to leave at least 12″ of yarn at both ends for hanging.
Simply tie the yarn around the stem of your first pumpkin.
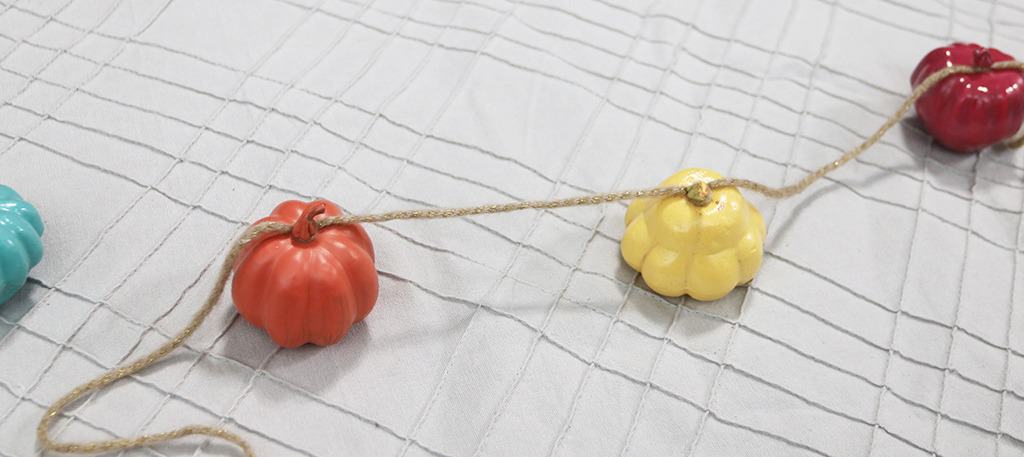
Add the next one spaced out however you prefer.

Repeat these steps until all pumpkins are tied on evenly.
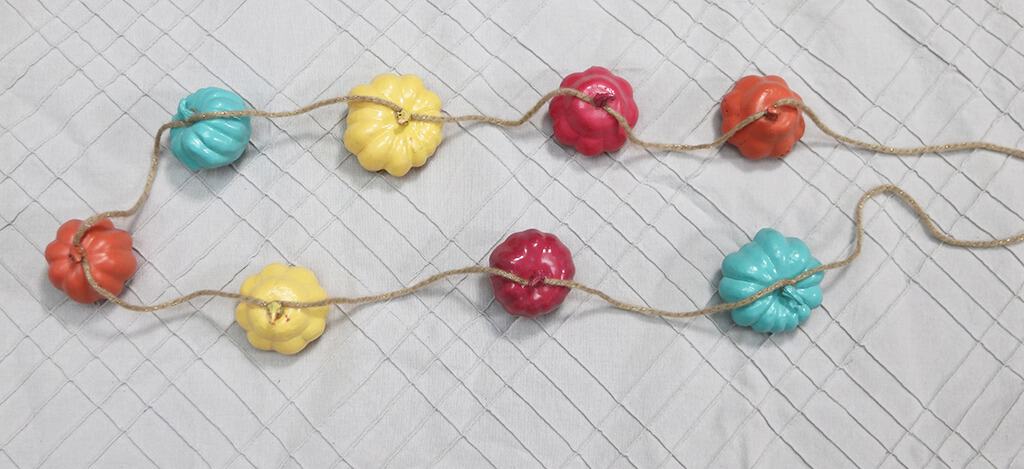
And you have a quick and easy pumpkin banner!
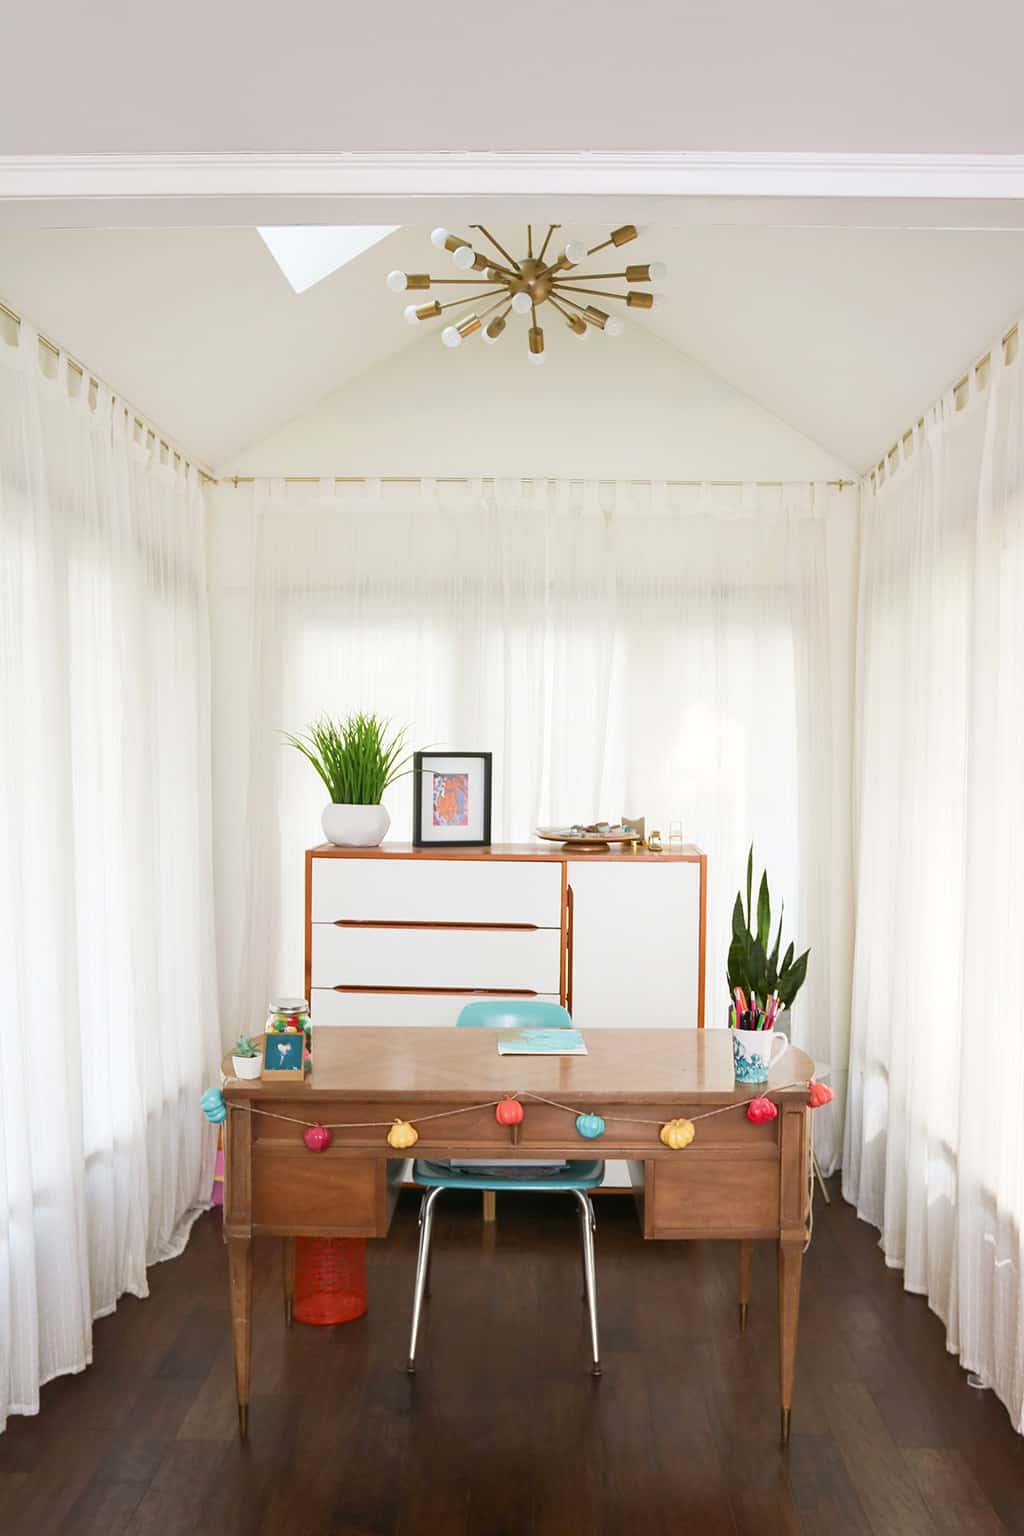
I hung the finished banner in a couple spots until I found it’s perfect home on the bar cart. Here it is hanging on the desk in my home office nook.
And here it is again in its home, the bar cart. I love it all set up with the coordinating wreath above it!
What do you think of my DIY pumpkin wreath and garland banner?
Will you be making one or both? I highly recommend them as a fun and affordable way to add some color and personality to your fall decor!
If you decide to make them, please tag me in your Insta, Twitter, or Facebook photos. I love to see what other people do!
Happy crafting!
xoxo
Audrey
Pin this DIY pumpkin wreath and banner project for later!

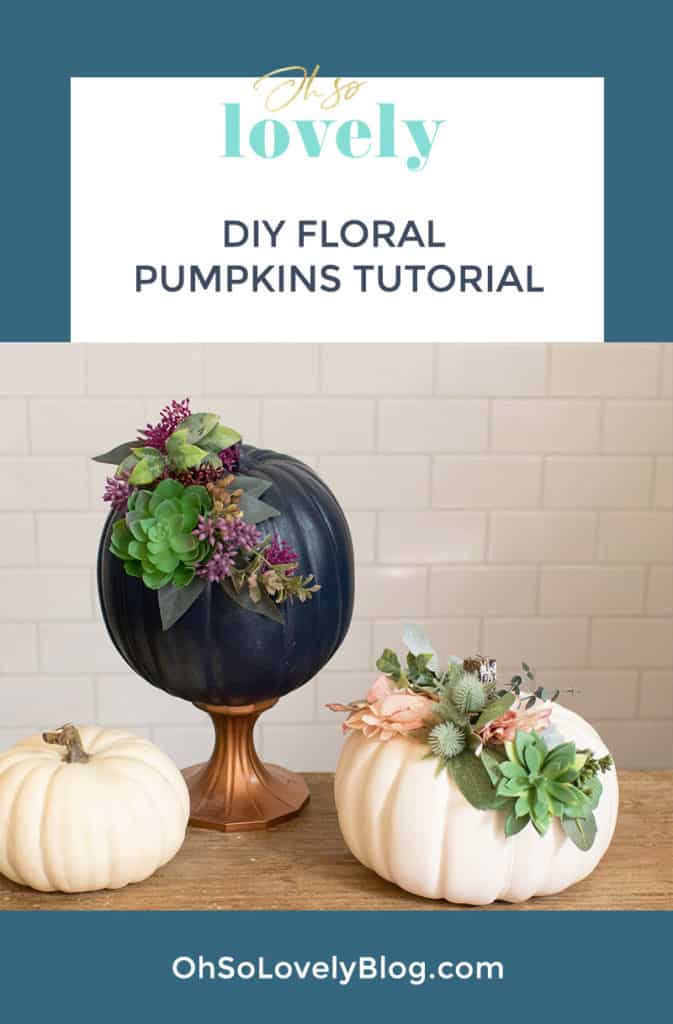
You might also like these DIY floral pumpkins
Disclaimer: This website contains contextual affiliate links, which means that when you click and make a purchase via a link I have provided, I make a small commission at no additional cost to you. Oh So Lovely Blog is a participant in the Amazon Services LLC Associates Program, an affiliate advertising program designed to provide a means for sites to earn advertising fees by advertising and linking to Amazon.com.