As you might have seen in some of my previous posts, I love DIYing gifts for Vivi’s daycare teachers for most holidays (see some past gifts by clicking here and here).
Since Valentines Day is sneaking up on us, I figured it was time to start on the gifts.
I spotted a couple of super cute mug DIYs on Pinterest, and decided to give ’em a try. The best part, they cost next to nothing to make, and can be filled with goodies.
I started off with some fun and cheery tissue paper mugs, which only took about 15 minutes to make. Aren’t they fun?

|
| Project inspiration source: I Spy DIY |
I gathered my supplies:
– Inexpensive white mugs (I got mine for 88¢ each from Wal-Mart)
– Tissue paper in various colors
– Dishwasher Safe Mod Podge
– Foam brush
Simply rip of small imperfect pieces of tissue paper, and use your foam brush to apply the base coat of Mod Podge.
Then start layering your first piece of tissue on, followed by another coat of Podge. Repeat this step until you are happy with your mug.

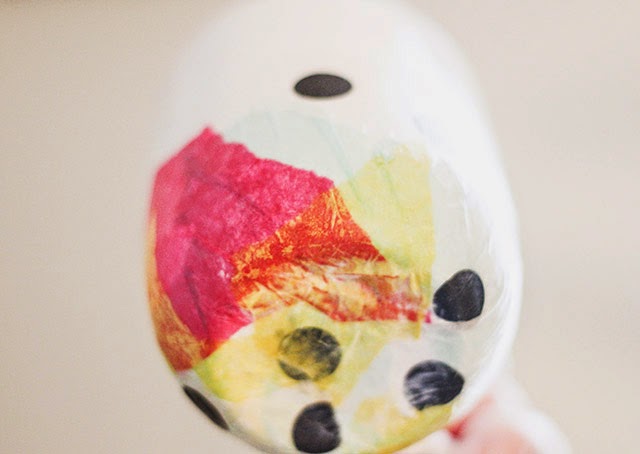
Finally, coat once more with the Podge and let dry. It’s that easy. 🙂
Tips: You’ll want to make sure that the tissue and Podge isn’t on the top area of the mug where you’re mouth will be.
I chose to keep my tissue toward the bottom of the mug, but you can use more if you prefer.
** Note: I didn’t have the dishwasher safe version of Mod Podge handy, so I’m using my mugs for decor/office supply holders. Once my dishwasher safe Podge arrives int he mail, I’ll make a few new mugs that are safe to wash. **


Let the mug dry for 24 hours, and then place the mug into your over BEFORE you begin to bake at 220 degrees. Placing the mug in the oven early lets it heat up to temp gradually, keeping it from cracking. Once the oven is up to temp, set your timer for 30 minutes. Then when the timer goes off, turn the oven off, but leave the mug in until it cools back down all of the way. This will once again keep the mug from cracking.