Do you have some digital photos that you’ve been meaning to print, but haven’t? Yeah, me too. Tons of ’em.
I recently discovered Mod Podge Photo Transfer, and wow, is it amazing! It helps you easily, affordably, and permanently transfer your photos to almost any material.
I found some adorable digital photos of my parents as kids, and wanted to do something with them. I had two blank 8×10 photo canvases laying around, so I decided to transfer the two photos to them with the help of the photo transfer. It was much easier than I expected, and after doing one I quickly got the hang of it.
Here’s the full tutorial…
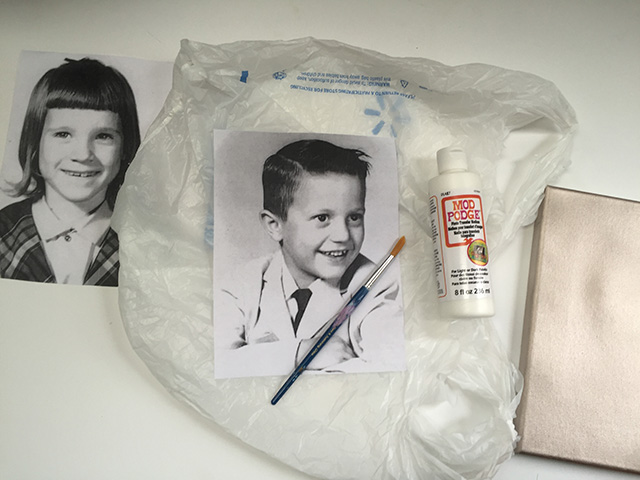
Gather your supplies
Regular white copy paper
Laser printer
Computer with digital photo(s) on it
Mod Podge Photo Transfer
Substrate you want to transfer to
Spatula tool
Kitchen sponge
In your favorite photo editing software reverse (flip) your photos so they transfer right side up when completed. Print out your digital photos on regular old copy paper.
Choose the “fit to page” printer feature if you want your photo to fill a letter sized sheet of paper (like mine) then trim white edges off if you please (I trimmed mine).
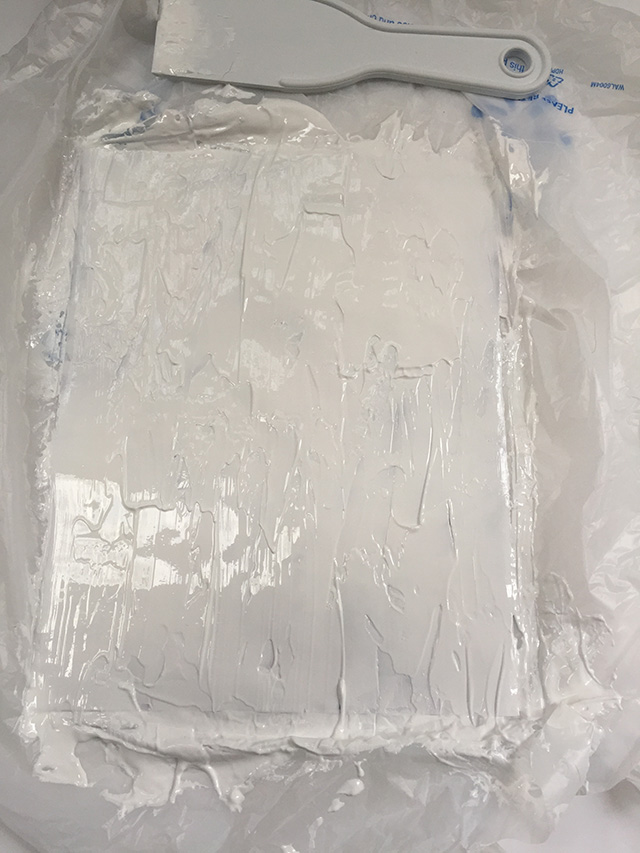
Place the photo face side up onto a grocery sack or material that yo don;t mind tossing afterwards.
With your spatula, evenly coat the photo side of the print with the transfer medium until you see no photo underneath.
Take the coated side of the paper and put it face down on your substrate.
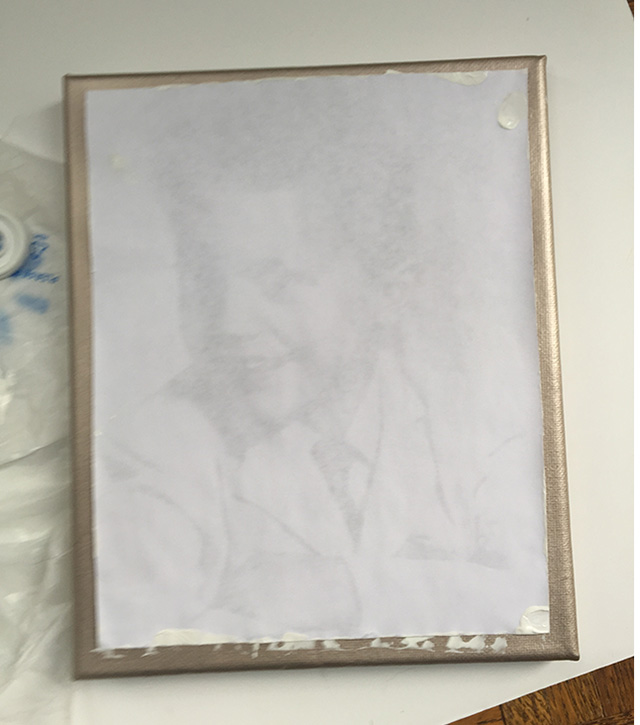
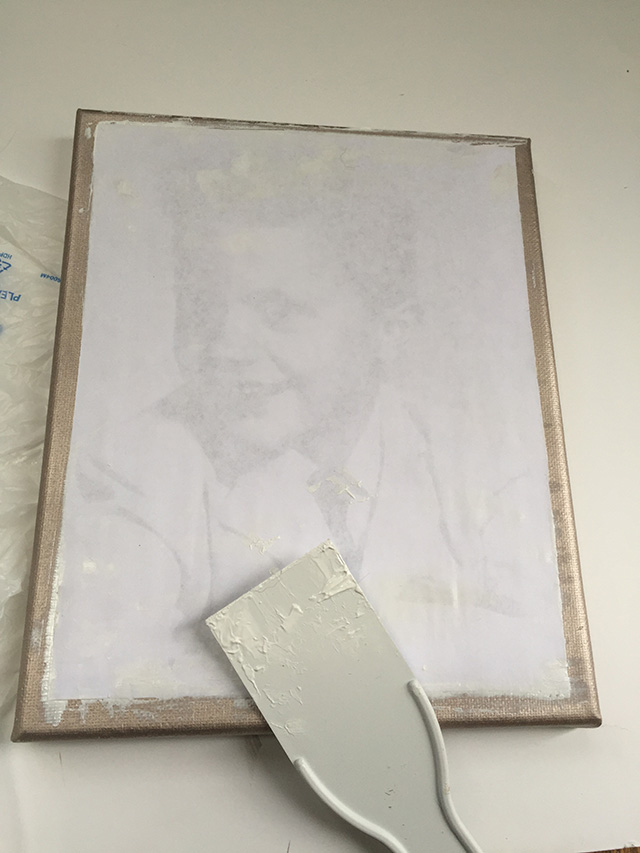
Using your spatula, firmly brush over the entire backside of the photo to adhere it to the substrate. Make sure all bubbles are flattened.
Do the same to your other photo(s) if you have more than one.
Once you’re happy with them set them aside for 24 hours so they have time to completely dry. This is the hardest part in my opinion. The dreaded wait. 🙂
24 hours later, take a regular kitchen sponge and wet it down. Firmly wipe off the paper fibers until the photo is revealed.
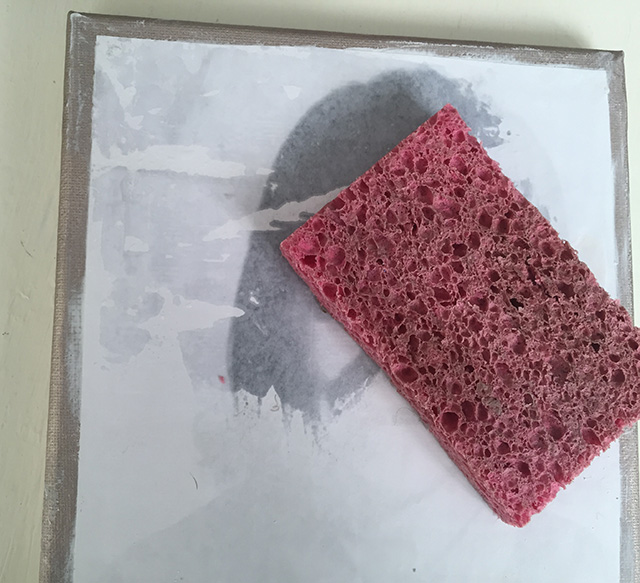
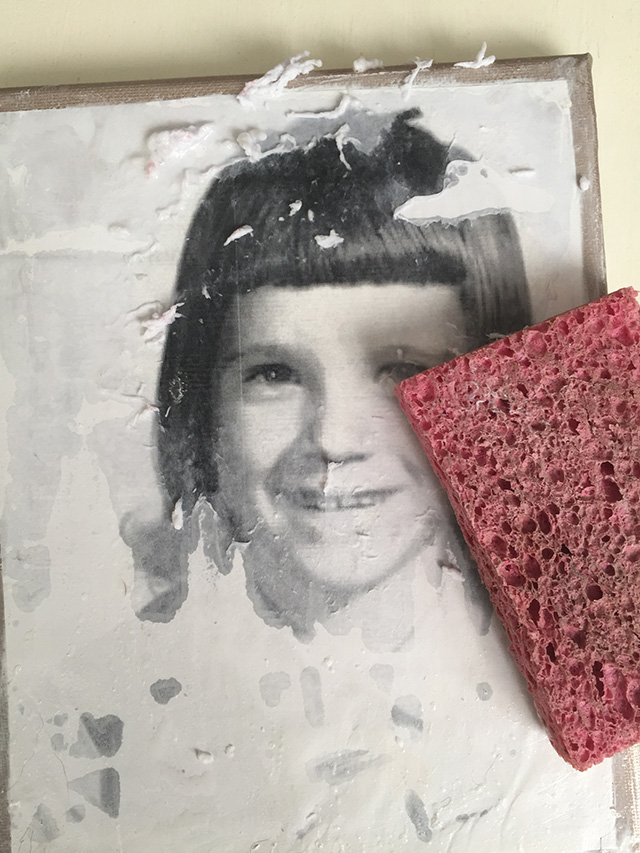
Keep scrubbing until all of the paper is completely removed from the substrate.
TIP: I had to push much harder than I expected, and it took me about five minutes to get all of the paper off of each substrate.
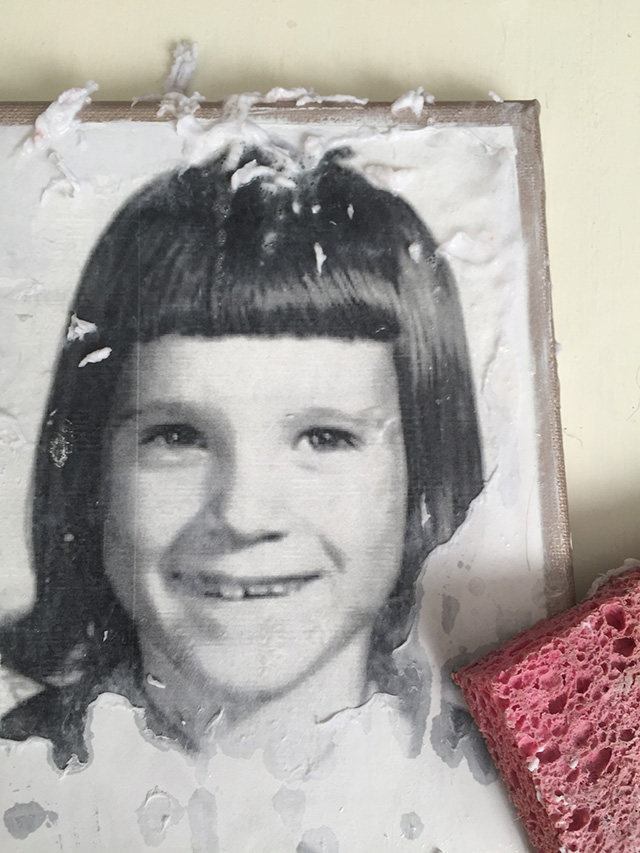
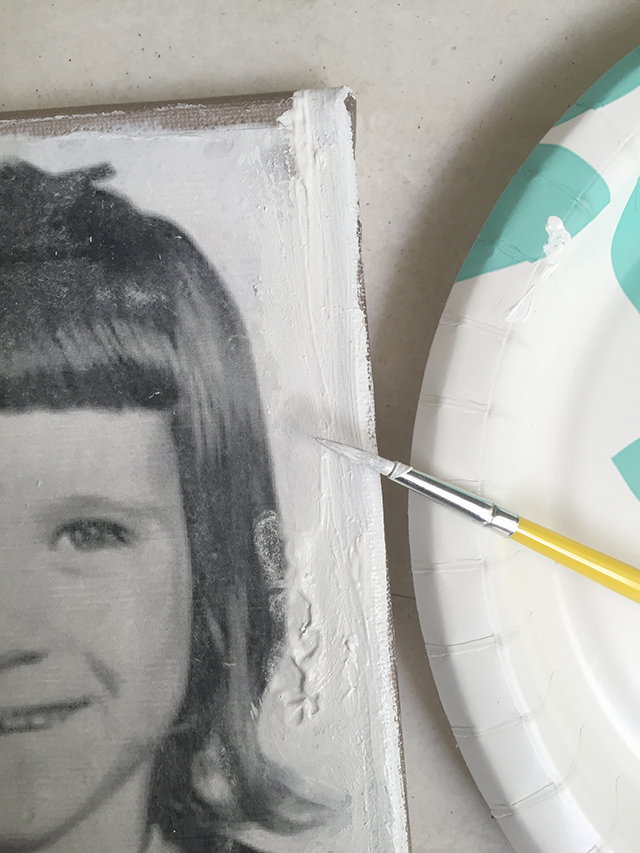
You might have noticed that my canvas was spray painted gold. I was hoping it would give it a cool effect, but once the transfer happened, all you could see was white. Good try, I guess, ha.
So I decided to take some white acrylic paint and paint over the remaining gold areas to make it feel clean and bright.
You might notice I had some bubbling in the print. I found bubbles really show up on the final product, so be sure and get all of those bubble out in the transfer process.
I took a pencil and shaded the areas in darker, but it was still a bit noticeable. I decided that it played up the vintage look, and that I kinda like it. 🙂
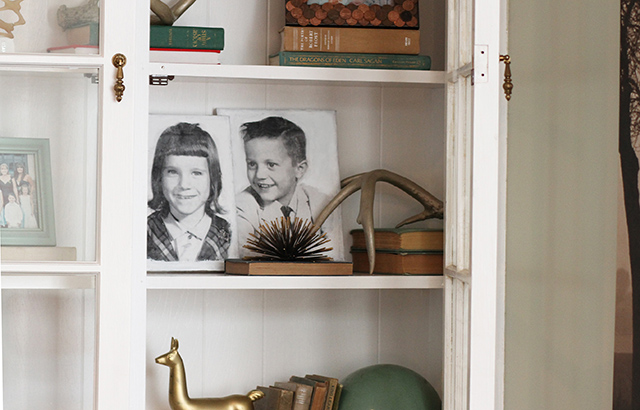
Once the paint dried on both, they found a new home in our built-ins.