Last weekend Vivi and I were randomly hanging out on the top cliff part of our backyard and found some cool sticks.
I couldn’t bring myself to throw them away (or behind some bushes, which is pretty much how I “throw yard waste away.” 🙂
I knew I could do something crafty with them. I decided to create a cool wall hanging out of them for my office using stuff I already had on hand. Because why not?
I’m happy to report that the idea came to me sans Pinterest, but once I started the project, I checked Pinterest, and of course it had been done before. Sigh. It felt nice to come up with a project on my own. Sometimes Pinterest makes that part difficult. 🙂
You might also like this DIY stick wall hanging
Anyhoo….
Incase you’re interested in following along, here’s the tutorial.
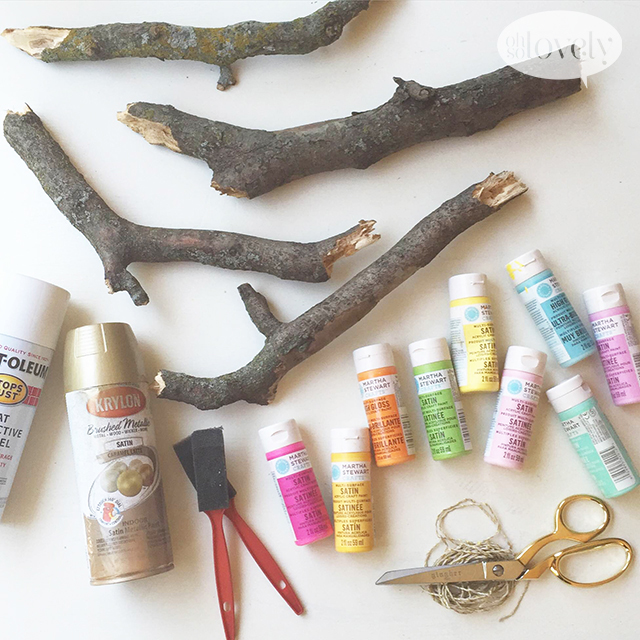
You’ll need:
+ Sticks (thicker is better, and smooth driftwood is best if you can find it)
+ Acrylic paints in your fave colors
+ Paint brushes
+ String
+ Scissors
+ Spray paint (incase you want to give your sticks a light spray before the acrylic paint part)
I lightly covered my sticks with a light coat of spray paint before I got started to soften up the darker brown sticks, and to age them a bit. I painted two sticks white and the other two sticks a shimmery gold. I knew I would alternate the colors in my hanging to add interest.
Anyhoo…
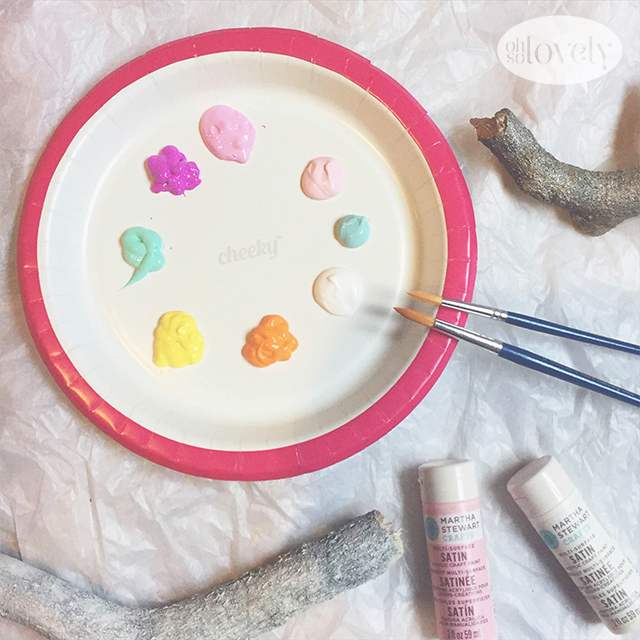
Get your paint squirted out and ready to go. I love using coated paper plates for my paint palettes. Super easy cleanup afterwards.
And PS. Cheeky is my absolute fave (click here to learn why they are so special to me).
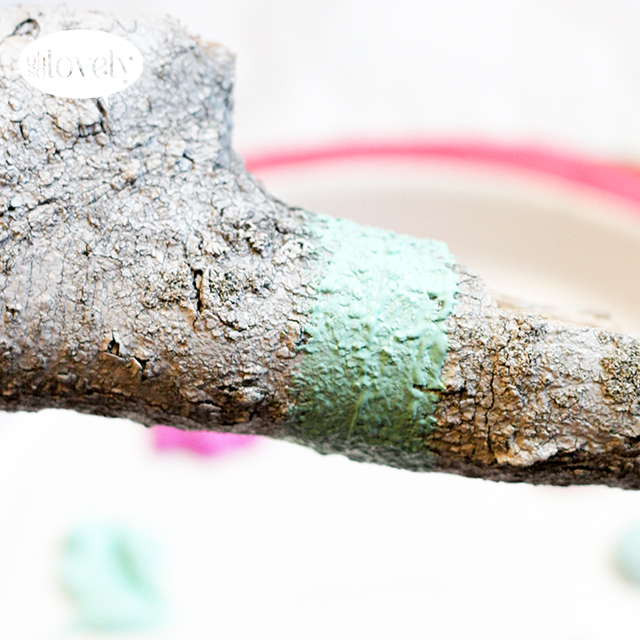
Start by painting your first design. I went for classic stripes. I didn’t use painters tape for crisp lines on mine because the wood bark is so rough. I wanted it to feel more organic. Painters tape would work great on a smooth piece of drift wood.
PS. I’m definitely stopping by some lakes in search of some drift wood for future projects.

Continue painting to your heart’s content. It looks cool to leave some “negative ” wood space for the wood to show through.
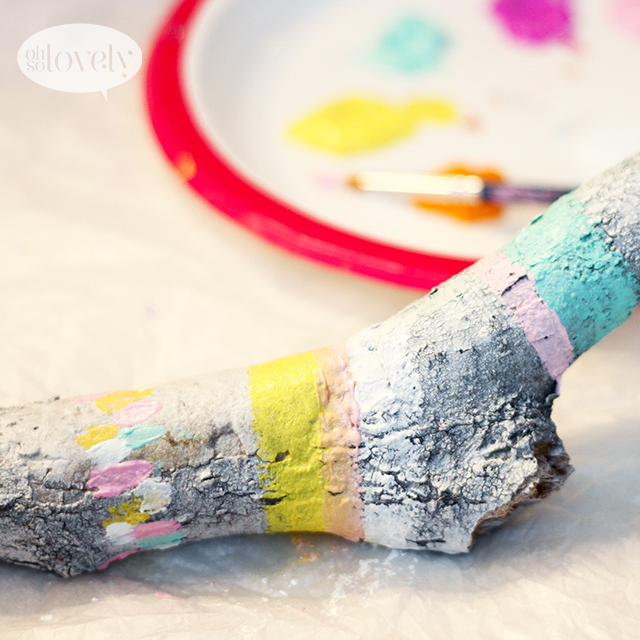
Get creative with the patterns. Just go with it. Once you start it’ll just flow. 🙂
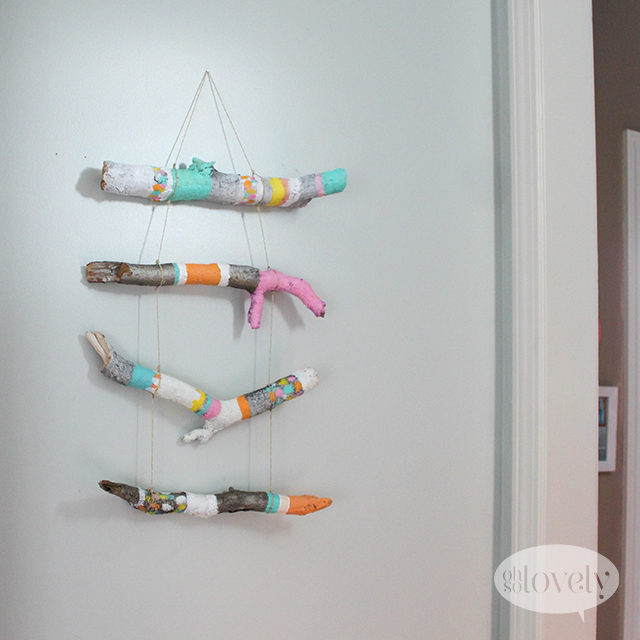
Just make sure you think about how they will be hung on the wall and in what order. I made sure to base my paint designs around how they would all look when grouped.
After you’ve painted all four sticks in your desired patterns let them dry.
Now we’re ready to hang these beautiful bad boys!
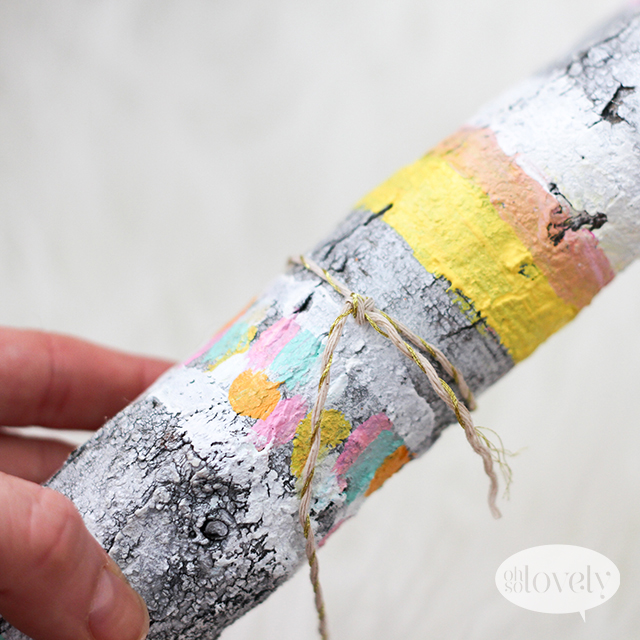
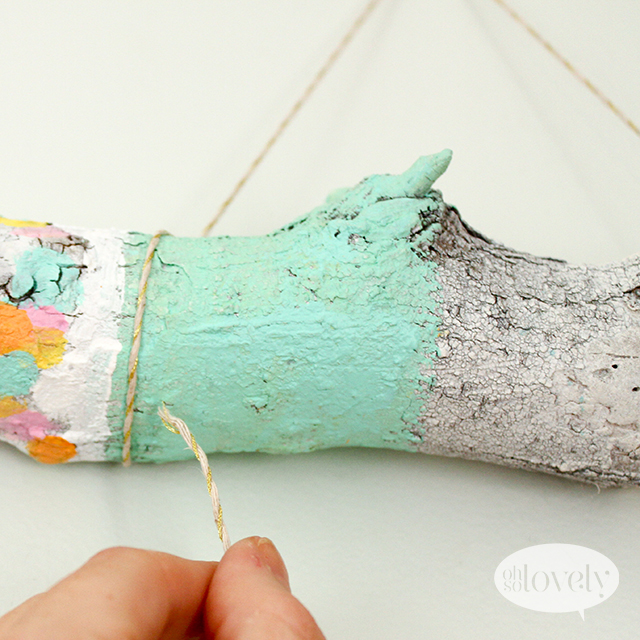
Tie your string securely around the top stick and make sure you leave about 12″ of string behind the knot.
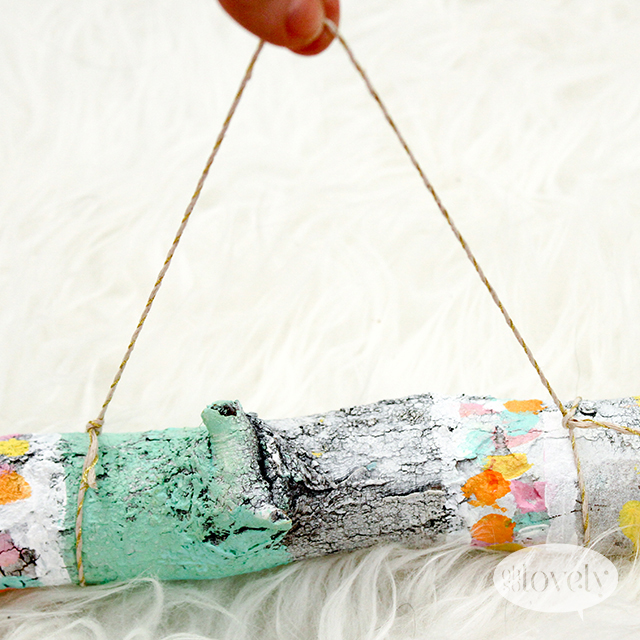
Once the first knot is created do the same to the other side. Make sure you leave enough string at the top to hang it with.
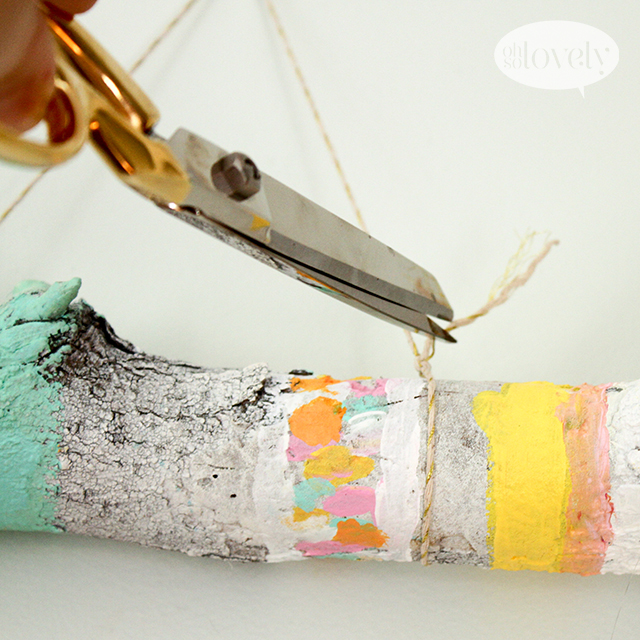
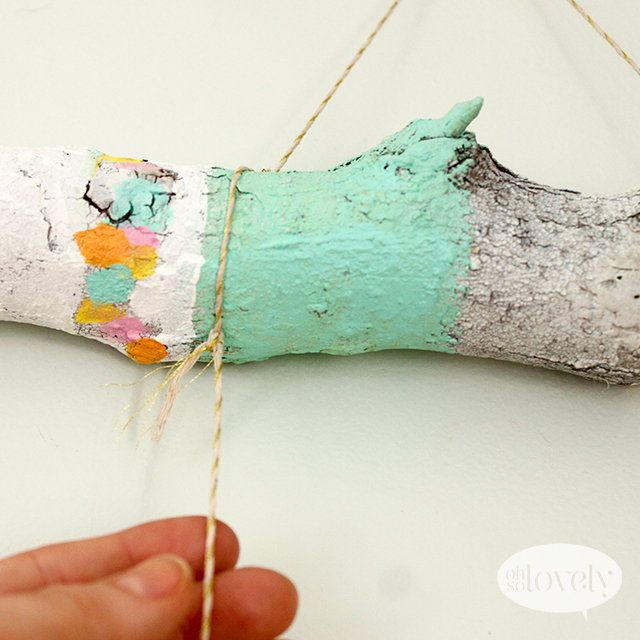
Trim off the excess string past the knot.
Hang the first piece on the way and situate the stick how you want it.
Take another 12″ or more strand of string and loop it through the string on the first stick.
Once it’s looped though, tie a few knots for extra security.
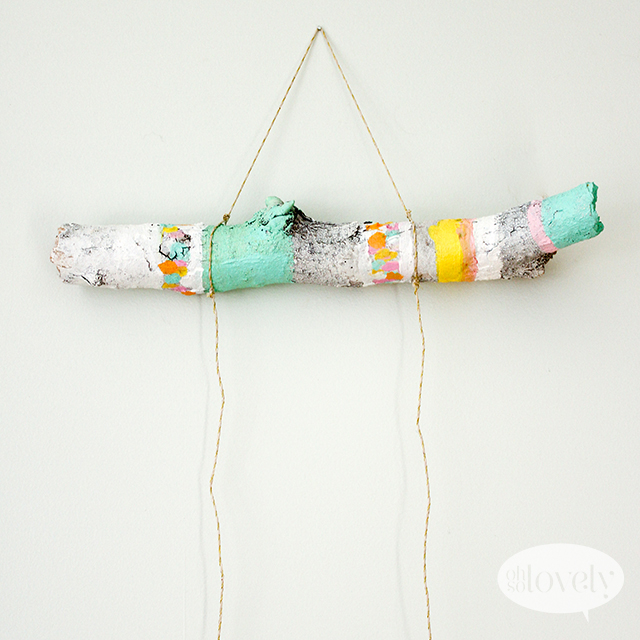
Repeat the same step on the other side. Then trim off the excess string past the knots.
Now, get your second stick, and attach it to the string the same way you did your first stick.
Once both sides are secure, trim off the excess string past the knot.

Now you’re a pro. Just keep following the same steps.

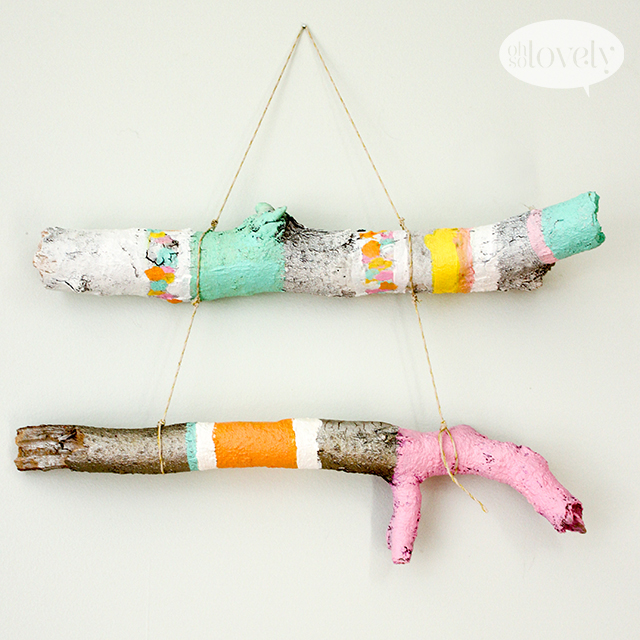
Add in your next stick. And do the same step for the fourth stick.
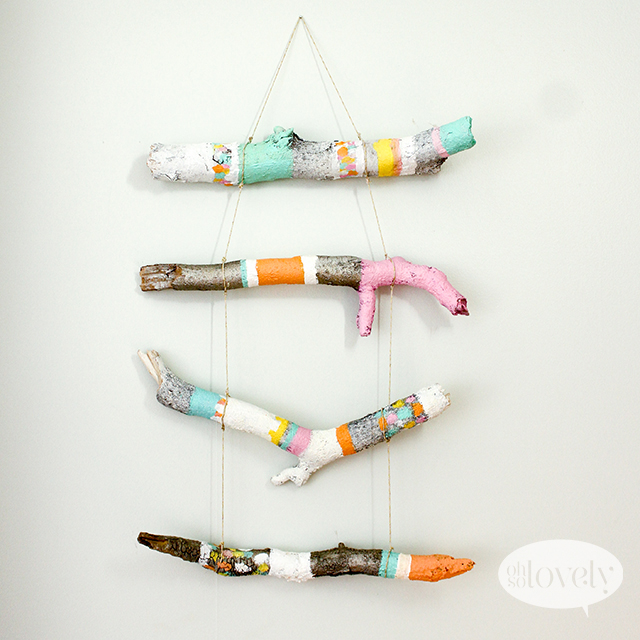
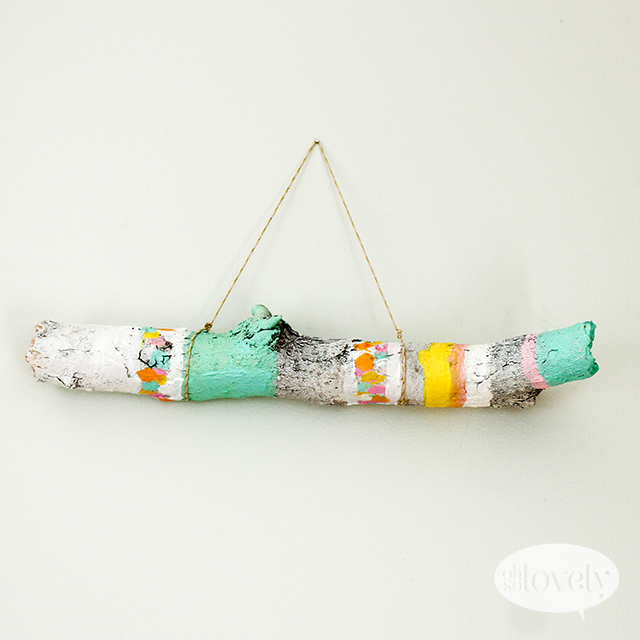
Bam! You just created yourself a badassly unique wall hanging for next to nothing. Go you!! 🙂
This has to be one of my fave DIY projects. Definitely in my top five.
What do ya think? Can you tackle this on your own?
Do it! You’ll love the end result.
xoxo