We’re in the middle up updating our master bathroom flooring (goodbye disgusting carpet, hello dark, wood look tile).
I’ve been eyeing some fun DIY mason jar storage projects on Pinterest for awhile, and decided that now is the perfect time to try one for the bathroom. Any extra storage is always a plus.
What you’ll need:
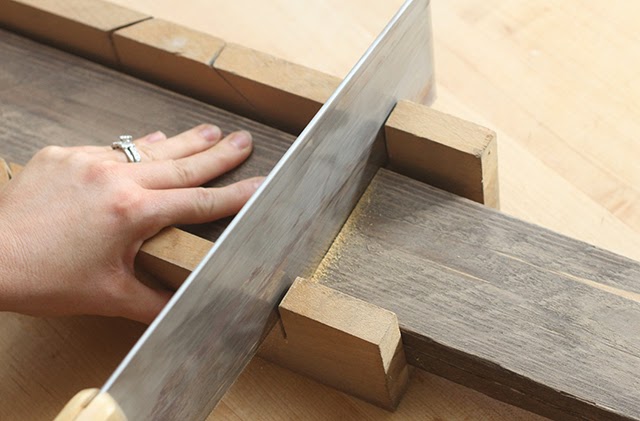
Take your piece of wood and cut it down to the size needed. The wall area that this organizer is going in is pretty small, so my board is shorter.
My wood came from some extra fence pickets we had on hand (I used it way back in 2012 in this Fall decor post). I epoxy’d two pickets together to get a thicker piece.
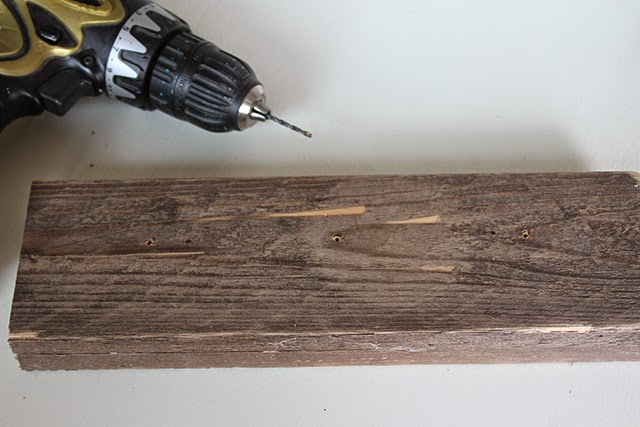
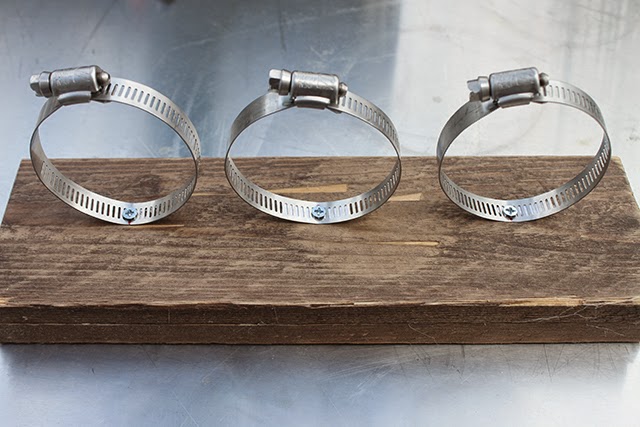
Mark the areas where you will want to screw each hose clamp into the wood with a marker, and using your drill (or even a hammer and nail), create pilot holes. This step makes it much easier to screw the clamps in later.
Nail in your photo hangers to the back of the wood close to the outside edges.
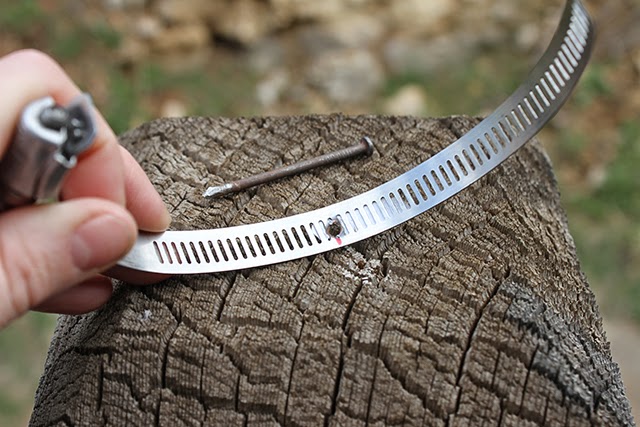
Next you will want to create a pilot hole in your clamp where it will connect to the wood.
Tip: I hammered a nail into my clamp only barely, then removed it to get my pilot hole.
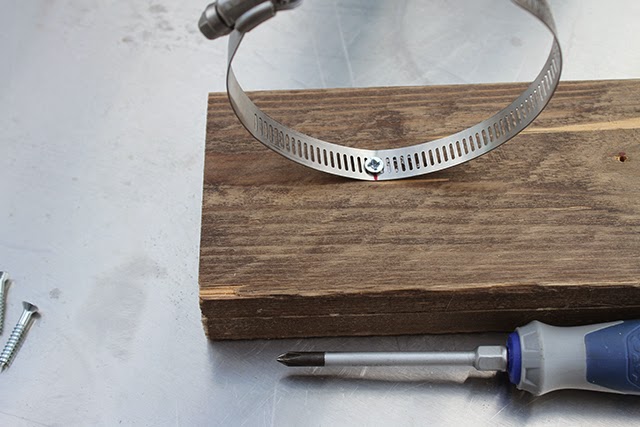
Next using your Phillips screwdriver and a screw, screw down the first hose clamp.
Repeat this step three times until all hose clamps are screwed into the wood.
Open your clamp completely, and screw the clamp around your mason jar securely. Repeat this step with all 3 jars.
Finally, hang in your desired area, and fill with your everyday items.
This organizer would also work in your home office, craft room, the kitchen (using fresh flowers or herbs)…you name it.
—————————————————————
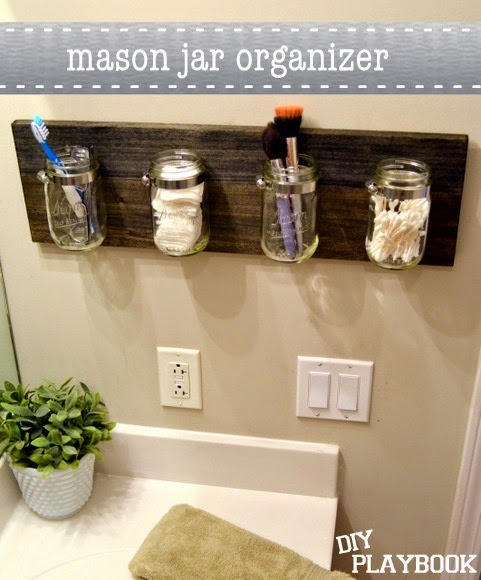
Check out some other DIY mason jar organizers from other DIY bloggers.
|
| DIY Playbook |

|
| Not Just a Housewife |
xoxo


