A beaded flower pot can be expensive, but I made mine for only $10 using a few supplies from the Dollar Tree. I’ll show you how!
Gather your supplies:
1 large plastic bowl from Dollar Tree
1 smaller plastic bowl from Dollar Tree
Bead necklaces from Amazon or Dollar Tree
Spray paint (textured and smooth)

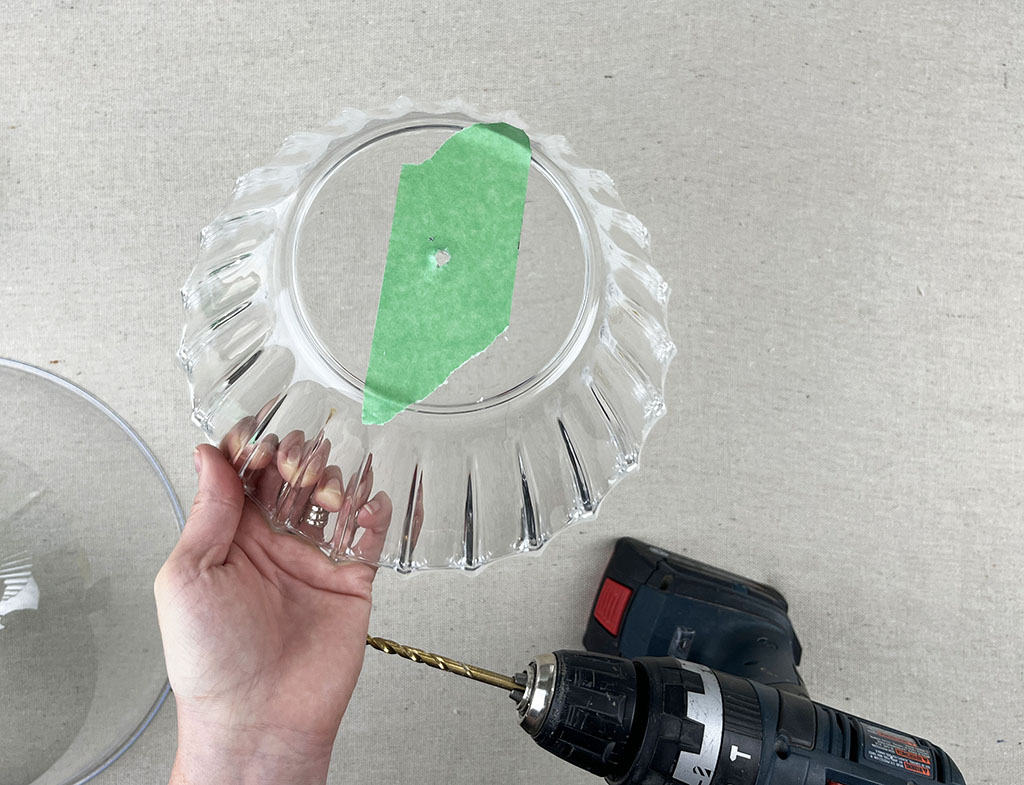
Add some painters tape to the base of the bowl so you can drill a drain hole with your drill and bit. The tape helps keep the plastic from splitting/cracking.
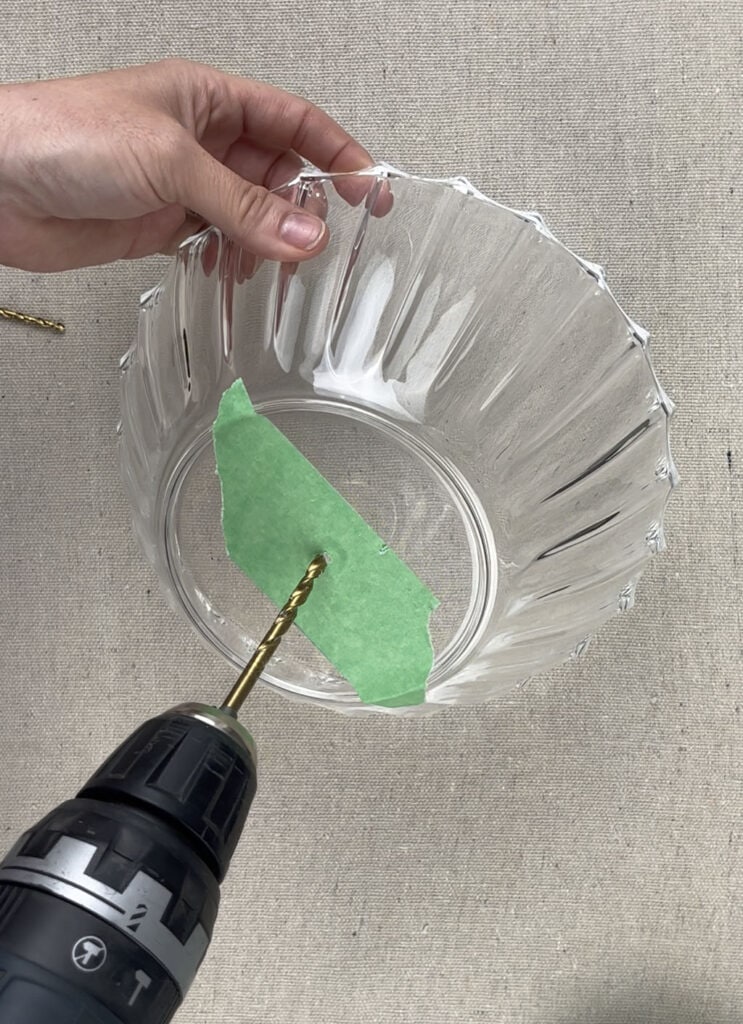
The larger bowl did end up splitting a bit when I drilled it, so I decided to just leave the painters tape in place rather than removing it. This helped keep the bowl a bit more sturdy.
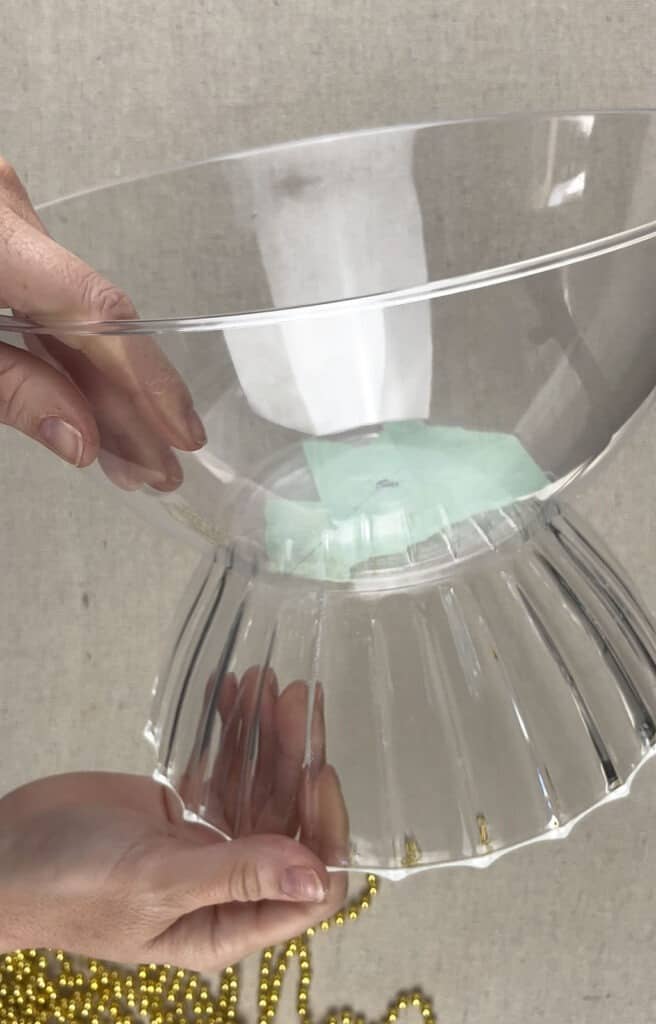
Using my super glue, I attached both plastic bowls together creating a pedestal base look.
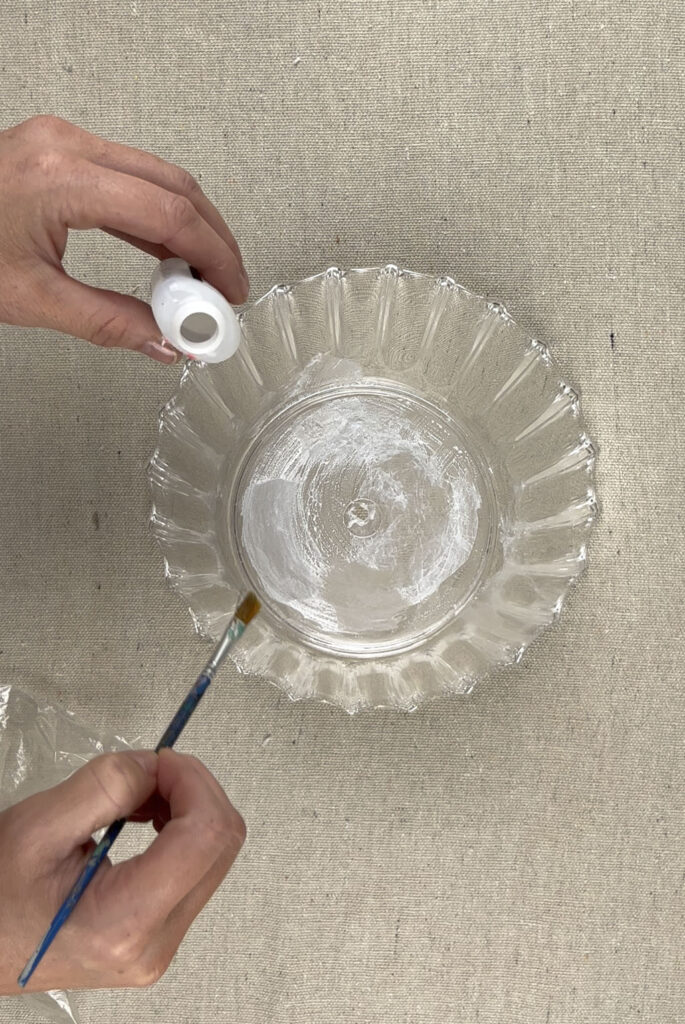
Both pieces attached quickly and were very strongly secured.
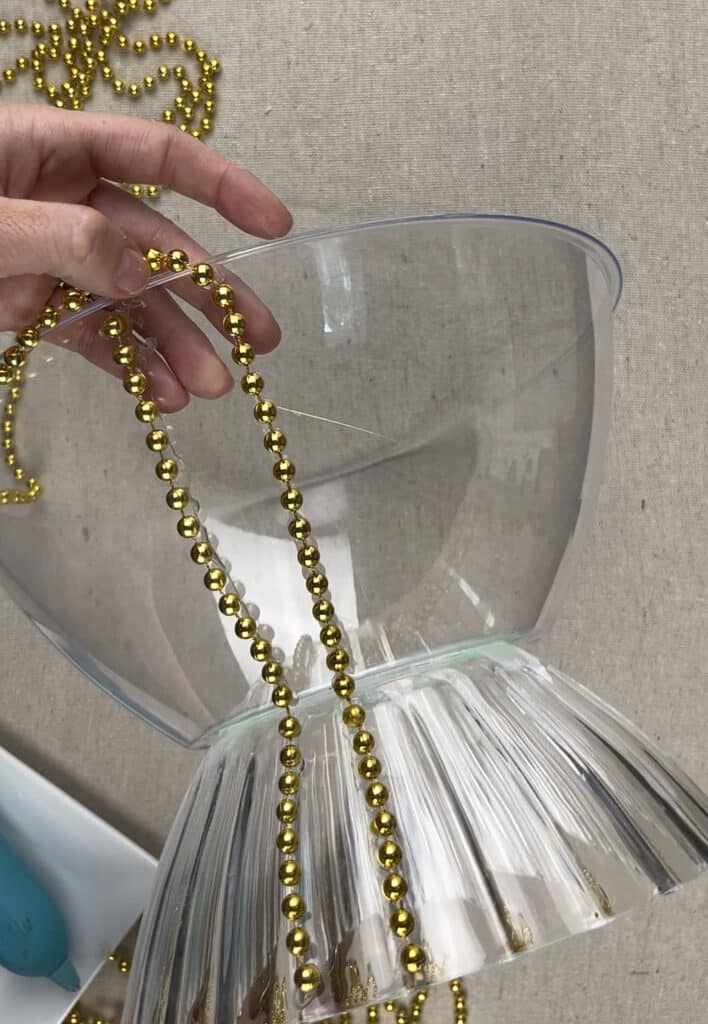
Next I added some texture to my bowls using my hot glue gun and Mardi Gras style beads.
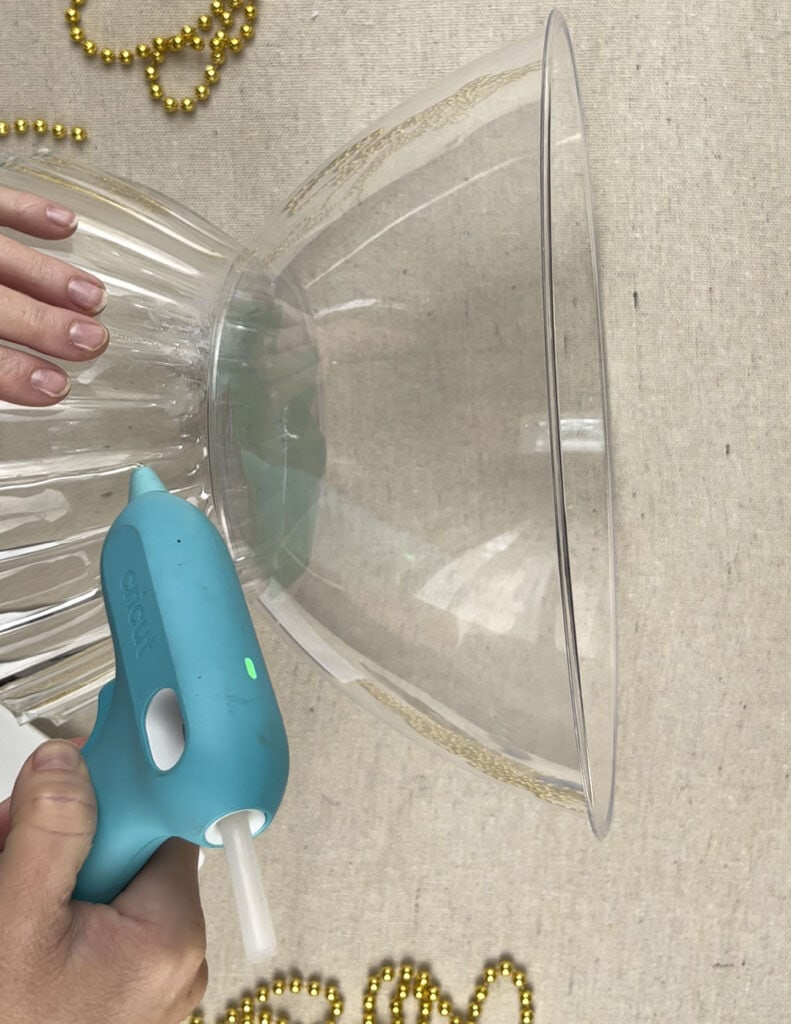
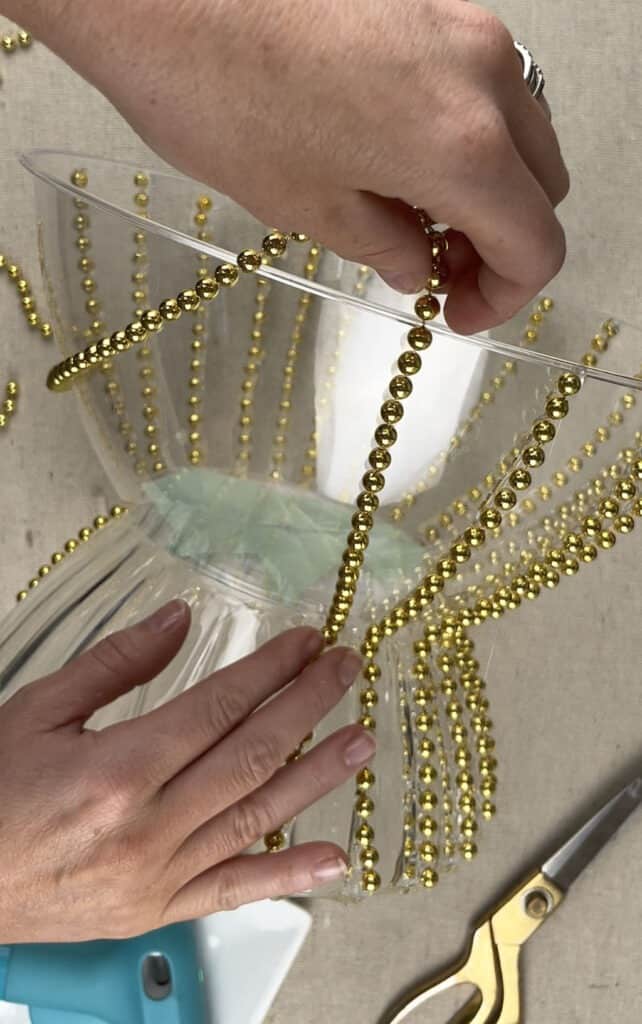
I started at the bottom of the bowl and worked my way up to the top.
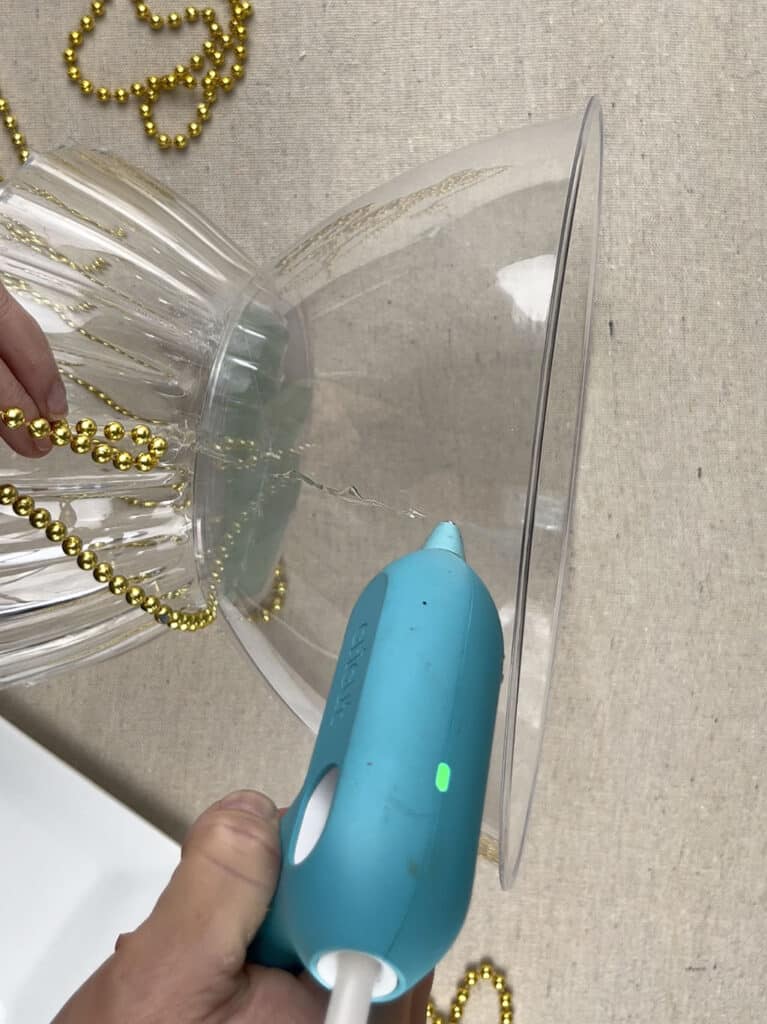
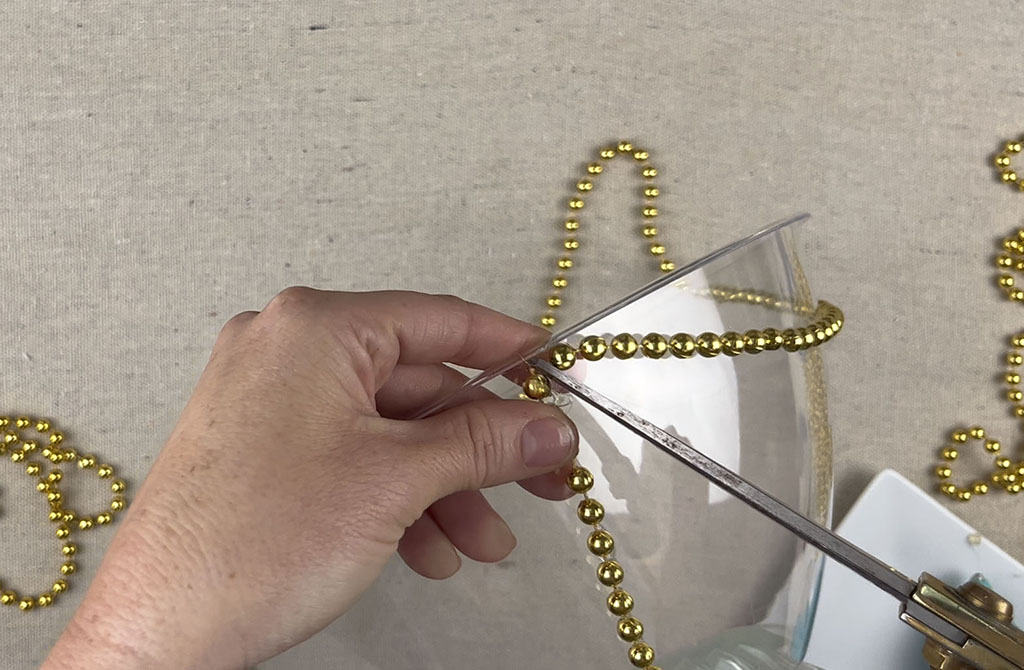
Using hot glue works well and allows you to remove and readjust the beads as needed to keep them straight. I had to do this a few times.
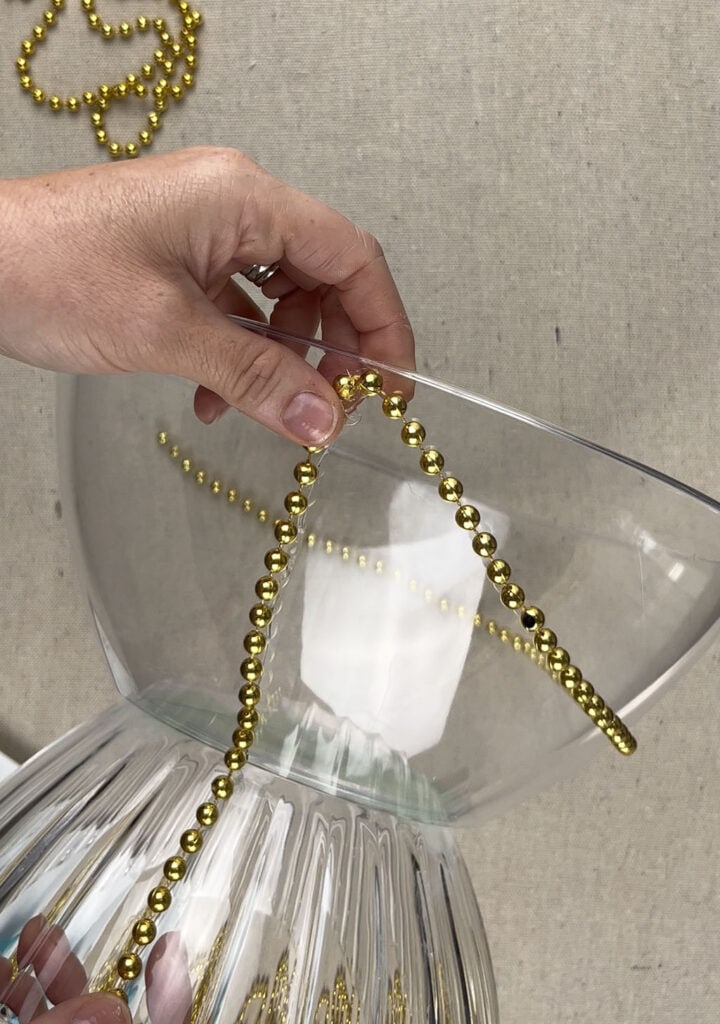
Using my scissor I cut off the excess beads and set them aside for future use.
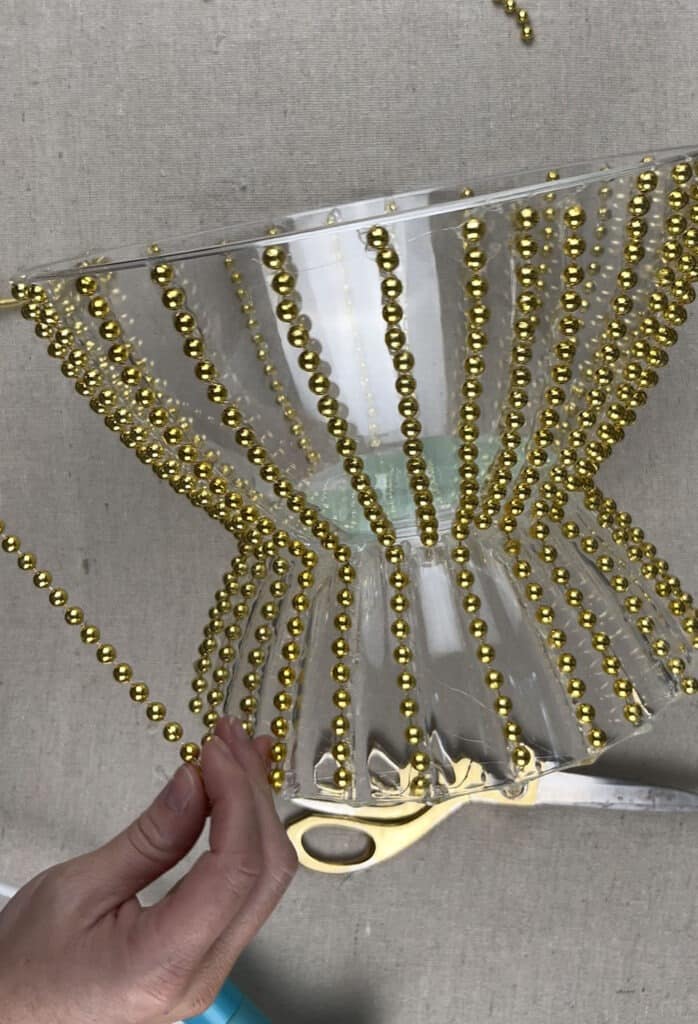
I repeated these exact same steps all the way around the bowls.
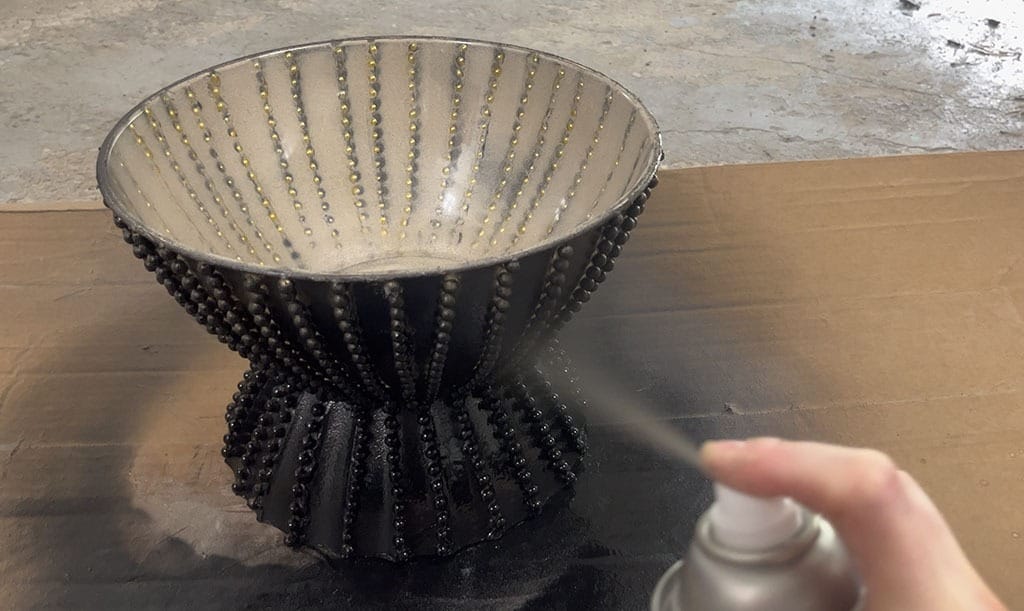
Once the beads were completed, it was time to spray paint some texture on. You can totally ski this look if you prefer a more smooth texture on your pot.
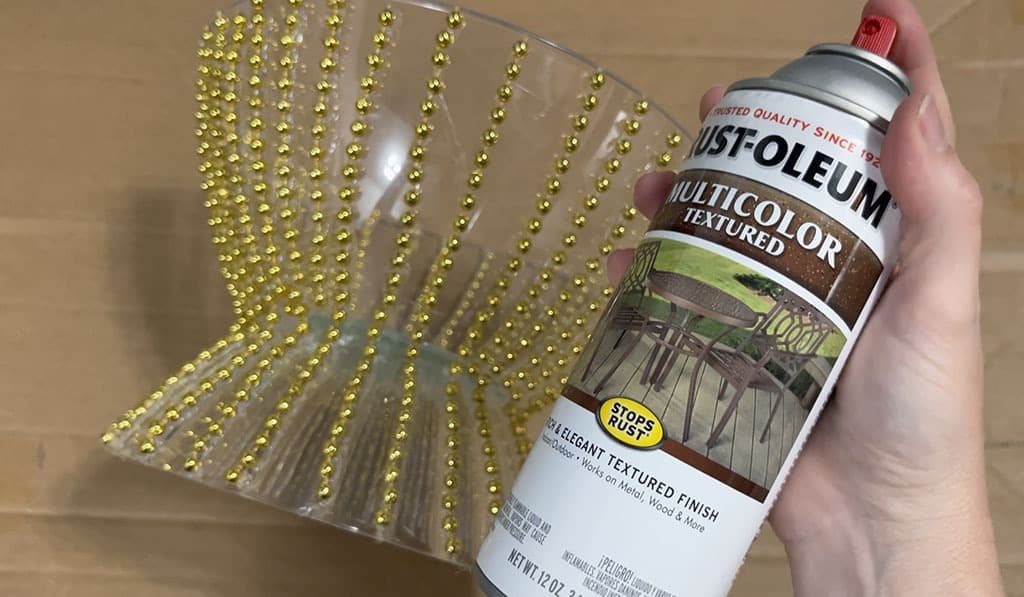
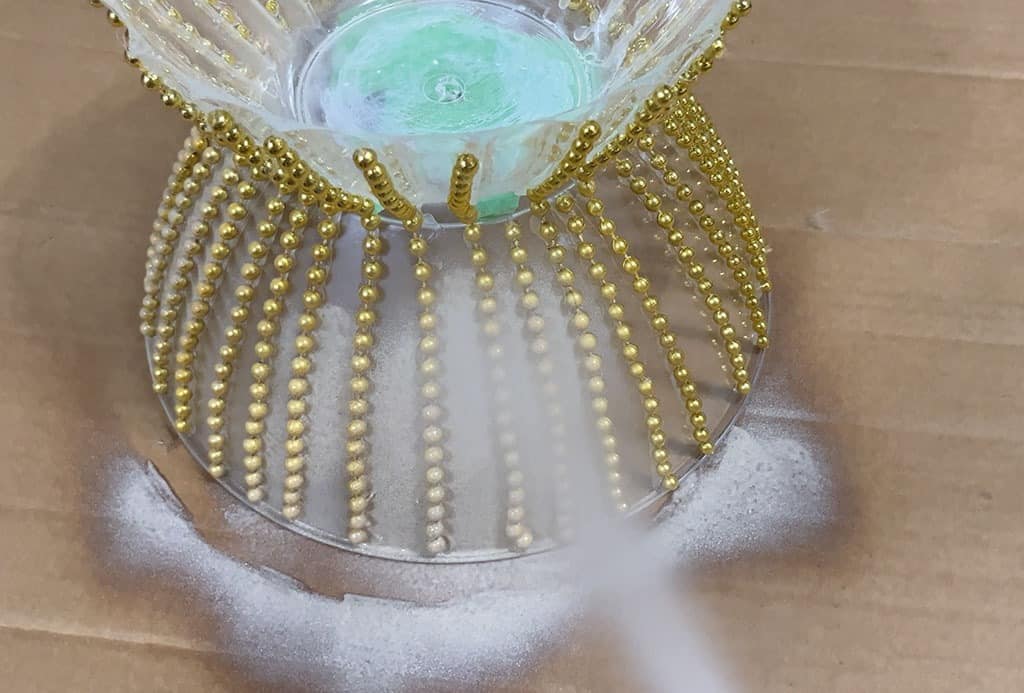
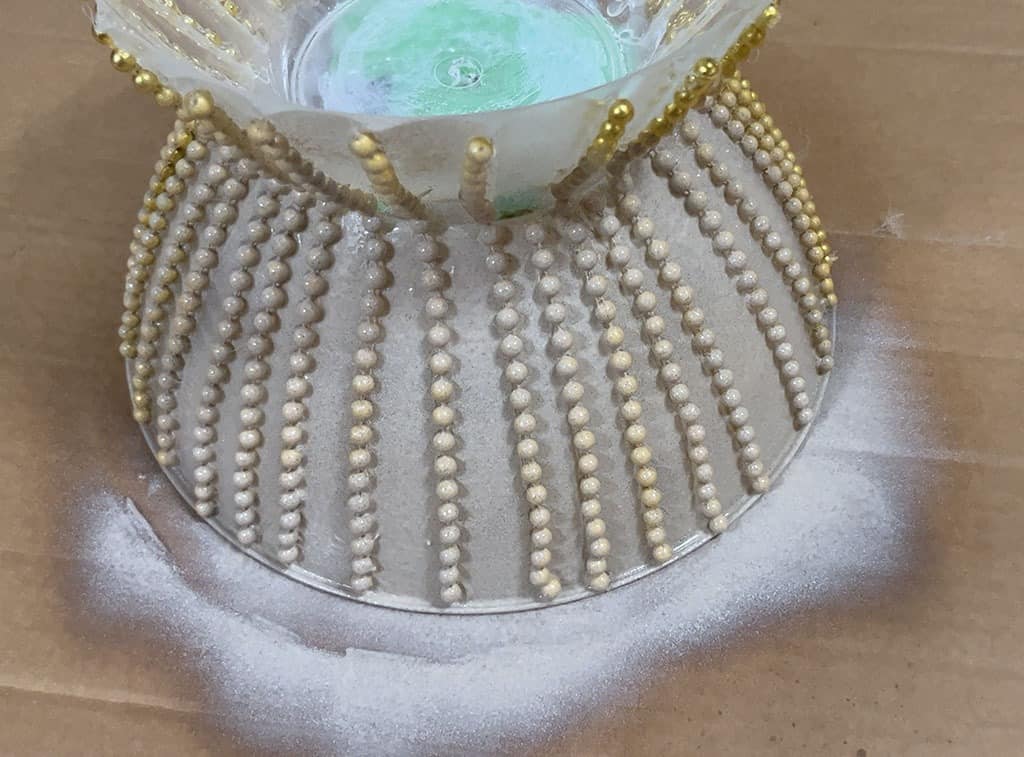
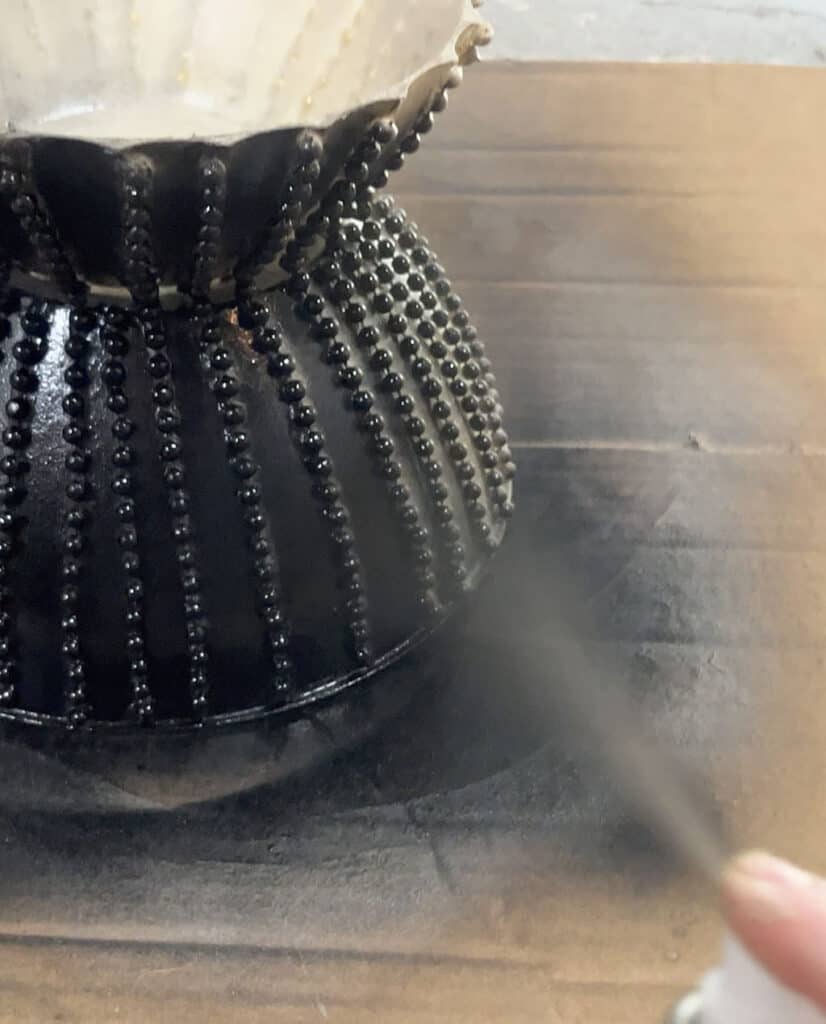
I applied one solid coat of the texture spray.
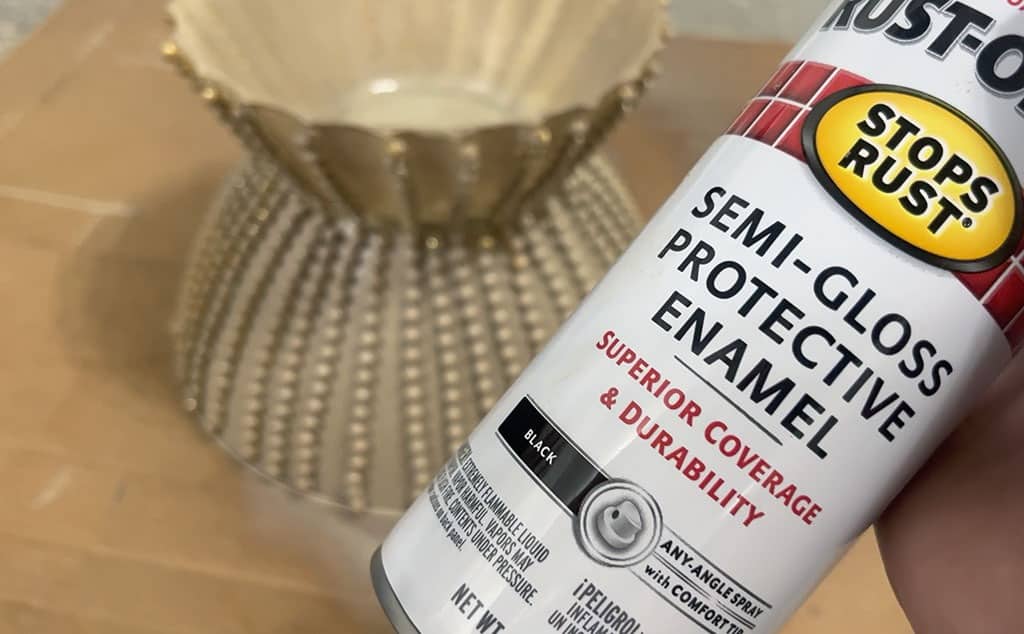
Next up it was time to add two coats of my smooth spray paint – I chose to use a shiny black.
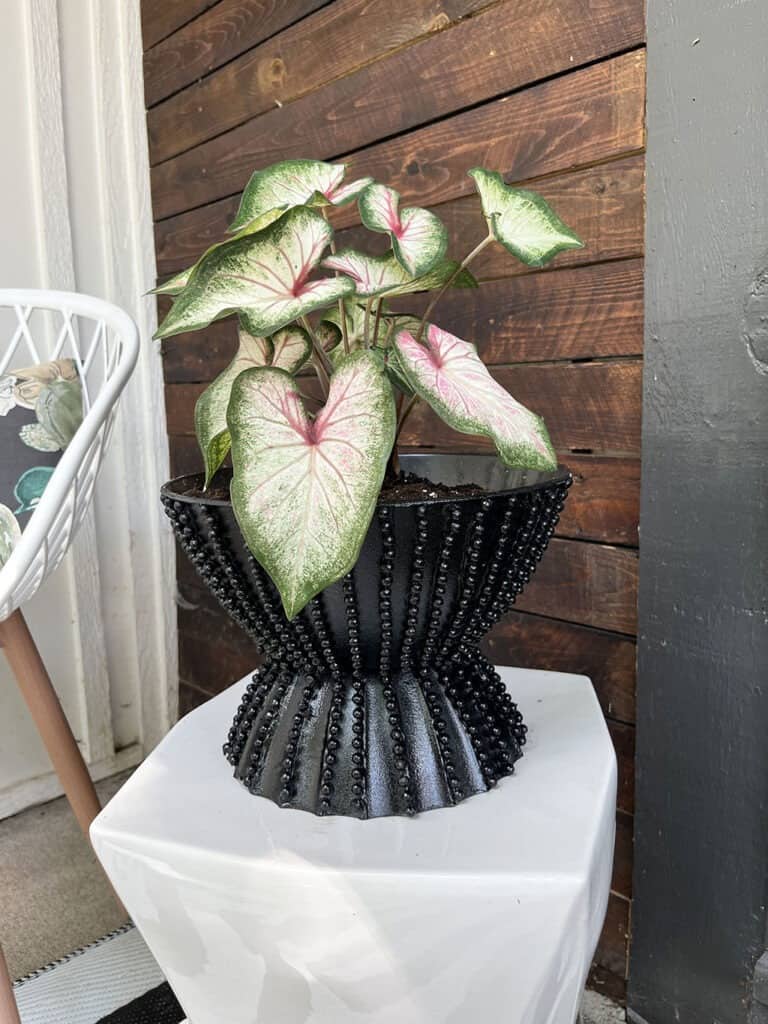
Once the spray paint dried, I had a fun and unique beaded flower pot.
I just love how it turned out for $10. I highly recommend this DIY project – so satisfying!
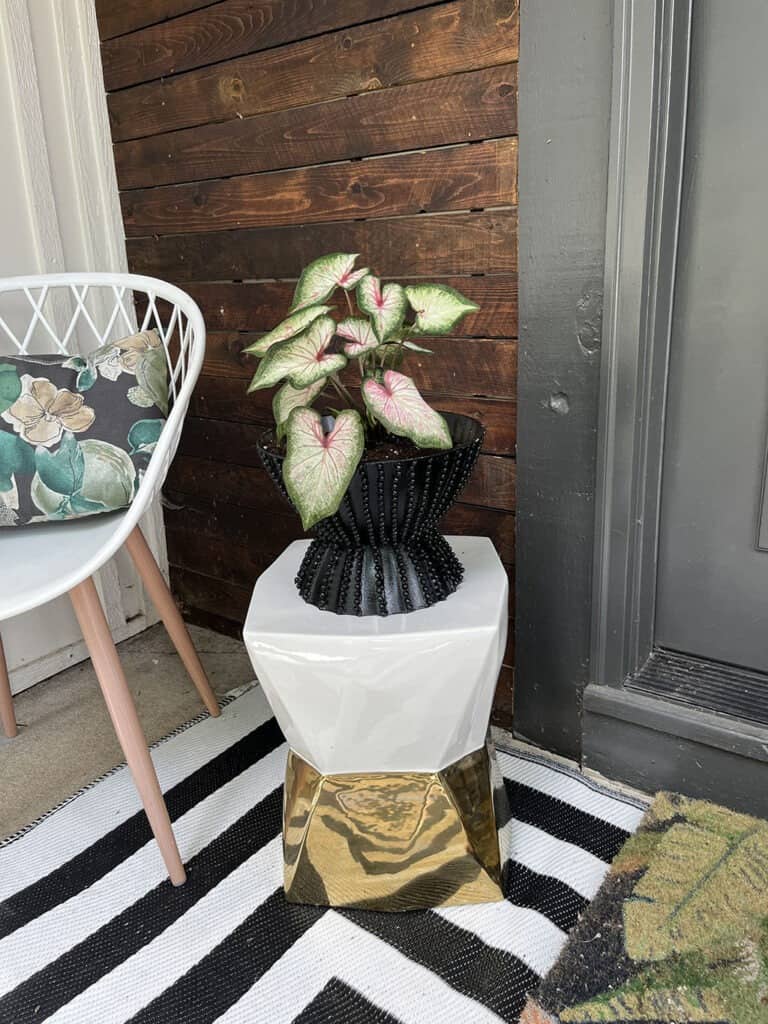
And here’s a closer look at the flower pot. The plant is in the Caladium family for anyone interested.
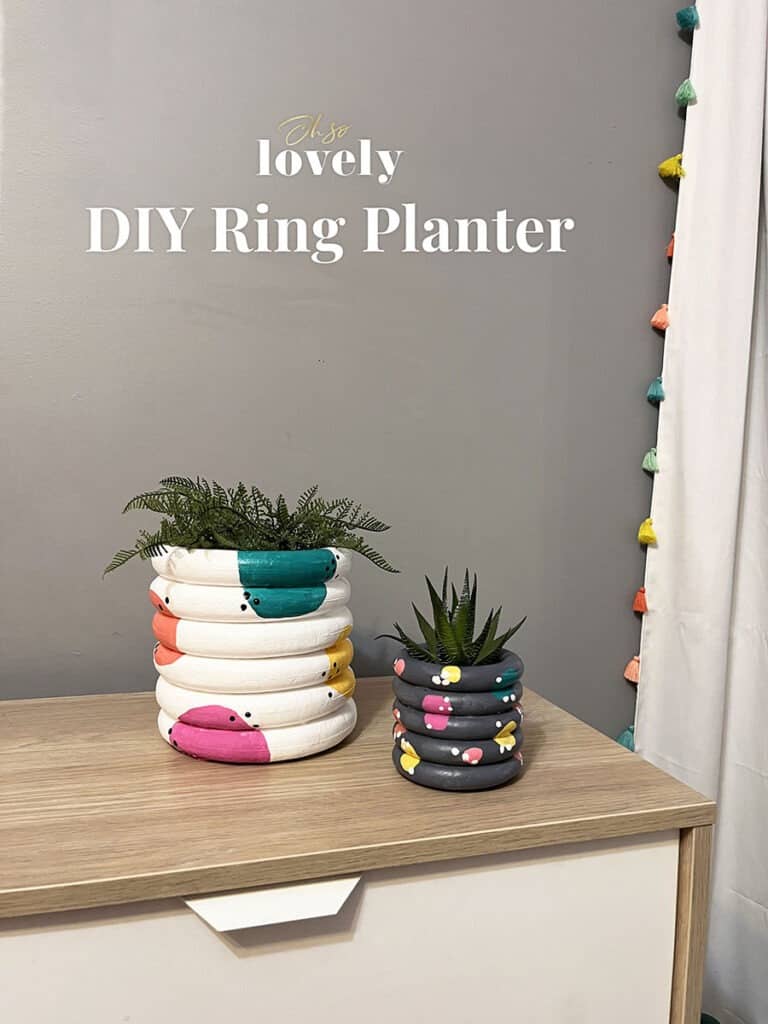
You might also like my DIY ring planter sleeve.
Check out all my other DIY projects here!