I recently tried the ACMER P3 2in1 Laser Engraver and Cutter and wanted to share my experience.
I’ll share the unboxing and setup process as well as two projects I made for my daughter.
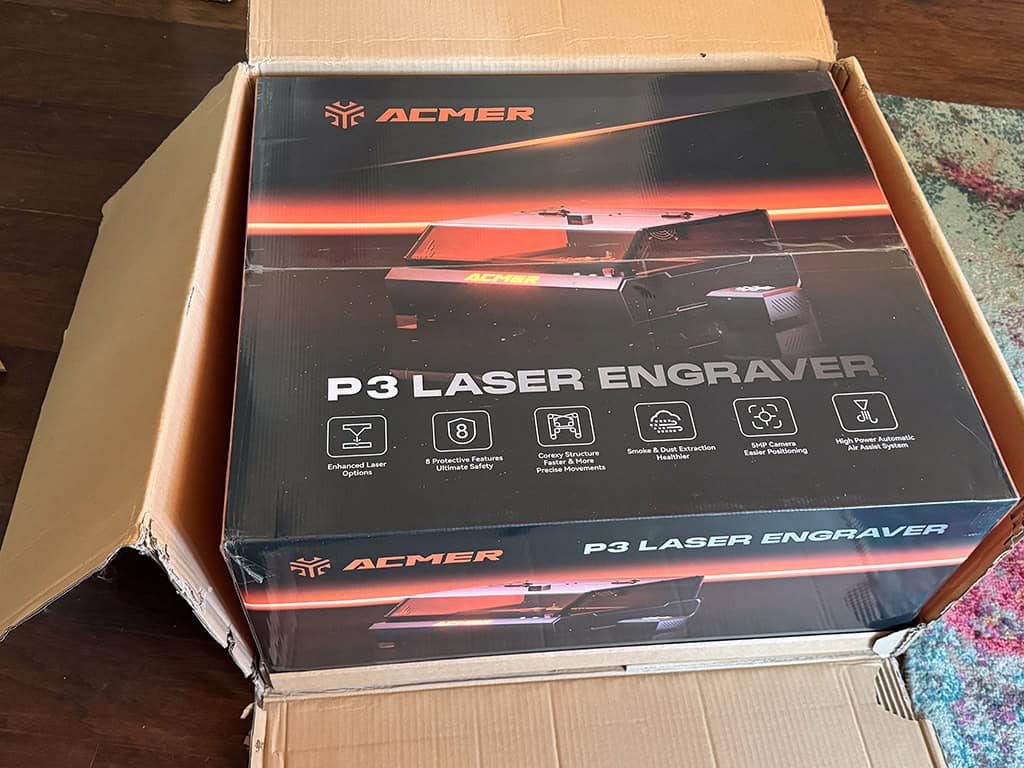
Have you heard of the ACMER P3 2in1 Laser Engraver and Cutter? If not, here is some overview info:
This laser is a versatile, high-performance machine designed for both professionals or hobbyists. And features interchangeable 2in1 laser heads offering options of 48W/24W diode lasers and 10W diode laser/2W IR lasers, the P3 handles over 300 materials with precision.
It provides ultra-fine engraving detail, high-speed processing, and safety-first operation. This makes the laser ideal for small businesses, educational environments, and creators.
Unboxing
The large box arrived to my house very quickly and was packed extremely well. I doubt it ever arrives anywhere damaged.
I pulled it out of the box and lifted it onto our dining room table, my temporary studio before it moves to my crafting space.
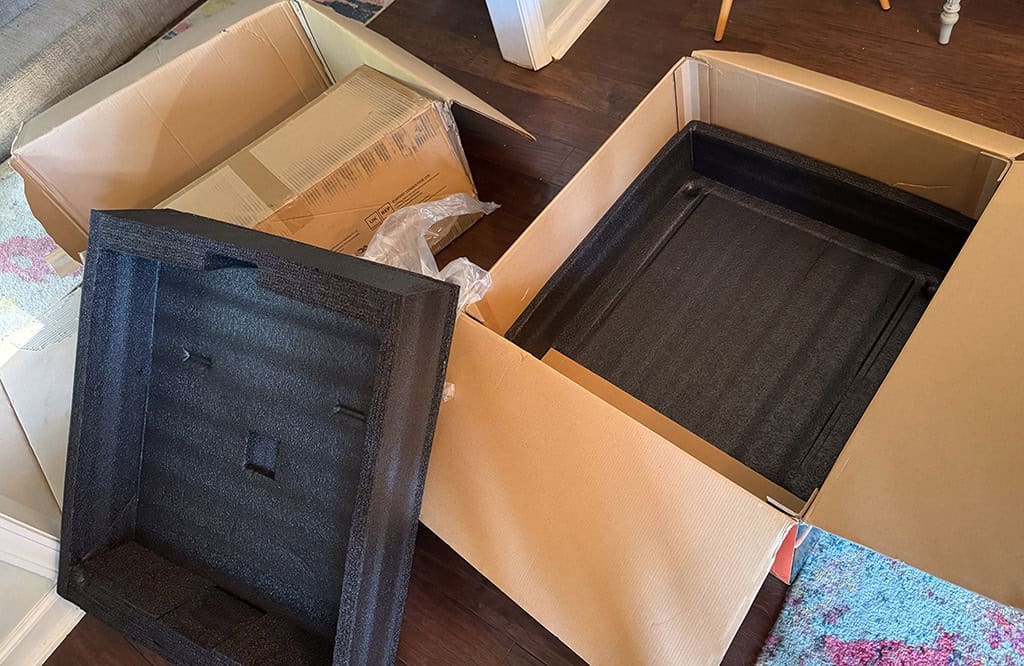

Everything fit snuggly inside the laser in separate compartments — again, so well packed!
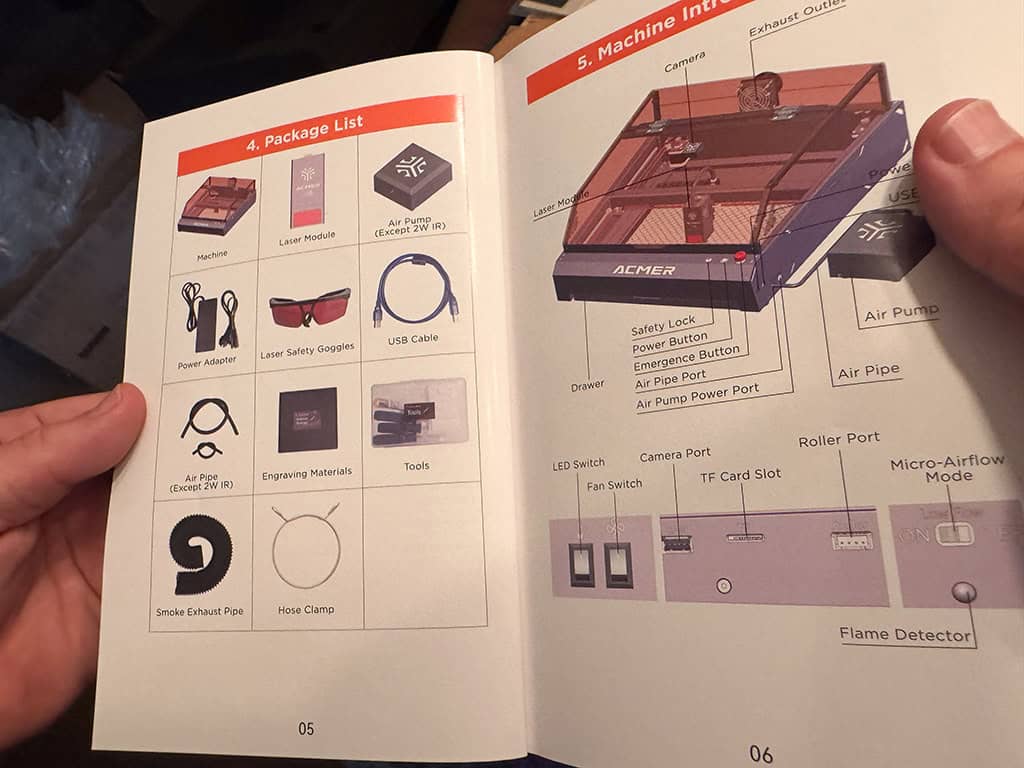
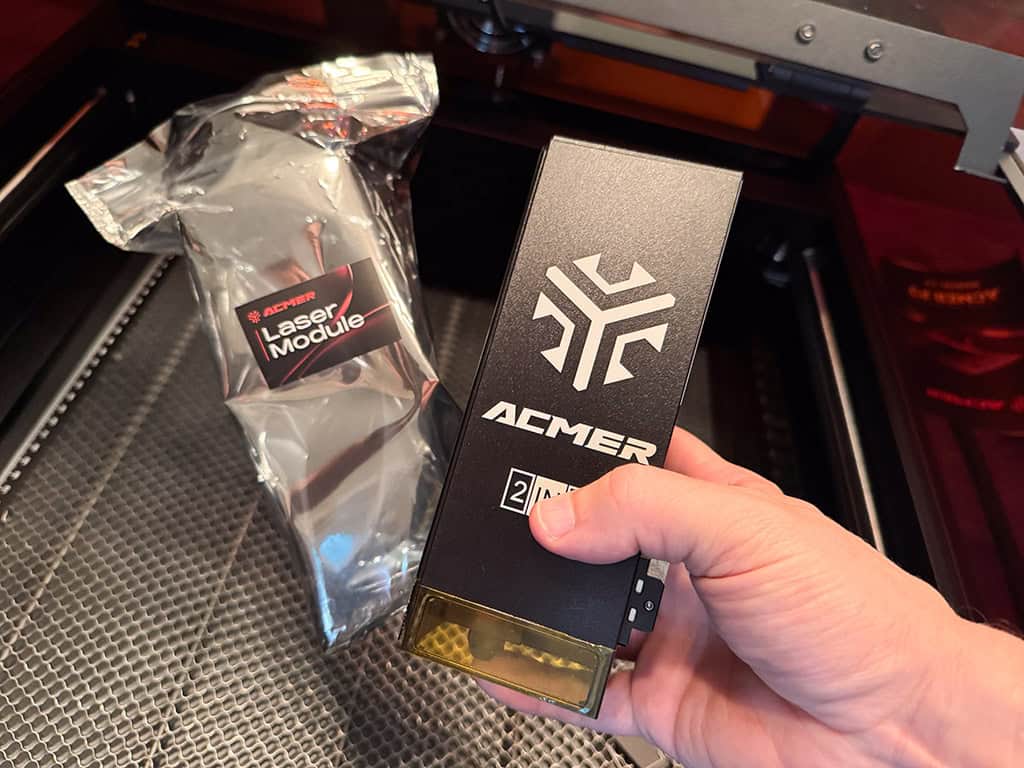
I pulled out all the contents, which included: The machine, laser module, air pump, power adapter, safety goggles, USB cable, air pipe, engraving materials, tool kit, smoke exhaust pipe, and hose clamp.
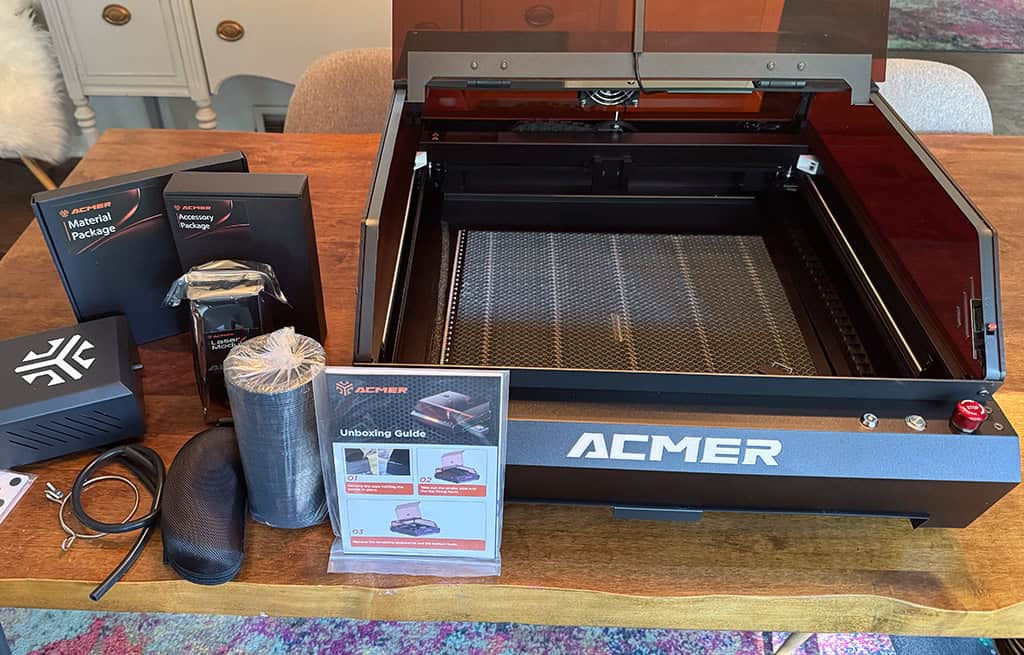
The safety glasses were a great addition. My dog briefly enjoyed them as well, haha!
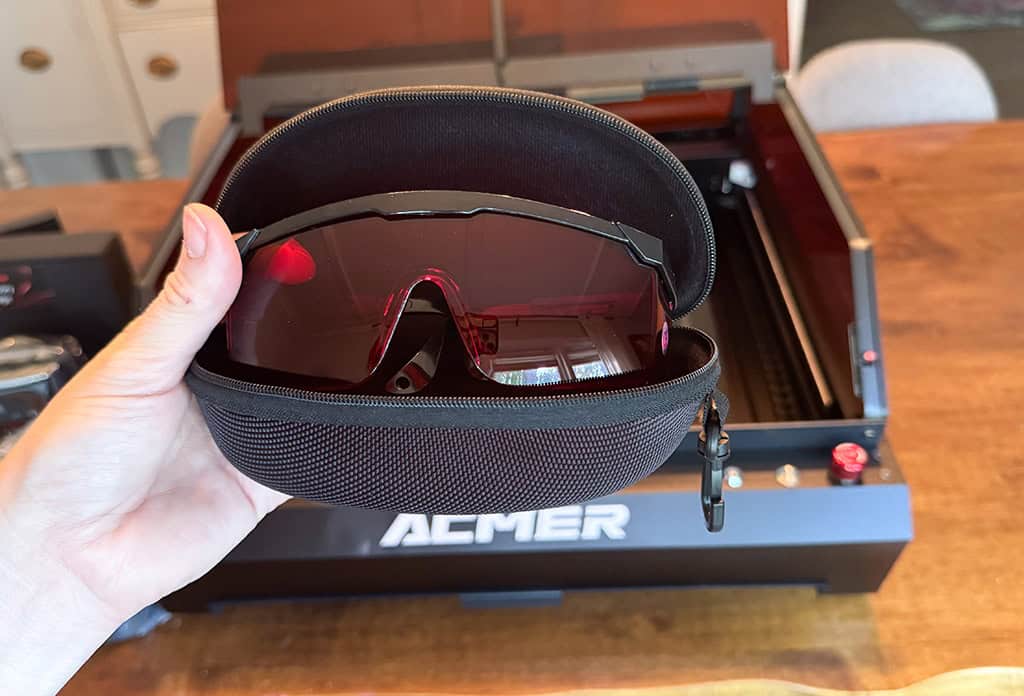

Speaking of safety, The ACMER P3 2in1 Laser’s enclosed class 1 laser structure protects against exposure. It also has over-temperature protection, tilt detection, flame detection, and an emergency stop switch.
As a first-time laser user, I felt very safe using this machine.
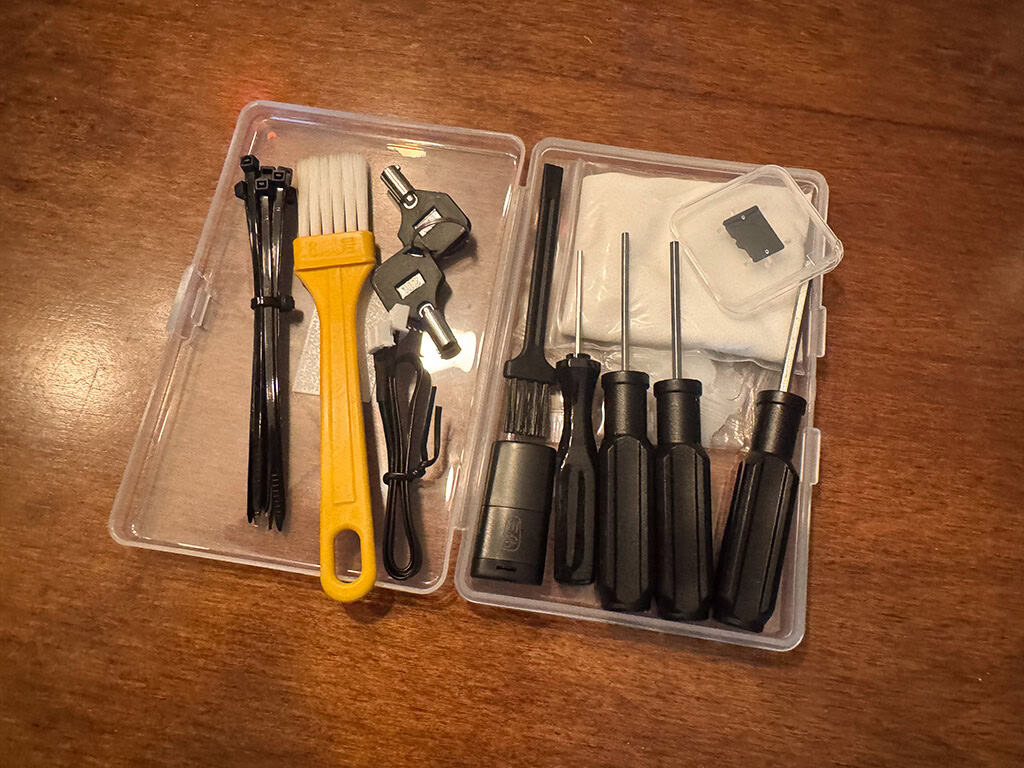
The toolkit
This handy toolkit has everything you need to get the laser setup. The micro SD card has a handy instructional video as well as the installer for your preferred software.
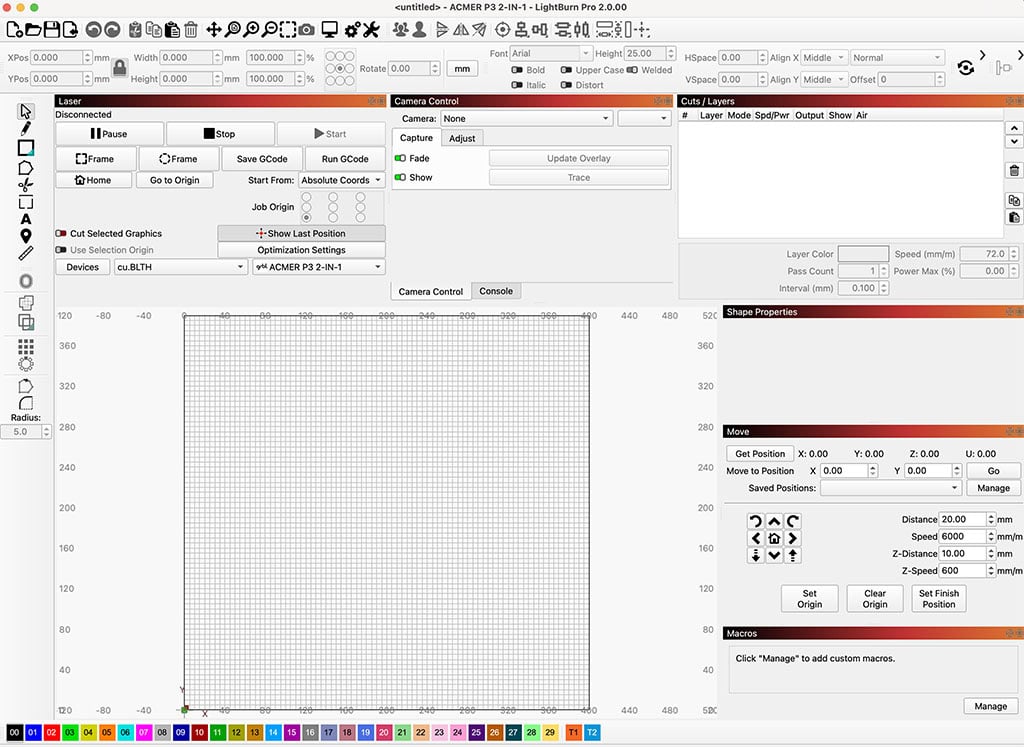
I appreciate that the ACMER laser is compatible with popular software such as LaserGRBL and Lightburn, as well as the ACMER App. I installed the LightBurn software on my Mac, which has a free 30 day trial. After the 30 day trial you’ll need to purchase a license.
Note: If you have a PC you’ll want to use the LaserGRBL software, which is a FREE and open-source software.
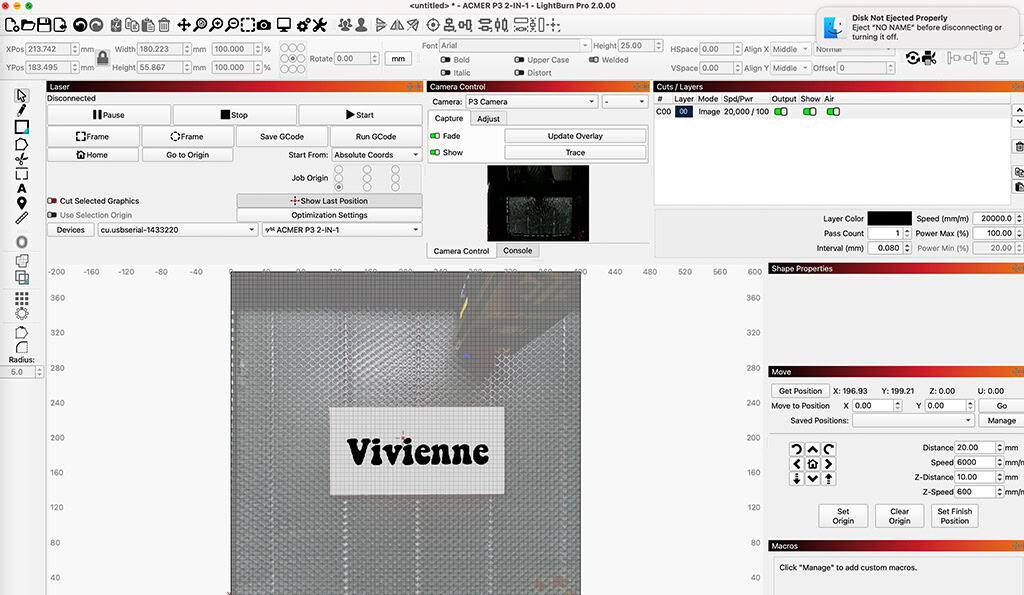
This is what the LightBurn for Mac interface looks like before connecting the laser machine and camera. It is somewhat easy to use once you familiarize yourself.
Setup
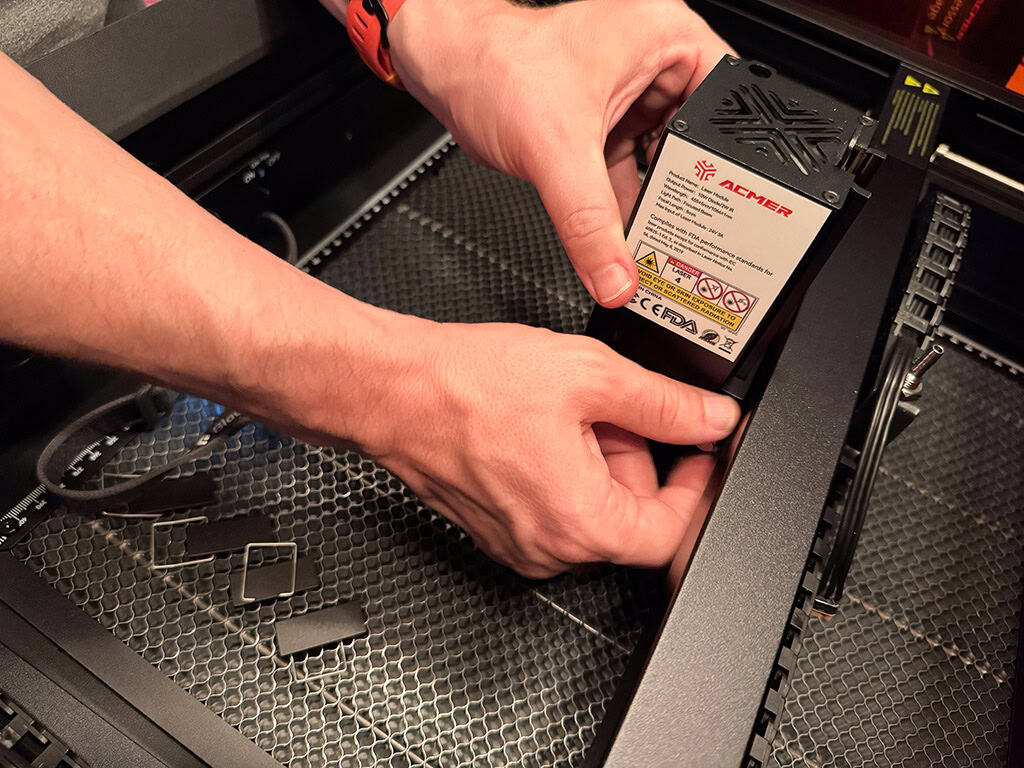
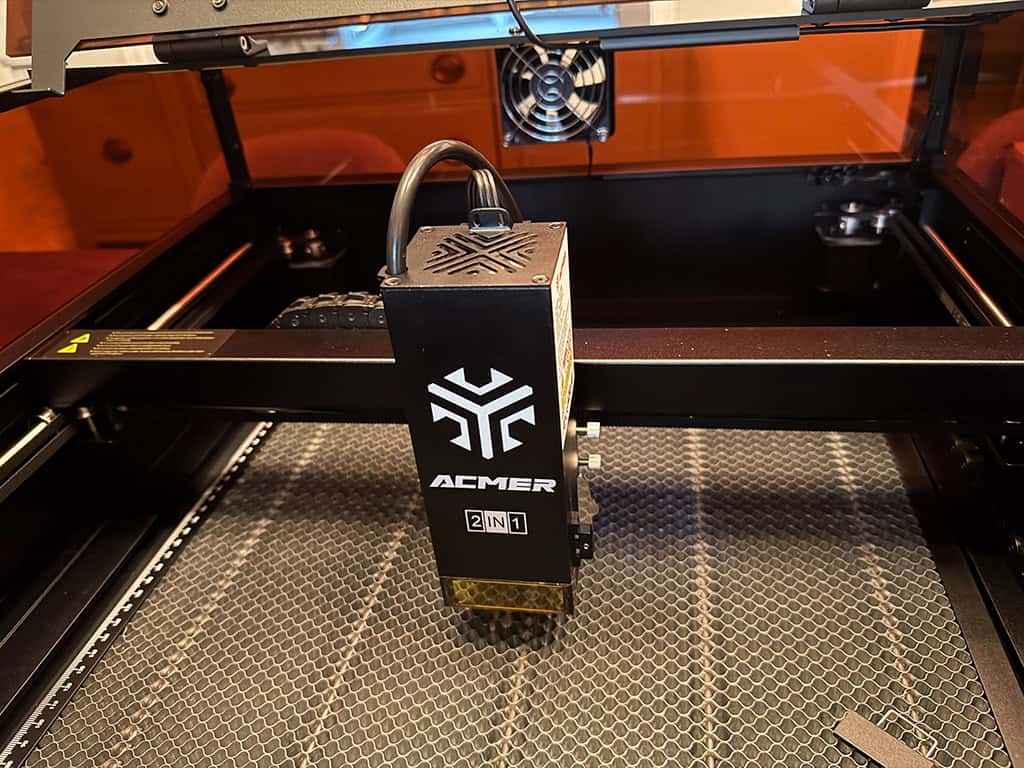
My husband and I began the setup process my installing the laser module. The directions made this very easy.
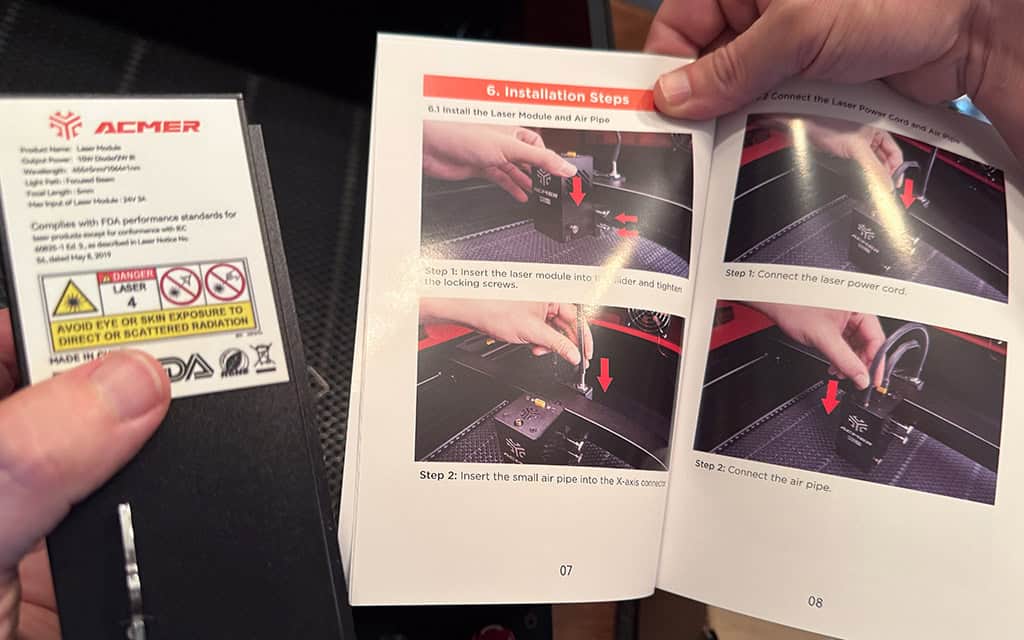
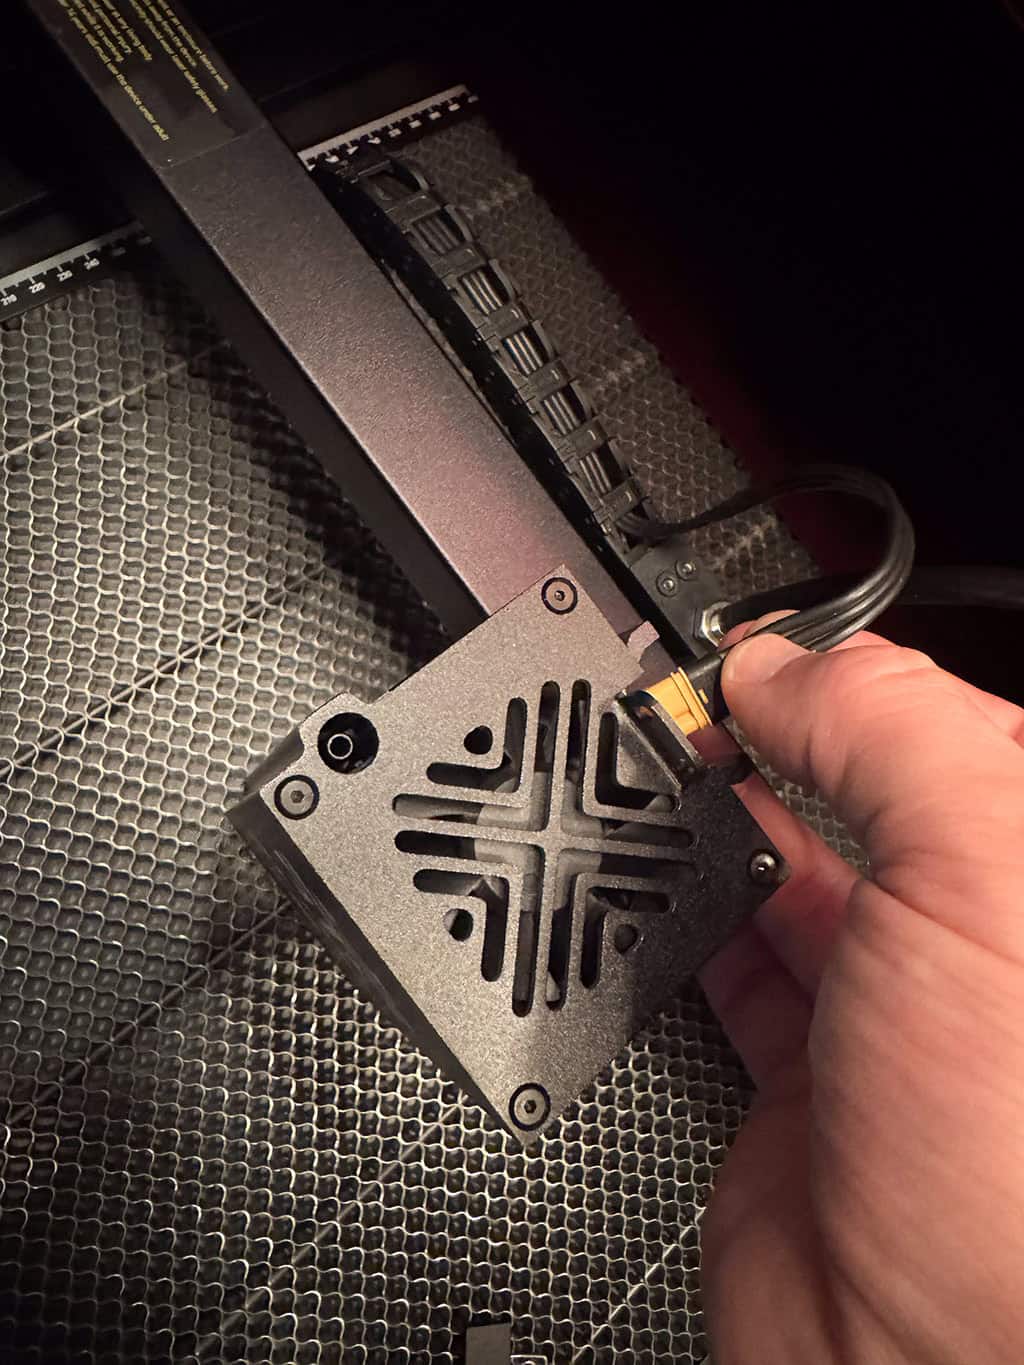
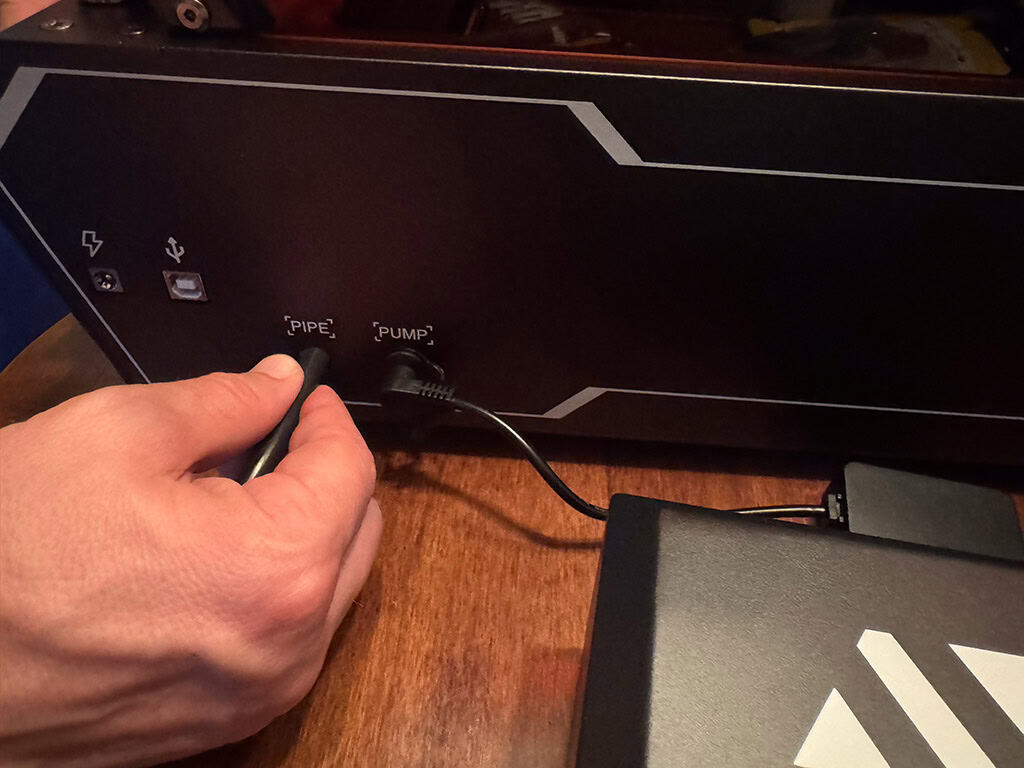
Once the laser head was installed, we connected the air pipe.
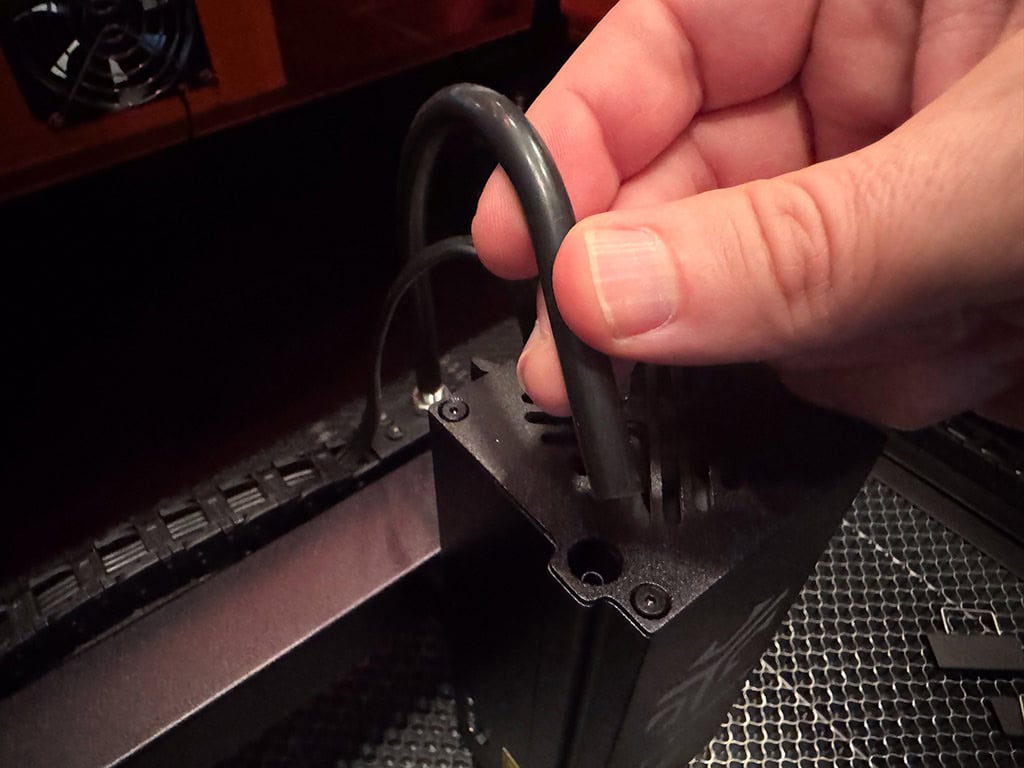
Then we plugged in the air pump, ethernet, and power adapter.
Camera calibration and alignment
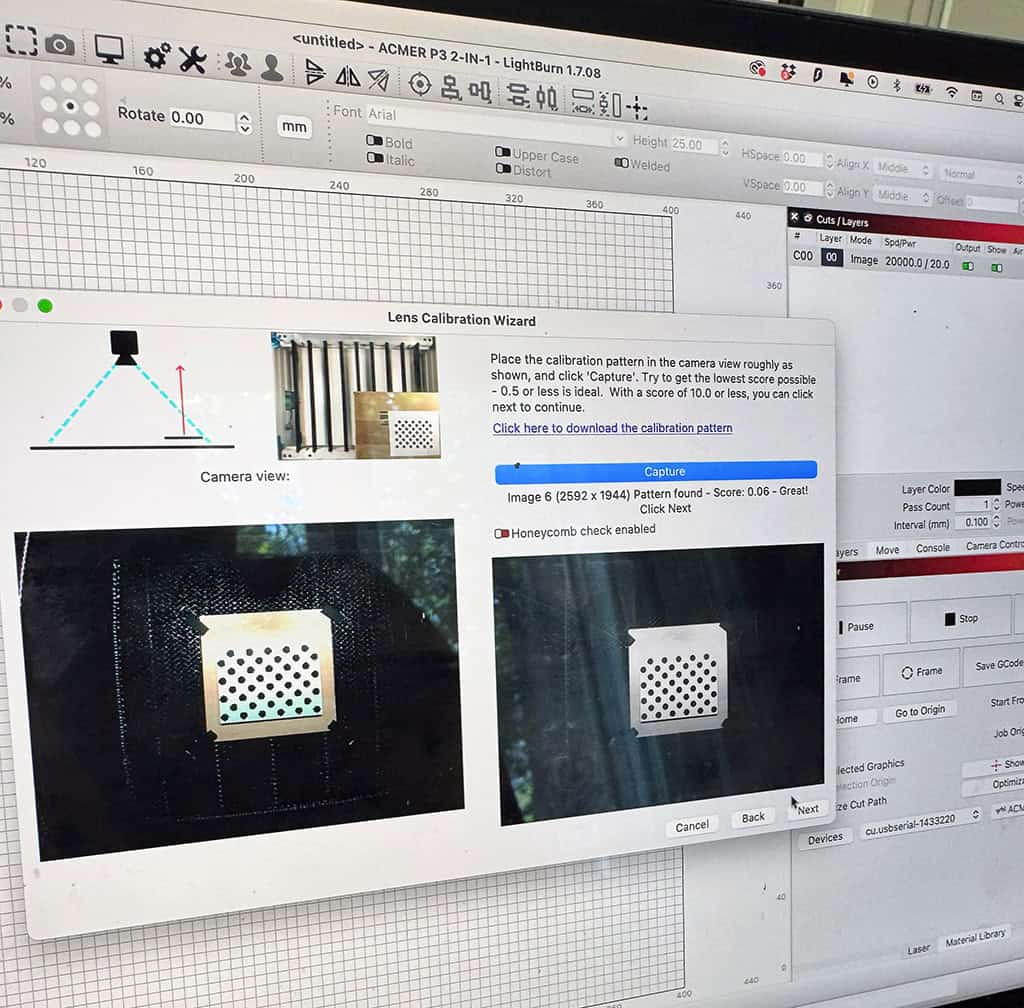
Once the machine was setup, it was time to go to LightBurn to set up the integrated camera calibration and alignment. I’ll admit, this part was a little tricker for me and required me to watch some tutorial videos.
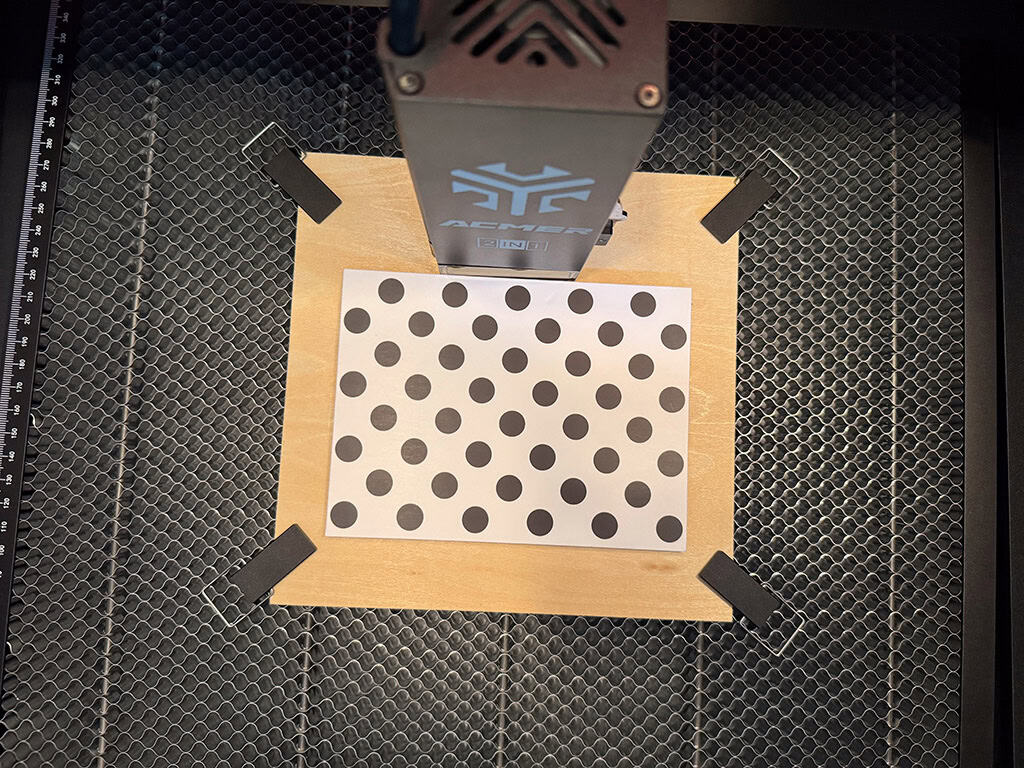
Once I had a better understanding, I was able to start with calibrating the camera lens.
I simply followed the prompts on the screen until it was time for me to move onto the final step, alignment.
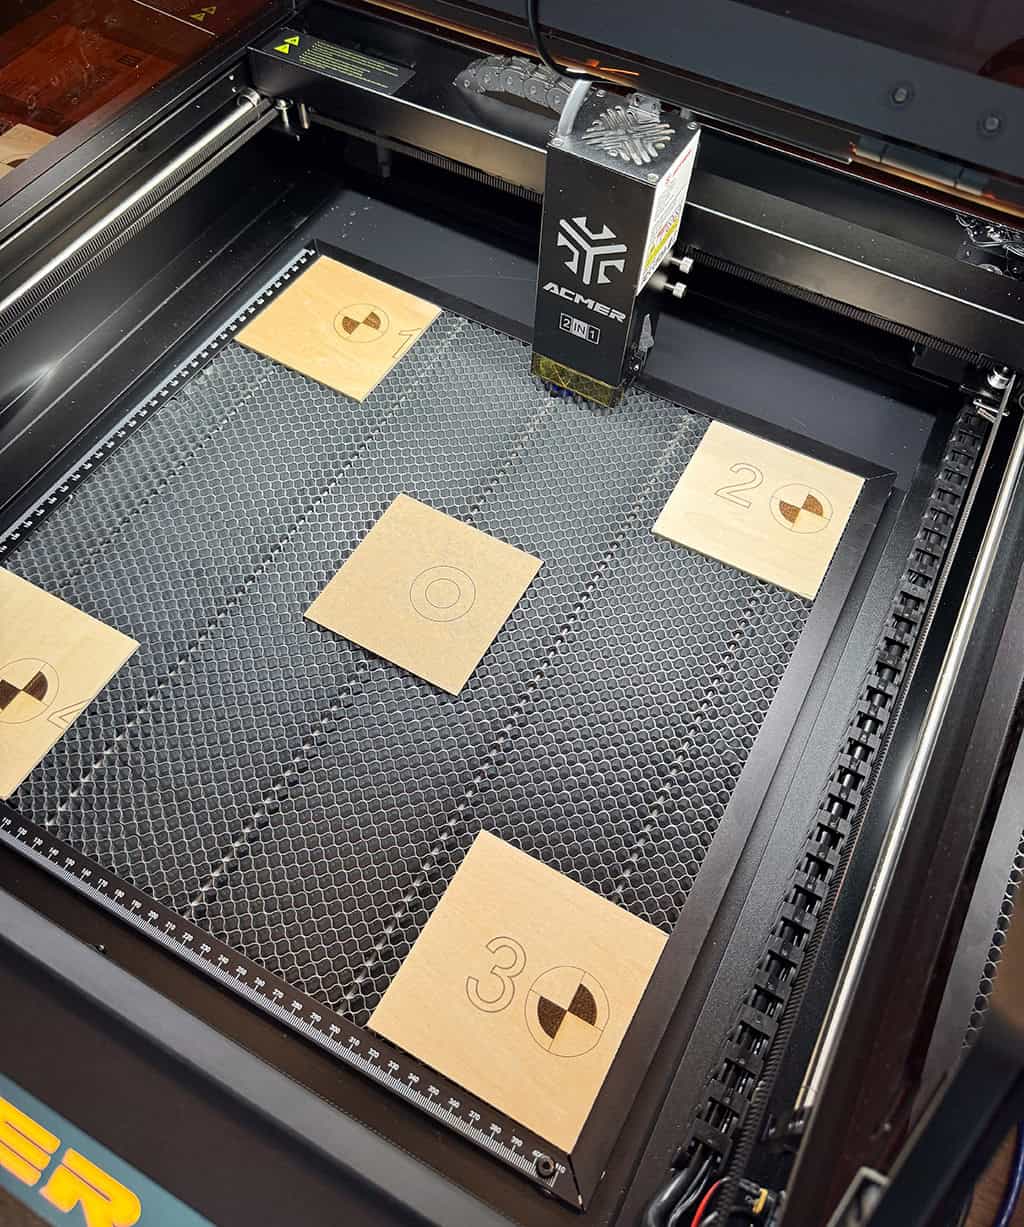
We followed the instructions on screen and placed 5 small plywood squares at all 4 corners and at center.
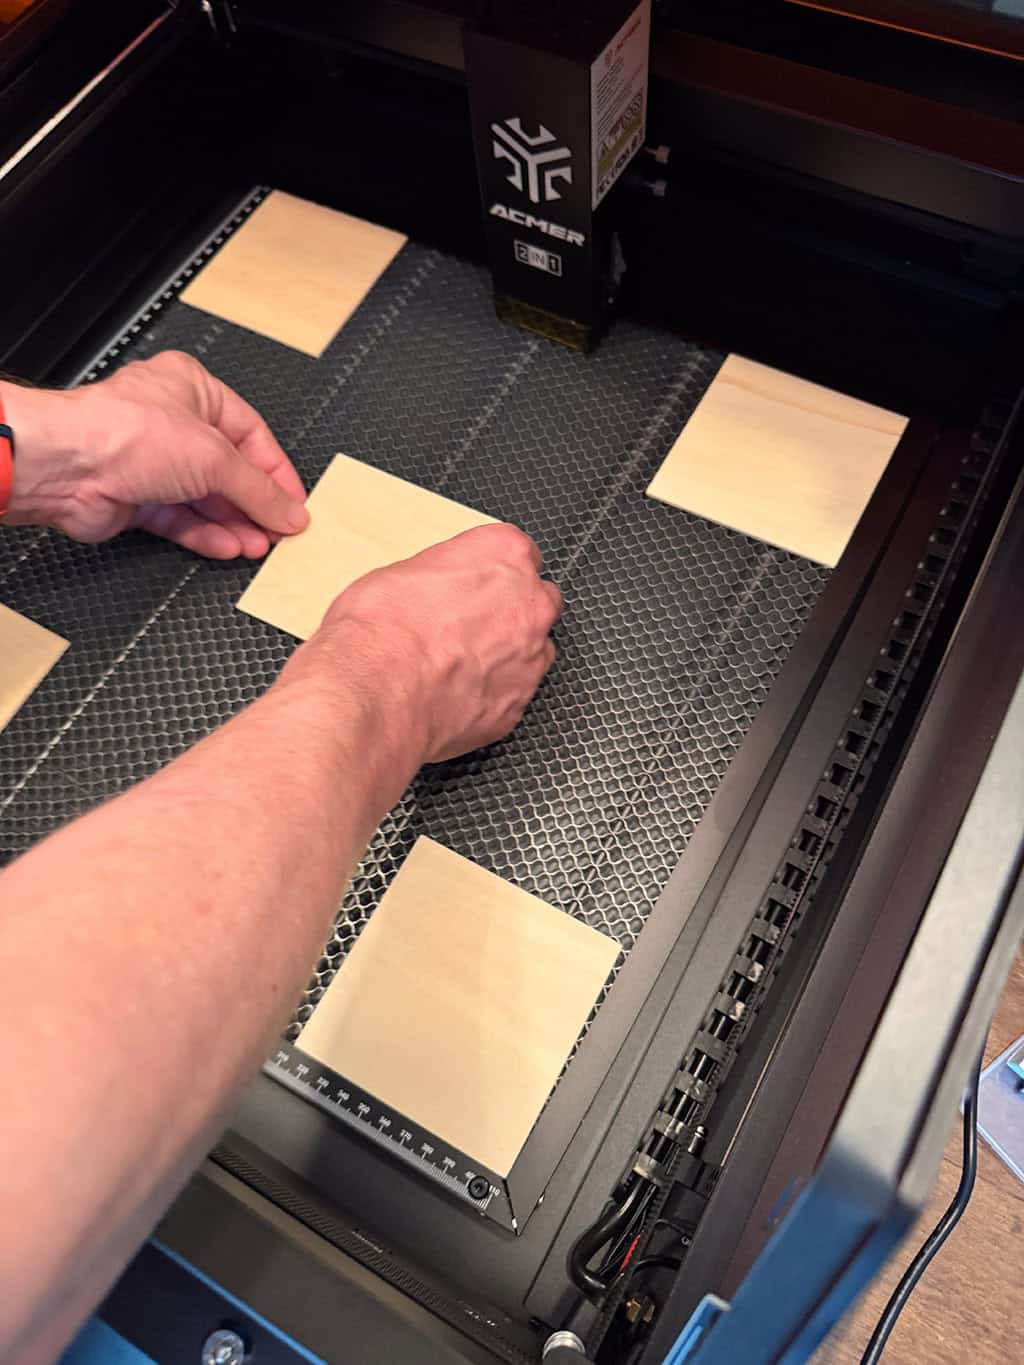
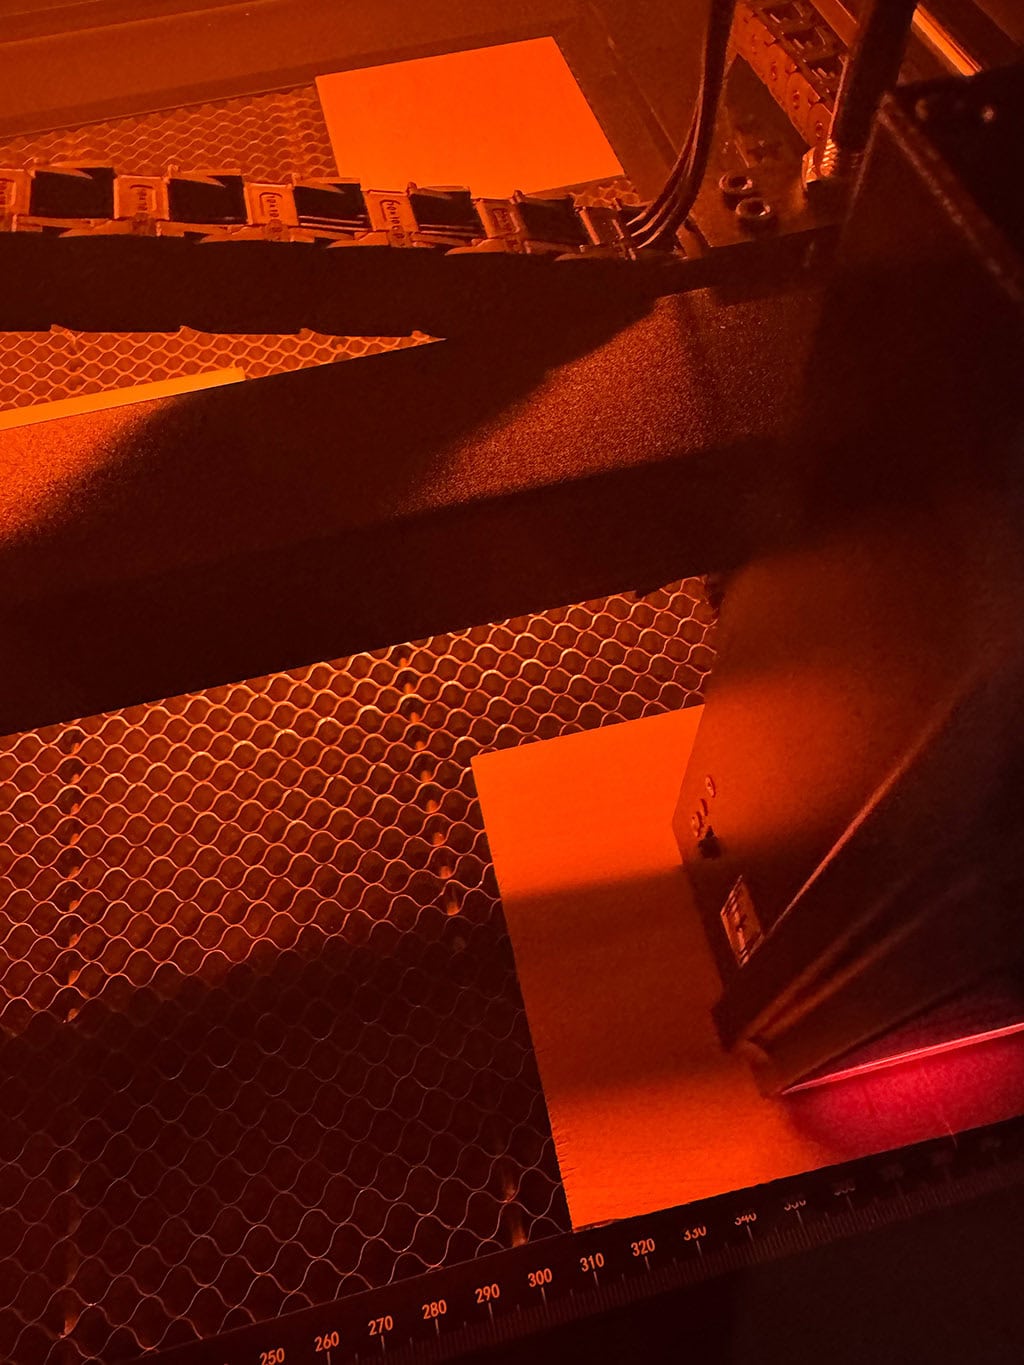
Then the laser got to work engraving calibration bullseyes and numbers.
Once the engraving part was complete, I followed the prompts on screen to finalize the alignment.
ACMER support team experience
From here I attempted to engrave my first project, but kept getting stuck because the laser wouldn’t properly align with my material no matter what I tried. I watched numerous videos and googled it before contacting the support team.
Due to the support team being located in Asia, it took a a handful of days before I could get a WhatsApp chat and and screen share scheduled.
Once the call was scheduled, the support team did everything they could to adjust and re-align my machine from their end (using the AnyDesk app). This part took about an hour and a half, but they were able to fix the issue. They were very friendly as well, so props to them.
The engraving process
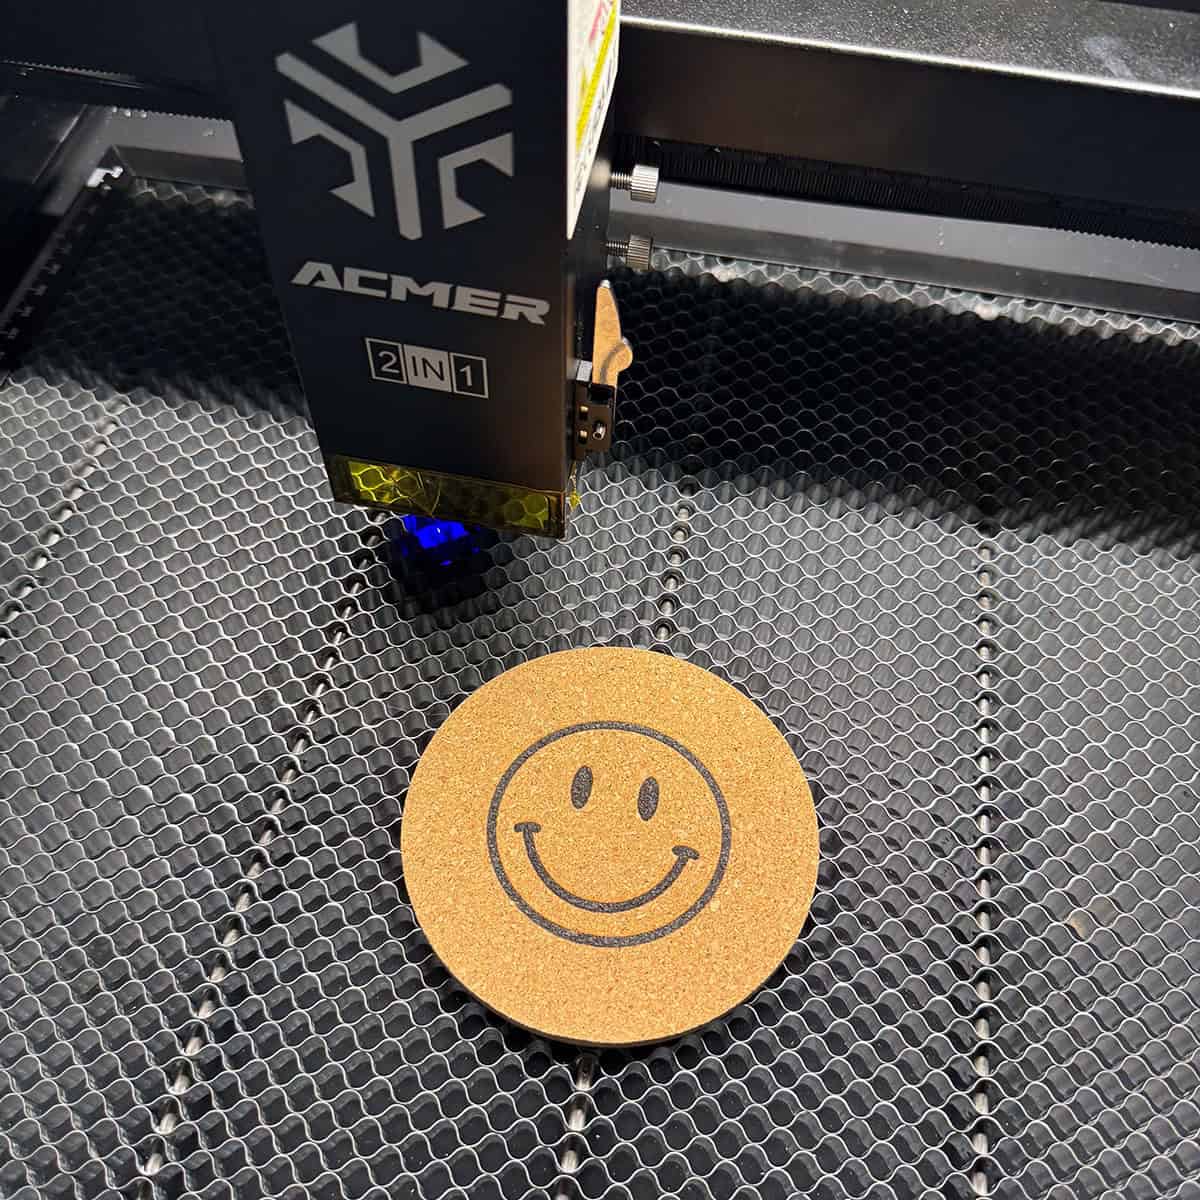
I jumped into LightBurn and got to work on a cork coaster project.
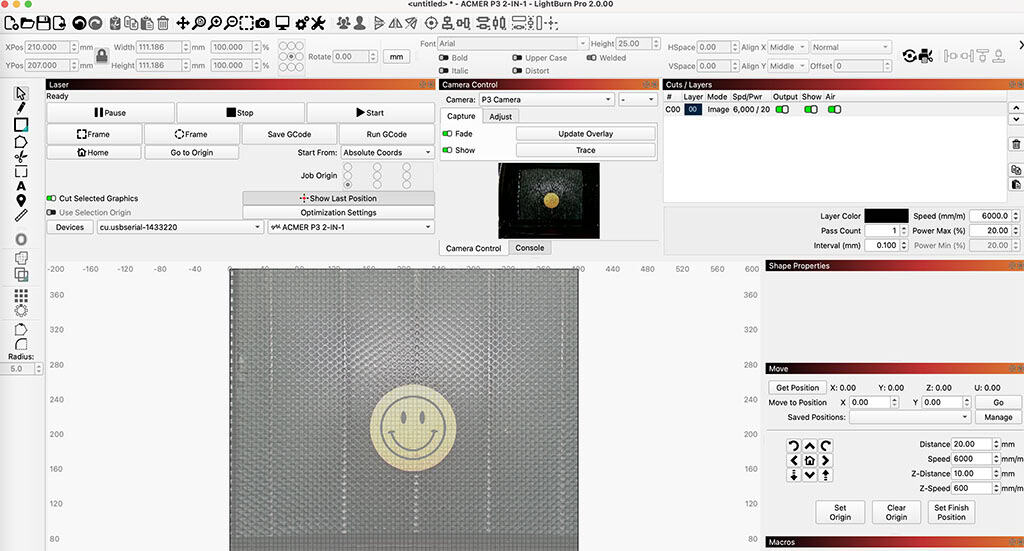
The integrated HD camera allows users to preview and monitor their projects in real-time, providing a 400×400mm visualization of the workspace for precise adjustments.
I simply imported my design file into the machine and placed moved it until it was square on the surface. The overlay view is super handy!
Feature note: The machine supports a wide range of file formats, including JPG, PNG, SVG, BMP, G-code, CAD, AI, CDR, and DWG. My file was a .PNG and worked very well.
After double checking the laser alignment with my material, I clicked start and within a few minutes my first project was complete. Yay!
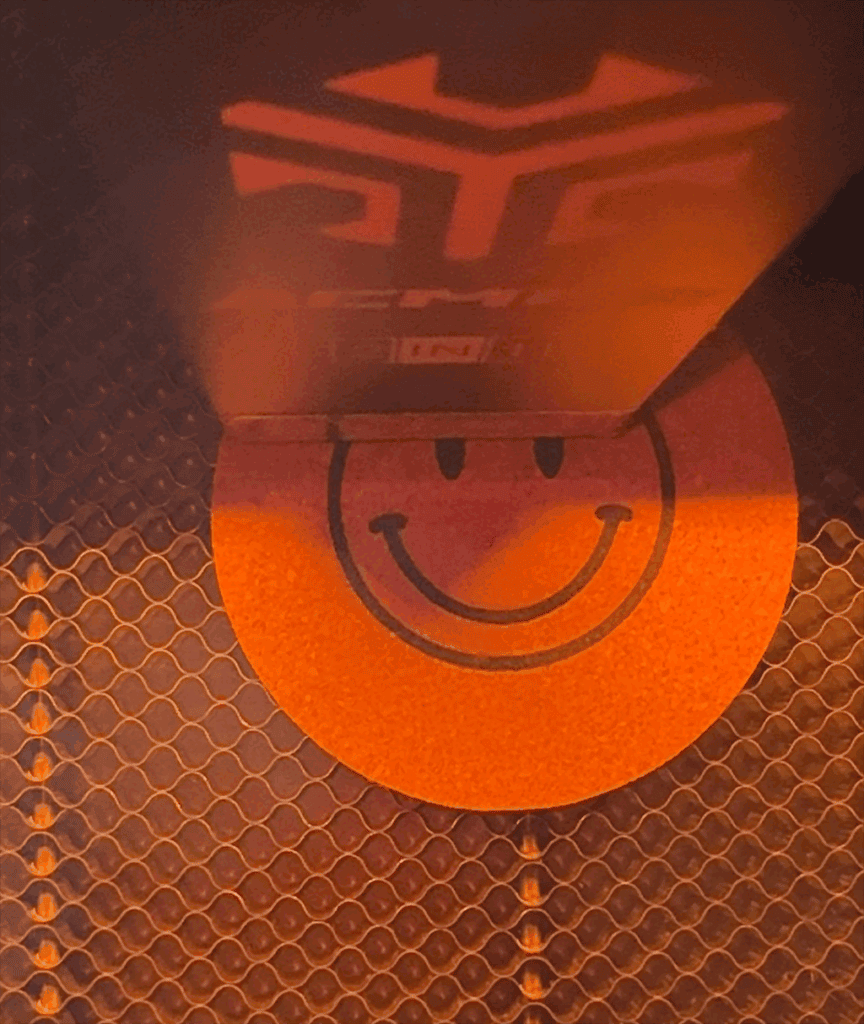
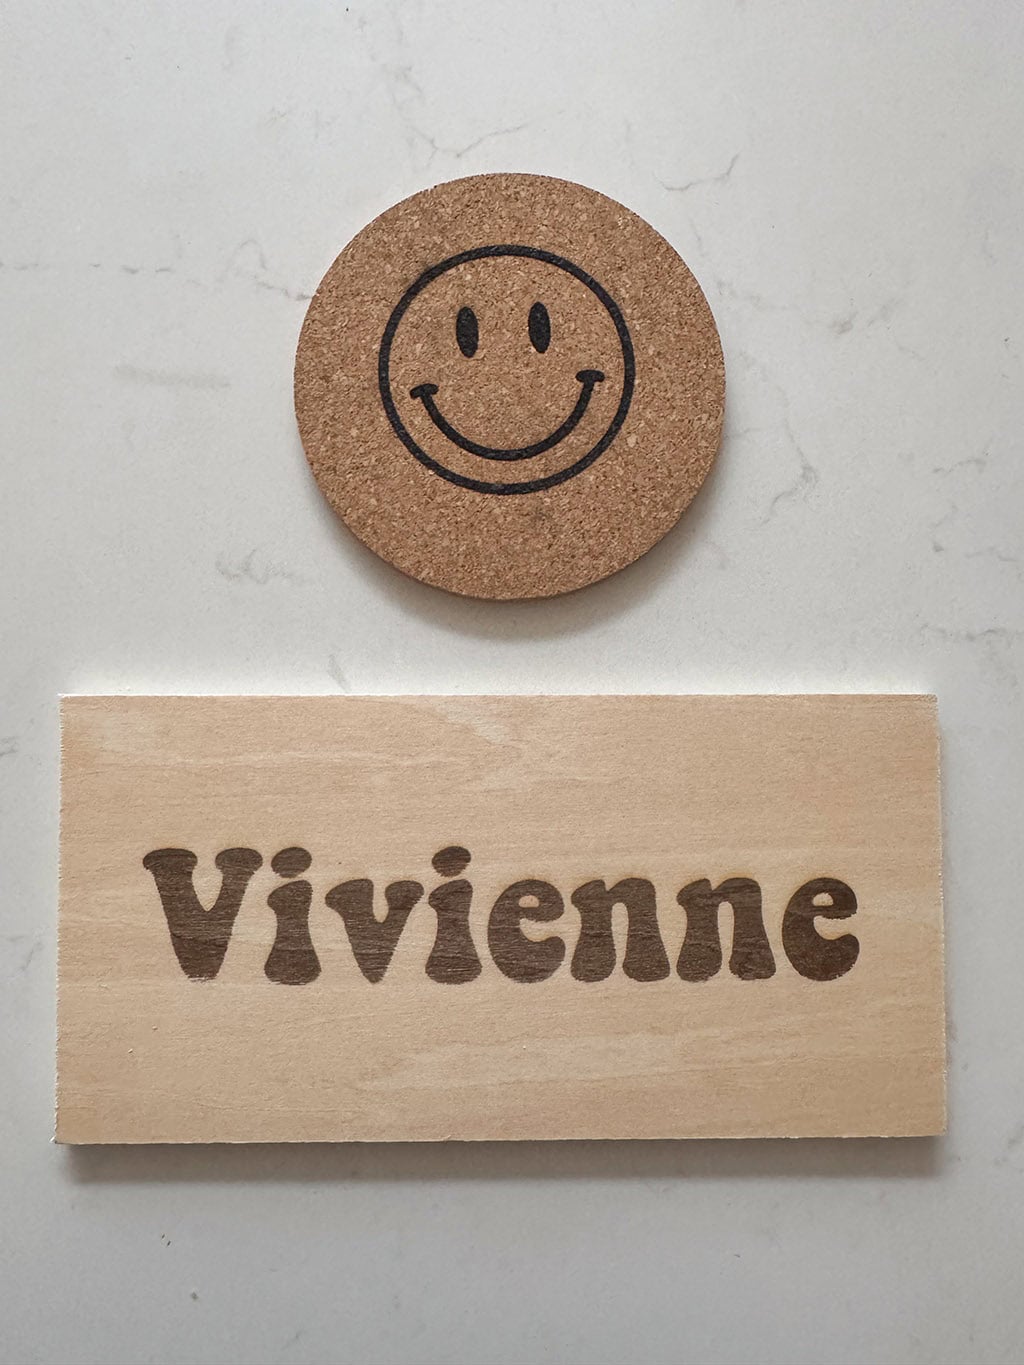
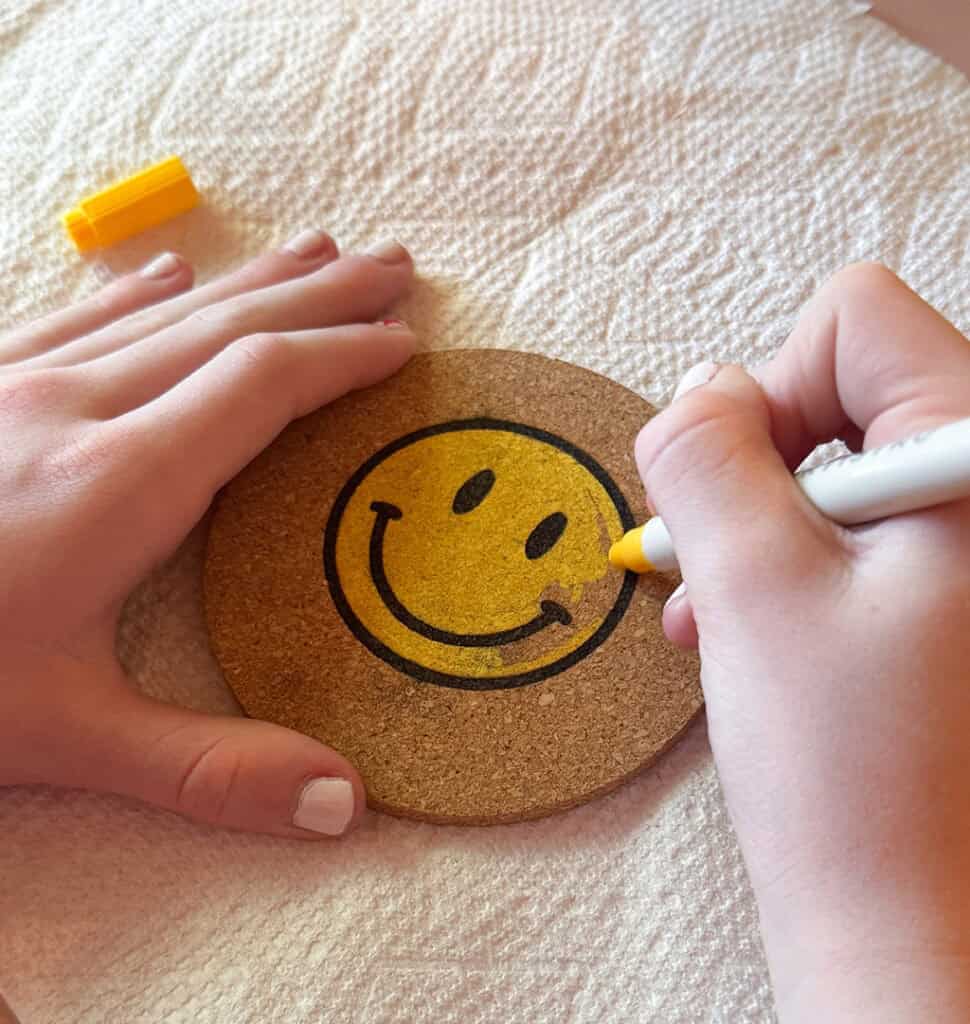
I made a cute smiley face coaster for my daughter’s night stand.
Feature note: The honeycomb and waste drawer system ensures a cleaner working environment by collecting debris and protecting your workspace from residue and damage.
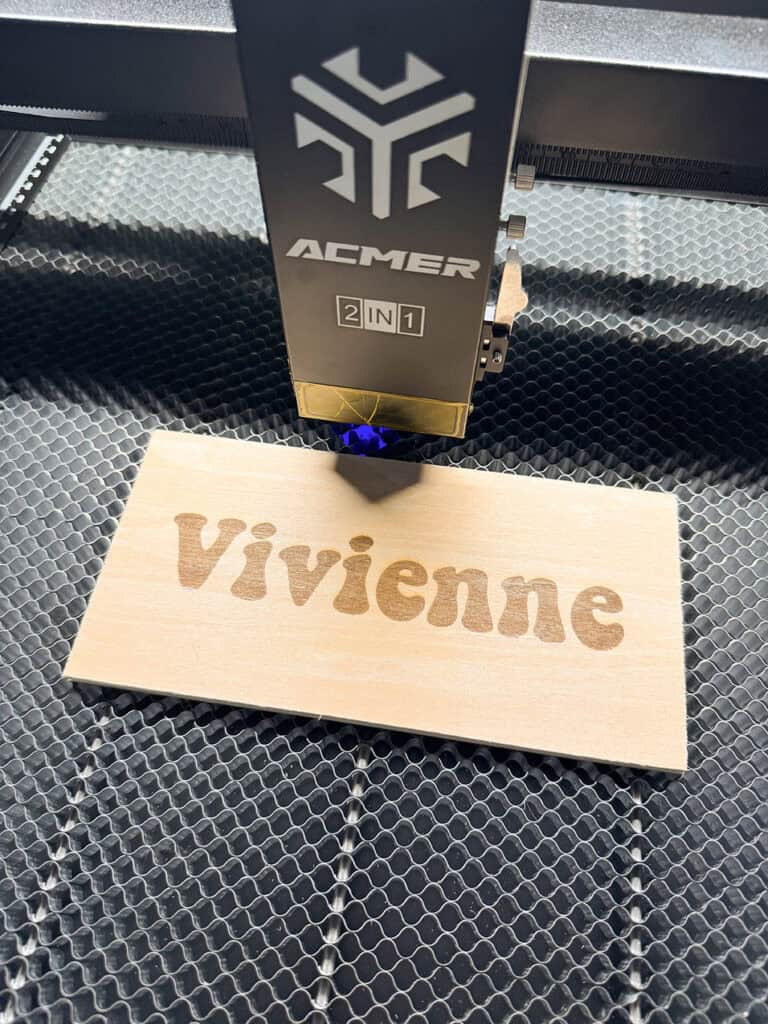
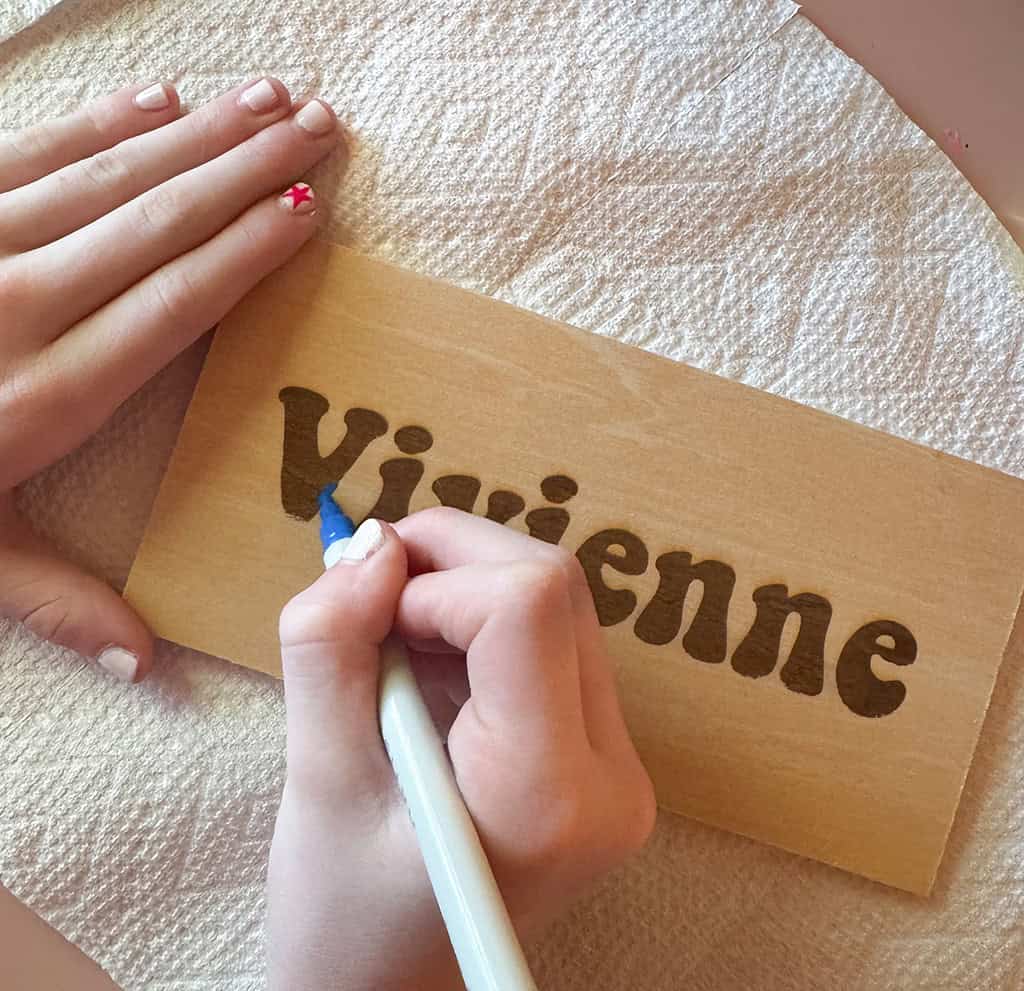
Next it was time to burn my daughter’s name onto some thin plywood. She has been asking for a name sign for her bedroom door, so it worked out perfectly for this.
I imported the .PNG file into LightBurn and checked my placement before creating my second piece.
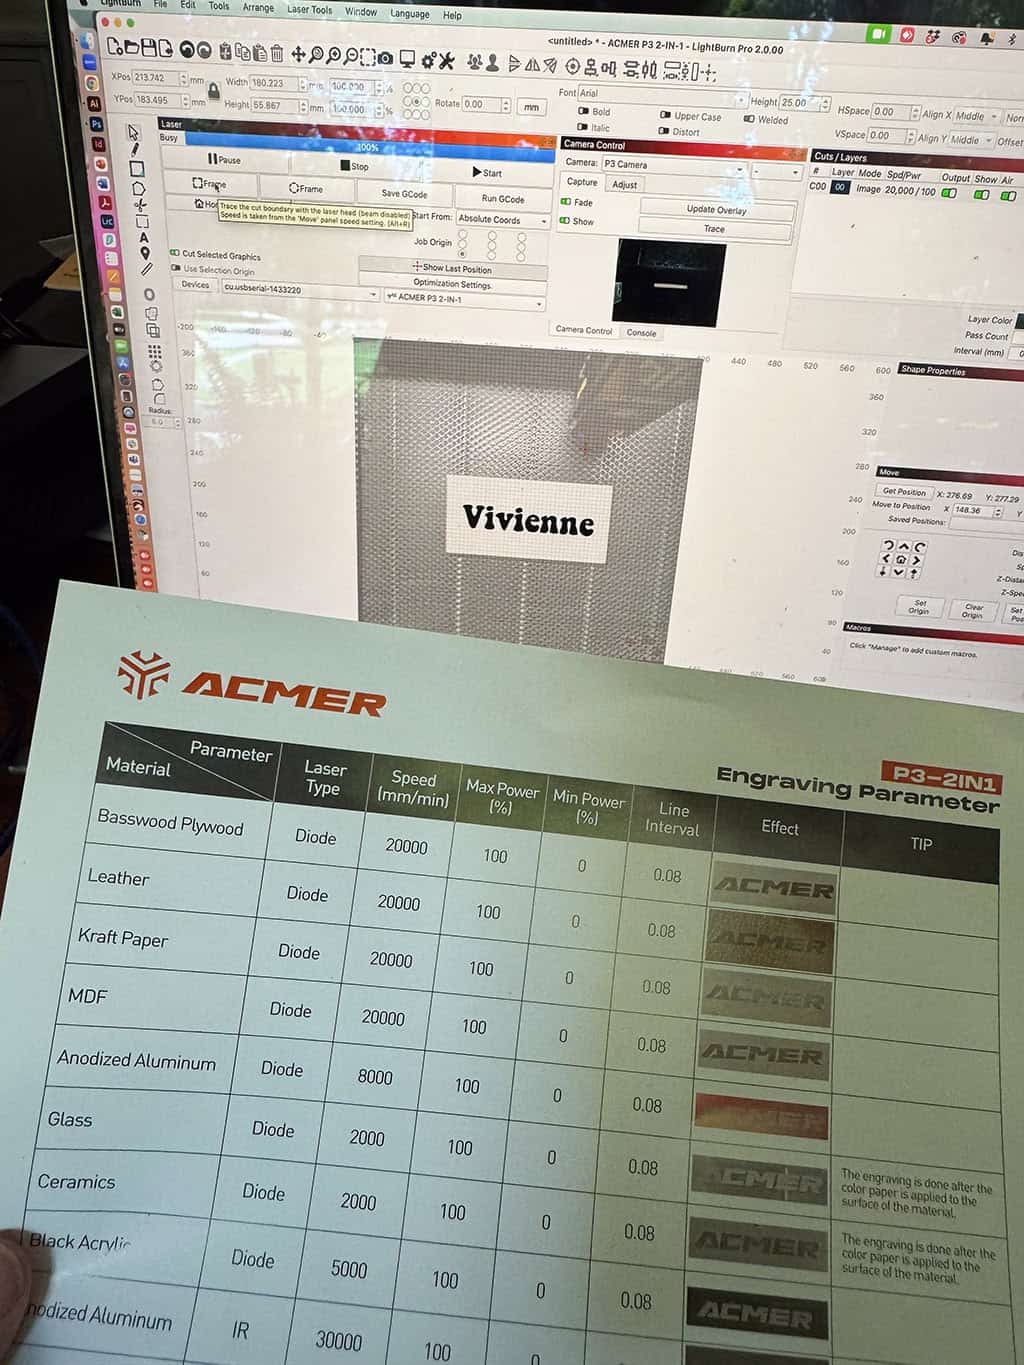
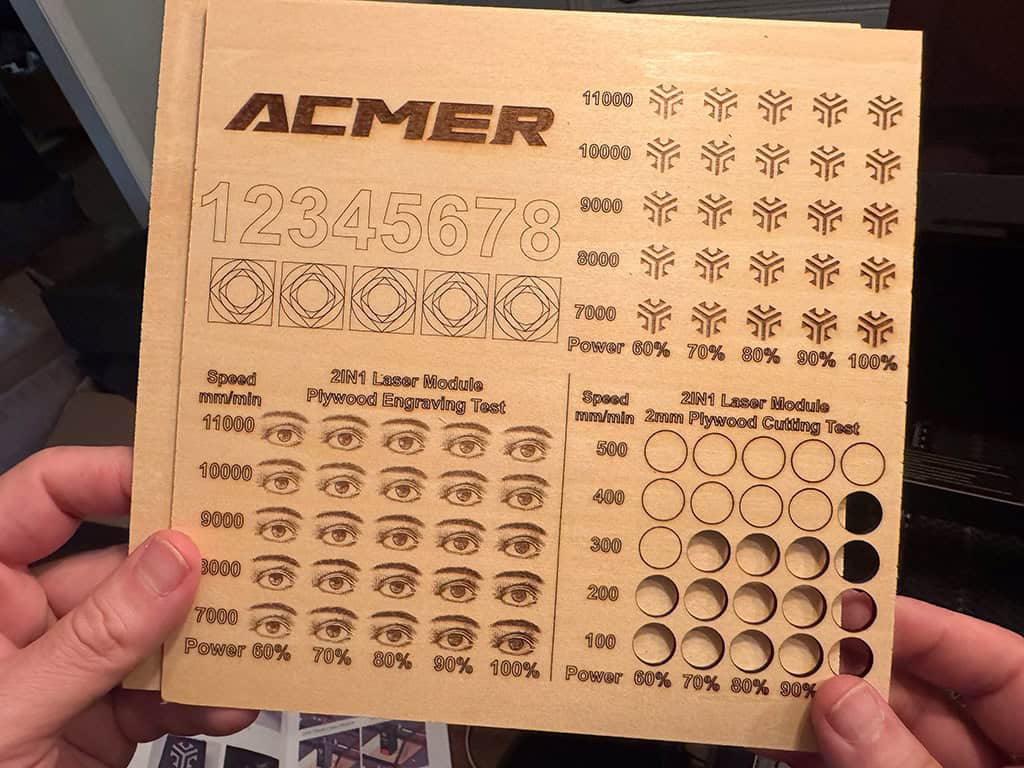
Feature note: The machine also comes with this helpful took to help select different settings for your desired look.
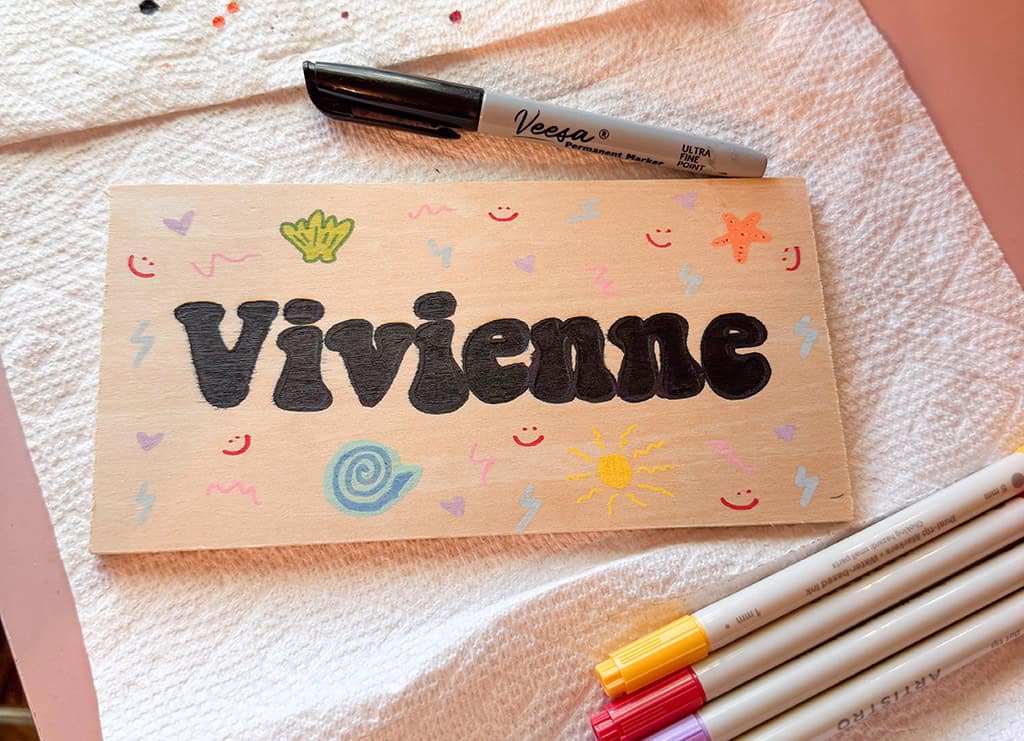
I clicked start and after only a couple minutes the sign was burned!

My daughter loved how both of these projects turned out and is excited to make some gifts for her friends in the future.
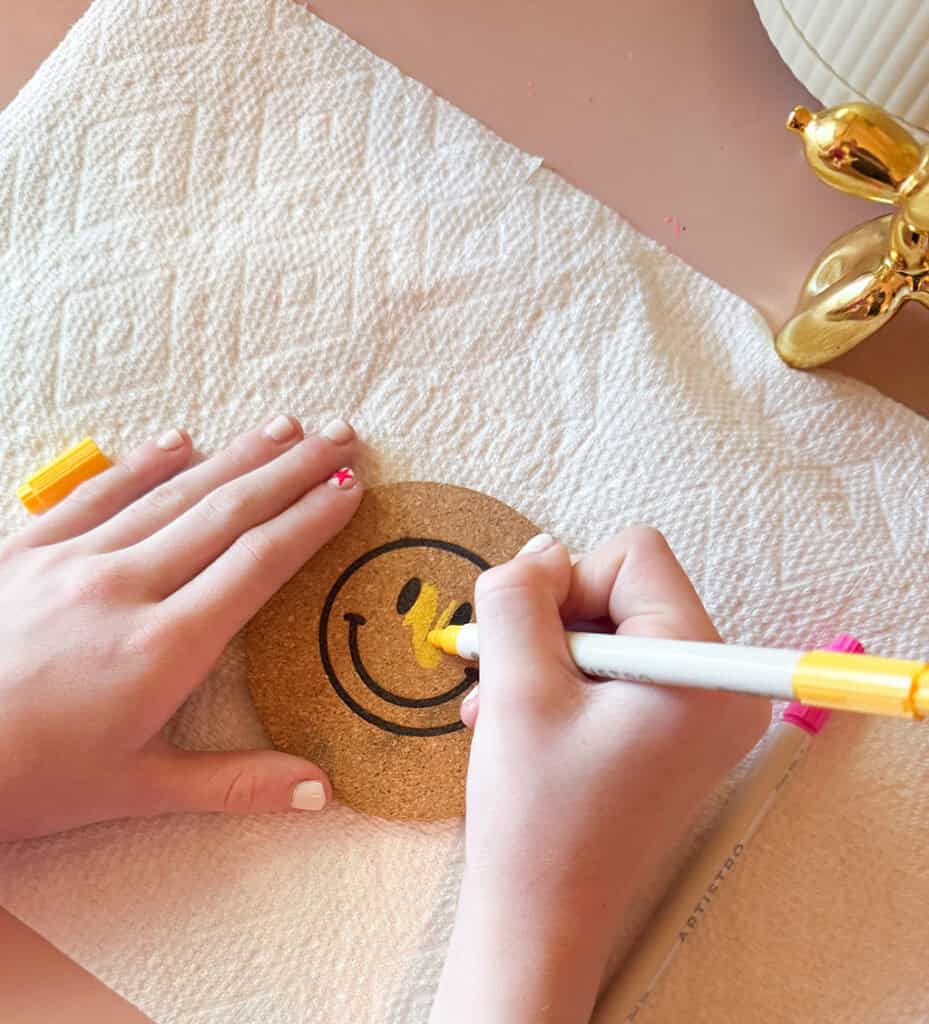
She decided to pull out her paint markers and add some personal touches to both her coaster and wood sign. 🙂
I’m impressed with the engraving quality of the ACMER P3 2in1 Laser.
If you’re interested in ordering one for yourself you can use code: 5J4BEHJJKH0P for an extra 10% off site-wide
Pretty soon I’m going to test out the cutting feature as well as the M4 rotary module. This module will allow me to engrave and personalize stainless steel cups (ie: YETIs etc).
So many options with this machine!

More information on the machine applications and capabilities
Applications:
• Hobbyists and creators: A great tool for artists, DIY enthusiasts, and crafters looking to create personalized pieces.
• Small businesses: Perfect for creating customized products like signage, gifts, and promotional materials.
• Educational institutions: Ideal for teaching laser cutting and engraving techniques in schools, colleges, and maker spaces.
Capabilities:
• Built to last with a laser module lifetime of 20,000 hours.
• Designed for a wide range of applications, from personalized crafts to industrial-grade projects.
• 48W/24W diode laser capable of cutting up to 30mm plywood and 45mm dark acrylic.
• 10W diode/2W IR laser for ultra-fine engraving on metals and non-metals, with a resolution as precise as 0.02×0.02mm.
• Switchable power modes via a button beside the laser head, eliminating the need for head replacement.
• Achieve engraving and cutting speeds of up to 800mm/s, streamlining batch processing for quick and efficient project handling during high-demand periods like holidays.
• The COREXY structure, featuring two stepper motors paired with an x-axis industrial guide rail, ensures higher precision and faster completion times compared to conventional laser engravers and cutters that use separate stepper motors for the x-axis and y-axis.
• The integrated 30L/min air pump effectively removes smoke, maintaining a clean working area and enhancing cutting and engraving quality.
• With an expandable working area and 360° rotary engraving, the P3 2in1 redefines what a dual laser engraver can achieve in both scope and flexibility.
I recommend this product if you’re in the market for a 2in1 laser.
*** If you’re interested in ordering one for yourself use code 5J4BEHJJKH0P for an extra 10% off site-wide ***
Disclaimer: This laser was gifted for review purposes – all opinions are my own.
For the experienced laser users out there, here are some technical specifications:
| Laser Type | Diode laser (48W/24W/10W) / 2W IR laser |
| Spot Size | 48W: 0.09×0.1mm; 24W: 0.07×0.09mm; 10W: 0.06×0.08mm; 2W IR: 0.02×0.02mm |
| Wavelength | 48W/24W/10W: 450±5nm; 2W IR: 1064±1nm |
| Engraving Accuracy | 0.01mm |
| Engraving & Cutting Speed | Up to 800mm/s |
| Working Area | 400×390×30mm (48W/24W); 400×390×20mm (10W/2W) |
| Machine Size | 650×597×200mm |
| Weight | 19kg |
| Rated Power | 216W (48W); 120W (24W); 96W (10W/2W IR) |
| Software Compatibility | LaserGRBL, Lightburn, ACMER App |
| Laser Module Lifetime | 20,000 hours |
| Security Certification | Class-1 Laser |
| Camera Resolution | 2592 x 1944 Pixels |