I’m excited to show just how fun and easy it is to make custom and cute holiday tea towel gifts with your Cricut Joy and Easy Press 2.
I love making handmade gifts whenever I can, and it doesn’t get much more fun than holiday themed tea towels in my opinion.
I decided to make each neighbor on our street a holiday themed tea towel to go along with the gifts I will be giving them.
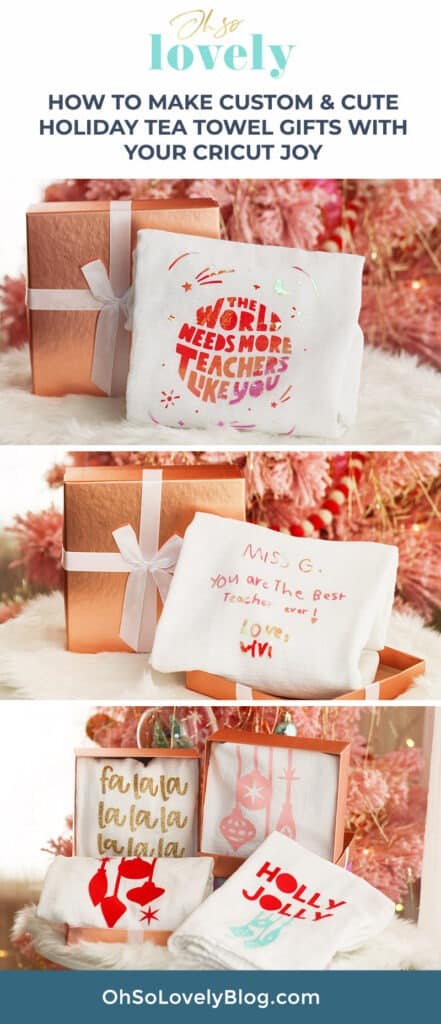
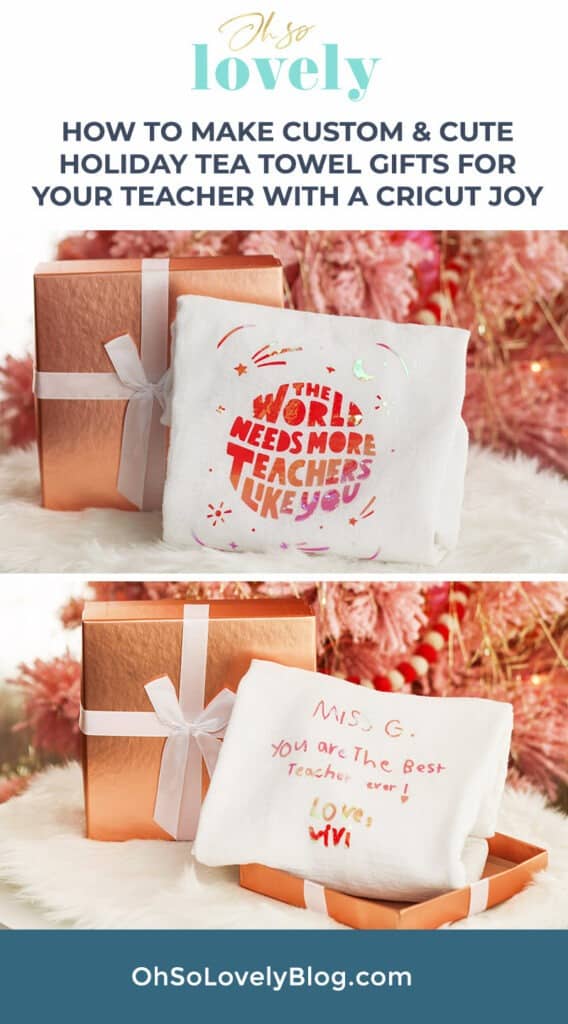
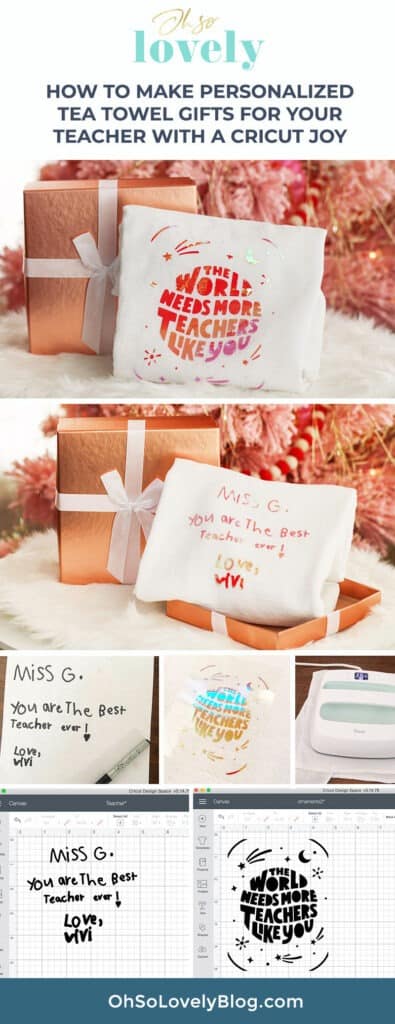
We also made a super customized tea towel for my daughter’s second grade teacher – I can’t wait to show you! Let’s go!
Making holiday tea towels for our neighbors
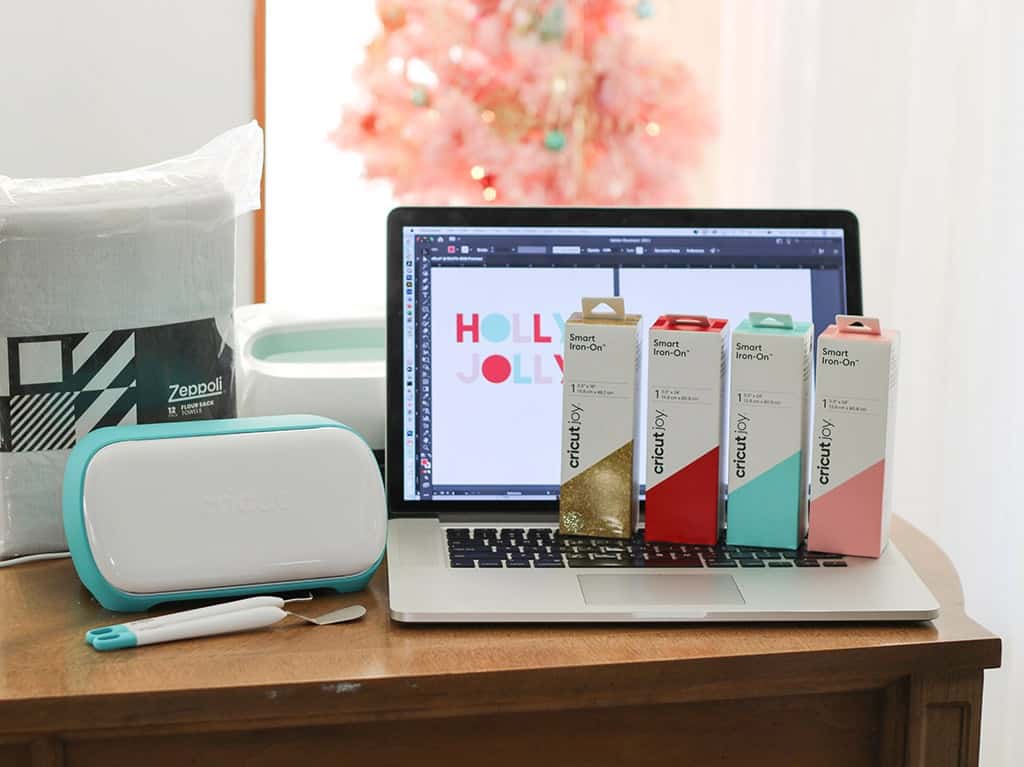
I gathered my supplies and got to work:
1. Cricut Joy (or any other Cricut machine)
2. Cricut basic tool set
3. Cricut Access (Standard or Premium)
4. Cricut Easy Press 2
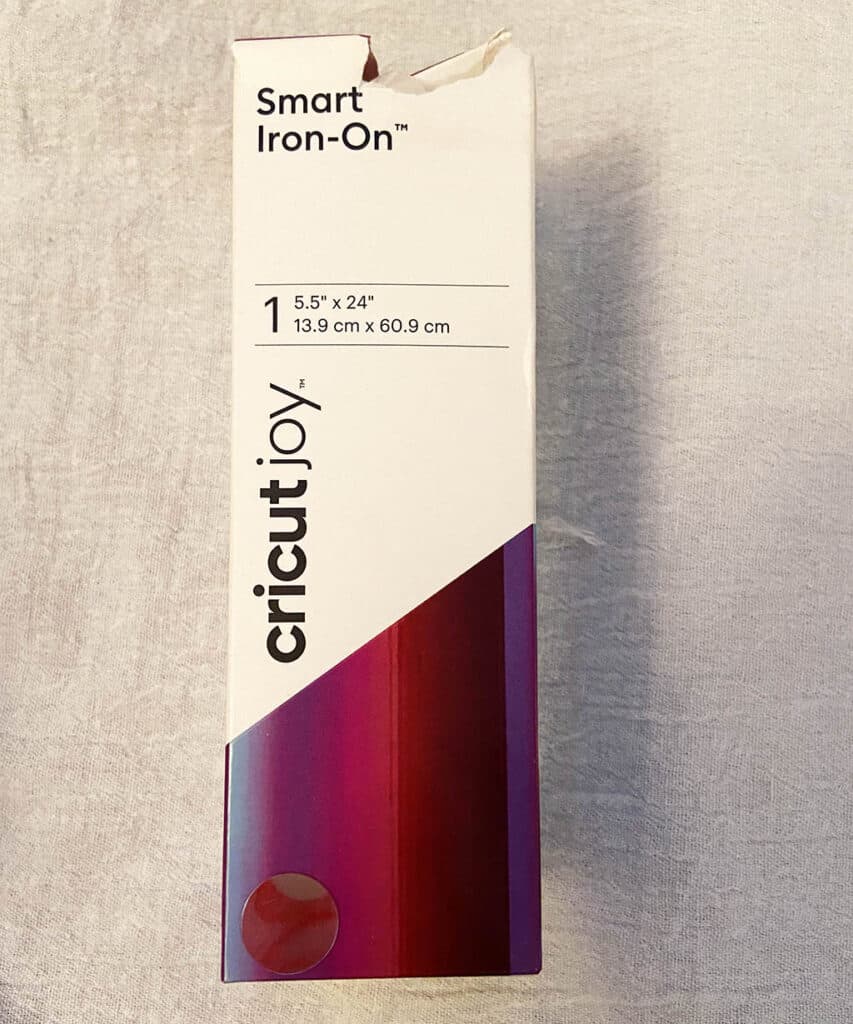
5. Cricut Smart Iron-On vinyl in various colors
(red, pink, turquoise, gold glitter, dahlia holographic)
6. Cricut Design Space
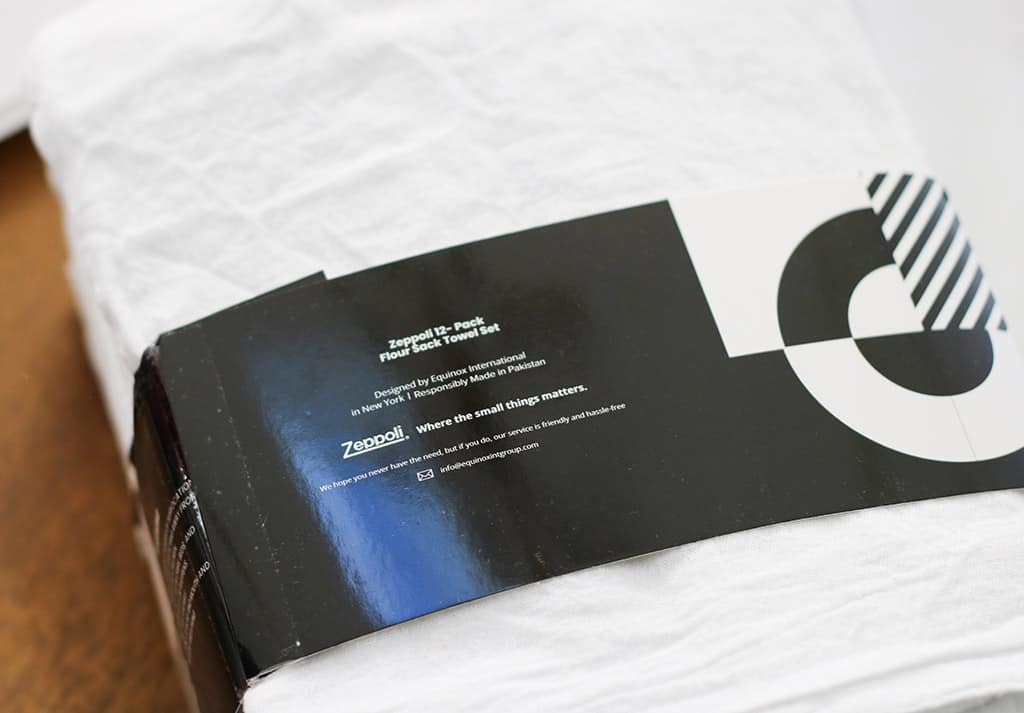
7. Bulk tea towels
8. Scissors
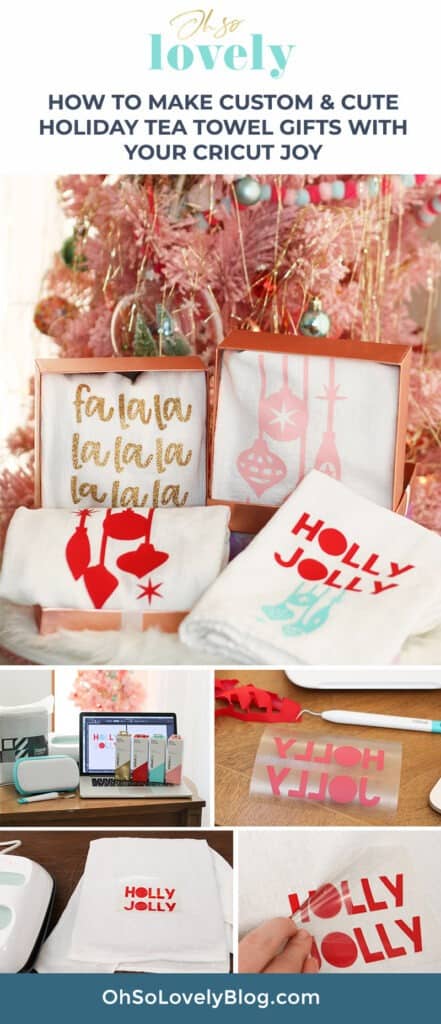
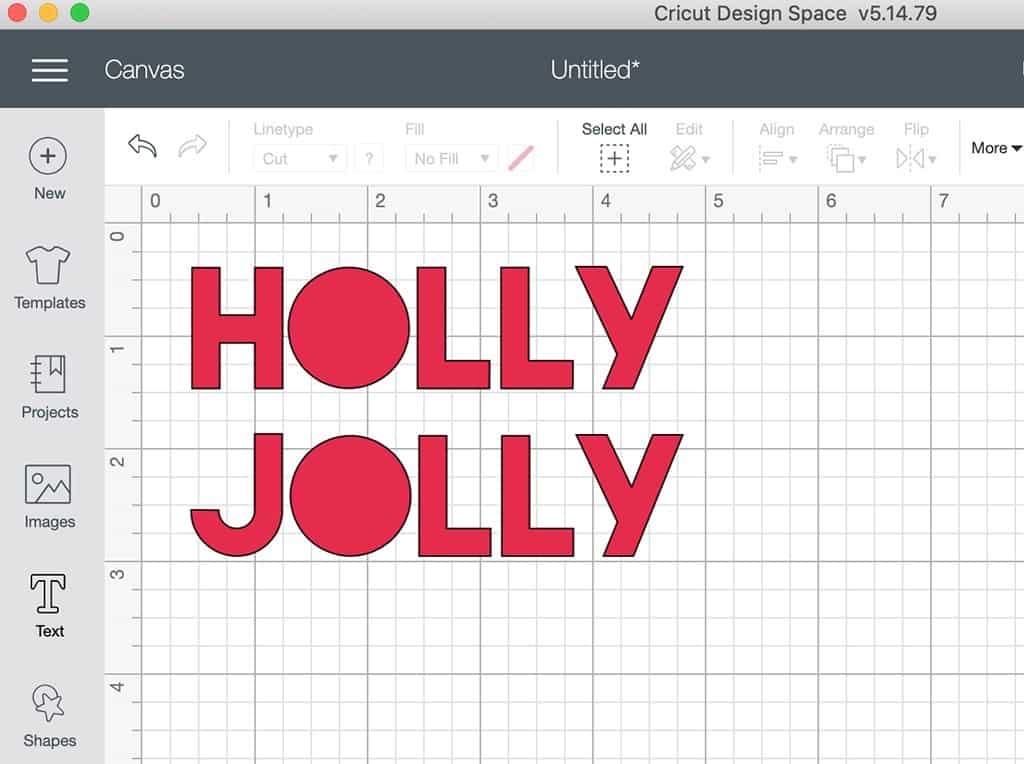
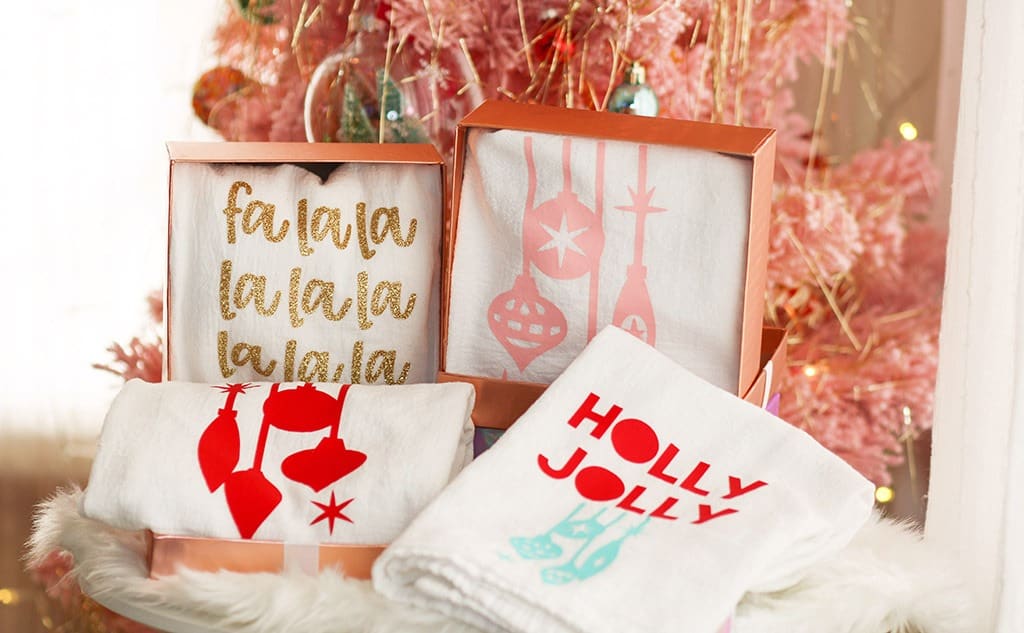
I started with some holly jolly art I designed and shared as free printables last year.
I saved my vector Illustrator file as a .svg file and uploaded it into Cricut Design Space.
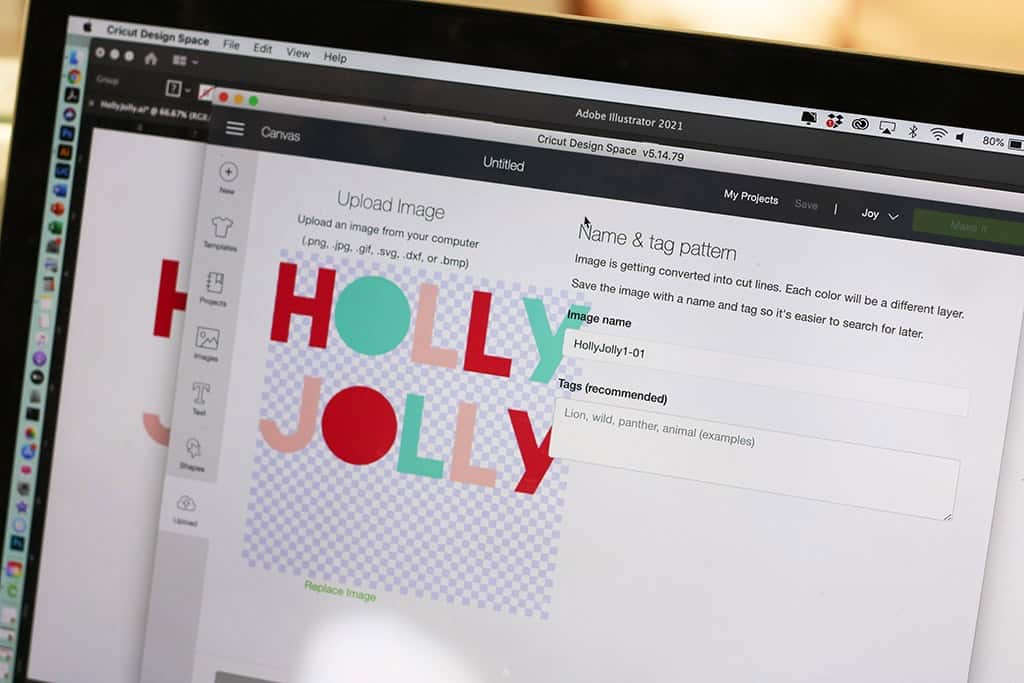
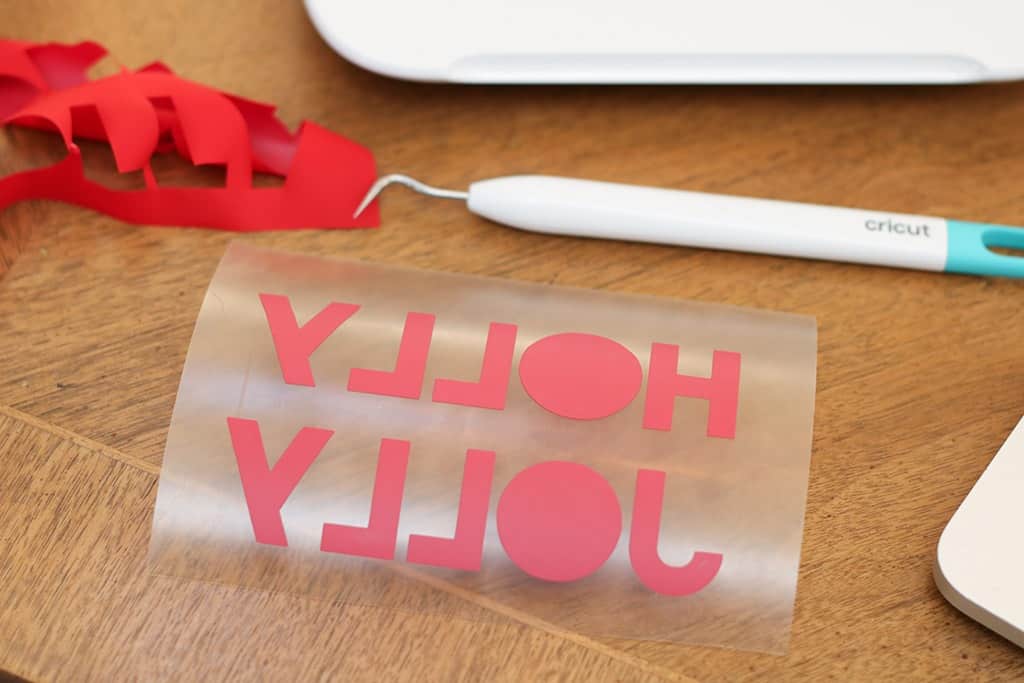
Once it was uploaded to Design Space, I sized it to my desired size of 4.5″ wide and welded it together. Finally, I following the directions for iron on vinyl, I mirrored/flipped my design.
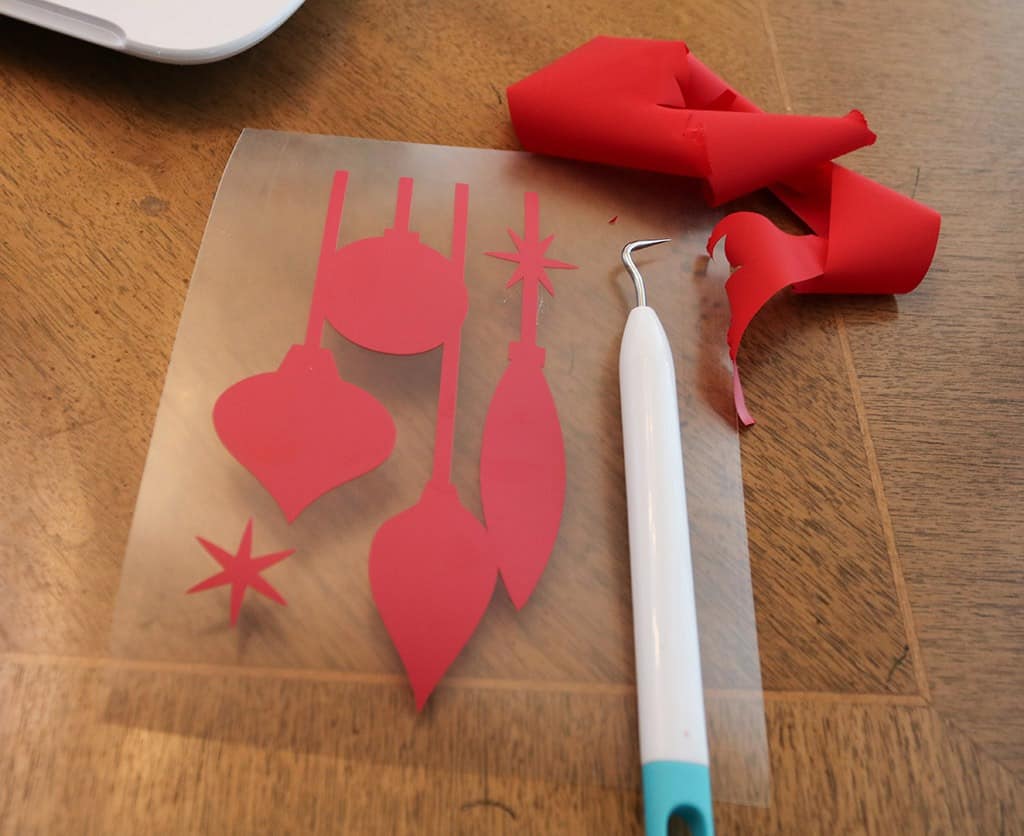
I added my iron-on vinyl to my Cricut Joy and it quickly cut out my design with the shiny side facing down.
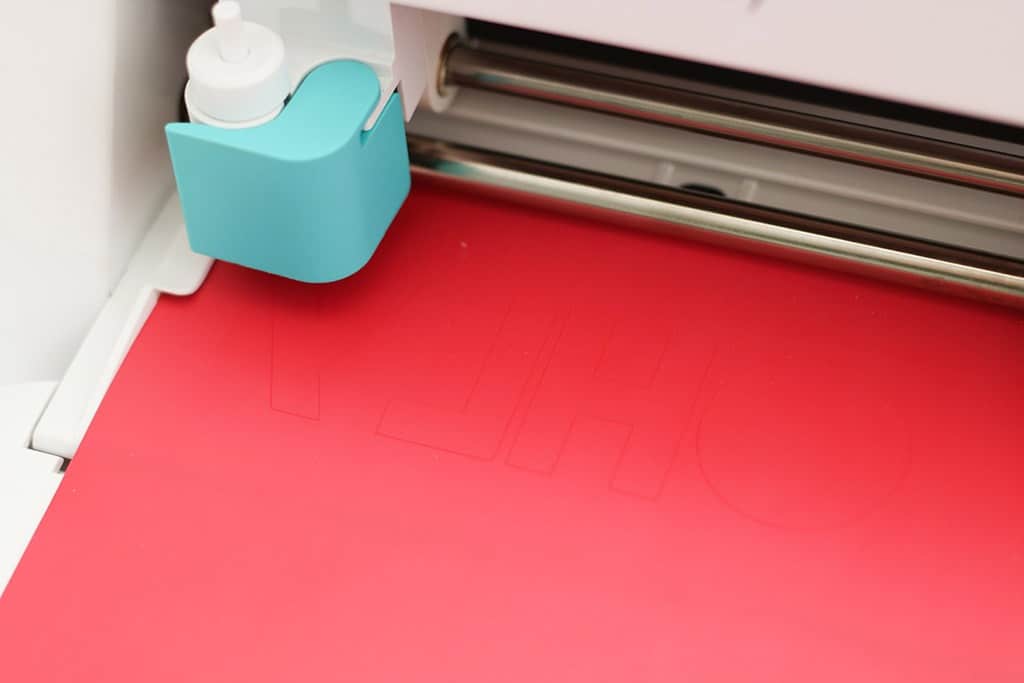
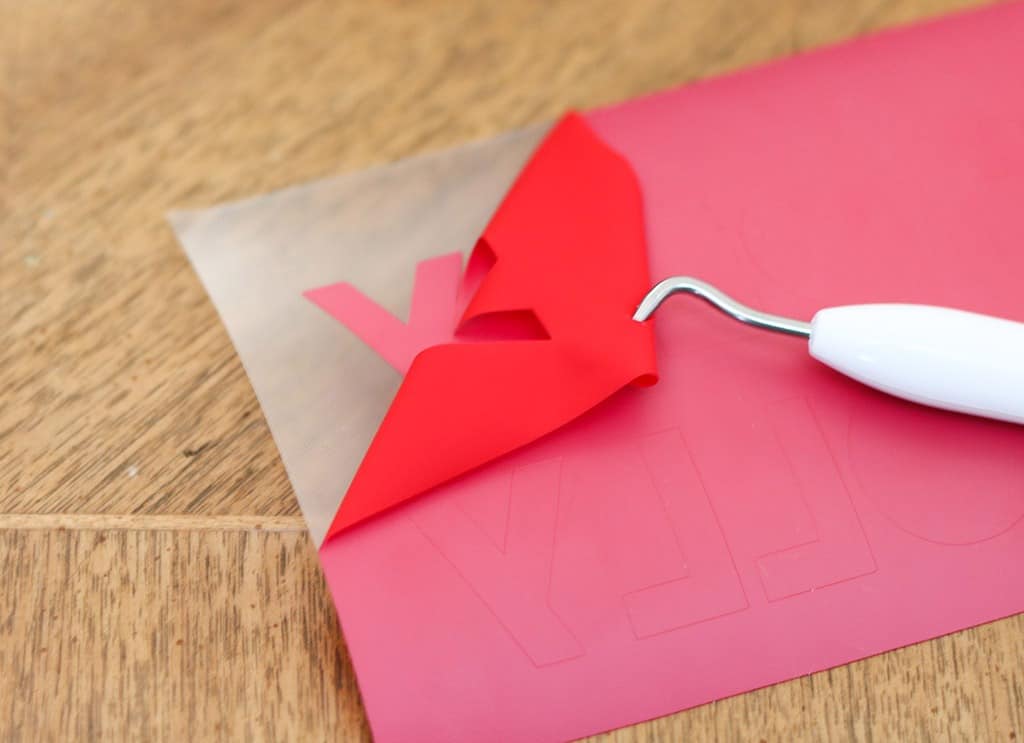
Next, using my weeder tool, I weeded away the excess vinyl.
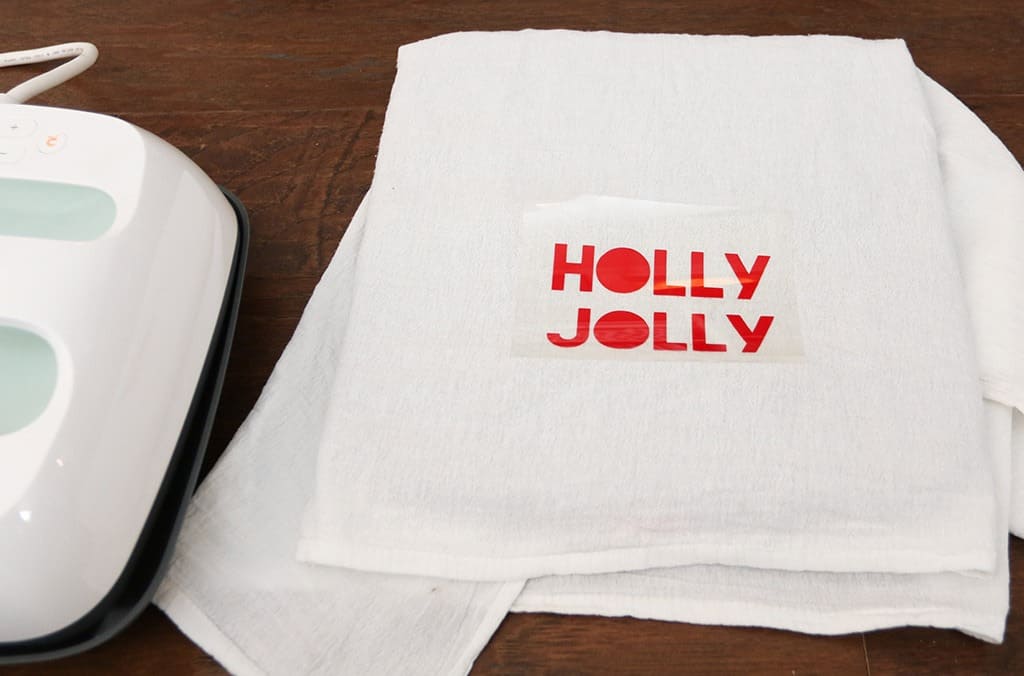
Time to iron my design onto my tea towel.
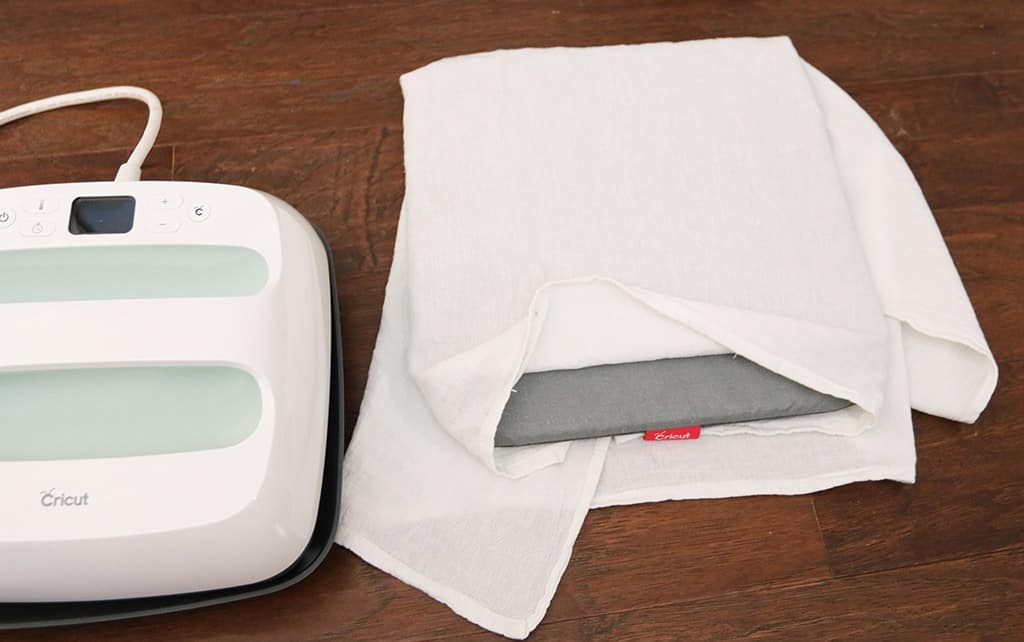
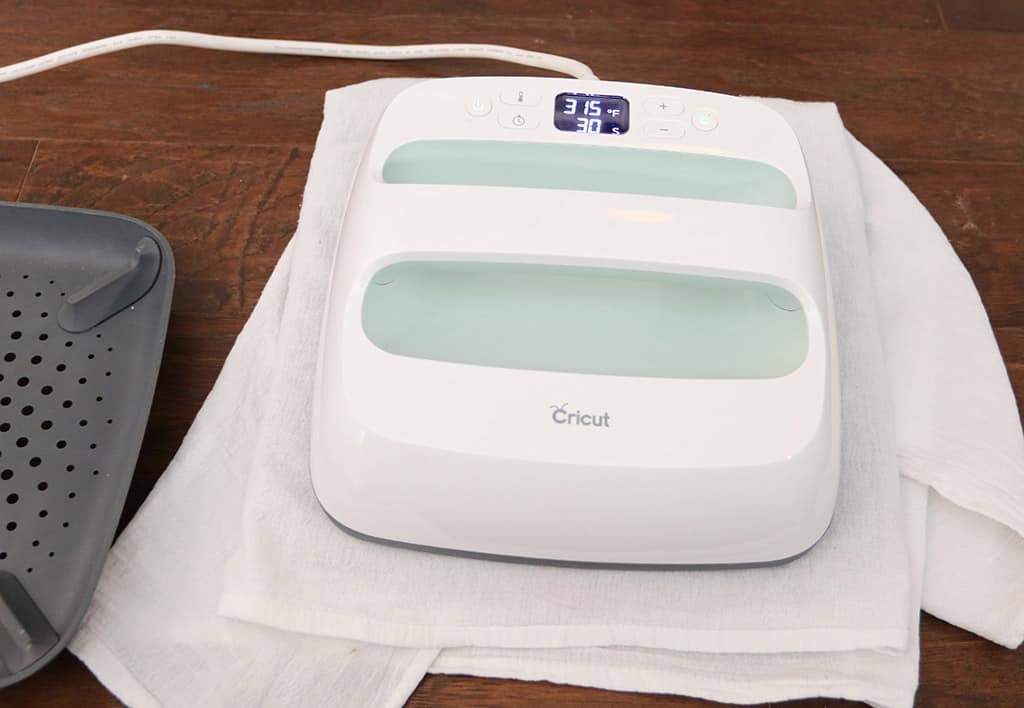
I turned on my Easy Press 2 and let it heat up to 315 degrees according to Cricut’s heat guide – this amazing press heats up sooo quickly!
I set out my heat pad and placed my tea towel on top.
Once it was up to temp, I heated up the section of my towel where my design will go for 5 seconds and placed my design shiny side up on the towel.
I followed Cricut’s heat guide to determine how long I needed to heat the design, which is 15 seconds on the front, then 15 seconds on the backside of the towel.
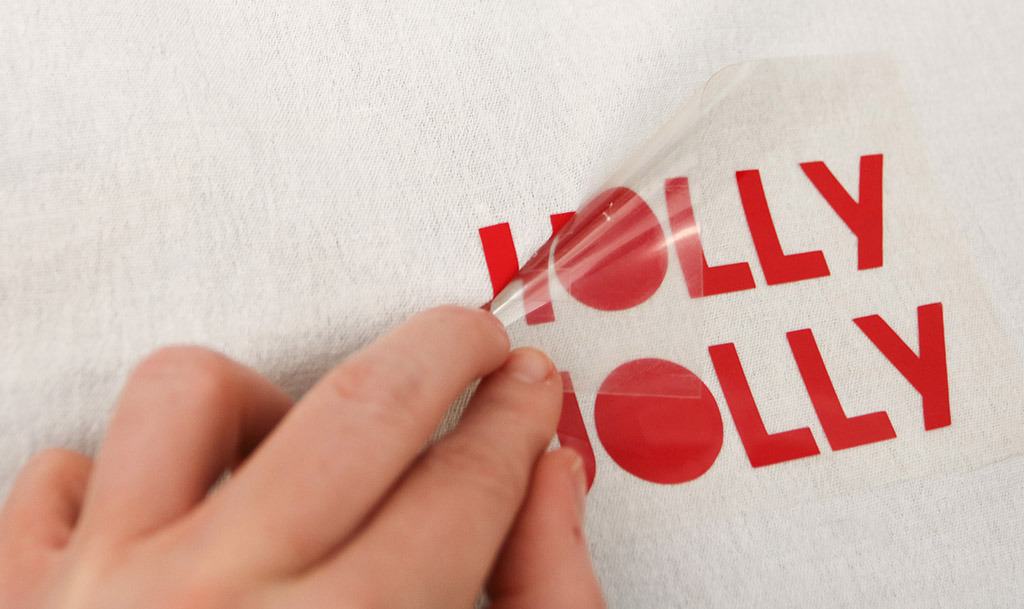
Once the design was completely cool, I gently peeled away the clear sheet.
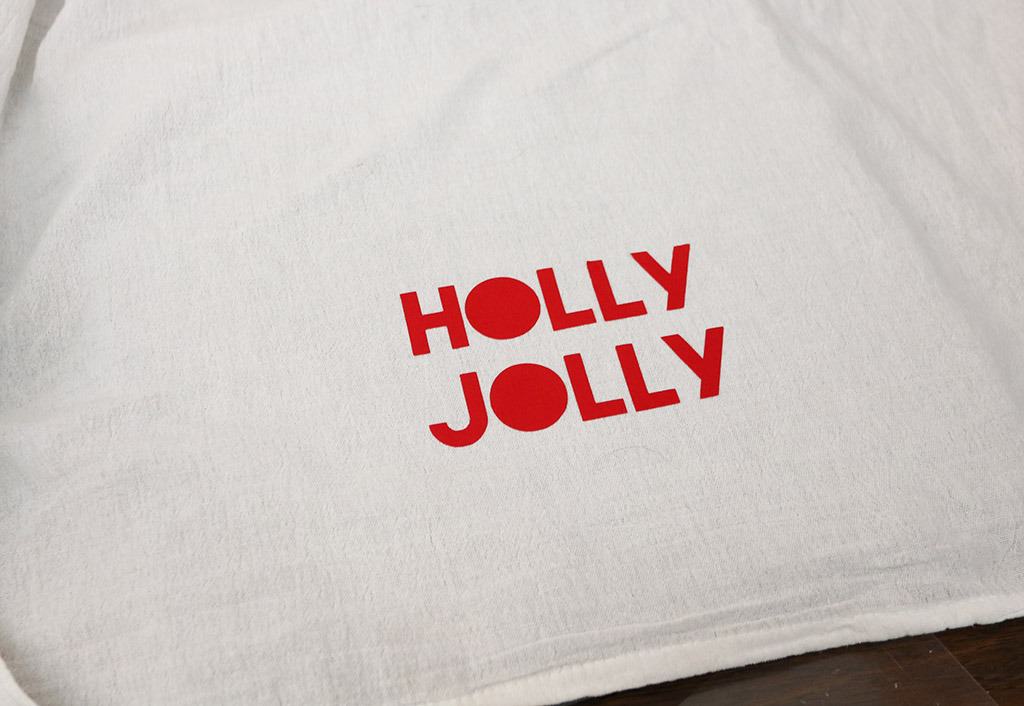
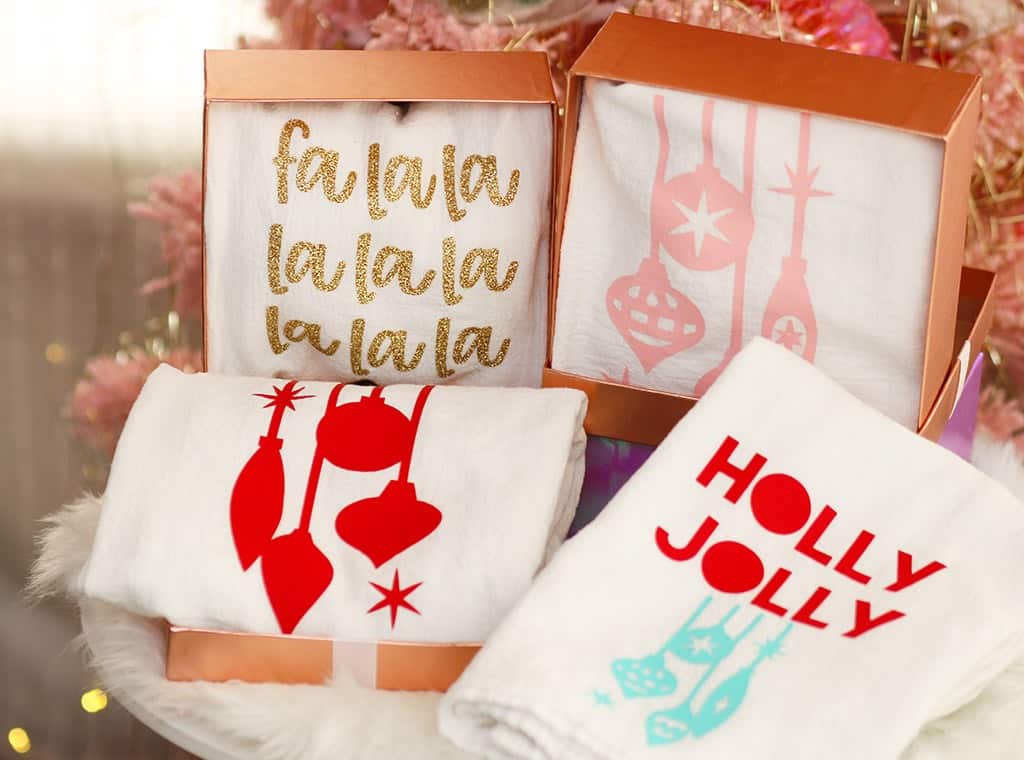
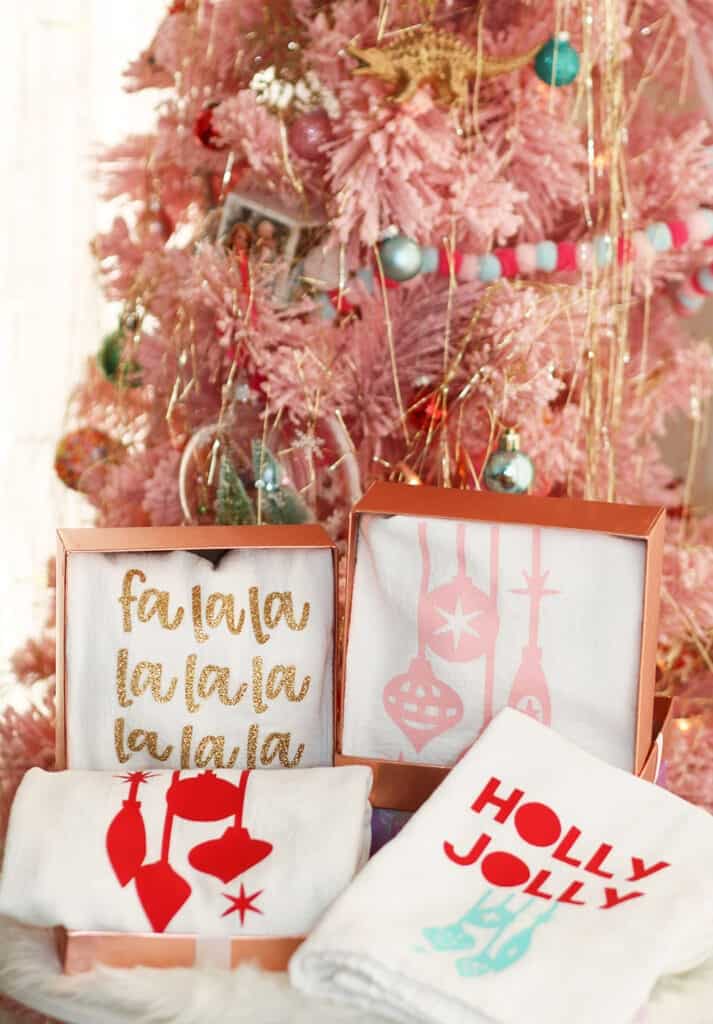
I used this design for three different towels in different colors.
It was so easy and I couldn’t wait to make more holiday tea towels!
The quality and durability of the smart iron on vinyl is great, and I love that it outlasts 50+ washes!
For my second towel, I found some cute pre-made holiday ornament designs on Cricut Design Space and followed the same steps from above.
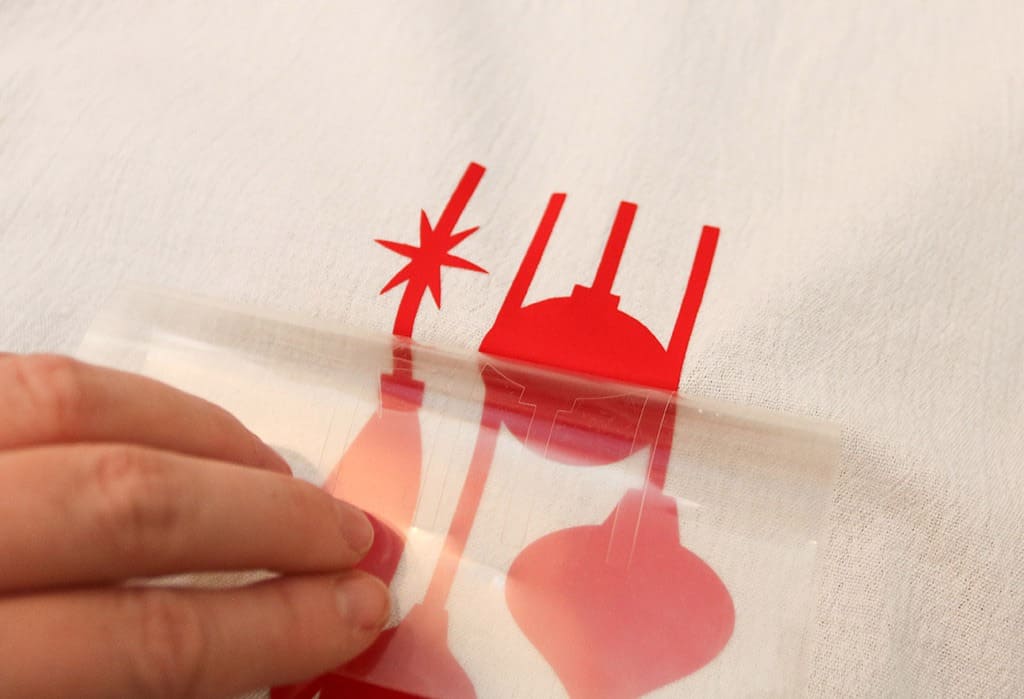
I used the same design for three different towels in different colored vinyls.
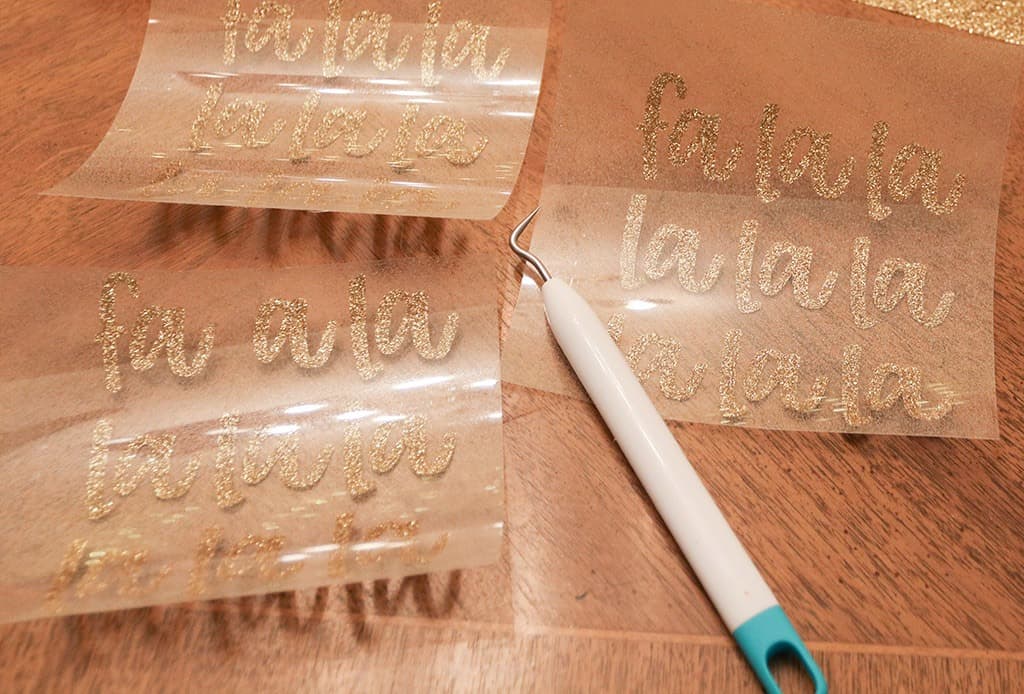
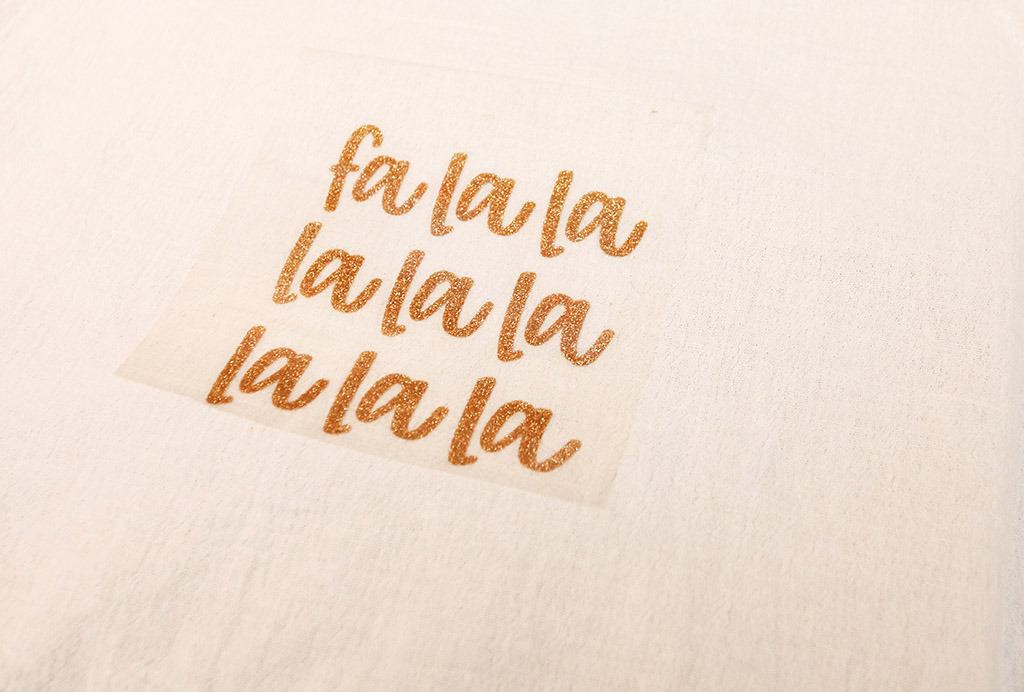
Next, I designed to create a custom fa, la, la design and upload it to Design Space for my final holiday tea towel design.
I followed the same steps, and couldn’t wait to try out the gold glitter smart iron on.
It took quite a while to weed the vinyl on this one due to the intricate font design, but it was worth it. 🙂
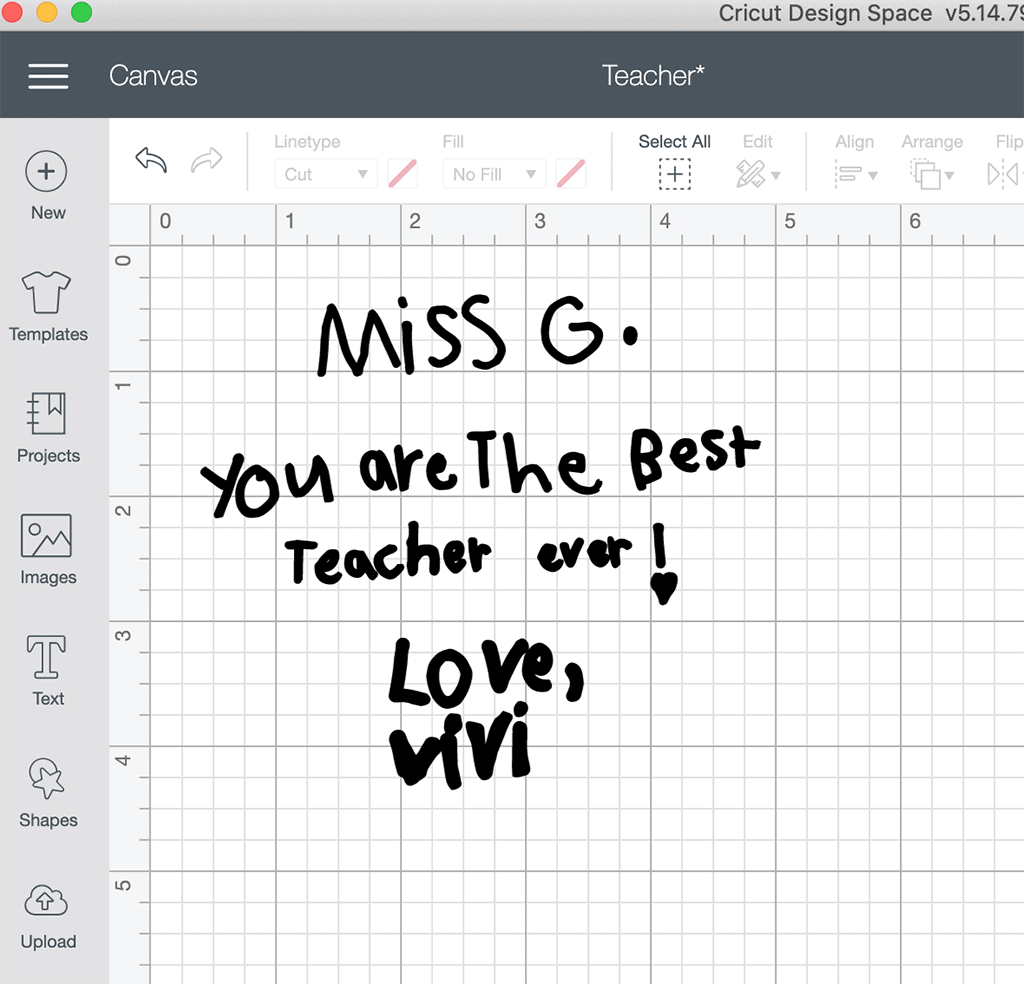
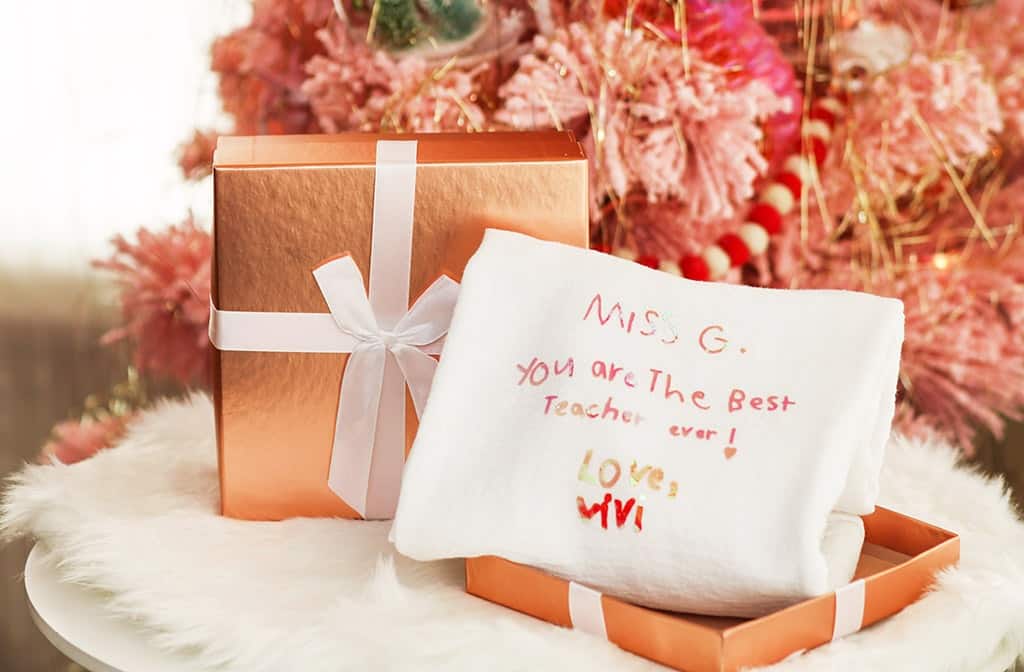
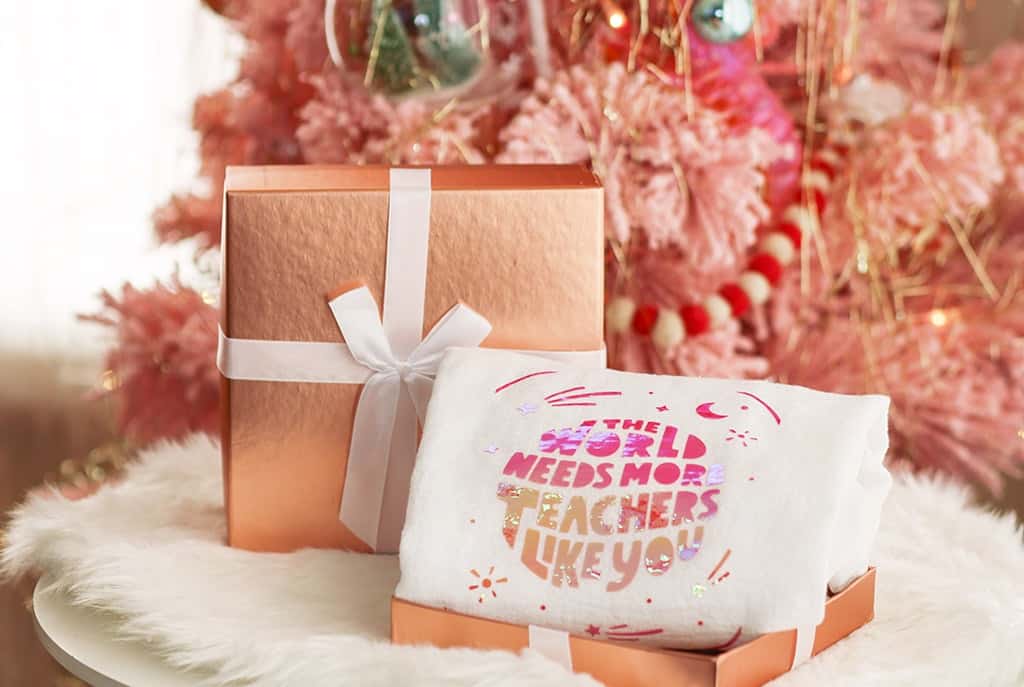
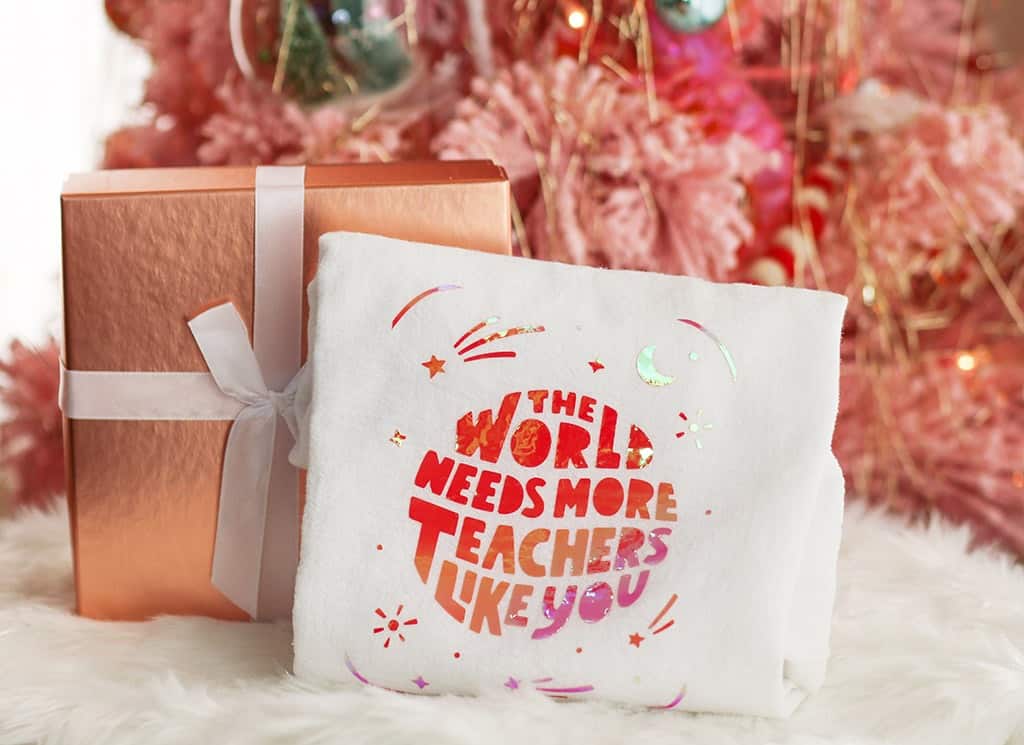
Finally, I designed to design a super customized holiday tea towel for my daughter’s second grade teacher.
My daughter wrote a quick note to her teacher and took a photo of it with my phone. I brought it into Photoshop to adjust the brightness and contrast – then brought it into Illustrator and imaged traced it. From there, I saved as a .svg and uploaded it to Design Space.

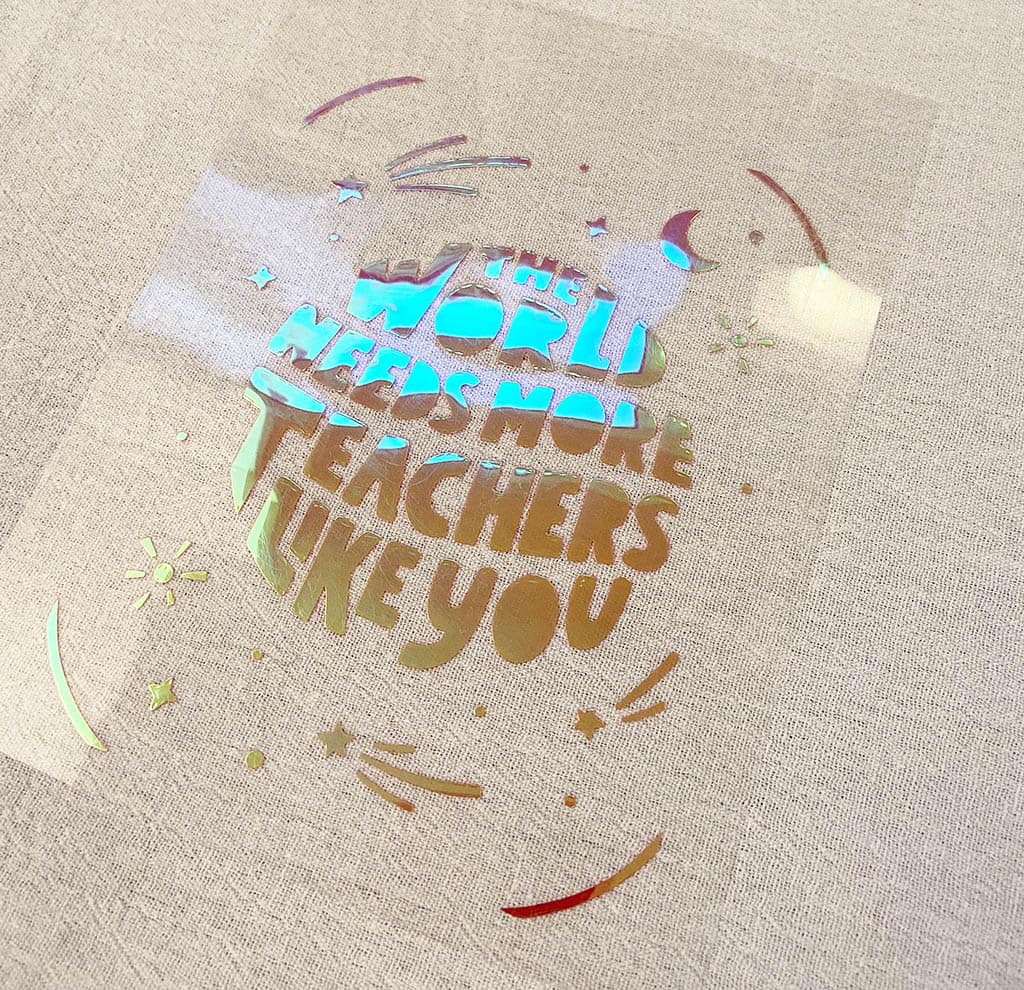
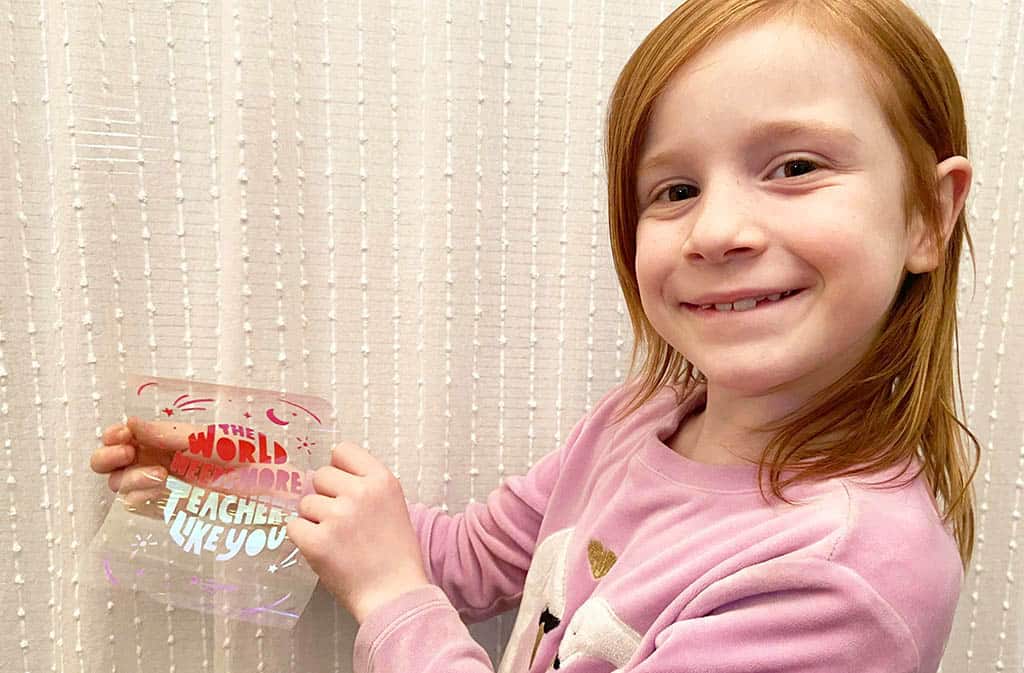
I decided to do a a design on both the front and back side of the towel, so I hunted through free image sets with the key word “teacher” and found the cutest free pre-made graphic. It was perfect for our towel!

This design was the perfect chance for me to use my Dahlia holographic Smart Iron-On vinyl!
I followed the same steps from the projects above and absolutely love how it turned out! The extra personalization from the note is my favorite part – I hope her teacher likes it! 🙂
And now the final reveal of my DIY kitchen towels using my Cricut Joy…
I’m in love!!!
And here are the towels I made for our neighbors….so fun!
I had the BEST time making these holiday tea towels with my Cricut joy and definitely plan on making more for all future holidays.
They are truly easy and make the best gifts for friends, teachers, and family.
If you make some of your own I’d love to see them! Please tag me in your Insta, Twitter, or Facebook photos – I’m always so very thankful when you Pin my work as well.
xoxo
Audrey
You might also like these other projects I’ve made with my Cricut Joy:

Pin this tea towel tutorial for later!