DIY kitchen open shelving tutorial
Last March I shared the reveal of our DIY kitchen remodel where we did most of the work ourselves and saved a TON of money (about $48k in fact).
The only bad part was it took us two years. Yes, it tried our patience, but it was so worth it.
As promised, I’m finally sharing the complete DIY kitchen open shelving tutorial.
The shelves were a very affordable addition to the space, and I love the functionality, storage, and warmth they provide.
Onto the DIY kitchen open shelving tutorial
We started out with our supplies
- (2) 2 x 10 boards from Lowe’s (enough for 4 shelves)
- Wood stain (in Mission Oak)
- (8) L brackets (similar style linked)
- Metallic gold spray paint
- Drill and masonry bit
- Screws
- Anchors
- Mitre saw
- Laser level
- Hammer
I’m a gold fan, so I decided I wanted my L brackets to be gold. You can’t go wrong with any finish.
I took the screws and eight chrome L bracket and sprayed them with two even coats of gold spray paint, and set them aside to thoroughly dry.

Tip: To easily spray screw heads, find a scrap 2 x 4 and drill all holes slightly wider than the screw, then set the screws into it and spray—works like a charm!

Ted got started by measuring and cutting down the 2 x 10 boards to fit the wall. He then sanded down all sides before staining. (not shown).

Once the brackets and stain dried over a full day or two, Ted got to work marking the wall and hanging. He used his laser level to mark his drill holes directly onto the tile.

After the hole marks were made, Ted got his drill with masonry bit and slowly and carefully drilled the holes for each bracket in one swoop.
The masonry bit went smoothly through the tile with no cracking or damage left behind.

Once all holes were drilled, he hammered the anchors in for added stability.

He repeated this step until all anchors were in place.

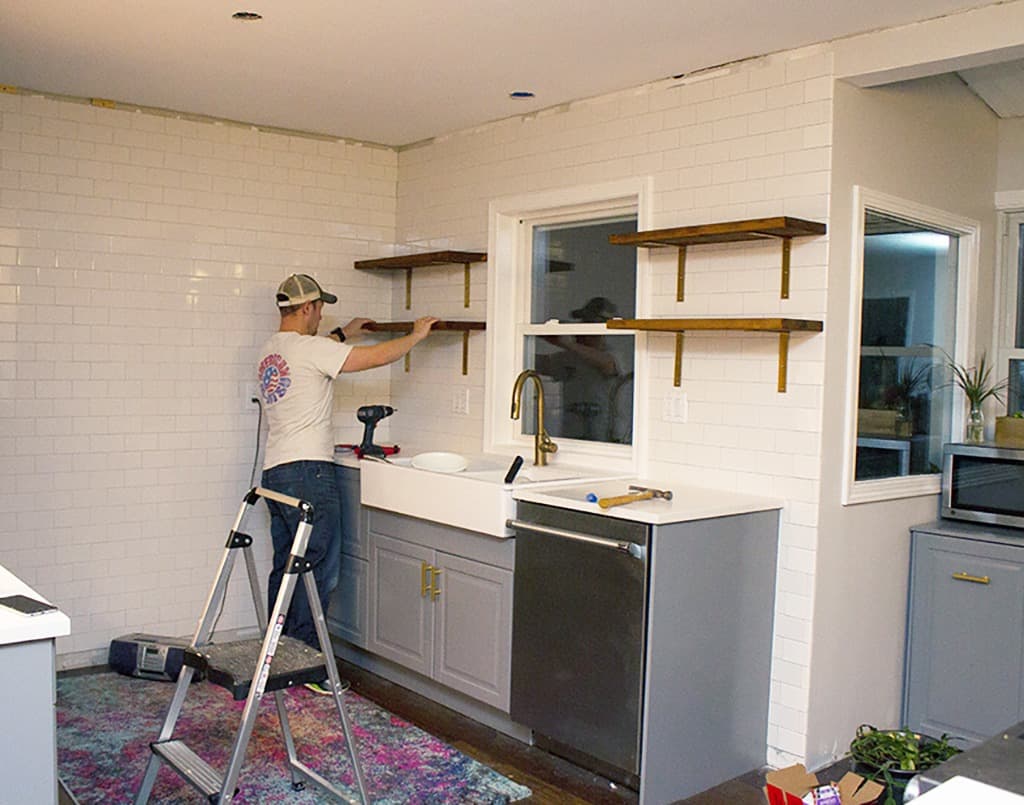
Then he installed all of the L brackets.

Next he repeated this step until all brackets were installed.

Ted measured and marked up the wood sections and drilled pilot holes for the screws that would attach to the brackets.

Once all pilot holes were drilled, he placed each board on the L brackets and drilled securely into place. You’ll want to buy screws that are shorter than the thickness of your board so they don’t pop through the tops.

Repeat this step until all boards are screwed into place.
That’s it for the DIY kitchen open shelving tutorial. Pretty easy, huh?
It’s a good idea to let the shelves set and out gas their VOCs for a day or two before placing upside down cups on them. This part killed me—I live for some good shelf styling. 🙂
Wipe the shelves down and place plates, bowls, etc.
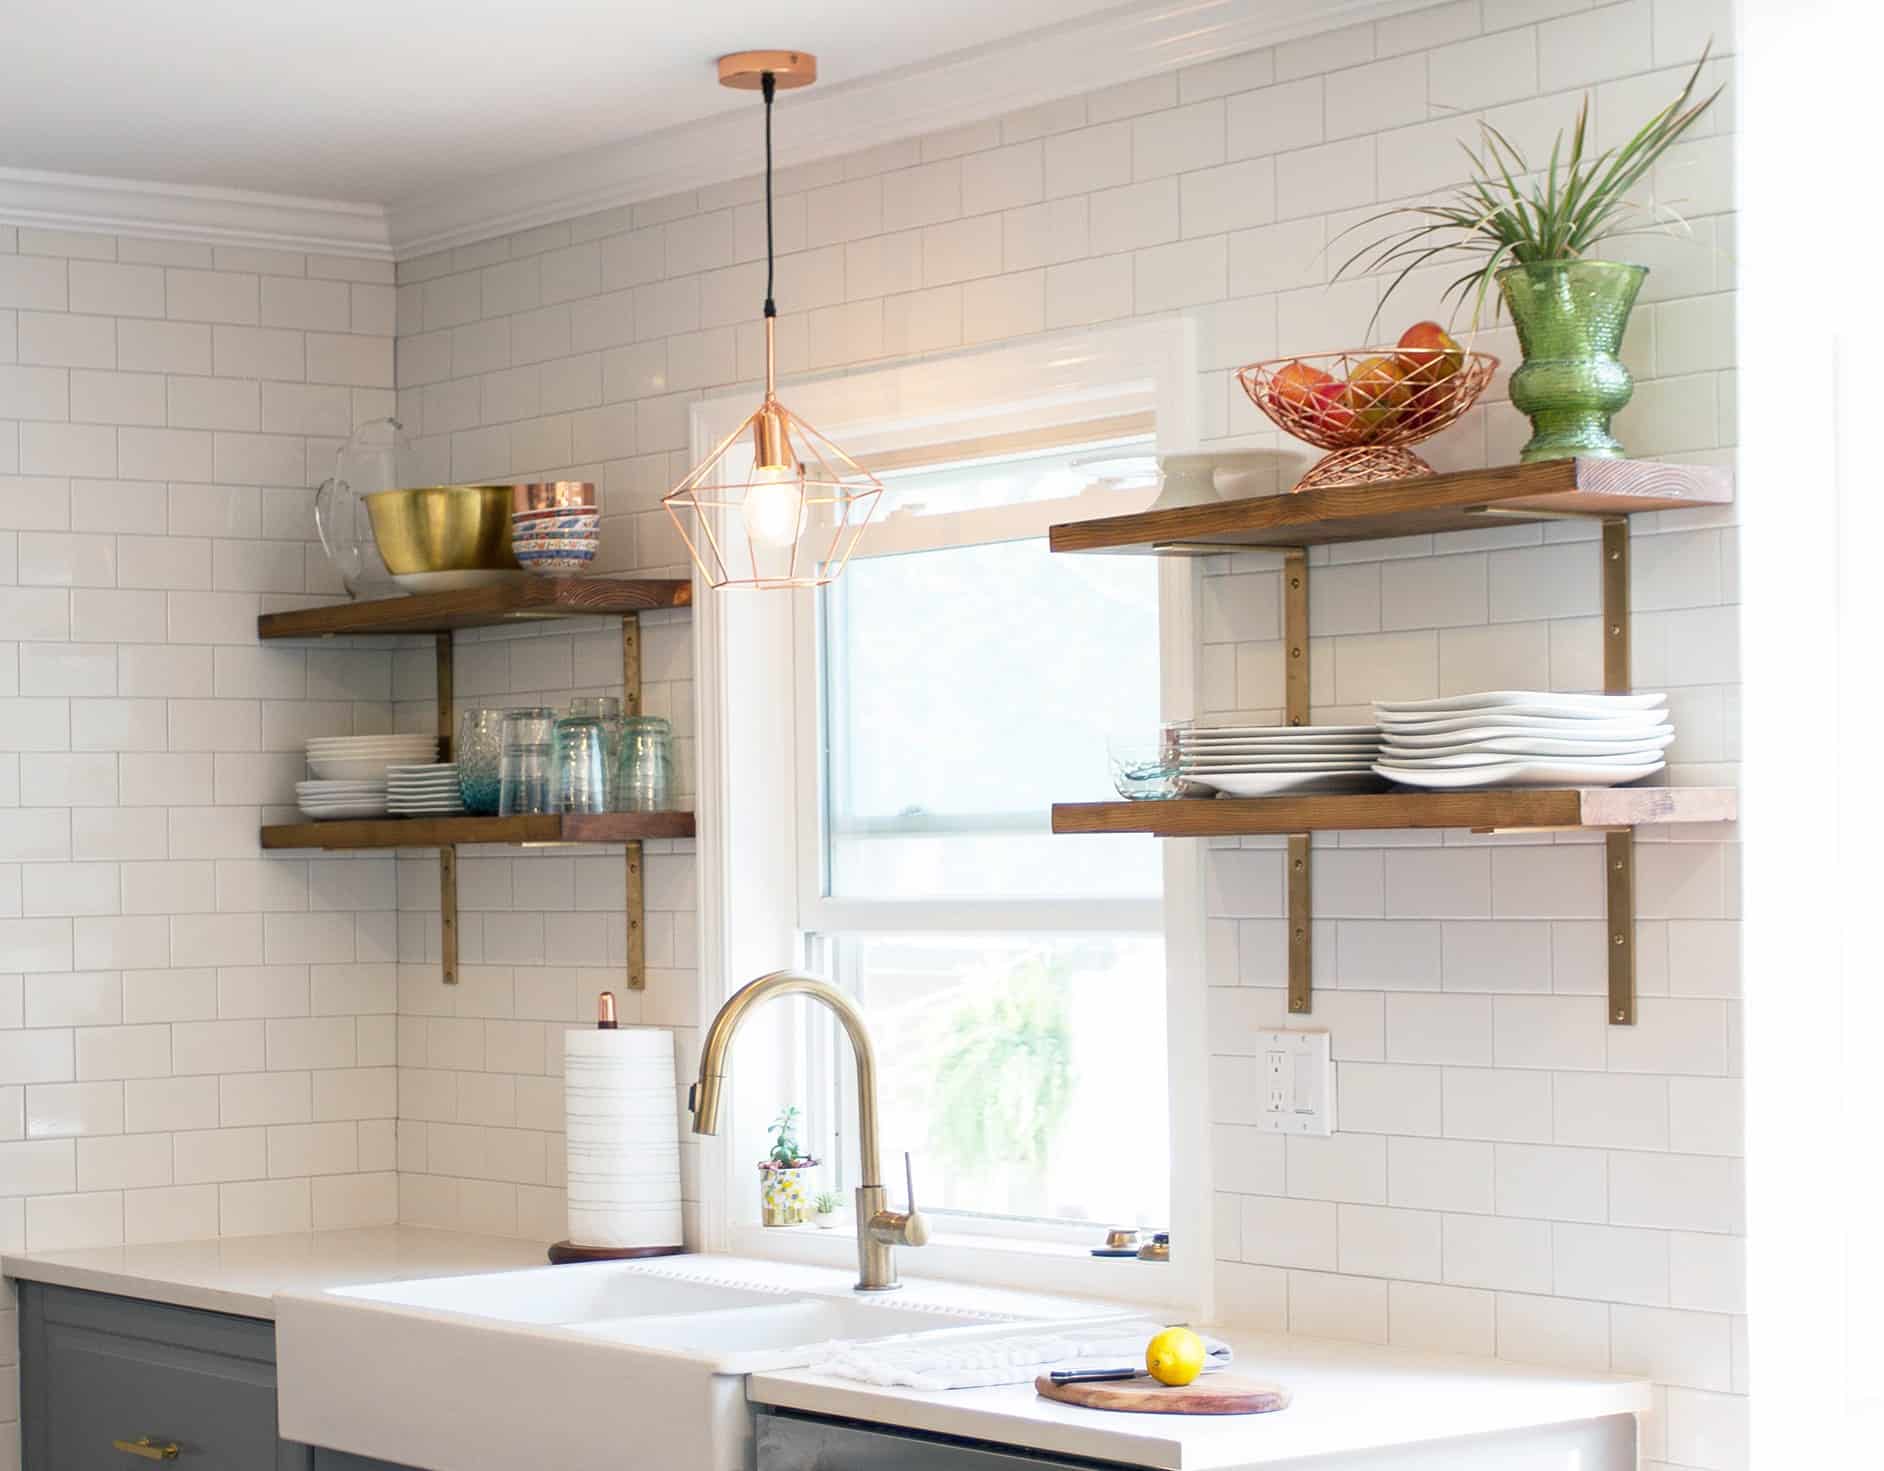
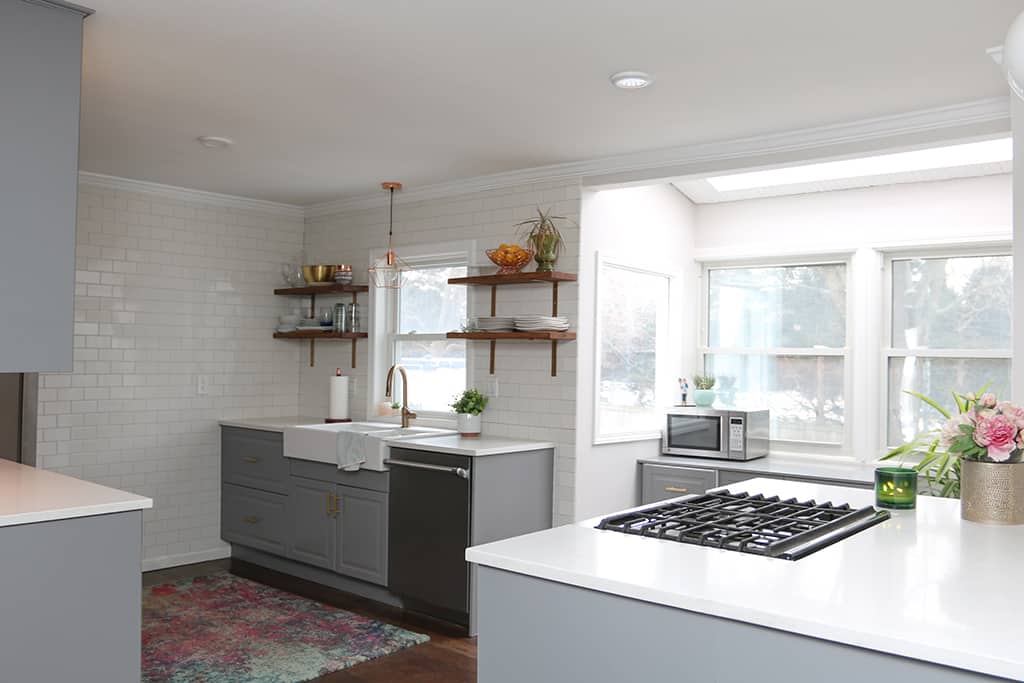
Now it’s time to style these DIY shelves!

I love how convenient it is to grab a plate or cup, and since they are exposed to the world, I am much better at keeping everything organized.

I absolutely love them, and in whole, this project cost us about $30-40. Not too shabby!
Simple DIY projects like these can really help your home stand out from the crowd when selling. I found these tips on how to sell a house helpful if you’re looking for more information. HomeLight’s Spring 2021 Survey is another helpful tool.

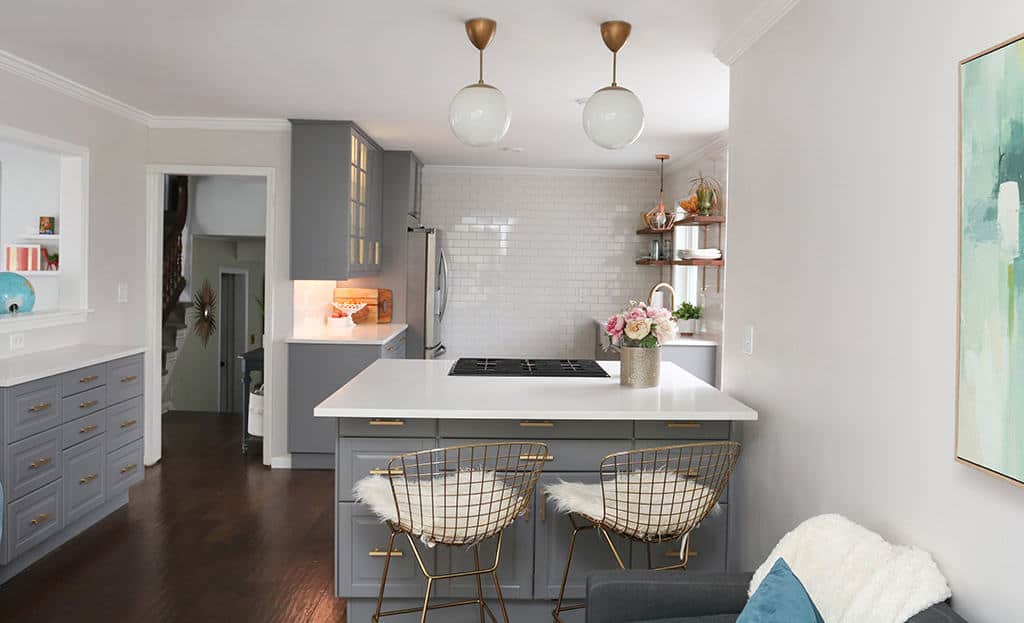
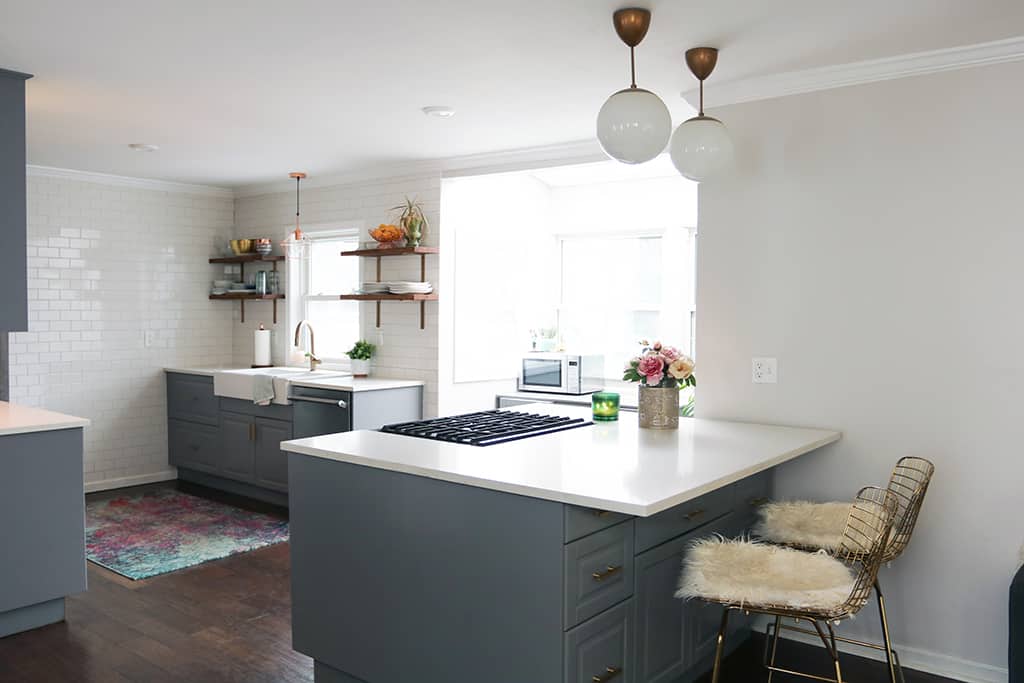
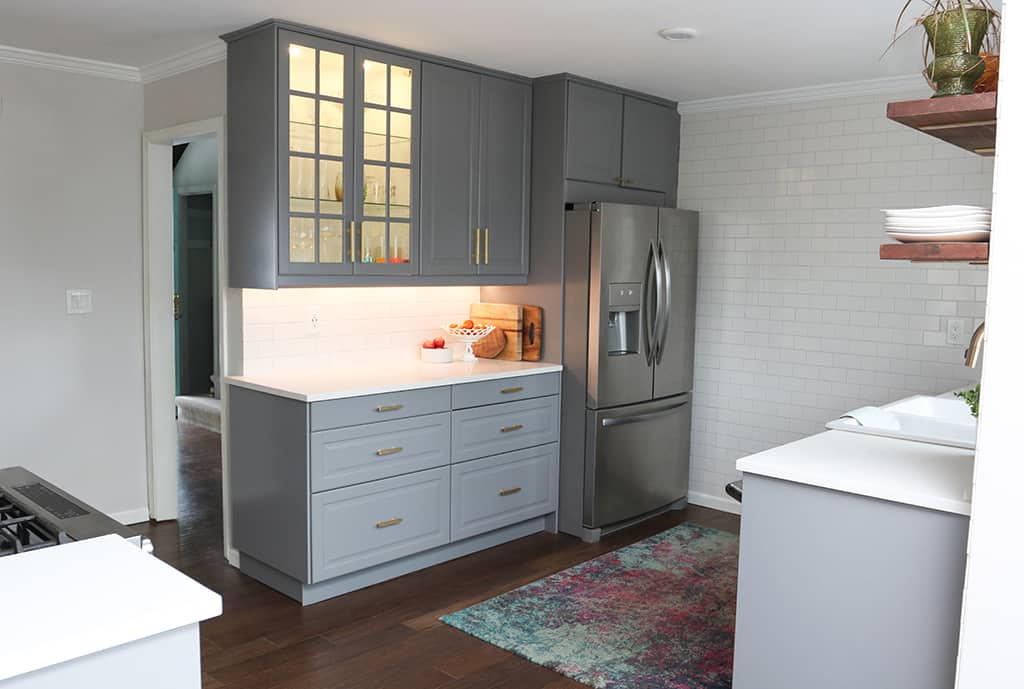
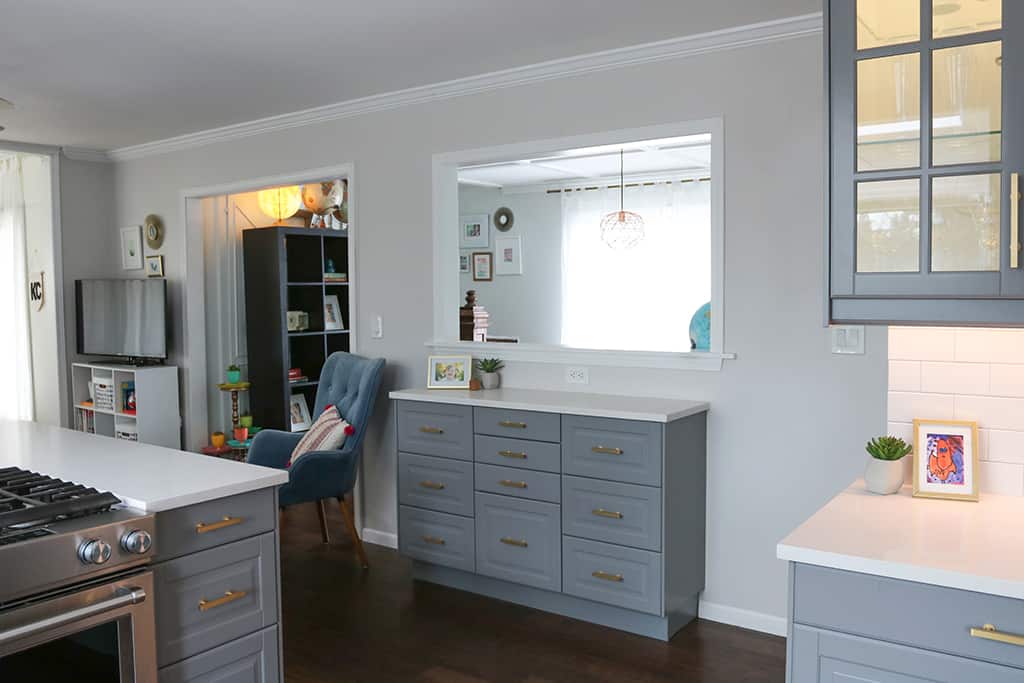
And in case you missed the big DIY kitchen remodel reveal, here are a few shots to give you the idea.
Head to the full blog post to get links to the products used and see all of the the insanely crazy before photos. They are sure to make you laugh, ha!
Here’s one little peek. Nice, huh?

I’ve changed some things around since the reveal to make better use of the space, and I am still LOVING our new budget kitchen.

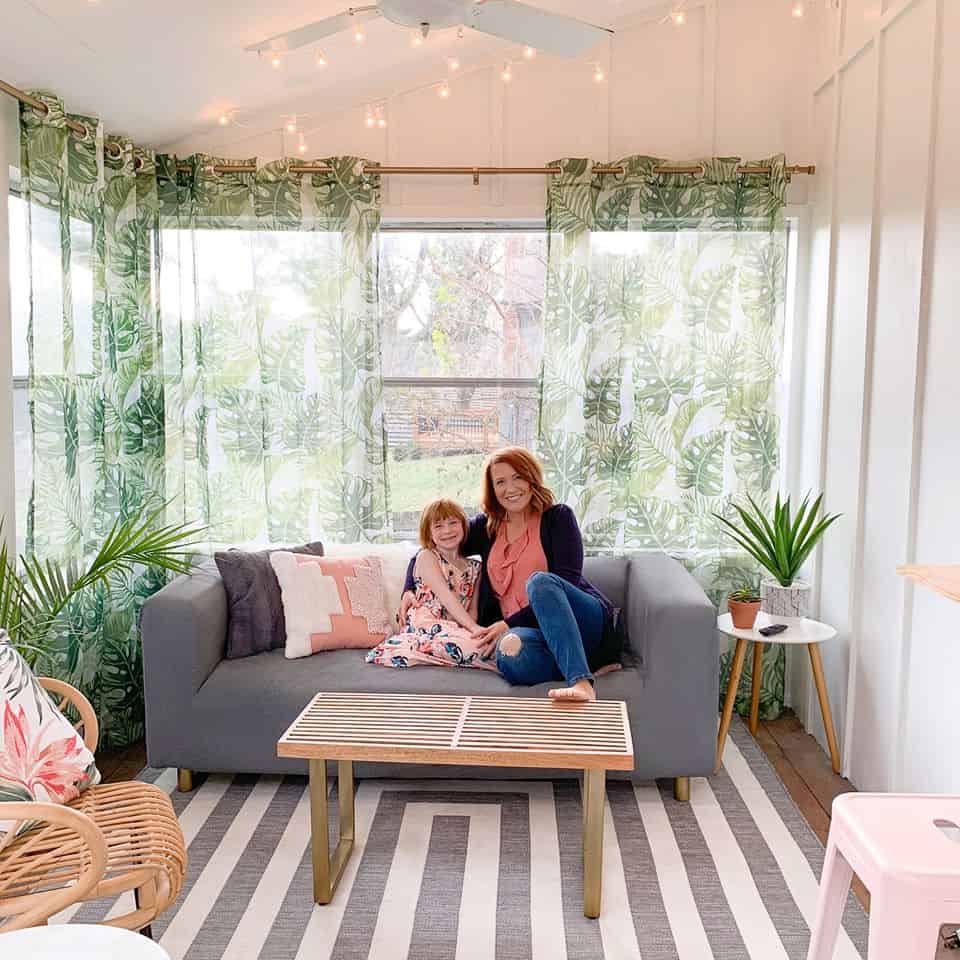
And here’s a look in the adjoining screen porch that I updated last spring. The before photo was another crazy one. A blog post will be coming on that project soon.
Anyone else ever made any DIY kitchen open shelving or have some in your kitchen?
I’d absolutely love to see your photos! Please tag me via Insta, Twitter, or Facebook photos. And I’m always so very grateful when you Pin my work as well. 
xoxo
Audrey
Pin it for later!
