Today I’m showing you how easy it is to make a super cute and affordable DIY dip dyed tank top—perfect for spring and summer!
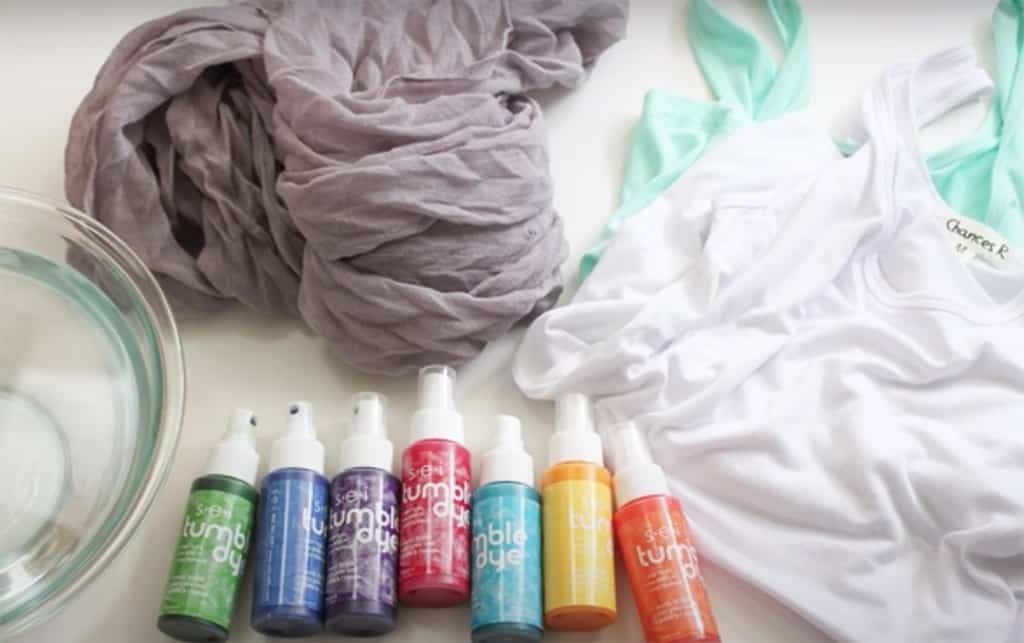
OK, let’s gather our supplies and get to work!
+ Tumble Dye Spray
+ Mixing utensil
+ Bowl of warm/lukewarm water
+ Light colored tank top (or whatever else you wish to dip)
Hopefully the video helps you understand the steps better than stills would.
I decided to do this tutorial as a video as well as using using still photos and am working on using my YouTube channel for my DIY tutorials much more often moving forward.
If a still photo tutorial is more your thing here’s the basic steps on dip dying:
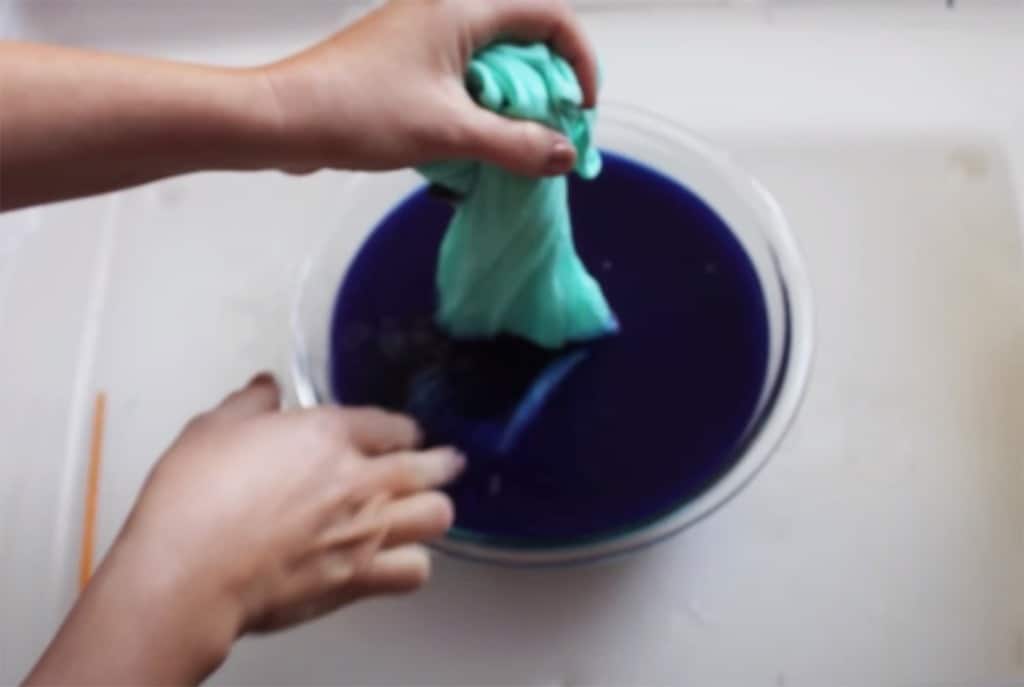
Fill a bowl with lukewarm water. Get the item you’re doing to dip dye wet, and then wring it out well.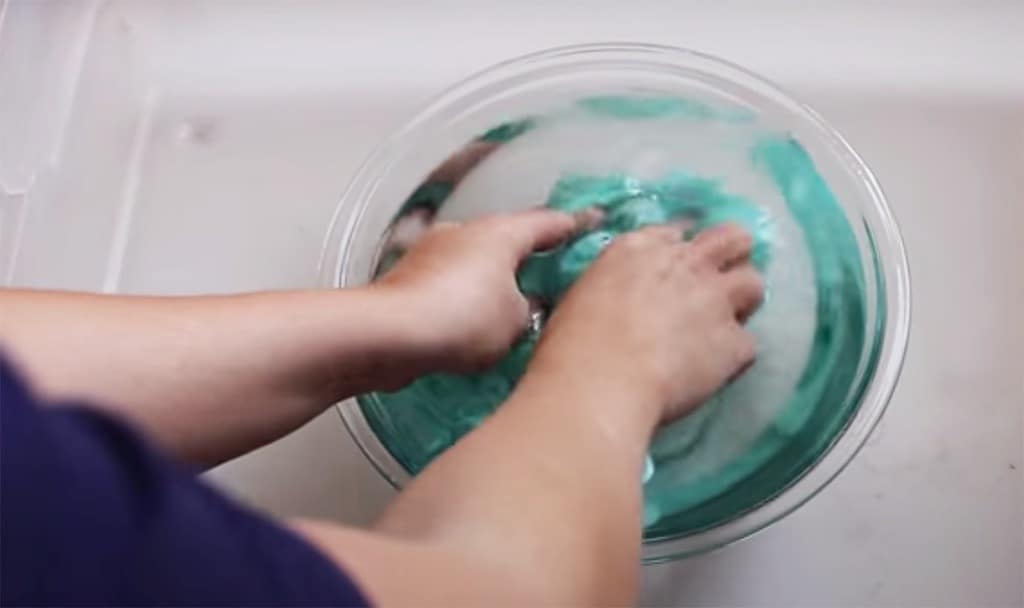
Following the guidelines on your dye packaging, pour your dip dye into a bowl of water and stir with a spoon to ensure it’s mixed. You can even mix colors to make a custom color.
Dip your shirt about half way into the dye for about 10 seconds, and pull out. You can dip more or less of your shirt, whatever you prefer.
Dip again, but this time dip a quarter less of the shirt from the first dip. Hold in the solution for about 15 seconds.

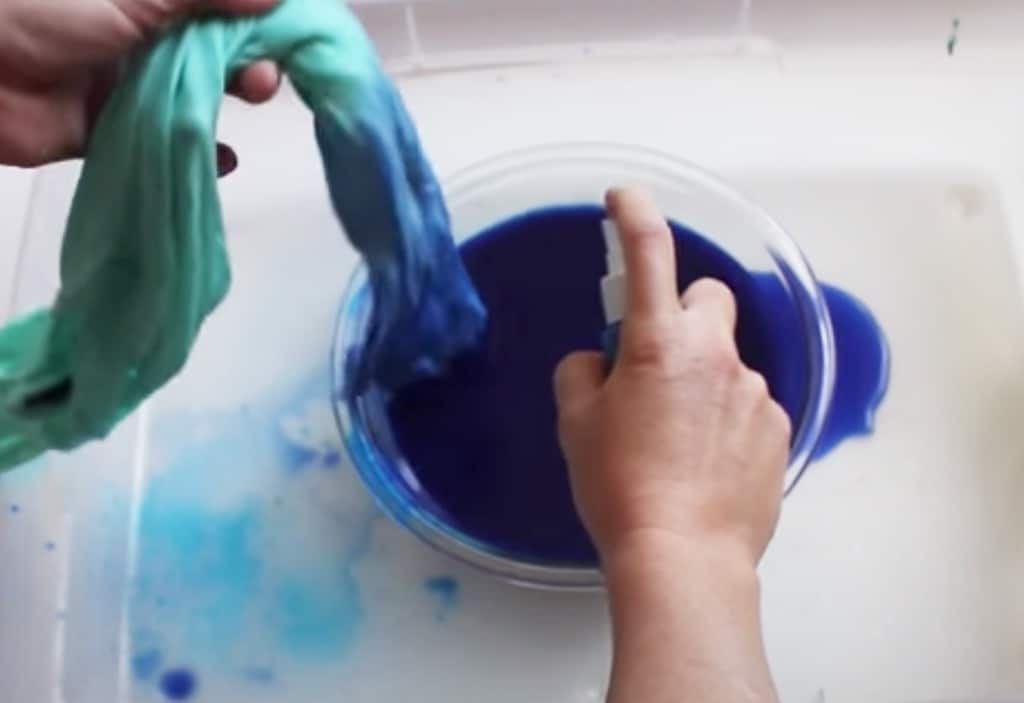
And dip once more, but even less of the shirt this time (focus on the ends). Hols in the solution for 30-45 seconds.
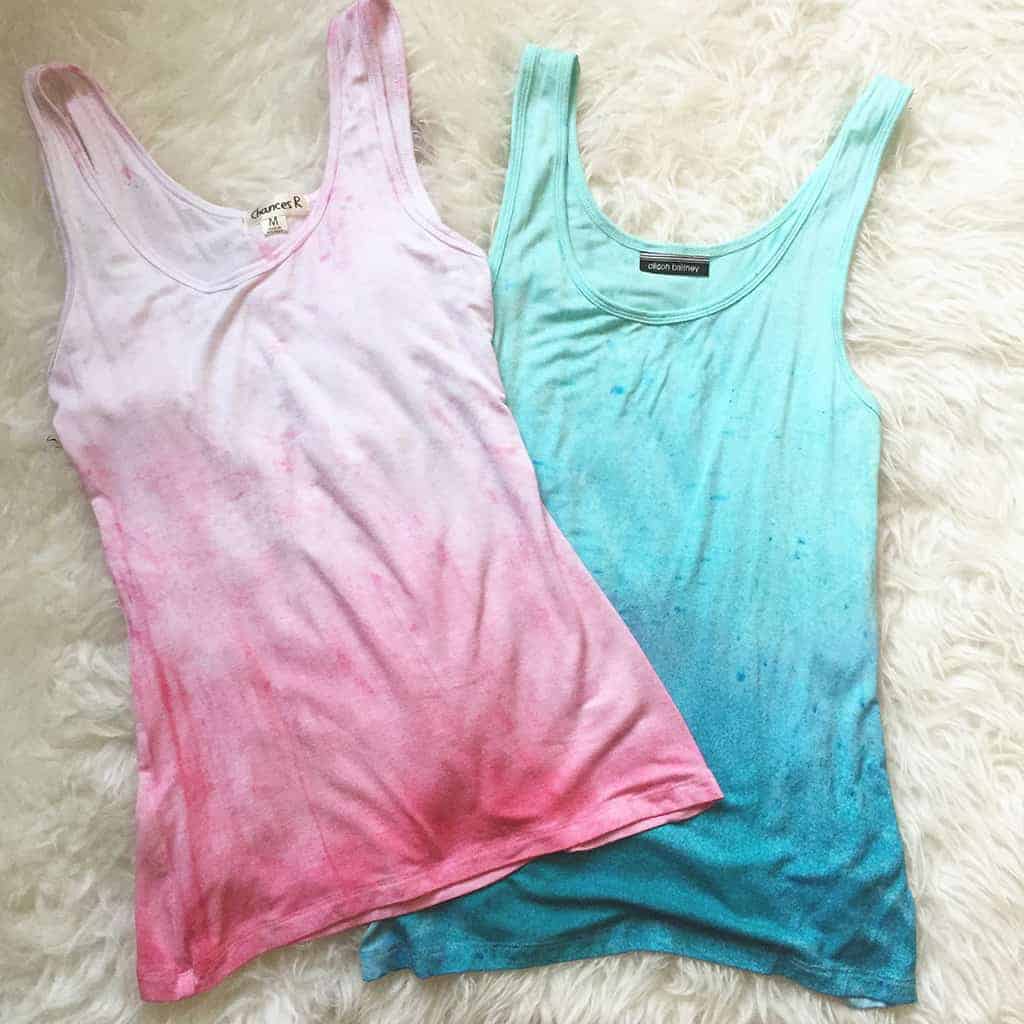
Doing it this way gives you more of an ombre effect with a lighter color at top, fading down to a more saturated color.
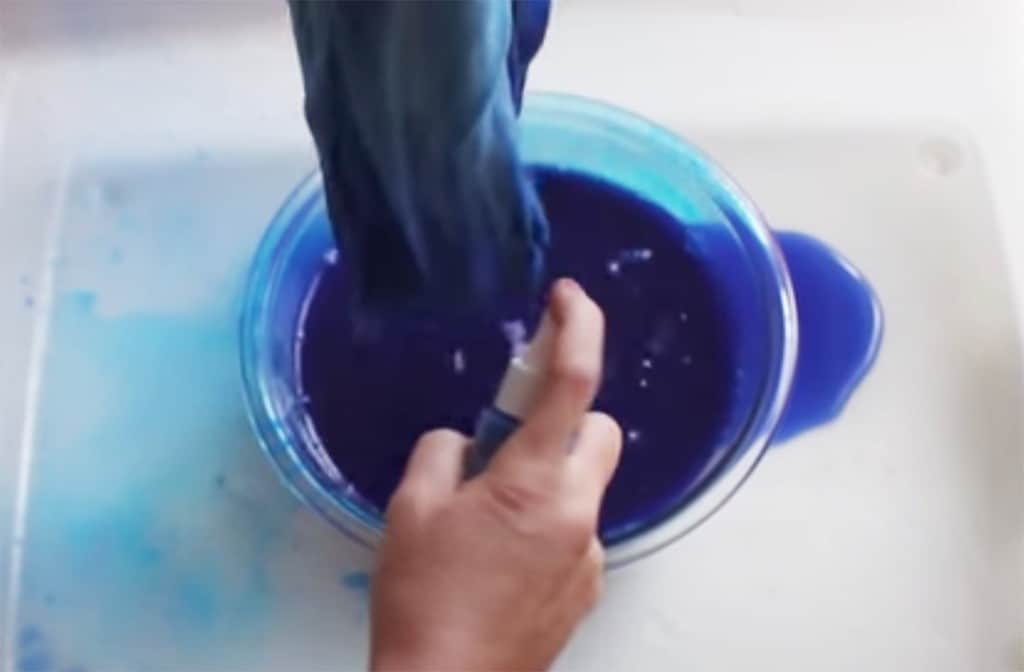
You can even spray the ends directly with the spray dye (undiluted) to give it even more saturation. I went that route.
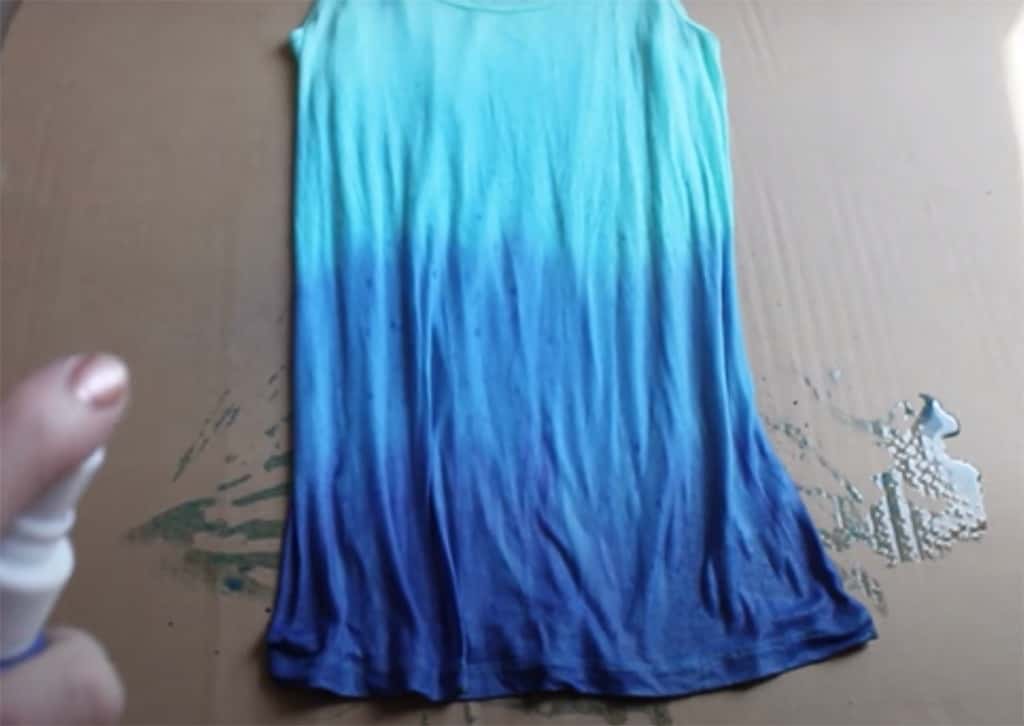
Once the shirt is dyed to your liking, very gently wring it out a bit, then lay it flat on a disposable cardboard or similar until completely dry ( at least 24 hours).
I chose to spray the shirt with the spray dye to give it more of a messy look.
NOTE: It will dry much lighter than it appears when wet and freshly dyed.
Once it is completely dry you will want to wash it on cold by itself. After I wore the tank, I chose to wash it by itself once more to ensure it wouldn’t bleed.
After it’s washed and dried it looks something like this subtle ombre dyed tank!
I really like the way these DIY dip dyed tanks turned out, and I think they’ll get easier the more I try.
What do you think? Anyone ever tried dip dyeing? It’s so addicting—I wanna dip everything I see, ha!
xoxo
Audrey
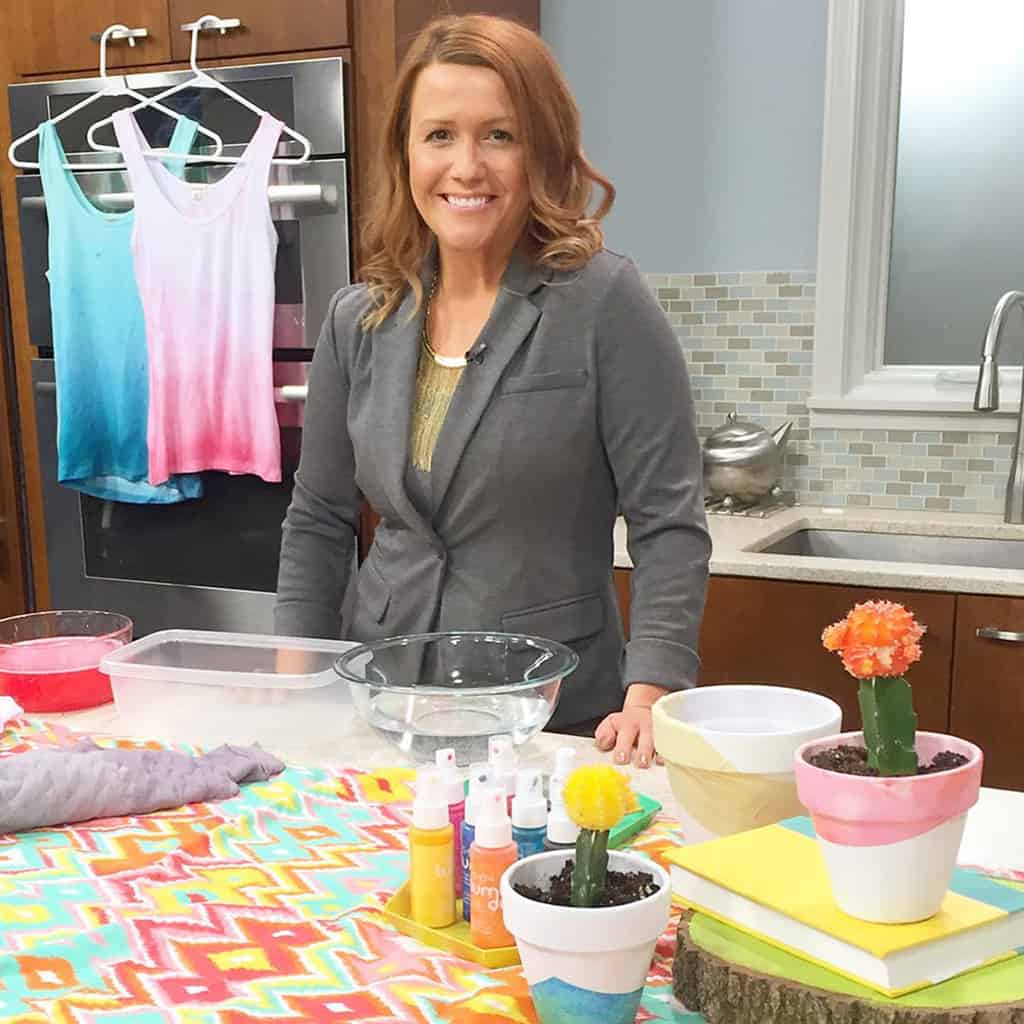
P.S. Last week I was back on KCTV5’s Better Kansas City with this tutorial, and it should air in the next week or two. I’ll post that video once it airs (I’ve been on the show about 25 times, and this was my first non-live segment, so not 100% sure what to expect).
Here’s a shot from the segment.