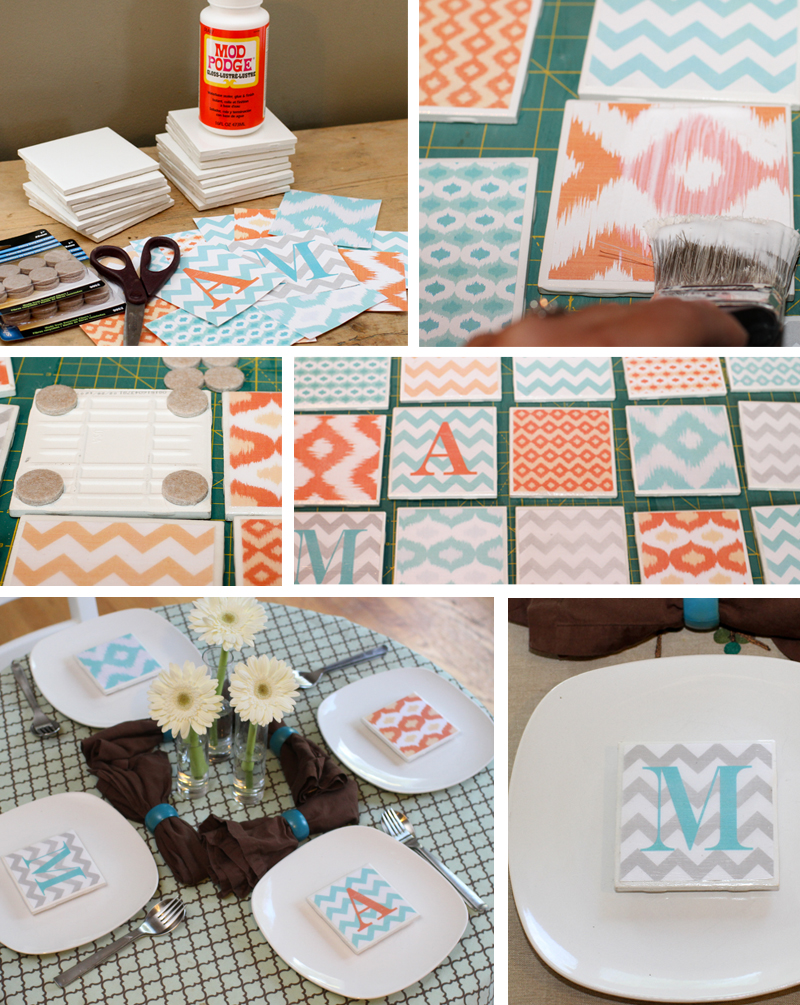
Summer is ramping up, which means weddings and dinner parties galore! Most of these occasions call for fun place cards, hostess gifts or favors. If you’re looking for a fun + functional (functional) idea, personalized DIY coasters might be right up your alley.
There are all sorts of DIY coaster project ideas out there. I decided to jump on the bandwagon, but took it one step further by personalizing them for entertaining purposes.
My best friend Mary and her husband Aaron recently came for a visit from Tennessee, which gave me the perfect excuse to use my personalized coasters as place cards and takeaway gifts for the first time. I used the first letter of their names and also mixed in some non personalized coasters to make a set.
Here are step-by-step instructions on how to make you very own DIY coasters along with a link to free coaster printables in the trendy ikat and chevron patterns.
What you’ll need:
- 4″ Tiles in whatever quantity and color you prefer
- Modge Podge
- Foam or paint brush
- Polyacrylic protective finish spray (optional)
- Scrapbook paper (or your choice of paper)
- Felt or small felt dots
-
Go to your local tile shop and purchase some basic white tiles (in whatever quantity you prefer). They usually go for around 15-20 cents each. I recommend Home Depot or Tile and Stone Warehouse in Merriam.
-
Next, visit your local craft or scrapbooking store and pick up some Modge Podge, felt and polyacrylic protective finish sealing spray. Feel free to download and print the free coaster printables that I created or you can pick up some scrapbooking papers in your favorite patterns and colors. I recommend The ScrapBook Page in Shawnee or K and Co. in Kansas City for good paper selections.
-
Cut out your paper to just under 4″ x 4″ squares (if you want a tile border like mine).
-
Next, use the foam brush to spread a thin layer of Modge Podge onto the tiles and then center a square of paper on the top, smoothing any bubbles out with your fingertips.
-
Then coat the paper and tiles with 4-5 coats of Modge Podge, waiting at least 20 minutes in between each coat.
-
Once the coats of Modge Podge dry, spray 1-2 coats of your polyacrylic protective spray (this protects it from liquid damage).
-
Once the spray dries you can apply your felt dots to each corner of the tile and you are done!
I made 16 DIY coasters at once and it took about 3 hours for my project from start to finish. I am happy with the results and the options are endless!
Cheers!

You might also like:
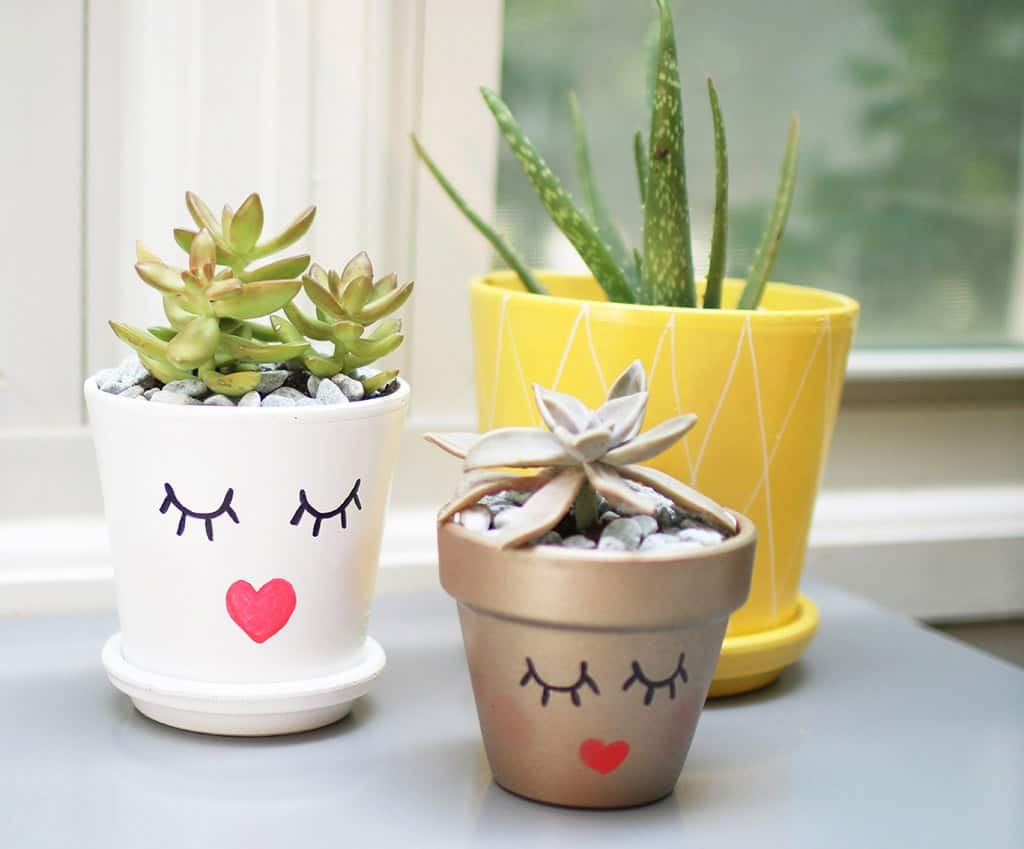
And these DIY mod podge planter pots
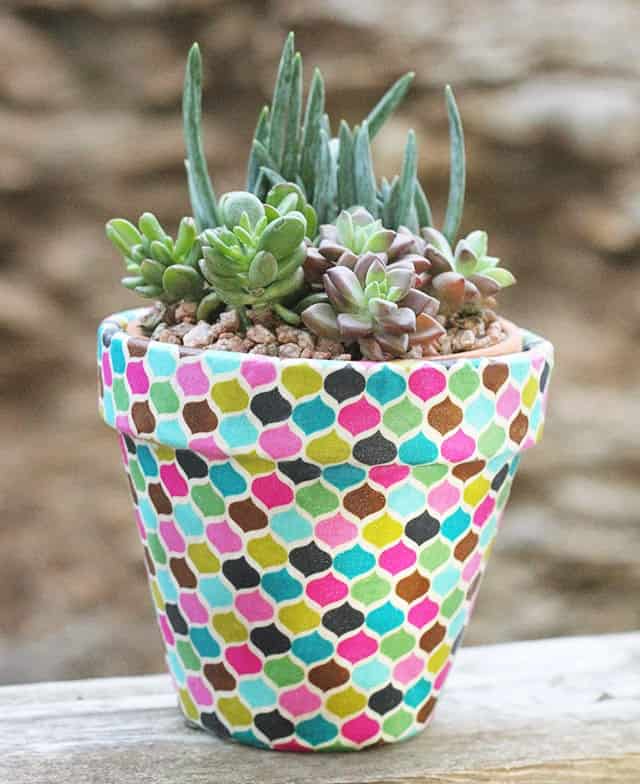
These DIY planter pots with personality
Hi Erica.
Thanks!
Try this:
Click on the page/patterns. They will become larger/actual size.
Drag the image off to your desktop (for mac) or control/right click the image and save to your computer (for pc).
Then print actual size from there. They should print out at actual size on a letter sized sheet for you.
I am traveling and do not have the patterns with me to resize to letter size. at this time – sorry!!
I am having trouble printing the patterns, it comes out very small. Would I also be able to get this in letter size? I am very excited to make these coasters and I love the patterns and colors you have put together, they are perfect and I am so in love with your blog! My email is [email protected]
hi. these coasters are recommended for cold beverages only. If you want to try using hot items on them Modge Podge suggests you let the podge cure for a month before trying. The heats makes them stick together a bit. Hope that helps. Good luck!
I'm wondering if this would work as a trivet for hot plates on the table? I'm not sure if hot things will do okay on this. What do you think.
Oh Audrey thank you in advance for sending the patterns. I saw them and fell in love. I want to frame the patterns in artist frames and then make a collage on my wall. I too love chevron and turquoise! My e-mail is [email protected]. I will be trying your painted bottles project next.
Hi FrouFrou…shoot me your email and I will send you the patterns in letter size. 🙂
I absolutely love the patterns! Would it be possible to print a single pattern in a 8 1/2 x 11 size?
hi katie. thanks!
i used the design program illustrator to add the letters to the designs. You can also buy letters in the scrapbook section i am sure. if you only need a few letters made, i can do them for you really quickly and email the art to you to print. just let me know. thanks!!
I love the patterns! Out of curiosity, how did you add the letters onto the coaster?
thanks molly! 🙂
These are so fantastic! I love the patterns!
CVGi, All of the directions to make the coasters are laid out above these comments under the photo or you can go here:
http://ohsolovelyblog.blogspot.com/2012/05/coasters-make-functional-place-cards.html
I wish you have mentioned the process of designing these gifts as well, as I am just dying to do it by myself. Hoping it from your next post. Please provide the process of creating it if possible…
The Loot Lady
hi. I did a little research and some people who have made their own coasters have said that it is best to wait a week or 2 before you place a hot beverage on the coaster b/c the mode podge needs time to set fully. I have only used cold beverages on mine and have had no issues. the finishing spray i used is minwax, water-based polycrylic protective finish (1 coat). hope that helps…and sorry you had some issues with yours!
Thanks ever so much for your prompt response. I shall try both ideas and let you know how things turn out on mine!! Thanks again!!
I used this wonderful idea to create some lovely gifts. Wondering if you had any trouble with the coasters sticking together when stacked or when using them with a hot coffee cup? If not, what finishing spray did you use?
Thanks!
I am still having trouble with my coaster sticking together and i have waited 2 weeks in between putting them together and tying a ribbon around them for gifts, I also used cork instead of felt on the back of tile. Please if anyone figures out how to keep them from messing up and sticking with hot beverages please shoot me an email. thank you
[email protected]
I showed you some blog love at
http://lifelovelarson.blogspot.com/2012/05/liebster-award.html
Thanks! Andrea
Thanks so much Andrea!! 🙂
http://ohsolovelyblog.blogspot.com/2012/06/some-oh-so-lovely-blog-lovin.html
xo